In today’s digital world, green screen effects have become essential for enhancing videos with creative visuals and dynamic backdrops. Whether you’re producing a meme or designing attention-grabbing banners, CapCut offers an intuitive solution for incorporating green screen technology into your projects.
Here’s our step-by-step guide on how to use the green screen feature on CapCut to effortlessly elevate your content and captivate your audience.
The Available Options
CapCut, a versatile video editing software, offers two distinct methods for utilizing green screen technology.
The first option is the built-in chroma key functionality, which allows users to selectively eliminate any color from their footage, not just green. This provides greater creative control and flexibility, as it can target a wide range of color hues according to the specific requirements of your video project.
The second method leverages CapCut’s sophisticated algorithm-based background removal tool, which expertly detects and eliminates green screen backdrops, enabling creators to effortlessly add customizable new backgrounds. Its powerful processing capabilities ensure optimal efficiency and accuracy for seamless visual effects.
To make the most of CapCut’s comprehensive green screen features, choose the method that best aligns with your project specifications.
How to Use Green Screen on CapCut with Chroma Key
Chroma key is an efficient video editing technique to create advanced effects by merging video layers based on color hues. The idea is to film a subject in front of a green screen and then eliminate the green background during post-processing to generate unique visual effects.
CapCut enables you to utilize the power of the chroma key feature to create professional-looking videos by layering green screen clips.
Here’s a step-by-step guide.
Step 1: Download and Install CapCut

First, download and install the CapCut app on your smartphone from the Apple App Store or Google Play Store, depending on your device’s compatibility.
Step 2: Open the App and Start a New Project

After successfully installing CapCut, open the app and tap “New Project” to begin your video editing process. You’ll be redirected to your device’s gallery to select your base video or image.
Step 3: Import the Green Screen Clip

Once you’ve chosen your base video or image, tap the “Overlay” button at the bottom menu bar. This option allows you to import another video or image as an overlay. Next, import the green screen clip by selecting it from your device’s gallery.
Step 4: Adjust the Position and Size

To align the green screen clip precisely with the base video or image, drag it to your desired location using finger gestures. You can also adjust the size and rotation of the green screen clip by pinching in or out on the clip, again using finger gestures.
Step 5: Apply the Chroma Key Effect
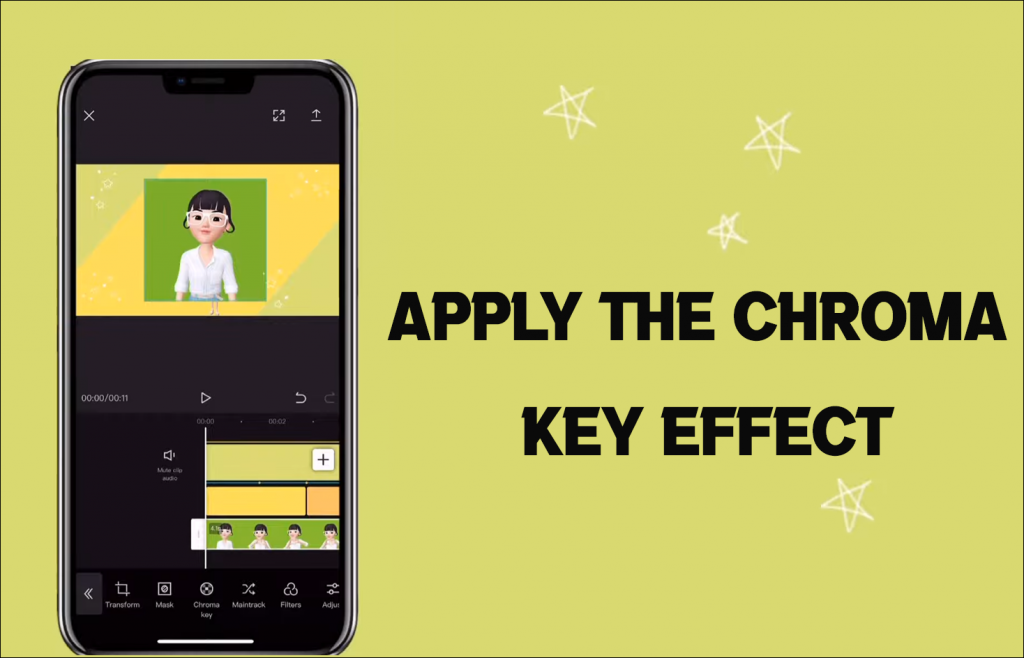
At this point, tap the green screen clip to reveal additional editing options. Select “Chroma Key” from the menu and move the color picker tool over the dominant green color present in your clip. Then, use the “Intensity” slider to adjust how efficiently and accurately the green color is removed.
Feel free to play around with this setting until you achieve the desired effect.
Step 6: Refine the Composite

For better results, you might need to perform some minor editing on both the green screen clip and the base video or image. Use masking, cropping, or animation tools to refine your composite further.
Step 7: Preview and Save

After making all necessary adjustments, press the “Play” button to preview your project. If you’re satisfied with the results, tap the “Export” button at the top right corner of your screen. CapCut will save your final masterpiece on your phone’s gallery.
How to Use Green Screen on CapCut with Background Remover
When tapped, the Background Remover tool on CapCut removes the green screen background automatically.
Here’s how to go about it.
Step 1: Import the Green Screen Footage

To begin, open the CapCut app and create a new project. Import your green screen footage into the app’s timeline by tapping the “+” icon and selecting the appropriate video file.
Step 2: Remove the Green Screen Background

Now that your footage is in CapCut, it’s time to remove the green background. Select the green screen video clip in your timeline and tap the “Remove Background” feature in the app’s toolbar. CapCut will then process the video, accurately detecting and eliminating the green background.
Step 3: Fine-Tune the Background Removal

After the initial processing, you may need to fine-tune the effect to ensure a seamless appearance. You can adjust settings such as “Saturation ” and “Spill Suppression” to achieve a more natural look. Experiment with these features, and make sure to preview your video to see how the changes affect the final result.
Step 4: Add a New Background

With the green background removed, it’s time to add a new one to your video. Import the desired background image or video into your timeline by tapping the overlay section and selecting the “+” icon. Adjust the length of the new background to match the duration of your green screen clip.
Step 5: Position the Subject on the New Background
Now that you have added your new background, you’ll need to ensure your subject is correctly positioned in the scene. Drag your subject to the desired location on the screen, and if necessary, use the pinch gesture to resize the subject to fit within the background.
Step 6: Apply Additional Effects and Transitions
With the green screen effect in place, feel free to add any additional effects and transitions to enhance your video further. CapCut offers a wide array of editing options, from filters to animations, to help your video stand out.
Step 7: Export Your Video

Once you’re satisfied with the result, it’s time to export your video project. Tap the “Export” button in the top right corner and choose your preferred resolution and quality settings. CapCut will then render your video for sharing on social media or any other desired platform.
Where to Get Green Screen Videos
To utilize green screen videos effectively, the first step is to acquire a suitable video clip and ensure it’s available in your device’s camera roll or gallery.
To find a wide variety of green screen videos, perform a search on YouTube for “popular green screens” or any other specific theme or category of interest. Numerous content creators and video enthusiasts upload high-quality green screen videos to the platform, offering a rich array of options for your projects.
Moreover, there are numerous Instagram accounts that focus exclusively on curating and sharing green screen videos. These accounts cater to different genres, visual effects, and user preferences, making it easy to find the perfect video clip for your needs.
By browsing through these Instagram profiles, you can explore and discover unique green screen scenes and animations to elevate the production value of your videos.
Additional FAQs
How do I remove green screen on CapCut?
To remove green screen on CapCut, use the background remover feature for automatic removal or apply the chroma key function for precise adjustments. Import footage, select the clip, apply effects, adjust parameters, and preview the results for a seamless replacement.
What is the chroma key function on CapCut?
Chroma key, also known as green screen technology, allows users to blend two images or videos by removing a specific color from the top layer, making the lower layer visible. This technique adds to the creative potential of video editing enthusiasts and professionals alike, fostering high-quality visual effects and engaging content.
Is the chroma key still on CapCut?
Although some users have reported difficulty locating the chroma key recently, it hasn’t been removed but has merely been relocated. The function is now available under the “Remove Background” option.
Edit Your Videos Like a Pro
By utilizing green screen overlays in CapCut, you can take your video editing skills to the next level. You no longer need a physical backdrop or time-consuming keyframing to make pristine edits. With this quick and easy approach, you have full control over the composition of your videos.
Have you tried using green screens on CapCut yet? How did it go? Let us know in the comments section below.
Disclaimer: Some pages on this site may include an affiliate link. This does not effect our editorial in any way.