Are you looking to buy a Ring doorbell from someone to boost the security and privacy of your home? If so, you’ll want to make sure that you can comfortably change owners. For if ownership remains with the seller, you won’t have much in terms of control over your device. Even if you’re looking to sell the device yourself, you’ll want to get rid of your personal information before doing so.
In this article, we’re going to show you how you can change the owner of a Ring doorbell.
How to Change Ring Doorbell Owner
The Ring doorbell is undoubtedly one of the best modern pieces of technology when it comes to the security and privacy of your home. A brand-new Ring doorbell comes with a clean account, but if you’ve acquired it from someone else, they have to remove all of their personal information before you can use the device.
To change the owner of a Ring doorbell, there are two main steps:
- The original owner has to remove their billing information. Unfortunately, this can’t be done from the Ring app. It has to be done from the Ring website, accessible via a desktop.
- The new owner has to download and install the Ring app and then follow the on-screen guidelines to set up a new account.
As soon as a new account is set up, the doorbell automatically disappears from the original owner’s account.
How to Remove an Owner From Ring Doorbell
Removing an owner from a Ring doorbell is straightforward:
- Open the Ring app.
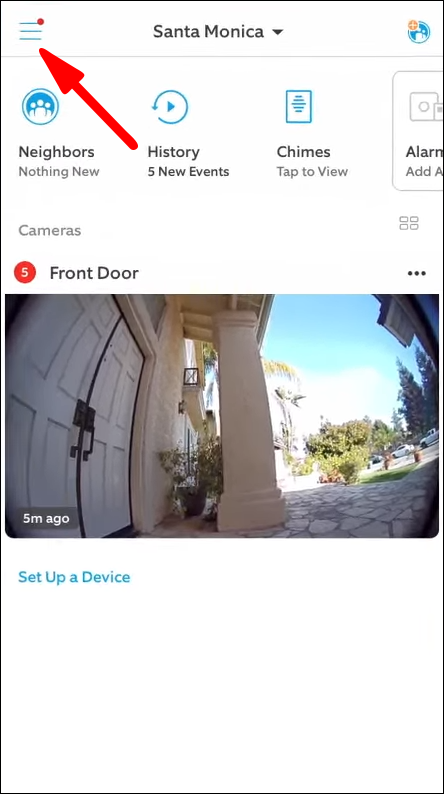
- Tap on the three lines in the top left corner.

- Tap on “Devices” and select “Ring Doorbell.”
- Tap on “Settings.”
- Open “General Settings”
- Tap on “Remove This Device.”


Once the device is removed, it’s now untethered and ready to be linked to a new account.
How to Set Up Your Ring Video Doorbell
A Ring video doorbell is easy to set up. Here’s what you need to do:
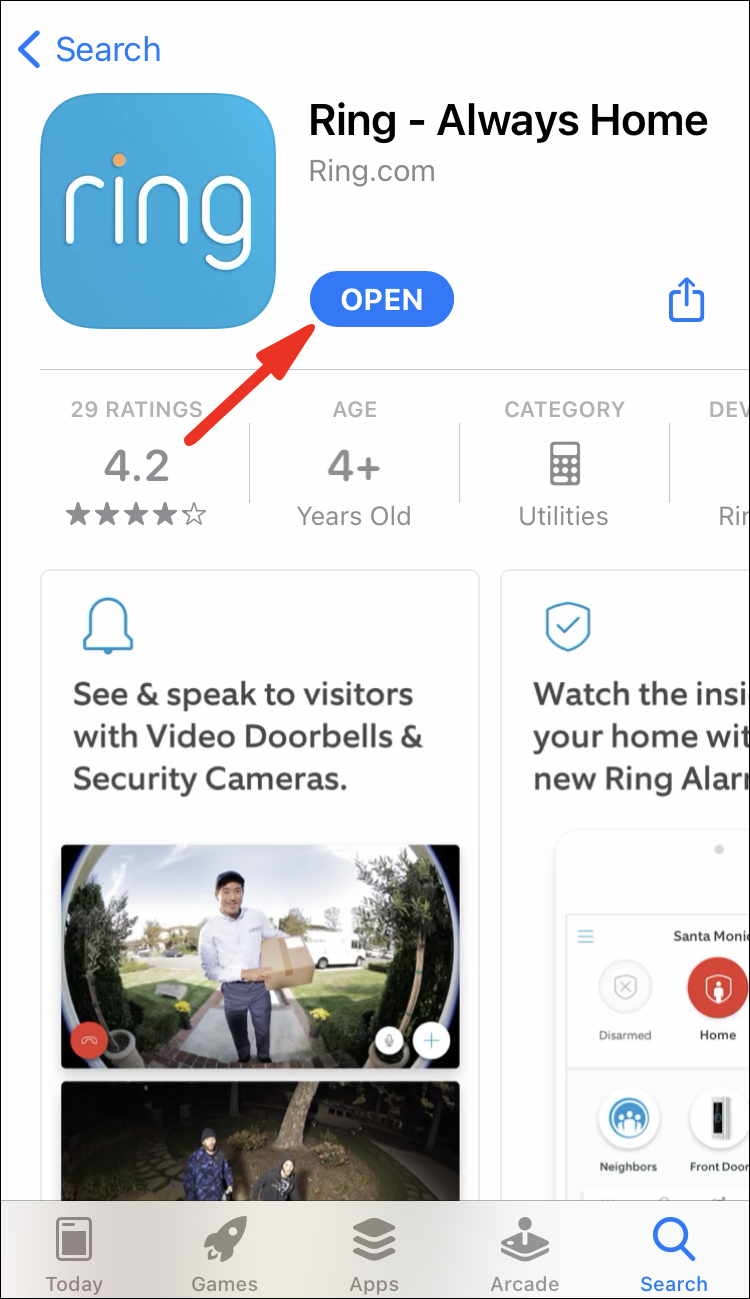
- Download and install the Ring app. The app is free on both App Store and Play Store.
- Log in to your Ring account or sign up for one if you’re new to the service. The app has a friendly user interface. All you have to do is follow the on-screen instructions.
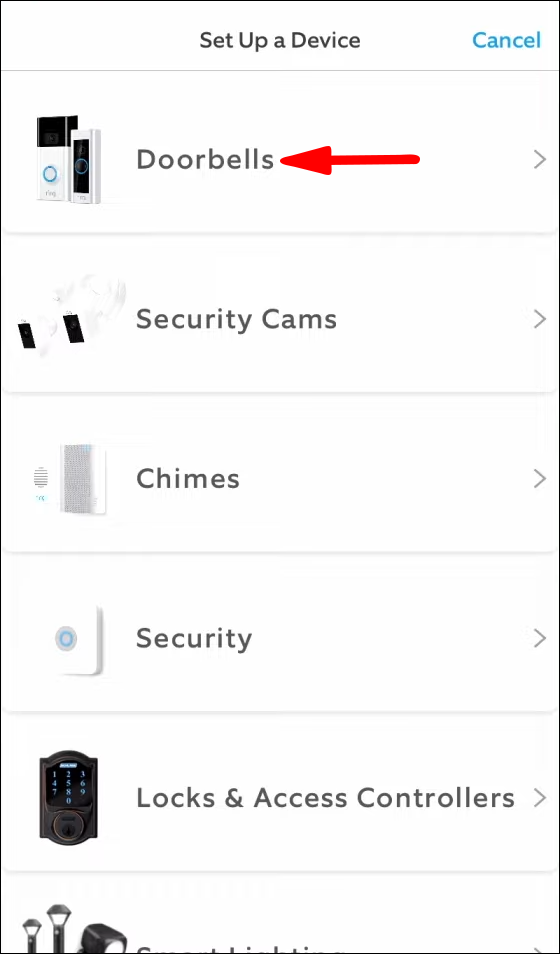
- Click on “Set up a Device” and then select “Doorbell.”
- On your Ring doorbell, locate the QR code and then run a quick scan of it. To do so, you have to point your phone’s camera at the QR code. In the latest Ring video doorbells, this code is found at the back of the device. Once the scan is successful, a green bar will appear on your smartphone’s screen.
- Set up your location. The app is designed to detect your location automatically, but you have to allow it to access and use GPS services. If you don’t specify a location, some features of the Ring video doorbell may not work.
- Next, you should now name your device. Notably, the doorbell should not share a name with any of the other Ring devices on your account. A custom name would be good, but the app also gives you a few suggestions.
- Pick up your video doorbell and press the orange button at the back.
- Connect your device to the Ring Wi-Fi. If you’re using an Android-powered smartphone, a connection is established automatically. Otherwise, if you’re using an Apple device, tap “Join” when prompted on the app.
- Establish a connection between your doorbell and your home Wi-Fi. To secure a connection quickly, make sure that you’re close enough to your router. Once the doorbell is connected, it may start updating internal software right away. While updating, the doorbell emits a spinning white light until the process is complete.
- Perform a test call by pushing the front button.
After you’ve done all of the above, your video doorbell should hit the ground running as soon as it’s physically installed on your door.

How to Remove a Ring Doorbell
Removing your Ring doorbell can be quite an uphill task even for experienced technicians. And that’s because you have to work with several screwdrivers, but the good thing is all of them are included in the product box.
Here are the general steps:
- Remove the security screws one at a time.
- Unmount the device from the mounting bracket. While at it, avoid exerting too much force because the mounting bracket can break. This would also help reduce the size of those annoying holes left behind on your wall.

Additional FAQs
Who Is the Owner of a Ring Doorbell?
Ownership belongs to the account used in the initial set-up. That account carries specific payment details and other pieces of personal data, such as an email address and location. The owner has full control over the device even when miles away, as long as the device has an internet connection.
Can You Change the Ring Doorbell Sound?
Yes. To do so:u003cbru003eu003cbru003e• Open the Ring app and tap on the Ring doorbell itself.u003cbru003e• Open the configurations section.u003cbru003e• Tap on “Doorbell Tone Volume Slider.”u003cbru003e• Slide to increase or reduce the sound volume as you like.
Can You Have Two Owners With Ring Doorbell?
Yes. You can connect your device to multiple phones. To do so:u003cbru003eu003cbru003e• Open the Ring app and tap on the Ring doorbell itself.u003cbru003e• Tap on “Shared Users.”u003cbru003e• Tap on “Add User.”u003cbru003e• Enter the email address of the person you’d like to invite. The app will then send them a link that will give them access to your doorbell.
How Can I Change My Ring Doorbell to a New Owner?
First, delete your payment details and then download the Ring doorbell app to enter details about the new owner.
Stay Safe
A Ring doorbell comes with many benefits. In particular, it can help keep your home and loved ones safe by sending you notifications whenever there’s someone at your front door. In addition, it can provide substantial evidence in case burglars attack. The result is peace of mind wherever you are.
Have you had challenges trying to change owners of a Ring doorbell?
Let us know in the comments section below.
Disclaimer: Some pages on this site may include an affiliate link. This does not effect our editorial in any way.