A snazzy stream title is one of the best ways to attract a new audience. It helps your page stand out from the ocean of other Twitch streamers and makes it show up in search results more frequently. But what if you can’t come up with anything interesting right off the bat? Luckily, Twitch offers multiple solutions.
With OBS Studio and StreamLabs, the go-to streaming software for most Twitch users, you can pretty much change the title from outside the platform. Each program comes with a set of nifty features and a comprehensive dashboard that’s entirely user-friendly. So, if you’d like to know how to change your stream title, keep reading for step-by-step instructions.
How to Change Stream Title With OBS?
OBS Studio is a pretty popular open-source software for live streaming and screen recording. It’s compatible with all major social media/streaming platforms, including Twitch, YouTube, and Facebook Live, and available for Mac, Windows, and Linux operating systems.
The free program comes with a slew of user-friendly configuration options that allow streamers to tweak their broadcast page for optimal results. Once you link it to your Twitch account, you can use OBS Studio to update the stream info without having to access the platform. Of course, that means you can change the stream title as well. Here’s how to do it:
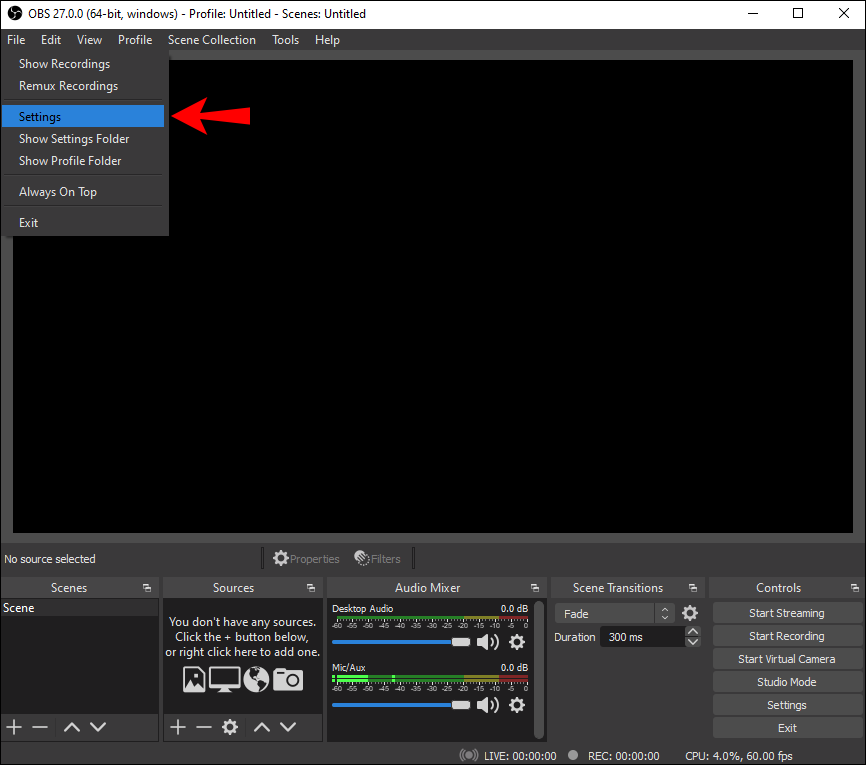
- Launch OBS Studio on your Mac or PC.
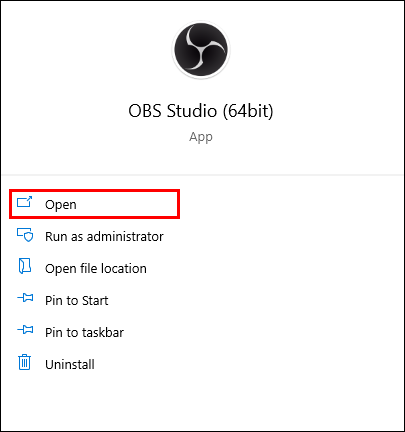
- Navigate to the menu bar at the top of the screen and click “File.”

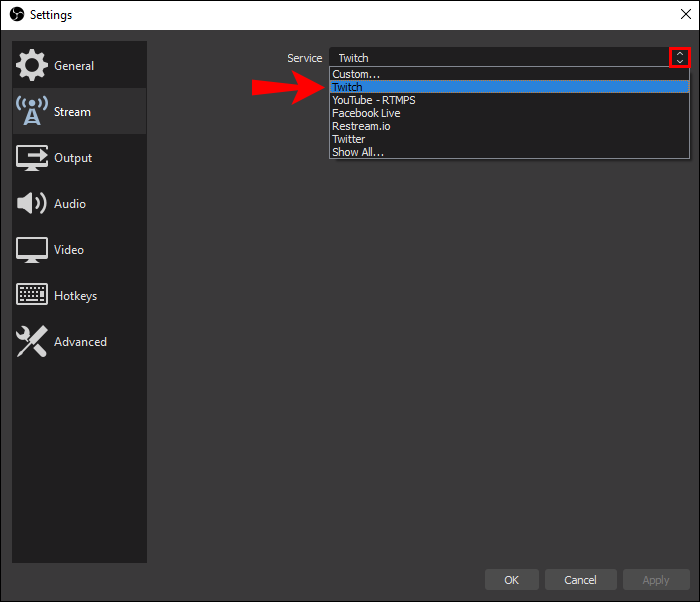
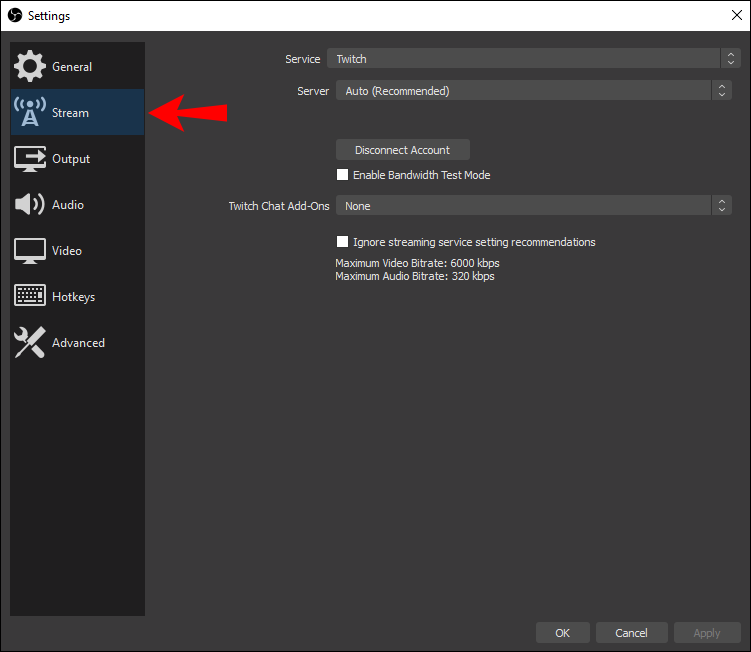
- Select “Settings” from the drop-down list. You’ll be redirected to a new window. From the panel on the left-hand side, choose “Stream.”
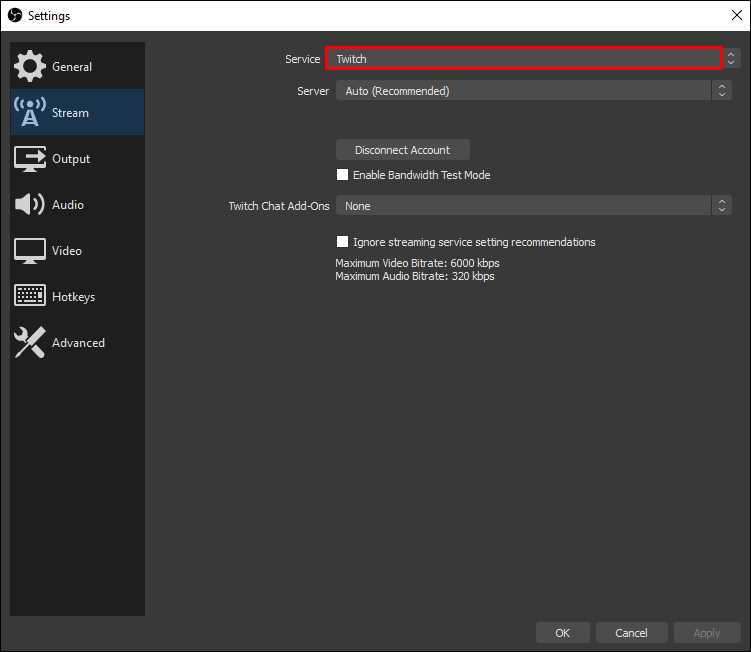
- Click on the downward arrow next to “Service” on the right-hand side. Pick Twitch from the list.
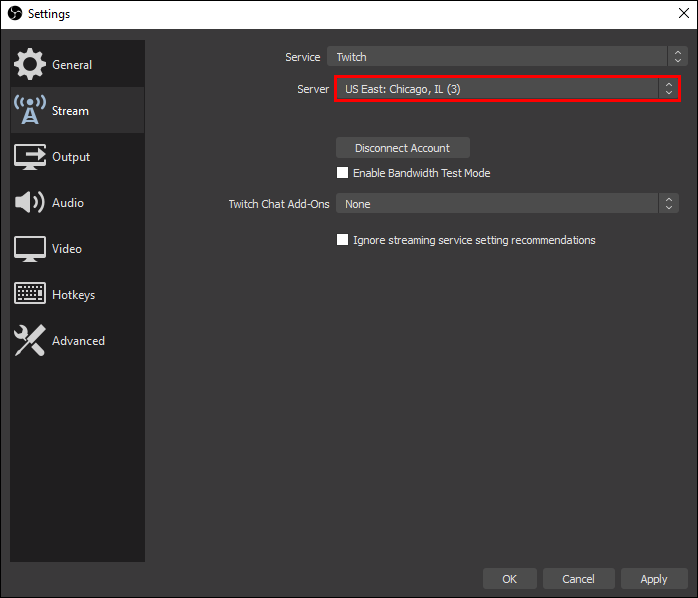
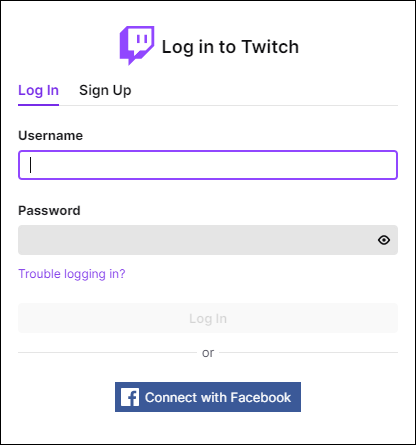
- There are two options: you can either connect your account to OBS or use a stream key. The recommended action in this instance would be to sign in to your Twitch account. Click on the “Connect Account” button under the dialog box, and enter your username and password.
- Pick a server from the drop-down list. Make sure to choose one closest to your actual location.
- Once you’re done signing in, a new window will open. Under “Stream Information,” find “Title.” Type your desired name in the appropriate box.


StreamLabs
StreamLabs is custom OBS software used for streaming on most major platforms – Twitch included. Unlike OBS Studio, it’s only available for Windows OS at the moment. However, you can download StreamLabs onto a Mac with the help of the Boot Camp utility app.
As far as performance goes, StreamLabs offers an enhanced broadcasting experience. The free program comes with many customizing options, along with a wide selection of themes that allow you to personalize the stream. Of course, you can use StreamLabs to edit the info from outside the platform. Here are the steps to change the stream title:
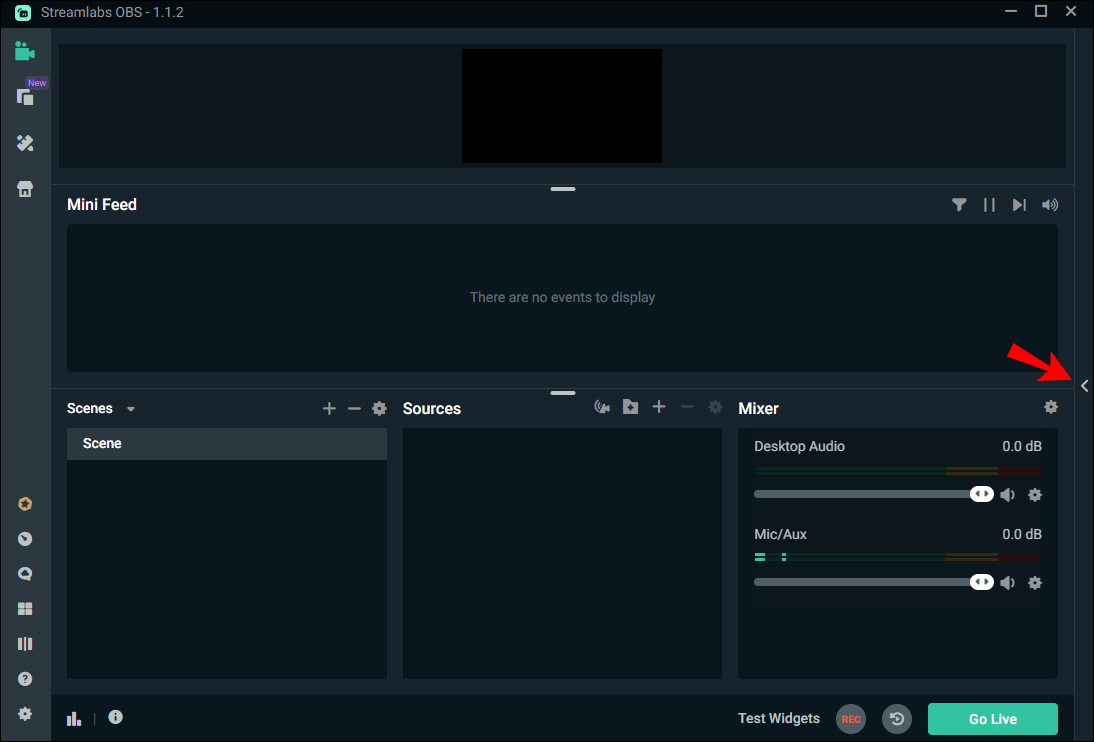
- Launch StreamLabs on your PC.
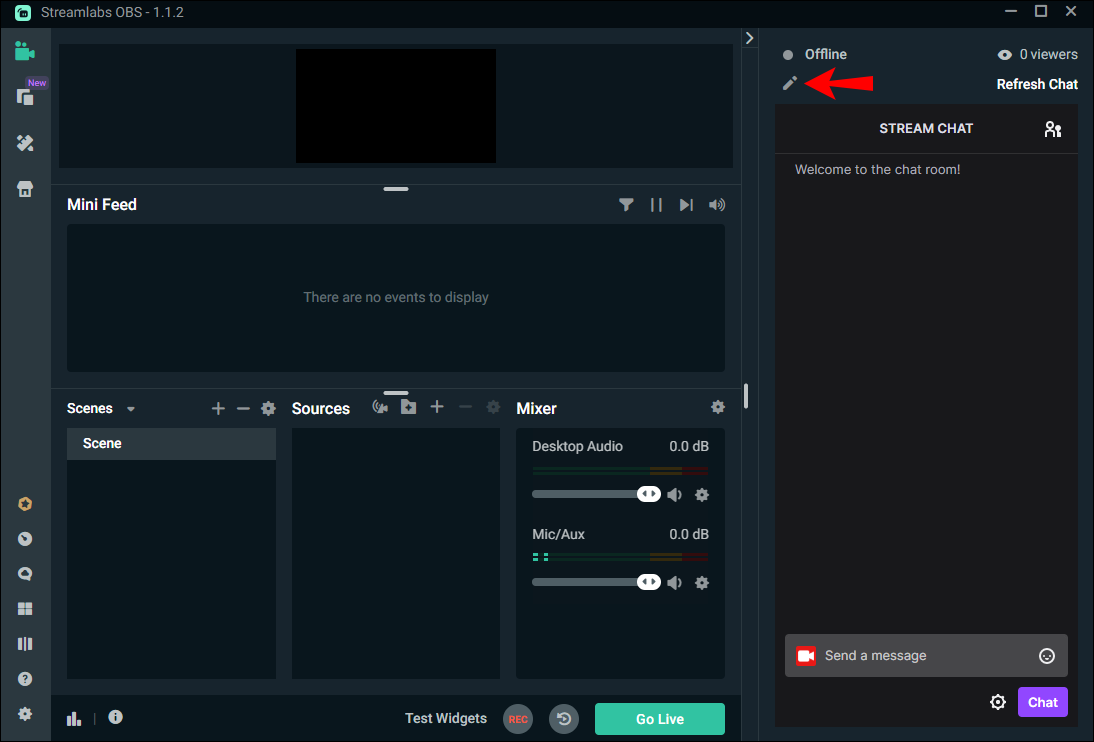
- Open your chat box by clicking on the little right-pointing arrow at the bottom of the screen.
- In the upper-left corner, click on the pencil icon above the chatbox.
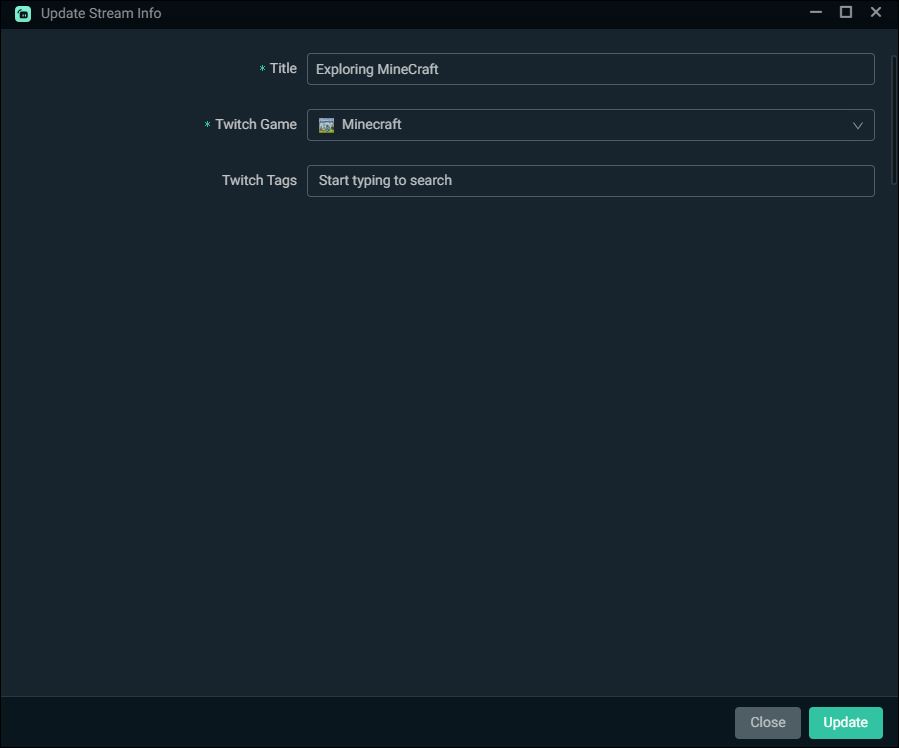
- A new window will appear containing the streaming details. Enter the new title in the dialog box next to “Title” on the right-hand side.
- Once you’re done, click on the yellow “Update” button in the bottom-right corner of the screen.


Twitch
While OBS software can come in handy, most streamers prefer to use the platform for updates. One of the reasons behind it is the incredibly user-friendly Creator Dashboard. Also, there’s a Twitch mobile app available for both Android and iOS devices, allowing you to make changes on the go. In contrast, OBS Studio is currently unavailable for smartphones, so you’re pretty much tied to your computer.
If you want to change the stream title with Twitch, follow these simple steps:
- Log in to your Twitch account or launch the desktop app.
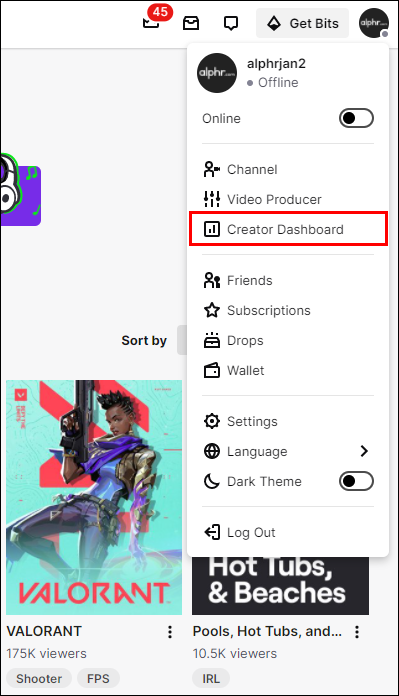
- Click on the avatar pic in the top-right corner to access the Creator Dashboard. Choose “Settings” from the drop-down list.
- Select the “Channel and Videos” tab.
- A new window will open. In the top-left corner, click on the three horizontal lines to access a drop-down menu. Select “Stream Manager” from the list of options.
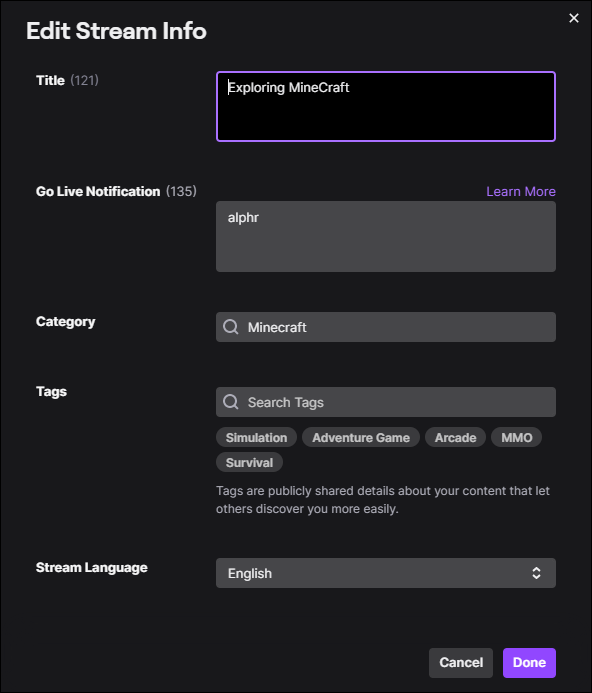
- Under “Quick Actions,” select the “Edit Stream Info” box from the panel on the right-hand side.
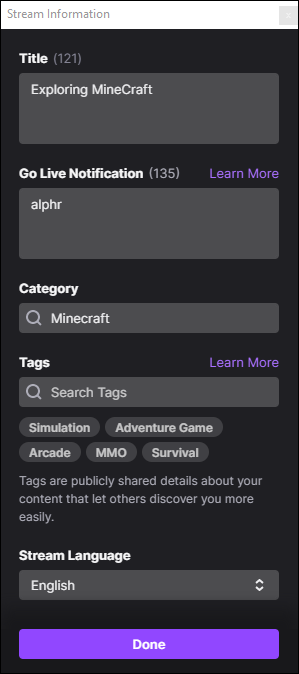
- A pop-up window will appear containing the streaming details. Clear the dialog box next to “Title” and enter a new name for your stream.
- To update the info, click on the purple “Done” button in the bottom-left corner. If the edit was successful, a green notification box would appear on the screen.


Tips for a Good Stream Title
As mentioned, stream titles are an important factor in reeling in new subs. According to statistics, there are approximately 9.36 million active streamers on Twitch. If you want to stand out as a new creator, you have to come up with a catchy title that’ll grab the viewers’ attention.
While there’s no exact formula for success, there are a few general tips for a good stream title:
- Know your audience. You need to consider who your target demographic is and what will attract them to your channel. In other words, you won’t use the same language when addressing teenagers and adults.
- Be specific. Provide a short breakdown of what you’re streaming in the description. You want to be informative but also pique interest by teasing the viewers with potential shenanigans. Of course, don’t make promises you can’t keep. It’s best to stay true to your content while presenting it in an enticing way.
- Don’t be modest. If you have a consistently high ranking, feel free to toot your own horn and include it in the title.
- Crack a smile. Humor is a great weapon for attracting a broader audience. A witty title that can crack a smile is more likely to get someone to click on your stream. Make sure it comes naturally, though. If you’re not too confident about your comedy chops, there’s no need to force it.
- Keep it current. There’s nothing worse than outdated references and old news.
- Show emotion. Eye-catching titles often include over-the-top phrases like “The Last of Us crushed my soul and destroyed my life” or “my friend hates me after making them play the new Silent Hill demo.” While it may appear melodramatic, it’s attention-grabbing and, let’s face it, more fun.
- Use symbols and special characters. Adding numbers and Twitch emotes to your title can make it pop and rank higher in search results.
- Avoid inappropriate and offensive language. It goes without saying you can’t include words and phrases that clash with the platform’s Terms and Conditions. That includes swearing and anything that can be construed as a slur.
- Shout out. If you’re doing a collab with another streamer, make sure to include it in the title. That way, you’ll attract their audience to your channel and possibly gain new subs.
- Remember to include tags. Twitch has hundreds of tags you can choose from to help you streamline your content to your target audience.
- Sub count goals are TMI. Some viewers can be put off with titles that include stuff like “Only 5k subs away from meeting my goal.” It’s generally considered spam, so try to avoid including channel benchmarks in your titles.
Additional FAQs
How Do I Change My Stream Details on OBS?
Apart from changing the title, you can pretty much update all stream info with OBS Studio. The software lets you switch to a different category, add tags, and even adjust the language settings without having to open Twitch. You can follow the same steps from the previous paragraphs, with a few distinctions, depending on what you want to change:
1. Open the OBS software and go to “Settings.”
2. Click on “Stream” in the left-hand sidebar.
3. Select “Twitch” as your preferred service.
4. Click on the “Connect Account” button and sign in to your Twitch account. You can also paste a stream key from the Twitch dashboard if you don’t want to link your account directly.

5. A new window will appear. Find the box titled “Stream Information.” Scroll and click on the sections you want to update. You can change the category to a new game, remove or add tags, set live notifications, and switch to a different language setting.
6. To save the changes, click on the purple “Update” button at the bottom of the window.
Call It Like It Is
With OBS software such as OBS Studio and StreamLabs, you can change your stream title without accessing the platform, which is super convenient. Both programs come with a user-friendly interface that allows for streamlined navigation. You can also update tags, switch categories, and change the language settings. On the other hand, if you want to tweak the details while away from the computer, it’s more convenient to use Twitch Mobile.
Seeing as nothing is set in stone, take your time to come up with a catchy title. While it’s not a guarantee for success, it can sometimes lead to a bigger following. Follow the general guidelines, and don’t hesitate to look to other creators for inspiration.
Do you use OBS software to change the stream title, or do you prefer the Creator Dashboard? What’s your experience with these types of programs? Feel free to share links to your Twitch streams in the comments below.
Disclaimer: Some pages on this site may include an affiliate link. This does not effect our editorial in any way.