Device Links
If you regularly organize meetings, you understand the importance of getting responses to your invitations. Guessing who will be attending a meeting is a huge problem that can cause a train wreck to an otherwise well-organized event for numerous reasons. Also, you need assurance that the people you invite to speak at a meeting will indeed show up.
Fortunately, you don’t have to risk embarrassment or losing money due to a meeting disaster. Microsoft Office is the leader in digital calendar apps. One of the best functions is tracking calendared events that you create in the app. Once you send out the invitations, you can just wait for responses to your digital RSVP.
Do you need help with checking who accepted your meeting request on Microsoft Outlook? This article lists instructions for Outlook meeting organizers to see which attendees respond to the invitation. The steps are compiled in a step-by-step fashion to streamline the process.
How to Check Who Accepted Meeting Outlook on a Windows PC
Once you’ve created a meeting, you become the meeting organizer. As the organizer, you have access to more details about the meeting than attendees, and you can view the status of the attendees as often as you like. You can also see their email addresses in addition to responses for additional correspondence if needed.
Use the tracking list in Microsoft Outlook to see responses to meetings with these steps:
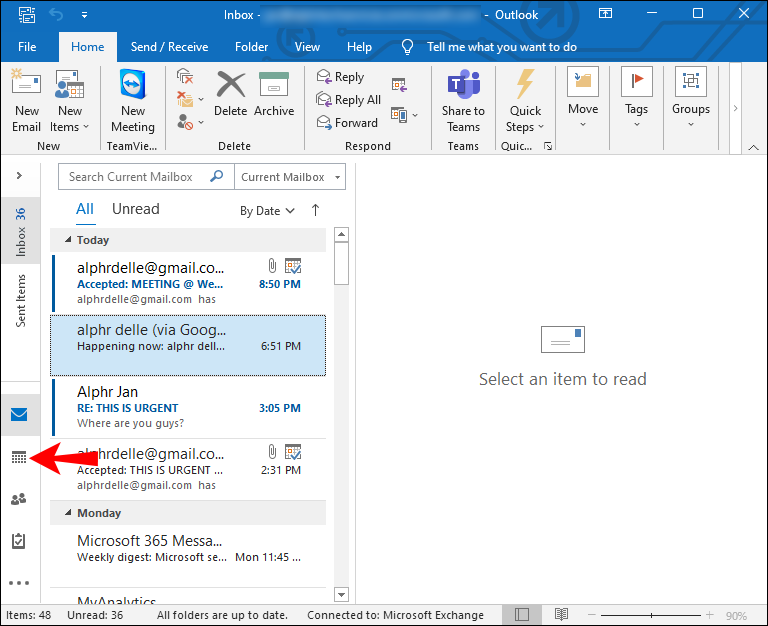
- Click the “Calendar” button in Outlook.
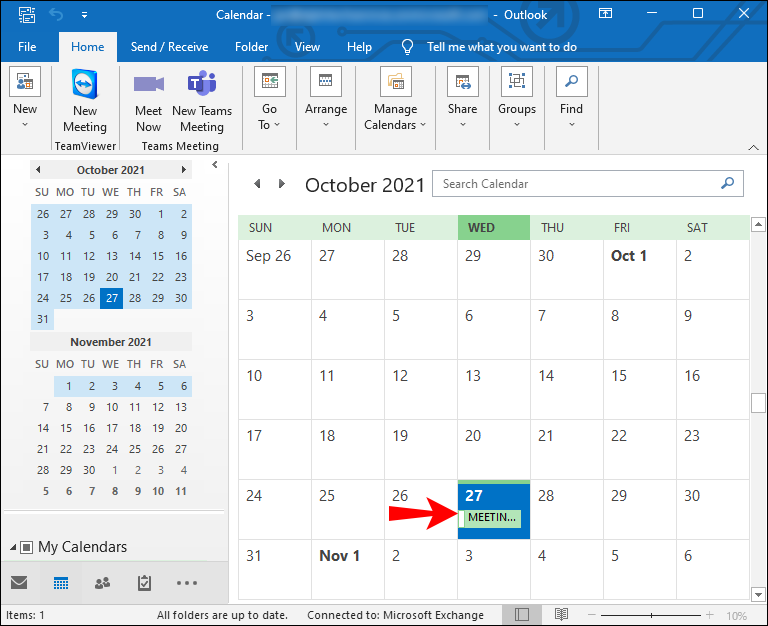
- Double-click the meeting you want to check on the attendee status.

- Click the “View Tracking Status” option.
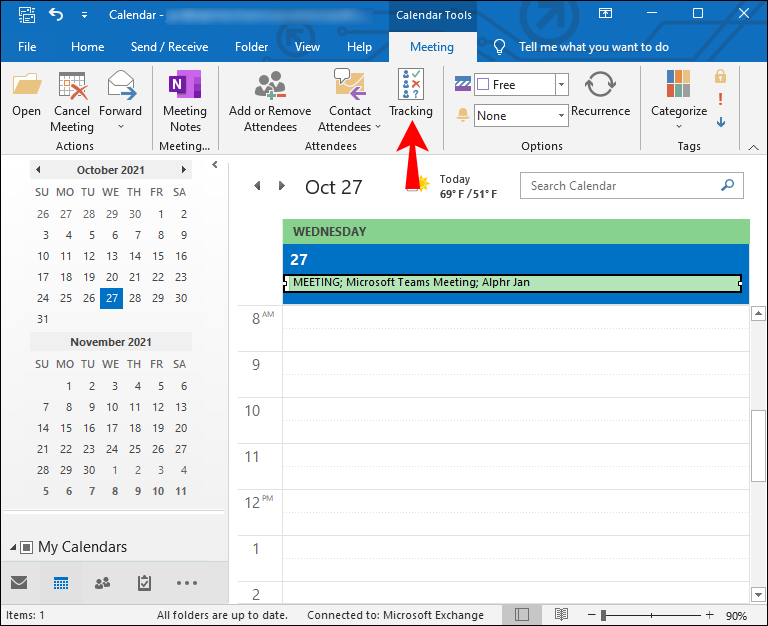
The last step will open a meeting attendance list. In the Response column, you will see whether the people you invited accepted, declined, or did not respond to the invitation. Remember that an attendee is not required to send you any response. However, if they don’t, you can’t track their attendance through the app.
If you want to contact invitees who didn’t respond one way or the other, you can reach out via email.
Only the meeting organizer can view the tracking menu. If you generated the meeting using Microsoft 365, all attendees using the same app could also view responses to the invitation.
How to Check Who Accepted Meeting Outlook on a Mac
When you schedule a meeting using Microsoft Outlook on Mac, the attendee can accept immediately. They may also edit their response and request another time to meet with you. If so, you have the same options to respond to their proposal.
Invitees can also accept tentatively, decline, or choose not to respond. You can view attendee replies to your invitation by following the steps below.
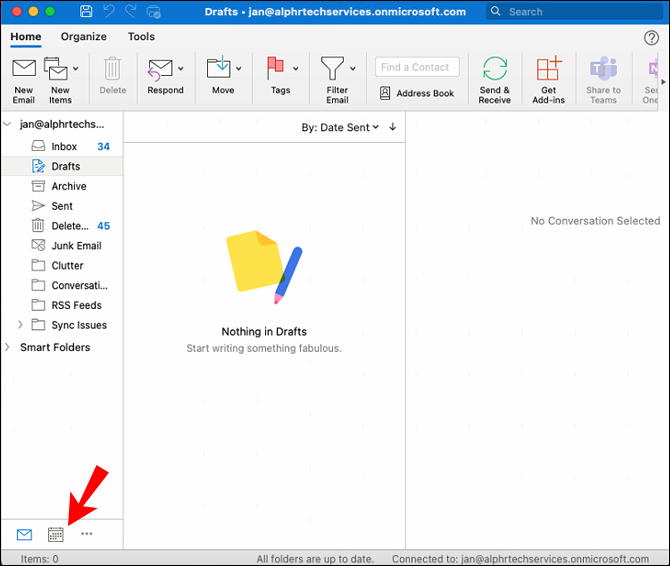
- Open Outlook
- Go to the Calendar.
- Find the meeting to view responses.
- Tap the “Scheduling” button in the ribbon.

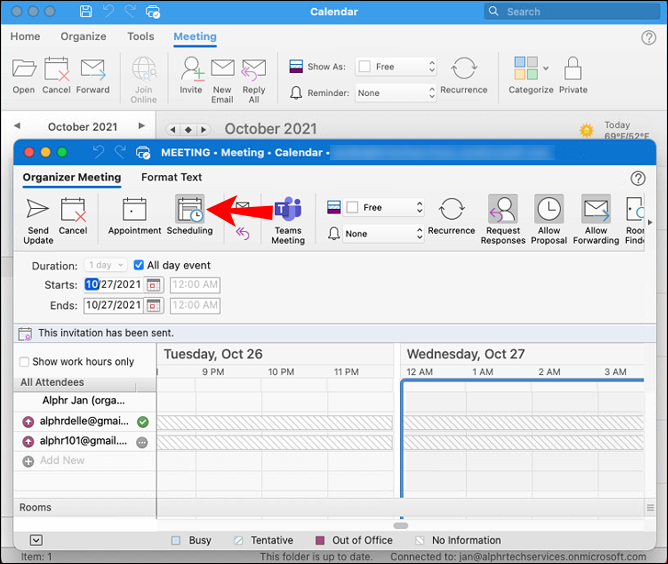
Next, you will see a reply next to each attendee, notably those who may have used the “Respond Now” option and accepted right away. Invitees may also choose to decline or postpone their response.
There is no option for you to view the date or time responses are sent to you by the attendee. If you need a timestamp for responses, you can save the email notifications received to have a record of when responses were received.
You will see the responses to your invitation listed as a table. This may pose a problem since you cannot sort and filter the list. Here is a method that allows you to sort your responses:
- Choose the “Copy Status to Clipboard” option. The entire list will be on your computer.
- Open the Excel app on your device or download and install it if needed.
- Paste the list into Excel and sort and filter to your liking.

The maximum number of recipients you can track on the Mac Outlook app is 500 per email. However, a distribution list counts as only one recipient. Also, you must have an updated version of Outlook to track attendee responses for large meetings.
How to Check Who Accepted Meeting Outlook on an iPhone
Monitoring who is attending your meeting is more convenient using Outlook on an iPhone. You have the freedom to go anywhere and still check who will be present as you finalize plans. To enjoy this benefit, you must download the Microsoft Outlook app to begin.
Instructions to download the Microsoft Outlook app are as follows (if you don’t have it already):
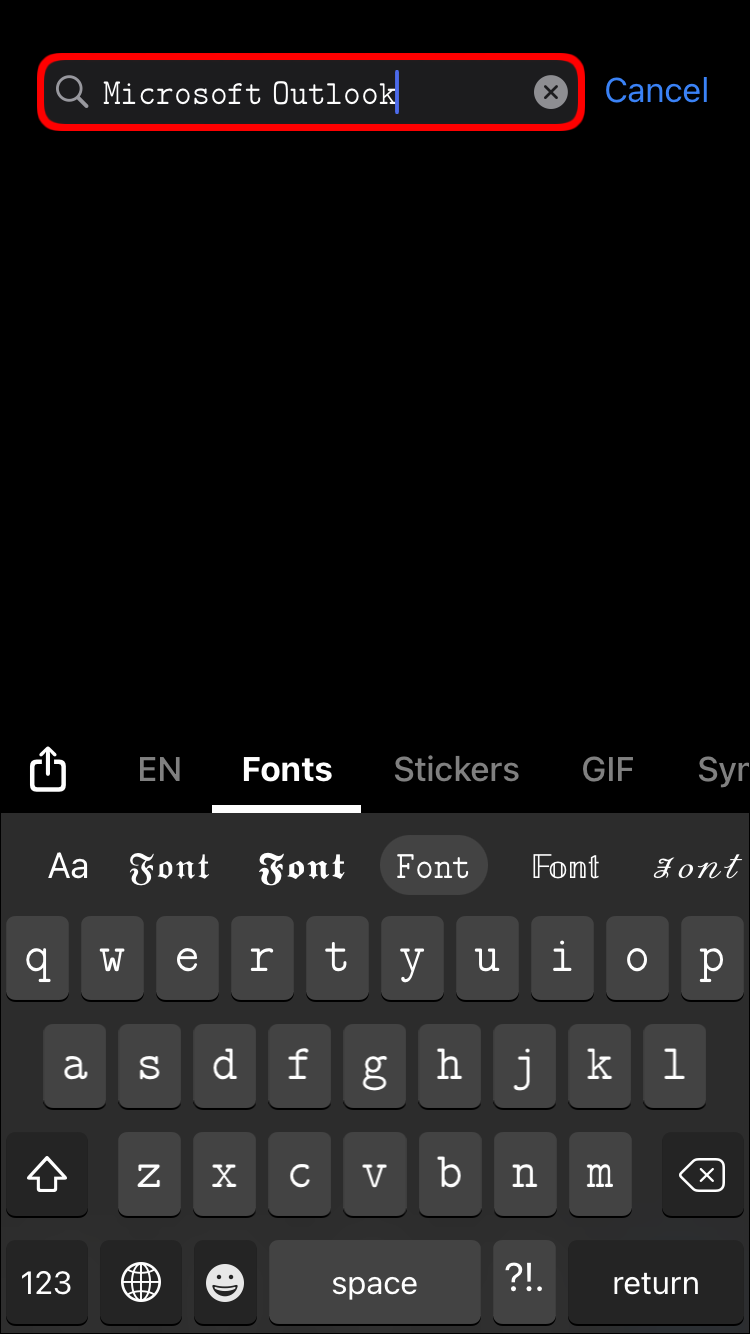
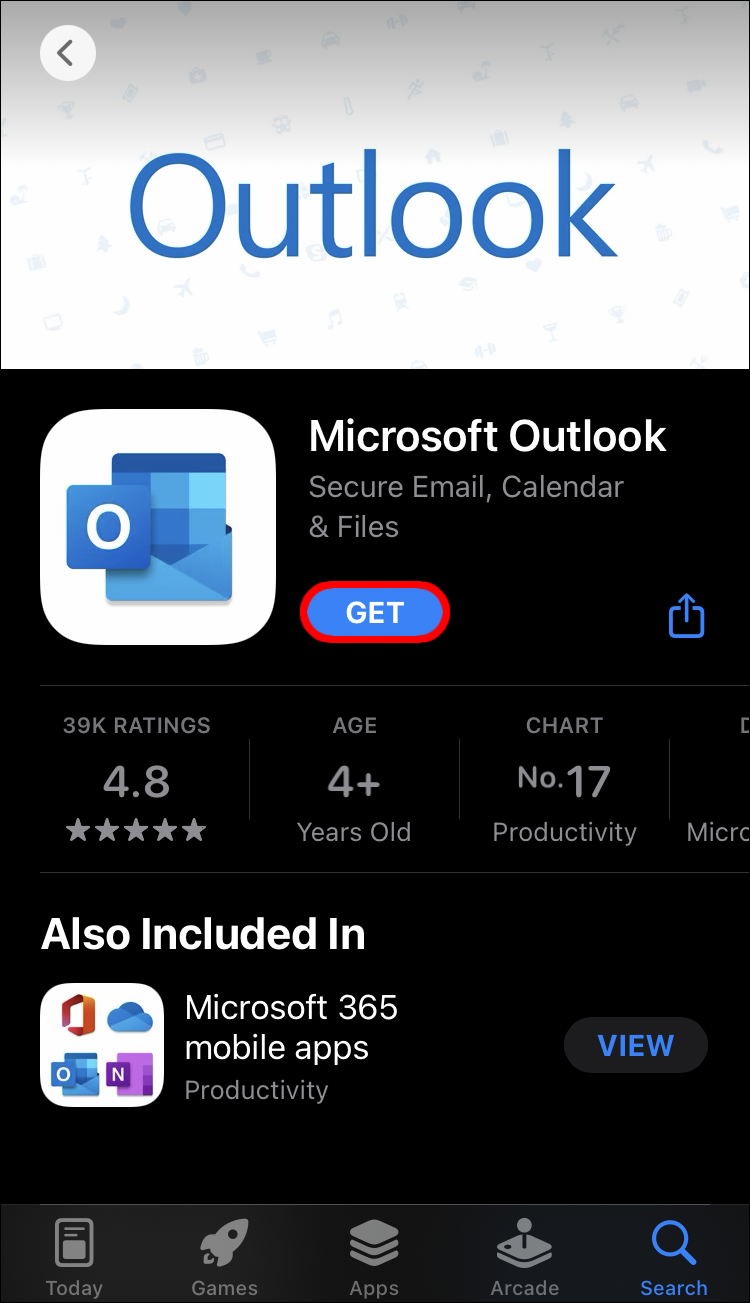
- Go to the App Store on your device.
- Search for “Microsoft Outlook.”
- Tap “Install,” then enter your Apple ID.

You are now ready to use Outlook to check attendee responses to your invitation. Start by doing the following:
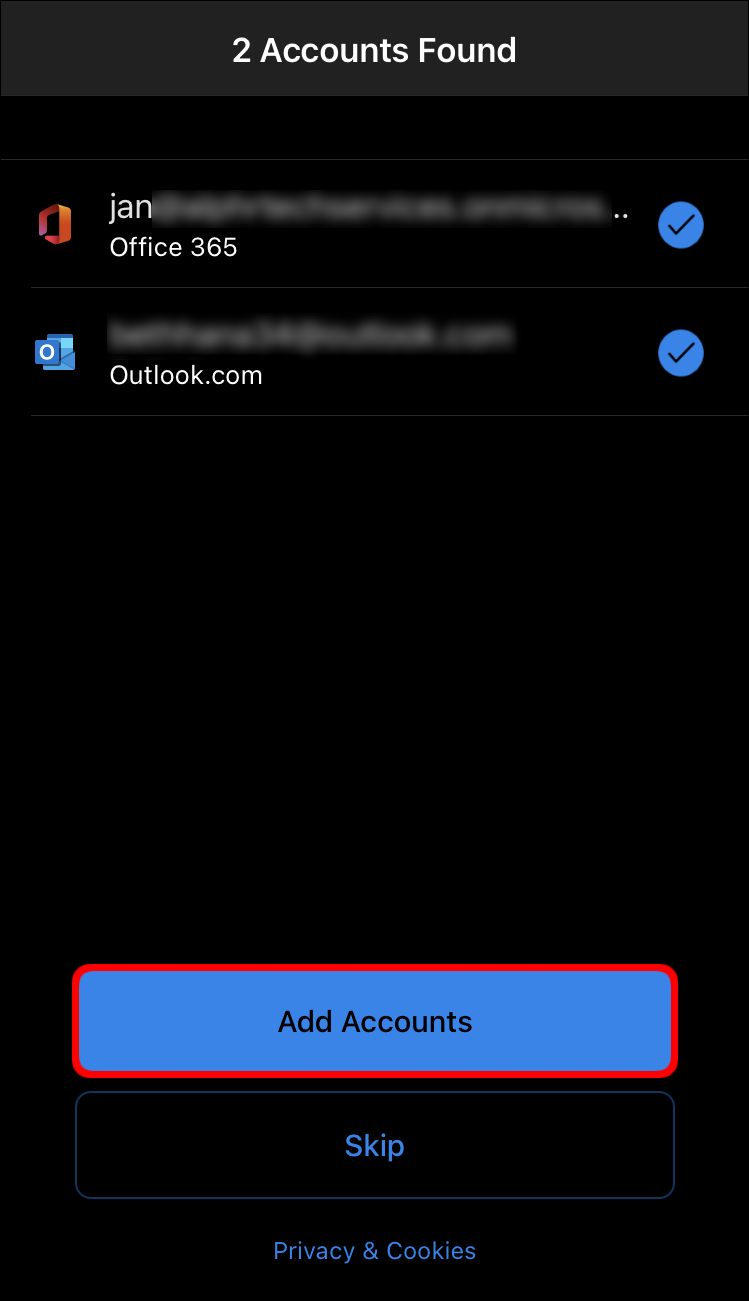
- Sync the Microsoft Outlook account to your iPhone.
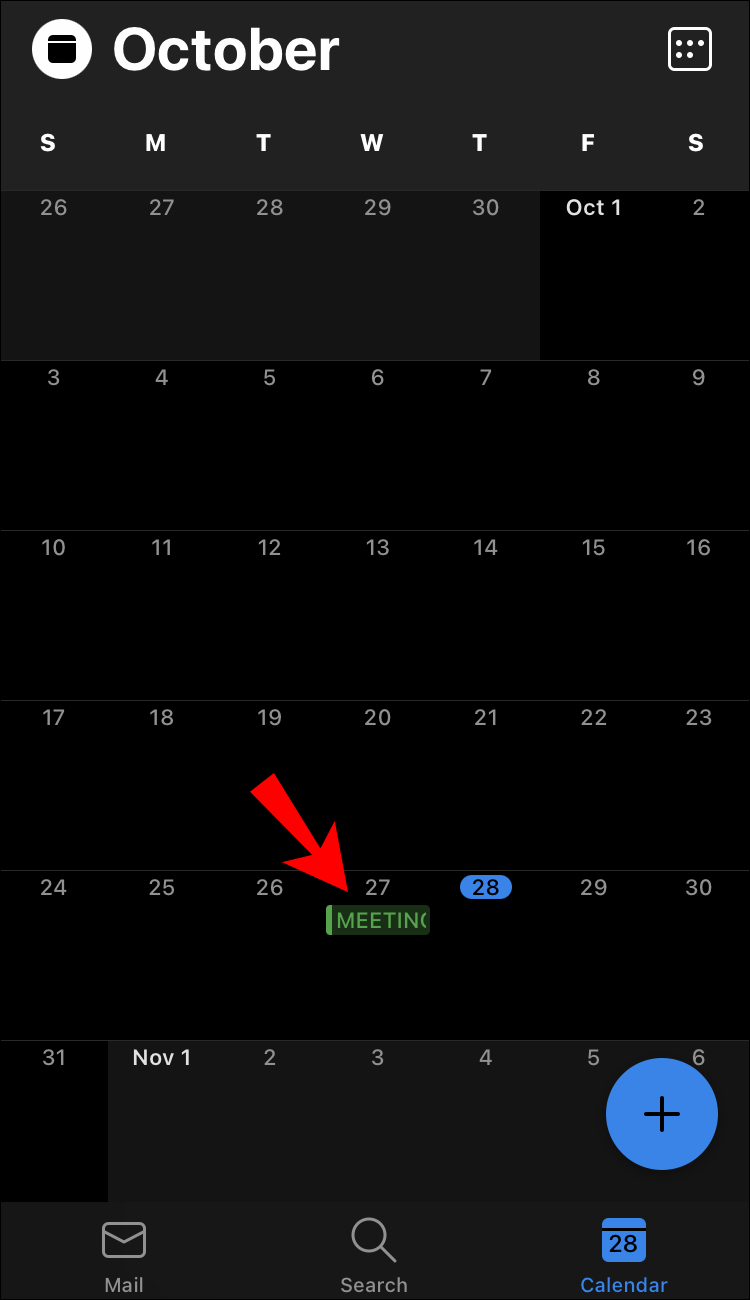
- Select “Calendar” in the navigation pane.
- Double-click on the meeting you want to check.
- Click the “Meeting Occurrence” tab.
- Select the “Tracking” option.
- Choose “View Tracking Status” to see the invitees’ responses.

Events added on your computer populate your device as soon as the Outlook calendar syncs to your iPhone. Remember that the meeting must be created in your primary calendar for you to view attendee information. You cannot track responses from the people you invite from a secondary calendar.
How to Check Who Accepted Meeting Outlook on an Android Phone?
If you use an Android device, you can have more mobility as you organize your meeting. Find out who accepted your meeting invitation on your Android phone on the go. Before you can check, though, you first need to download the Microsoft Outlook for Android app to your device.
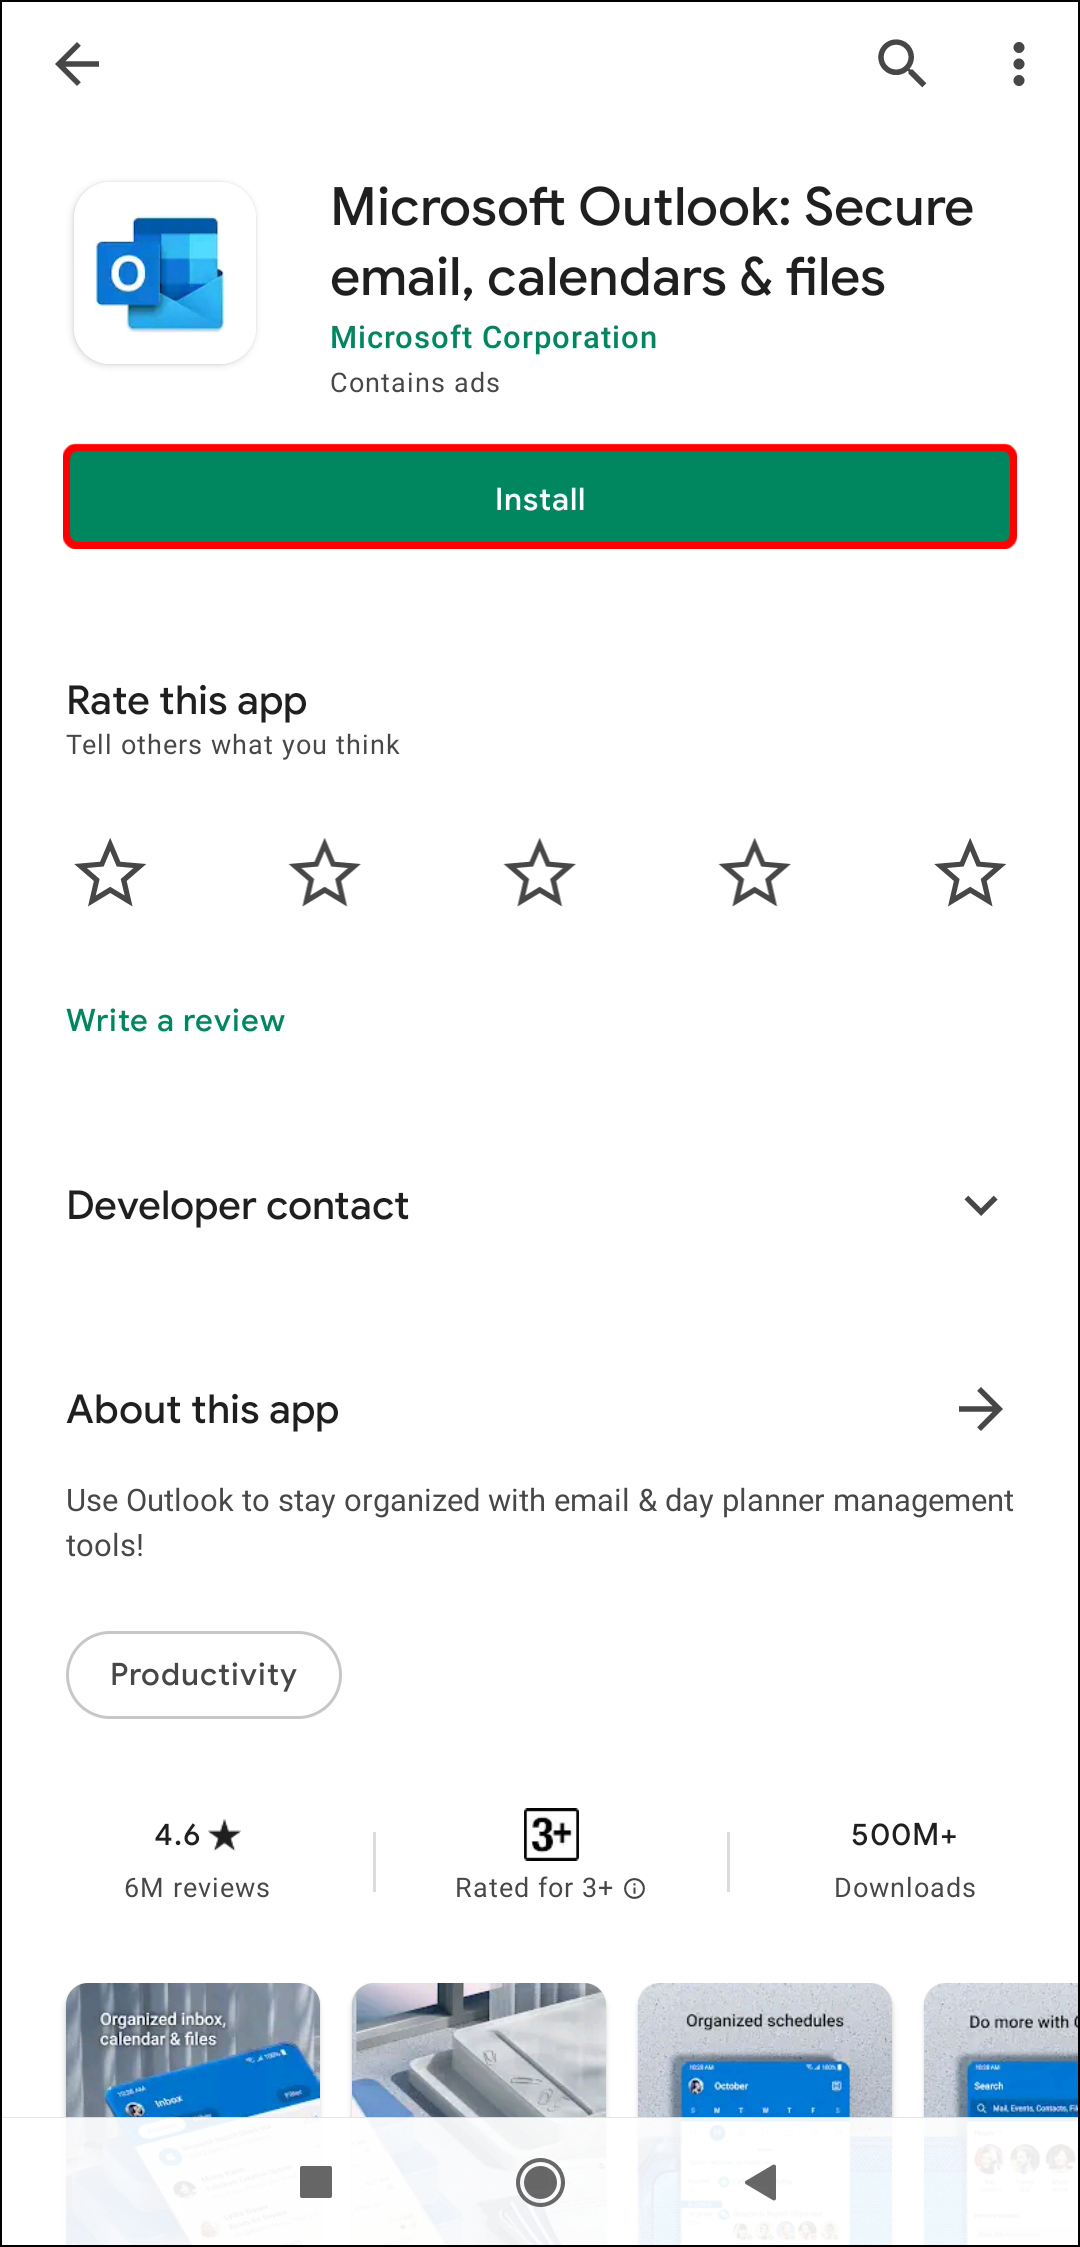
Instructions to download the Microsoft Outlook for Android app (if you haven’t already):
- Find the Play Store app on your phone.
- Search for and then select the Outlook app.
- Tap the “Install” button.
- Open the app and get started.


Once you have the app, it’s time to sync the app to your phone. The meeting information will automatically populate the app on your phone if it was set up on your computer or tablet. When it is finished syncing, you can view the responses to your meeting invitation using your Android device. Follow these steps to get started:
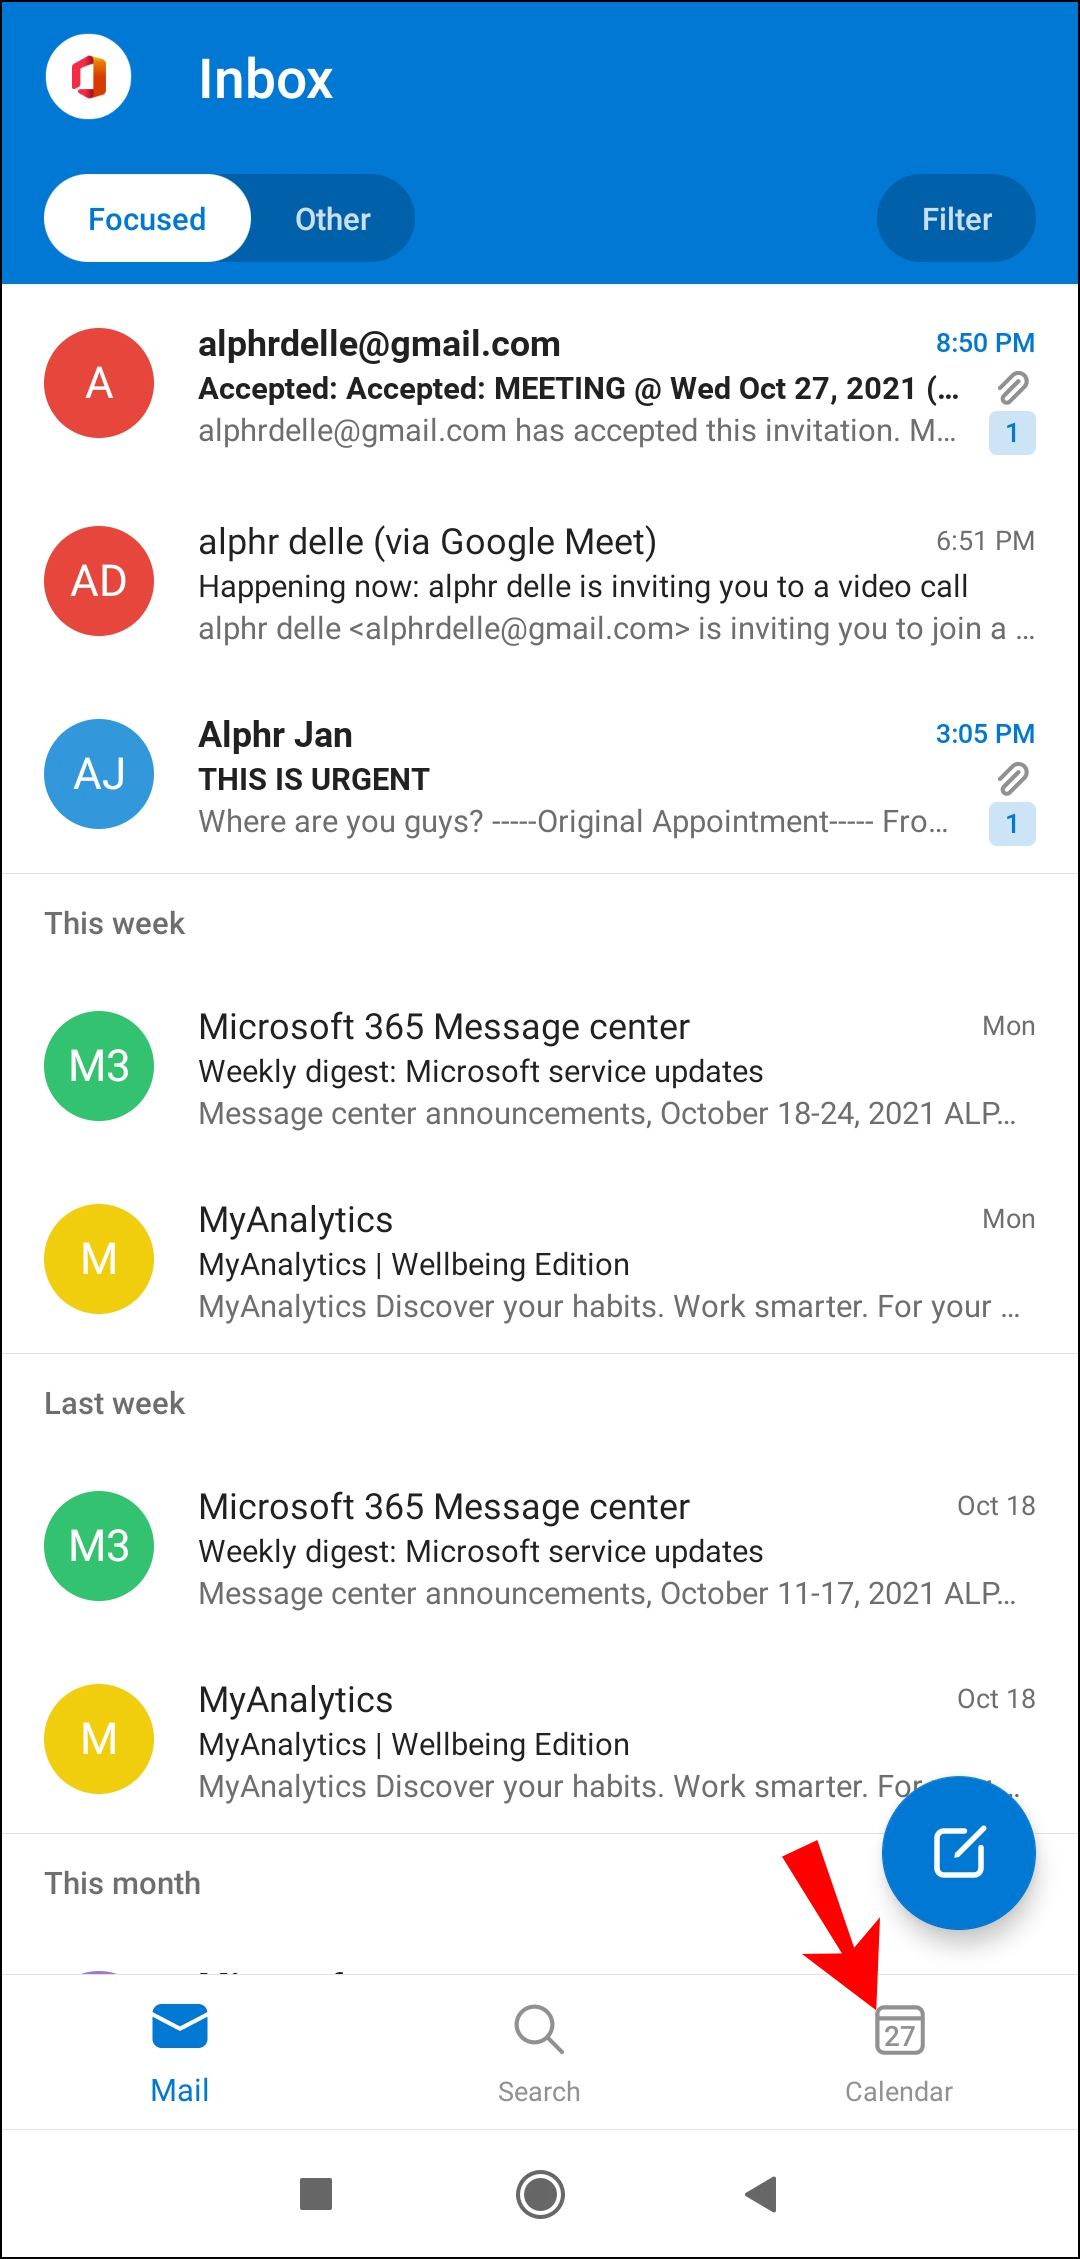
- Select “Calendar” in the Outlook app.
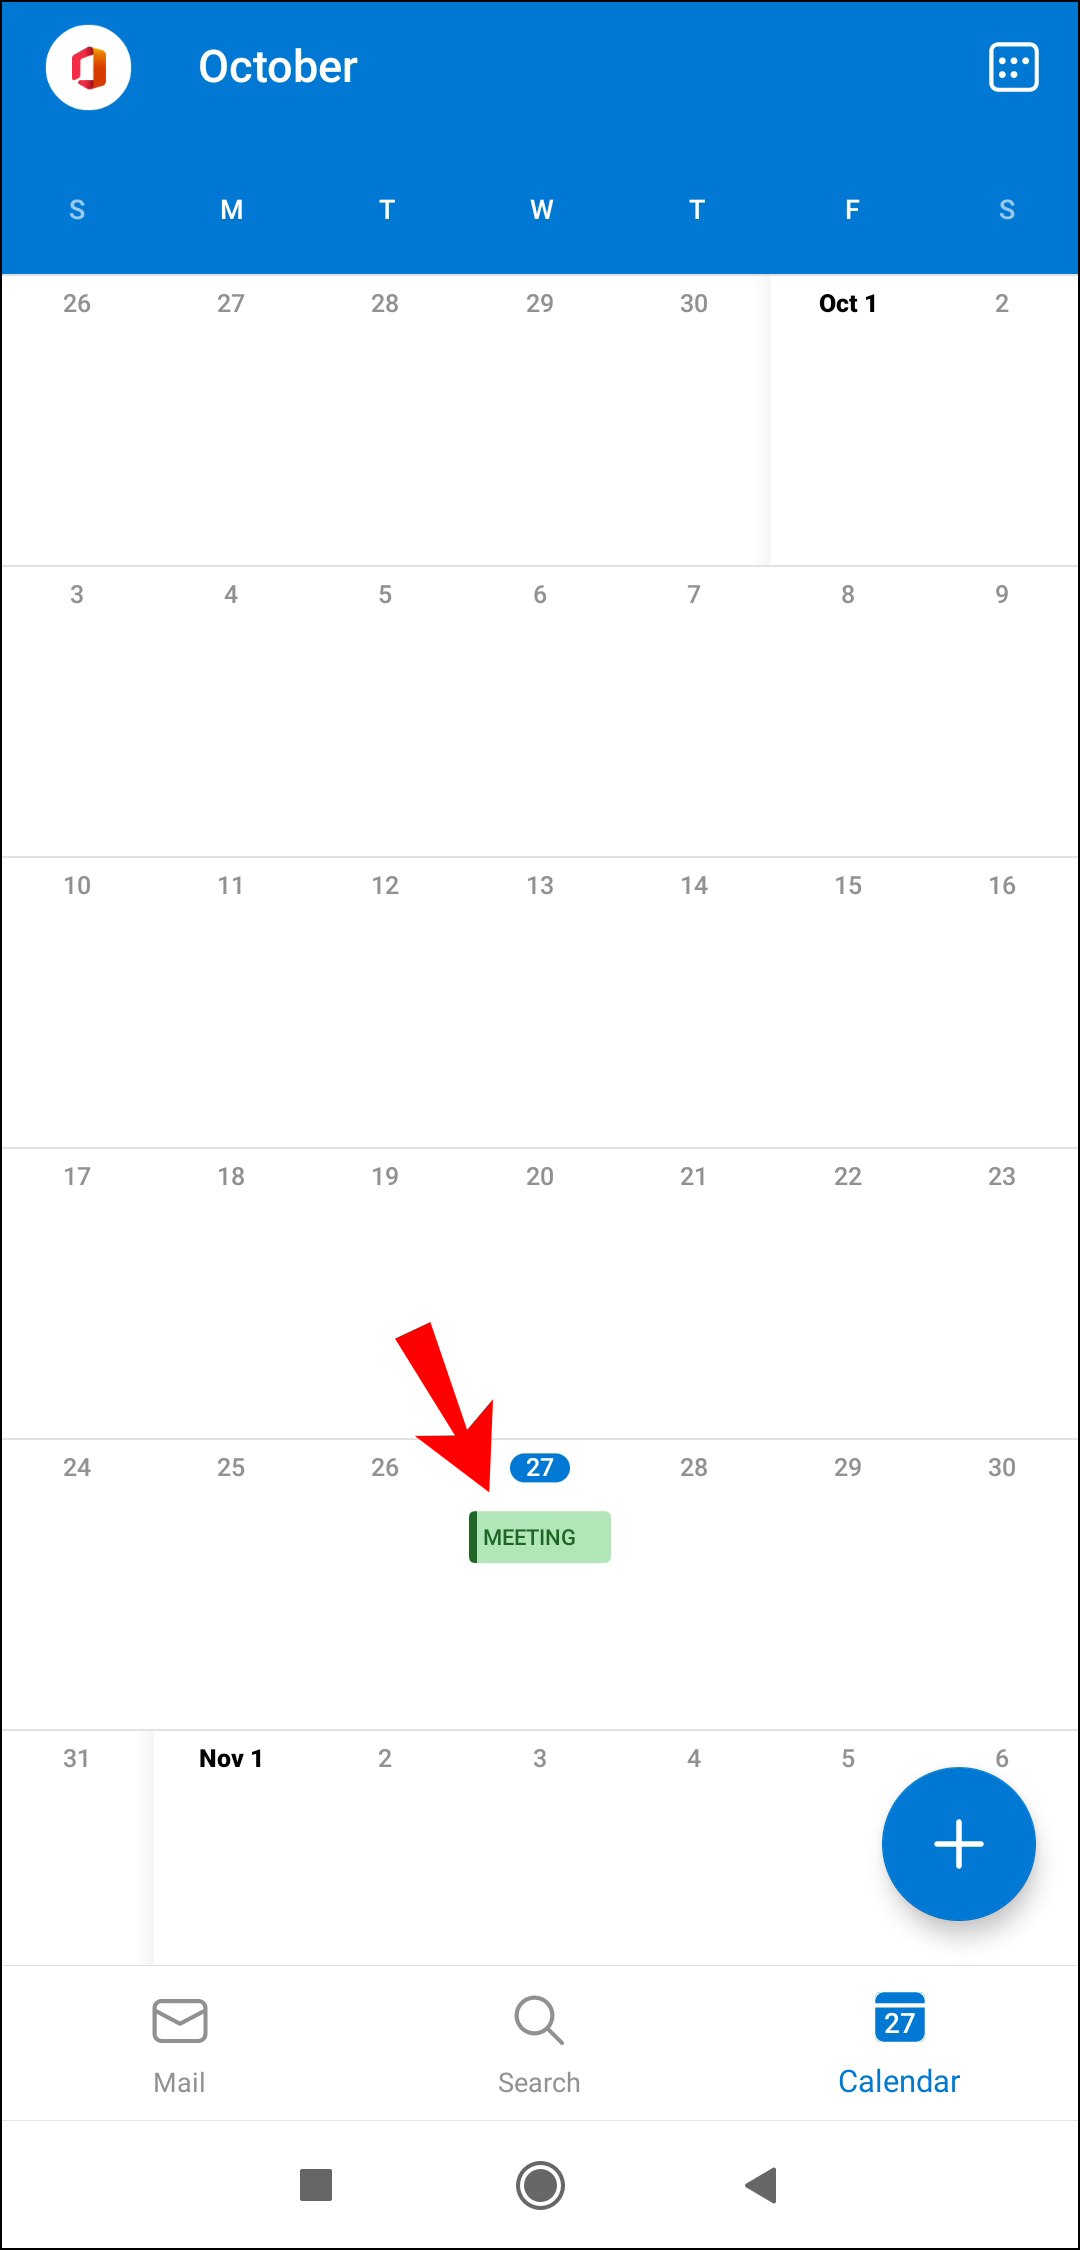
- Open the meeting for which you wish to check who is attending.
- Tap the “View Tracking Status” option.
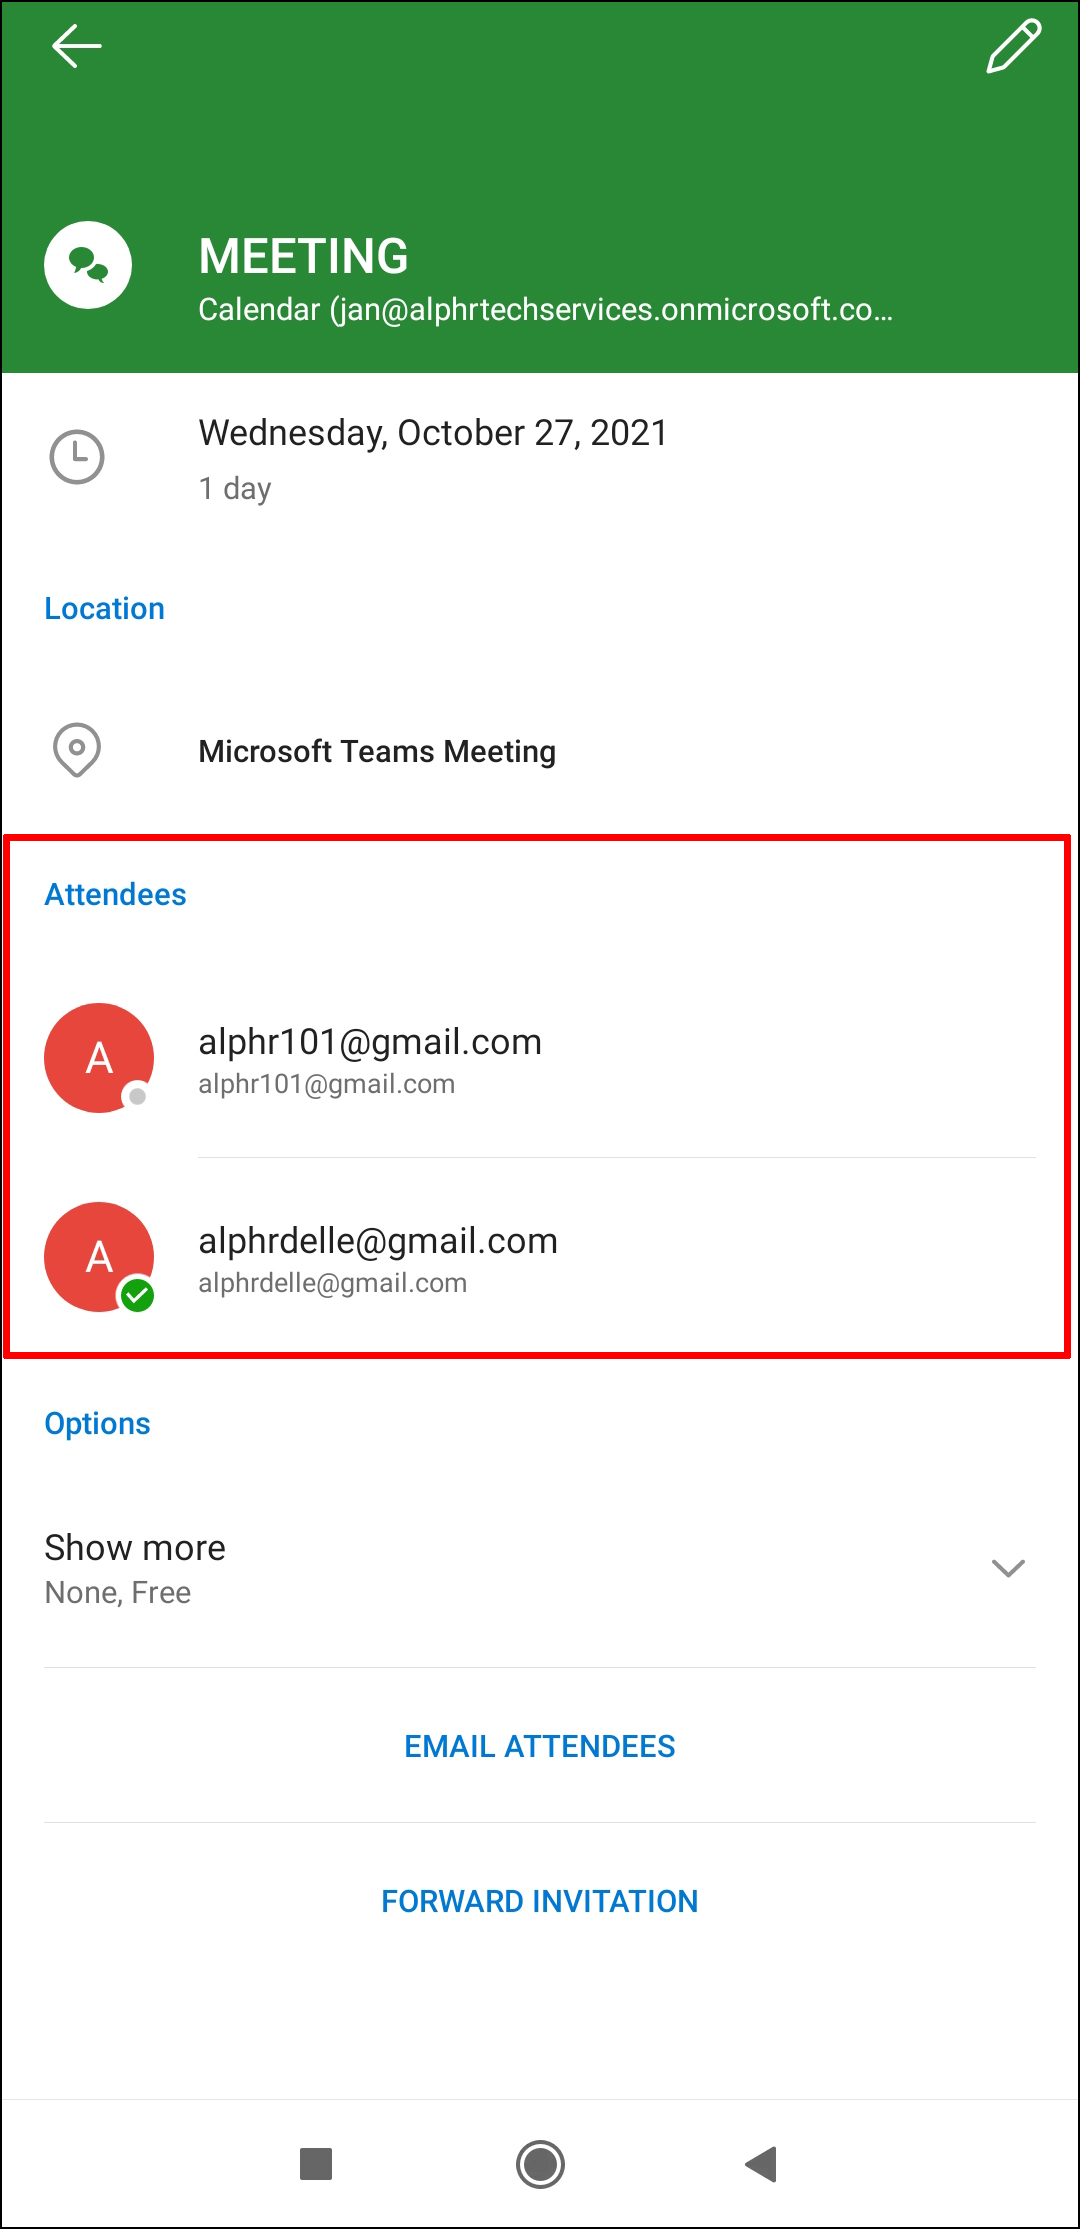
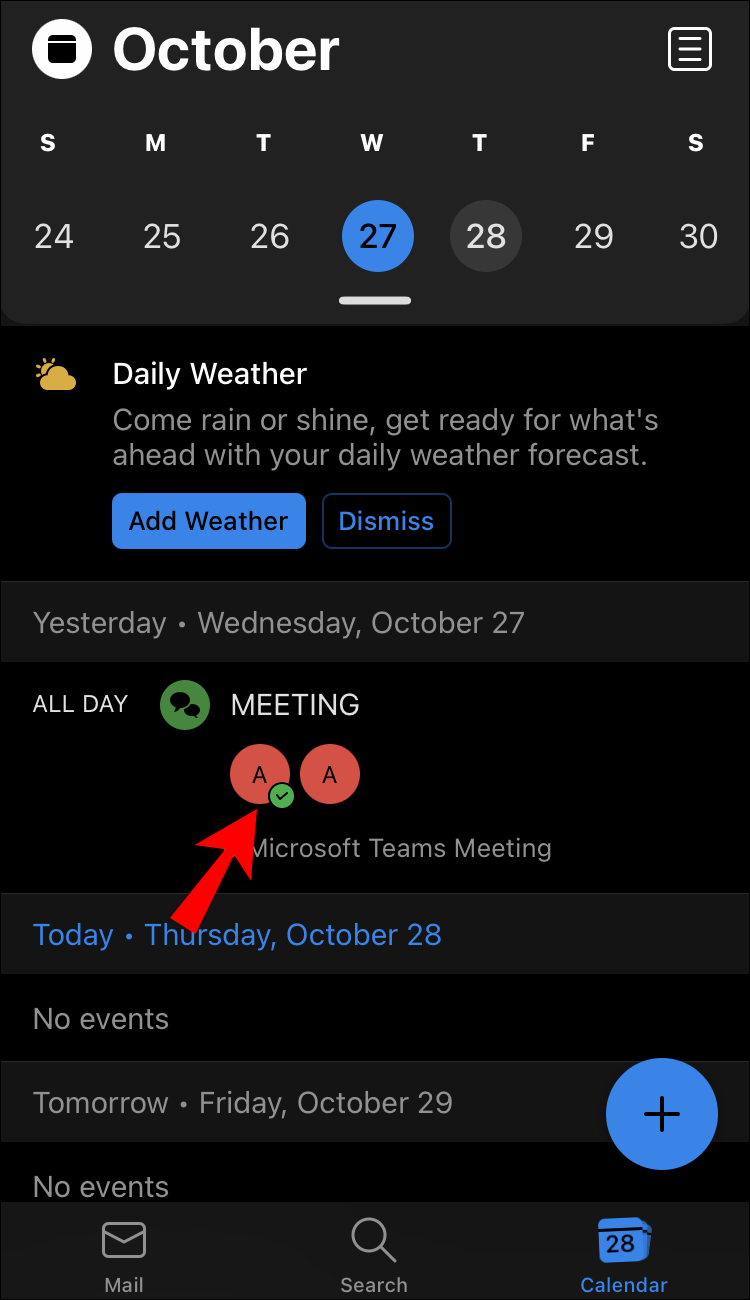
You will see attendee responses at the top left of the meeting window. From here, you can view the names of invitees who accepted and declined. Attendees who did not respond to that point will have “none” next to their names as a status. You can choose to follow up with them by email or check back later to see if they respond.
You Are Cordially Invited
Outlook is a helpful tool to plan a meeting of any size. You can coordinate a meeting from five to five hundred invitees and still keep up with how many will attend. The instructions to download and use the Outlook app are pretty simple. But the rewards for using Outlook to keep efficient track of a meeting invitation are priceless.
Do you use Outlook for meetings other than those related to business? Tell us what other events you have used the app for in the comments section below.
Disclaimer: Some pages on this site may include an affiliate link. This does not effect our editorial in any way.