Device Links
If you are a writer or a programmer, you likely have more than one working version of your documents. Comparing these files allows you to track changes and merge differences between the two versions of the same file.
Also, sometimes copying files can lead to data loss, which forces you to make comparisons and ensure nothing has been corrupted.
Comparing files is possible in edit source code editors, Microsoft Office tools, and even between two file directories. You can typically compare files in Windows, Mac, and Linux operating systems in more than one way. We’ll guide you through the most efficient and practical solutions.
How to Compare Files in Notepad++
If you write code every day, you’ve probably have had the chance to use Notepad++. It’s a text and source code editor compatible with Windows operating system.
It’s entirely free software that doesn’t even require much storage. Many programmers use Notepad++ to compare two files, but this feature isn’t built-in by default in the editor.
Fortunately, all you need to do is install the “Compare” plugin. Here’s every step you need to take to compare two files in Notepad++.
- Download and install Notepad++ on your Windows computer.
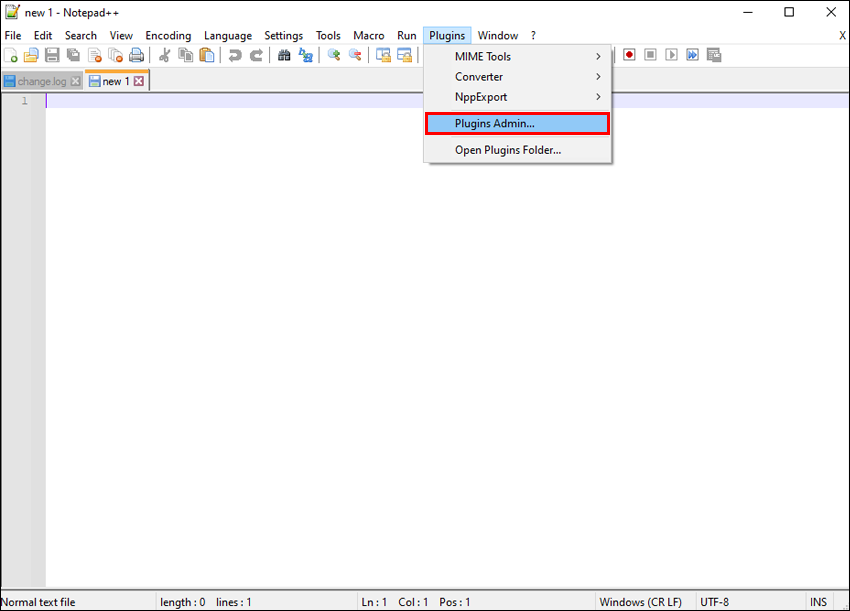
- Launch Notepad++ and click on the “Plugins” option on the main toolbar at the top.

- From the drop-down menu, choose “Plugins Admin.”

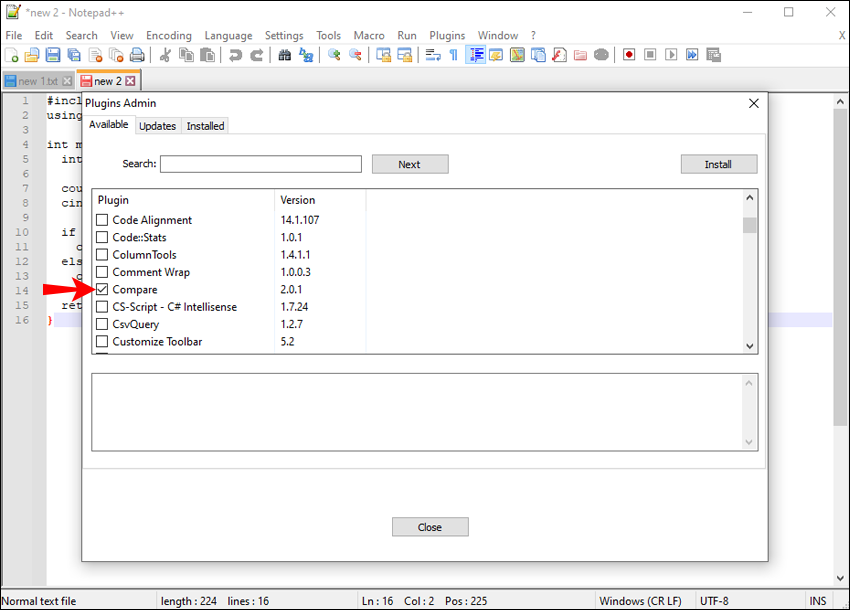
- From the list of the plugins, check the “Compare” option and then click the “Install” button.
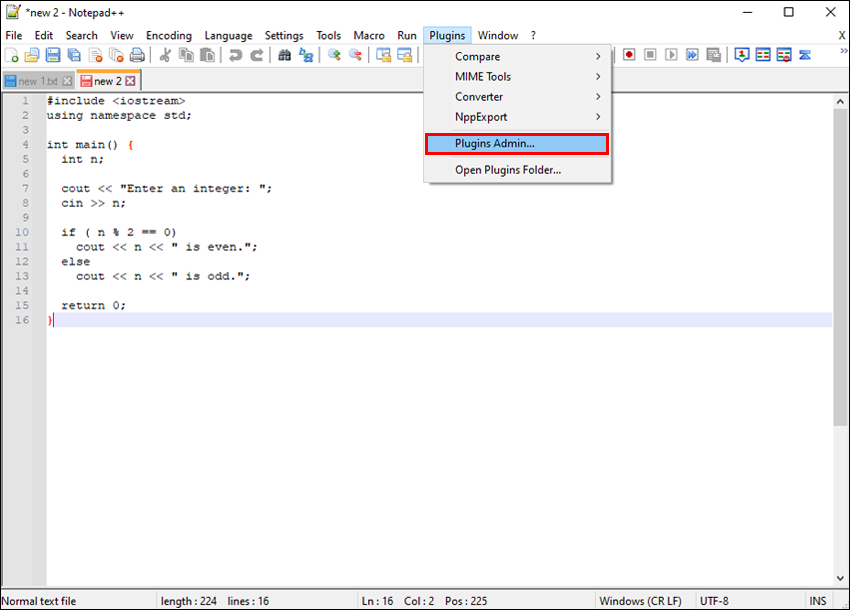
- Open two files at the same time and then go to the “Plugins Admin” option again.
- From the drop-down menu, select “Compare.”

Notepad++ will immediately show any difference between the two files.
Any line of code that is added or removed or changed in any way will be highlighted in Notepad++. These differences will be color coordinated so users can track them more efficiently.
How to Compare Files in Visual Studio Code
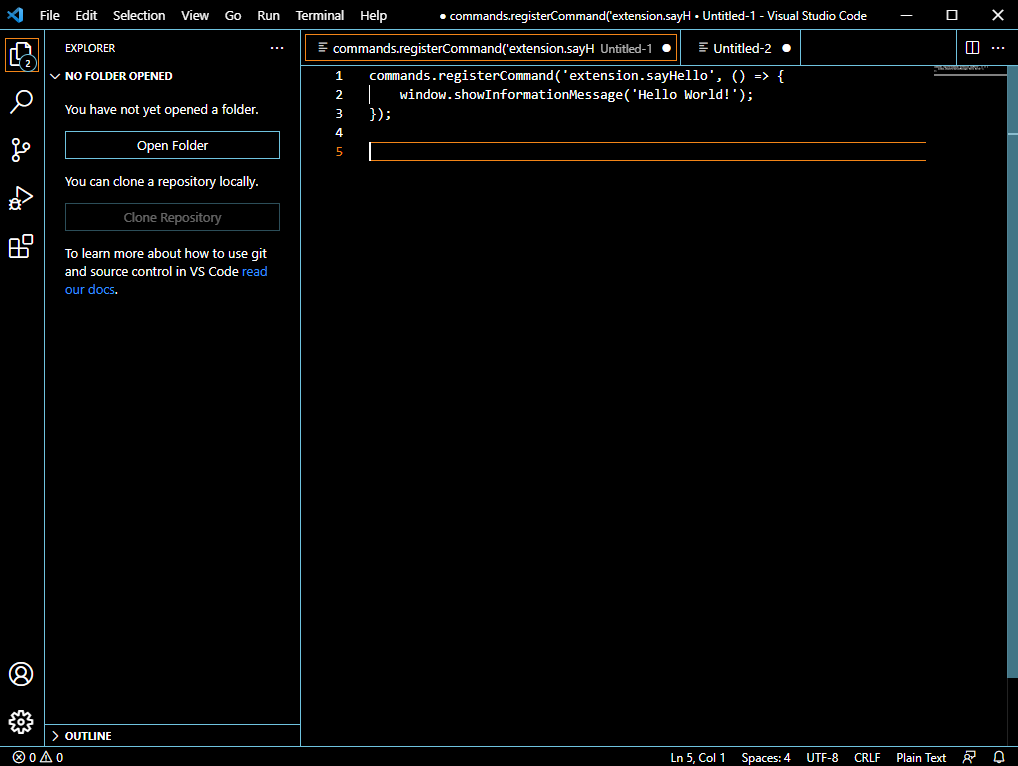
Another popular source code editor many developers use is the Visual Studio Code. It’s available in Windows, macOS, and Linux.
It supports countless programming languages and allows you to edit, build, and debug code. But you can also use it to compare two files and look for differences. Here’s how it works:
- If you haven’t already done so, download and install Visual Studio Code to your computer.
- Launch the editor and open the files you need to compare.
- Select them both and using the Shift key on your keyboard.
- Right-click on the files and select “Compare Selected” from the menu.

That is one way to compare files in Visual Studio Code. But here’s another way you can go about it:
- Right-click on the first file.
- Click on “Select for Compare” from the menu.
- Proceed to right-click on the second file.
- Click on “Compare with Selected.“


Both options are quick, simple and deliver the same results.
How to Compare Files in Two Folders
For some projects, you’ll have to compare the content of two folders and even subfolders and not just two files. Doing so manually would be incredibly time-consuming and tedious work.
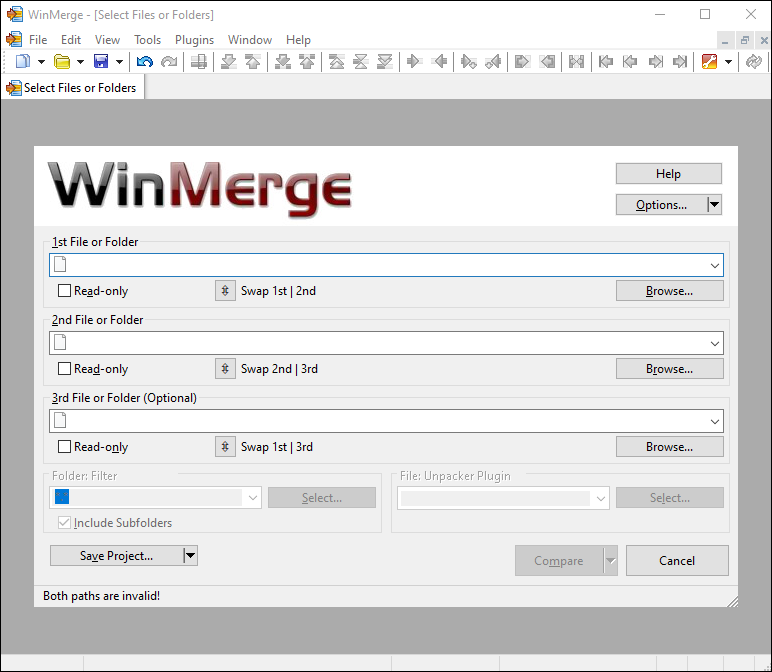
Fortunately, there are shortcuts you can take. If you’re a Windows user, likely your best option is the WinMerge utility tool. This is an entirely safe and free application, and here is how you can use it:
- Download and install WinMerge on your Windows computer.
- Once the installation is complete, press the CTRL + O key on your keyboard. That will open the folder comparison window.
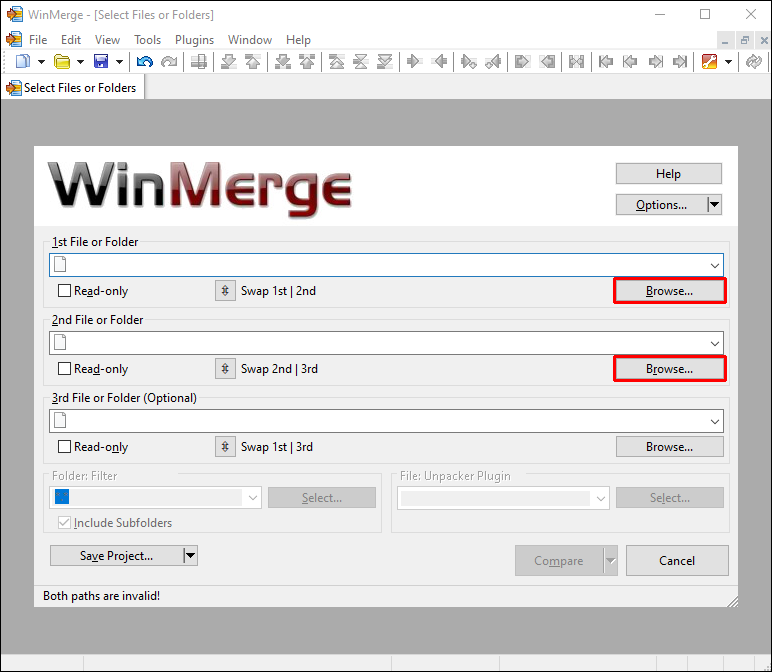
- Click on the “Browse” to select the first folder and follow the same step for the second folder.
- Make sure to check the “Read-only” box next to both folders.
- Now, click the “Compare” button.
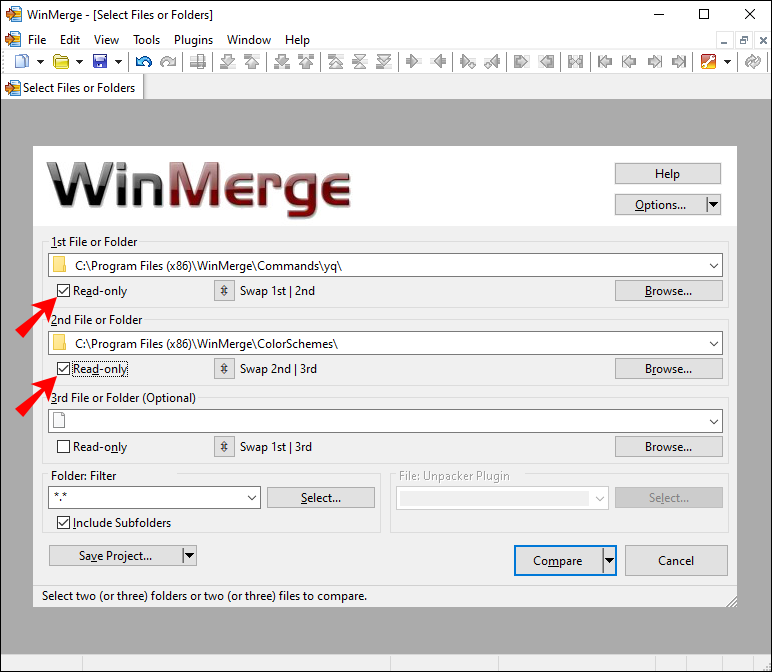

The comparison process starts immediately. If the folder sizes are relatively small, you won’t have to wait too long. However, if the directories you’re comparing are quite large, you will have to be patient.
WinMerge will display unique files in white and files with no similarities in yellow. Files that overlap will be categorized in grey. You can view these differences by right-clicking on the files.
Mac users can rely on the Terminal to compare two folders. It’s a command-line utility tool developer use to make quick and easy changes to the operating system. Here’s how you can use it:
- Go to “Applications” and then “Utilities.”
- Use the “cd” command to go to the directory containing the folders you want to compare.
- When you’re there, run the following command “
diff -rq folder1 folder2”.
That’s all you need to do. You’ll be able to see line-by-line differences in both text and code.
How to Compare Two Excel Files
Comparing two Excel files can be helpful when you’re dealing with a small dataset. You can utilize the built-in comparison tool and review the files manually.
For example, imagine you have two Excel files tracking inventory from two different months and need to check their values. Here’s how to create a convenient overview for easier comparison:
- Launch Excel and open the two files you want to compare.
- Make sure to select the sheet in each file that will be compared.
- Go to the “View” tab in the main toolbar.
- In the “Windows” section, select the “View Side by Side” option.
- Excel will automatically arrange the workbook horizontally, and both files will be visible.

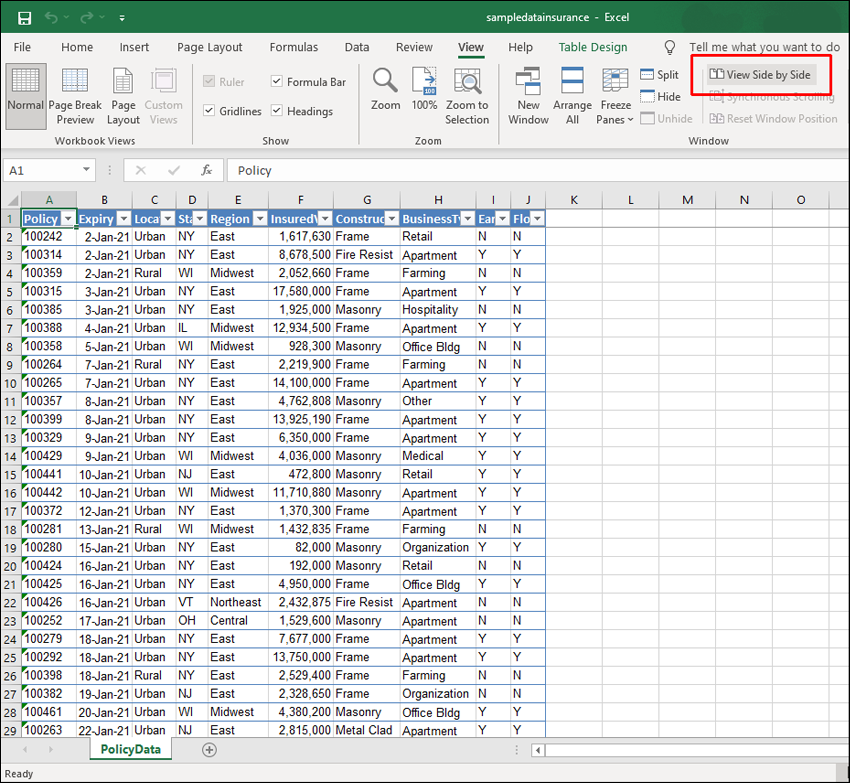
You can now compare and edit these files manually.
However, you can also rely on a third-party online comparison tool in a pinch. Check out the XL Comparator tool if you don’t want to waste your time and need a quick comparison report.
It’s a free resource that supports Excel files up to 5MB in size. All you need to do is upload two files and set the Comparator to search for matching or different data. You can download the results and compare the highlighted similarities or differences.
While this method can be valuable and super-fast, it’s probably not the best strategy if you’re dealing with sensitive data.
How to Compare Two Word Files
If writing is something you do every day, comparing previous and current Word document versions of text files can be essential.
Sometimes you need to merge two documents together, but you first need to examine if there’s any overlap or repetitive information.
Fortunately, as a Microsoft text processor, Word has a built-in feature that can help you compare two versions of a document.
Follow the steps to compare two versions of a document in Word:
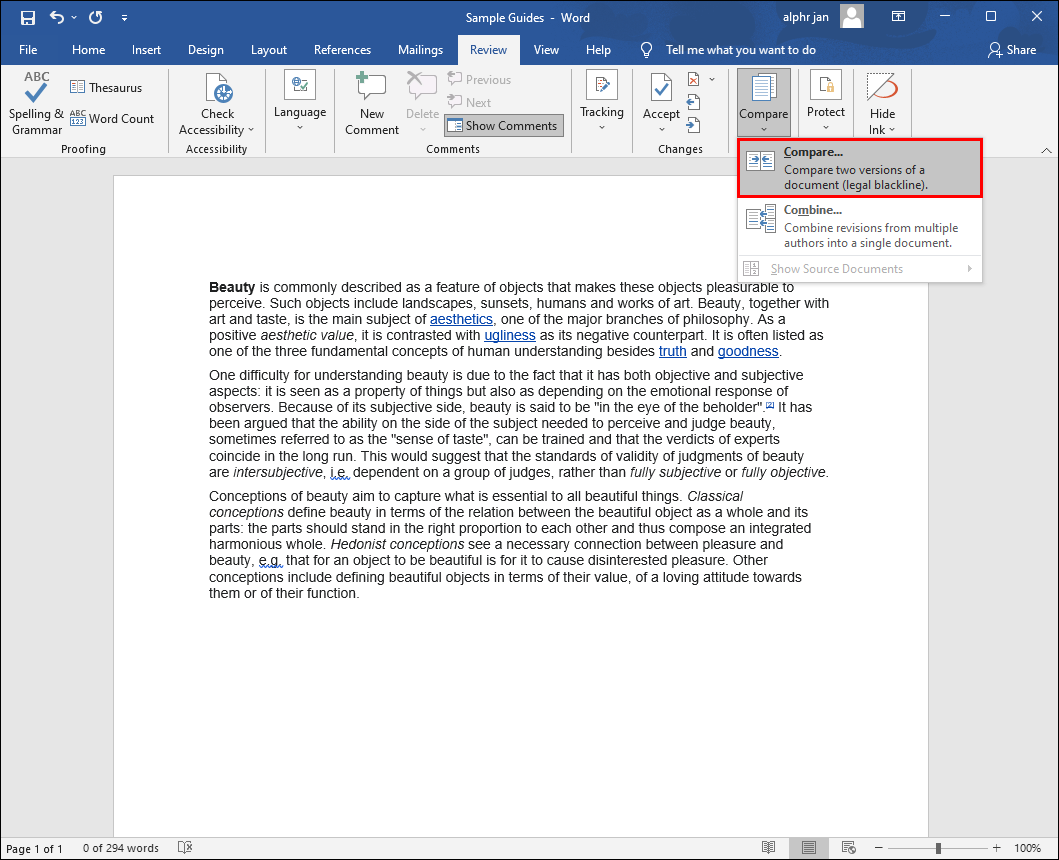
- Open any version of the document in Word.
- In the “Review” tab, go to the “Compare” ribbon.
- From the drop-down menu, select the “Compare…” option.
- A new window will pop up. Upload both versions of the document and click “OK.”

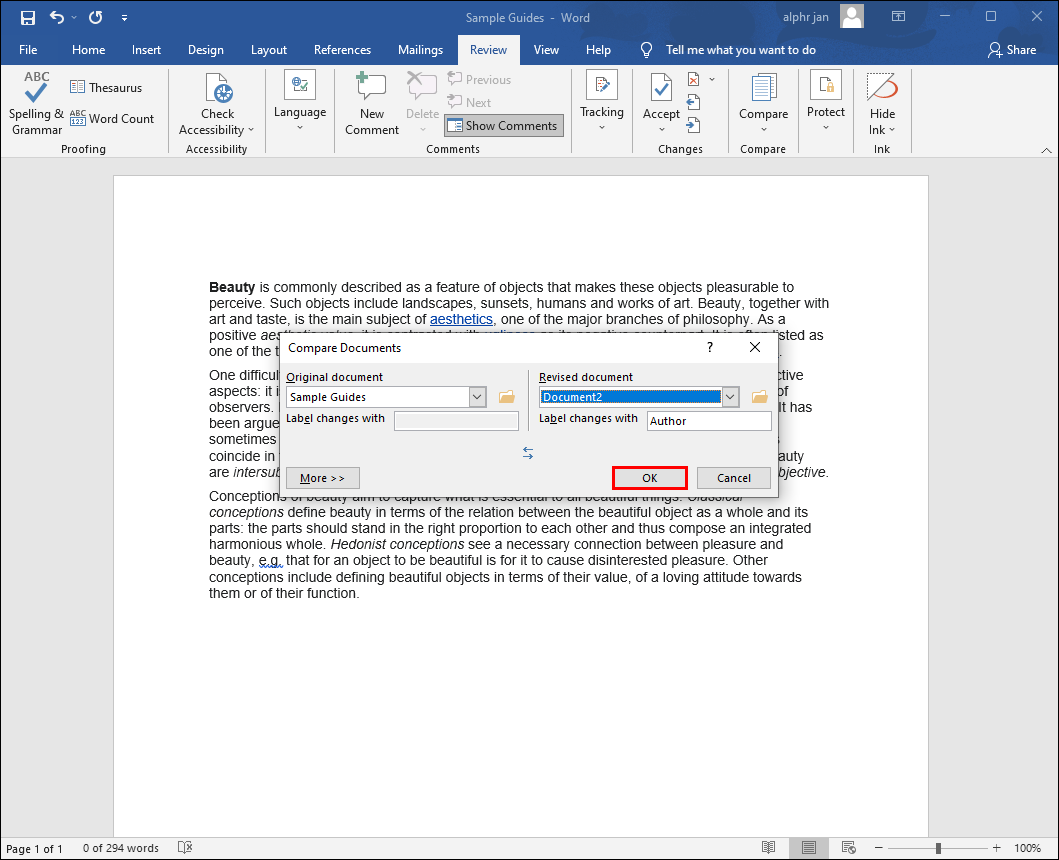
If any changes were tracked in the revised document, the panel on the left side will list all the revisions.
On the right side, you’ll see the original file stacked on top of the revised one. As you scroll the text, they’ll move simultaneously and allow you to examine differences.
You can access the “Combine” feature in the “Compare” ribbon as well. It allows users to combine revised Word documents from multiple authors.
How to Compare Files in Linux
Writers and programmers who prefer using Linux also benefit from comparing two files to examine the differences.
There are several ways you can compare files in Linux, including using Visual Studio Code editor. However, one of the oldest and most popular ways to compare text and code is using the “diff” command.
This command-line tool is easy to use and comes pre-installed on most Linux systems. Here’s what that command line syntax looks like:
“diff [options] File1 File2”
In Linux, you can also use Kompare, a graphical user interface, to see the differences between two files.
How to Compare Files in the Windows 10 Command Prompt
Windows users have the option of relying on the operating system’s integrated command-line tool to compare two files. It’s a simple process if you know exactly what to do.
However, for this to work properly, the files need to be in the same location. Make sure they’re in the same folder and follow these steps to compare them:
- Go to “Start” and search for “Command Prompt.”
- Select the “Run as administrator” option.
- Copy and paste the following command “
cd PATH\TO\FILES” and press “Enter.” - Update the command with the files’ location.
- Now, enter the following command – “
fc filename1.txt filename2.txt” – and press “Enter.”
Make sure to write the correct files name instead of “filename1” and “filename2.”
Managing Your Files Successfully
Even if you don’t code or write every day, you might need to compare existing files from time to time. The good news is that many great tools can help you to do that. Text and code editors such as Notepad++ and Visual Studio Code are excellent tools that deliver immediate results.
Plus, everything is color-coordinated for a better user experience. Microsoft tools such as Excel and Word have integrated comparison tools, but they come with limitations. You get a better overview but still need to observe the differences by yourself.
To compare two folders, you’ll need a third-party tool in Windows or working knowledge of the Terminal in macOS. Finally, Linux offers several solutions, and in Windows, you can always run a command prompt to compare two files.
What would be your preferred way to compare two files? Let us know in the comments section below.
Disclaimer: Some pages on this site may include an affiliate link. This does not effect our editorial in any way.


