With Black Friday and Cyber Monday now well and truly behind us and the ludicrous discounts Amazon were offering on the Fire, I suspect there are a lot of new tablet owners out there right now. I count myself among them, as I got a 10” Fire on Black Friday for very little money. It has worked well so far, but it took more effort than it should have to get it connected to the WiFi. Here is a quick guide to connecting your Amazon Fire tablet to WiFi.
In theory, connecting your Fire tablet to WiFi is simple. If it’s working properly, it basically does this itself with just a little input from you. Swipe down on the home screen, select Wireless and then WiFi, and tap it to turn on. It should then connect to your network and away you go. For some, including me, it isn’t always that simple.

Connecting a Fire tablet to WiFi
If you have already set up your WiFi network and your Fire is behaving properly, the above process should connect your Fire tablet to your network and you should be able to use the internet almost immediately. If you don’t mind a bit of battery drain, you can leave WiFi turned on and it will automatically join the network whenever it detects it. Otherwise, if you prefer to conserve your battery when you can, manually turning the connection to the WiFi on and off takes just a second.
To connect a Fire tablet to your WiFi network for the first time, do this:
- Unlock the tablet and swipe down on the home screen.
- Select WiFi and switch it on.
- Select your network and select Connect.
- Enter the network password.
It may take a few seconds for your Fire to authenticate with your network but once done, the Fire should connect right away. It should also remember the network and log on automatically next time.
When I tried to connect my Fire tablet to my WiFi network, it kept telling me it could not authenticate with the network. I know I was setting it up correctly as I have half a dozen other devices all using it and none of them have been having any trouble.
Manual WiFi setup
If your Fire tablet doesn’t connect to your wireless network automatically, you can set it up manually. It is quite straightforward and may circumvent any configuration issues you may be experiencing.
- Swipe down from the home screen to access Wireless and turn WiFi on.
- Select Join Other Network.
- Type your network name into the Network SSID box.
- Select the correct security type from the drop down menu.
- Type the network password and select Save.
If you don’t know the network security type, check your router. It will be somewhere on the wireless page. It may be WPA, WPA2-PSK, WPA2-AES, or something like that. Hopefully, it will be WPA2, because if it’s WPA then it means your network is not secure.
Troubleshooting connecting the Amazon Fire tablet to WiFi
If manual or automatic setup doesn’t work, we need to do a little troubleshooting. We will start with the simple stuff and then check the not so obvious.
Reboot your WiFi router
If the Fire just won’t connect at all, reboot your wireless router. Even if other devices are connecting without any issues, a router reboot will address the majority of login issues. Try this first and try joining the network as described above again.
Reboot your Fire
If rebooting your router doesn’t work, fully reboot your Fire. It will clear the tablet of any unsaved settings or misconfigurations and should allow it to connect.
Check Airplane Mode is turned off
This probably sounds pretty obvious, right? Don’t be fooled; even the most obvious things can turn into inconveniences when they feel like it. You have no idea how many mobile and tablet calls I attend where Airplane Mode has been accidentally turned on. Slide down on the home screen and double check that it is turned off.
Check battery saving on your Fire
The Fire tries to save battery where it can and sometimes that is at the expense of convenience. Navigate to Applications, Settings, and WiFi Settings. Select Menu and Advanced. Select WiFi Sleep Policy and work your way through the various options. Disable WiFi sleep while plugged in, and consider setting disconnection to Never if you only use your tablet at home, where you’re typically always able to charge it without much of an issue.
Factory reset your Fire
A factory reset is always a last resort. It deletes all your data and settings and returns the device back to stock. If the Fire is new, then this won’t be much of an issue, but it can turn into a hassle if you’ve had your Fire for a while. If other devices can connect to your wireless network and you have tried all of these other steps and nothing helps, it may be your only option before you return the device.
- Swipe down from the Fire home screen.
- Select Settings and Device Options.
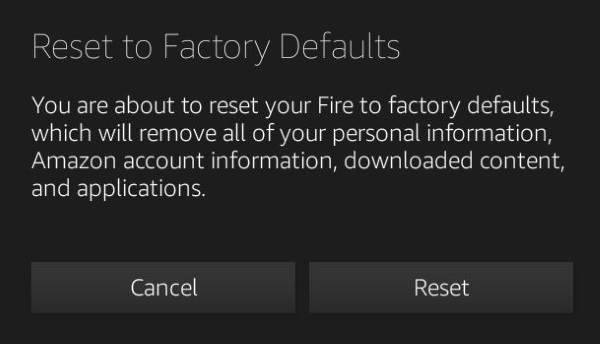
- Select Reset to Factory Defaults.
- Confirm with the Reset option.
Depending on how long you have had your Fire and how much stuff you have installed, this could take a minute or five. Make some coffee and ponder your place in the world while you wait. Once done, repeat all of the above steps to get connected.
Disclaimer: Some pages on this site may include an affiliate link. This does not effect our editorial in any way.