Disclaimer: Some pages on this site may include an affiliate link. This does not effect our editorial in any way.
If you want to know how to connect to a VPN from the iPhone 8 or iPhone 8 Plus, we’ll explain below how you can do this easily. The main reason you would want to connect to a VPN or Virtual Private Network on iPhone 8 or iPhone 8 Plus is to allow for a secure and private connection when you communicate instead of using a public network that puts data and information at risk when using the public network.
Another reason you may want to connect with a VPN on iOS is because you might need to configure VPN to access or send out work emails on your iOS iPhone 8 or iPhone 8 Plus for security reasons. You would need to set up a Virtual Private Network on iOS so all of the content and data going in and out of your iOS device is secure. VPN works over Wi-Fi and cellular data network connections.
There are a lot of VPN services available today. You can use a free one or a paid one. We here at Alphr often use ExpressVPN because it’s reliable, easy-to-use, and widely available. Although our instructions may vary slightly depending on which VPN you use, they’re all very much alike on the iPhone 8 and 8 Plus.
How to Set Up a VPN on an iPhone 8 or iPhone 8 Plus
Most VPNs have a dedicated application available in the Apple App Store. If your iPhone does not support the application of the VPN service you’re using, skip ahead, and we’ll show you how to configure your VPN manually.
Set Up Your VPN Using the Dedicated Application
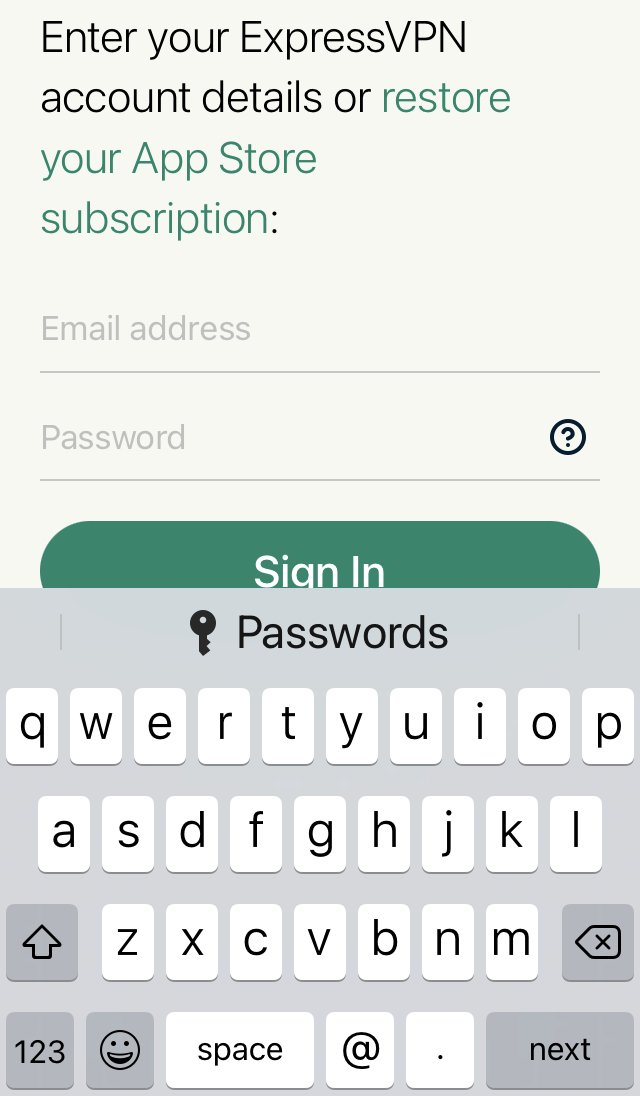
Assuming your VPN does have a designated application, download it from the App Store and follow these steps:
- Sign into your VPN and proceed through the verification steps.
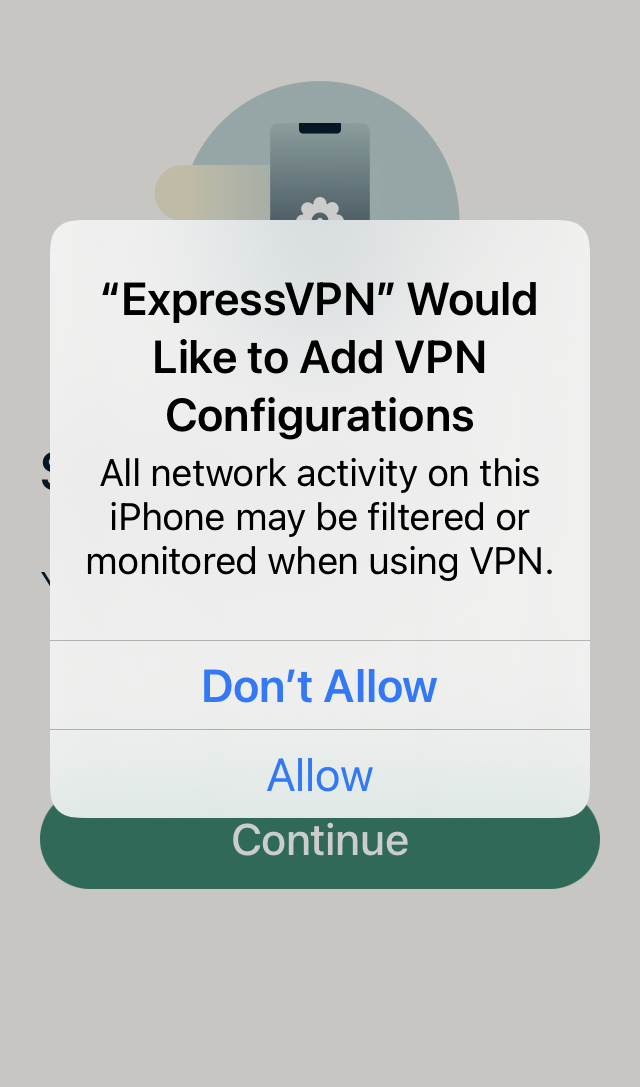
- The application should take you through a series of pop-ups. Tap Allow when asked to set up the VPN.

- After you’ve completed accepting the notification pop-ups; you can easily activate the VPN on your iPhone by tapping the power icon.

Your VPN is now set up and ready to use on your iPhone.
Manually Set Up VPN on iOS for iPhone 8 and iPhone 8 Plus
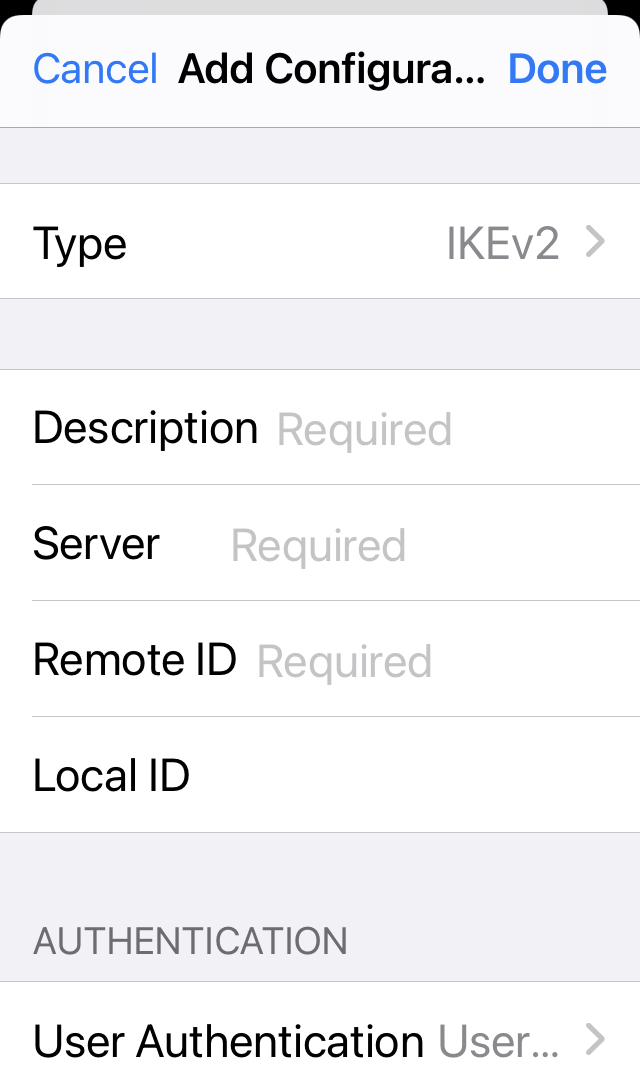
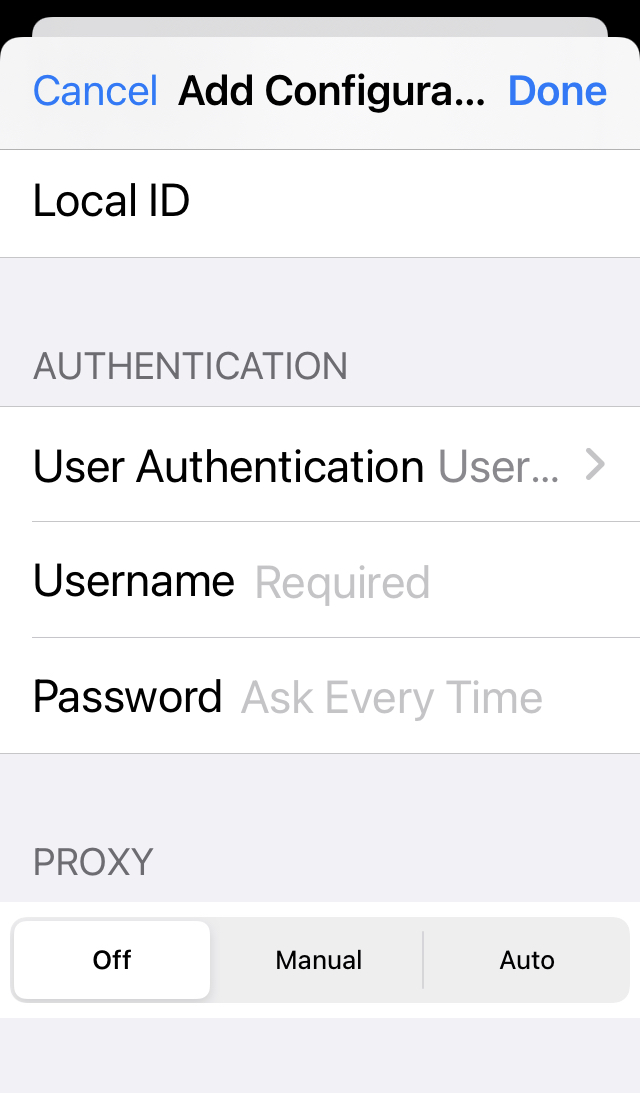
If you want to set up your VPN manually on your iPhone,
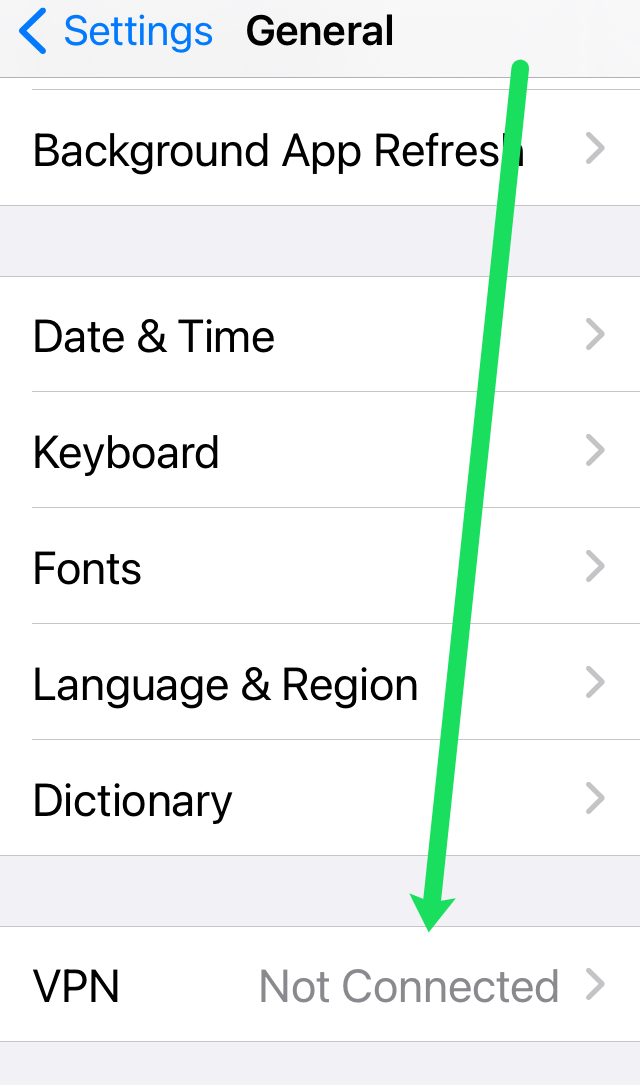
- Go to Settings, and then to General, and then lastly, go to VPN.
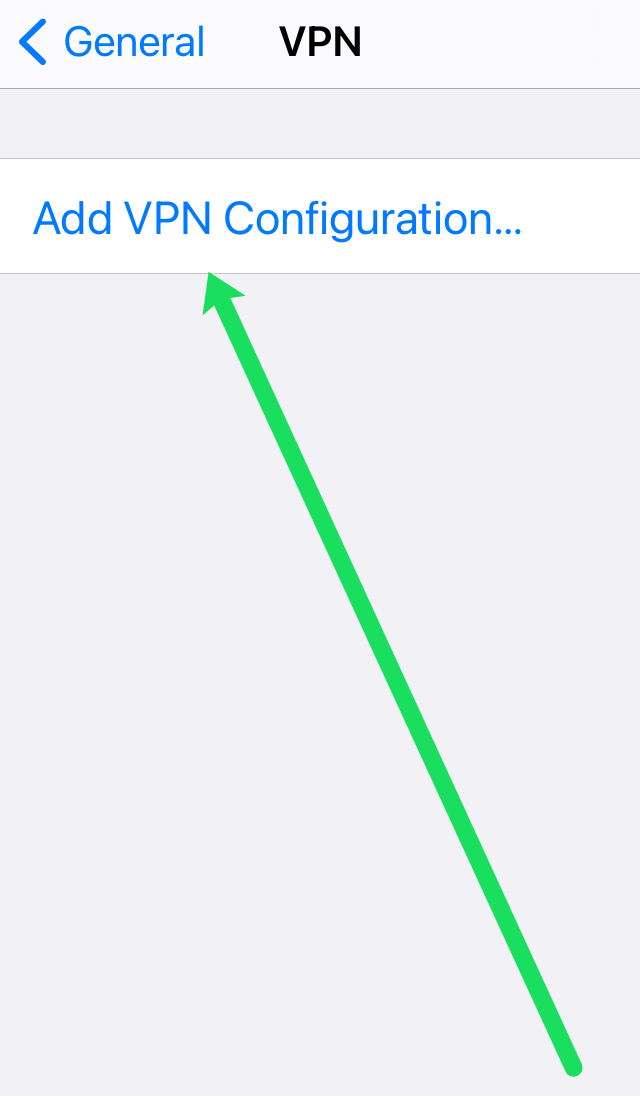
- After that, “Add VPN Configuration”
- Input the VPN Server information. Note: You can get this information from your VPN account page, manual configuration page, or your system administrator.
- Next, input your username and password. Then, tap Done at the top.
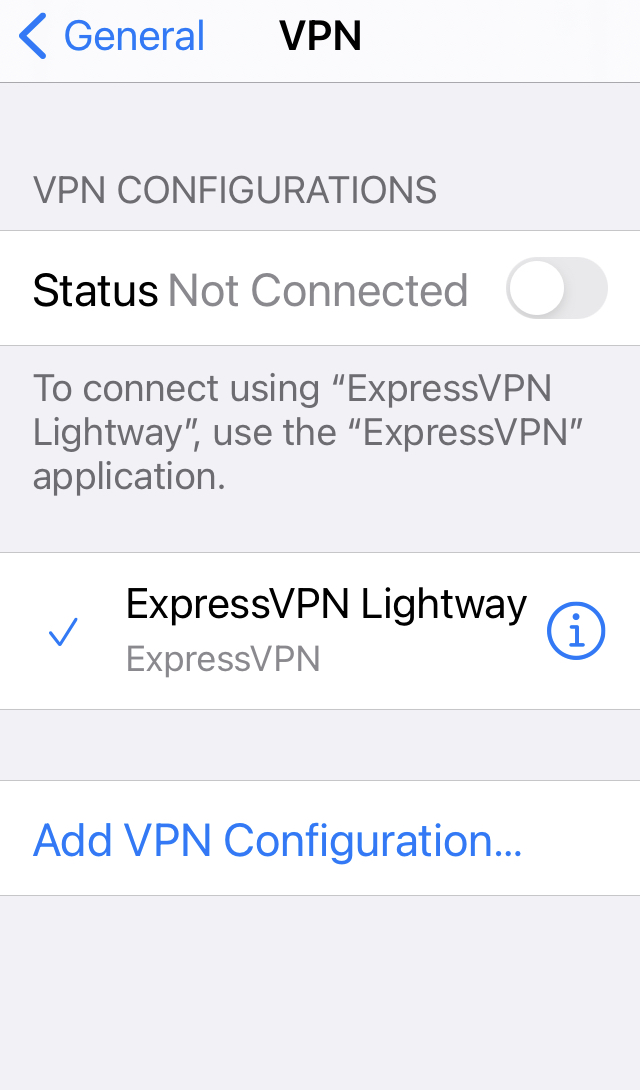
- You will now see the VPN in your devices’ Settings. You can change the location and server here.
You can also check out the Apple Support Page Manual to see what configuration to use when setting up a VPN on iOS for iPhone, iPad, or iPod Touch.
Turn VPN “On” or “Off”
After you have set up a Virtual Private Network on iOS, you have the option of turning VPN on or off from the settings page on your Apple device. When you connect using VPN, the VPN icon appears in the status bar.
If you have set up a VPN on iOS with multiple configurations, you can easily switch configurations on your iPhone, iPad, or iPod Touch by going to Settings > General > VPN and change between VPN configurations.
Get help on how to set up a VPN on iOS:
If you have issues when you set up a Virtual Private Network on iOS or can’t connect to your VPN, or if you see an alert that says “Shared Secret is missing,” your VPN settings might be incorrect or incomplete. If you have questions about what your VPN settings are or what your Shared Secret key is, you should contact your network administrator or IT Department.
To learn more about VPN, contact iPhone Business Support, visit the iOS IT page, or Apple iOS Developer Library.
Disclaimer: Some pages on this site may include an affiliate link. This does not effect our editorial in any way.


