Microsoft Word is among the most comprehensive text editors available today. It is equally ubiquitous on Windows PCs and Mac computers. As powerful as it is, it lacks the ability to convert documents directly to JPG and other picture file formats. The Paste Special feature is the closest MS Word has got to the proper JPG conversion tool.
However, there are simple ways to work around this. Let’s explore how to create a JPG image from Word on PC and Mac.
PC
If you want to create a JPG image from a Word document on a Windows PC, there are two ways to do it without resorting to online conversion sites. The first method includes saving your Word Document as a PDF. The other method is Word’s built-in feature that can allow you to save documents as picture (image) files. Let’s take a closer look at each method.
PDF Route
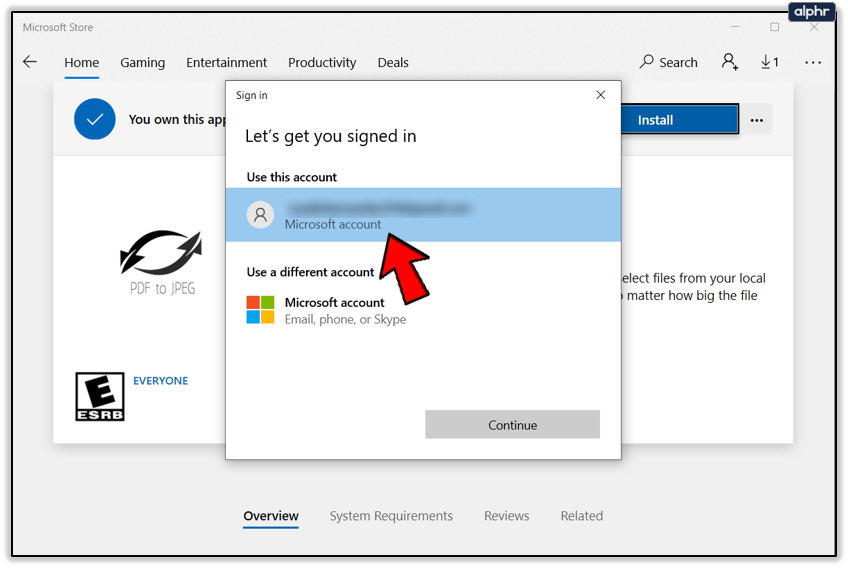
For the PDF route, along with MS Word, you will also need Microsoft’s PDF to JPEG application. It’s free and you can find it on Microsoft’s official site or through the Microsoft Store app. Have in mind that you’ll have to log in to your Microsoft account to download it.
- Launch MS Word.

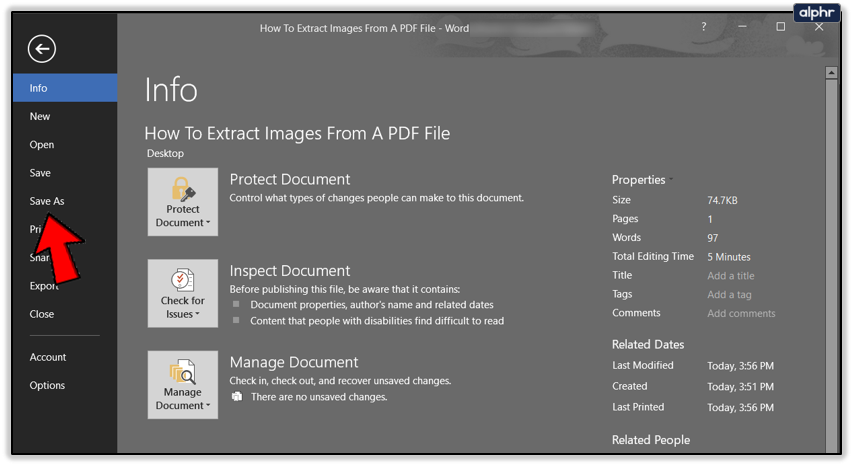
- Click on the File tab and browse for the file you’d like to convert to PDF.

- Once you open the document, click on the File tab again.
- Click on the Save As option in the menu on the left side.
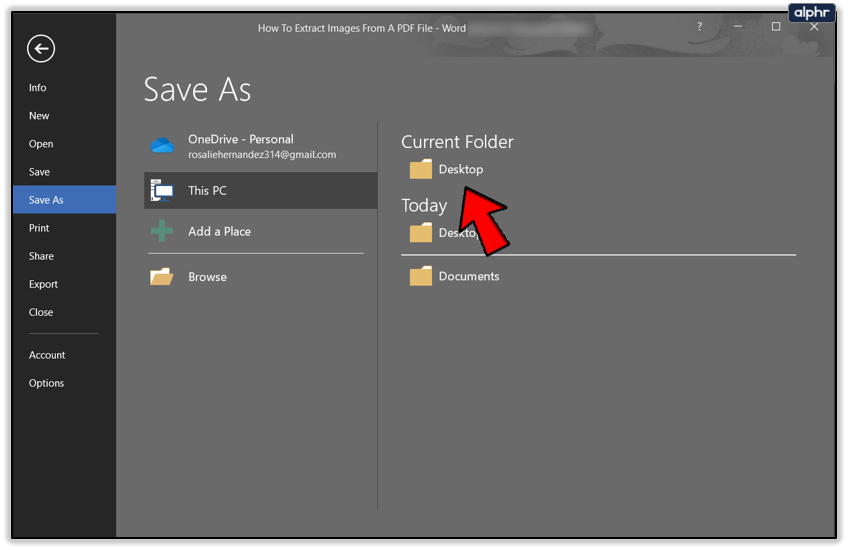
- Select the location where you want to save your file.
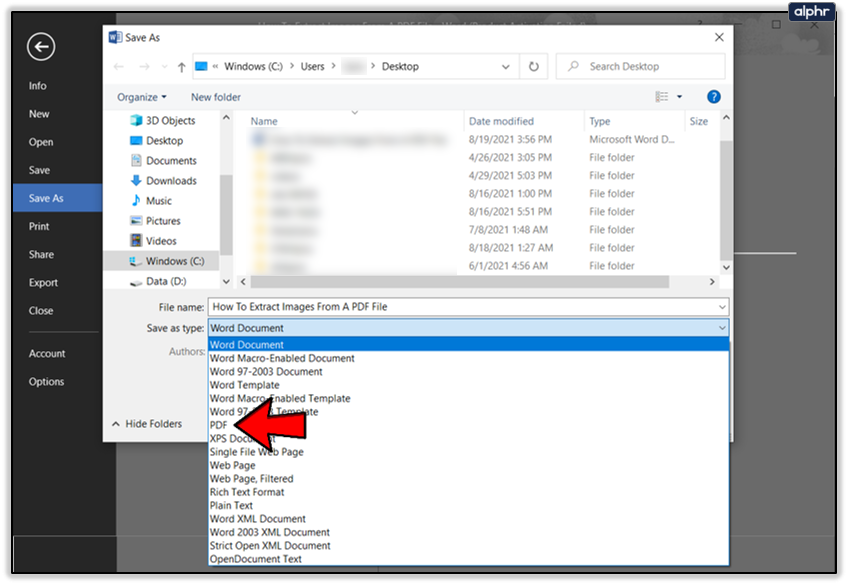
- Name your file and select PDF from the Save as type drop-down menu.
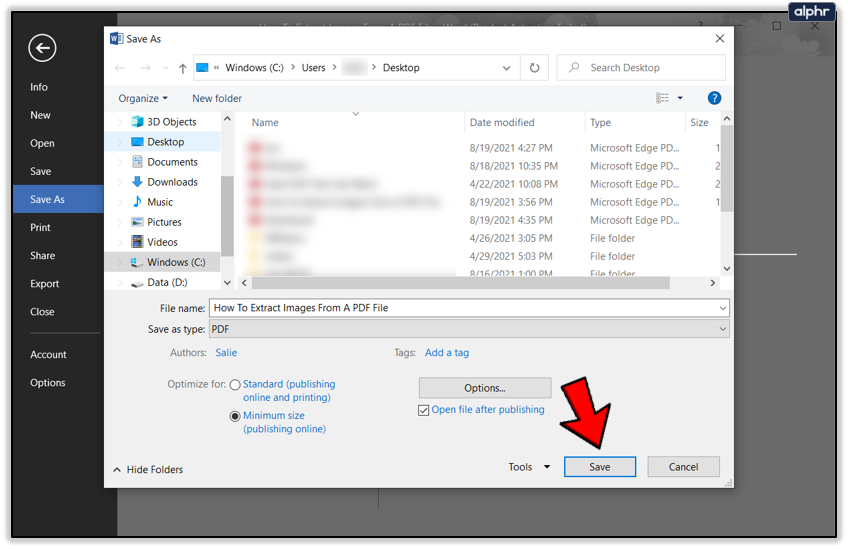
- Click on the Save button.


If you haven’t already, now is the perfect time to download and install the PDF to JPEG app. Follow these steps:
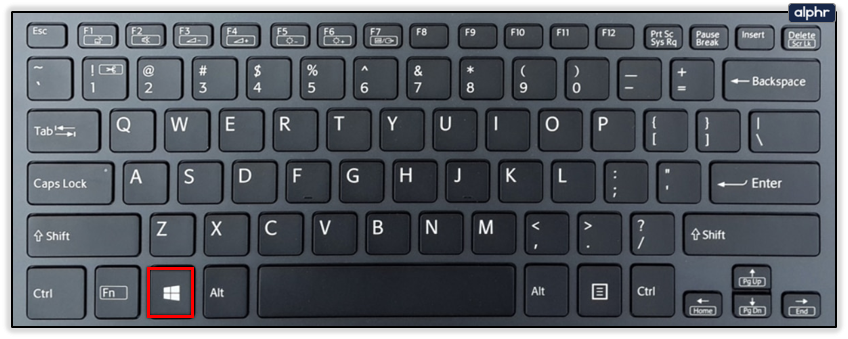
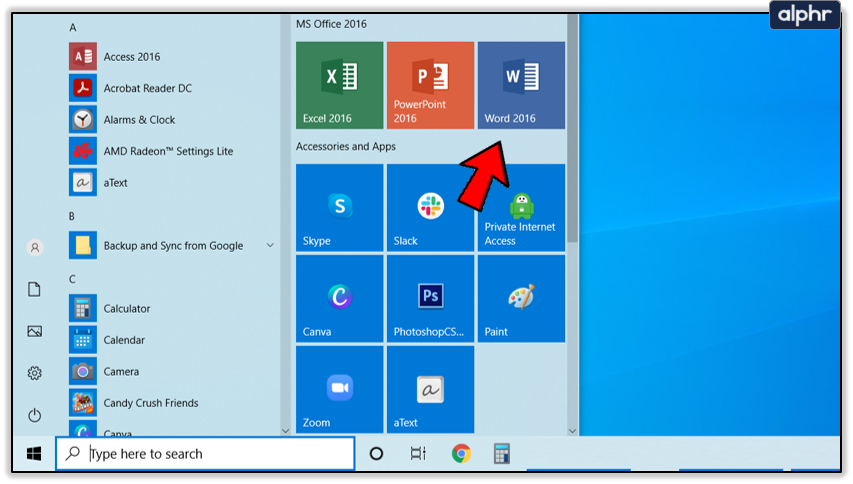
- Hit the Win key on your keyboard.
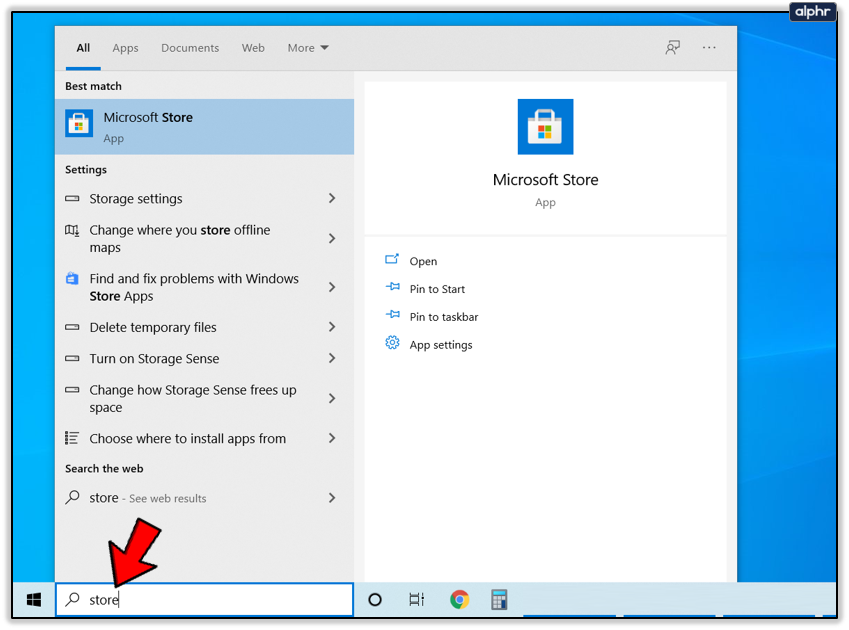
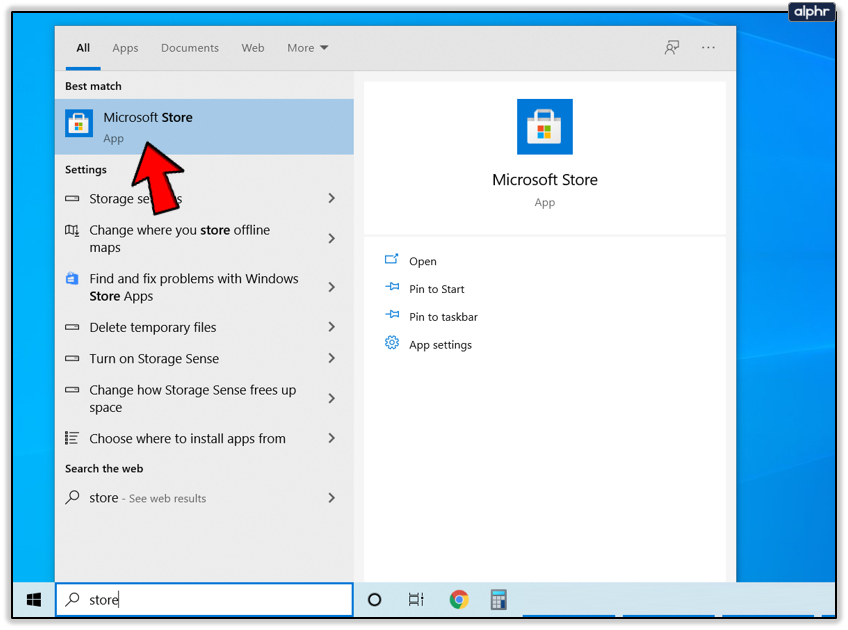
- If you’re on Windows 10 or 8, start typing. If you’re on an older version, click on the search box. Type Store.
- Select Microsoft store in the results section.
- Click on the Search icon when the Store opens.
- Search for PDF to JPEG.
- Select PDF to JPEG from the search results.
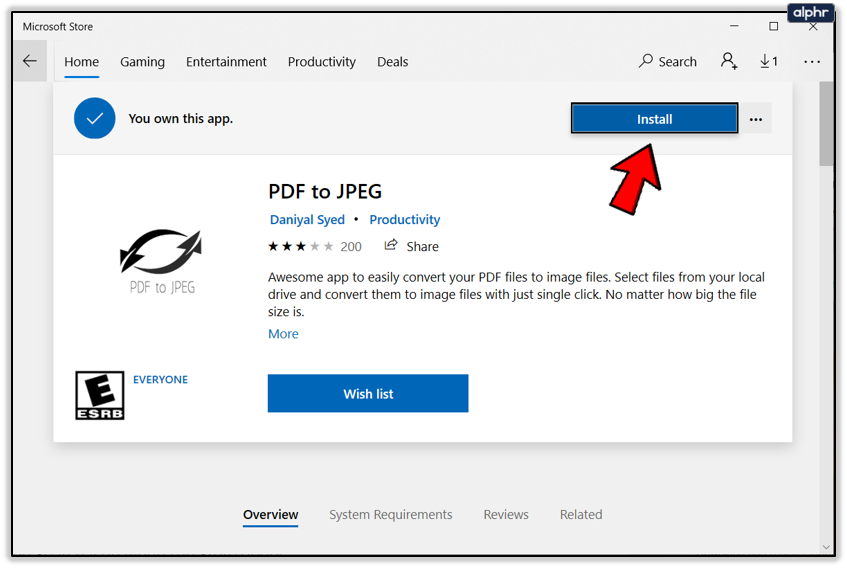
- Download and install the app.
- Log in to your Microsoft account if prompted.


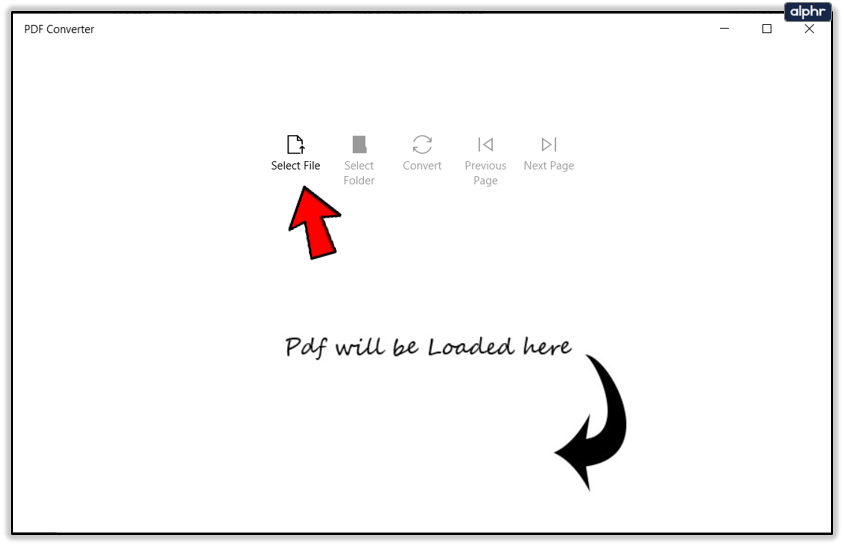
Let’s move on to the conversion part. Here’s how to do it:
- Launch the PDF to JPEG app.
- Click on the Select File button in the main menu.
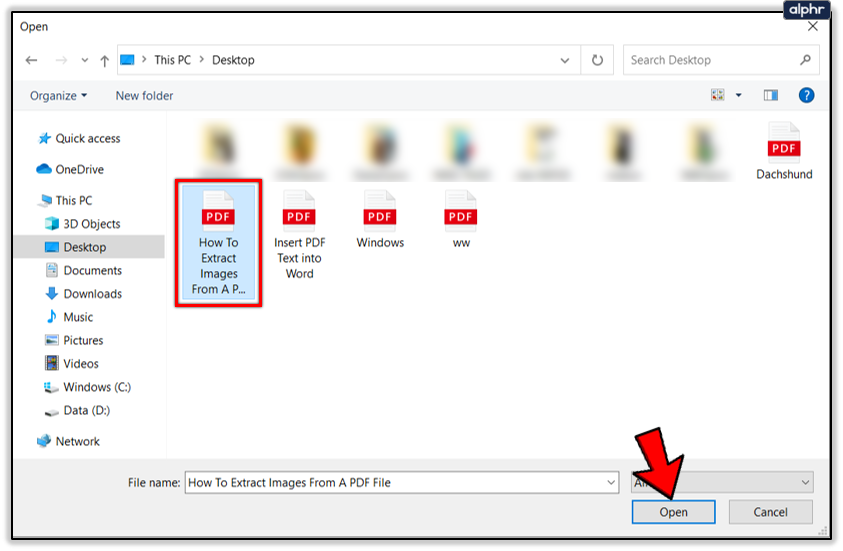
- Locate the PDF file you’d like to convert to JPG, click on it, and click the Open button.
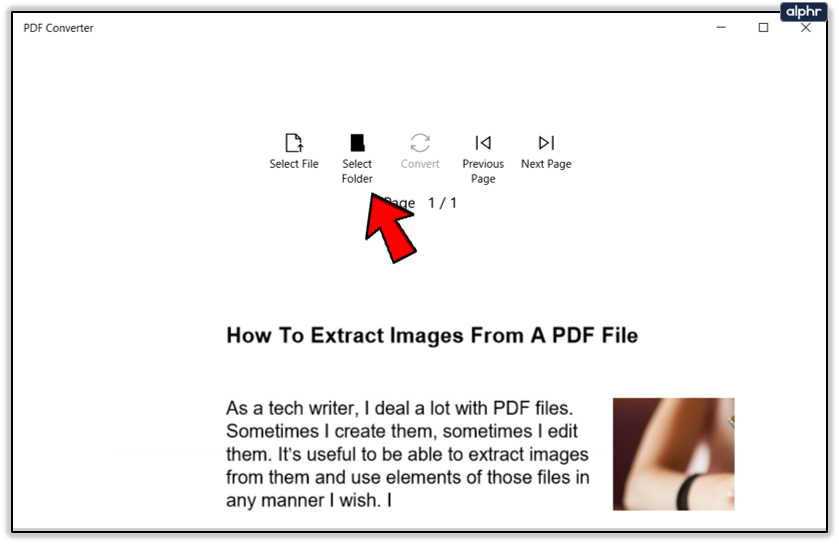
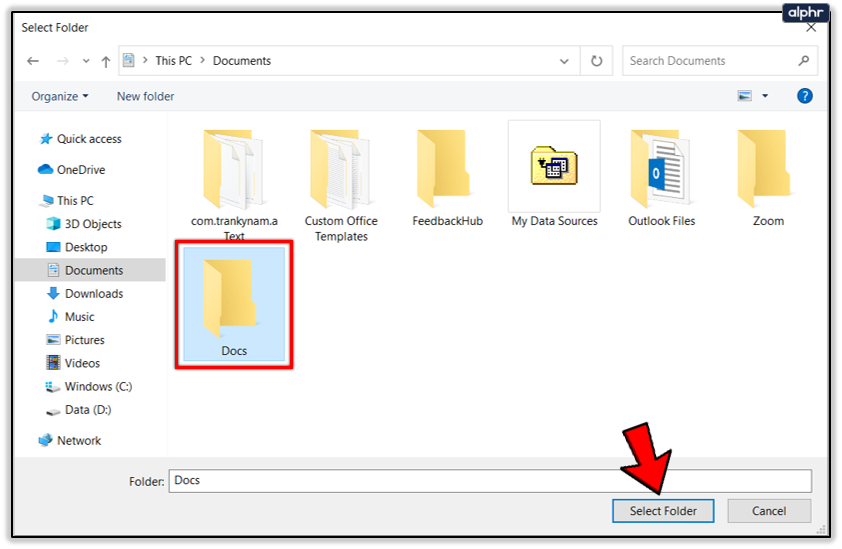
- Next, click on the Select Folder button. It’s next to the Select File.
- Browse for the folder where you’d like to save your new JPG and click on the Select Folder button once you’ve found it.
- Finally, click on the Convert button to transform your PDF to JPG.


Paste Special Route
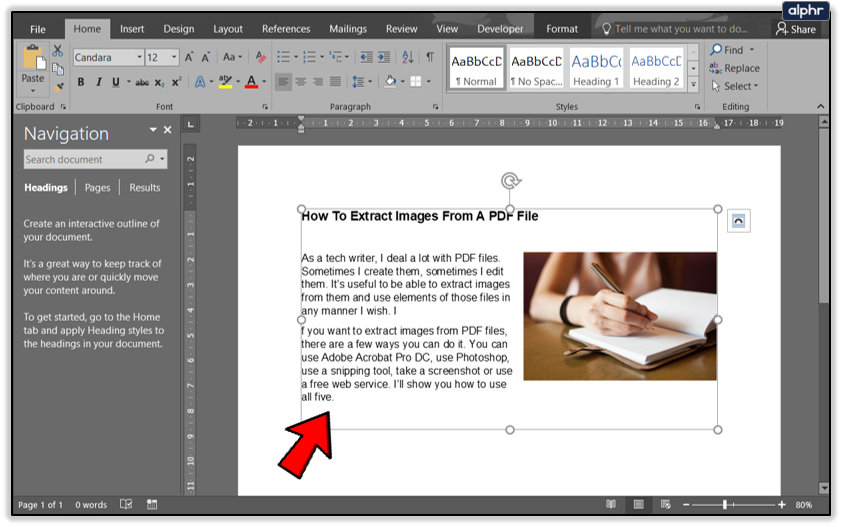
For the Paste Special route, you will only need two MS Word documents, one with the content that you’d like to save as image and another blank document. This route is a good option if you only want to save a portion of a word file as a JPG. Let’s see how it works.
- Launch MS Word.
- Browse for the file that contains the text or pictures you’d like to save as JPG. Open the File.
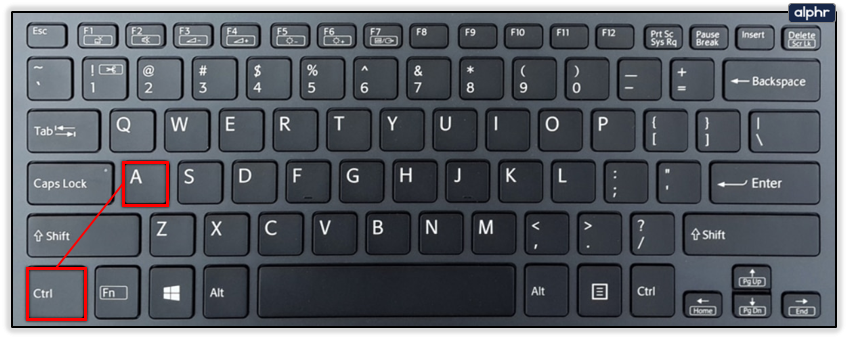
- Next, select the content you’d like to convert. In case you want to save the entire document, press Ctrl + A on your keyboard.
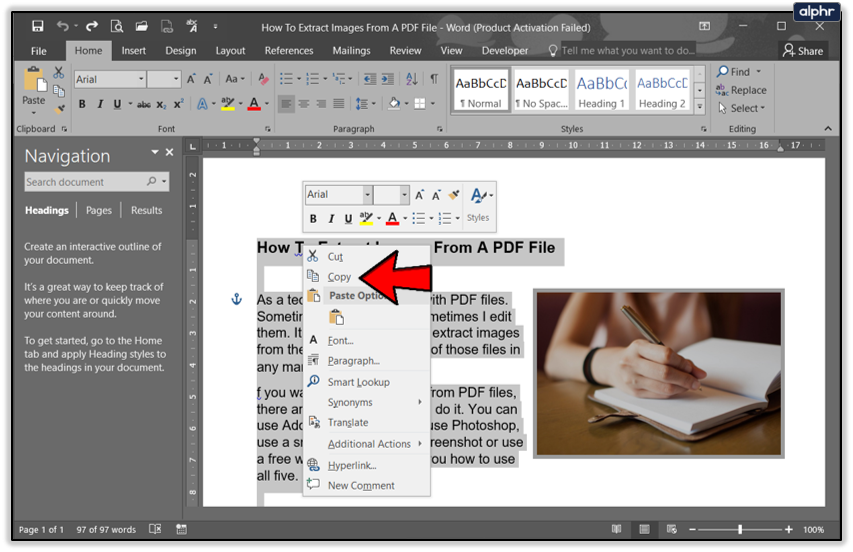
- Right click on the selected content and select Copy.
- Open a new blank document.
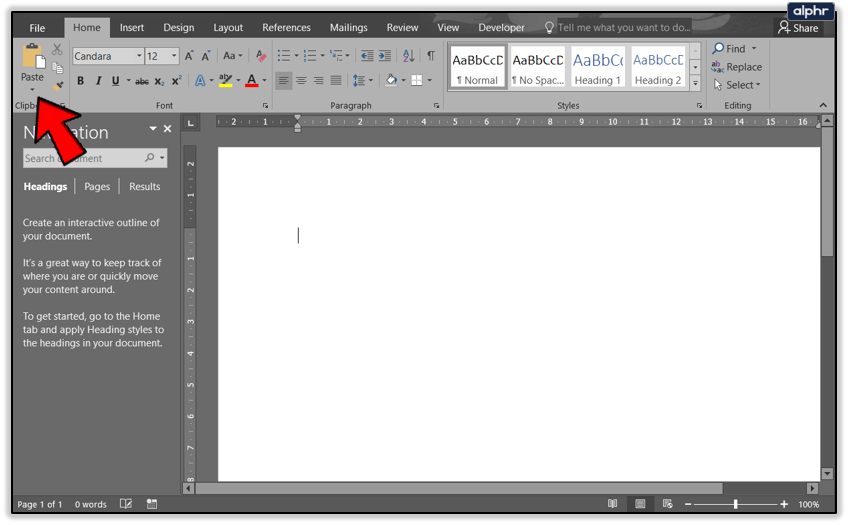
- Click on the arrow under the Paste button. The button’s located just below the File tab in the Main menu.
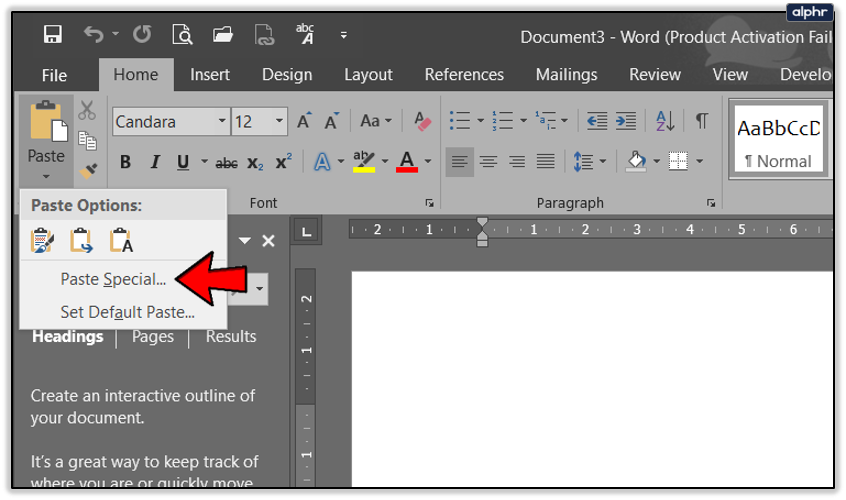
- Select the Paste Special option from the drop-down menu.
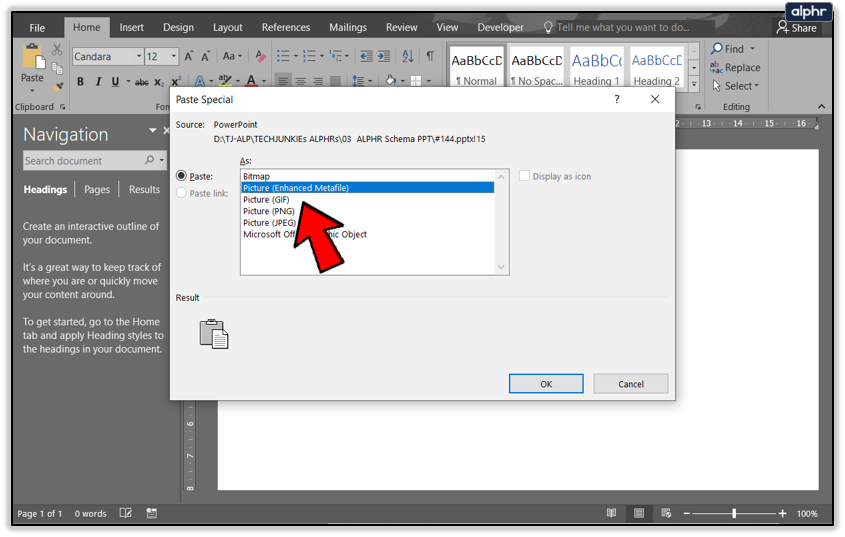
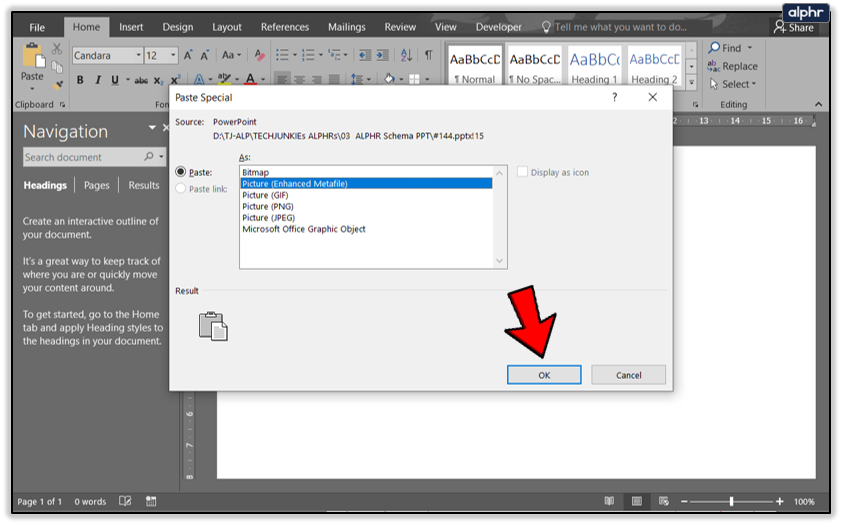
- Next, pick the Picture (Enhanced Metafile) format from the list. You should tick the Paste radio button.
- Click on the OK button.
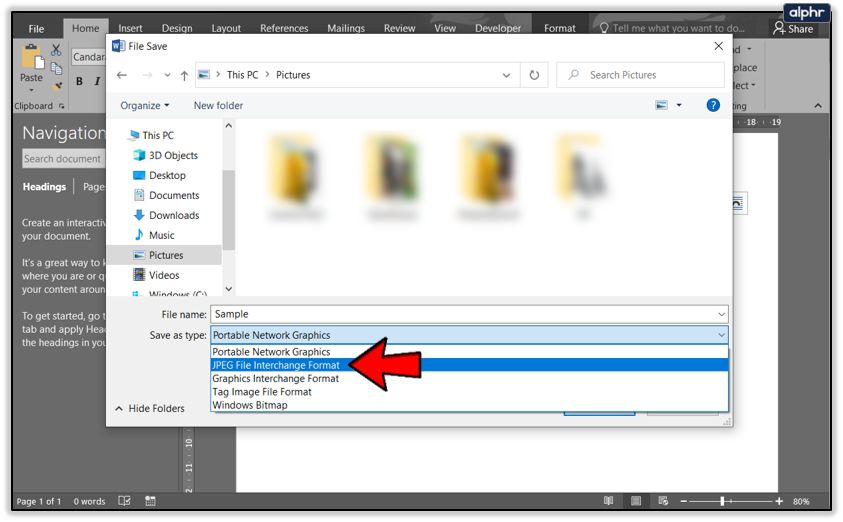
- Your selection will be pasted into the new document as a picture. Right-click on it.
- Select the Save as Picture option from the drop-down menu.
- Select the location for your new file.
- Name your file.
- Select JPEG File Interchange Format from Save as type drop-down menu.
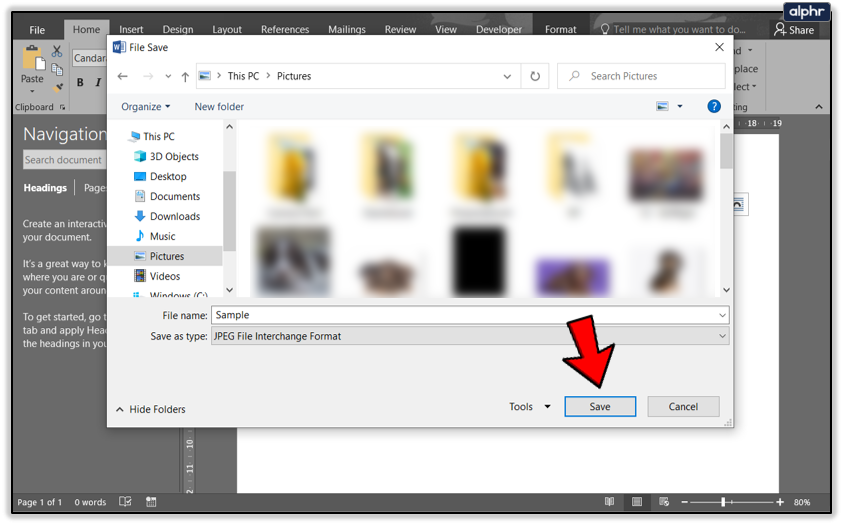
- Click on the Save button.


NOTE: It is worth mentioning that this method is not bulletproof and that it might backfire at times. If you get a completely black image, repeat the procedure until it turns out right.
Mac
You can create a JPG image from a Word document on a Mac, as well. For this method, you will only need MS Word and Mac’s default picture viewer – Preview. No downloads or online websites are required. Follow these steps to convert a document to JPG on a Mac:
- Launch Word.
- Browse for the document you’d like to convert to JPG. Open it.
- Next, click on the File tab in the Main menu.
- Select the Save As option from the drop-down menu.
- Browse for the location of your new PDF file.
- Name the file and select PDF from the Format drop-down menu.
- Click on the Save button.
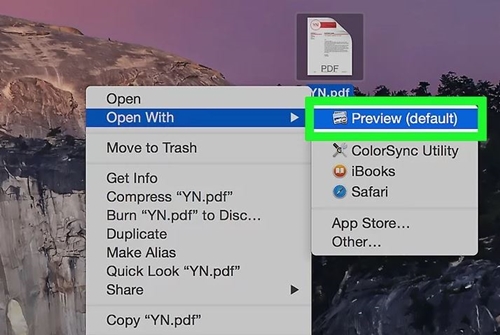
- Next, locate your new PDF file and click on it.
- Click on the File button.
- Click on the Open With option in the drop-down menu and click on Preview in the side menu.
- When Preview launches, click on the File button again.
- Click on the Export option.
- Browse for the location of the new picture file.
- Name your new file and select JPEG from the Format drop-down menu.
- Click on the Save button.
JPG Unlocked
Saving a portion of or an entire document as JPG can come in quite handy at times. This is especially convenient for those who want to include a Word document into a PowerPoint presentation.
Do you use Word to JPG conversion? If so, what do you use it for? What are your favorite methods? Let us know in the comments section below.
Disclaimer: Some pages on this site may include an affiliate link. This does not effect our editorial in any way.


