When you’re scrolling through your contacts looking for one person you’d like to reach out to, you may become overwhelmed by the number of phone numbers, emails, and names of people with whom you no longer wish to communicate.
The early days of cell phones meant transferring your contacts from device to device during the upgrade process. With iCloud and email backups available, you can easily transfer contacts to every new device you get. While this is really convenient, you wind up with older contacts you no longer need. Although these contacts aren’t doing your phone any harm, it may be time to purge some content from your Contacts list.
If you’d like to delete all of your contacts from your phone, there’s a reasonably simple way to do this. If you’d like to pick and choose which ones go, it’s a little more of a lengthy process. To save you time, we can show you how to delete your entire contact list (or, in some cases, hide multiple contacts).

How To Delete All of Your Contacts on the iPhone
There are a couple of ways to delete all of the contacts on your iPhone. You can delete them all from your iCloud, which means the contacts will disappear on all of your Apple devices, or you can delete them on the iPhone. We’ll review both options in this section.
How to Hide All Contacts
Most of your contacts on your iPhone are either stored on your phone or in one of your email accounts. We’ll start with the easiest method of contact deletion, which is turning off the sync. To delete the contacts on your iPhone, follow these steps:
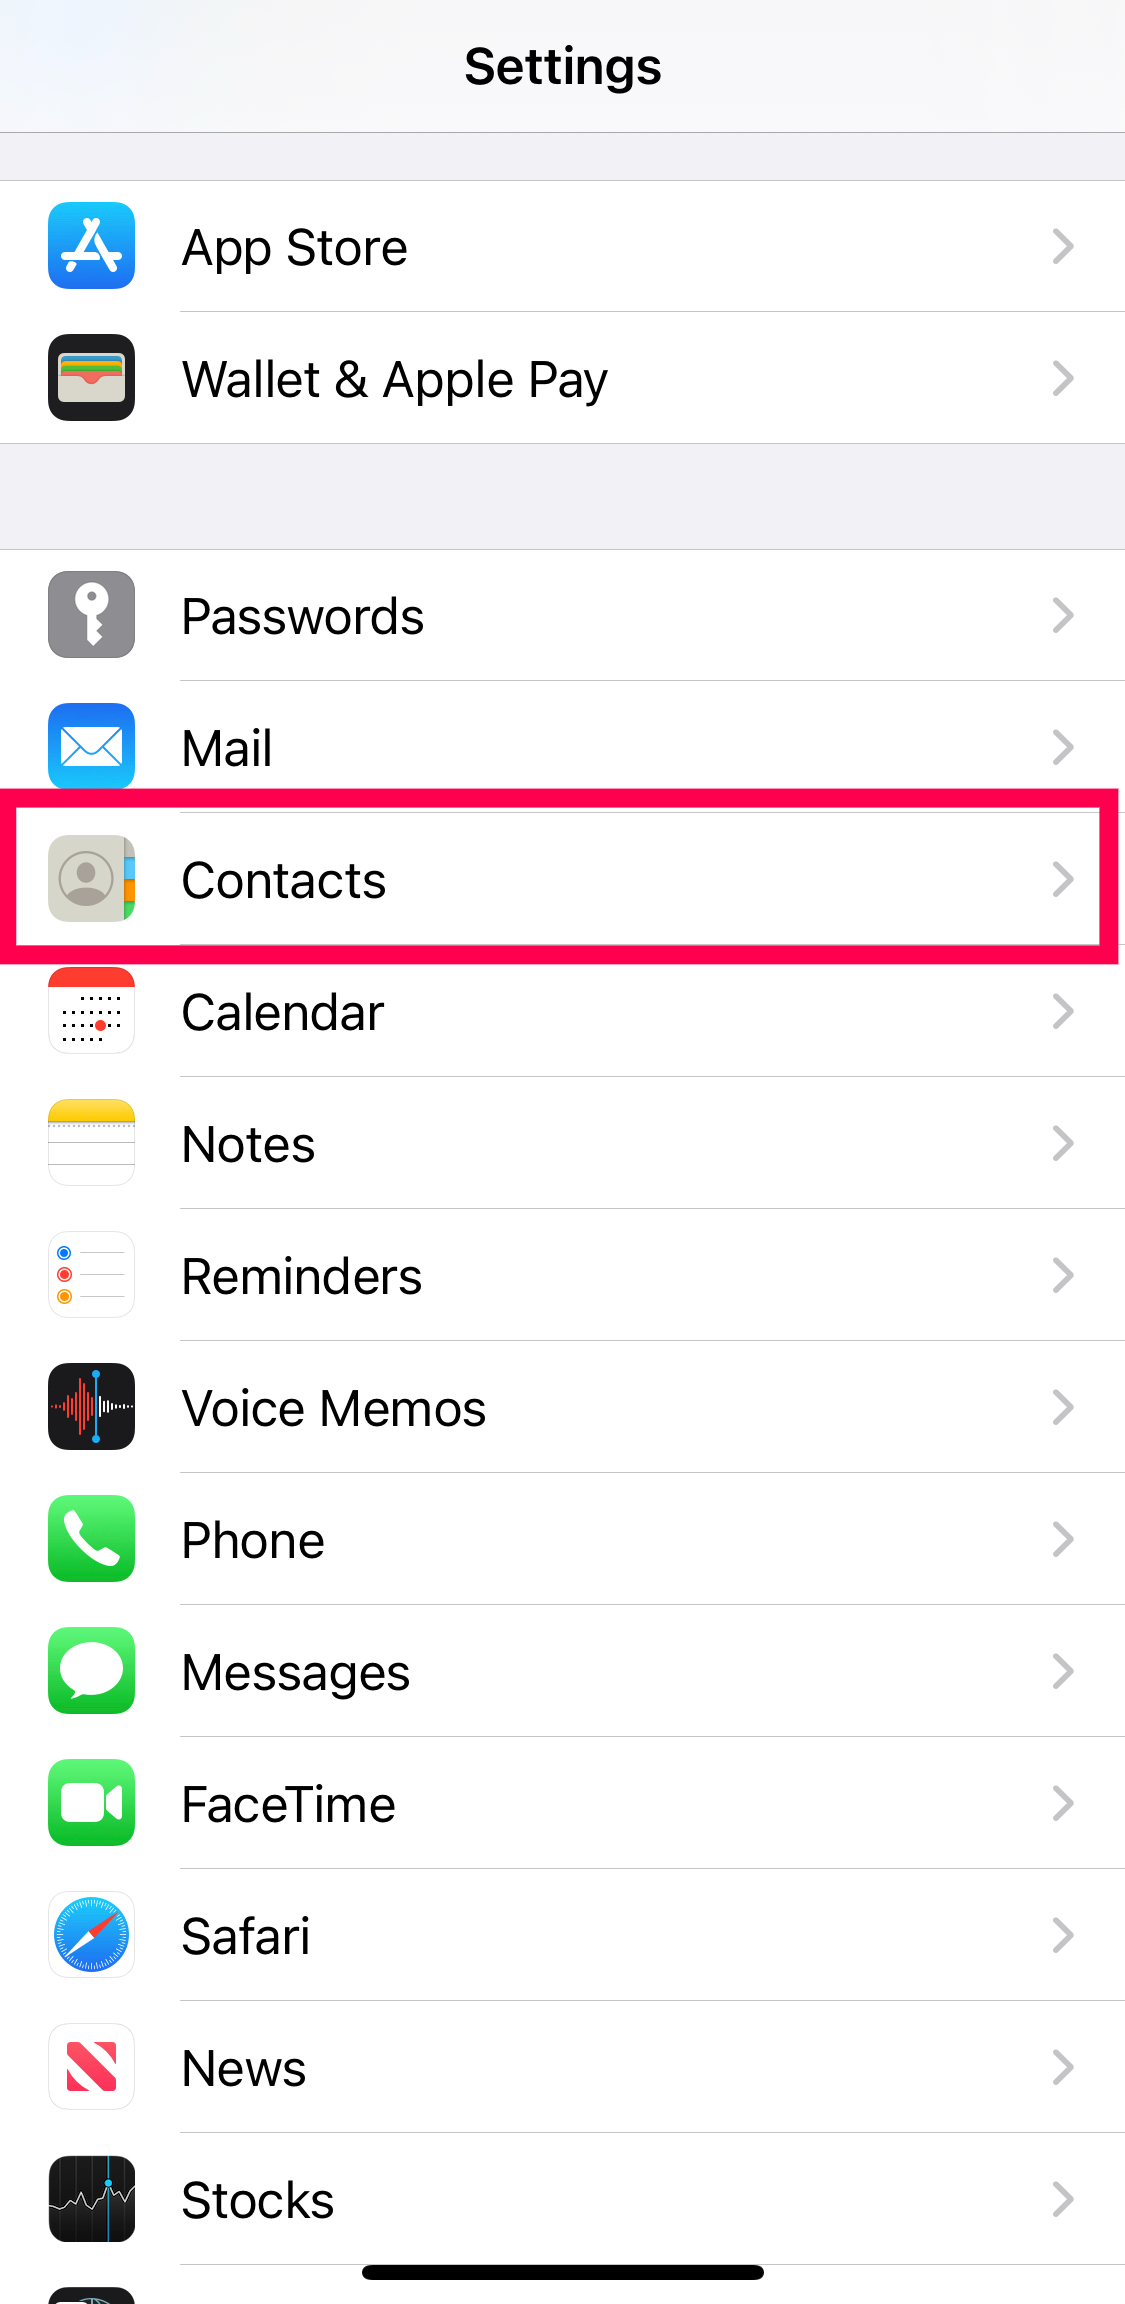
- Open Settings on your iPhone. Then, tap on Contacts.
- Click on Accounts.

- Now, you will see a list of all of your email accounts. Tap on one of the accounts.
- Toggle the switch next to Contacts off so that it turns grey.
- Repeat these steps for each of your email accounts.


Note: If you want to turn off your iCloud contacts, you will need to tap on your name at the top of the Settings page, then tap iCloud, then toggle the Contacts switch from there.
We like this method because it doesn’t actually delete your contacts. Performing the above-listed tasks removes them from your iPhone.
Another option for hiding contacts (especially duplicates) is filtering which email accounts can sync contacts with your iPhone. This process is really simple and effective. Here’s what to do:
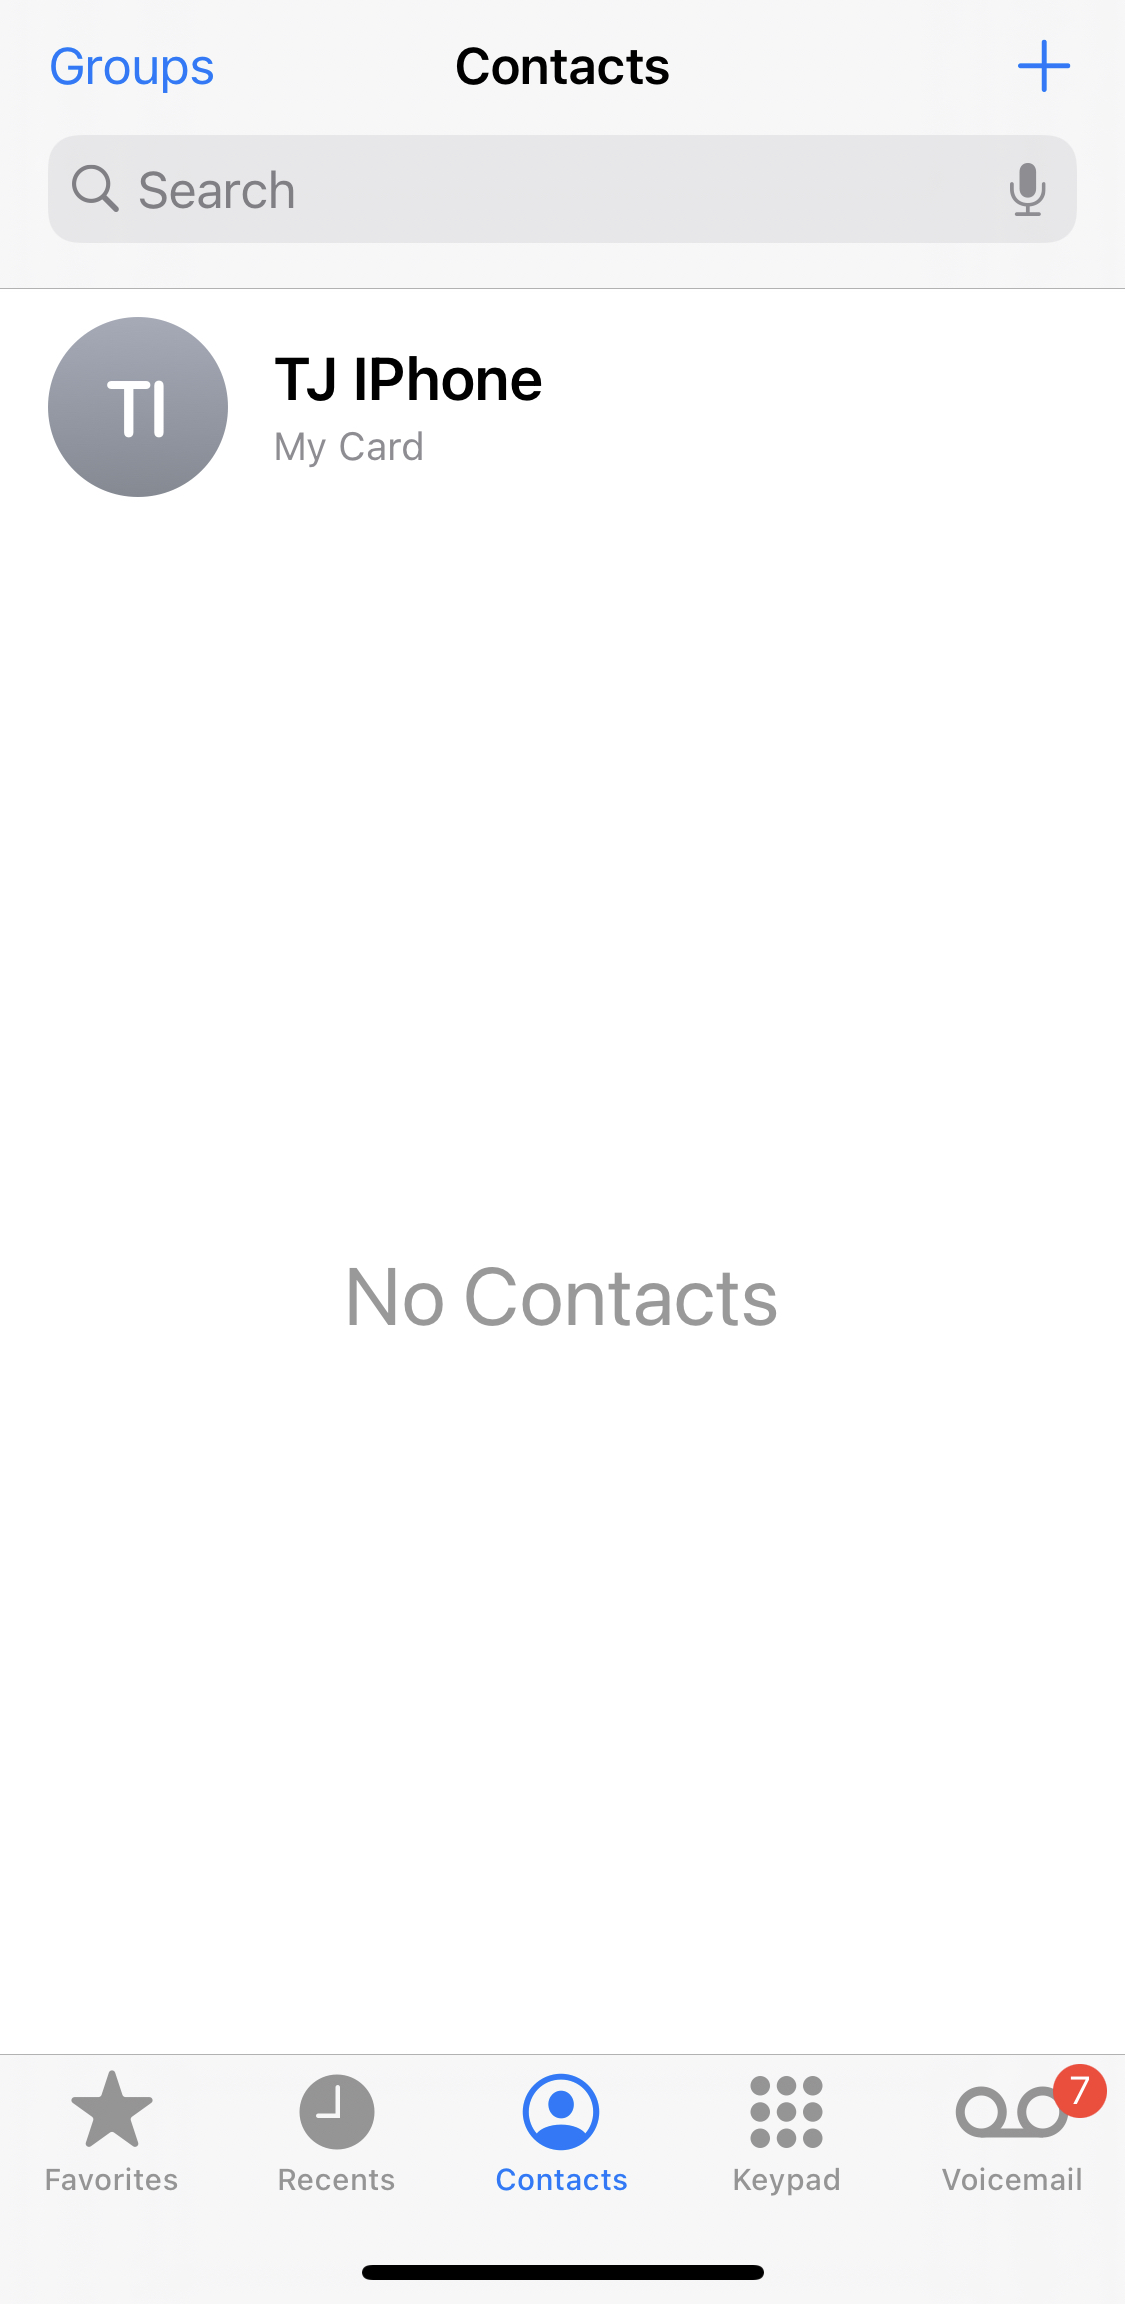
- Open the Phone app or Contacts app on your iPhone.
- If you’re using the Phone app, tap Contacts at the bottom.
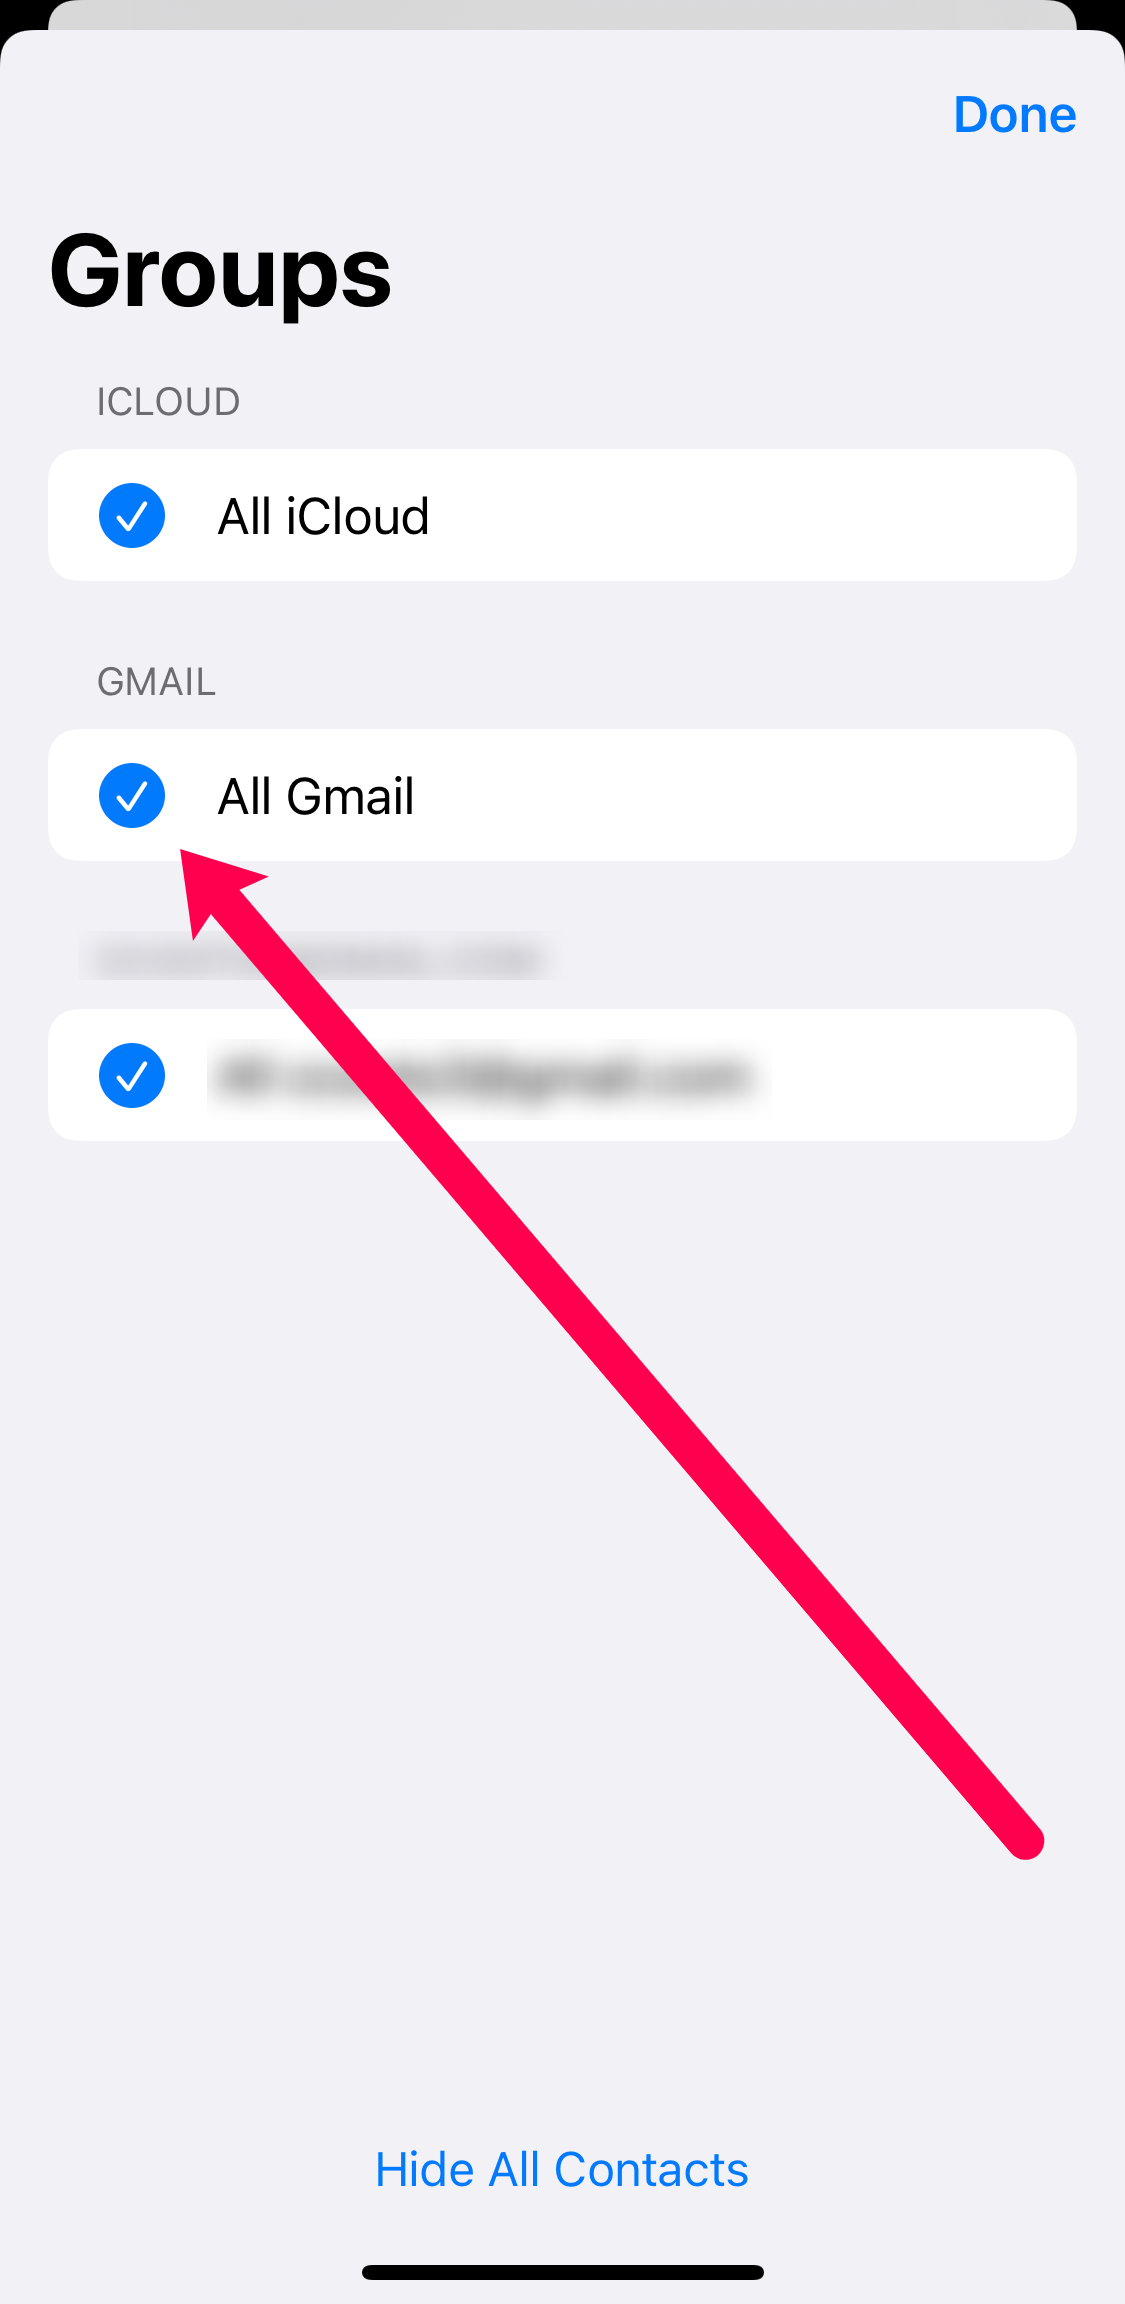
- Tap Groups in the upper left corner.
- If you want to delete all of your contacts, uncheck all of the accounts.
- All of your contacts will disappear.


Similar to the method above, your contacts aren’t gone forever. If you’d like to retrieve them quickly, you can reverse the steps and toggle the accounts back on. Of course, you can also turn off one account, leaving others active and vice versa. This option is a great way to take back control of your contacts quickly.
How to Permanently Delete All Contacts Using iCloud
One of the many excellent benefits of using Apple products is iCloud. The iCloud doesn’t just store all of your pictures and important documents. It also makes it really easy to control your data, including contacts. To permanently delete all of your contacts out of your iCloud and, ultimately, your iPhone, follow these steps:
- Go to the iCloud website and log in.
- Click on Contacts.
- Using the keyboard shortcut CMD+A (CTRL+A on a PC), highlight all of the contacts in the list. You will know they’re highlighted when the background turns from grey to blue.
- Click on the Settings Cog in the lower left corner.
- Click Delete in the pop-up menu that appears. Then confirm.


Note: This will permanently delete all of your contacts in your iCloud, so be sure that you have any information saved that you’ll miss later on.
This method is efficient because you can quickly clean up all contacts on all of your Apple devices. But, if you have other email accounts with the contacts saved, you’ll need to delete your contacts from those email clients.
Deleting Select Contacts
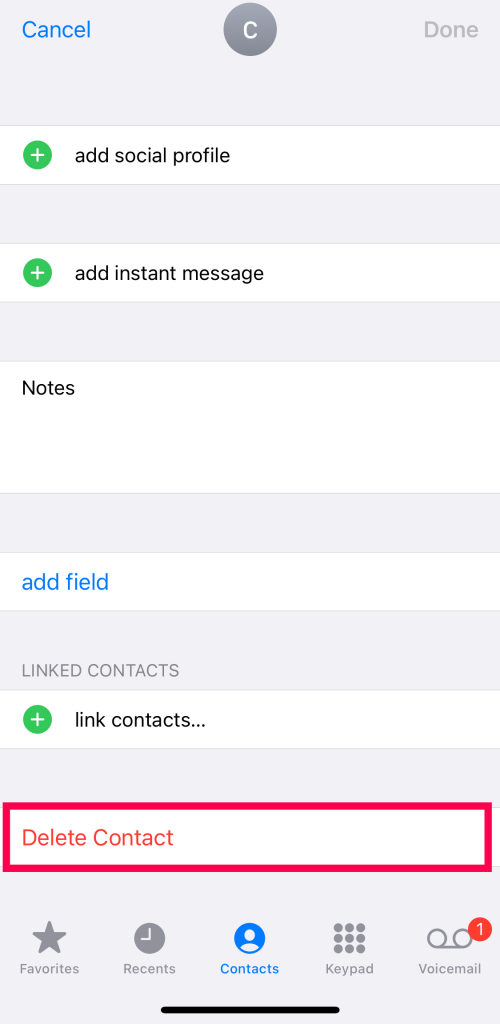
Although this is easier from the iCloud, it can be performed on your iPhone too. Using your iPhone, you can click on each contact, then tap on the Edit button located at the top-right of the screen. Scroll all the way down this page and click on Delete Contact in red. Confirm, and that individual will be gone.
If you have more than a few contacts to purge, this is an incredibly lengthy process. The simpler method is to log into iCloud on a computer and highlight multiple contacts at once.
Editing Your Contacts
When a friend or acquaintance gets a new phone number, it may be super easy to have them send you a text. From there, you can click on the i with a circle around it and add a new contact. Eventually, you’ll have so many duplicates you won’t know which one is the most updated.
To edit and update your contact’s information, follow these steps to keep your log from becoming overwhelmingly confusing or cluttered:
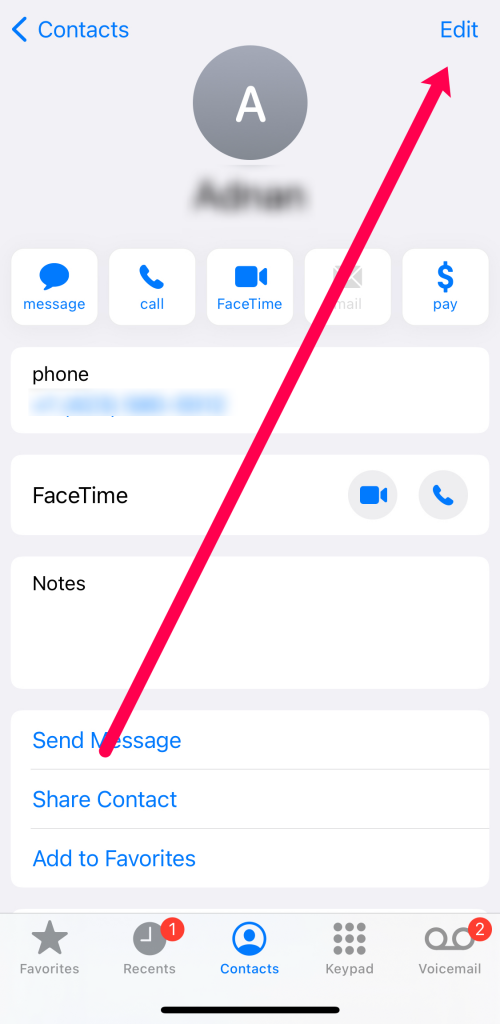
- Go to the Phone app on your iPhone and select the middle option for Contacts
- Tap Edit in the top right-hand corner
- Tap the plus sign that is surrounded by a green bubble (add phone will be next to it because you can add multiple phone numbers for one person)
- Enter the new phone number
- Tap the minus symbol in a red bubble to delete the old phone number; this also works with emails.
Keeping your contacts log from filling up will help you keep it organized over time. When backing up and restoring your phone, you can go to the settings and choose which account you’d like to set as the default for contacts.
Similar to the instructions above, go to contacts in the settings and scroll down until you see Default Account. Choose whether you’d like to keep your friends’ phone numbers in the iCloud or an email account.
Following these steps may save you from a headache years from now.
Frequently Asked Questions
Here are some more answers to your most frequently asked questions about iPhone contacts.
Is there a way to organize my contacts?
Yes. Your iPhone gives you a few customization options to control your contact list better. To access the controls follow the Settings>Contacts path like we did above. Then, you can choose to sort by first and last name.
If you want to separate your contacts by genre (for example, personal contacts and work contacts), you will need to use the Group options we discussed above. Doing this can be complicated if you haven’t organized your contacts in your email accounts. But, if you have a work email and a personal email, you can toggle between the two accounts using the Groups option.
How do I know which contacts are stored on my iPhone and which contacts are stored in my email accounts?
While it’s rare, some contacts may be saved directly to your iPhone’s memory rather than to one of your external accounts. If you follow the steps above to remove all contacts, the remaining ones are saved to your phone’s storage.
Unfortunately, there isn’t a quick way to delete contacts stored on your iPhone’s memory. You will need to delete them individually by tapping on Edit and then Delete at the bottom.
Is there a way to select all contacts and delete them?
Unfortunately, no. Although other iPhone apps, such as the Photos app, will give you a Select All option, the Contacts app doesn’t.
How do I delete all contacts if they’re stored on my phone?
If your contacts are saved in your phone’s memory rather than in the Cloud, you can still delete all of them. But, the process is a lot more involved.
You can either delete your contacts one-by-one as shown above or use the nuclear option: a Factory Reset.
If you choose to factory reset your iPhone, all contacts will disappear immediately. But then again, so will everything else. A factory reset is the most efficient way to mass-delete the contacts stored on your iPhone.
Disclaimer: Some pages on this site may include an affiliate link. This does not effect our editorial in any way.