Google Docs lets you customize your documents in various ways. Just like with Microsoft Word, you have the option to create headers and footers in your Google Docs document. If you want to take it a step further, you can even make different headers for different pages in your Google Docs text.
In this article, we’ll show you how to create different headers for different pages in Google Docs. This includes creating a different header for the first page of the document, as well as different headers for odd and even pages.
How to Create Different Headers for Different Pages in Google Docs
Adding headers to your texts allows you to add relevant information that the reader can check on every page. Headers are extremely useful for cover letters, resumes, essays, papers, and various other types of documents with many pages. You can use the headers to add the document’s title, the date, the author’s name, or additional relevant information.
If you’re using Google Docs for writing documents, you may have already noticed there is an option to add headers. But you may be wondering whether you can customize the headers and to what extent. While you can adjust your headers in many ways, there isn’t an option to create a separate header for every single page in your Google Docs document.
Although you don’t have the option to create a unique header for every page in Google Docs, this online word processor lets you choose between two options:
- Different first page headers
- Different odd and even page headers
If you want, you can use only one of these options or both in the same document. First, let’s see how you would create a header in Google Docs, and then we’ll move on to how you can customize them.
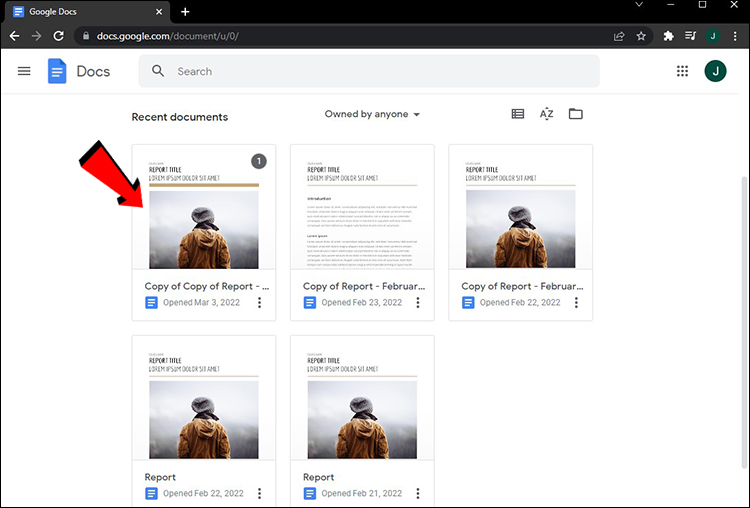
- Open Google Docs on your preferred browser.

- Start a new document or open an old one from the “Recent documents” section.

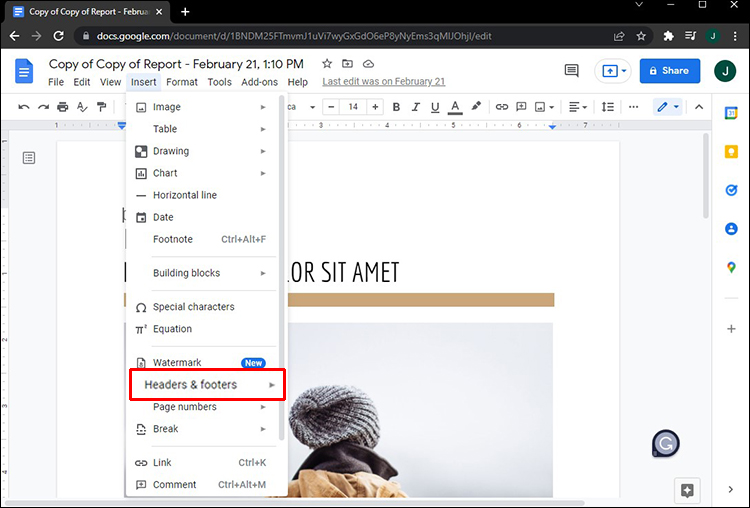
- Navigate to the “Insert” tab on the top toolbar when you’re in the document.
- Select “Headers & Footers” from the drop-down menu.
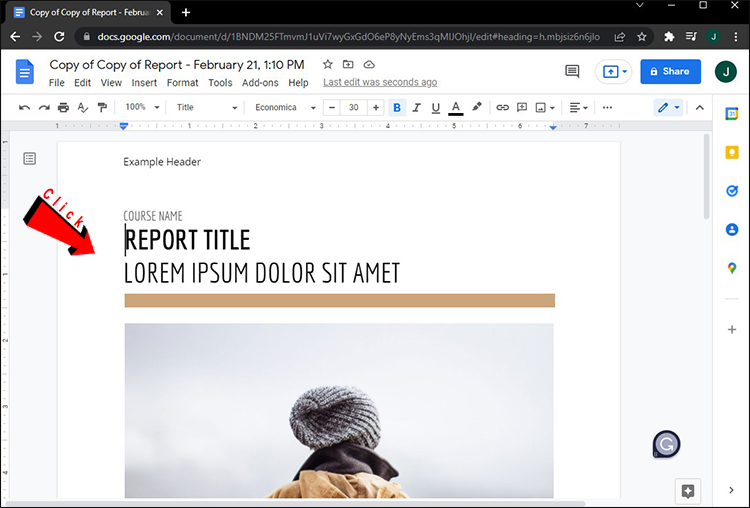
- Choose the “Header” option.
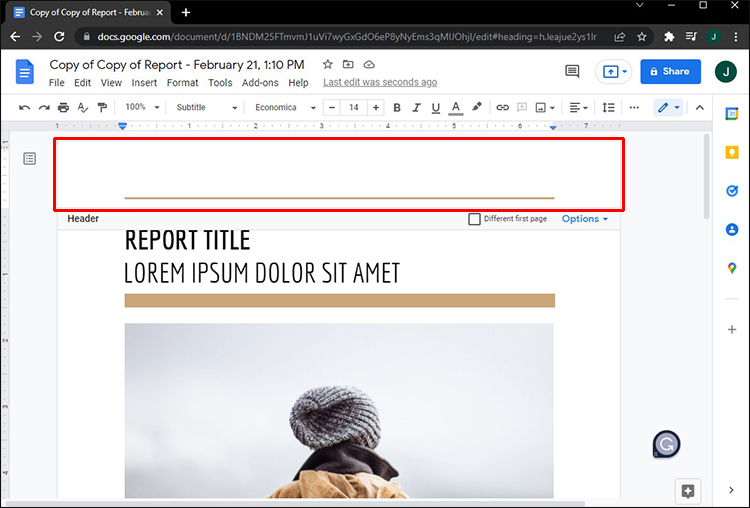
- Enter the header on the top of the document.
- Click anywhere outside the header.


One of the most convenient features of Google Docs is that all changes are automatically saved. Therefore, you won’t have to take any additional steps to save your header.
Another way to quickly insert a header in Google Docs is to open a file and double-click on the top of the document. You don’t even have to double-click on the first page – any page is fine. This is useful for large files with more than 10 pages, so you won’t need to scroll all the way up just to add a header.
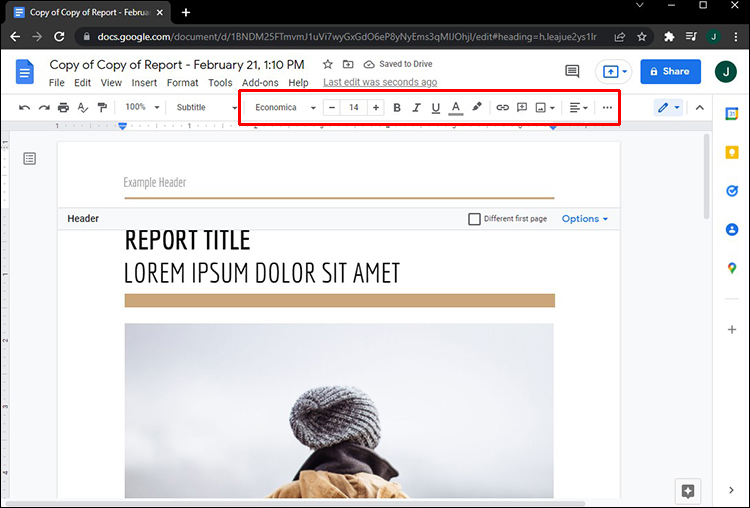
If you open an old document, you will notice the header appeared on top of each file page. Google Docs lets you customize the headers almost as much as Microsoft Word. For instance, you can change the font, the size of the letters, the alignment, the color, and whether the header is in bold, italics, or underlined. You can even set the exact margins for both the header and the footer.
To delete a header in Google Docs, all you need to do is delete anything written in that field. Once you click anywhere outside the header, it will disappear, and the top of the page will be blank. You can also just click on the “Options” tab in the top-right corner and choose “Remove header.”
Different First Page
As we mentioned before, you don’t have the option to set a different header for each page in your Google Docs file. However, the first-page header can look completely different from all the other headers. This is how it’s done:
- Launch Google Docs.
- Open the document you want to edit.
- Double-click the top of the first page.

Note: If you want the header to be the same for all pages, you can click on any page. However, for a different first-page header, you need to do this on the first page of that document.
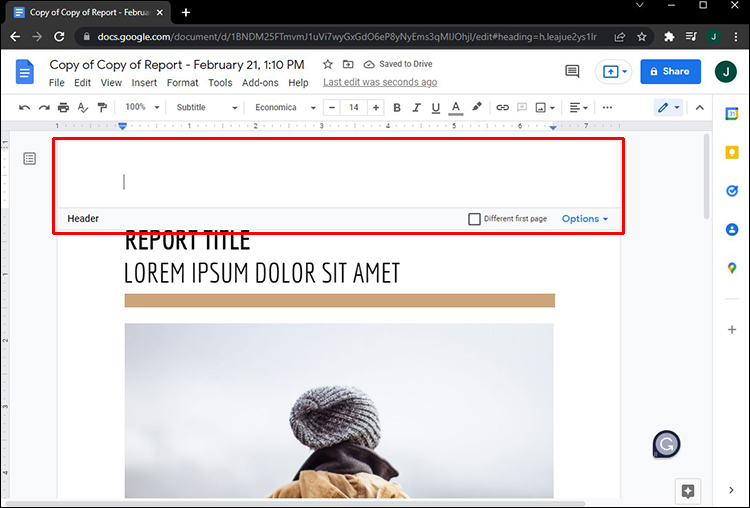
- Click on the “Different first page” box in the top-right corner of the document.
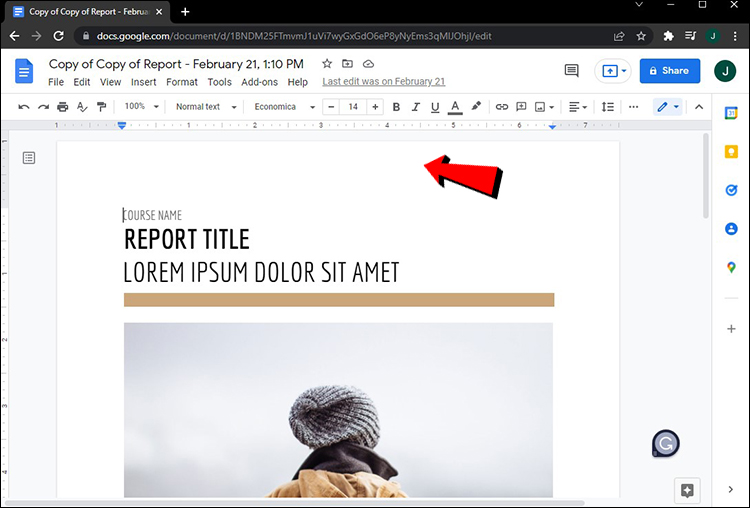
- Enter your header.
- Customize it any way you want (e.g., choose the font, size, color, alignment, and other details).
- Click anywhere outside the header.

Your changes will be automatically saved. Remember that you need to check the “Different First Page” box before typing in the header. If you do this the other way around and enter the header first, it will disappear from the first page when you check the box. Make sure to follow these steps in the correct order.
There is another way to create a different header for the first page of your document. This is how it’s done:
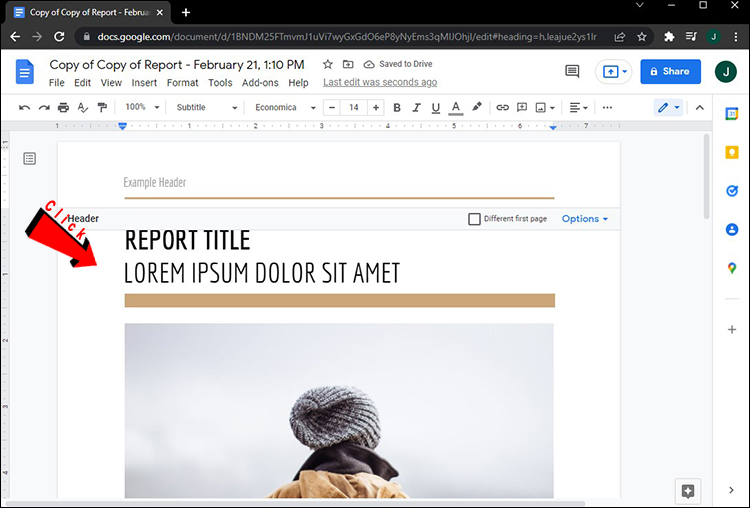
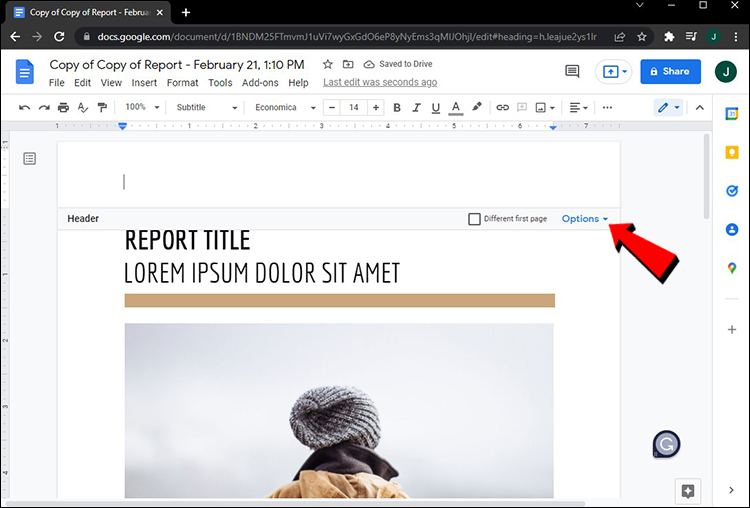
- Double-click on the header.
- Click on the “Options” tab on the top-right side of the text.
- Select “Header format” from the drop-down menu.
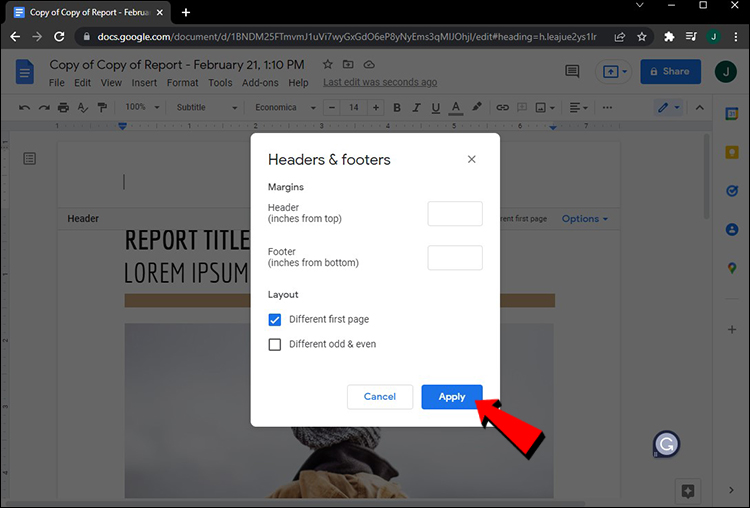
- Check the “Different first page” option under the “Layout” section.
- Click on the blue “Apply” button in the same window.
- Enter the header and customize it any way you want.


Different Odd and Even Pages
Google Docs also lets you create different headers for odd and even pages. This process is similar to how you would set a different first page header in a Google Docs text. Follow the steps below to find out how it’s done:
- Open Google Docs on your browser.
- Go to the document that you want to edit.
- Double-click the top of the page.
Note: If you want to use a different header for the first page, don’t right-click on the first page of that document. Any other page will do. - Navigate to “Options” on the upper-right side of the document.
- Select “Header format” on the drop-down menu.
- Check the “Different odd & even” box on the new window.
- Choose the “Apply” button.
- Enter the even page header.
- Click anywhere outside the even page header.
- Type in the odd page header.
- Click anywhere outside the odd page header.


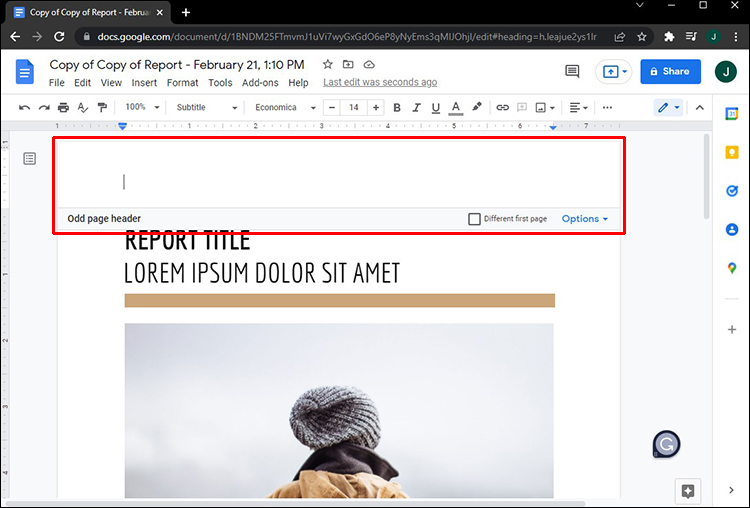

That’s all there is to it. When you scroll down the document, you will notice different headers for odd and even pages. As mentioned earlier, you also have the option to combine the “Different odd & even” and “Different first page” header options.
Keep in mind that everything we talked about headers so far can be applied to footers in Google Docs. You also have the option to create a separate footer for the first page of the text, as well as different footers for odd and even pages.
Customize Your Headers in Google Docs
Inserting headers to your document makes it more organized, and it gives you a chance to add important information. Google Docs even lets you create a different header for the first page of your document, as well as other headers for odd and even pages. What’s more, you can do the same with footers, making your Google Docs text more informative and put together.
Have you ever created different headers for different pages in Google Docs before? Did you use a different header for just the first page, or did you insert different headers for odd and even pages as well? Tell us in the comments section below.
Disclaimer: Some pages on this site may include an affiliate link. This does not effect our editorial in any way.