While it may seem as if the internet were all about Instagram and TikTok these days, Facebook’s user base continues to grow, making it a valuable platform for businesses of all kinds. A well-maintained Facebook page will keep your business on your customers’ feeds at all times, so regularly posting is essential. If you have multiple Facebook pages to keep updated, the task can become extremely tedious, though.
You can remove at least some of the labor from maintaining all those pages by using a single platform to create and schedule all your posts or even post on multiple pages simultaneously. Here’s how to simplify the process of keeping your Facebook pages active.
Streamline Your Posting With Circleboom
Businesses can rarely do with a single page or social media account today. Consequently, the most efficient way of managing your posting schedule on multiple accounts is by finding a tool that allows you to do everything in one place.
Circleboom’s Publishing Tool does exactly that; it allows you to stay on top of your Twitter, Instagram, LinkedIn, Pinterest, Google My Business, and, of course, Facebook posts. You can connect your Facebook groups or pages to the app and cross-post content to save time on this otherwise dull and repetitive task.
The app provides a very user-friendly experience with its intuitive design. It has numerous valuable features, including Canva, Unsplash, and Giphy integration, a video downloading tool, RSS sharing functions, and smart article recommendations. However, despite that, Circleboom doesn’t overcomplicate the posting process.
Here’s how to post to multiple Facebook pages using this solution.
Account Creation
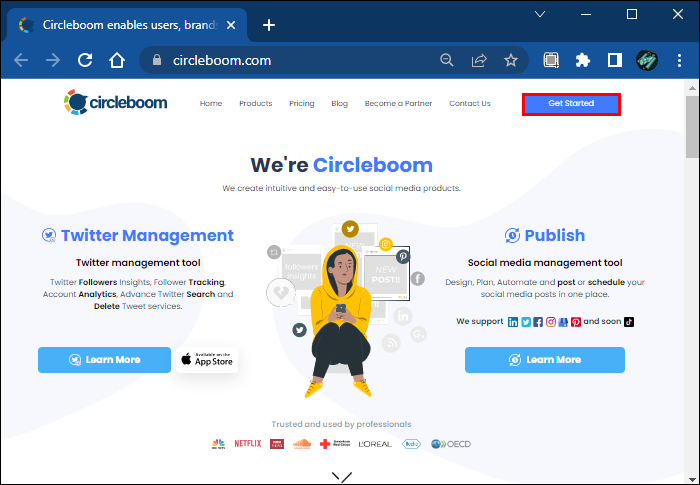
- Open Circleboom’s website and press the “Get Started” button.
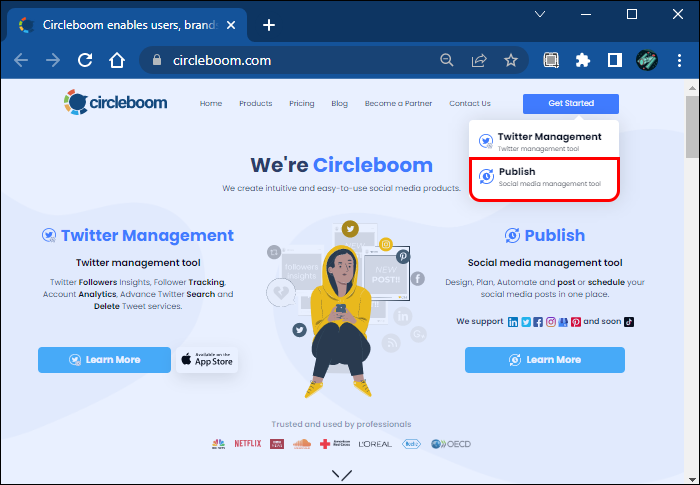
- Circleboom offers a dedicated Twitter tool as well as a cross-platform post scheduler. Click on the “Publish Tool” for the latter.

- Create a new account or log into your existing one.

Linking a Facebook Account
Once you’re logged in, you’ll be taken to your dashboard. Existing users will see their daily posting schedule, while new users will receive a prompt to connect their social accounts to the service.
- Click on the “Facebook Page” option to add your pages to Circleboom.
- Sign in with your Facebook account and grant the app access.
- Select the Facebook Pages you want to add to Circleboom.


Creating a Post
After Circleboom connects to the appropriate accounts, you can create a new post.
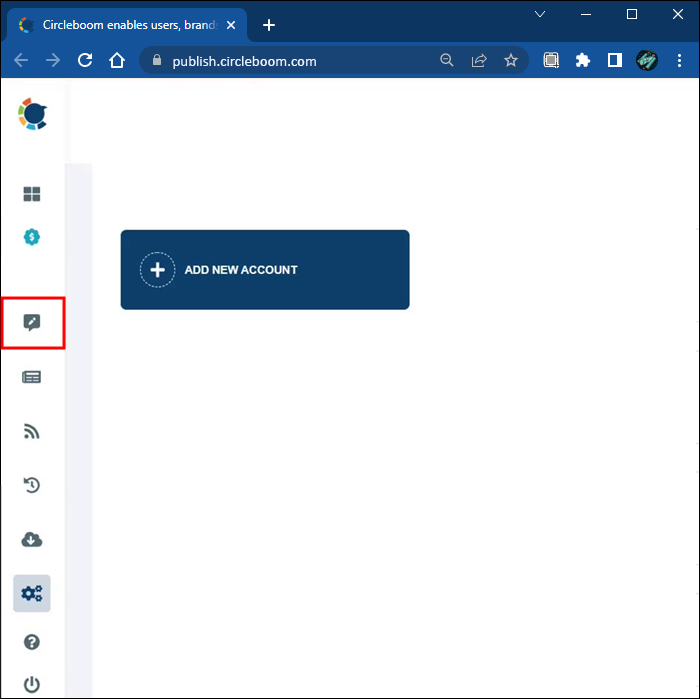
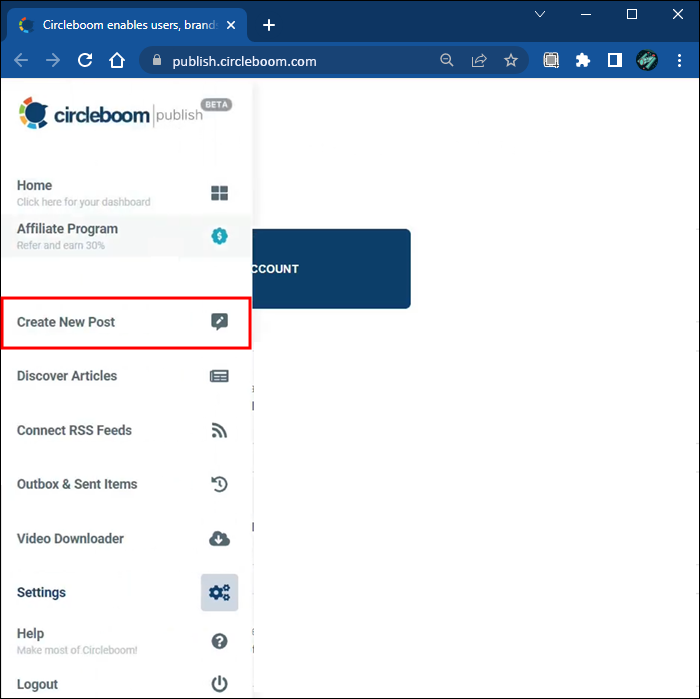
- Find the pencil icon in your left sidebar.
- Click on “Create New Post.”
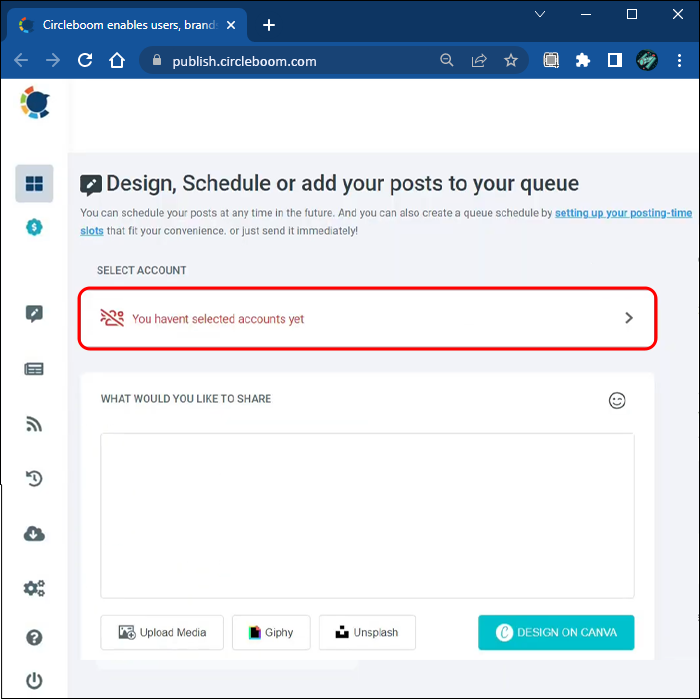
- On the new page, click on the first field to choose where you want to publish your post.
The added social media accounts display in a new panel on the right side of the page. You can select the accounts to post on by the social media platform, by groups you created, or individually. Select the icons of the pages you want to include. A small Facebook logo in your icons’ corner will indicate Facebook accounts. - Once you’ve selected all the accounts you wanted, click on the “Done” button.
- Next, create the post itself. You can use emojis, gifs, royalty-free images, and even Canva designs in your post to make it more engaging. Click on the appropriate button in the editing window to access these features.
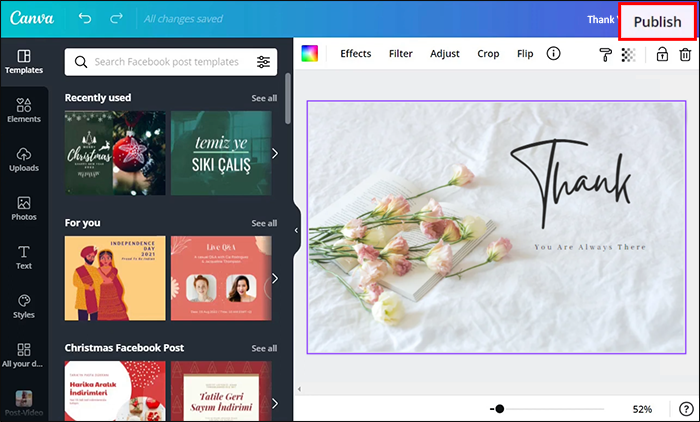
- If you opt for a Canva design, log into your Canva account and select “Facebook Post” as your template. This way, you won’t have to worry about figuring out the correct image sizes and dimensions for this platform.
- When your Canva design is complete, hit the “Publish” button in the top right corner to save the image. This won’t publish your post yet.
- The image will be added to your post. You’ll see a preview of the finished product on the right side of the screen.


Publishing a Post
When the design portion of your Facebook post is complete, you can choose between queueing, scheduling, or publishing it right away.
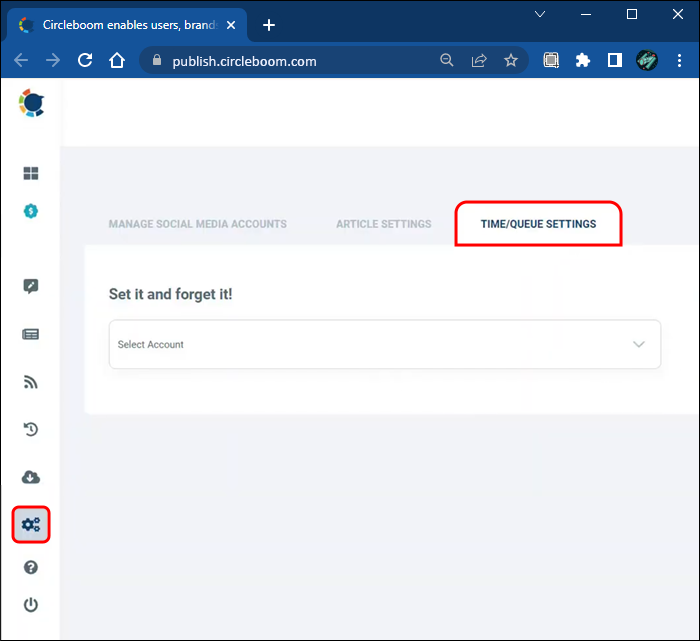
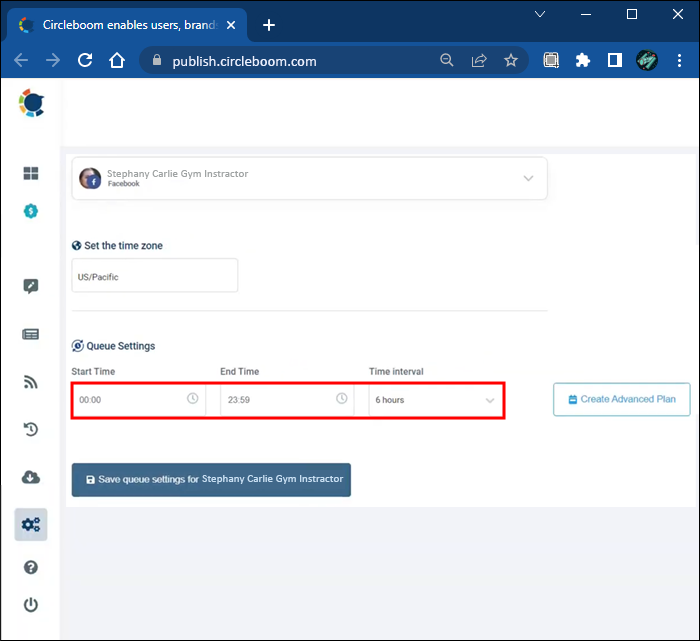
Scheduling the post will allow you to determine when it will go live on your Facebook pages. “Queueing” means the post is published according to your queue settings. If you haven’t yet set up your queue on Circleboom, a dialogue box will prompt you to do so.
- Click “Show Queue Settings,” and you’ll be taken directly to this page. You can also access your queue settings by pressing the gear icon in your sidebar and selecting “Time and Queue Settings.”
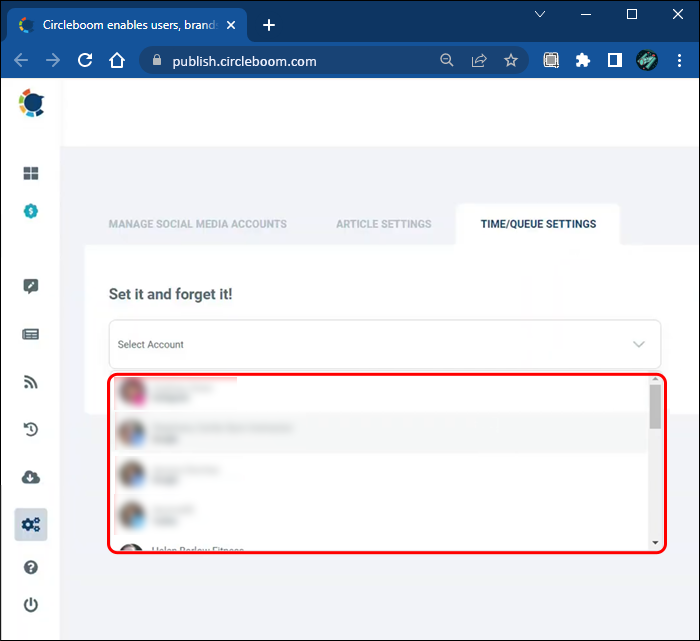
- Choose the account to adjust the queue settings.
- Determine the queue’s start and end times and the interval at which your posts will be published.
- Click on the “Create Advanced Plan” button to adjust the days and specific times you want to post.
- Save the queue settings, and you’re done.

Utilize Facebook’s Cross-Posting Feature
Facebook itself also offers some cross-posting features to those with multiple pages, though it has some limitations. For example, it’s only available for pages that already have a cross-posting relationship, and it only allows you to cross-post video content. Nevertheless, it can come in handy if you only want to share videos across your pages occasionally.
You can use Facebook’s cross-posting feature to share new and existing content.
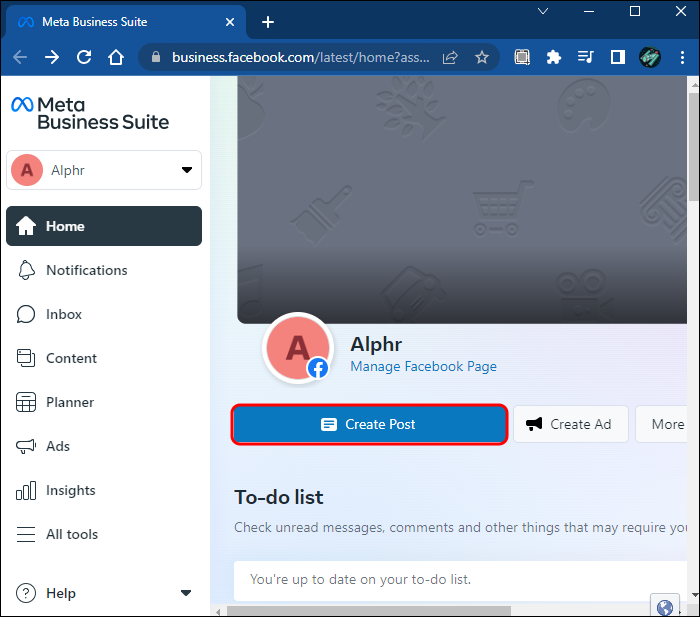
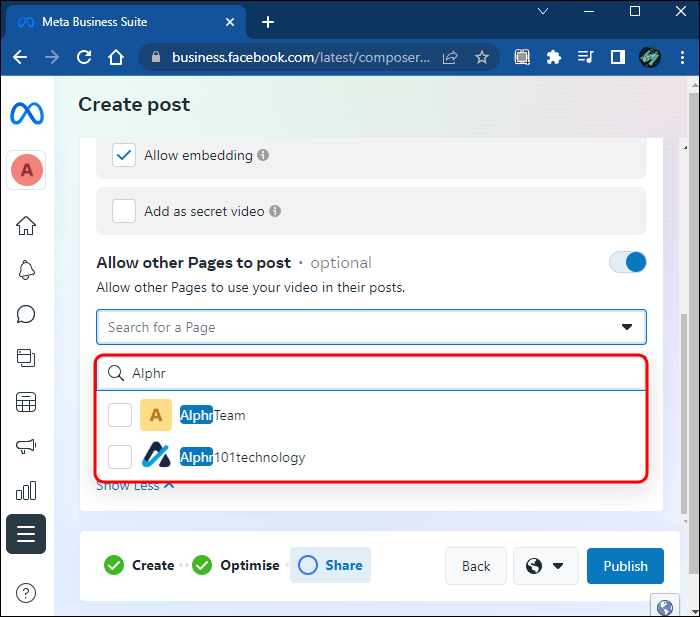
- Create a new video post by selecting “Create Post,” “Post something…,” then “Post Video Across Pages.”
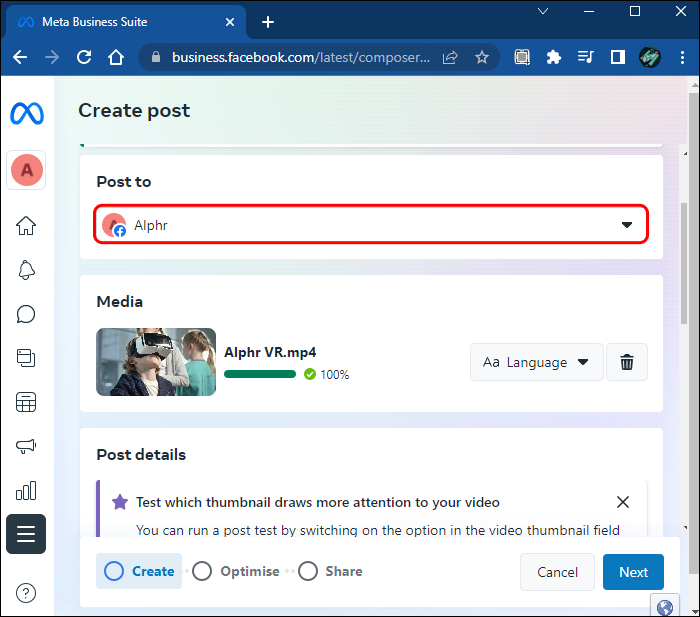
- Select the page where you want to upload videos.
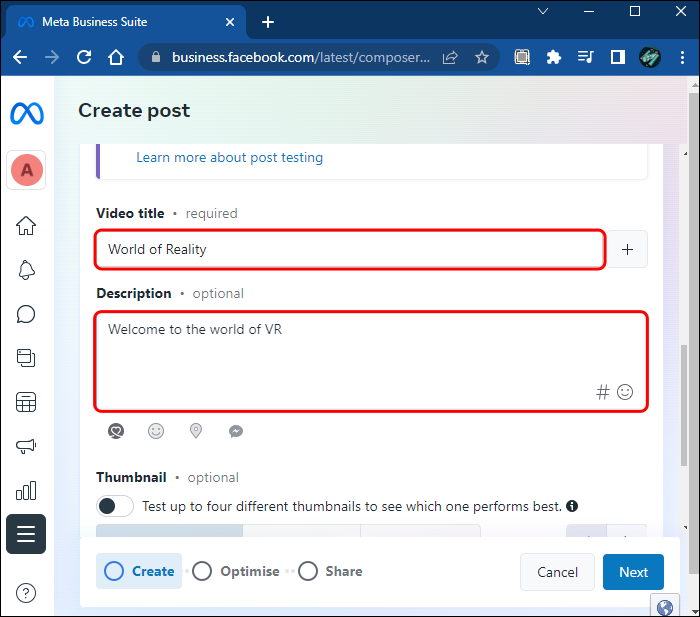
- Edit the title and description for each post if you want.
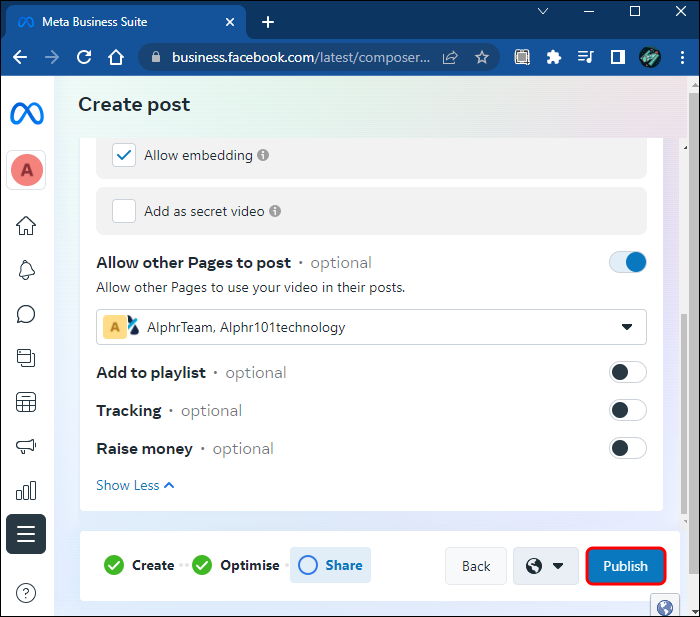
- Pick the pages you want to cross-post the content.
- Upload and publish the video to share it on each of the pages at once.
Should You Post to Multiple Facebook Pages at Once?
Although personalizing your content to the intended audience is key to its success in the digital marketing world, there comes a time when cross-posting becomes a valuable feature. If you have many similar Facebook pages to manage, using a tool like Circleboom to publish content can save you a tremendous amount of time.
Is managing multiple Facebook pages taking up too much of your time? Are you going to try the solutions mentioned above? Let us know in the comments section below.
Disclaimer: Some pages on this site may include an affiliate link. This does not effect our editorial in any way.