The Master Slide in PowerPoint is where you can edit your entire presentation’s appearance at once. For example, you can change the theme, slide layouts, colors, fonts, and many more features. Once you make the necessary changes, all your slides will be automatically updated.
This article will show you how to edit the Master Slide in PowerPoint online and on the desktop program.
How to Edit the Master Slide in PowerPoint on a Mac
Editing your Master Slide in PowerPoint on your Mac is a simple process, and it will only take you a couple of minutes, depending on how much editing you’re required to do. To find out how it’s done on a Mac, follow the steps below:
- Open PowerPoint on your Mac.
- Start making a new presentation or go to “File” and then “Open” to return to an old one.

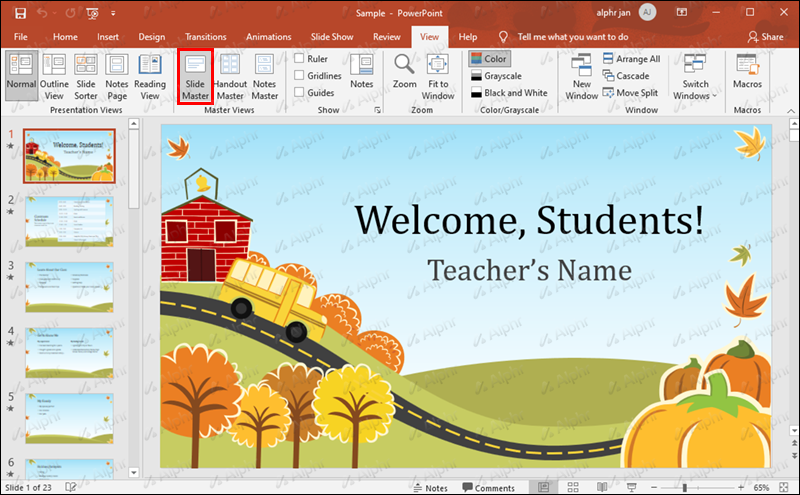
- Navigate to the “View” tab on the menu on the top of your screen.

- Select “Slide Master” from the list of options.
- Do any of the following to edit the Master Slide:
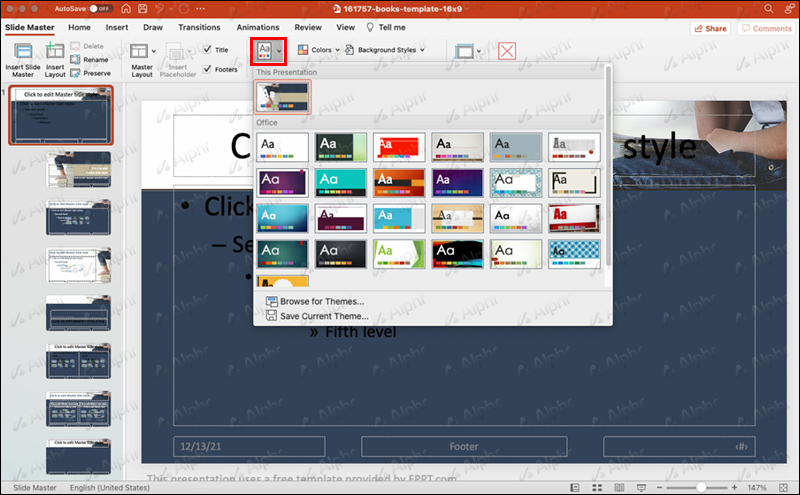
- To change the presentation’s theme, click on the “Theme” button on the pane and choose a new theme from the selection.
- To edit the presentation’s layout, go to the “Master Layout” option, and choose a layout for the whole presentation.
- To delete a slide, click on it from the list of slides on the left sidebar, and click on “Delete” on the “Slide Master” banner.
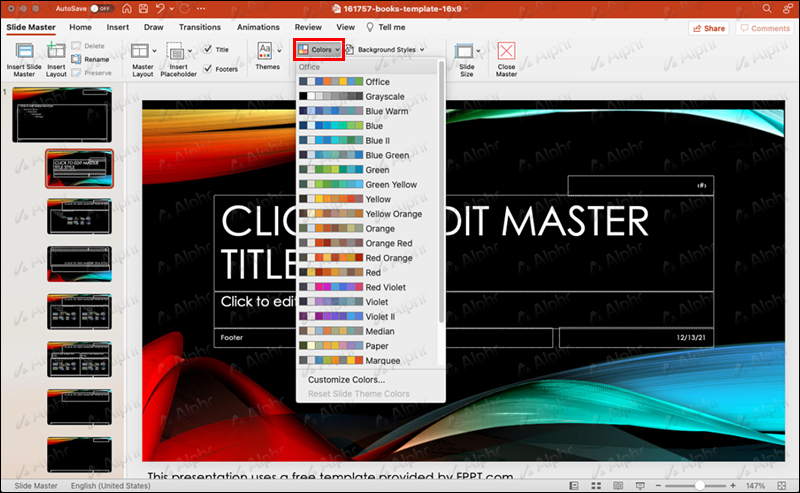
- To pick new colors for the slides, proceed to the “Colors” tab on the right side of the banner.
- To set the presentation’s orientation, go to “Slide Size” and then to “Page Setup.” Select the orientations for the slides, notes, handouts, and outlines.
- To add a header/footer, click on “Slide Size” and proceed to “Page Setup.” Then go to the “Header/Footer” option.
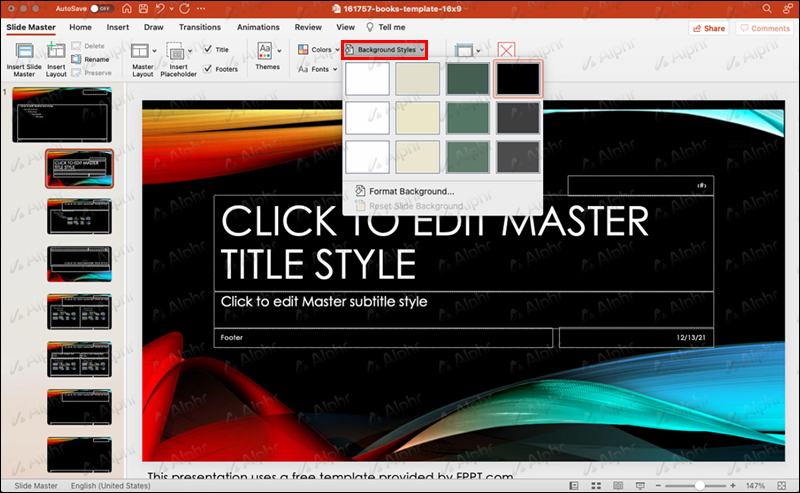
- To alter the background style of the presentation, choose the “Background Styles” option on the “Slide Master” banner.
- To change the presentation’s theme, click on the “Theme” button on the pane and choose a new theme from the selection.
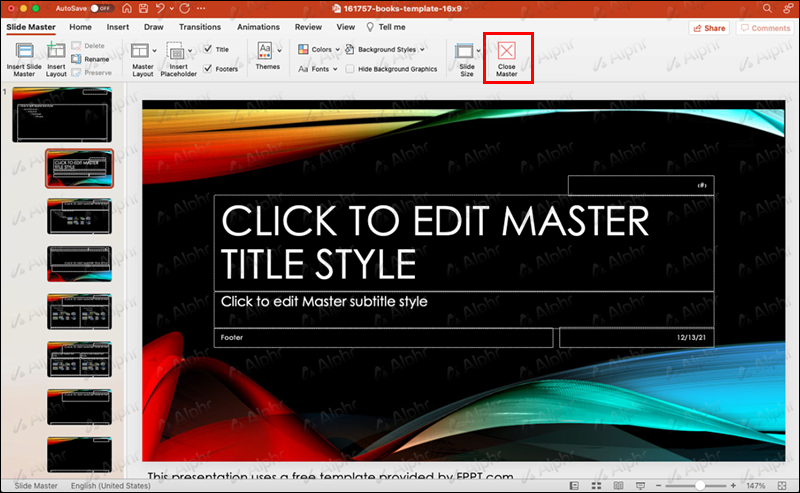
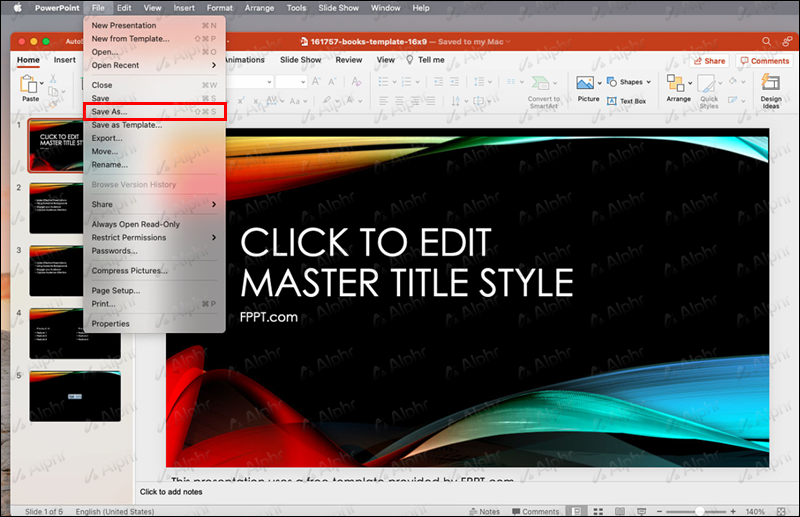
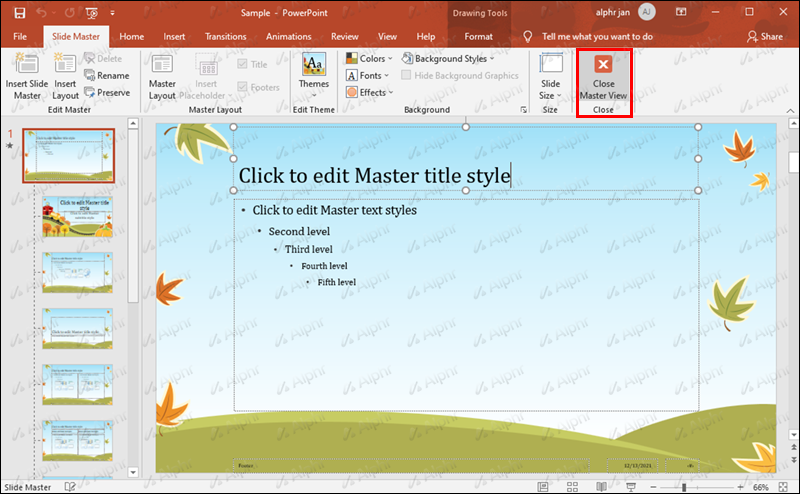
- When you’re done editing the Master Slide, click on the “Close Master” button in the top-right corner.
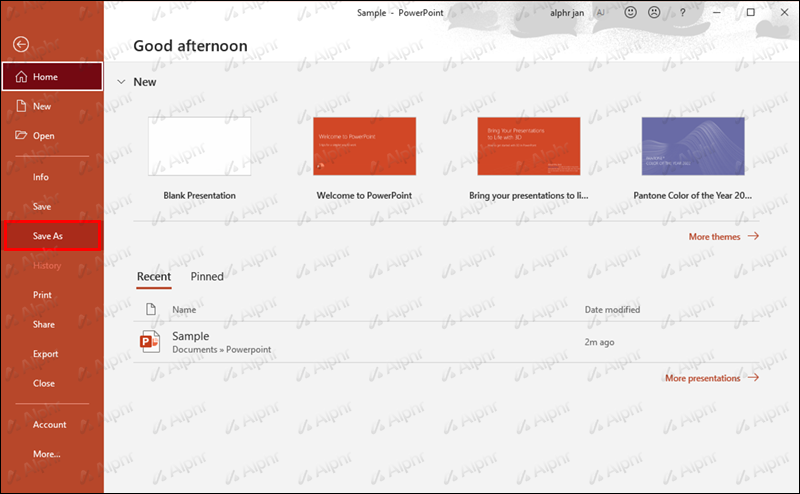
- Go to “File” and then “Save As” to save the file on your device.


That’s all there is to it. If you already know how to edit your presentations on PowerPoint, you shouldn’t have any issues figuring out the Master Slide. There are tons of ways to edit the Master Slide so that you can make the ultimate presentation in less time.
How to Edit the Master Slide in PowerPoint on a Windows PC
If you have a Windows PC, here’s how you can edit the Master Slide in PowerPoint:
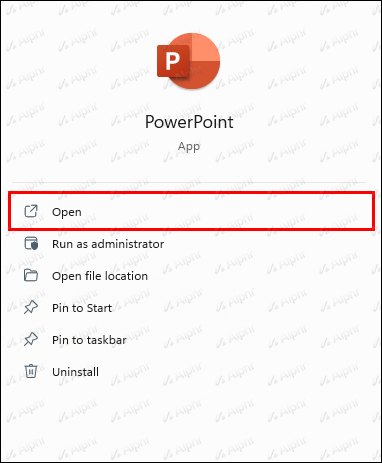
- Launch PowerPoint on your Windows PC.
- Go to the “File” tab in the upper-left corner of the screen.
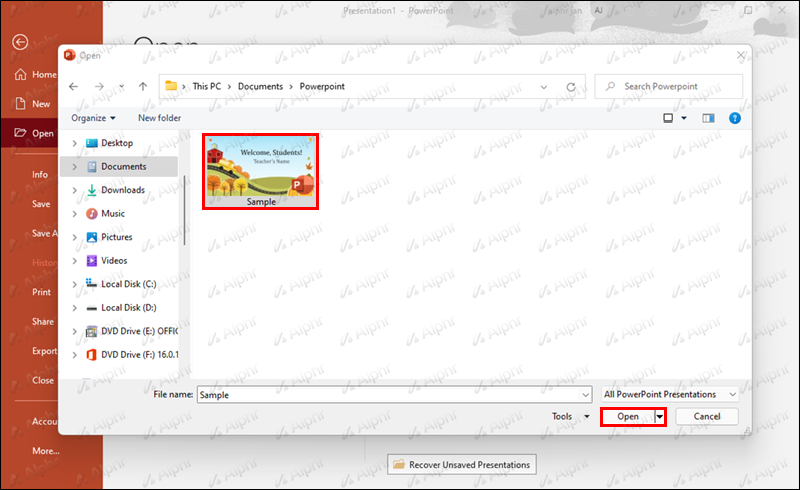
- Continue to “Open” on the left sidebar.
- Locate your presentation and open it.
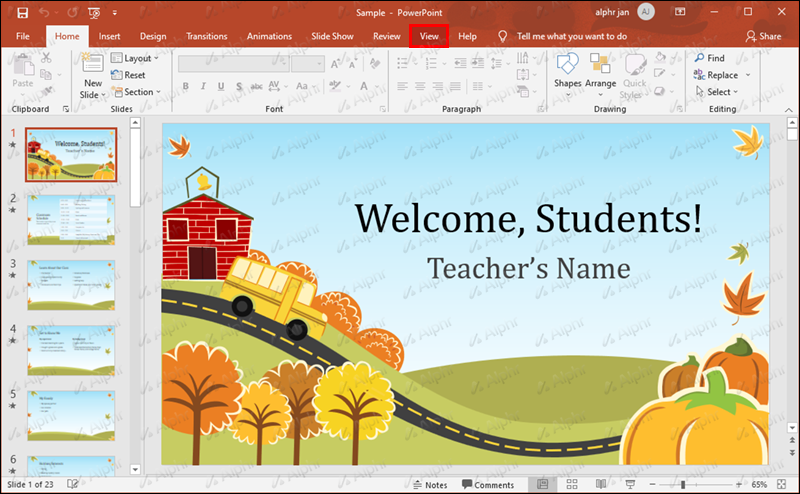
- Click on the “View” tab on the top menu.
- Pick the “Slide Master” option. Your presentation’s overview will appear on the left side of the screen.
- Edit the Slide Master how you see fit.
- Click on the “Close Master View” button in the upper-right corner.
- Proceed to “File” once again.
- Select “Save As” and save your PowerPoint presentation on your device.


You also have the option to save the Side Master template if you plan on using it again. To do this, go to “File” and then “Save as Template.” Give the file a name, and click on the “Save” button.
If you want to spruce up your PowerPoint presentation, you can use multiple Master Slides in one presentation by clicking on “Slide Master” on the “View” pane. Afterward, simply choose the “Insert Slide Master” option. This feature is handy when you want to divide your presentations into different segments, where each part would have a new theme.
The only limits to your editing power with the Master Slide are your presentation’s requirements, and of course, your creativity.
How to Edit the Master Slide in PowerPoint Online
The Master Slide (or the Slide Master) is designed to help you edit your PowerPoint presentation with no effort. Every PowerPoint version comes with this feature, but first, we’ll show you how to do it online.
The Master Slide is the perfect tool when you have just finished making your presentation, but you want to make multiple changes to it. For instance, you realized that you didn’t like the layout, or you figured out that you were using the wrong font all along. Technically speaking, the Master Slide controls everything except for the presentation’s content.
By making changes to your Master Slide, you can edit all the slides of your presentation at once. It’s a pretty useful feature, especially when you have 30 slides or more. Instead of editing each slide individually, you can just go to the Master Slide tab and get the job done in only a few minutes.
For those who prefer using the PowerPoint web app, the process of editing the Master Slide is equally straightforward. Here’s what you need to do:
- Visit PowerPoint on your web browser.
- Sign in to your Microsoft account.
Note: You can also just go to office.com and proceed to PowerPoint from there. - To create a new PowerPoint presentation, click on the “New blank presentation” button. You also have the option to upload a saved PowerPoint presentation from your computer.
- If you uploaded a presentation, go to the “Edit Presentation” tab at the top of the screen.
- Continue to “Edit in Browser.”
- Once you open your presentation, select “View” on the top menu.
- Click on “Slide Master.”
- Edit the Slide Master.
- When you’re done, go to the “Close the Master View” button on the right side of the pane.
All the slides will be immediately updated. When you open the Master Slide, the edit options are near limitless. For example, you can insert a new slide or a placeholder, change the presentation’s theme, or hide background graphics. You have the same editing options you would have access to on individual slides. However, if you want to make changes to only one slide, the Master Slide feature isn’t for you.
Once you’ve finished making your presentation, it will be automatically saved on your OneDrive. If you want to download it to your device, follow the steps below: - Click on the “File” tab on the top menu.
- Choose “Download As” from the list of options on the left sidebar.
- Select “Download a Copy,” “Download as PDF,” or “Download as ODP.”
Using PowerPoint for the web is helpful because it allows you to save your presentations online and on your device.
Work Faster in PowerPoint With the Master Slide
The Master Slide helps you alter and adjust the appearance of a saved PowerPoint presentation. Instead of making changes to each slide individually, you can just edit the Master Slide and change your entire presentation’s look in a couple of moves. This way, you can speed up the editing process and complete the presentation twice as fast.
Have you ever edited the Master Slide in your PowerPoint presentation before? Did you use PowerPoint for the web or the desktop program? What kind of changes did you make? Let us know in the comments section below.
Disclaimer: Some pages on this site may include an affiliate link. This does not effect our editorial in any way.