For those who struggle with getting a Wi-Fi connection to cover their entire home or office, the eero seems like a lifesaver. This clever device uses TrueMesh technology that allows you to create a network of eeros, each emitting a Wi-Fi signal to which you can connect.
That network starts with one eero, which serves as a gateway for the rest of the devices you connect to your modem or router. Changing that gateway eero can be a hassle, though it’s one you’ll need to confront if you buy a new eero or simply want to switch out your existing gateway eero with another in your network.
Replace Your Current Gateway eero with a New eero
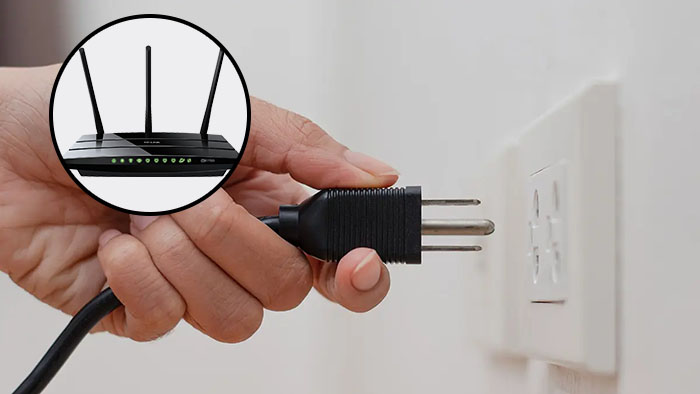
Given that eero releases new versions of its device regularly, you may want to switch an outdated model out for a new one. This new gateway eero connects directly to your modem or router, turning it into the conduit through which the rest of your network operates.
If you want to introduce a new eero as your gateway device, you can do so using the eero mobile app, which is available for both iOS and Android.
- Load up the eero app on your mobile device and log into your eero account.
- Tap the “+” icon at the top-right of your screen.

- Select “Add or Replace eero Devices.”
- Choose “Replace eero Device.”
- Choose the eero you wish to replace, which should be the eero that’s currently connected directly to your modem or router. Follow the setup instructions that the app provides.


These setup instructions tell you how to disconnect your current eero from the modem so you can plug your new device in. However, your new eero isn’t a gateway yet, as there are a few more steps to complete:
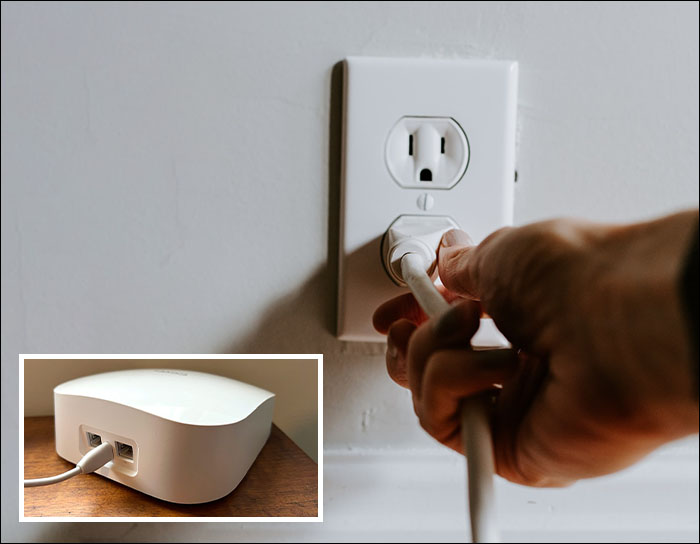
- After plugging in your new eero, wait for it to boot up and come online.
- Wait for about 10 minutes for your eero network to come online.
That waiting period allows your network to figure out which eero you’re using as your new network, allowing it to make the appropriate changes. Once your network is up and running again, you can check the new gateway’s signal strength:
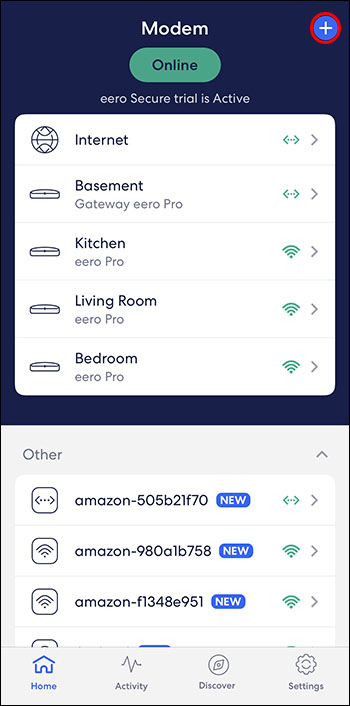
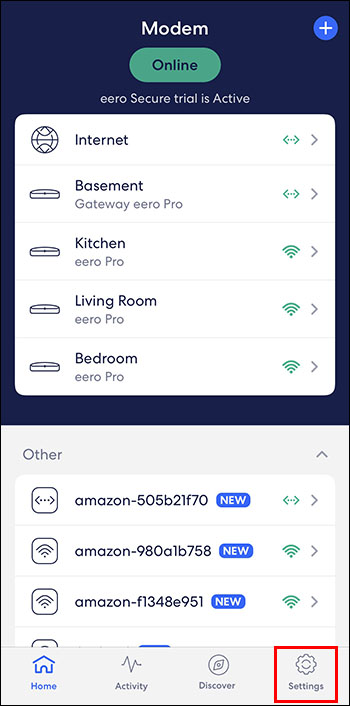
- Open your eero mobile app and tap “Online.”
- Check the signal strength of your new gateway, which you’ll see on the right side of the device’s name.
eero measures signal strength using a five-bar system, similar to that used for cellular networks. Five bars tell you that the device has a strong connection (perfect for serving as a gateway) and one bar denotes a poor connection. Check the connection strength of each eero in your network to ensure each has a good connection (at least two bars) to your gateway eero.
Swap Your Existing Gateway eero with Another eero in Your Network
Sometimes, you’ll find that the eero you’re using as your gateway isn’t doing a good enough job. That may make you want to test other eeros in your network as your gateway to see if any of them do a better job of transmitting a signal to the rest of the network.
The following steps allow you to do that, regardless of whether you use the Android or iOS version of the eero app:
- Select the eero you wish to use as your new gateway. A good way to do this is to check the signal strength of each eero by tapping “Online” in your eero app, with the one emitting the strongest signal being a good choice for your gateway.
- Unplug your modem or router and wait a couple of minutes for power to cycle out of the device.
- Remove the power running to the secondary eero in your network. Unplug your gateway eero from your modem or router.

These steps should effectively power down your entire eero network, setting the stage for you to create and configure a new gateway. From there, you’ll reboot the network with your replacement eero serving as the new gateway:
- Plug your modem or router back in and wait for it to reboot to the point where it’s emitting a Wi-Fi connection.
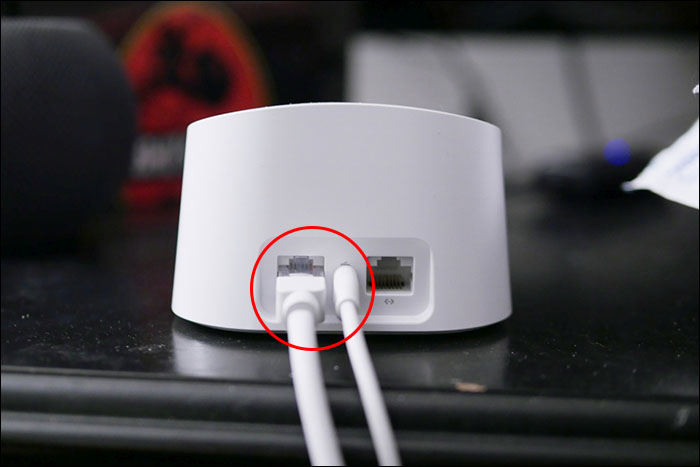
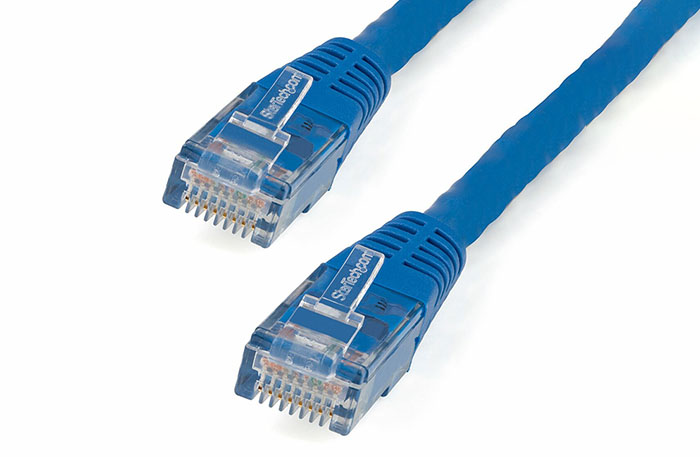
- Use an Ethernet cable to connect your replacement gateway to the modem or router.
- Plug your replacement gateway into a power socket.
- Wait for the new eero gateway to power up and come online.
With the replacement gateway in place, your eero network may take up to 10 minutes to configure itself and come back online. Once it has, you can use the following steps to check your new connection:
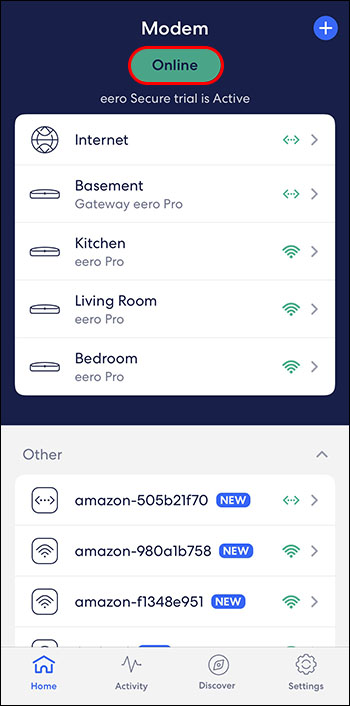
- Open the eero app and navigate to the “Online” page.
- Check your gateway eero’s signal strength.
Ideally, you’ll see a five-bar signal strength, telling you that the replacement gateway emits a strong connection. Failing that, compare the signal strength to what your previous eero had to see if the replacement is worth keeping. If it emits a weaker signal, it may be a good idea to switch your replacement to the original.
Change a Gateway Range or IP Address
Every eero device comes with a default IP address of “192.168.4.1.” That’s usually fine for most users but some may want to configure that IP address, especially if you have several devices that use a static IP address that’s different from the eero default.
You can make this change via the eero app with a few simple steps:
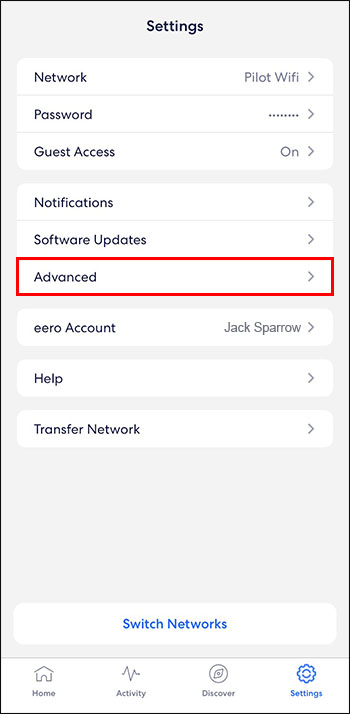
- Navigate to “Settings.”
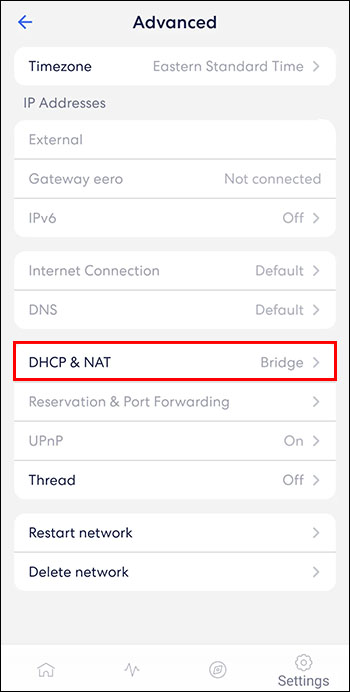
- Tap “Advance.”
- Select “DHCP & NAT.”
- Tap “Manual IP.”
After tapping “Manual IP,” you’ll get a choice between three options:
- 192.168.0.0
- 172.16.0.0
- 10.0.0.0
With each of these, you can set a “Subnet IP,” “Starting IP, “ and an “Ending IP” using the last “0” in the number. For example:
- Subnet IP – 172.16.0.0
- Starting IP – 172.16.0.100
- Ending IP – 172.16.0.125
Note that the “Subnet IP” should be the IP address you choose with a “0” at the end.
It appears that the eero app limits your “Ending IP” to below .255, though you may find that it’s more flexible with some experimentation. It’s also worth noting that this process allows you to set a “Subnet Mask,” though this will usually be “255.255.255.0” regardless of the devices you connect to your eero network.
If you ever want to check your gateway’s IP address, you can do so by navigating back to the “DHCP & NAT” section of the eero app. You’ll see a section named “Lease Range,” which offers the current details for your gateway’s IP address.
Open Up a New Gateway with eero
There are many reasons you may wish to change your eero gateway, with the introduction of an updated eero device being the most common. For others, switching between different eero devices in a network, trying each as a gateway, is the key to figuring out which device works best as the primary eero for the entire network.
Have you ever had problems with your eero network that you believe a gateway change could fix? How effective do you believe eero is compared to any other Wi-Fi network extending tools you’ve tried? Tell us what you think about this interesting technology in the comments section below.
Disclaimer: Some pages on this site may include an affiliate link. This does not effect our editorial in any way.


