Sometimes, you may need to share a particular directory’s structure with others. There’s no need to manually rewrite each folder’s and file’s name and hierarchy. Instead, you can quickly export it to a preferred format and import it to Excel. Then, the program will automatically organize the data into neat rows and columns.
This guide explains how to export an entire folder’s structure to an Excel file. Additionally, it answers the most common questions related to Excel file export.
How to Export Folder Structure to Excel in Windows
To export a folder’s structure to Excel in “.doc” format, you need to first create an “output.doc” file containing the folder’s structure. Follow the instructions below:
- Open your File Explorer and find the necessary folder.

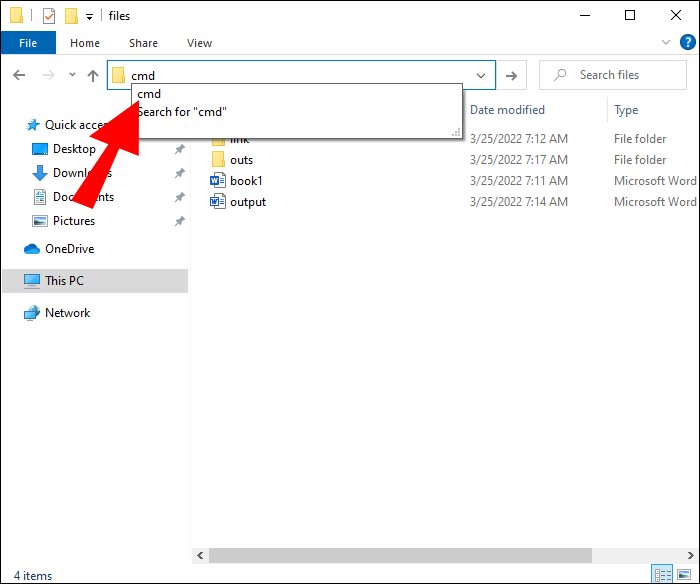
- Click on the File Explorer’s address bar and type in “
cmd” to open a Command Prompt.
- Hit the “Enter” key.
- Type the “
tree /a /f > output.doc” command into the Command Prompt window and hit the “Enter” key. - Wait until the command finishes running and close the Command Prompt window.
- Head back to your File Explorer and open the folder you want to export.
- You will see a text file called “output.doc,” containing the entire folder structure.


Note: you can save the “output.doc” file in the “.txt” format if needed and give it a different name.
Now that you have the folder stricture in “.doc” format, you can import it to Excel:
- Open a new or existing Excel file and navigate to the “Data” tab.
- Click on “From Text.”
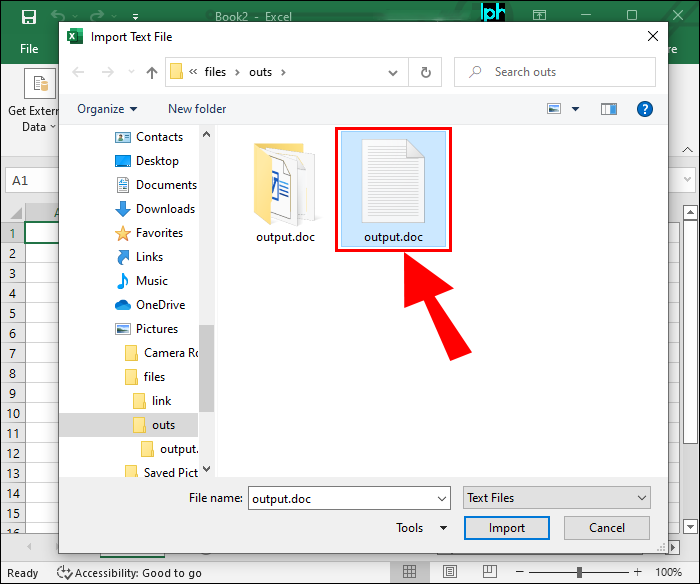
- Select your “.doc” file from the File Explorer window, then click on “Import.”
- In the Text Import Wizard window, select the “Delimited” option in the first dialog step and click on “Next.”
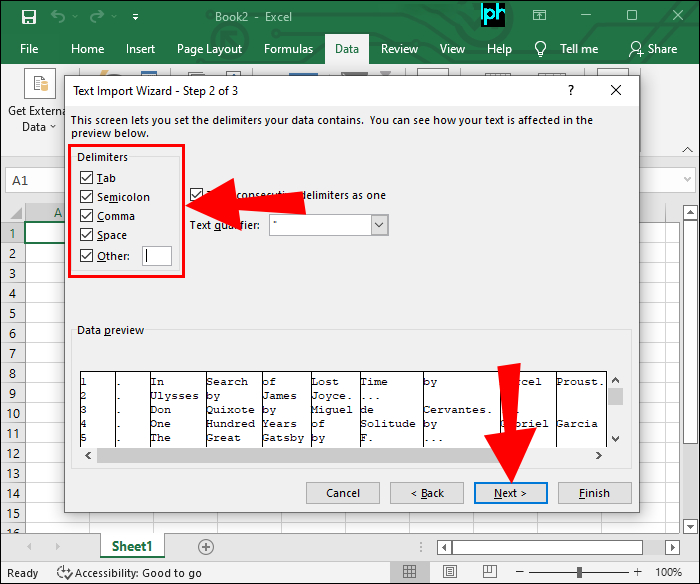
- Select the necessary delimiters in the second dialog step and click on “Next.” In the case of the “.doc” format, the delimiter is a tab.
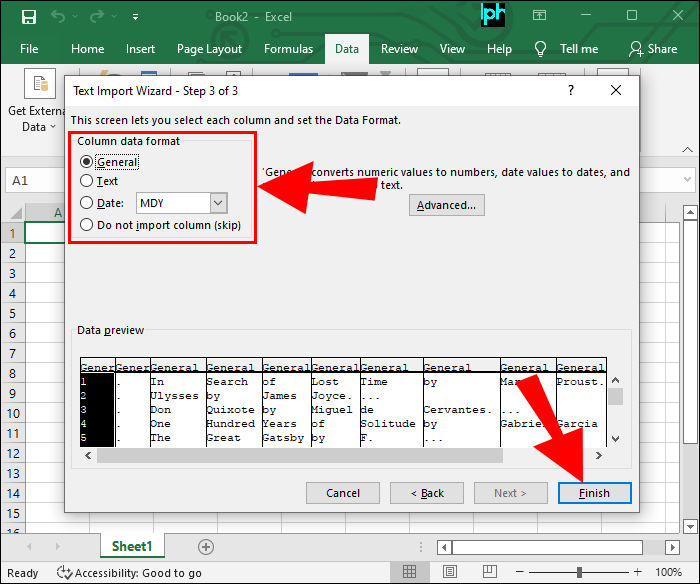
- Specify the desired data format in the third dialog step, then click on “Finish.”
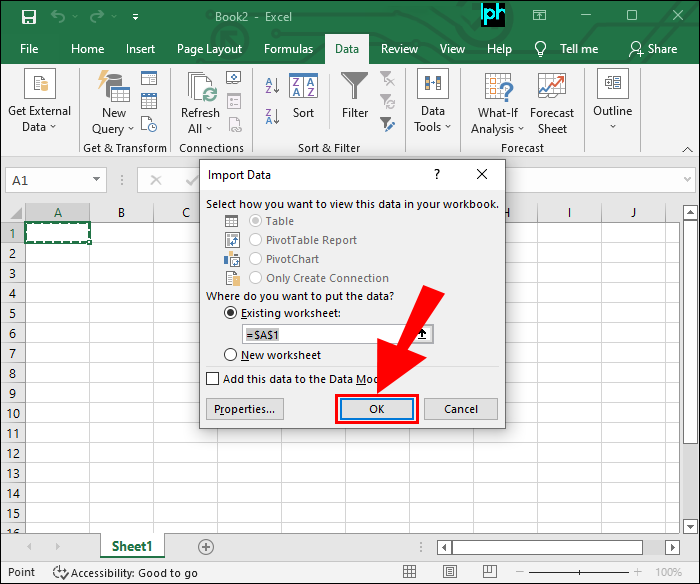
- Select “Existing Worksheet” and enter “
=$A$1” into the field underneath to ensure the data begins in the Row1, Column A cell. Alternatively, select a different cell. - Click “Ok” to finish the data export.


How to Export Folder Structure to Excel in Windows as a “.CSV” File
If you need to save the folder’s structure in the “.csv” format rather than “.doc,” you can do that using Windows PowerShell:
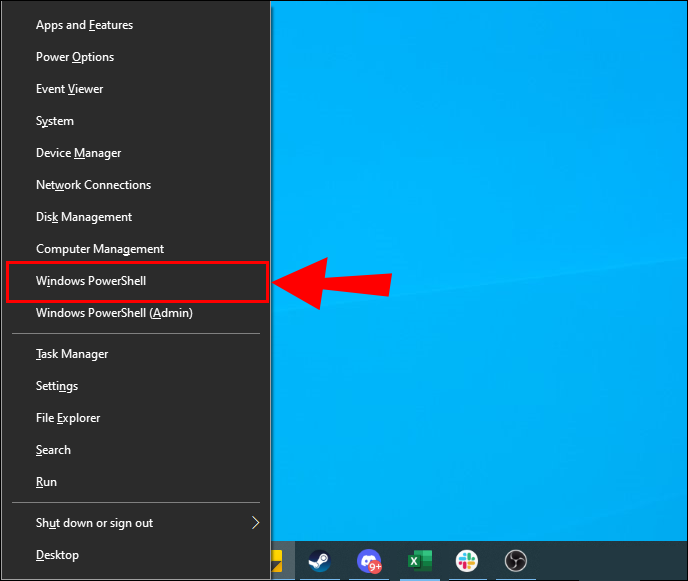
- Use the “Windows + X” keyboard shortcut to open a quick access menu.
- Select “Windows PowerShell” from the menu.
- Paste the following command into the PowerShell window and hit the “Enter” key: “Get-ChildItem -Recurse ‘d:\demo’ | Select-Object FullName, name | Export-Csv -path d:\list.csv -noTypeInfo”. Replace the “d:\demo” with your folder name.
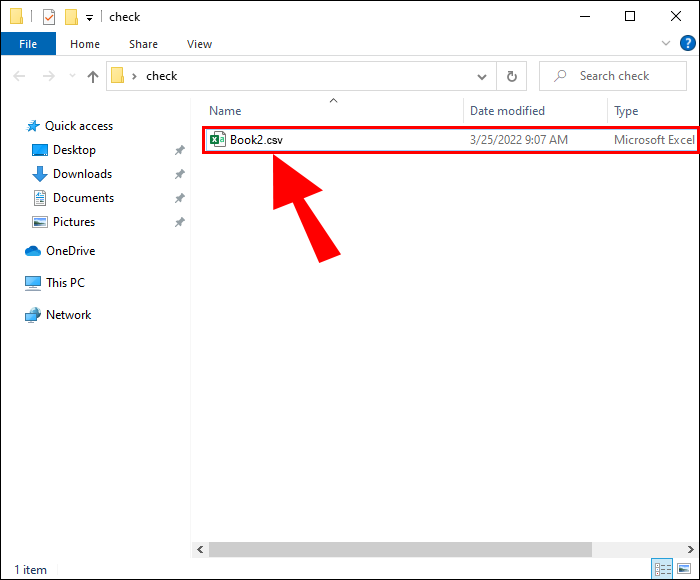
- Wait for PowerShell to generate a “.csv” format file containing the folder’s structure.


Once you have the file, follow the steps below to import it to Excel:
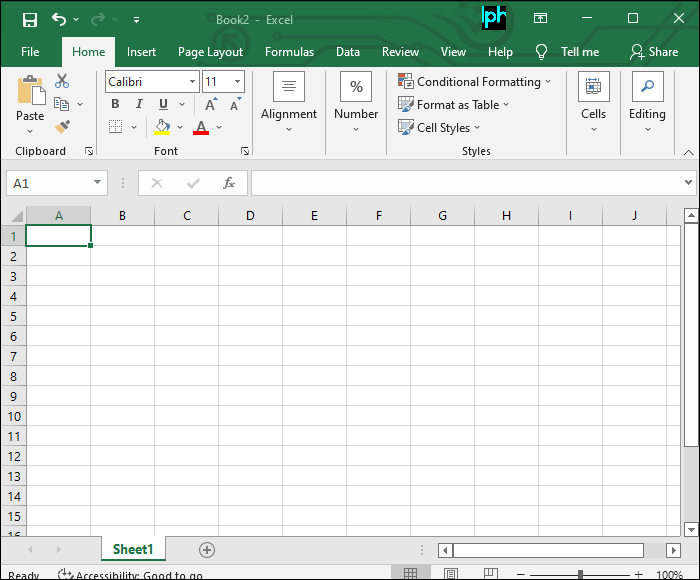
- Launch Excel and open a new or existing spreadsheet.
- Navigate to the “Data” tab.
- Click on “From Text.”
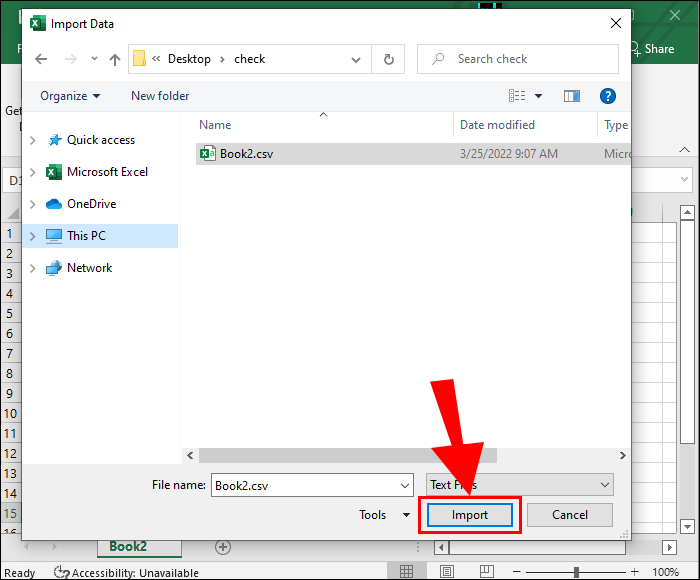
- Select the “.csv” file containing your folder’s structure and click on “Import.”
- In the Text Import Wizard’s window first step, select the “Delimited” option and click on “Next.”
- Choose the delimiter in the second step and click on “Next.” In the case of the “.csv” file format, it’s a comma.
- Select the preferred data format in the third step and click on “Finish.”
- Click on “Existing Worksheet” and select the spreadsheet cell to put your data.
- Click on “Ok” to finish the export.
How to Export Folder Structure to Excel Directly
If you have Excel 2016 version or newer, you may not need to export the folder’s structure to a separate file before importing it to Excel. Instead, try the direct export method shown below:
- Launch Excel and open a new or existing spreadsheet.
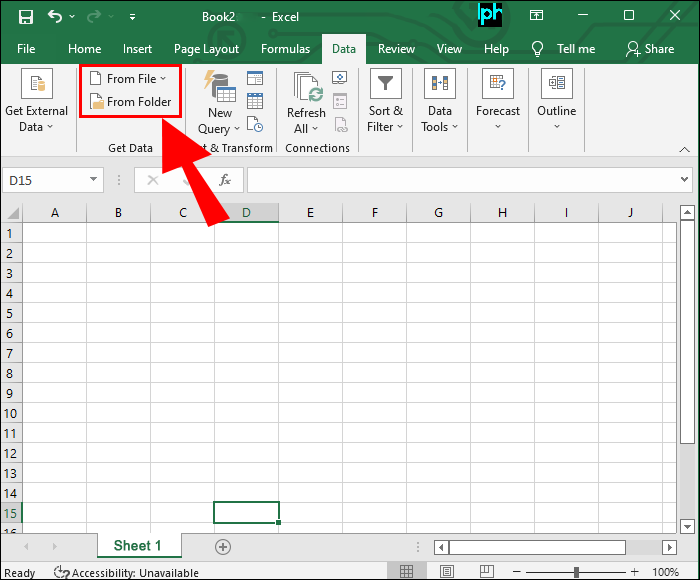
- Navigate to the “Data” tab at the top of the window.
- Click on “Get Data” to open a dropdown menu.
- Select “From File,” then “From Folder.”
- Browse the File Explorer for the necessary folder. When you find it, select it and click on “Ok.”

Note: sometimes, you may not be able to click “Ok” when choosing the parent folder. In this case, select a subfolder and click on the address name at the bottom of the window. Then, delete the subfolder’s name at the end of the line, leaving only the parent folder’s name, and click on “Ok.”
That’s it – all the folder content will be organized in columns and rows automatically. You can also export only specific subfolders to Excel using this method instead of the entire folder structure.
How to Export Folder Structure to Excel on a Mac
Mac users can export folder structure to Excel as easily as Windows users. However, the instructions are slightly different:
- Open the necessary folder and use the “Command + A,” then “Command + C” keyboard shortcuts.
- Launch the TextEdit app on your Mac and click on “Edit.”
- Select “Paste and Match Style” from the dropdown menu.
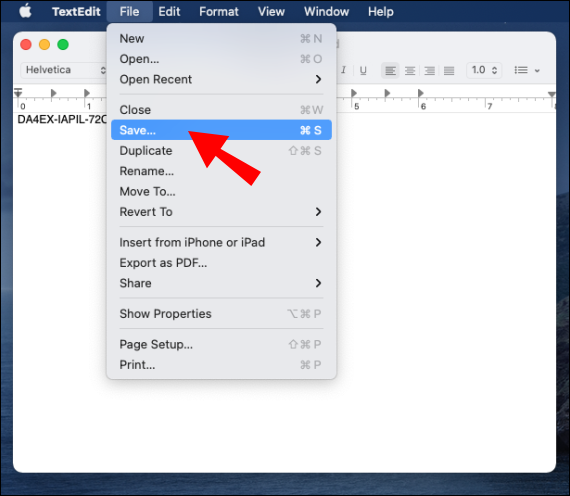
- Click on “File,” then “Save,” and save the file in the “.txt” format in your preferred location.


Once you have the file containing the folder’s structure, do the following to import it to Excel:
- Open an Excel spreadsheet.
- Click on “Data” at the top, then click on “From Text.”
- Select the necessary “.txt” file and click on “Import.”
- In the Text Import Wizard window’s first step, select “Delimited” and click on “Next.”
- Select “Tab” as the delimiter, then click on “Next.”
- Select “Existing Worksheet” and choose the spreadsheet cell to put your data. For instance, if you choose “=$A$1”, your data will be organized starting with Row 1, Column A cell.
- Click on “Ok” to finish the data export.
FAQ
Read this section to find out more about exporting a folder’s structure to Excel.
What is a delimiter, and why do I need one?
When you export a folder’s structure to Excel, you need to select the right delimiters in the Text Import Wizard window. Delimiter refers to a character that separates data strings, indicating a program where one data item ends, and the next one begins. In other words, the program interprets it as the end of the field rather than part of the text. For instance, if the delimiter is “/,” a program reading “john/doe” will interpret it as “john doe.” Delimiters are necessary to export different file formats to Excel and other programs with correct formatting.
What’s the difference between “.doc” and “.csv” file formats?
You can export a folder’s structure to Excel in different formats and may be wondering which one is better. Both are text formats saving line breaks, tab characteristics, characters, and other formatting elements of the exported sheet. The difference lies in the delimiter – “.doc” and “.txt” formats are tab-delimited, while “.csv” is comma-delimited.
For example, text “john doe” in the “.doc” format will appear as “john doe,” whereas in “.csv” format as “john,doe.” There’s either a tab or a comma between each field. In most cases, you can export data in any format because Excel supports both. But if the data doesn’t export correctly in one of them, you may try the other one to fix the issue.
Can I export only the folder’s structure without files to a “.doc” format?
When you export a folder’s structure to “.doc” or “.txt” formats using the “tree /a /f > output.doc” command via the Command Prompt, you will get a file containing the entire folder’s content, including files. If you don’t need to export the files but only the folders, use the “tree /a > output.doc” command instead.
Quick and Simple
Hopefully, our guide has helped you speed up your working process and share the necessary data. Excel can truly do wonders if you know how to use it efficiently.
Which file format do you prefer for exporting to Excel and why? Share your thoughts in the comments section below.
Disclaimer: Some pages on this site may include an affiliate link. This does not effect our editorial in any way.


