Adobe Photoshop offers such a broad range of tools that it can be bewildering. Even experienced users of the software probably aren’t fully familiar with all of its menu options and controls. We’ve compiled a list of 20 of the most useful features tucked away in Photoshop, which can save you considerable time and effort, and give great results with no fuss.
In many cases, these features offer a range of options and settings that we don’t have space to cover in full, so for each one we’ve also provided links to Adobe’s own documentation so you can learn more. The good news is that most of these features are available even in older editions of Photoshop, with some of them dating back to version 3 of the software, which was released in 1994. We’ve indicated the version of the software in which each feature made its debut.
1. Puppet Warp (CS5)
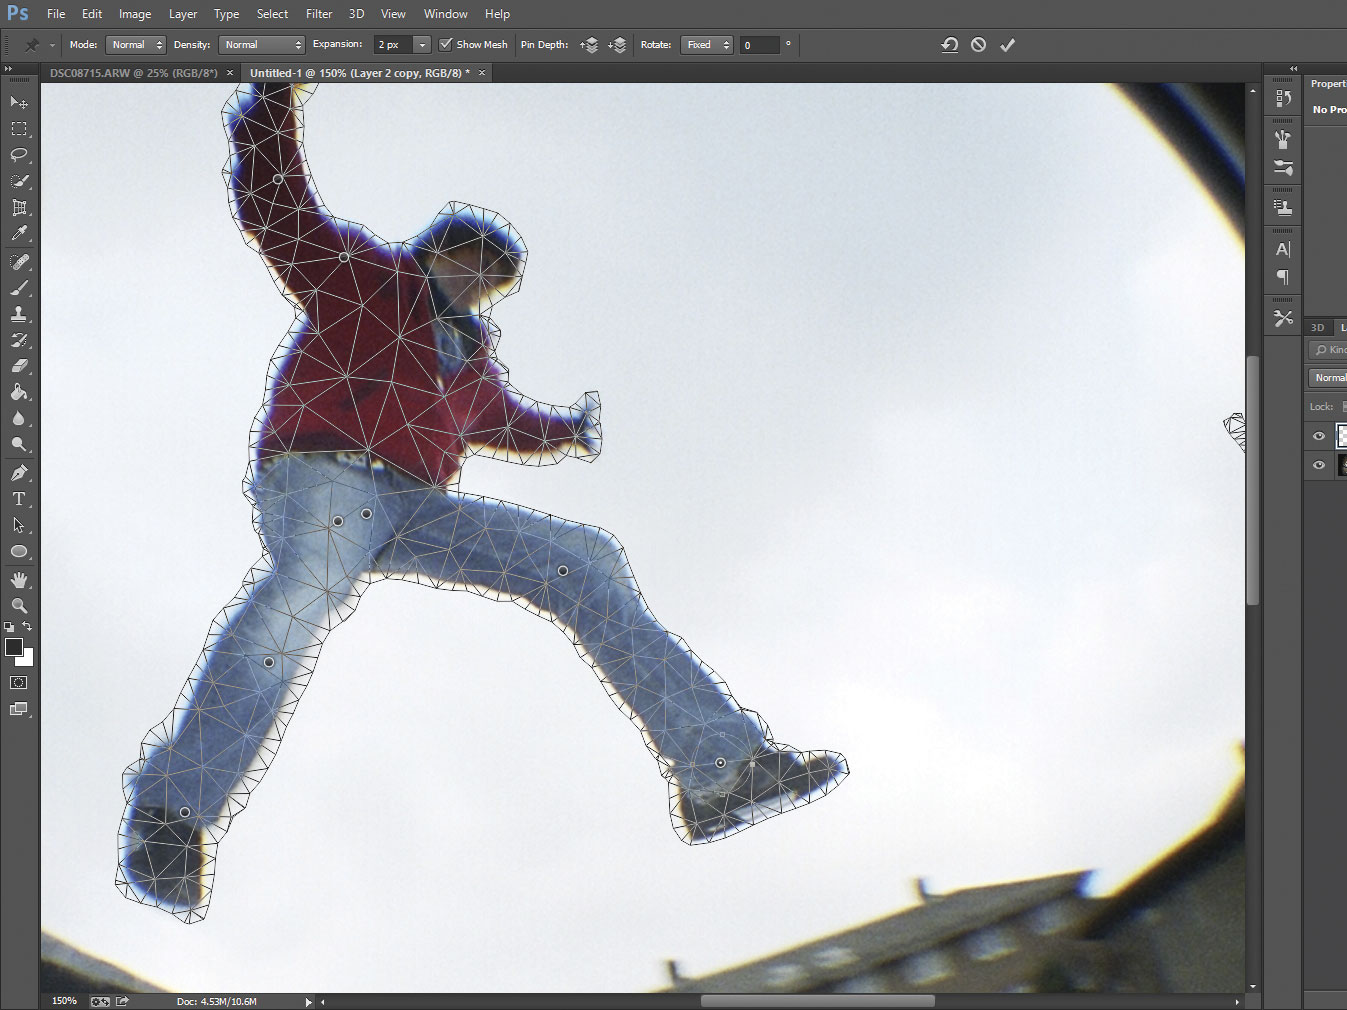
Puppet Warp lets you reshape or distort an image element by creating a “skeleton” for it, which can then be dragged around or transformed to give the element a new pose. Here’s how it works: if you want to move a person’s arm, first copy them onto a new layer, and cut around their body so the rest of the layer is empty. You don’t have to trim precisely around the body – just cut away unneeded elements. Then select Edit | Puppet Warp to make Photoshop create a mesh, then click to “pin” parts of it in place. You can now drag the pins around to your heart’s content to change your subject’s pose. You can fine-tune adjustments as much as you like, and optionally create a hierarchy of pins – to determine which bits of the mesh move with which others – via the options bar. Click for full documentation.
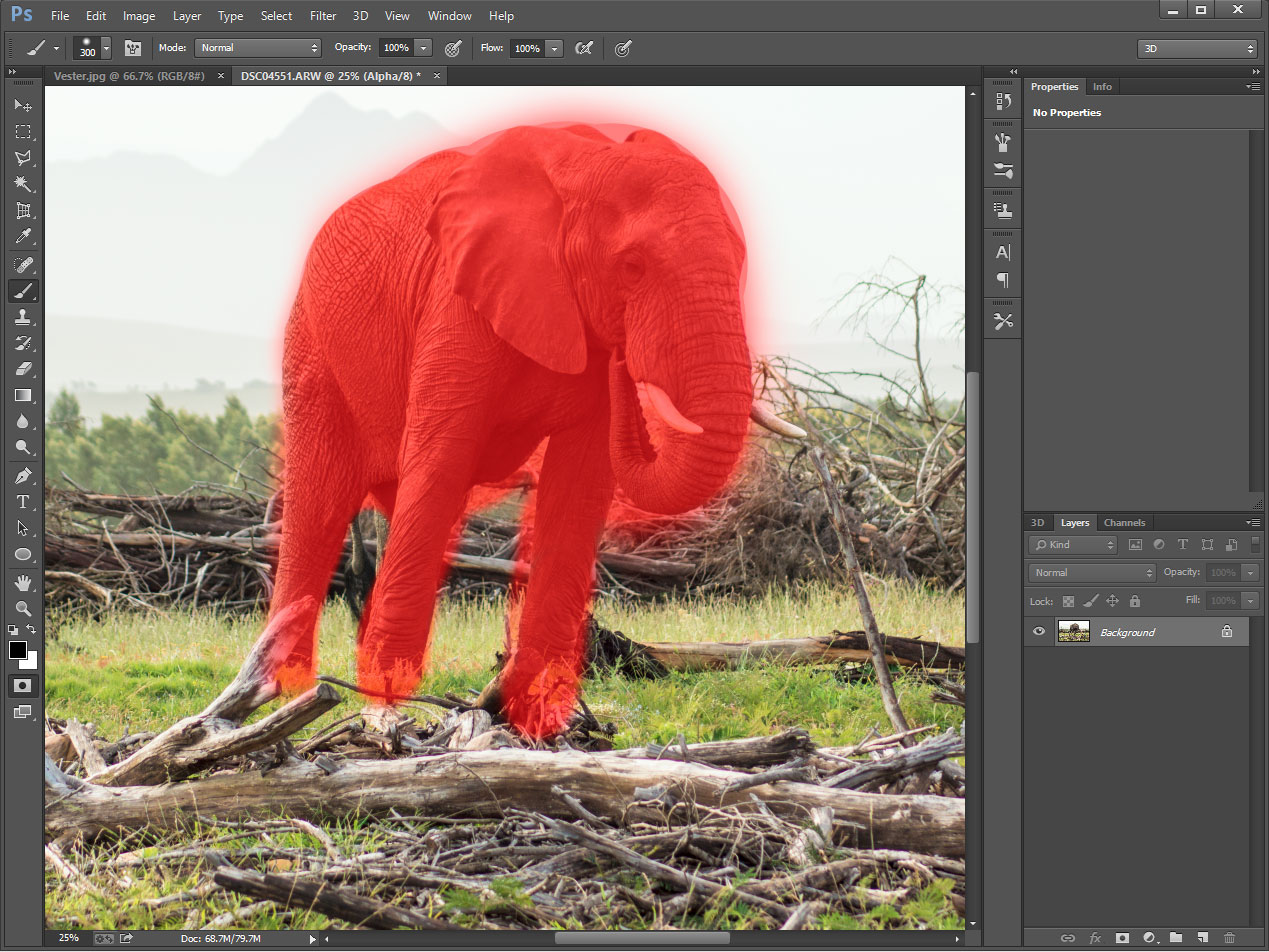
2. Content-Aware Scale (CS4)
Content-Aware Scaling lets you change the shape of an image without distorting its contents or cropping important features. Start by selecting what you want to scale (if nothing is selected, the whole layer is affected); then select Edit | Content-Aware Scale and drag the handles to recompose the image. Photoshop tries to trim away unimportant detail: if it gets it wrong, you can specify what should be protected by masking it on an alpha channel and selecting this channel from the Protect dropdown in the options bar. Click the person icon to always protect skin tones. Click for full documentation.
3. Layer styles (6)
A layered approach makes it a piece of cake to create drop shadows, halos, embossing effects and similar stylings. The interface is hidden away, though: to find it, put the content you want to stylise on its own layer, then double-click in the blank space to the right of that layer’s name in the layer list. The Layer Styles window opens, letting you apply 12 types of non-destructive effect to your content. Click for full documentation.
4. Camera Raw for JPEGs (7)
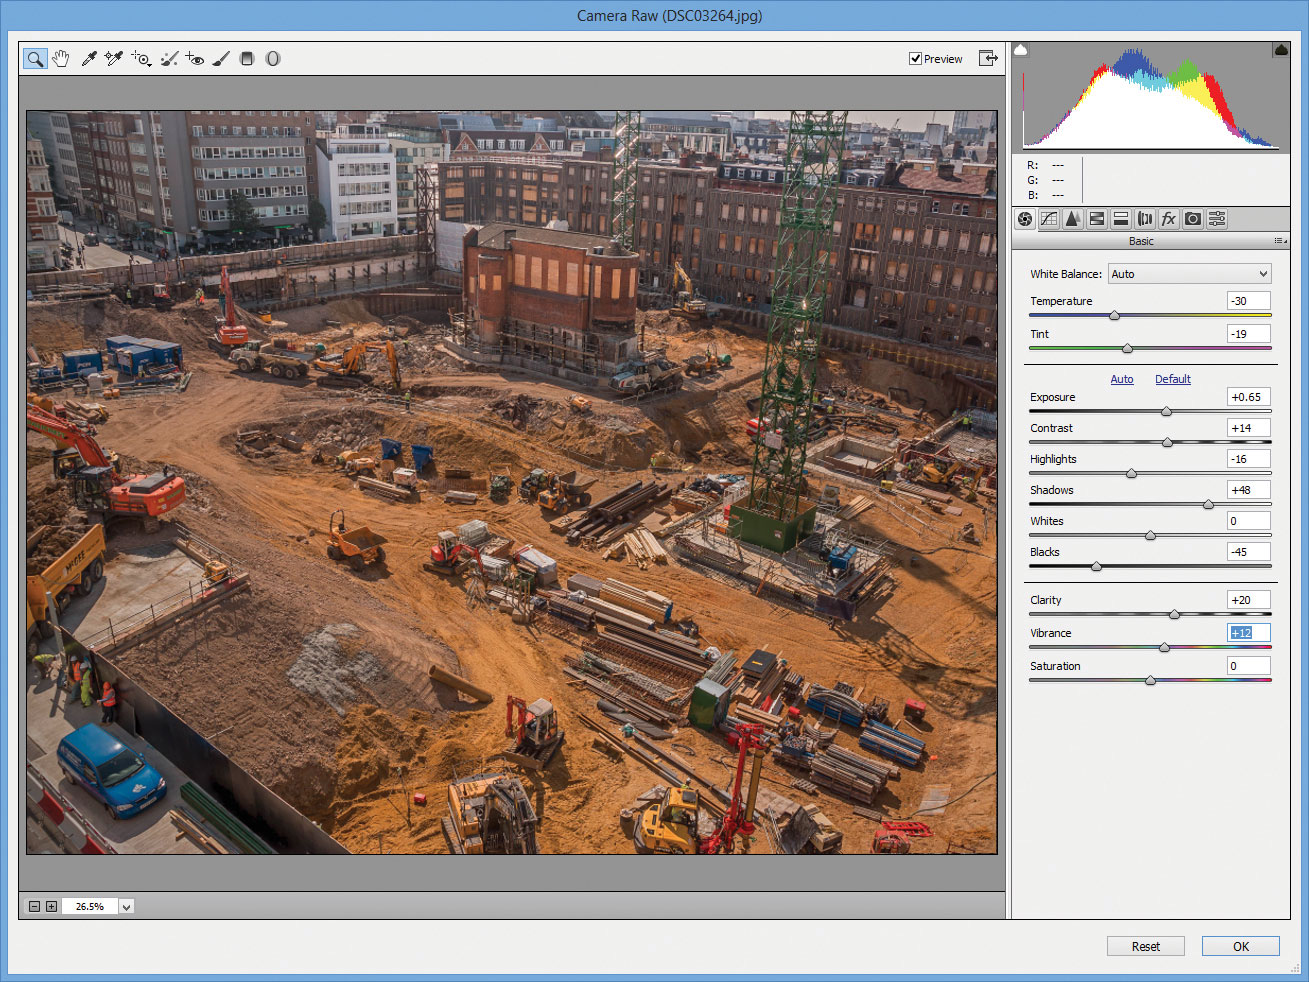
Photoshop’s Camera Raw importer isn’t only for raw files – it works with JPEGs and TIFFs, too. Some versions of Photoshop offer it under the Filter menu. Otherwise, select File | Open As… and choose Camera Raw as the image type (or right-click in Bridge and select Open In Camera Raw). Camera Raw offers some handy tools that aren’t in the main Photoshop interface, including the Clarity slider towards the bottom of the main view; the White Balance tool for fixing unwanted colour casts; and Noise Reduction sliders for removing speckles and blotches from your images. Click for full documentation.
5. Adjust Vibrance (CS4)
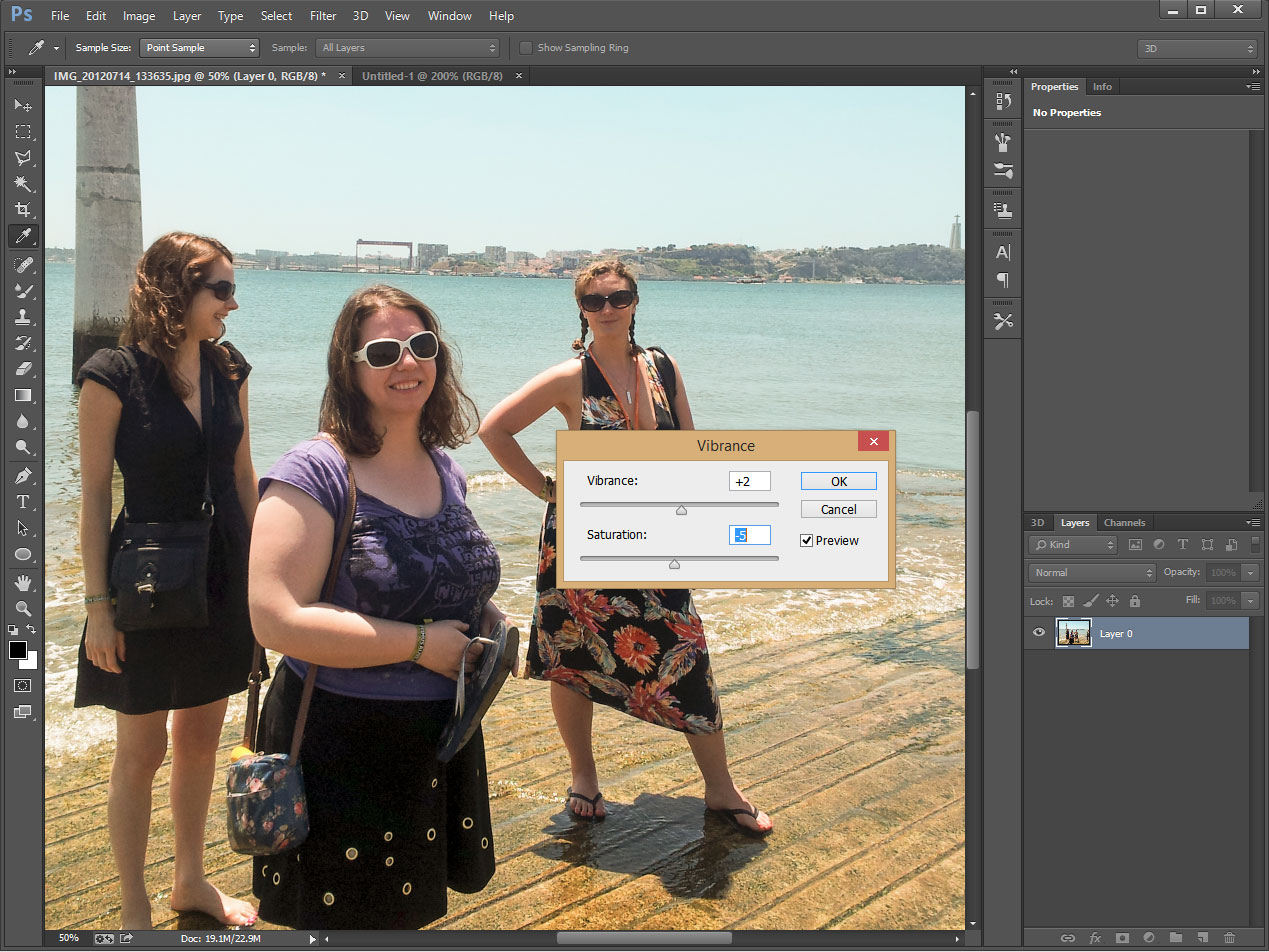
Adjusting the saturation of an image can often make already bright areas look too garish. Try Image | Adjustments | Vibrance instead: this “smart” colour adjustment pumps up areas of low saturation without pushing richer colours to unrealistic extremes. It’s designed to have only a subtle effect on skin tones, too, so you won’t end up with a radioactive face. The dialog has its own saturation slider, so you can balance the two to get the perfect colouration. Click for full documentation.
6. 3D (CS3 Extended)
Photoshop can open 3D files in a variety of formats, including 3DS and Google Earth KMZ files. Each 3D object sits on its own layer, and can be moved, rotated and scaled via the 3D panel (Windows | 3D). You can also extrude 2D objects into 3D meshes, a technique called repoussé in older versions of Photoshop. To do this, pick the area you want to convert and select 3D | New 3D Extrusion from Current Selection (alternatively, you can extrude a whole layer). You can adjust its appearance in the 3D and Properties panes, and move it around in 3D space with the option bar. You can also distort and transform 3D objects. The latest version of Photoshop CC adds 3D printing capabilities, so you can bring your three-dimensional designs to reality. Click for full documentation.
7. Proof Colors (5)
When View | Proof Colors is ticked, Photoshop tries to display your image as it will appear in your chosen colour profile, rather than as it would look by default on your monitor. This can be helpful if you’re working with images for print: select View | Proof Setup | Working CMYK, and Photoshop will simulate a CMYK representation of your image, while allowing you to keep working in RGB mode. Activate View | Gamut Warning and colours that can’t be rendered in the selected profile will be marked in grey, so you can correct them by hand. Otherwise, when you convert the image to CMYK, these colours are recoloured to the nearest in-gamut shade. Click for full documentation.
8. HDR Pro (CS5)
Photoshop can combine a series of photos taken with different exposure settings into one high-dynamic-range (HDR) image. Select File | Automate | Merge to HDR Pro… to open the file import dialog. Choose two or more images to combine, then click OK to open the HDR Pro window. Here you can choose from 16 preset algorithms – the “Scott5” setting gives the sharp, high-contrast results many photographers seek. Or, you can adjust the settings yourself. A tickbox lets you remove “ghosts” if something moved between shots. Click for full documentation.
9. Variables (7)
Variables can help you create multiple variations of an image. Start by creating your base image, putting the variable element on a layer of its own. Then select Image | Variables | Define and select whether you want the layer’s visibility to change, its contents to change (Pixel Replacement), or both. Finally, click onto the Data Sets tab and set a state for your Variable layer. You can now switch between states by selecting Image | Variables | Apply Data Set. You can export a set of files, corresponding to the datasets you’ve created, using File | Export | Data Sets as files. It’s also possible to create datasets in Excel or Notepad and import them in CSV format. Click for full documentation.
10. Copy Merged (3)
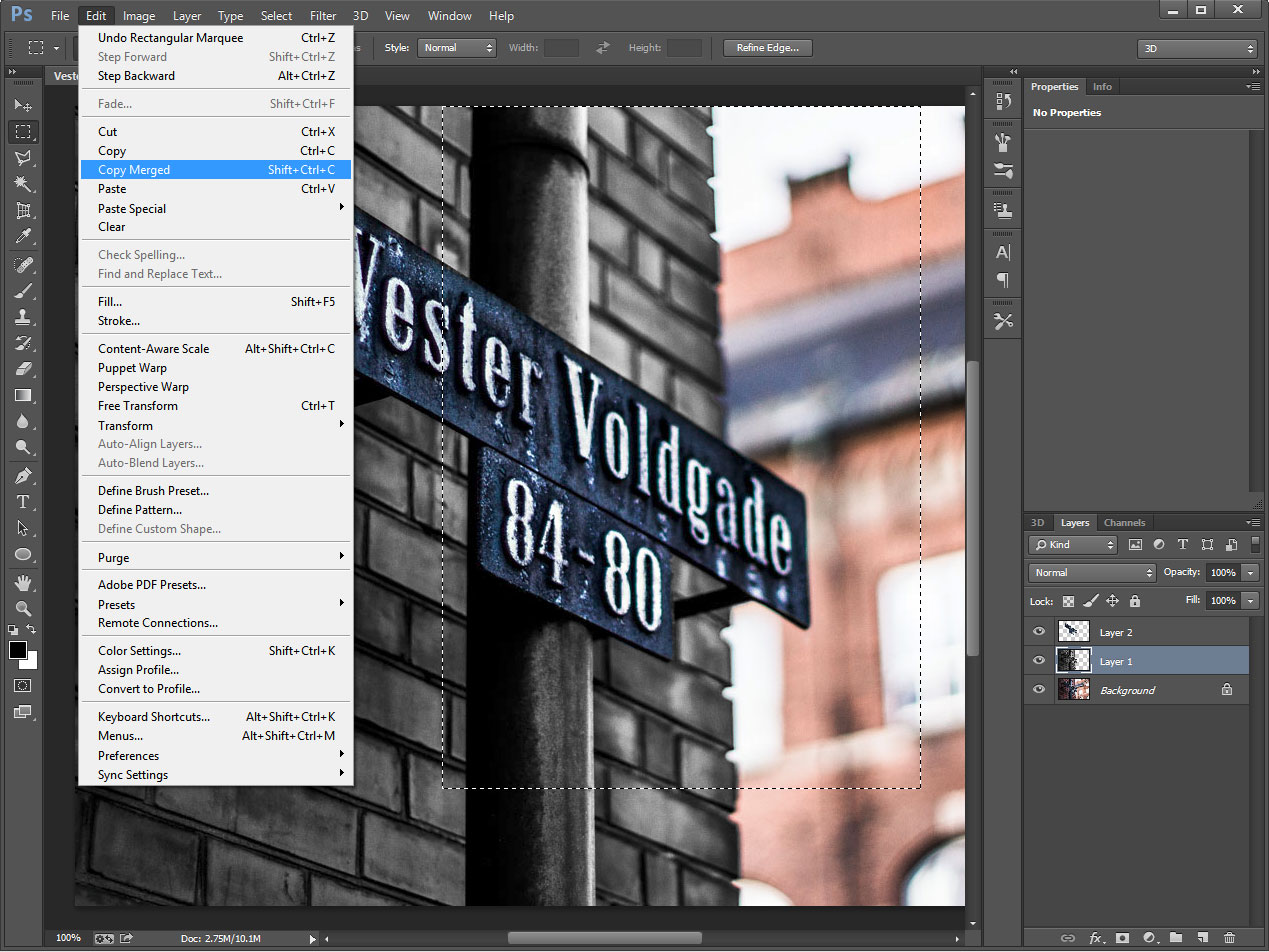
This is a simple trick, but it’s still easy to overlook. When copying and pasting, select Edit | Copy Merged – or hold down Shift while pressing Ctrl+C – to copy everything that you can see inside your selection area to the clipboard, rather than just what’s on the currently active layer. Click for full documentation.
11. Paste In Place / Into / Outside (3)
You’ll find these options under Edit | Paste Special. Paste In Place draws the content of your clipboard onto a new layer at exactly the same position as you copied it from – useful for “backing up” parts of an image. If you want it to go somewhere else, you can select an area of the image, then select Paste Into: this centres the pasted image on your selection, and creates a layer mask around your selected area to conceal any overspill. Paste Outside does the same thing, but only the portion outside of your selection is visible. Click for full documentation.
12. Actions (4)
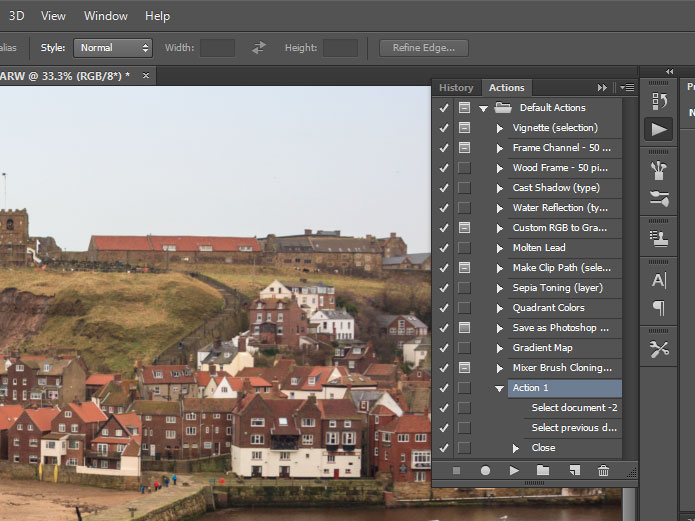
The Actions panel offers a set of predefined macros, and you can add your own by clicking the Create New Action button. Once you’ve given your new action a name, Photoshop will record the adjustments and operations you carry out until you click Stop. You can replay the process at any time by selecting its name and clicking the Play button. If you have a folder full of files that all need the same treatment, the File | Automate | Batch… dialog can automatically open each one, apply a specified action, and save and close the file afterwards. Click for full documentation.
13. Edit brushes (7)
When you’re using a brush tool (such as the paint brush, clone stamp or eraser), you can make the brush smaller and larger by tapping the square bracket keys, and make its edges harder or softer by holding down shift and tapping { and }. For more advanced control, click the tiny folder icon in the options bar along the top of the screen, or select Windows | Brush to open the Brush panel. From here you can customise every aspect of your brush, including its shape, texture, noise, smoothing and many more properties. Click for full documentation.
14. Smart Objects (CS2)
You can import any image as a Smart Object (File | Open as Smart Object), or convert any layer to one (right-click on the image and select “Convert to Smart Object”). You can’t directly edit the pixels of a Smart Object, but you can apply any number of transformations to it, and Photoshop will calculate the end result non-destructively from the original full-resolution image. You can also apply filters non-destructively from the Filter menu; these will appear in the layer list and can be tweaked and turned on and off at will. Click for full documentation.
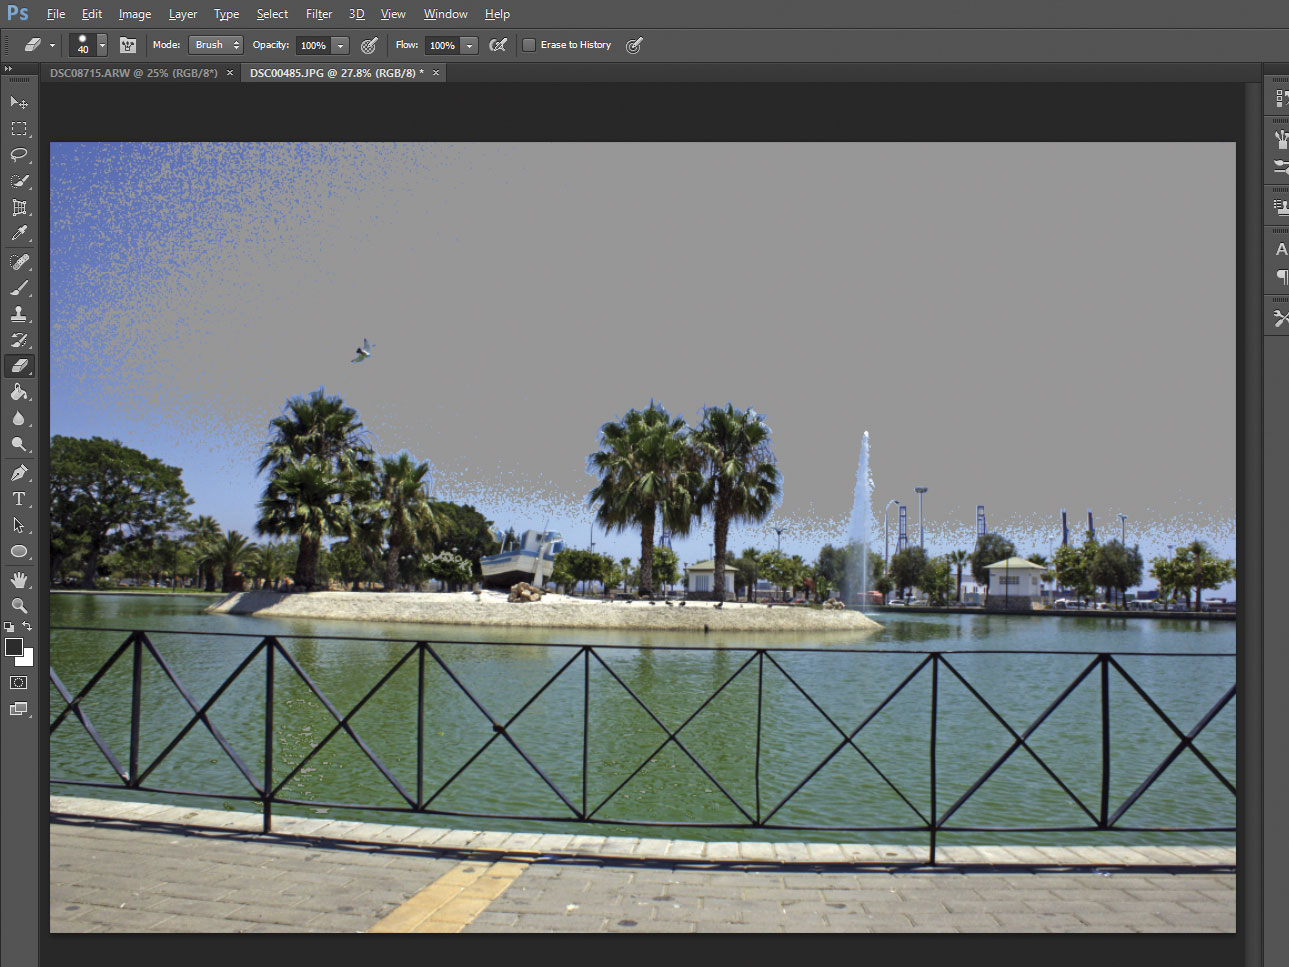
15. History Brush (7)
If you make a mistake in editing, and realise only after you’ve made several other edits, there’s no need to step back through your whole history. Open the History panel (Windows | History), then click the small box to the left of a previous state to set it as the source for the History Brush. Now use the History Brush tool to paint over the areas you want to restore. The Art History Brush works in the same way, but paints in stylised ways, according to your settings in the options bar. Click for full documentation.
16. Perspective Crop (CS6)
If a photo isn’t quite dead on, you can crop and straighten it in one go. Hold down the mouse button on the Crop tool to select the Perspective Crop tool; now drag a rectangle – or draw one with four clicks – then drag its corner points to mark out the area that should be square. Click the tick in the options bar (or double-click inside the crop area, or press Return) and the marked area will be transformed to fill the frame. Photoshop CC introduces a new Perspective Warp tool that can be used to straighten up a three-dimensional image that’s been shot at slightly the wrong angle. Click for full documentation.
17. Quick Mask (7)
To activate the Quick Mask, hit Q, or click the Quick Mask icon on the toolbar (beneath the foreground/background colour swatches). Now, where you paint or draw in black, the canvas is marked in red, and when you press Q again (or click the icon again), all non-red areas turn into a selection area. While in Quick Mask mode, you can use selection and fill tools to add areas to your mask; use the eraser or paint white to remove areas from the mask; and use soft-edged brushes to create feathered selections. Click for full documentation.
18. Photomerge (CS)
If you want to turn a series of overlapping photographs into a panorama, you’ll find the option under File | Automate | Photomerge. Select your files, then choose a merge type and click OK. Photoshop aligns and combines them into a single composite image. If the images have significant distortion – for example, if they were shot at a short focal length – tick “Geometric Distortion Correction” to automatically compensate for it. Click for full documentation.
19. Zoomify (CS3)

Sharing large images on the web can be tricky. A shrunk-down version won’t show off the full detail, but a high-resolution one won’t fit comfortably in a browser window. File | Export | Zoomify produces a snippet of web code that presents your image within a Zoomify-branded image viewer, allowing the visitor to pan and zoom around your image within a convenient viewport. Naturally you can embed this into your own web pages for free, allowing convenient presentation of your images. Click for full documentation.
20. Video (CS6)
Recent versions of Photoshop support video as well as images. You can open video clips in the same way as images, and move between frames via the Timeline panel. It’s possible to paint onto individual frames, and use Adjustment layers to apply enhancements and corrections to the whole file. When you’re finished, select File | Export | Render Video – but be warned, depending on the size of your video, and the ambitiousness of your edits, rendering the file could take hours. Click for full documentation.
Disclaimer: Some pages on this site may include an affiliate link. This does not effect our editorial in any way.