When a PC is nearing the end of its useful life, it’s crucial to decommission it safely and securely or find ways to reuse it, or just sell it as parts or as a whole. The biggest part is handling the PC without worrying about what else you may be giving away. If you do plan to sell it, there are steps you can take to encourage buyers and help achieve a quick sale at a good price. Here’s how to scrap, recycle/reuse, or sell your PC safely and securely.
Protect/Preserve Your Personal Data First and Foremost
The most important part of decommissioning, reusing, or selling an old PC is securely erasing or your personal data, to ensure that nothing can be recovered by whoever gets their hands on it. You’ll also want to back up any important data for future use and copy the specifications of all hardware and select programs. Here’s how to manage the data on your old PC before you sell it, reuse it, or junk it.
Step 1: Collect PC, OS, and Program Specifications
Before you start the security and privacy process, make sure you’ve collected all the data and information you need from the computer. For a PC you plan to sell or strip for parts, it’s always good to have a full specification list to give to buyers. If you don’t have the original documents, gather the specs from the PC operating system. For instance, Windows 10 “About” and “System Information”, macOS “System Information,” and Linux “Details” provide some info, but third-party programs work best like CPU-Z or Speccy for Windows and I-Nex or Hardinfo for Linux. You’ll need that information, especially if you plan to sell the PC or use it for other purposes.
Step 2: Back Up Your Valuable Data
If there’s data you want to keep, be sure to transfer all important data to an external hard disk or upload it to a cloud storage service such as Dropbox or Google Drive. For small amounts of personal data, a USB stick is a second option.
Step 3: Manage Existing Software and Programs
If you plan to leave some of the programs on the system for a different user, it is essential to de-authorize the ones that use an account across multiple devices, such as Apple’s iTunes and Adobe’s Creative Suite tools to ensure they can’t connect to your account(s).
For programs you want to preserve for use on another PC, you can unregister them (program-permitted) such as with Malwarebytes to preserve the serial for another PC.
Finally, dig out your original installation discs and decide what’s worth including if you’re going to sell the PC. You must hand over the product keys if you want to bundle registered software with the machine.
Selling the Whole Computer
Step 1: If you plan to sell the computer in one working piece, you should record the specifications and back up your important data, as instructed in the previous section. After that, the process is rather simple.
Step 1: Securely Erase The Drive(s)
If you plan on selling the entire PC as a whole, you’ll definitely want to securely clean off the hard disk. Deleting files does not completely remove the data; the PC just writes over it. Using a third-party disc eraser like Disk Wipe, Parted Magic, and Darik’s Boot And Nuke. These programs wipe every sector of a hard drive (HDD) or the chips on a solid-state drive (SSD).
Step 2: Reinstall a Fresh OS Copy
Once you’ve finished wiping all personal data from your drive, it’s time to reinstall the OS. This gives the PC a clean slate and faster functionality that is ready for the next person to use. This process makes the PC more attractive to potential buyers.
If you still have the installation disc or recovery media for Windows 7 or 8 (or even 10 at this point) along with a valid product key, this step should be a simple process. If your system came with an older XP or Vista disc, buyers may prefer the option of receiving the system without an OS or the discs without installation. One possibility is to install a Linux distribution to at least show that the system is working.
Step 3: Prepare for the Selling Process
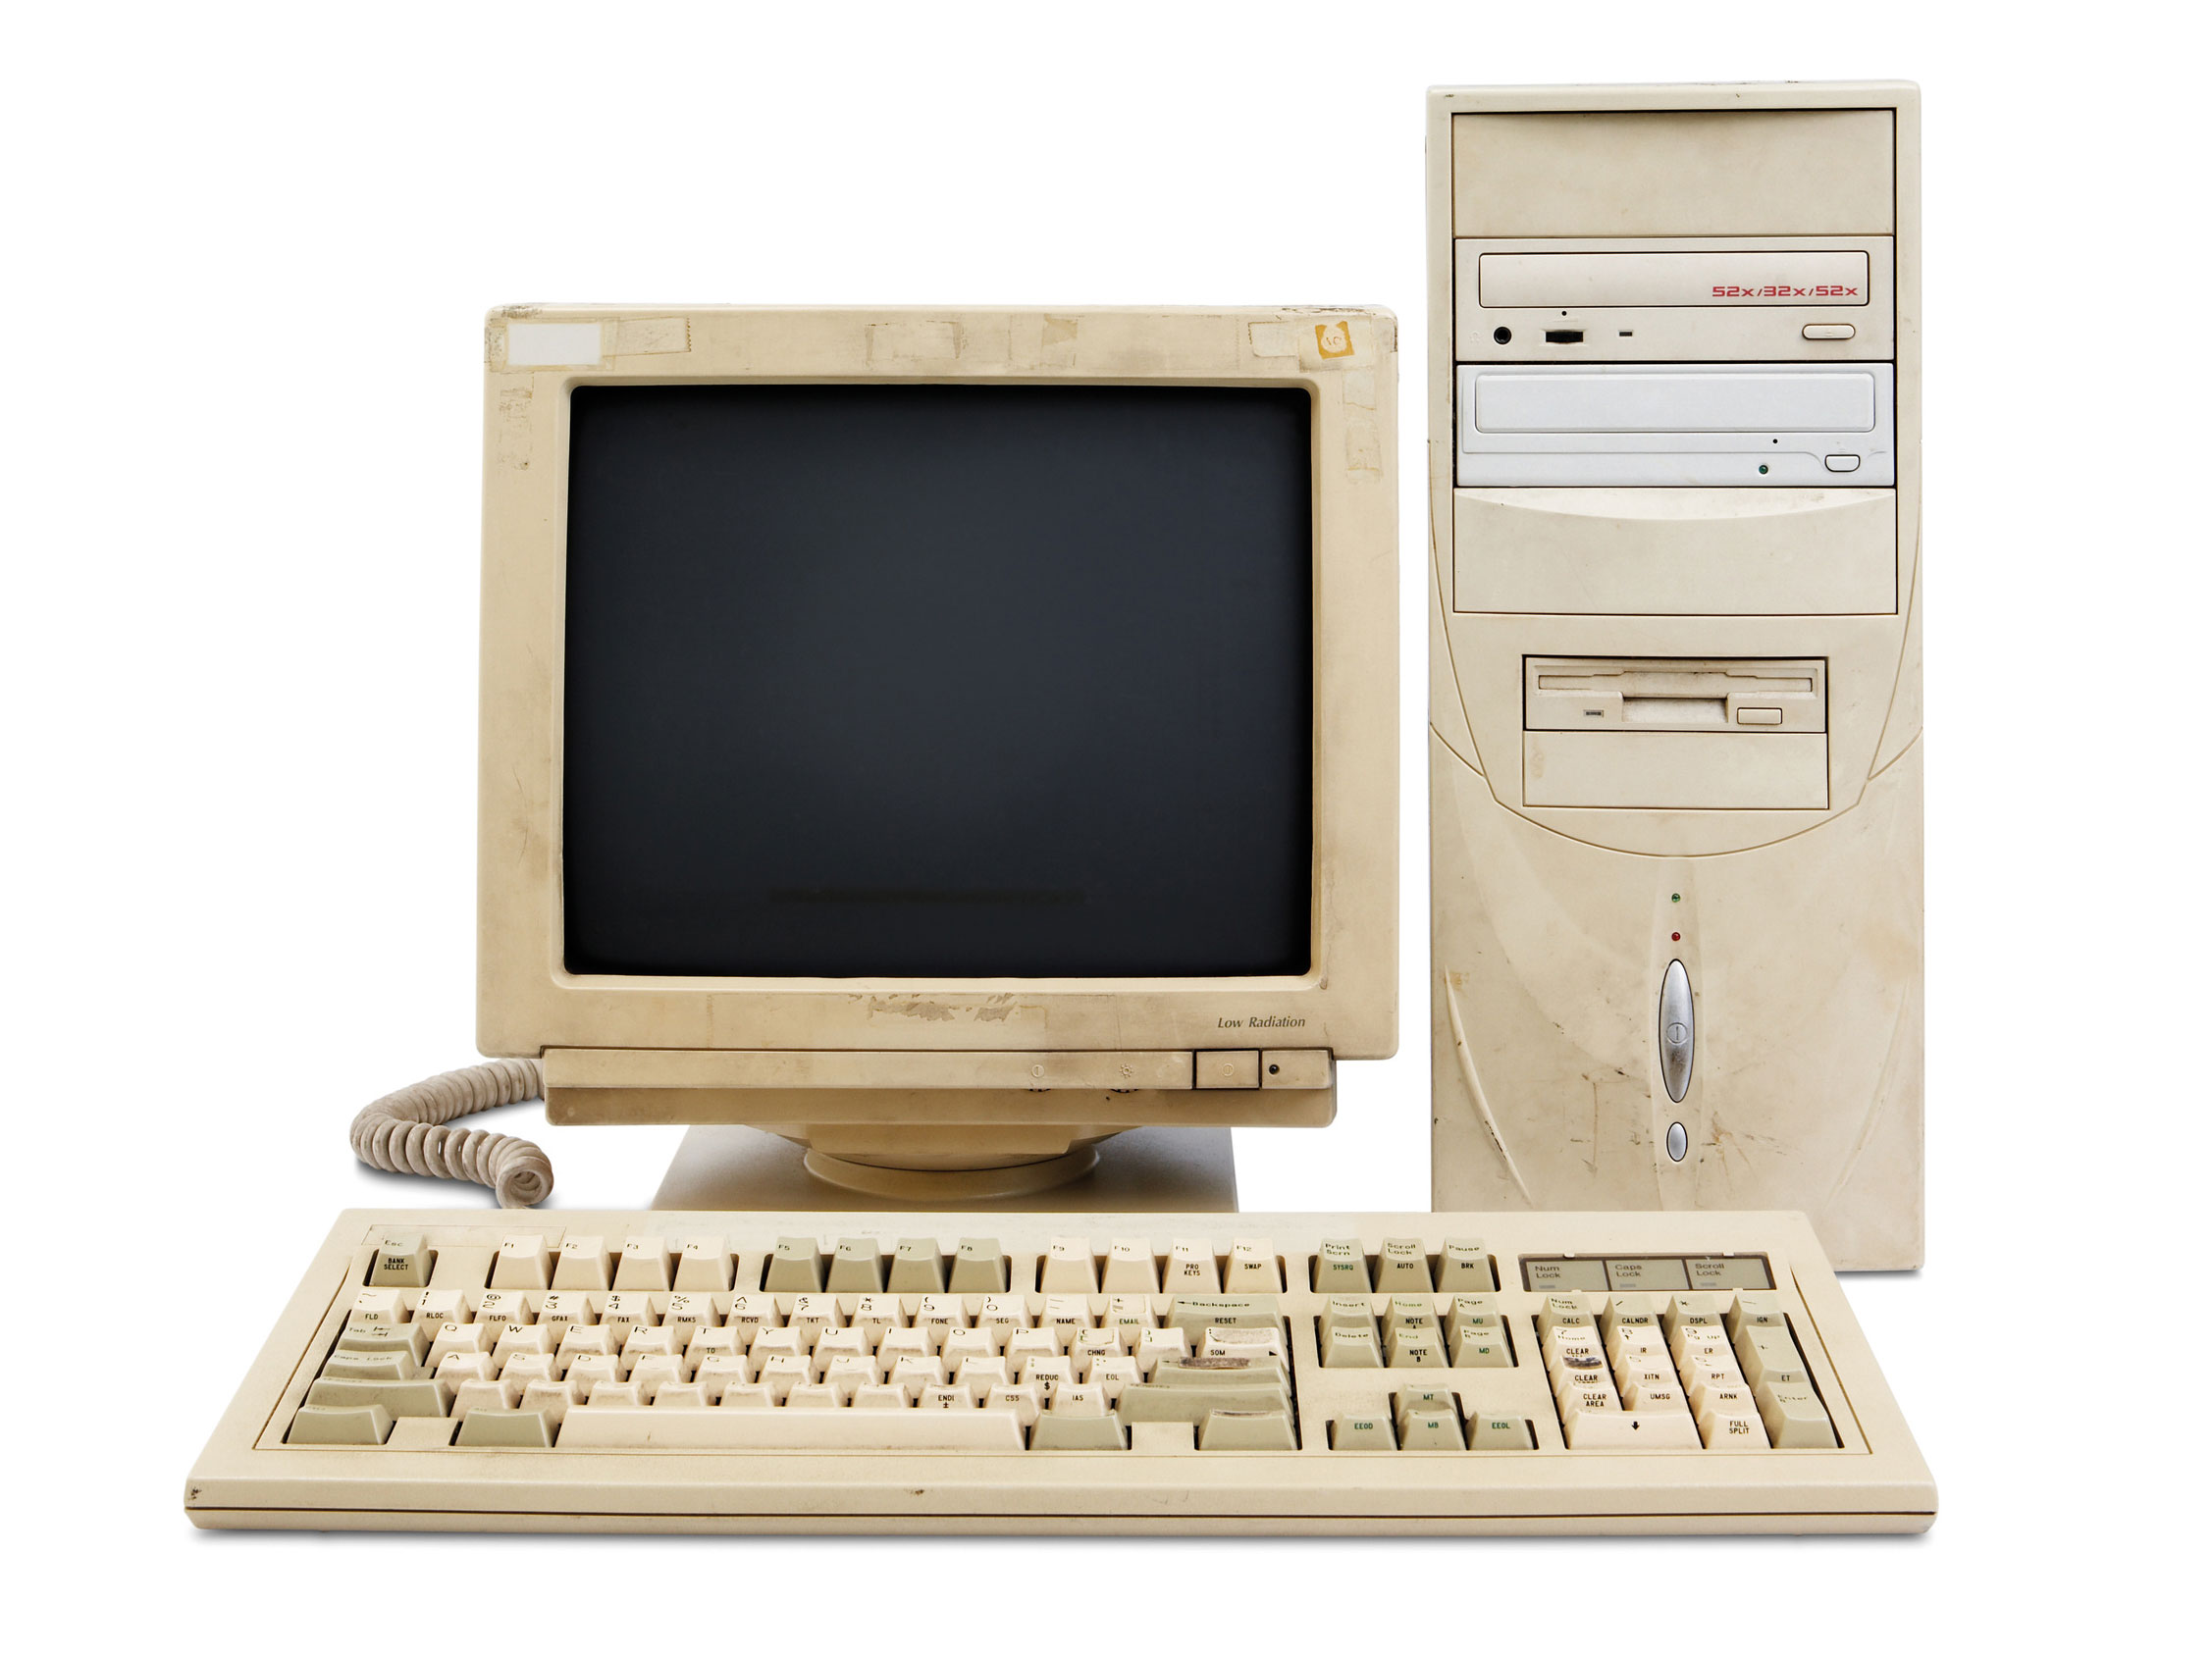
At this point, you should already have made a list of the technical specifications, but if you plan to sell your PC via an online service, it’s also a good idea to take a set of clear photos. You don’t need to hire a professional photographer, but it pays to take your shots in a well-lit room and against a clean, preferably white background.
Obtain photos that show the device powered on and working if possible, and take shots from different sides to show ports and connectors. Include any recovery discs, manuals, peripherals, and cases in at least one photo. Don’t show the product key: someone dishonest could use it to illegally activate their own copy of the OS, leading to problems with your own installation.
Step 4: Sell Your Old PC
For an eBay listing, the key information should go into the description and headline. Be clear about the condition and age of the device, and if possible, include the full model number or product name. You’re an individual seller, not a business, so be human and tell the buyer why you’ve decided to sell. Before you set a price, search for similar products online and see how much they tend to sell for. If you’re brave enough to run an auction that starts under one dollar, you’ll attract more interest, but you need to have realistic expectations of how high the bidding will go.
For Amazon, review the postings of similar items from sellers to determine a reasonable price and how you want your product page to look, formatting-wise.
When it comes to shipping, assume your computer is going to be chucked around like a rugby ball in transit. If you no longer have the original packaging, you’re going to need lots of bubble wrap. Always use a few more layers than you think is safe. If you’re putting multiple items into a larger box, it pays to fill the free space with packing chips. For a PC, stuff more bubble wrap into the spaces inside the case to prevent components from coming loose. And the most important step is to always obtain a tracking number, no matter where you sell the PC!
Selling Individual Components
If your PC is no longer functional, you can still sell off the bits that do work. Even if your PC does work, this approach may be more lucrative than selling it as a complete system. That applies particularly to custom-built and upgraded PCs. Perhaps you’ve supplemented a standard PC with a beastly graphics card, for example.
If you’ve decided to sell off the PC’s individual components, it’s also a good idea to take a few photos of them in action before you erase the hard disk.
You’ll have to use common sense when setting prices. Check the typical retail costs and prices on eBay or Amazon for the components you want to sell, making sure you’re using the exact product codes and model numbers. The notes you took earlier should help here. You can also open up the PC and look for a sticker or engraving that confirms the part number, revision, and product code.
Alternatively, look back through your emails for an order receipt. If possible, take a photo that shows the component working, and state very clearly the condition of the item in your listing. Buying second-hand components can be a lottery, so do everything you can to reassure potential buyers.
Reuse The Components
If you can’t find a new home for your PC parts, you can always repurpose them. It may be possible to move spare memory into a newer PC as a top-up, and working hard disks of a reasonable capacity are always useful. USB 3 external hard disk caddies can be purchased for around five to twelve dollars for 2.5in laptop drives and 3.5in desktop drives, turning an old SATA disk into a high-speed backup device. Don’t put all your eggs in one basket though. Older hardware tends to die sooner or later.
Where to sell your PC
Although eBay has a huge audience, the selling fees har increased dramatically over time. You’ll have to factor in the selling fee(s), insertion fee(s), promotion fee(s), not to mention the cost (and considerable effort) of safely shipping something bulky and valuable. If your buyer pays by PayPal, that will cost you an additional amount from the transaction plus a fixed fee.
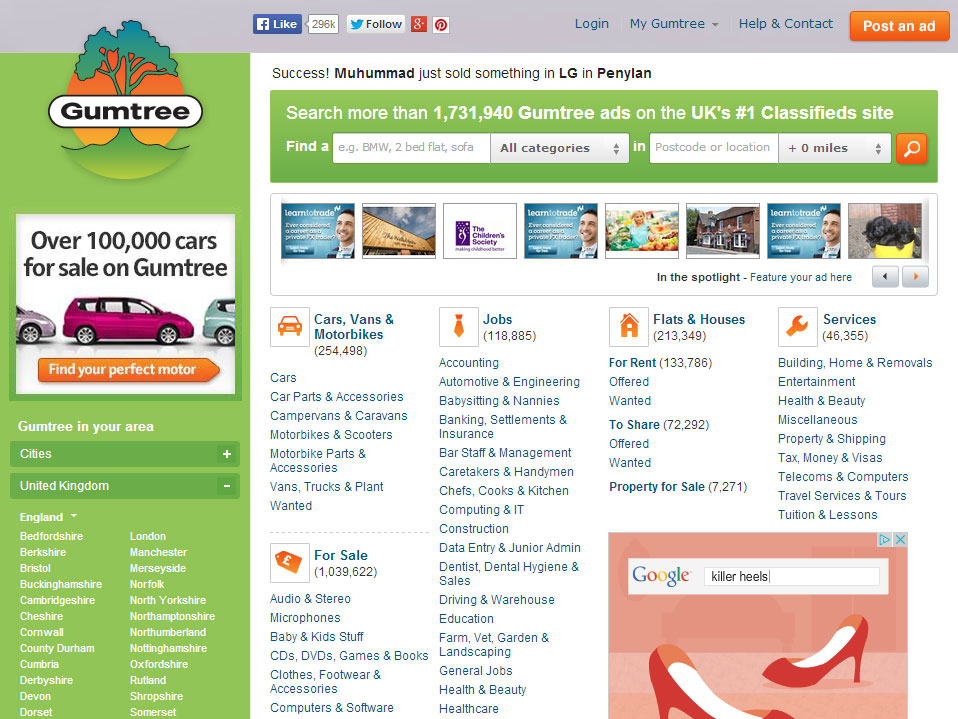
There are alternatives. Amazon is a good place if you regularly sell products, but for occasional sales, you’re better off with eBids, Craigslist, Facebook Marketplace, Mercari, etc.
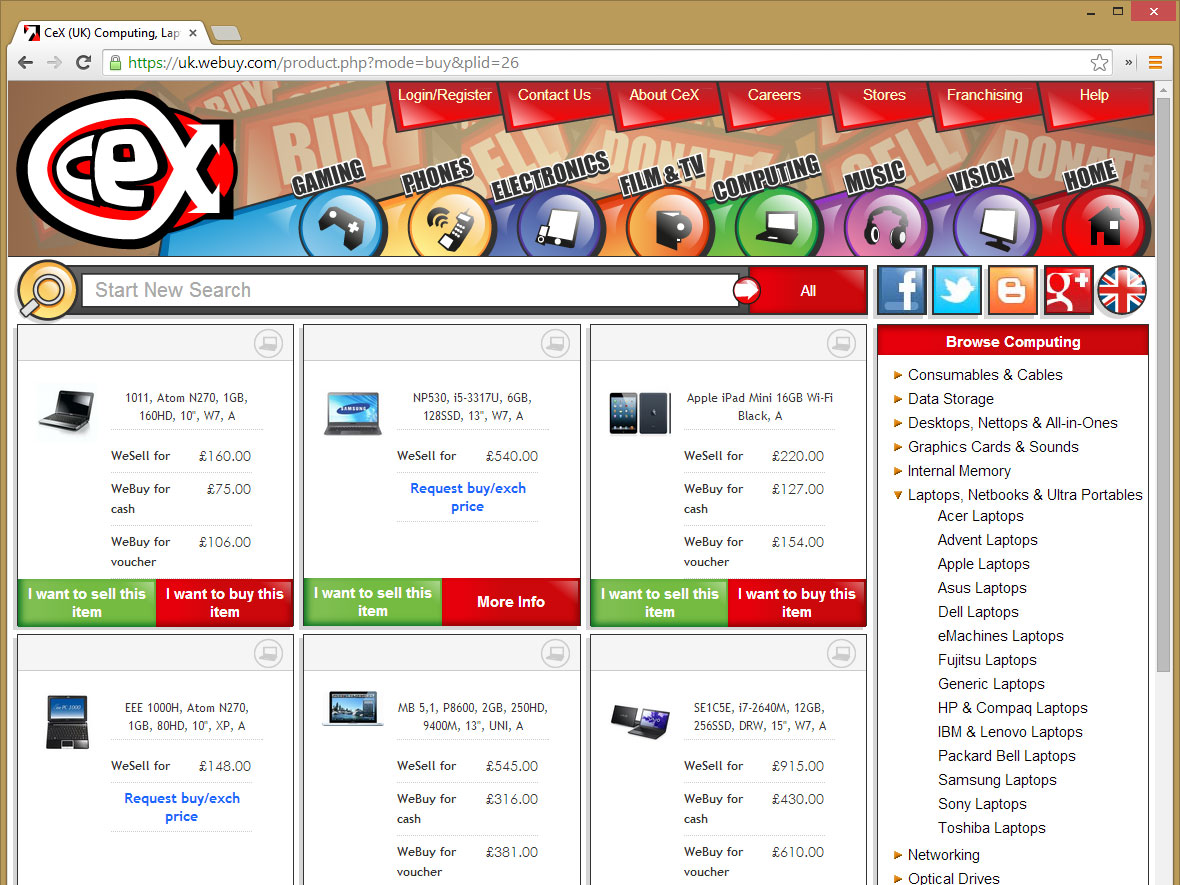
Trade-in shops such as BuyBackWorld and itsworthmore.com will take some big-brand laptops and Macs, but Windows desktops are not listed as a category. They also accept PC components to some degree. If you can sell it to a trade-in shop, don’t expect to get rich. These stores are buying your products to sell at a profit, so you’ll probably get less than you would from a private sale. However, this option is the easiest one, as long as the vendor approves your item for purchase.
There’s no hard and fast rule governing the best way to sell off a given item. Take stock of what you have and go for the approach that you think will work best.
Turn Your Old PC into a NAS Drive and Server
An old, working PC that’s too slow to run the latest applications can be repurposed as a home server by installing the open-source FreeNAS operating system. However, the PC must be 64-bit. Be warned that the system is also quite RAM-hungry, so if your system has less than 2GB, you may need to add more to get FreeNAS running smoothly.
Be aware that a computer running FreeNAS will almost certainly consume more electrical power than a dedicated NAS appliance. To keep things as efficient as possible, see if you can underclock the CPU in the BIOS, and remove any components that aren’t needed to serve files. You don’t need a separate graphics card, for instance, if the system also has integrated graphics. Here’s the step to convert your old PC to NAS.
Step 1: Download TrueNAS Core (formerly FreeNAS)
The easiest way to get started is to download the TrueNAS Core image for free. Extract the IMG file from the downloaded archive.
Step 2: Download Win32 Disk Imager
Download the free Win32 Disk Imager tool, run it, and select your IMG file and the letter of your USB drive. Click “Write” and your bootable TrueNAS Core USB stick will be created.
Step 3: Set Up Your NAS Server
To set up your TrueNAS Core server, you’ll need access to a second PC that’s connected to the same home network. Boot your new “TrueNas Core” system from the USB stick, and after a few minutes, it should give you a numbered menu with an IP address. If no network is found, choose “Configure Network Interfaces” and follow the instructions until it receives an IP address. (For bigger problems setting up, you’re best off checking the FreeNAS/TrueNAS forums.)
Write down that IP address, then type it into the browser URL bar on your second PC to access the FreeNAS web interface with all the settings for your new home server. To get started, go to “Account | Admin Account | Change Admin User,” and set a username and password. That’s for the web login; you’ll also want to create a new user for the server in “Account | Users | New User.” Browse through the rest of the administrative settings to fix any obvious problems, such as an incorrect time or date. Now, you’re ready to set up the storage.
To do this, go to “Storage | Volumes | Volume Manager,” add a new hard disk, then name it and select it from the connected drives. The file system is important: if your home server machine has less than 4GB of RAM, choose the legacy UFS over the more intensive ZFS. Click “Add Volume” and your drive will be wiped and prepared for use in the server; repeat the process for any other drives you want to repurpose. To make the volume accessible, go to “Sharing | Windows (CIFS) Shares | Add Windows (CIFS) Share,” give the share a name and navigate to the relevant drive. It should show up as a password-protected network drive on your other PCs. You can also set up shares with guest access, but you may need to fiddle with the permissions if you want guests to be able to write to the share.

There’s much more you can do with your new home server, including setting up automatic downloads and media streaming. A full list of available plugins is on the TrueNAS/FreeNAS site, along with instructions on setting them up.
Disposing of Hardware
If your hardware is too old or decrepit to be worth selling or repurposing, consider whether you might have a friend or an older relative who only needs something for activities like email and a web browser. If that doesn’t apply, you can always give your PC to charity.
If all else fails, it’s time to look into disposal options. Some companies will take back hardware when you no longer need it. Dell, for example, will collect your old computer for free, even including other-branded systems if you’ve recently bought a new Dell PC, monitor, printer, or mobile device.
The last resort is the dumpster, but don’t simply turn up to any dumpster and chuck your hardware with everything else. PCs contain all sorts of toxic chemicals that need to be handled appropriately. Visit your local council’s website or learn how to donate your old computer at Earth911. Also, the “Recycling Center” form loads late on the webpage, so be patient. From there, you can enter your zip code to find the nearest PC recycling centers and donation facilities. That way, you can be sure that your trusty old PC is safely trashed or will at least do some good in its next life.
Disclaimer: Some pages on this site may include an affiliate link. This does not effect our editorial in any way.