Photoshop is a peerless image editing app, by far the No.1 tool among professionals since its 1990 release. Professional image editors know all the tricks that can help them save time and finish certain tasks quicker. To begin with, filling large areas on an image with solid colors. You could use the painting and drawing tools here, but it’s entirely possible to do it much faster in Photoshop.
Follow along in this article to learn how best to fill in an area in Photoshop.
Why Not Use Paint and Drawing
The devil might be in the details, but if you spend too much time dealing with every single detail, you’ll waste valuable time and might lose patience and focus, which can only show up in your work.
Instead of painting and drawing, there are two cool ways to fill areas of the same color. You could use either the Paint Bucket tool or the Fill Command. Both are equally efficient and, depending on your preference and the situation, you might prefer one over the other.
How to Fill in an Area in Photoshop using Paint Bucket
Here’s how to use the Paint Bucket tool in Photoshop:
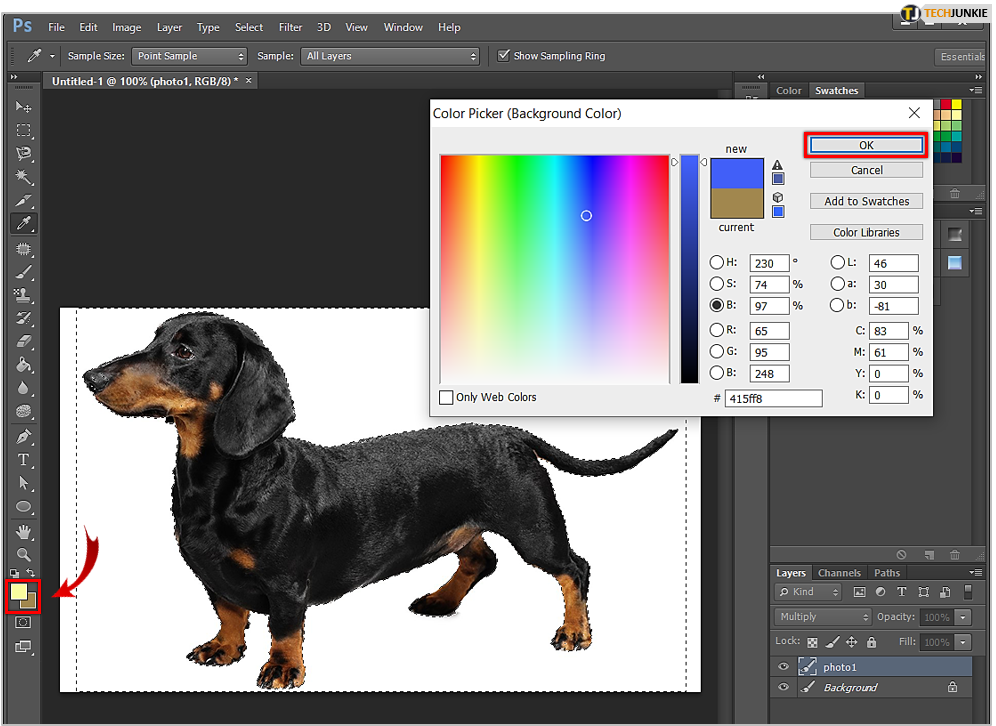
- Enable the Color Picker by navigating to the foreground color swatch in the toolbox. Now, either find the color that you want to use and select it or select a shade from one of the color libraries. Clicking OK will lock in the selected color.

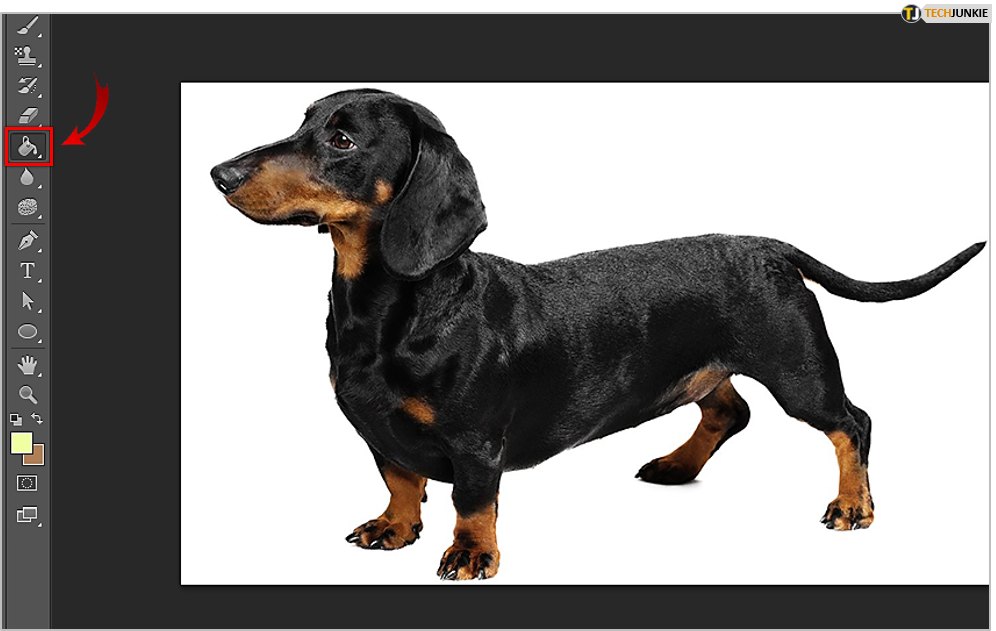
- To select the Paint Bucket tool, press the G key on your keyboard. If this doesn’t work, you’ve probably been using a tool that is in the same toolbox as the Paint Bucket (the Gradient tool, for instance). If this is the case, press Shift + G and click/hold on the Gradient tool in the toolbox, which should reveal the Paint Bucket.
- Now, you need to set options for the Paint Bucket tool, and this is done in Options.
- Pattern allows you to use a particular pattern.
- Foreground uses the color picked in Color Picker, you’ll then to select the desired pattern from the pattern gallery.
- Open the Mode menu, choose a blending mode, and find the right opacity for the fill.
- Again, the Opacity field determines how opaque the fill is.
- The Tolerance field defines how closely the area that you fill should resemble the area color. In other words, how closely the pixels should resemble the area in question.
- The Contiguous, Anti-Alias, and All Layers checkboxes help you define the edges of your fill area.
- Finally, click the image with the Paint Bucket tool in the target area (the color that you want to replace).


How to Fill in an Area in Photoshop using the Fill Command
Here’s how to use the Fill Command in Photoshop:
- Use the Color Picker tool to select the background (foreground) color. To do this, click on the background/foreground color swatch in the toolbox. Pick a color by selecting one from the color libraries or by entering the corresponding formula. Click OK to set this color.
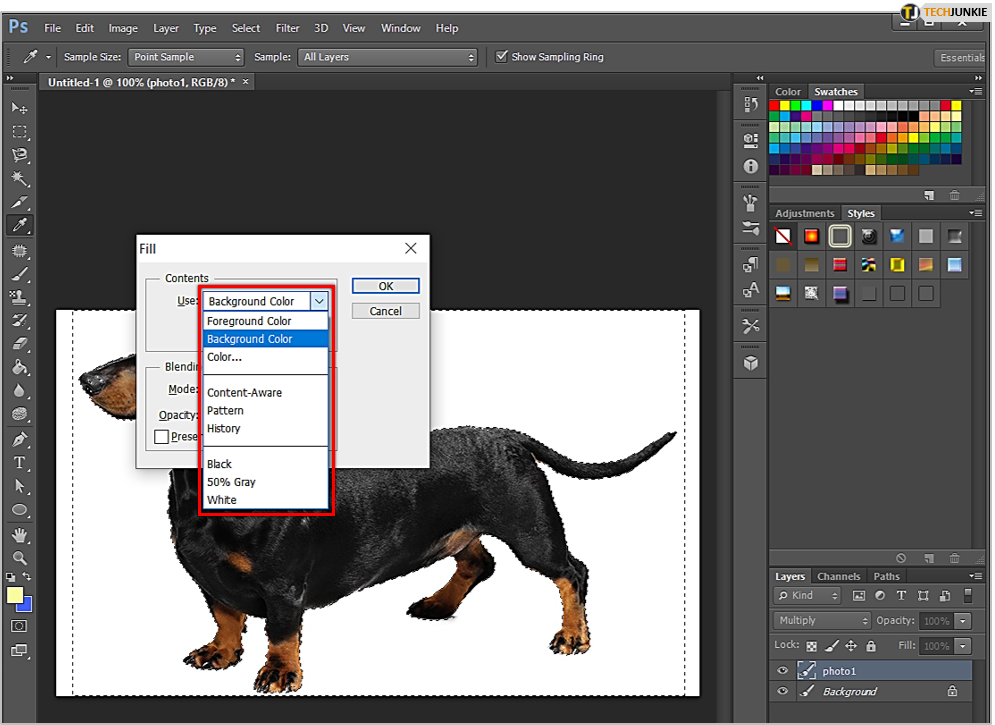
- To bring up the Fill dialog box, press Shift + Backspace on a PC, or Shift + Delete on a Mac. Choose between Background Color or Foreground Color in the Use menu. Should you happen to change your mind, overriding these colors is as easy as choosing Color to bring up the Color Picker.
- The Use menu can be set to History, White, Black, 50% Gray, or Pattern. The Pattern option will open the Custom Pattern gallery for you to select your fill.
- Make sure that you choose the Content-Aware option for the selection to fill itself by drawing details from the adjacent areas of the image.
- Adjust any Blending options to suit your Fill needs and then click OK.
- The Mode menu allows you to control the fill’s blending with existing colors in the target area.
- Opacity determines how opaque your fill is going to be.
- The Preserve Transparency checkbox helps you make sure that the fill doesn’t affect the transparent areas within the image.

Things to Keep in Mind When Filling in an Area in Photoshop

Although this sounds basic enough, there are things that you need to pay attention to.
- First of all, the mentioned Content-Aware fill can often have random results. This means that you’re going to be playing with the Undo command quite a bit.
- The 50% Gray setting isn’t quite like setting a CMYK color in the Color Picker. The results tend to vary. Essentially, 50% Grey gives you a color that measures 128 in the RGB file across all three channels, plus 50% in each channel of the CMYK file.
A True Time Saver
We can promise this much. Once you’ve learned the ropes of using the Paint Bucket tool and the Fill Command, whatever work you do in photoshop is going to become much more efficient.
How often do you use these two commands? Do you prefer taking the long road of painting and drawing? Why? Why not? Discuss!
Disclaimer: Some pages on this site may include an affiliate link. This does not effect our editorial in any way.


