If you’re a graphic designer or photographer, you may want to emphasize certain parts or text in your image. This is often done by adding a glow effect.
Fortunately, this is a relatively simple process on GIMP. Better still, there are other great effects that you can use. Read on to find out everything you need to know.
How to Make a Glow Effect with GIMP
Although GIMP doesn’t have a feature for adding a glow effect to images, there are two workarounds to get the desired result.
Option 1: How to Make a Glow Effect With Drop Shadows
- Launch the GIMP app on your computer.
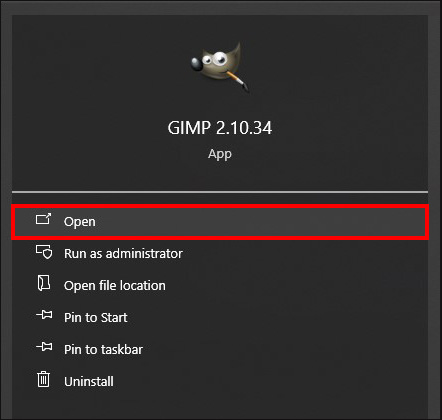
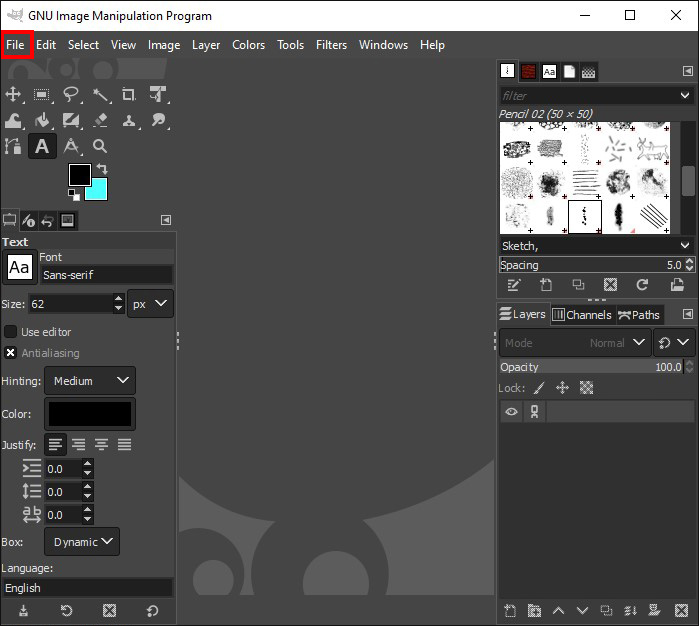
- Click “File” at the top of your screen.

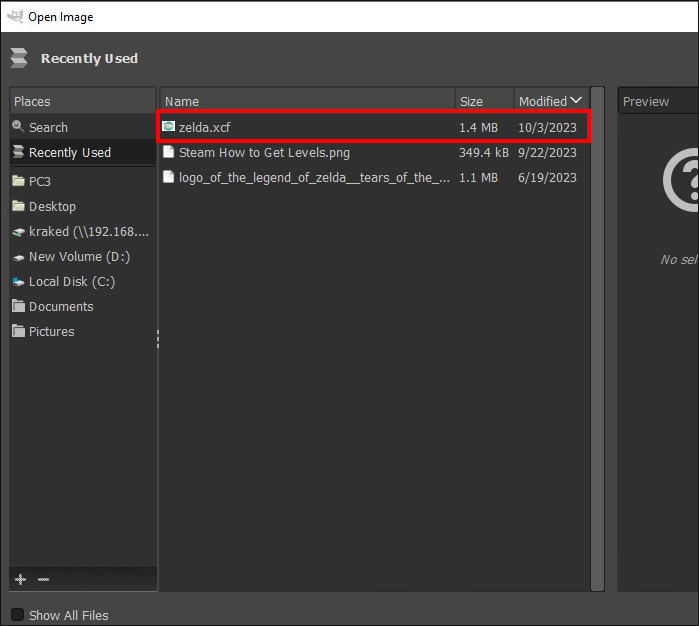
- Choose “Open,” and double-click the file containing your selected element.
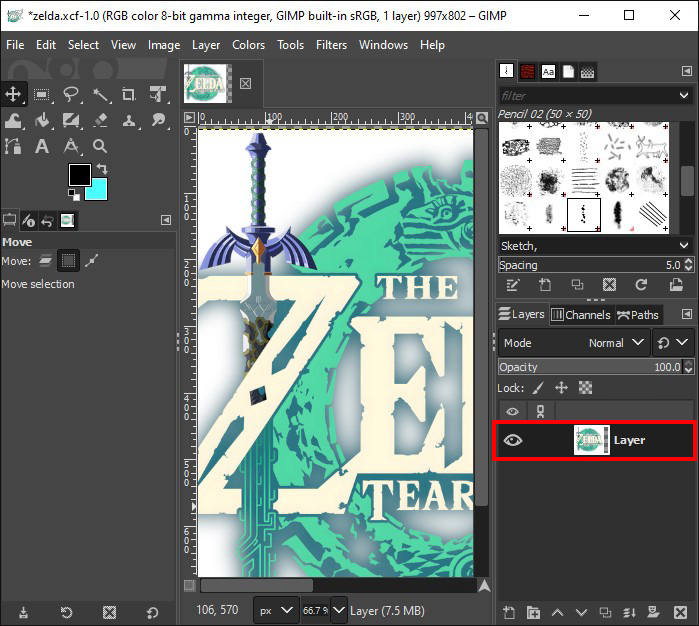
- Select the layer to which you wish to add a glow in the “Layers” panel with your selected element.
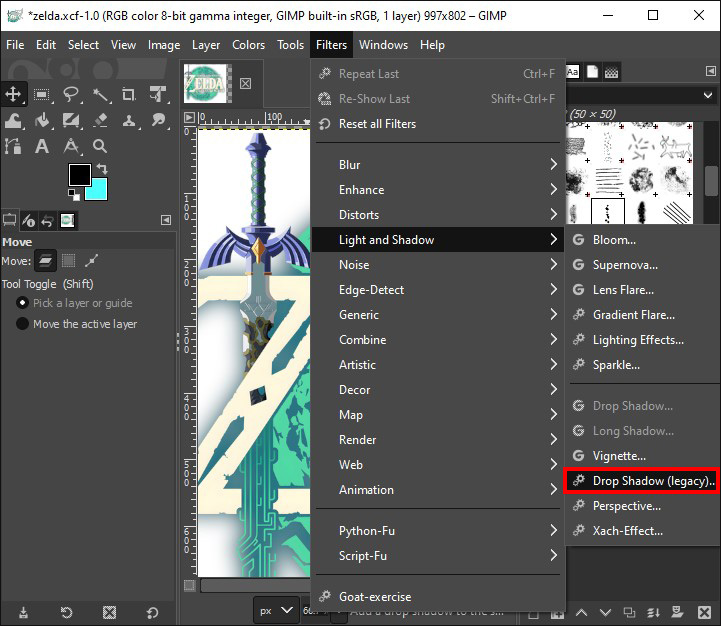
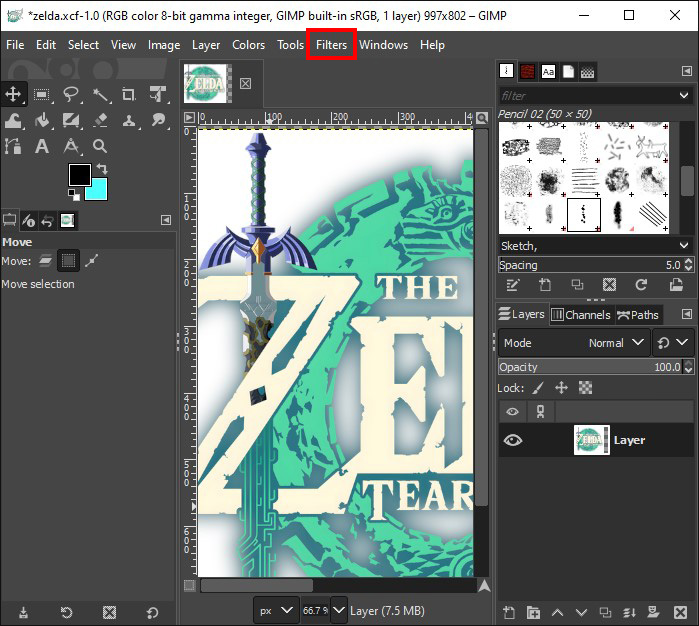
- Open “Filters” at the top of your screen.
- Choose “Light and Shadow” from the “Menu” section and then select “Drop Shadow.”
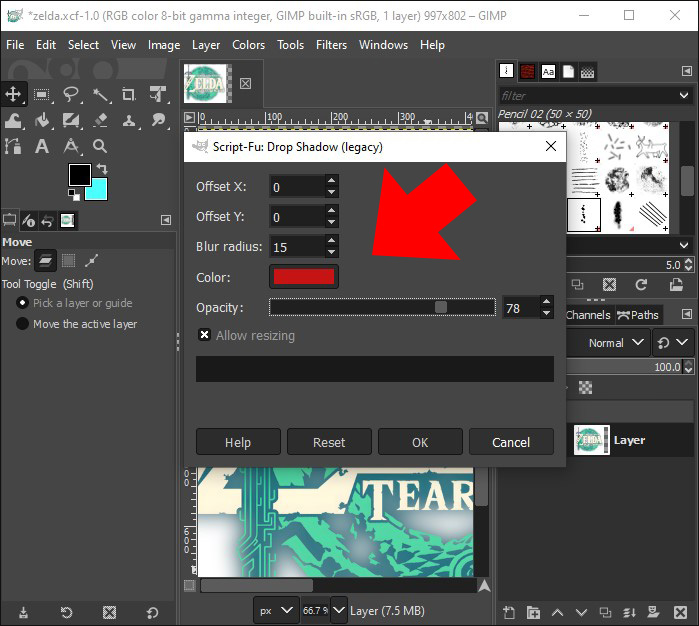
- A dialog box will open. Customize the filter settings in the dialog box. Change the X and Y options to 0, and change the color to the desired color of your glow effect.
Note: You should also check the preview box at the bottom of the dialog box to see your design updates in real-time. - Adjust the Color, Blur Radius, Grow Radius, and Opacity settings as you wish until you get your desired results.
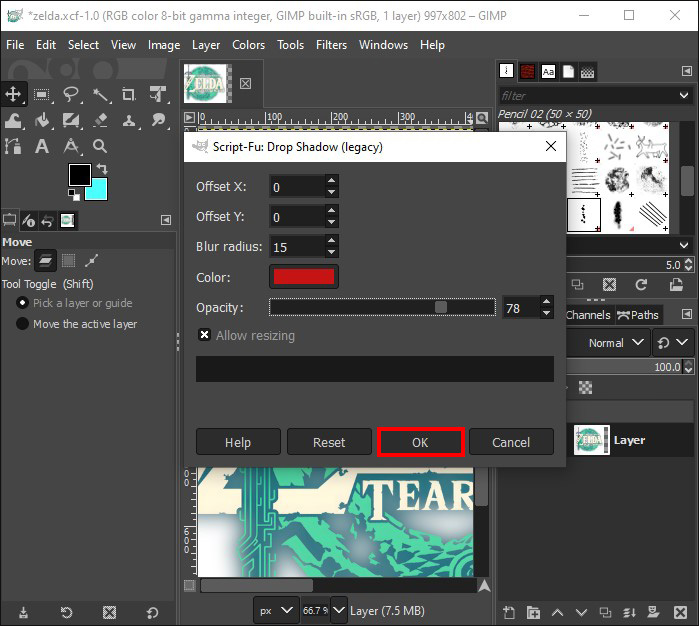
- Click “OK” if you’re satisfied with the result, and the glow effect will automatically apply to your image.


Option 2: How to Make a Glow Effect with the Bloom Filter
You can use the Bloom Filter for different results or combine both types.
- Open GIMP.
- Click “File” at the top of your screen.
- Choose “Open,” and double-click the file containing your selected element.
- Go to the “Layers” panel and select the layer to which you want to add the glow effect.
- Open “Filter.”
- Choose “Light and Shadow” from the “Menu” section and select “Bloom.”

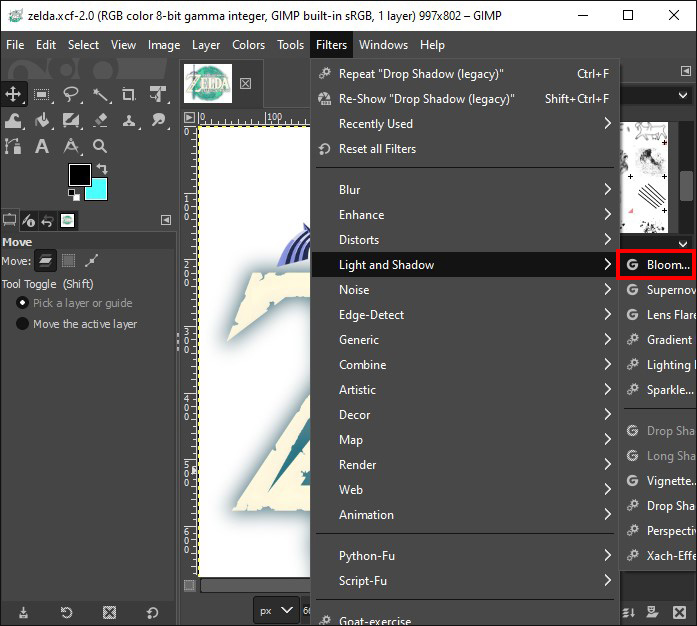
What’s more, the Bloom feature will brighten parts of your image and make them a light source.
How to Make a Glow Effect on Borders
You can also make a glow effect around the edges of your image or elements.
- Launch GIMP and click “File” at the top of your screen.
- Choose “Open,” and double-click the file containing your selected element.
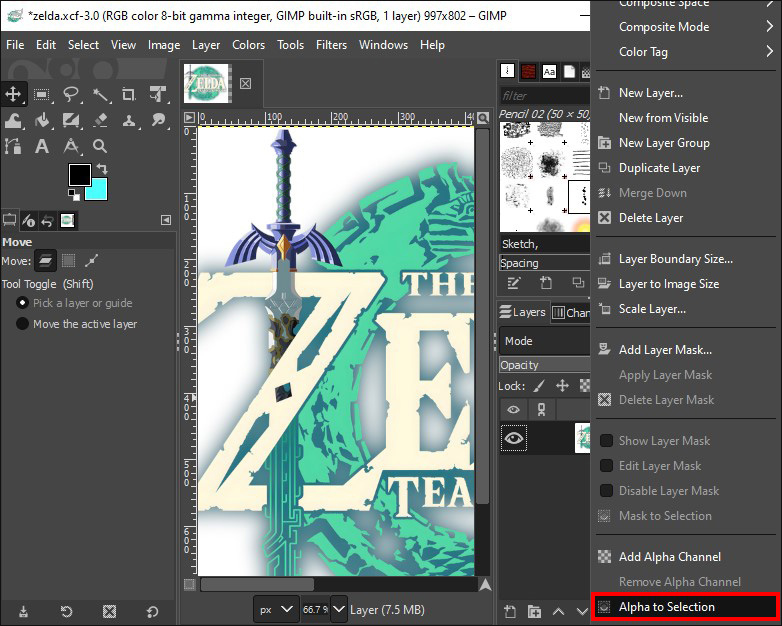
- Go to the “Menu” section and select the layer to which you wish to add a glow in the “Layers” panel with your chosen element.
- Click on “Transparency” and select “Alpha to Selection.” Alternatively, right-click “On Your Layer” and go to “Alpha to Selection.”
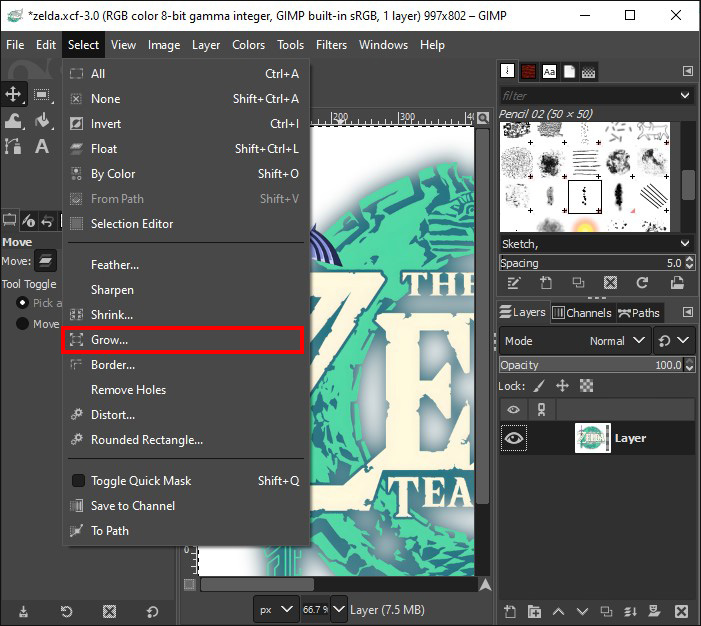
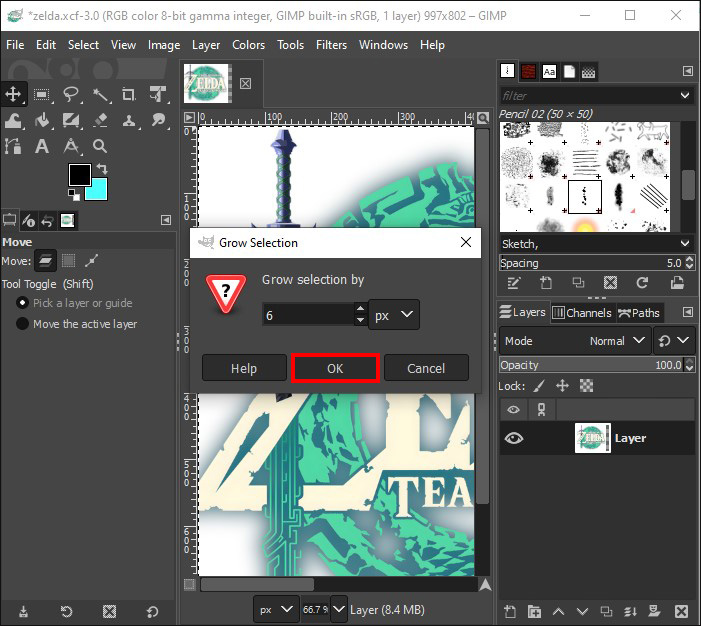
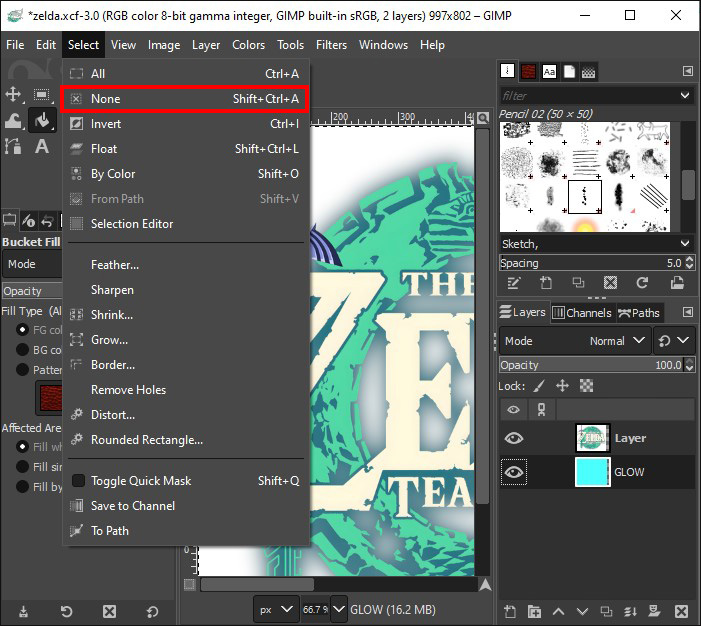
- Go to the “Menu” section, click “Select”, and then “Grow.”
- Put in the number of pixels you want your glow to be. Five is the typical number, but it depends on what look you are trying to achieve. Click “OK.”
- Create a new layer and give it a name. Then click “Bucket Fill” and select the preferred color of your glow. You should also ensure you’ve chosen the new layer you created and filled it in with the “Bucket Fill” tool.
- Drag the new layer under the image whose border you want to add the glow effect. Then go to the “Menu,” select “Select None.”
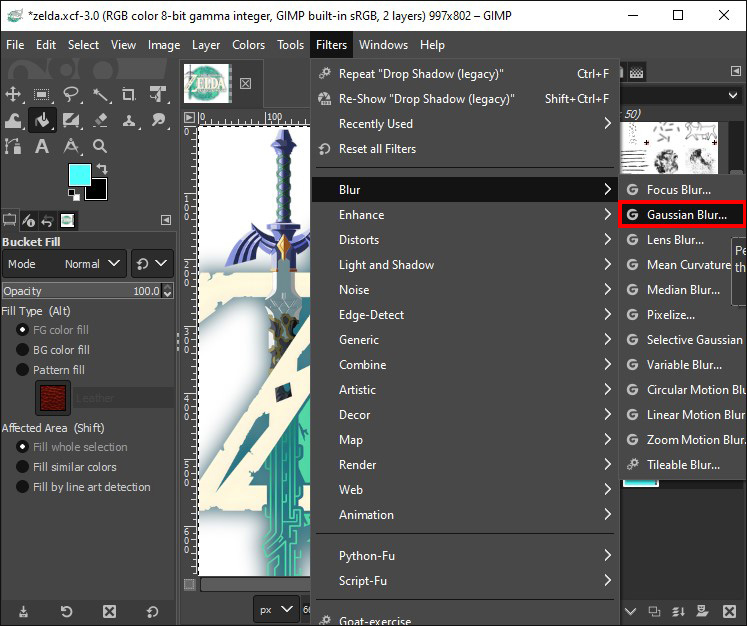
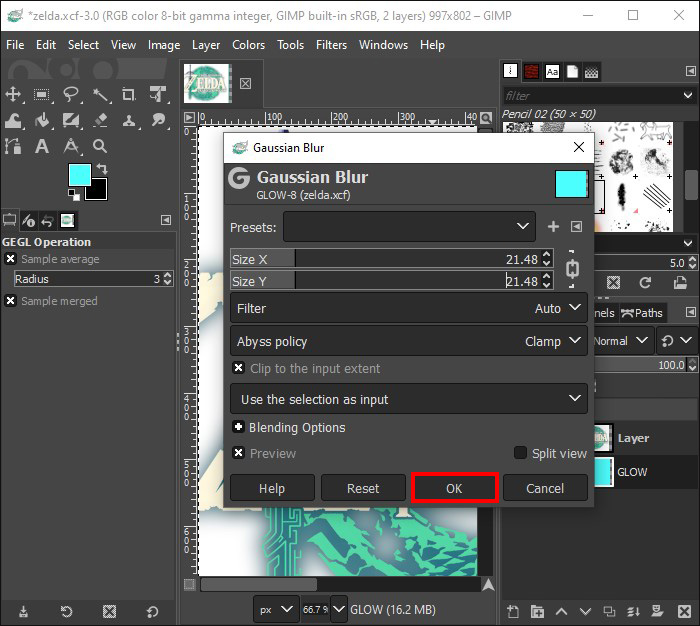
- Click “Filters” from the “Menu” section, select “Blur,” and then “Gaussian Blur.” Enter the number of how blurred you want the blur effect.
- Make sure to select RLE. Click “OK” if you have your desired result.


If you find that you would prefer a stronger blur after clicking “OK,” and repeat Steps 9 and 10. Alternatively, you could decide to duplicate the layer.
How to Make a Neon Glow Effect on Text
Adding neon glow to your text is another feature you can enjoy with GIMP.
Step 1: Prepare Your Text and Background
- Launch Canvas and click “File,” then “New.”
- This will open a new canvas with a default size. To resize your canvas, go to “Image,” then “Canvas Size,” and click on “Resize” to enter your preferred size.
- Click “Background” on the right side of the screen to change the background color. Click “Background Color.” A dialog box will appear, choose your preferred color and click “OK.”
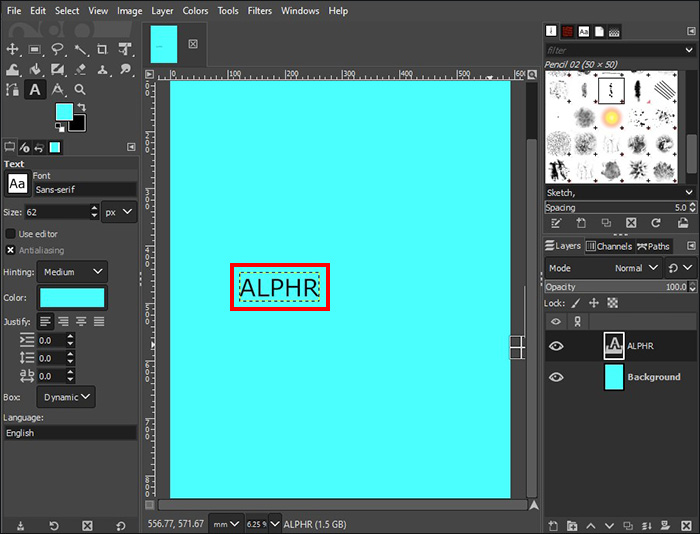
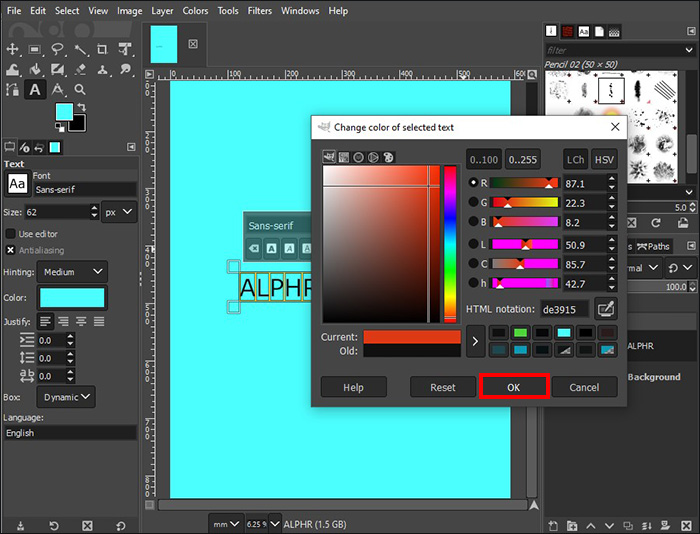
- Enter the text into the canvas.
- To change the color of the text to your desired color, highlight the text and go to “Color.” Choose your preferred color in the dialog box that appears, and click “OK.”


Step 2: Design Your Text
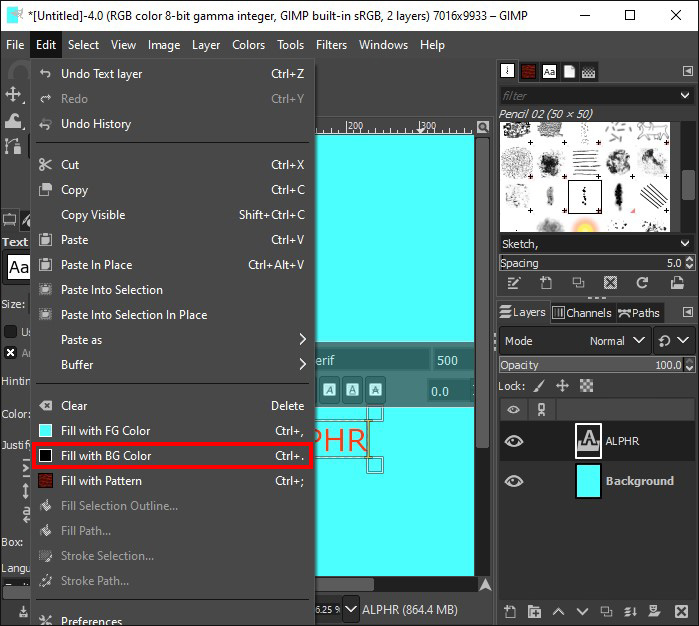
- Click “Edit” from the “Menu” section and select “Fill with BG Color.”
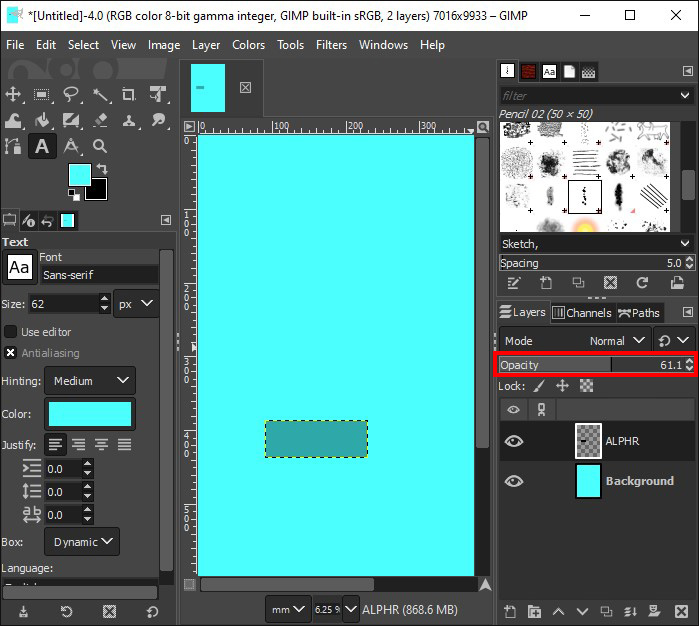
- Go to the right pane, click on the text layer named with your text, and choose the right Opacity.
- Right-click the text layer and choose “Alpha to Selection.”
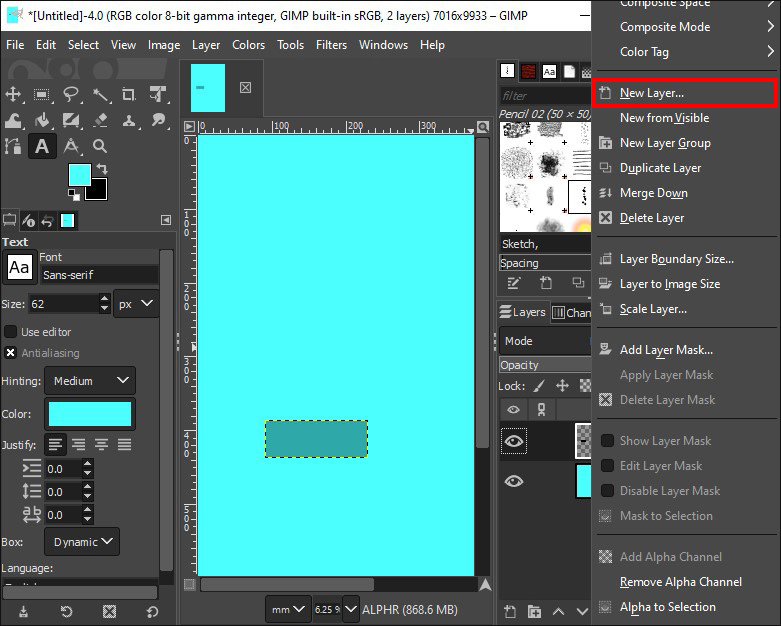
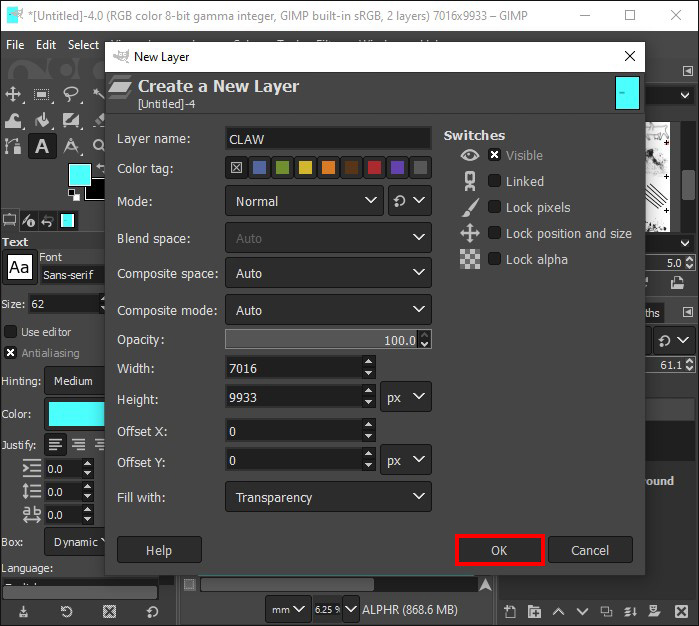
- Click the “Create New Layer” button at the bottom and add it to the image.
- A dialog box will appear. Give the layer a name and click “OK.”
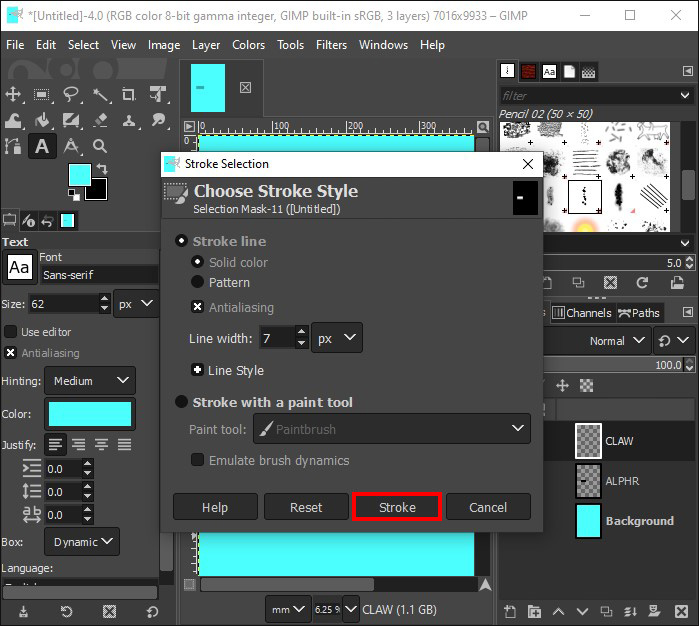
- Go to Edit and choose “Stroke Selection.” Choose your preferred line width in the dialog box that appears. Click “Stroke.”
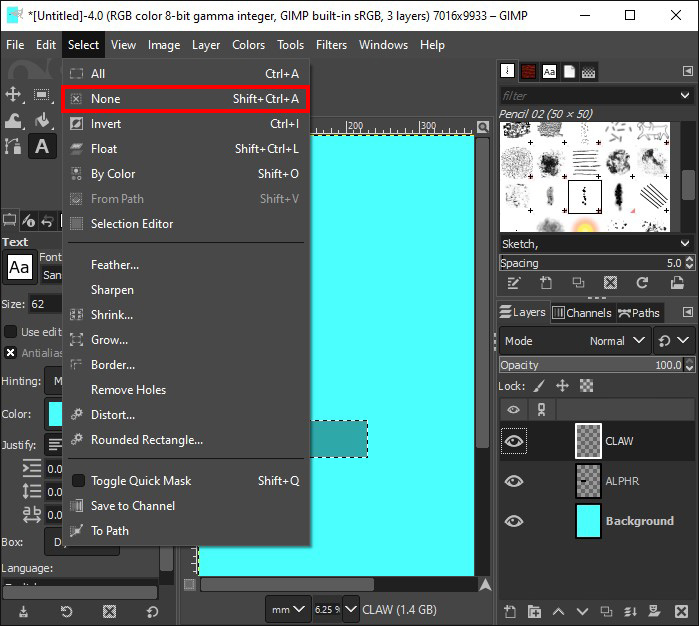
- Click Select from the “Menu” section and choose “None.” This will give your text an outline.
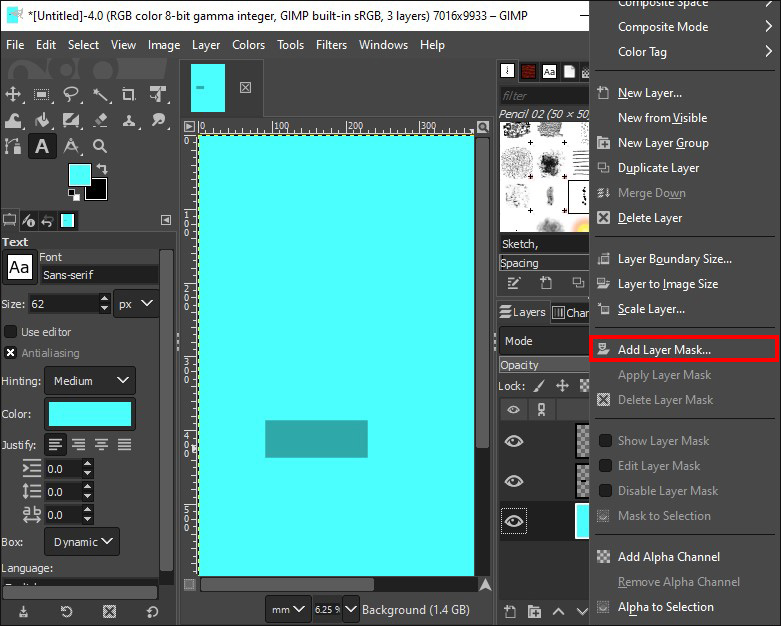
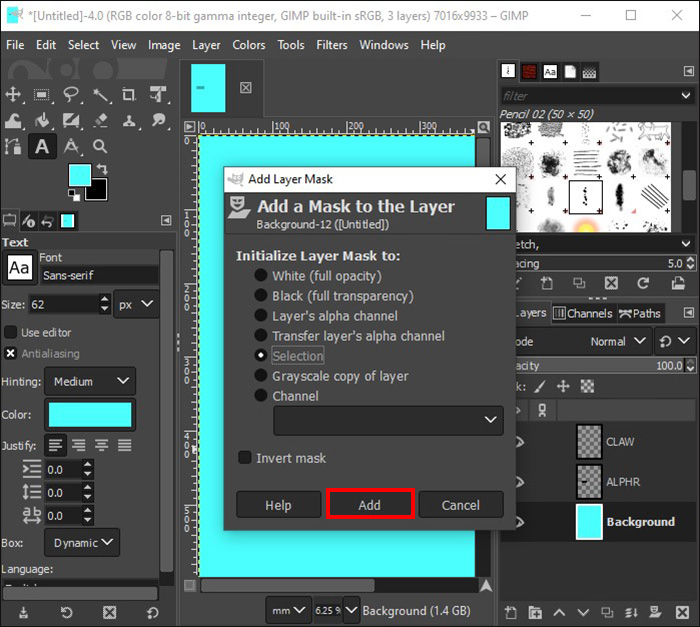
- Right-click the “Outline” layer at the right pane and select “Add Layer Mask.”
- Make a selection and click “Add.”

Step 3: Paint the Text
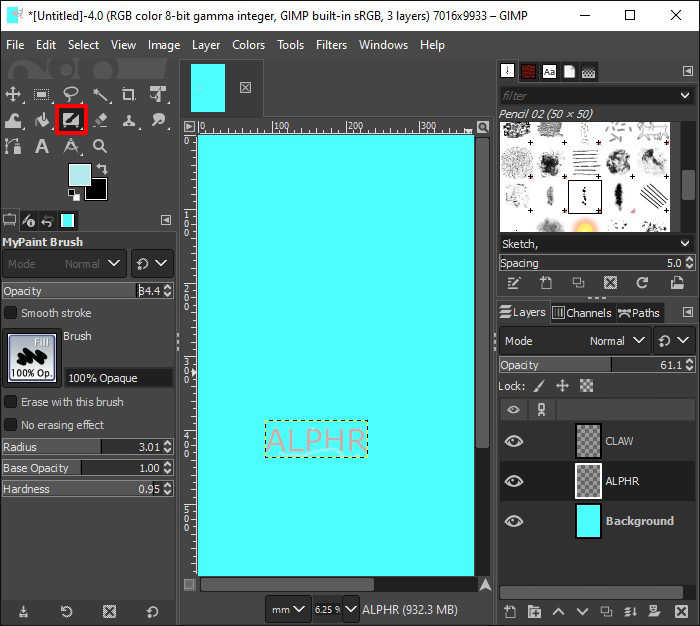
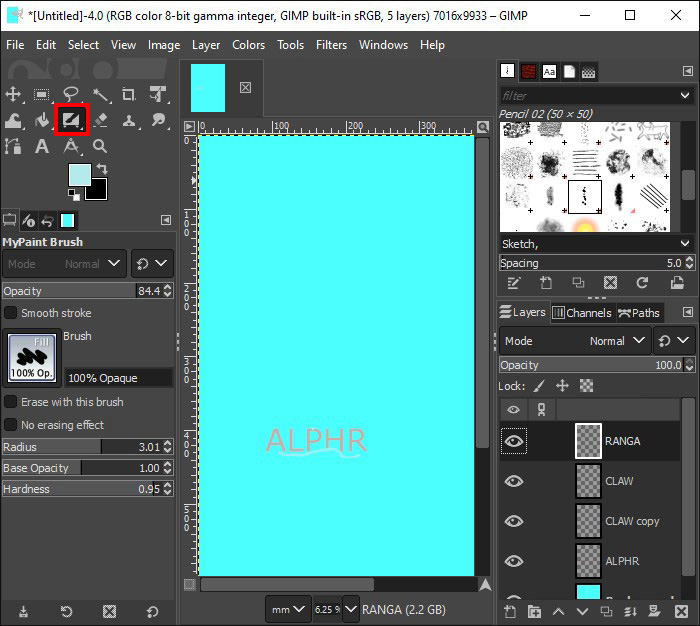
- Click “Paintbrush” from the toolbox and customize the settings of the paintbrush depending on your preference. Then, paint parts of the letters of the text.
- Click the “Eyeball” icon next to your text layer in the right pane. Then, increase or decrease the size of the paintbrush and Opacity as you wish.
- Click on your text in the canvas to add the highlight to the edges of the text not outlined.
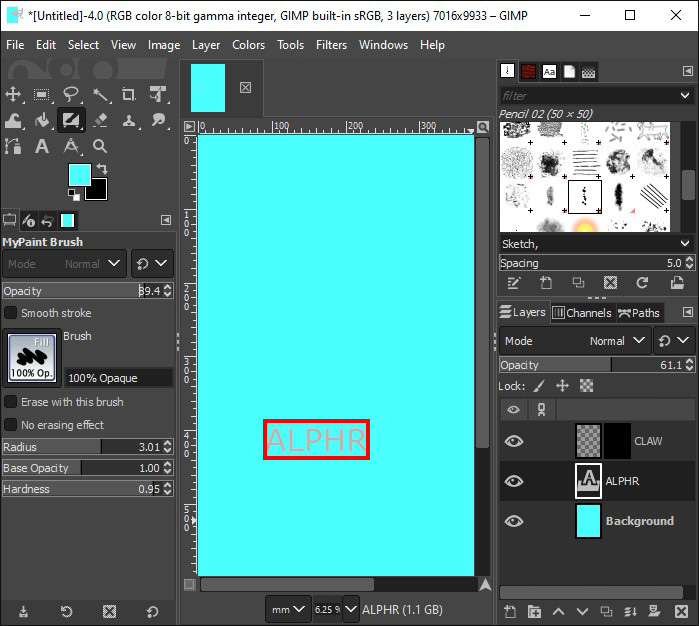
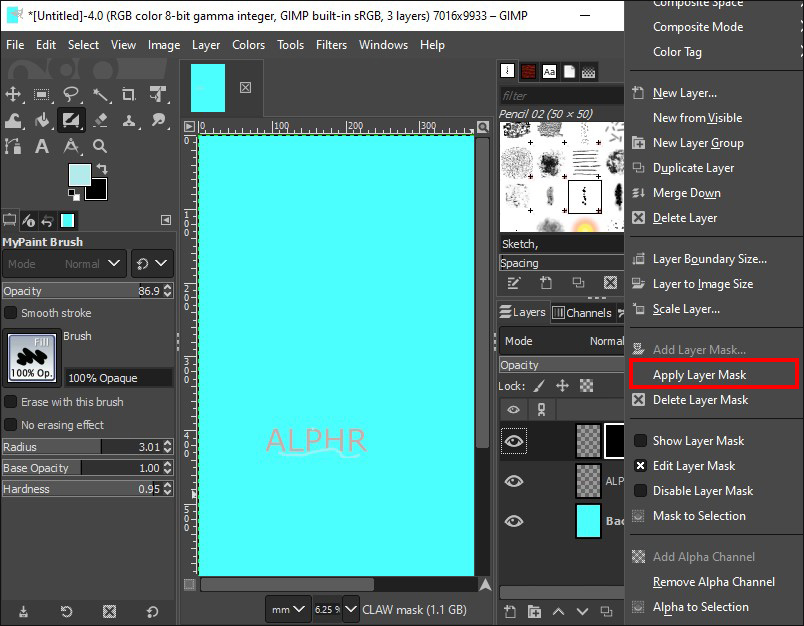
- Right-click the “Outline” layer on the right pane and choose “Apply Layer Mask.”
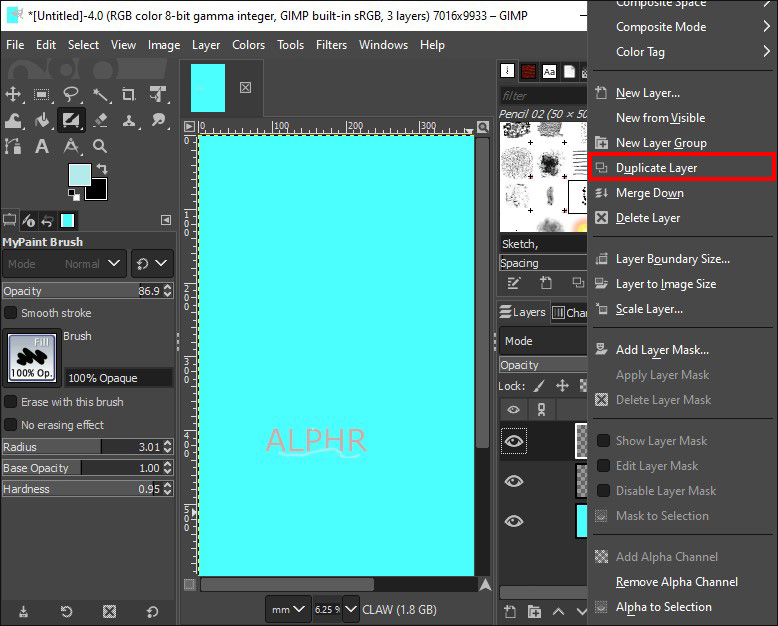
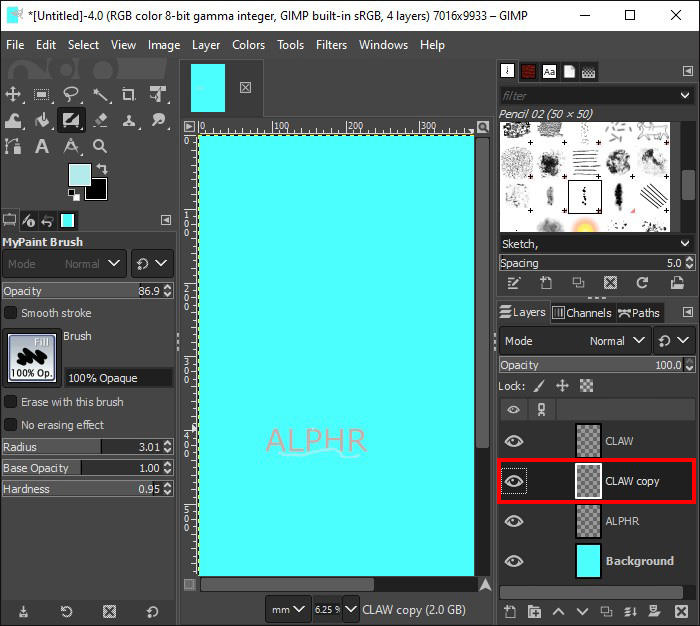
- Duplicate the layer and add it twice to the image button.
- Click the copy of the “Outline layer” in the middle.

Step 4: Add Blurs to the Outline
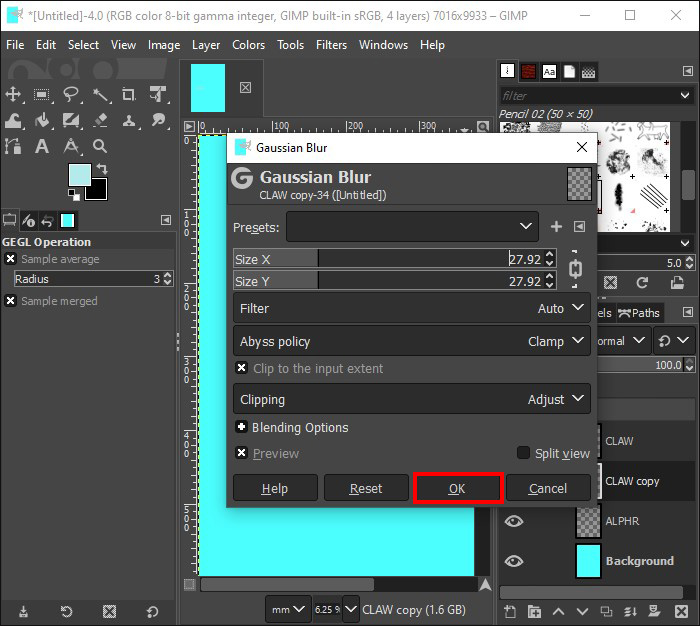
- Click “Filters” on the “Menu” section. Choose “Blur” and select “Gaussian Blur.”
- Change the sizes of X and Y on the dialog box that appears, and click “OK.”
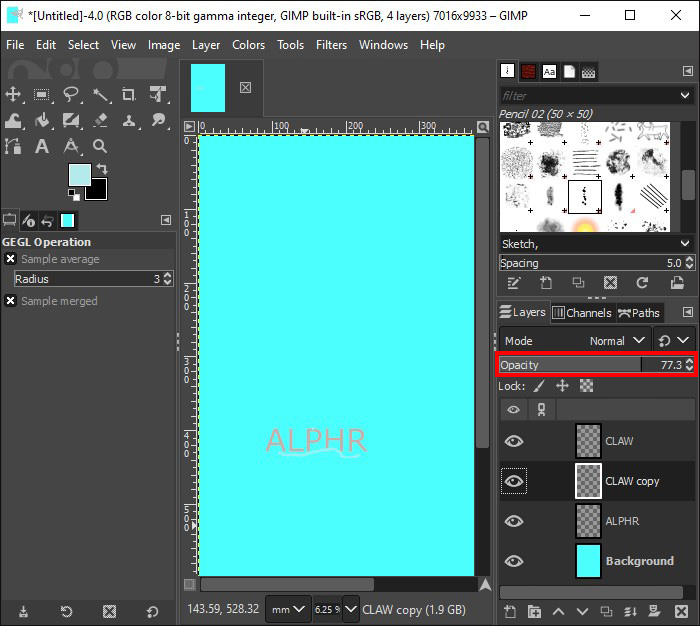
- Go to the copy of the “Outline” layer in the middle and choose your preferred Opacity.
- Click the other copy of the “Outline” layer and repeat 1 and 2 above, choosing 1 to 3 bigger sizes for X and Y.

Step 5: Add Glow Effects
- Click the “Outline” layer at the top, select “Create a New Layer,” and add it to the image button.
- Give the new layer a name in the dialog box that appears, and click “OK.”
- Click “Paintbrush” from the toolbox, reduce the size and highlight the other parts of the text.
- Go to “Mode” on the right pane and select “Soft Light.”
- Create another layer, name it, add it to the image button and click “OK.”
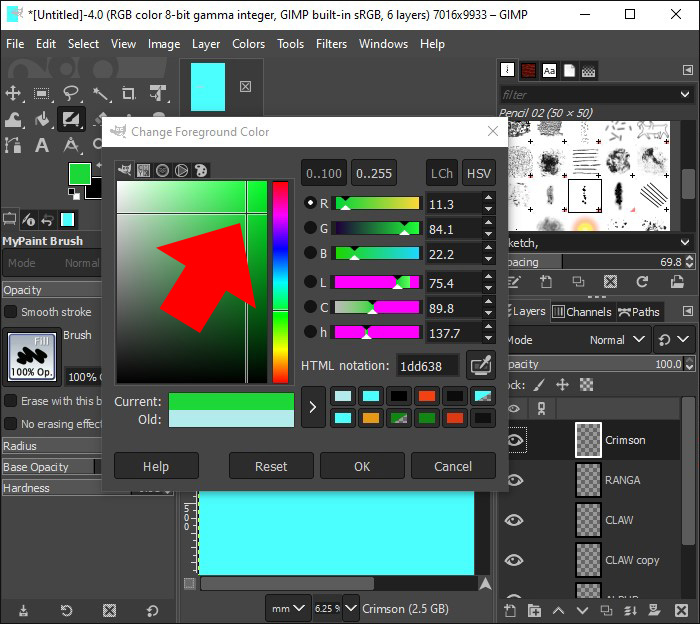
- Click “Foreground Color” beneath the toolbox and choose a color in the dialog box.
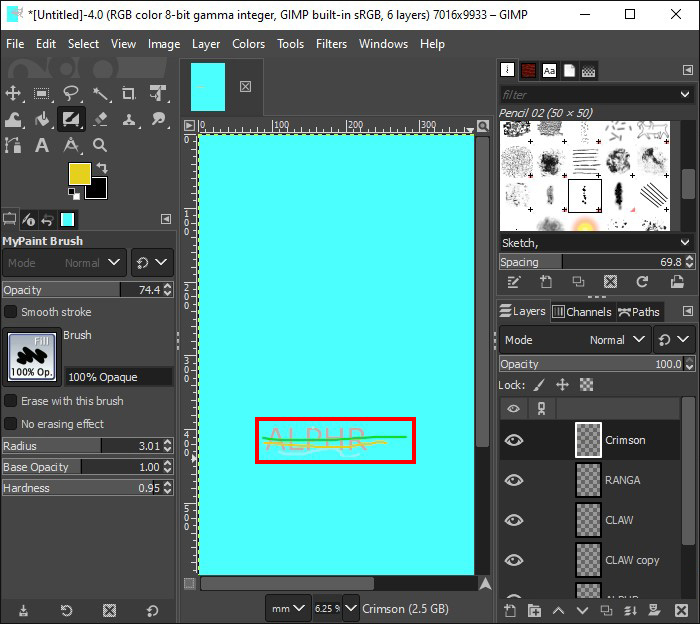
- Increase the size of the paintbrush and add color to your text.
- Click “Foreground Color” again and choose another color in the dialog box. Blend the newly-selected color with the previous color on the text.
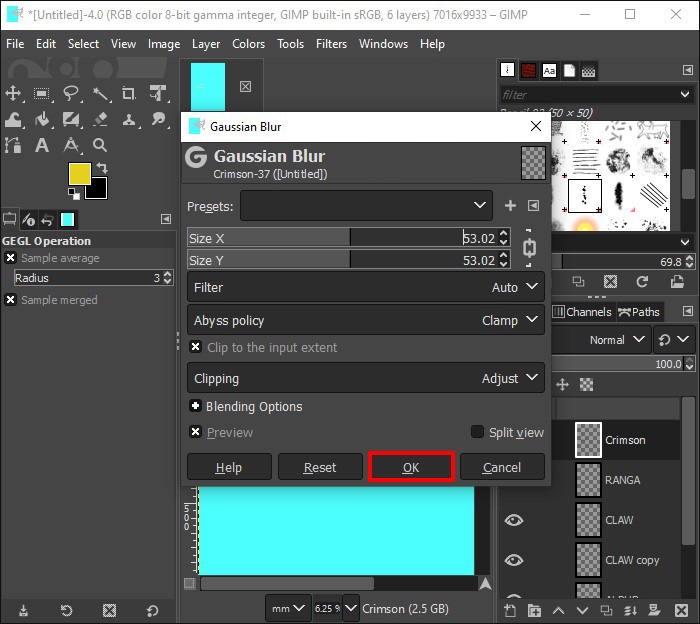
- Click “Filter,” choose “Blur,” and then “Gaussian Blur.” Add a much bigger size to X and Y in the dialog box, and click “OK.”
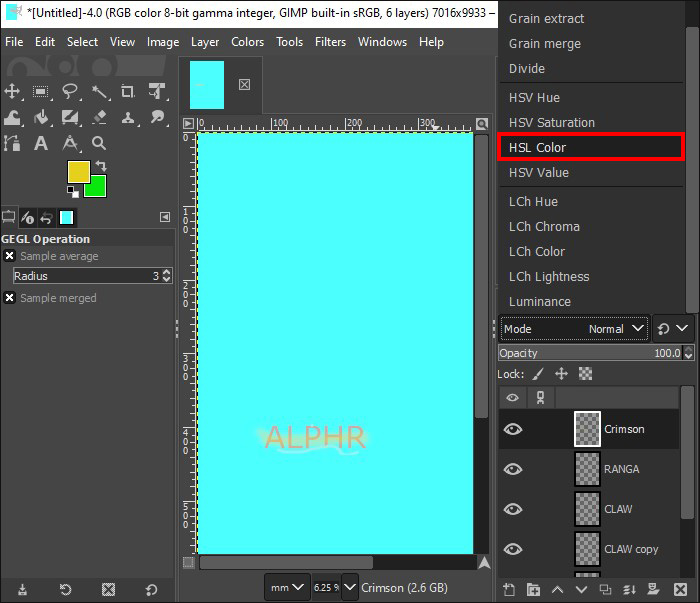
- Click “Mode” and select “HSL Color.”


Time to Make a Glow
Adding the glow effect to your images or text always gives them a new look. Not only is it aesthetically pleasing, it’s a great way to emphasize certain parts of your image. Although some of the steps are quite long, the result is definitely worth it.
Have you ever created a glow effect with GIMP? Did you use any of the features described in this article? Let us know in the comments section below.
Disclaimer: Some pages on this site may include an affiliate link. This does not effect our editorial in any way.


