Device Links
Many Gmail users probably didn’t know that it is possible to create folders because the platform calls this feature “Labels” instead. Labels, like Folders, are convenient when it comes to organizing and locating data or files. Therefore, this Gmail feature can make your inbox a lot easier to navigate.
But how do you create or add a label on Gmail? In this article, you’ll find the steps to create labels on Gmail using different devices.
How to Create Gmail Folders on an Android
The Gmail app for Android allows you to check your email, reply to them and send new ones on the go. The app also allows you to create labels to organize your email better. Here is how to do it:
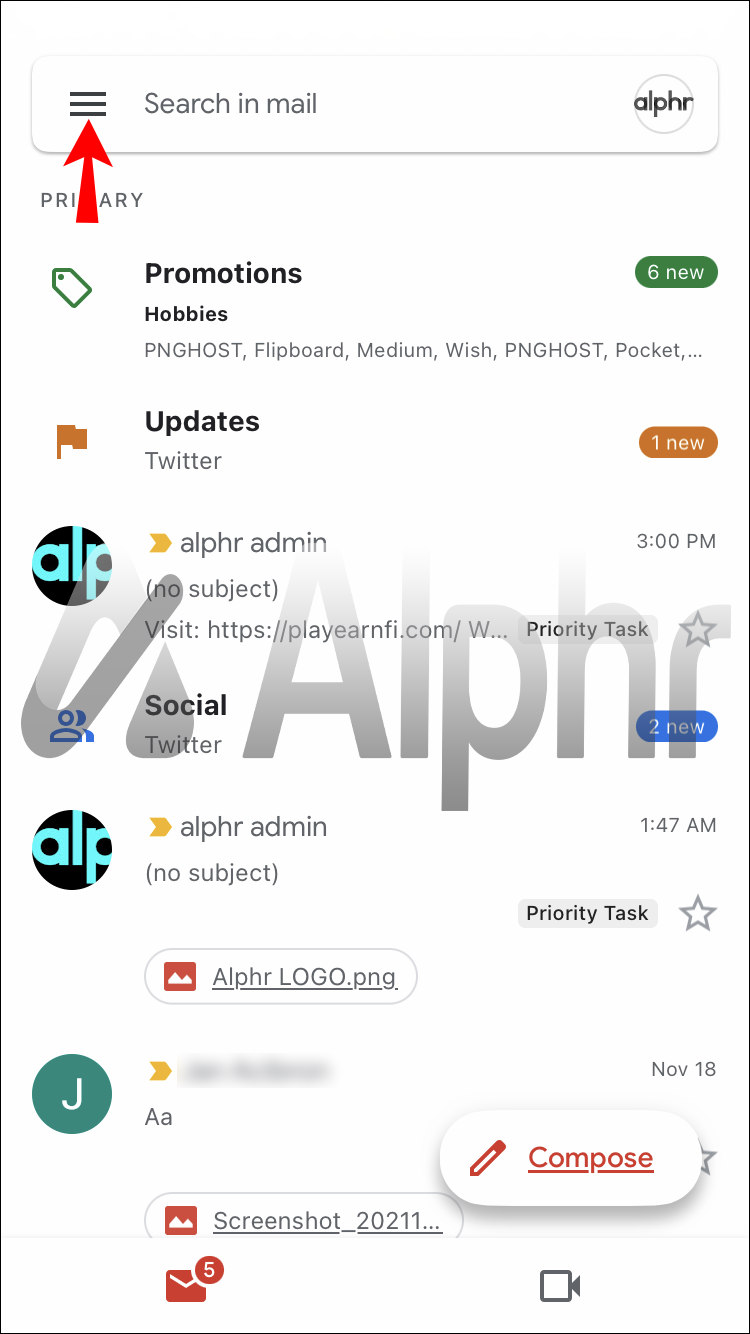
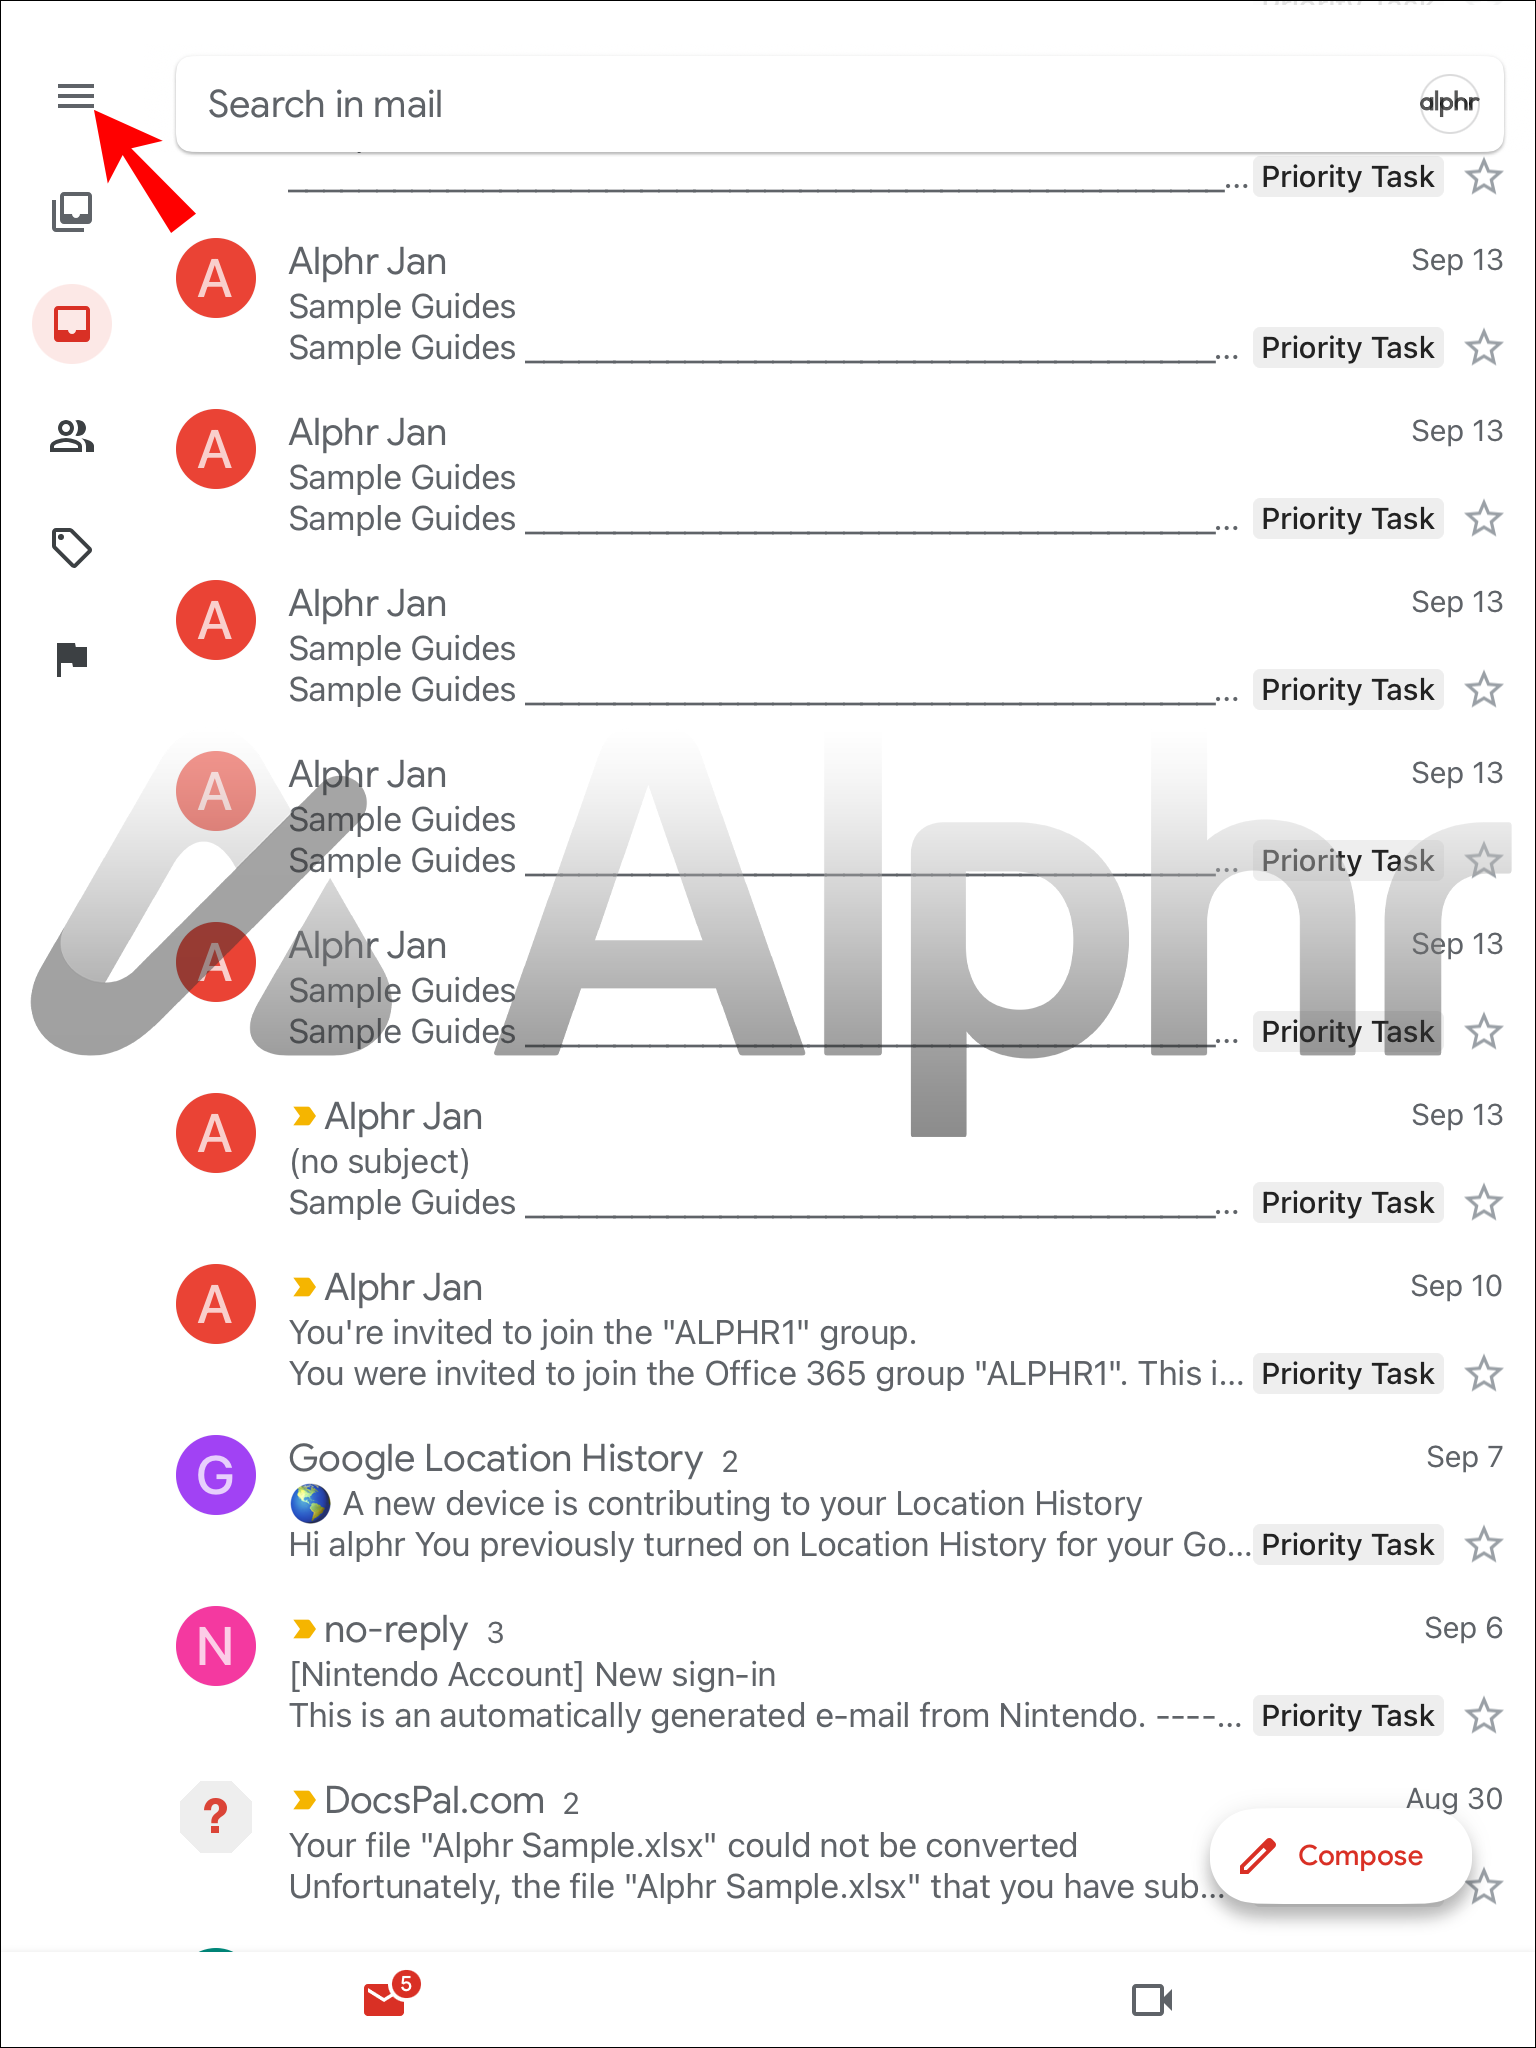
- Tap the three horizontal lines in the top-left corner of the Gmail app near the search field.

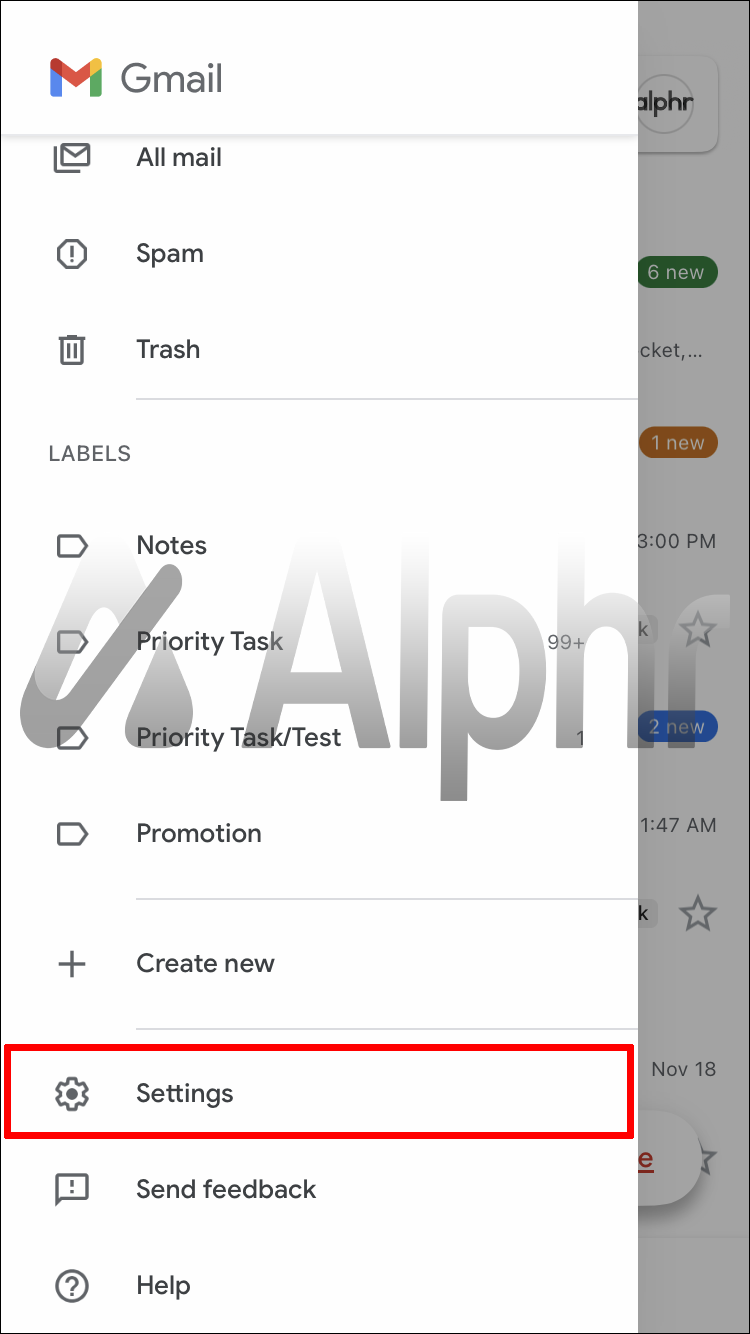
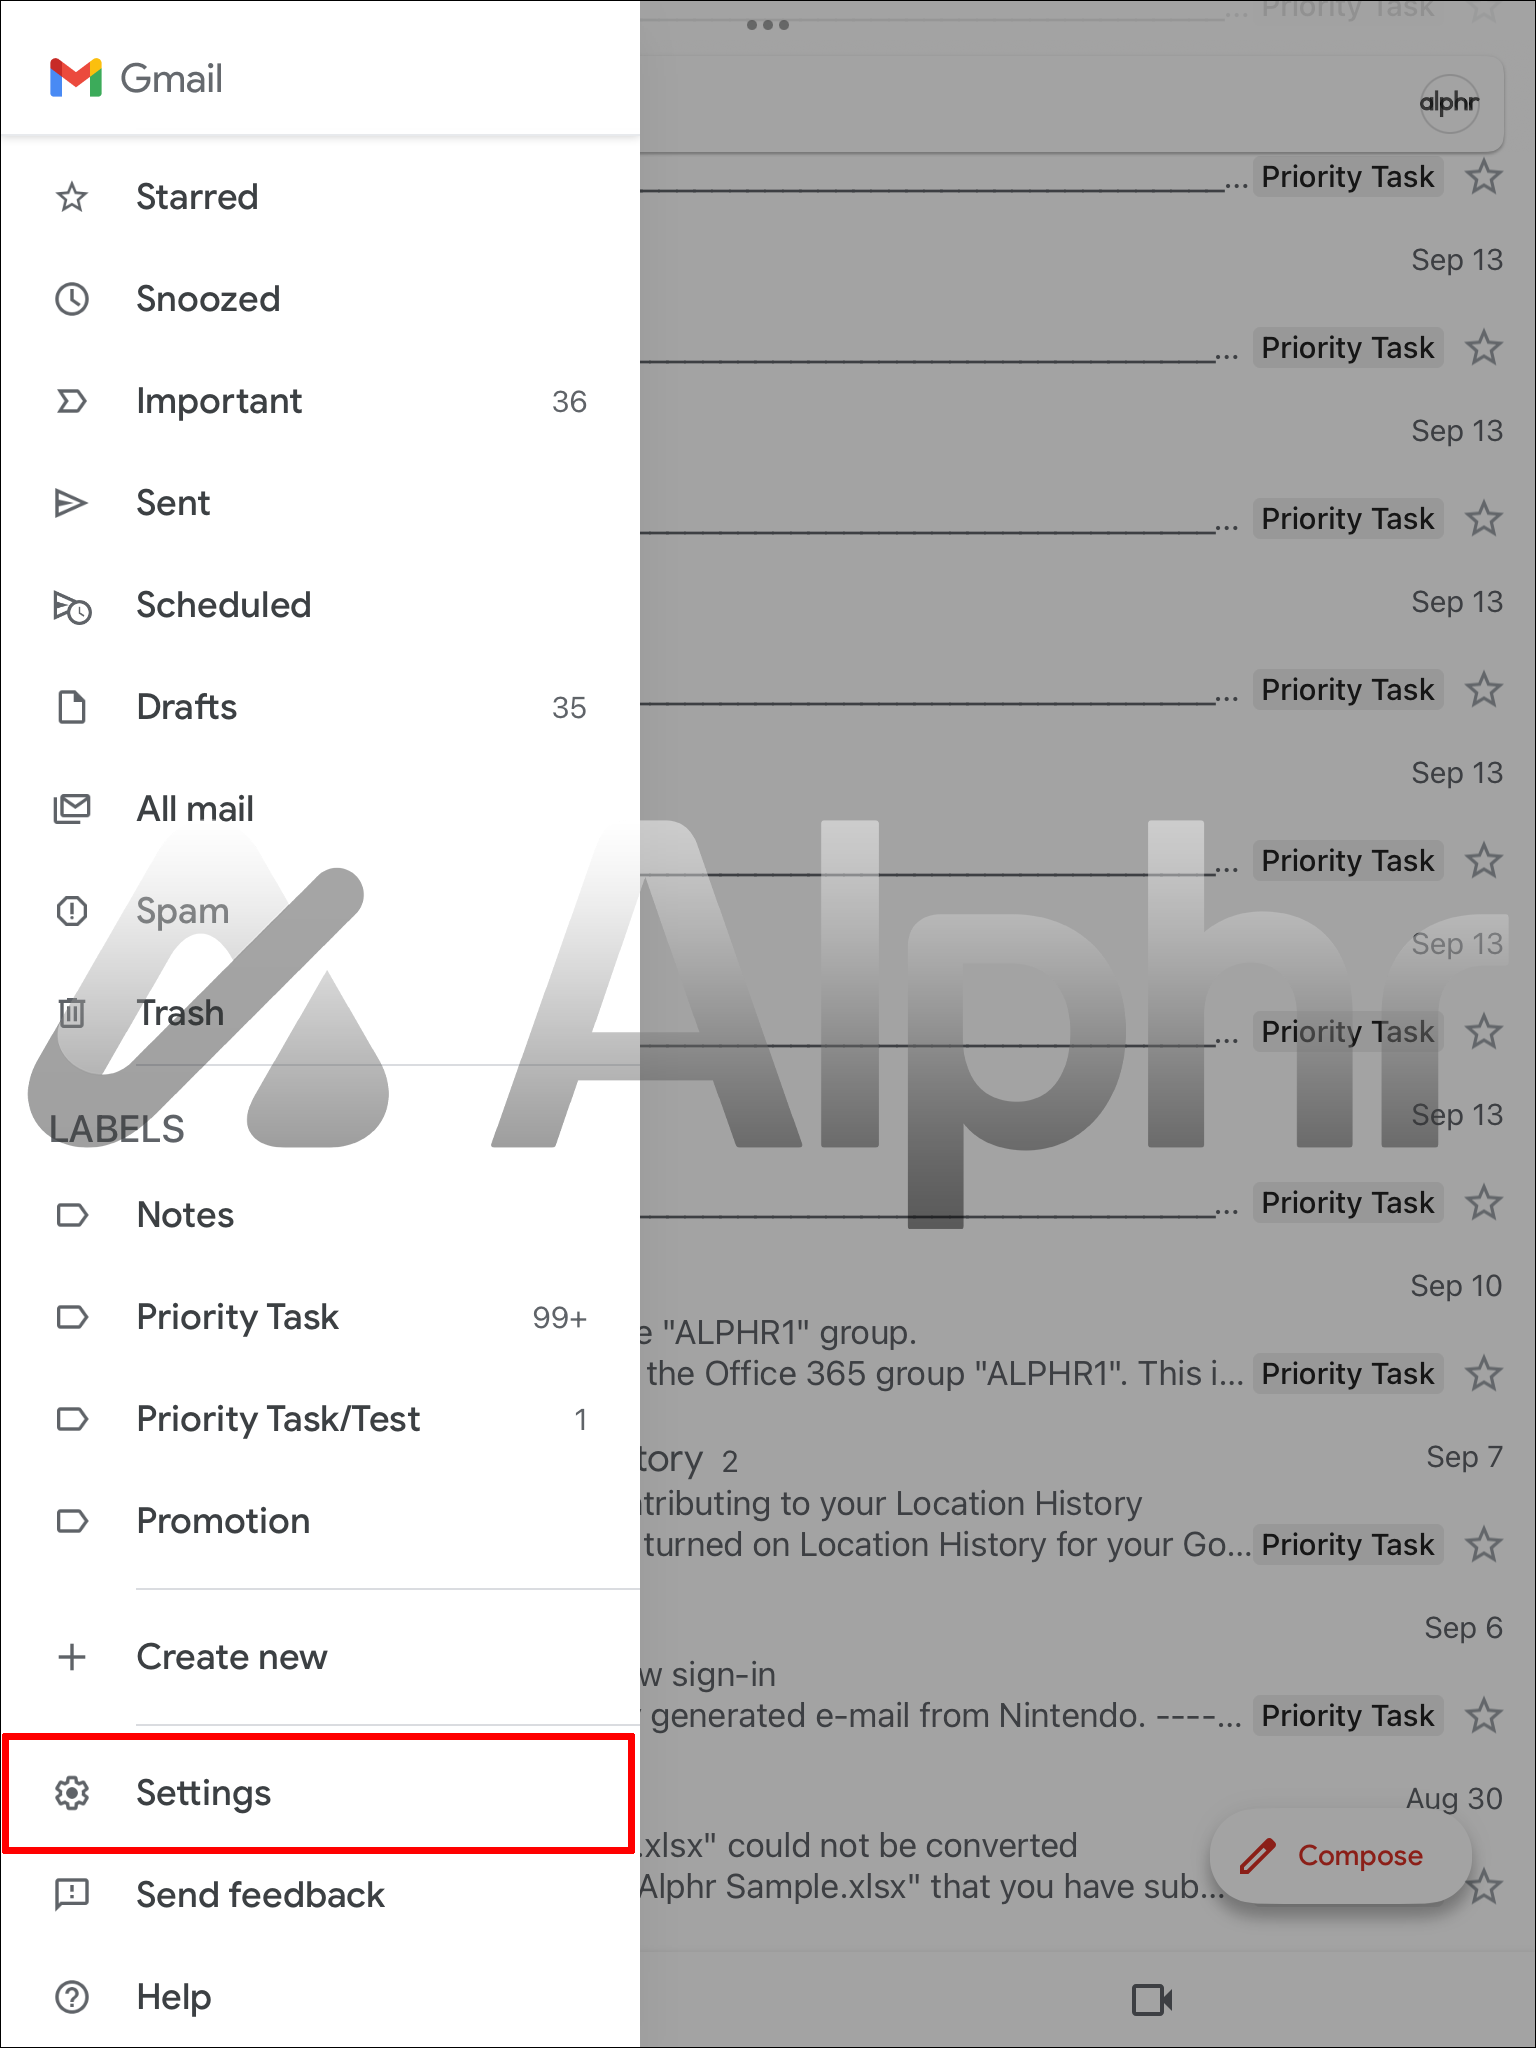
- Scroll to the bottom and select “Settings.”

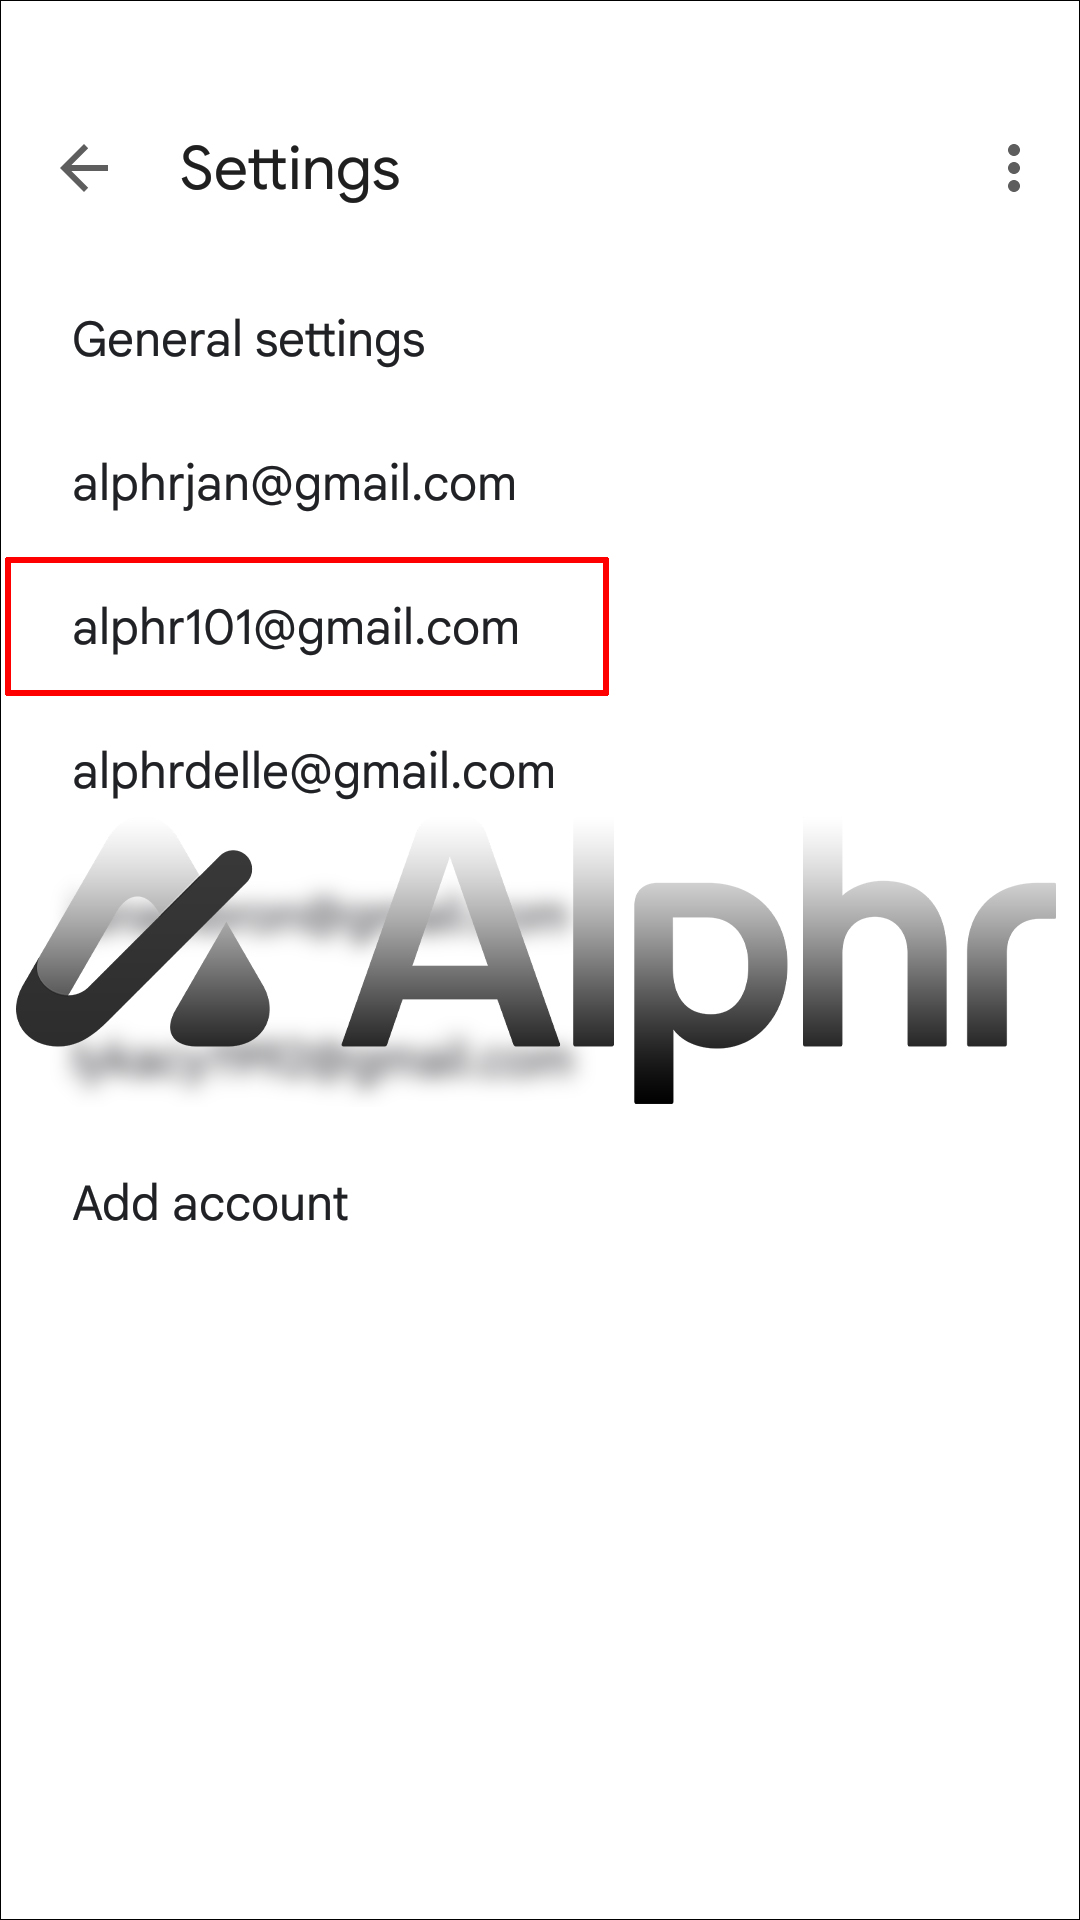
- Pick the email address to which you wish to adjust.
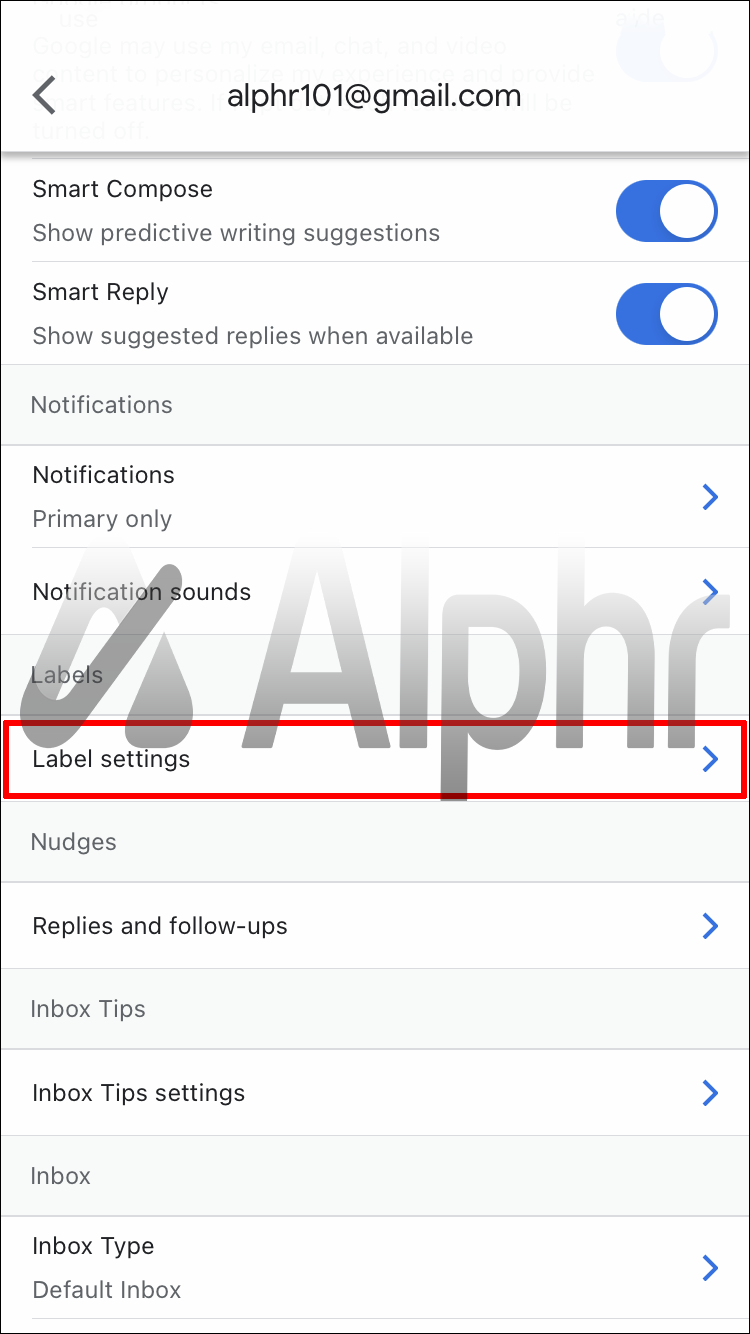
- Go to the “Labels” section and choose “Label settings.”
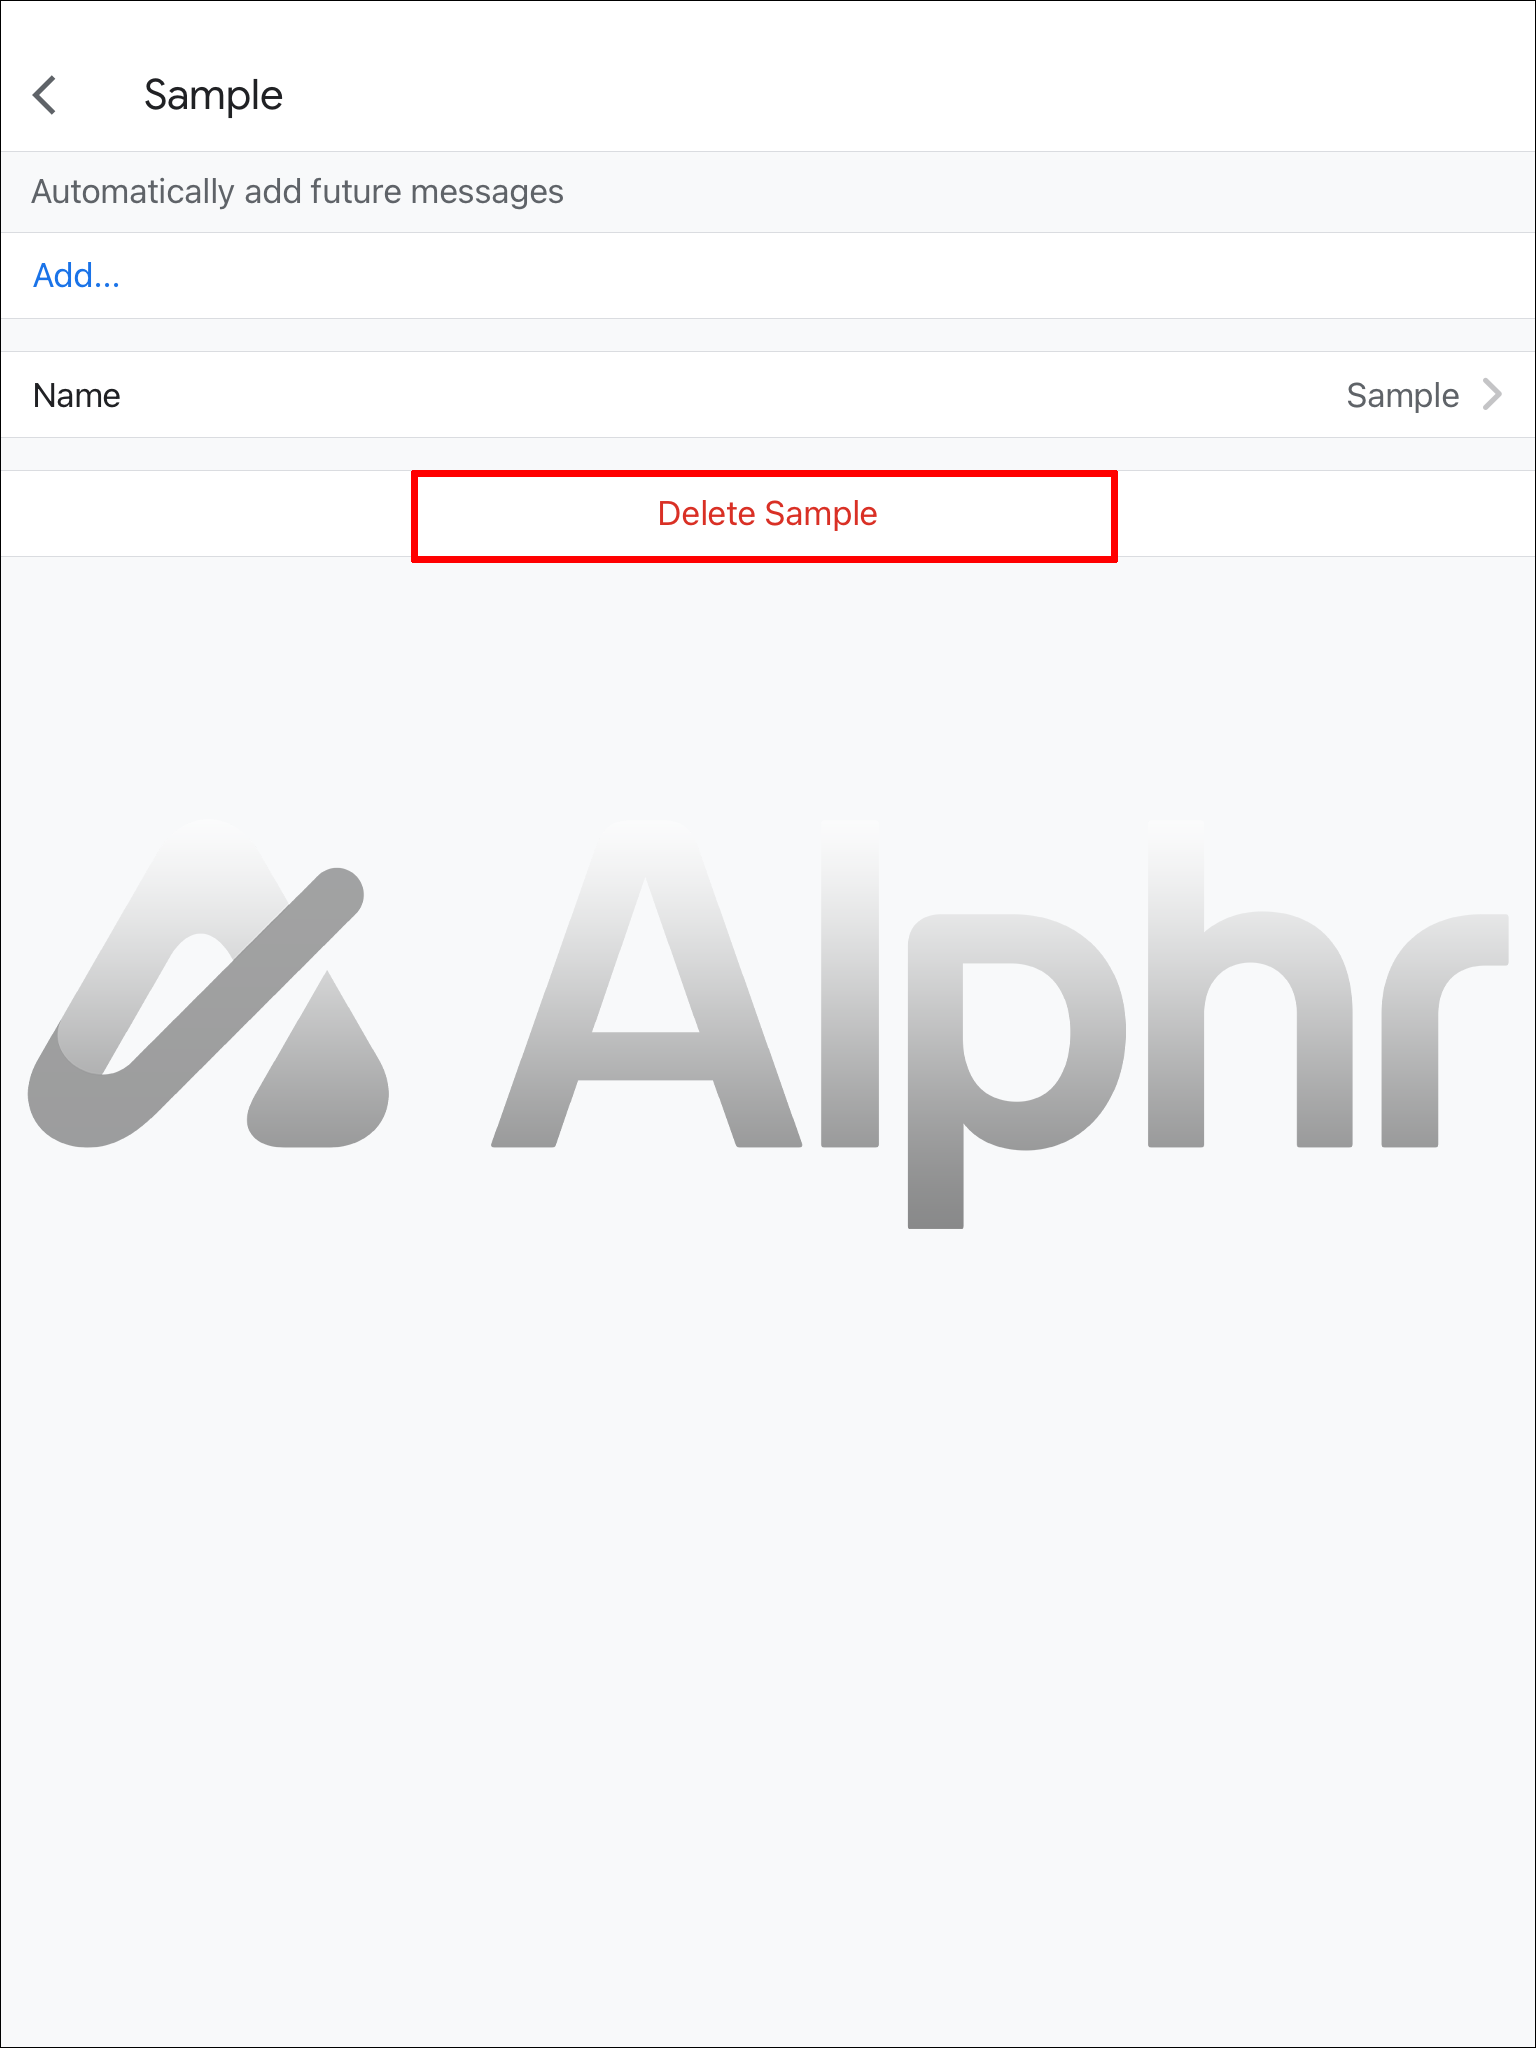
- Tap the label you wish to change or delete on the “Label Settings” screen. Enter a new name in the Name field, or delete the label by tapping the Delete [label name] button at the bottom.

Note that the steps can slightly vary on various Android devices, but the main idea stays the same.
How to Create Gmail Folders on an iPhone
The Gmail app for iPhone functions similarly to the Android app. Hence, the steps to create a label are similar as well.
- In the top-left corner of the Gmail app, near the search area, tap the three horizontal lines.
- At the bottom, click “Settings.”
- Choose the email address to assign a label.
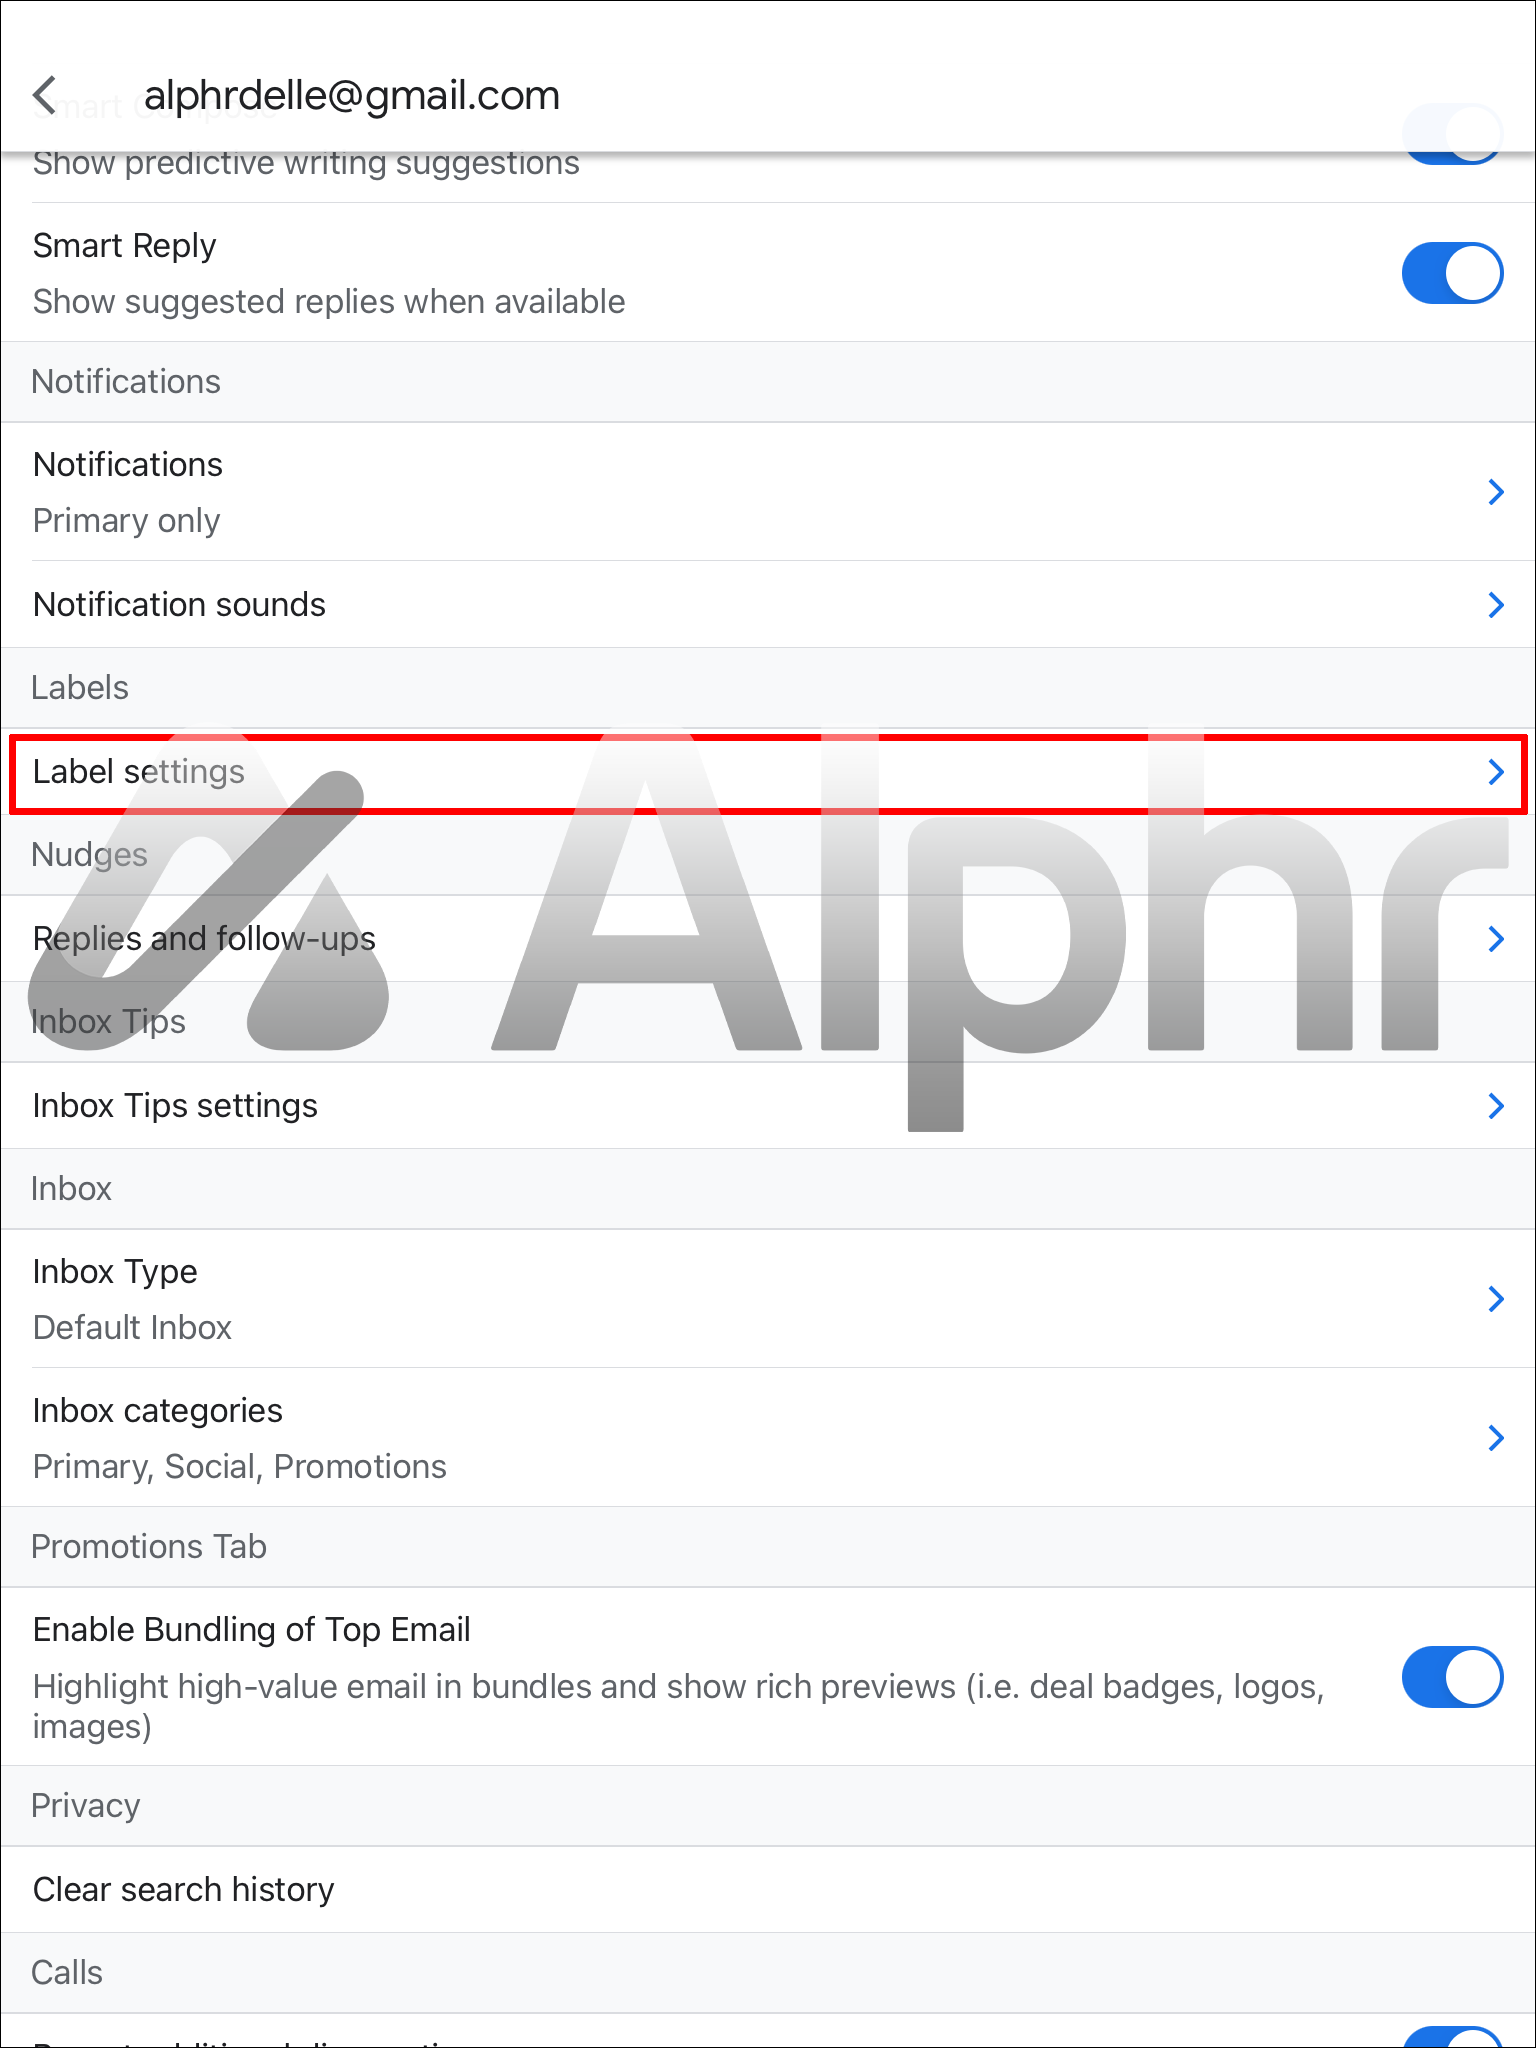
- Select “Label settings” from the “Labels” section.
- On the “Label Settings” page, tap the label you wish to modify or delete. Enter a new name in the Name field, or click the Delete [label name] button at the bottom to delete the label.


Even though the iOS and Android apps are similar, the iOS app allows you to assign labels automatically. This can’t be done on the Android app. The steps to set up automatic labels on your iPhone are the following:
- Click the “Menu” button in the Gmail app.
- Select “Settings” from the menu.
- Choose your Google Mail account.
- Select “Label settings” from the list of choices in the “Settings Menu.”
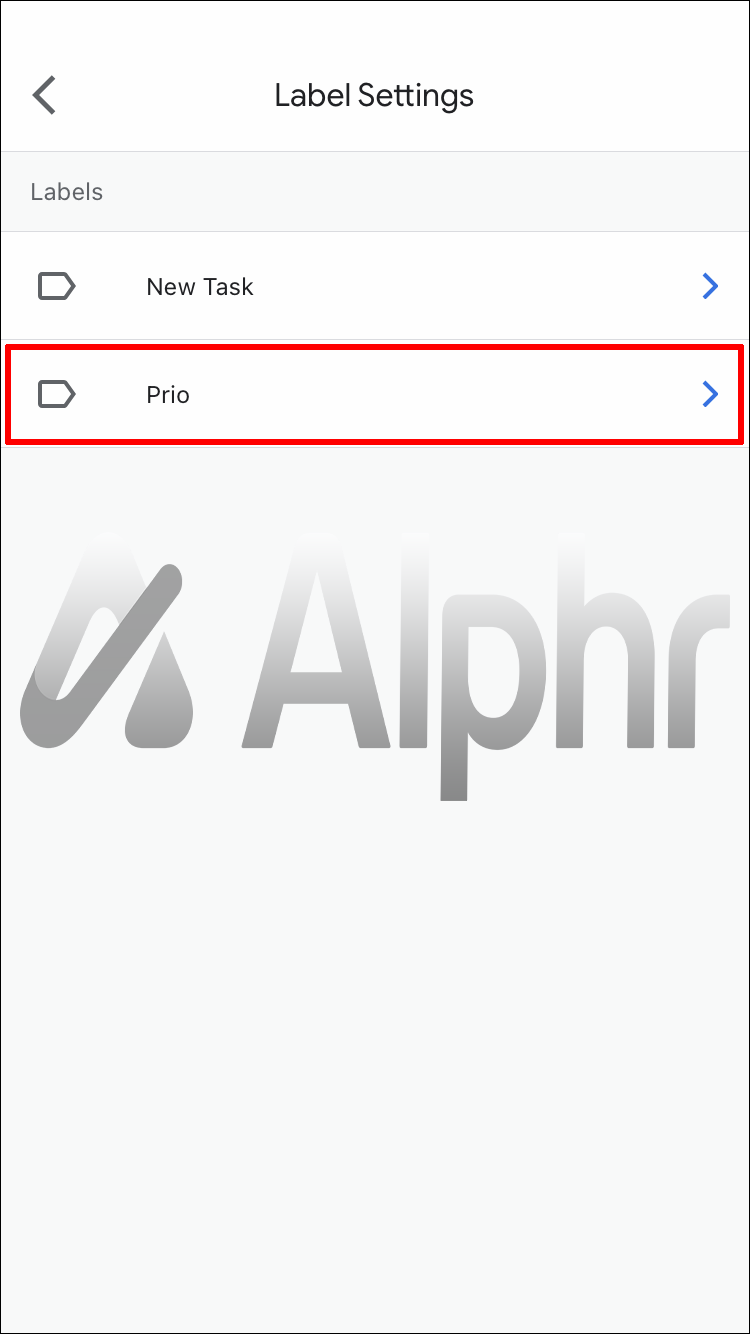
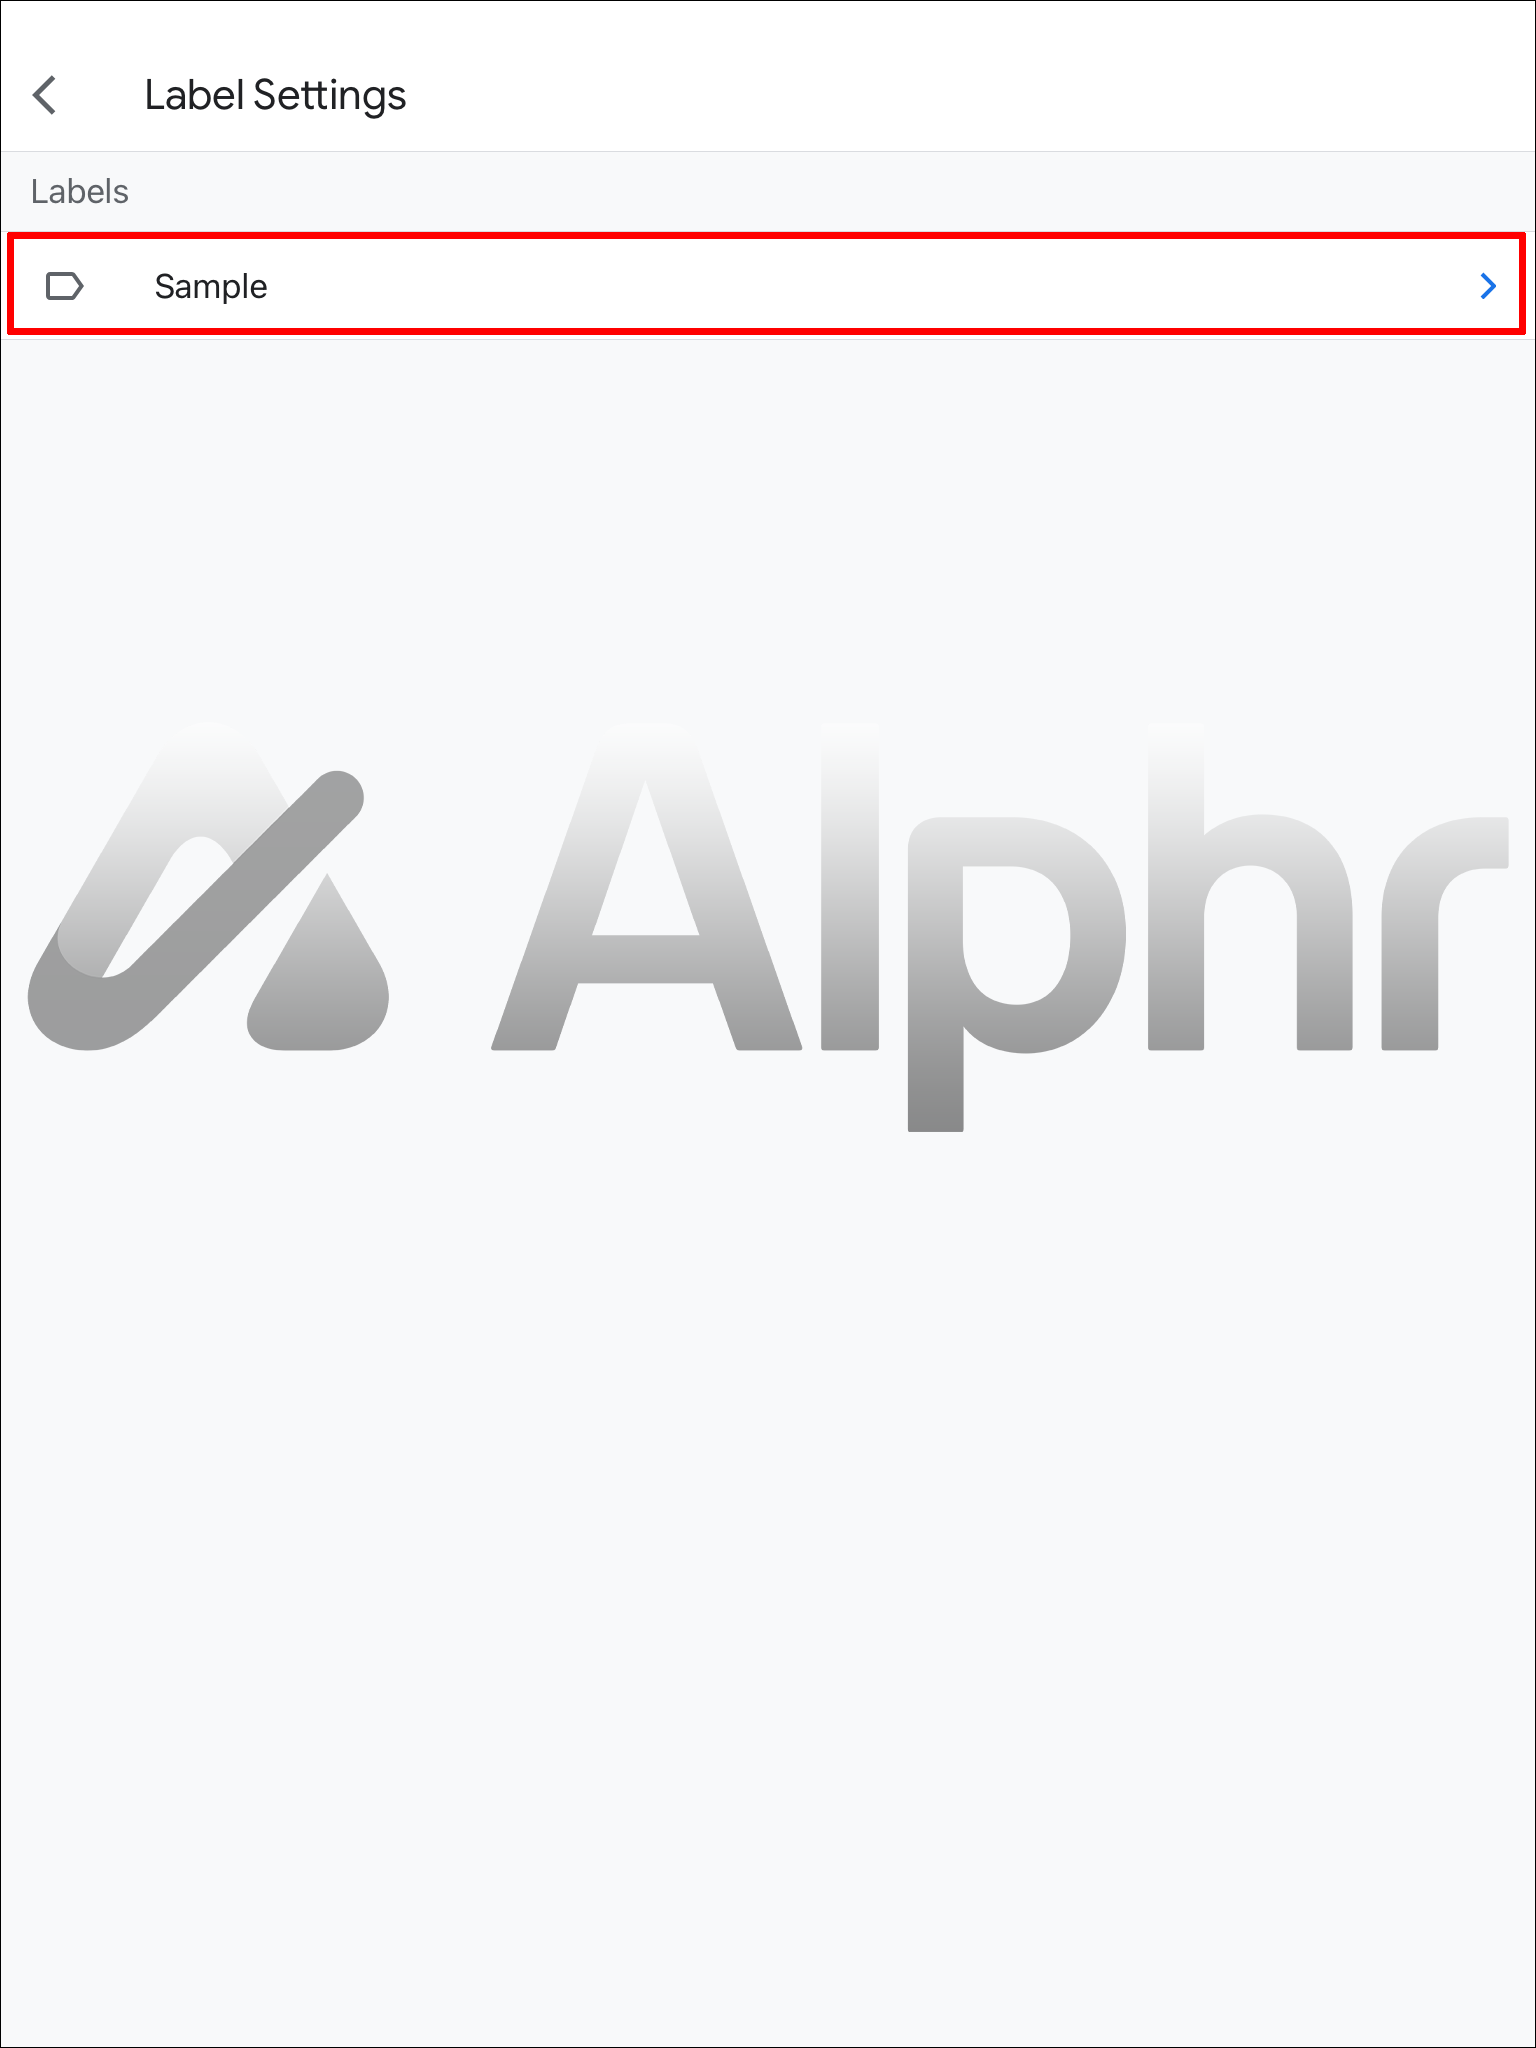
- Pick the label for the folder from the list of labels.
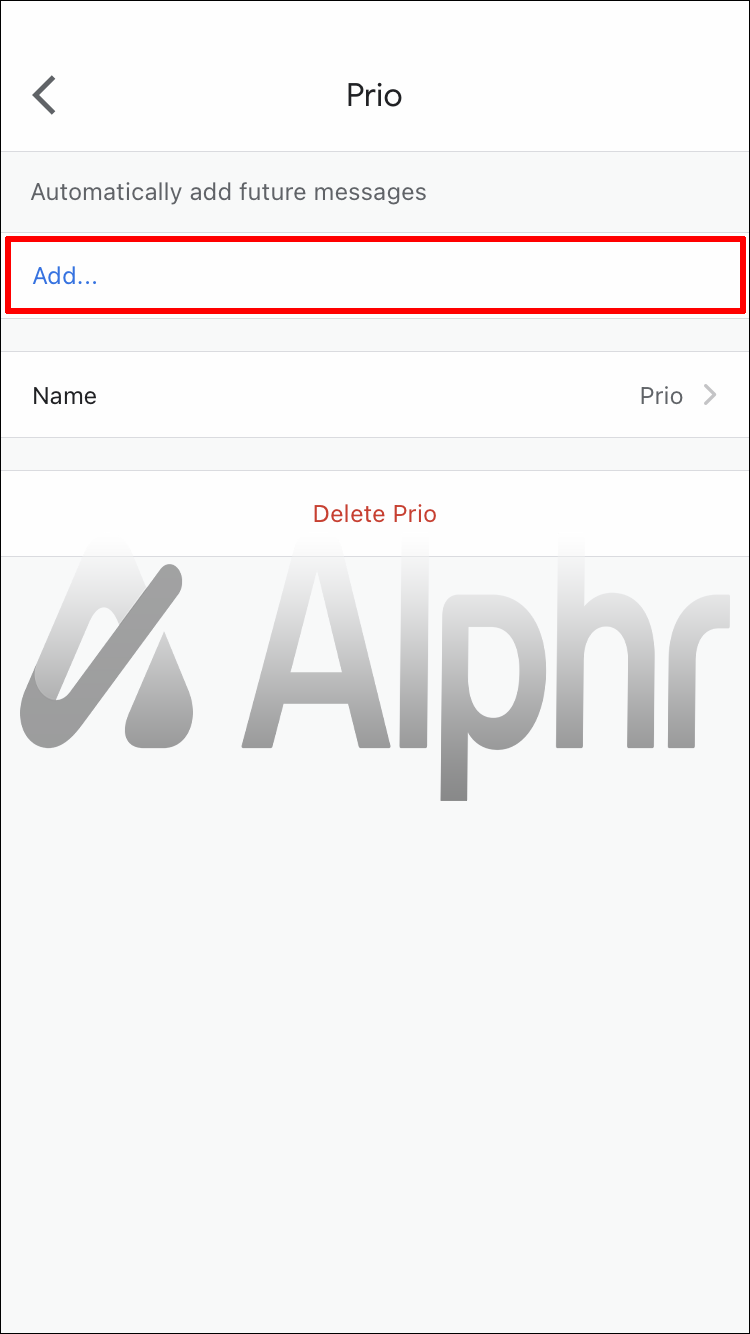
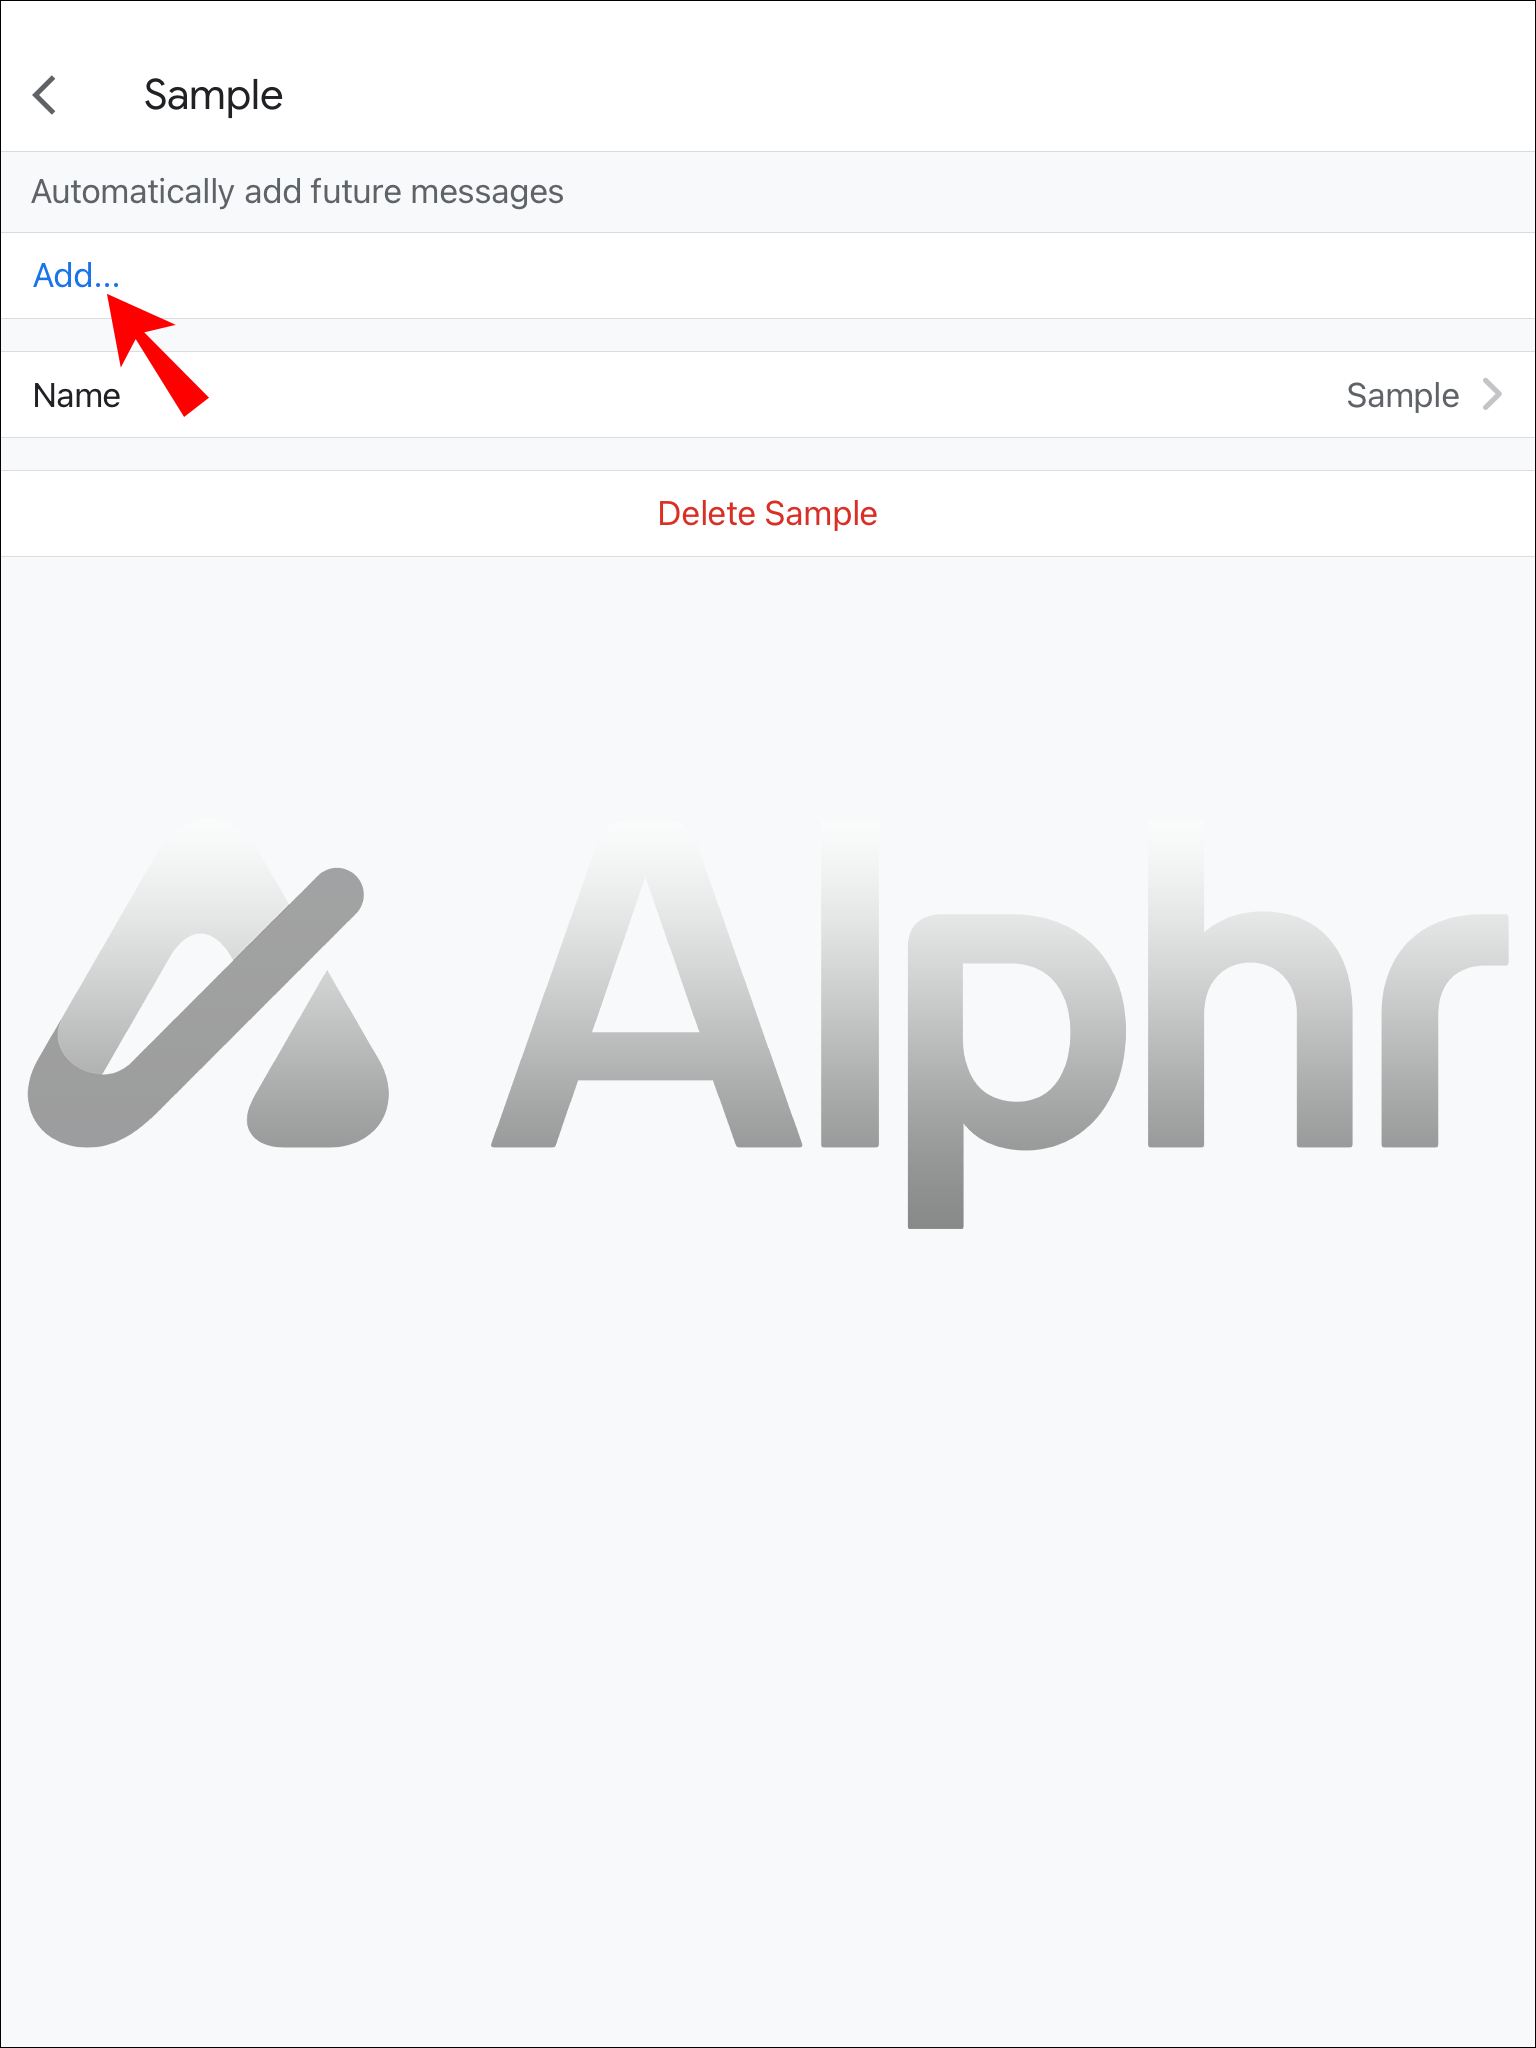
- Tap “Add” in the next window.
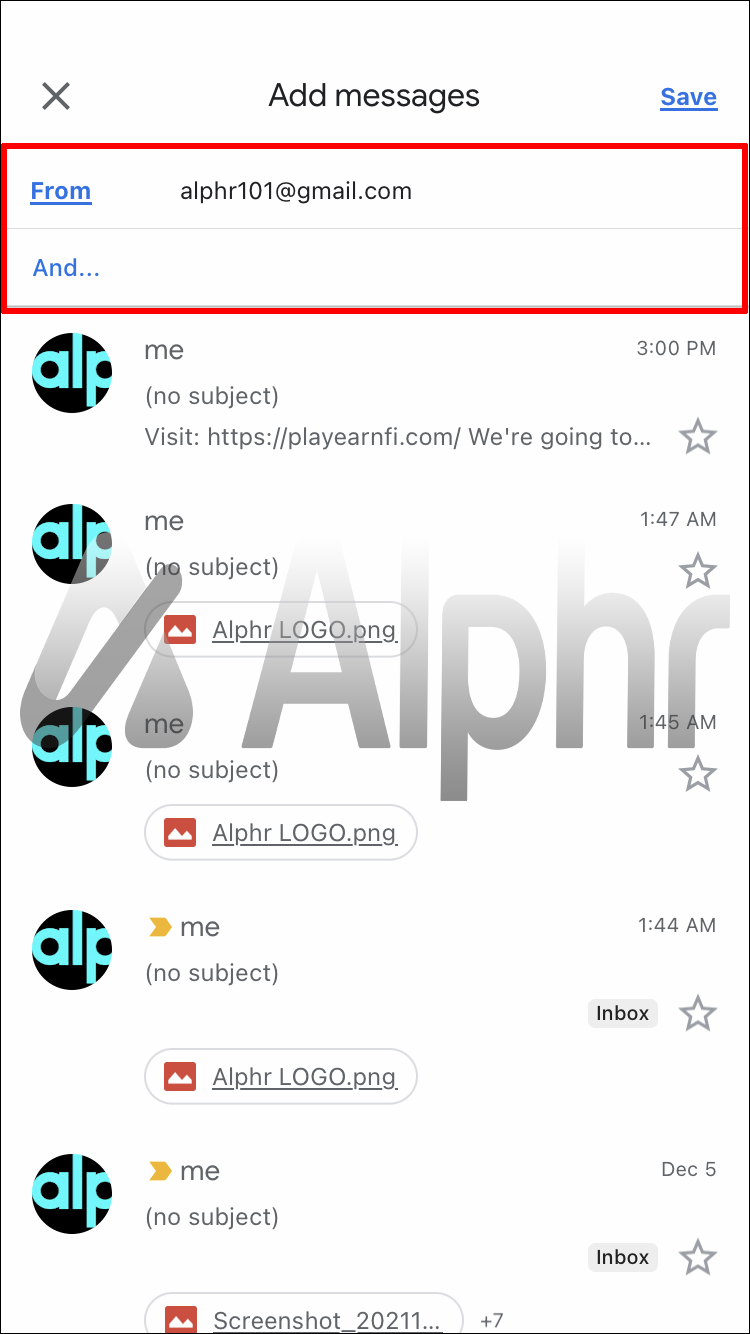
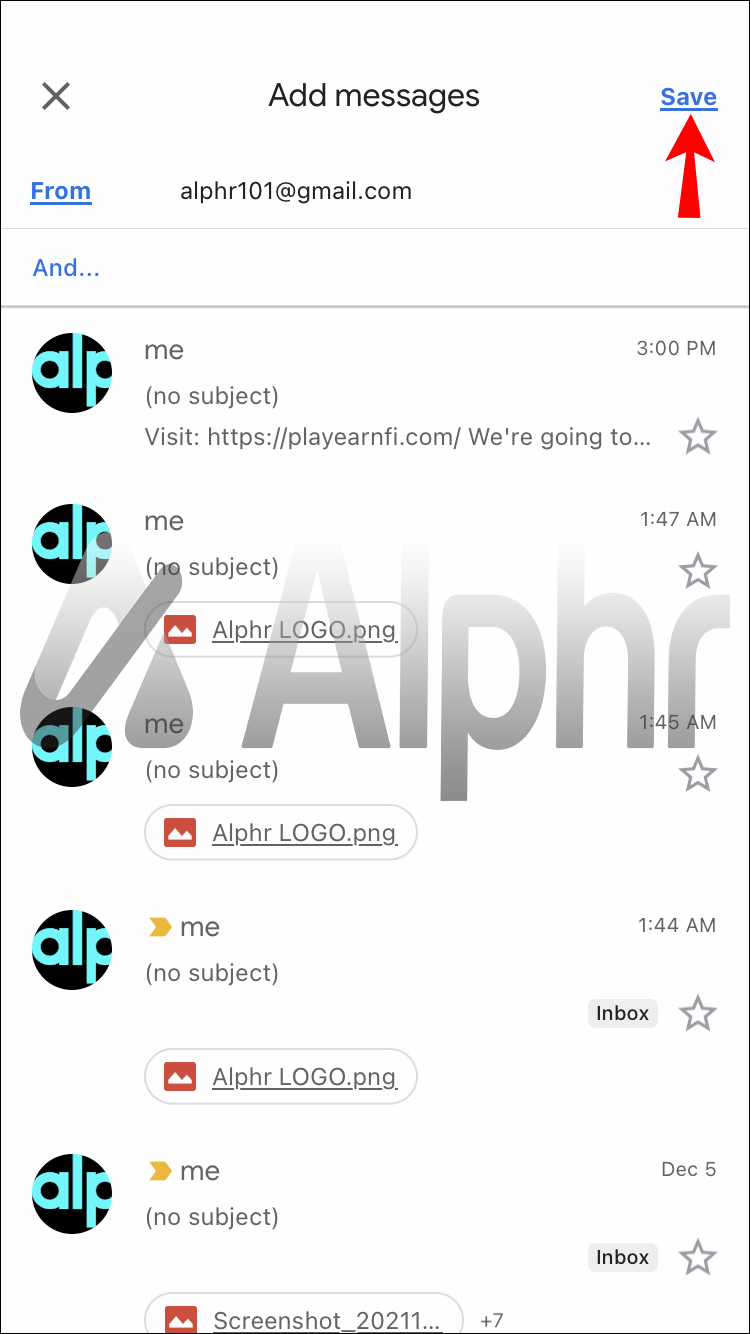
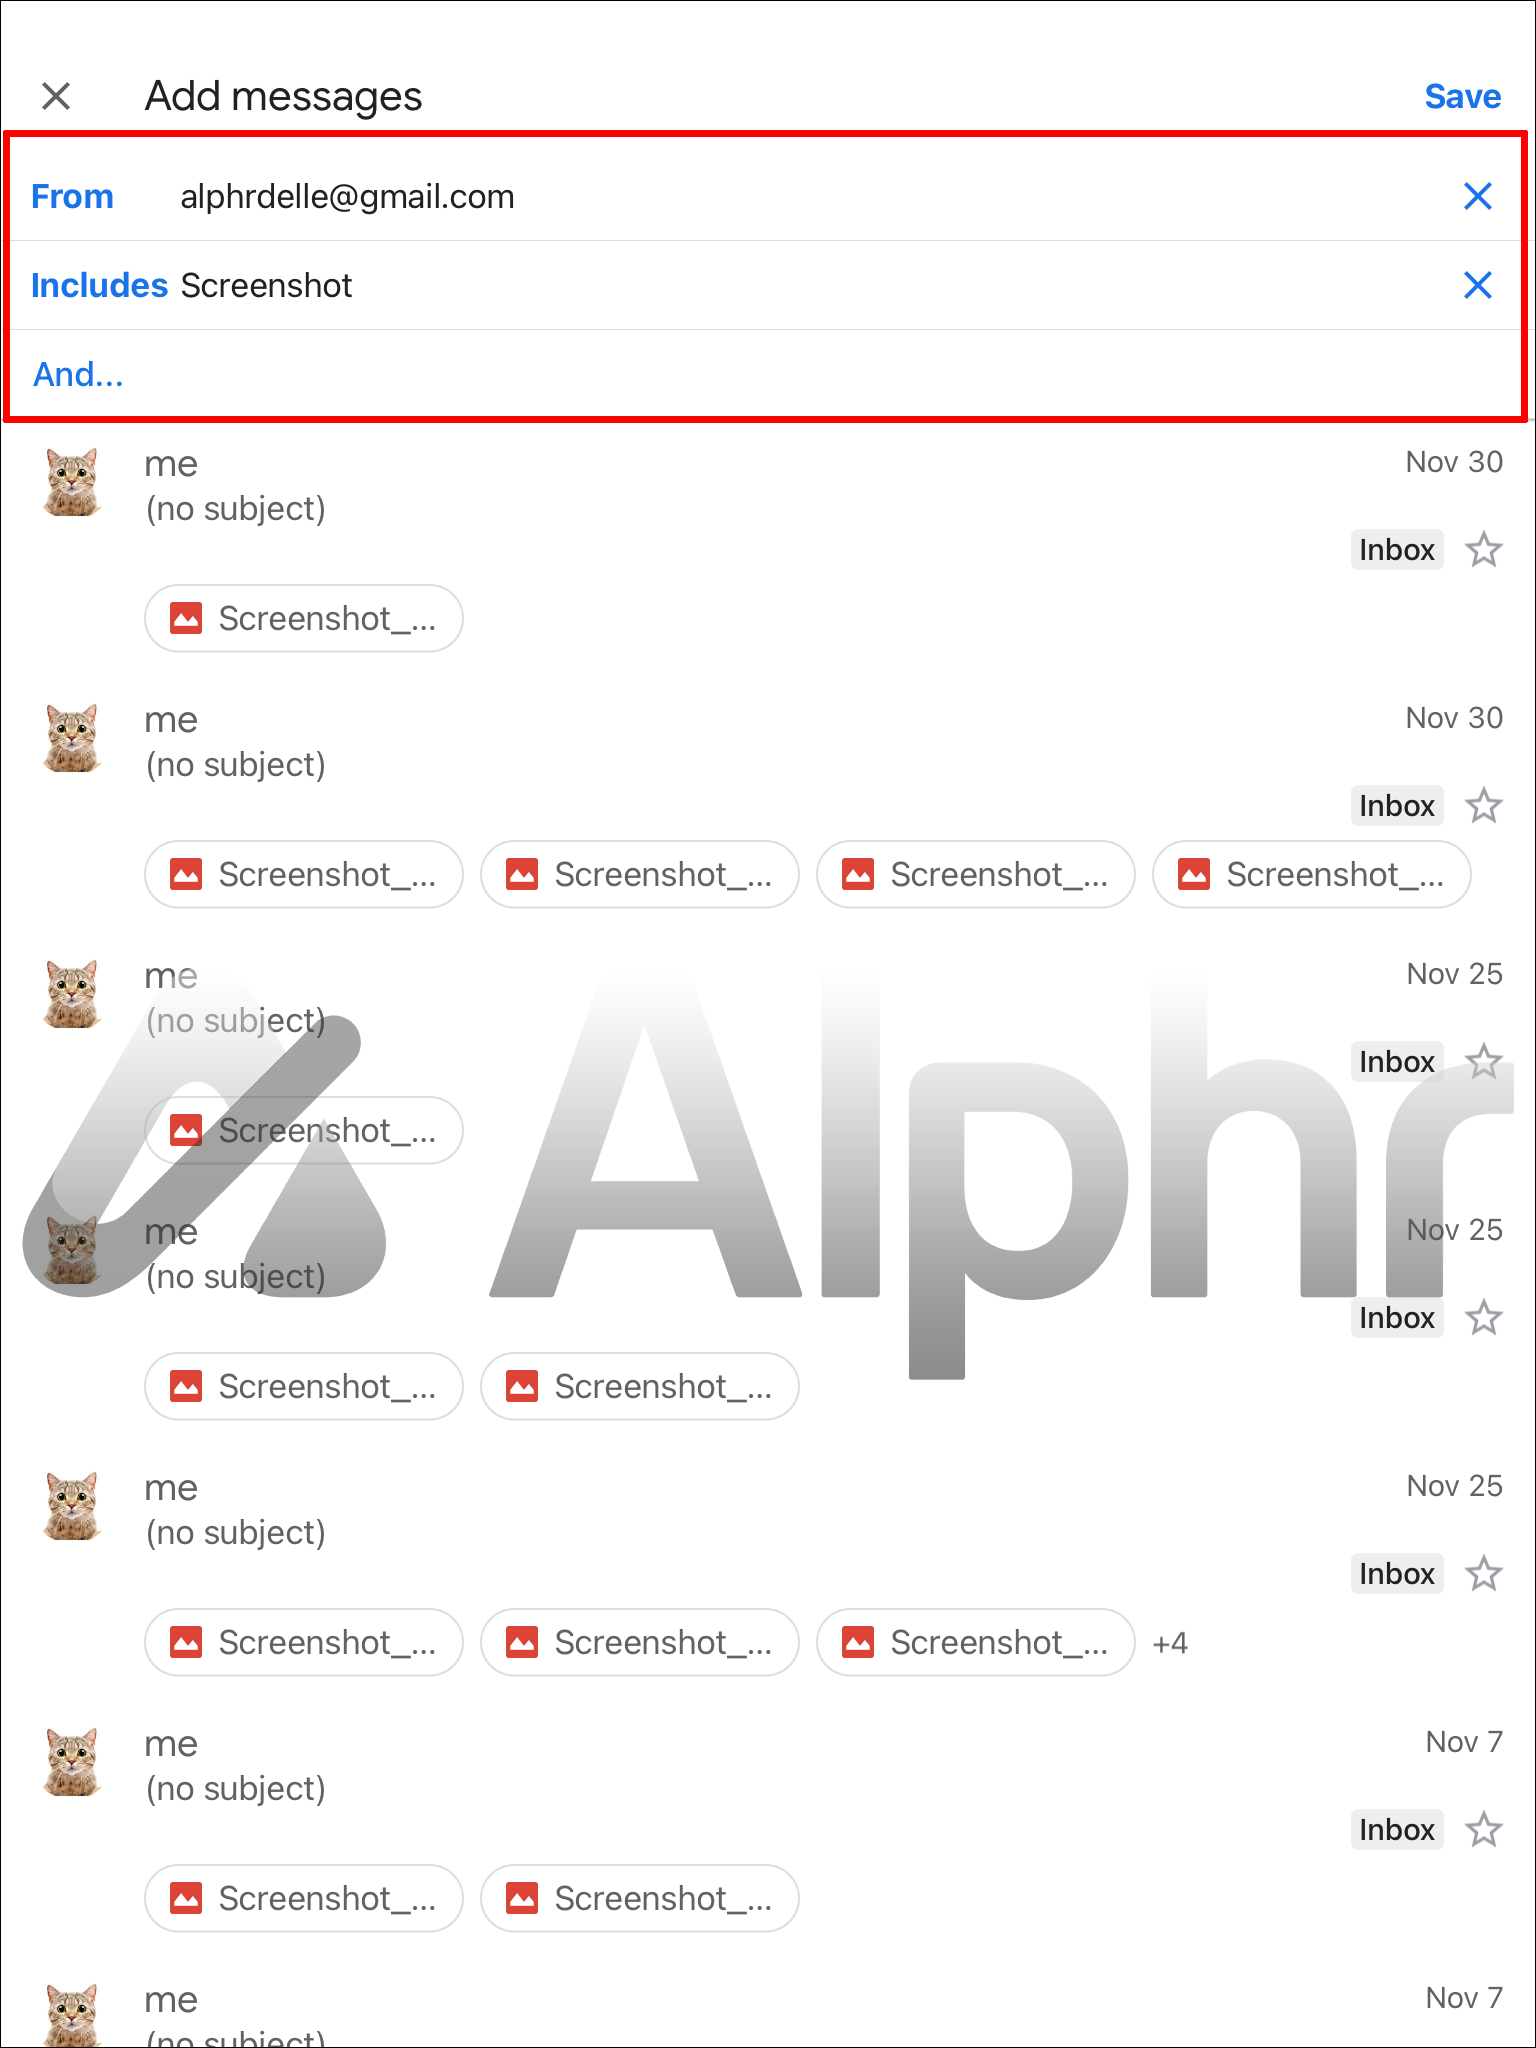
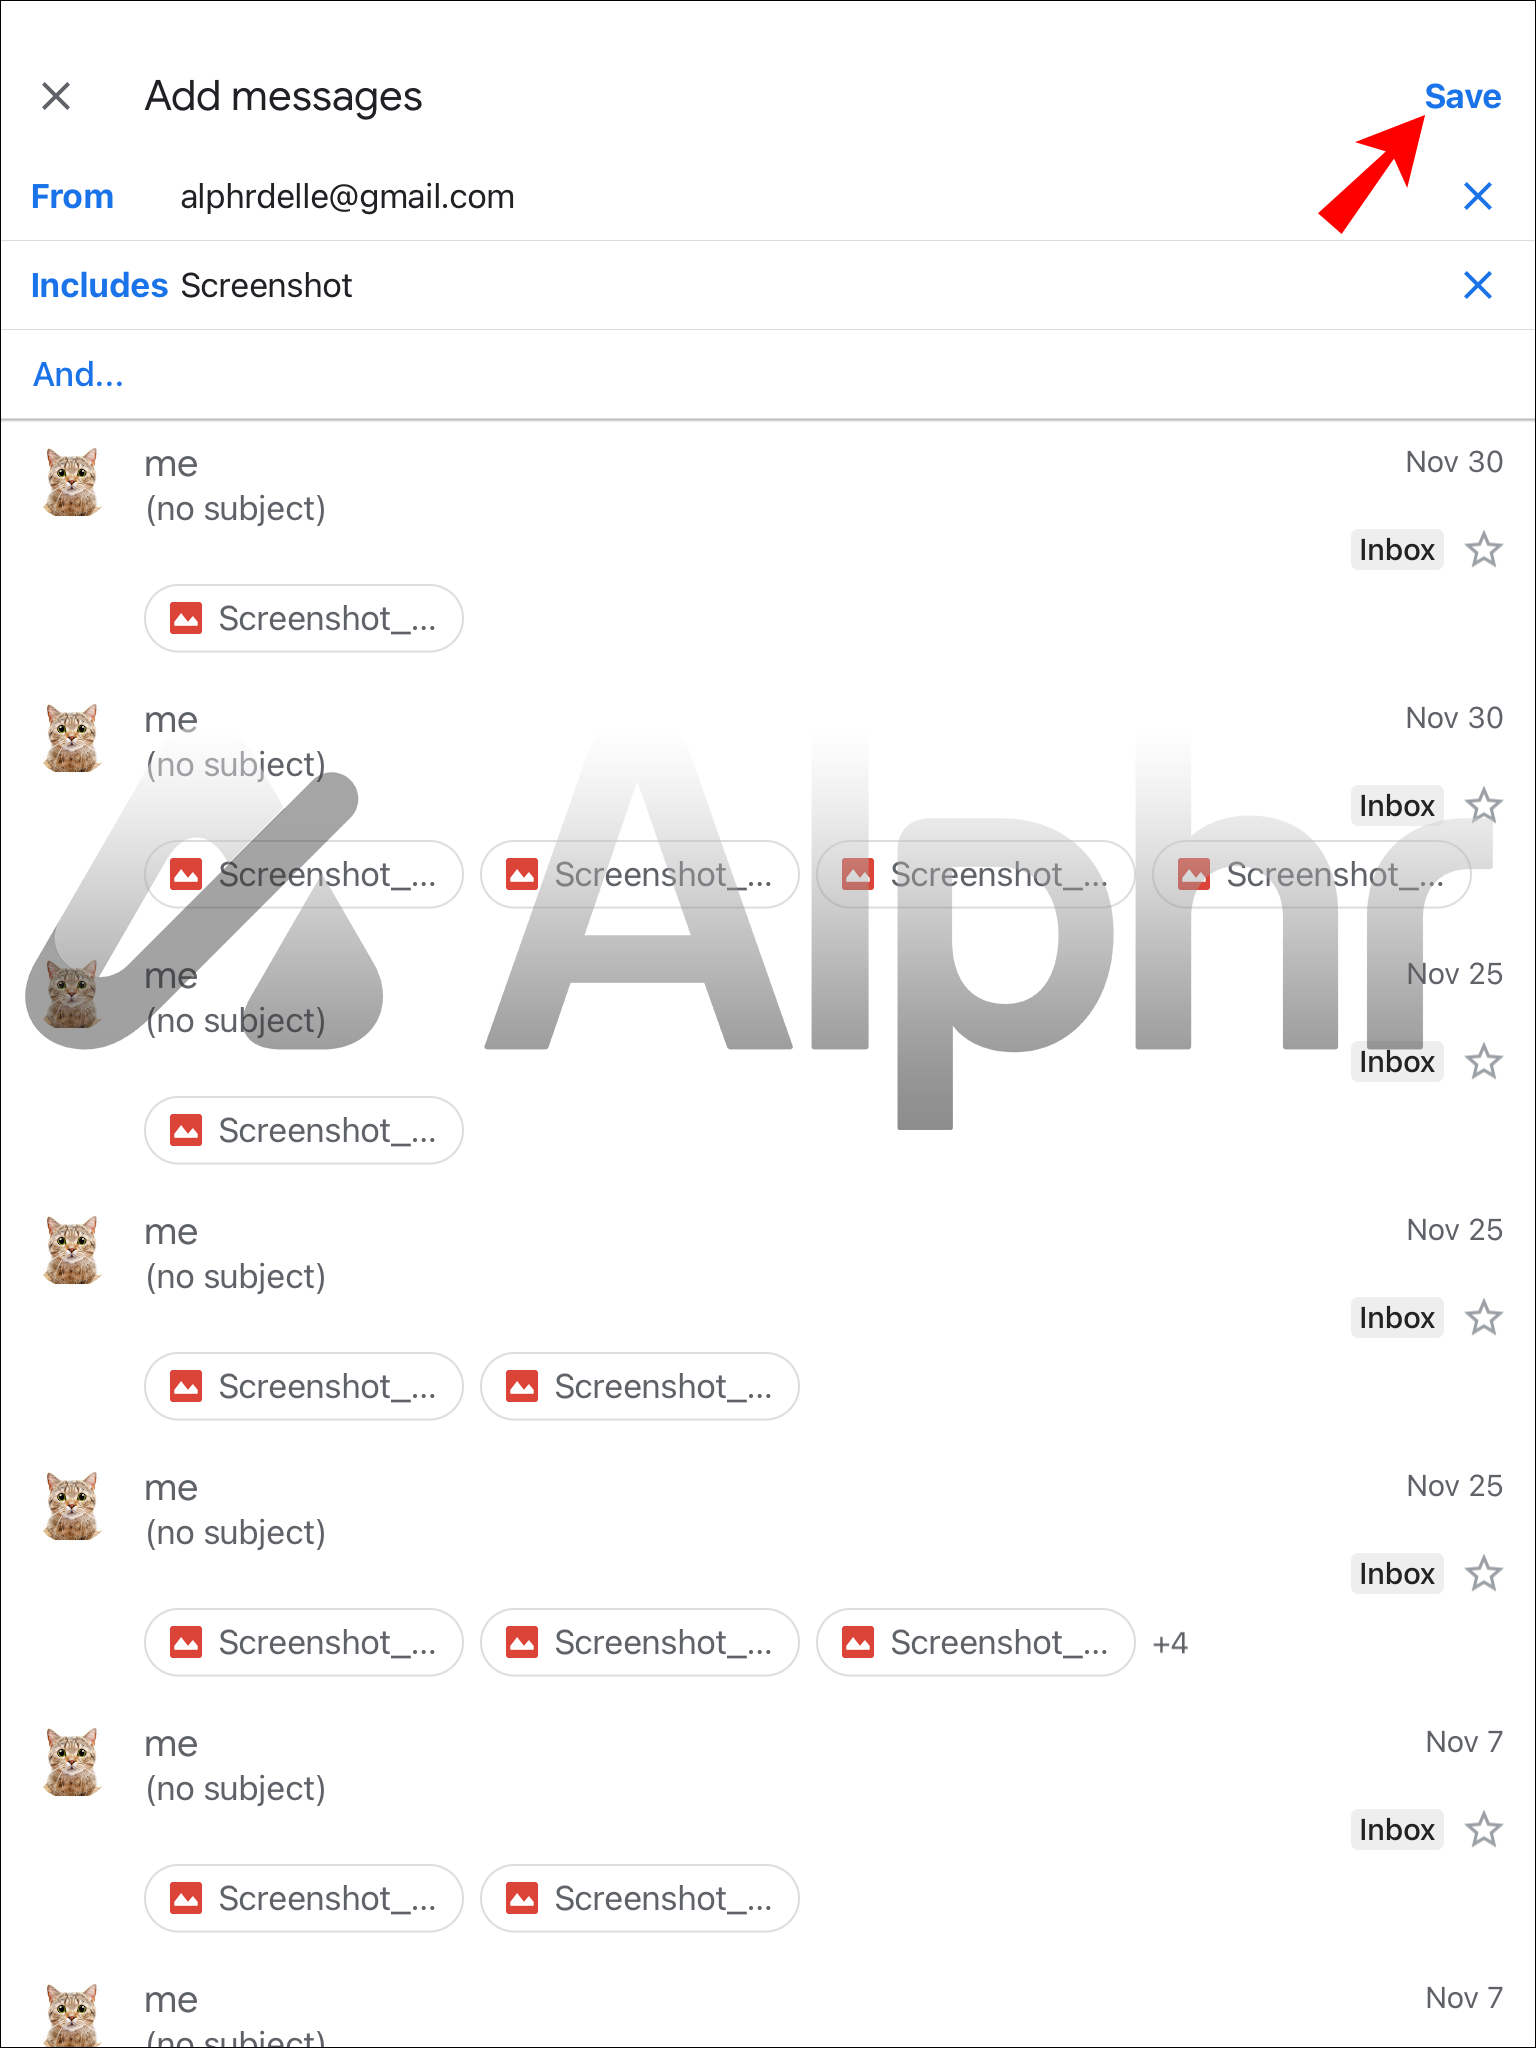
- In the “From” area, enter a name or email address. To include other search parameters (such as a keyword), click on “And.”
- Tap “Save.”
Emails from the specified email address will now be automatically assigned a label. Even though you can set new labels for emails using mobile apps, they have some limitations. They don’t allow you to rename or update a Gmail folder. Additionally, mobile apps don’t support the creation of custom labels.
How to Create Folders in Gmail on an iPad
Since iPads use the same operating system as iPhones, the Gmail app is the same. Therefore, the steps to create a folder are also similar.
- Tap the three horizontal lines in the top-left corner of the Gmail app near the search field.
- Tap “Settings” at the bottom of the page.
- Choose the email address to which you wish to attach a label.
- In the “Labels” section, click “Label settings.”
- Tap the label you wish to change or delete on the “Label Settings” screen. Type a new name for the label in the Name area, or click the Delete [label name] button at the bottom to delete it.


The following are the instructions for enabling automatic labeling on your iPad:
- In the Gmail app, click the “Menu” button.
- From the menu, tap on “Settings.”
- Select your Google Mail account from the drop-down menu.
- From the “Settings Menu,” choose “Label settings.”
- Select the label for the folder.
- In the next window, click “Add.”
- Enter a name or email address in the “From” field. Click on “And” to specify more search parameters (such as a keyword).
- Press “Save.”


How to Create Folders in Gmail on a PC
You can create a label on your Gmail account in different ways on your PC. One way is to set up labels through email options. Follow these steps to do so:
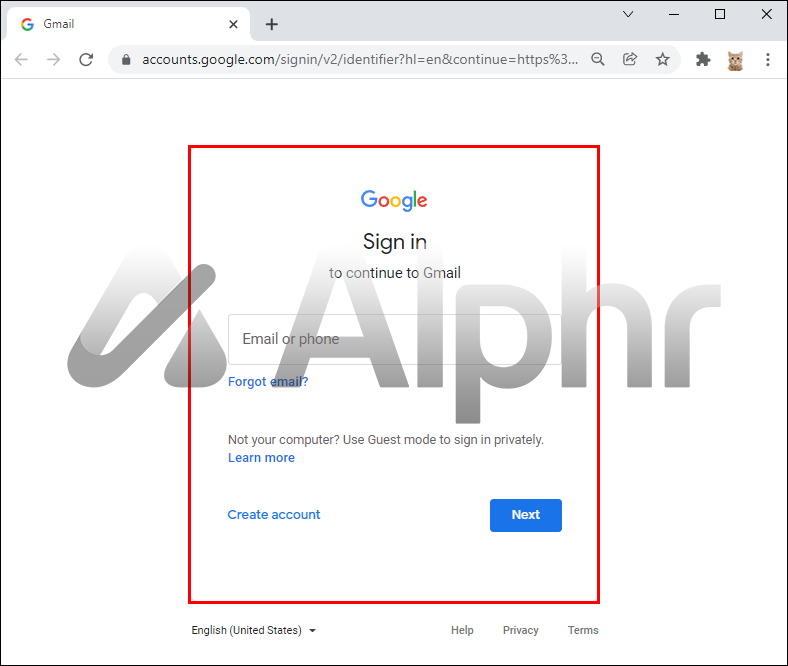
- Open your Gmail account.
- Check the tick next to an email to select it.
- Right-click it to get a menu of options.
- Select the “Label” option by hovering your mouse pointer over it and clicking “Create new.”
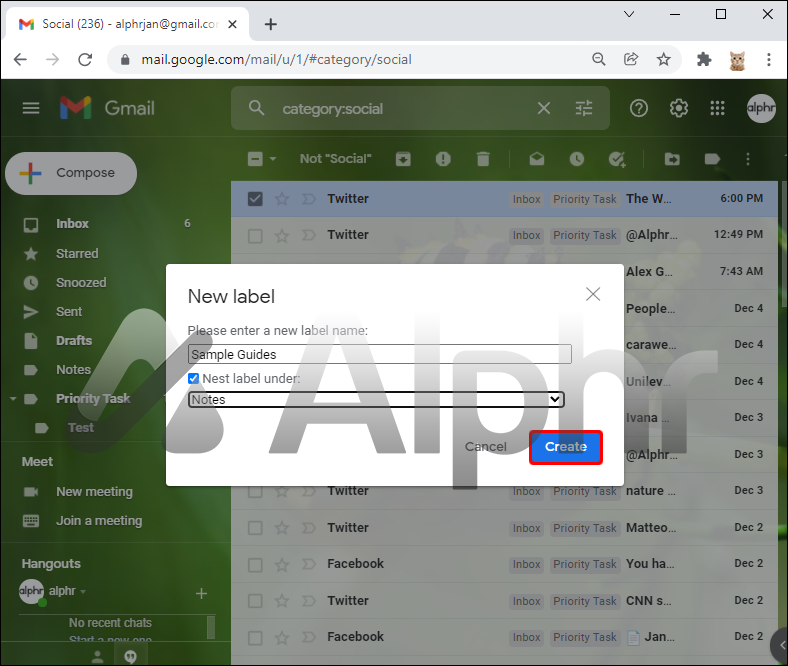
- Give your new label a name in the pop-up that opens and click the “Create” button.


Another way is to use the left sidebar options. Here is how to do it:
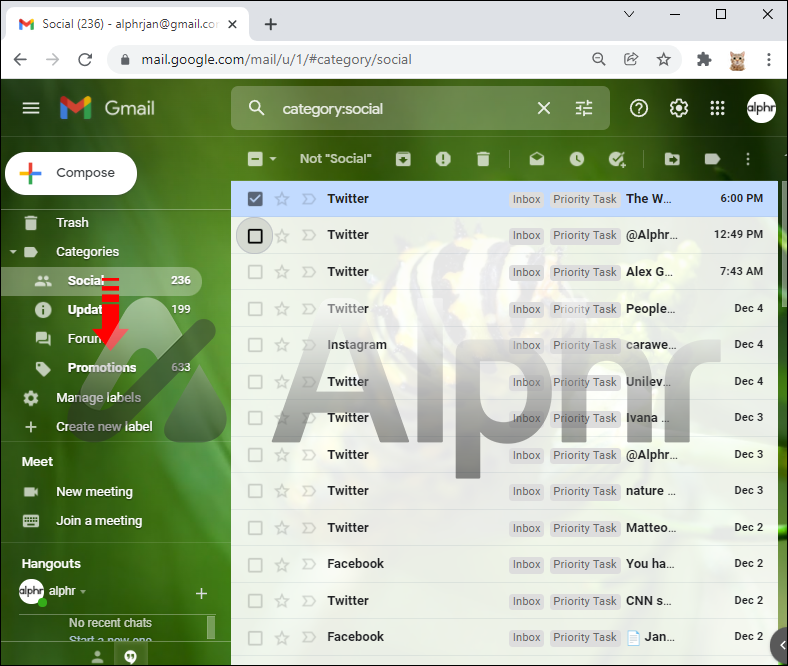
- Scroll down the left sidebar of Gmail until you find “More.” Select this option.
- Click “+ Create new label” from the extra options that pop up.
- Enter a name for the label and then click “Create.”


Instead of choosing “Create new label,” you can do this instead:
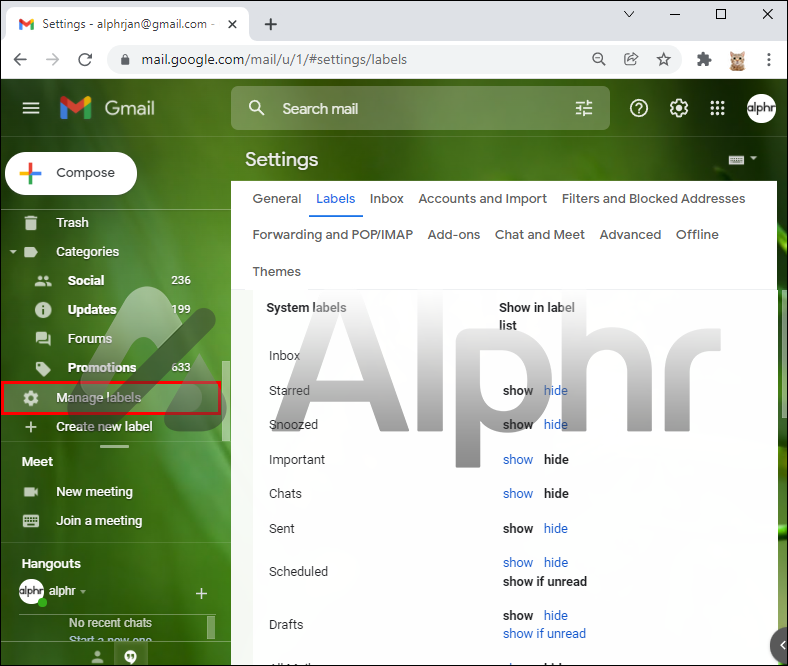
- Enter the “Labels” tab by clicking “Manage labels” on the left sidebar.
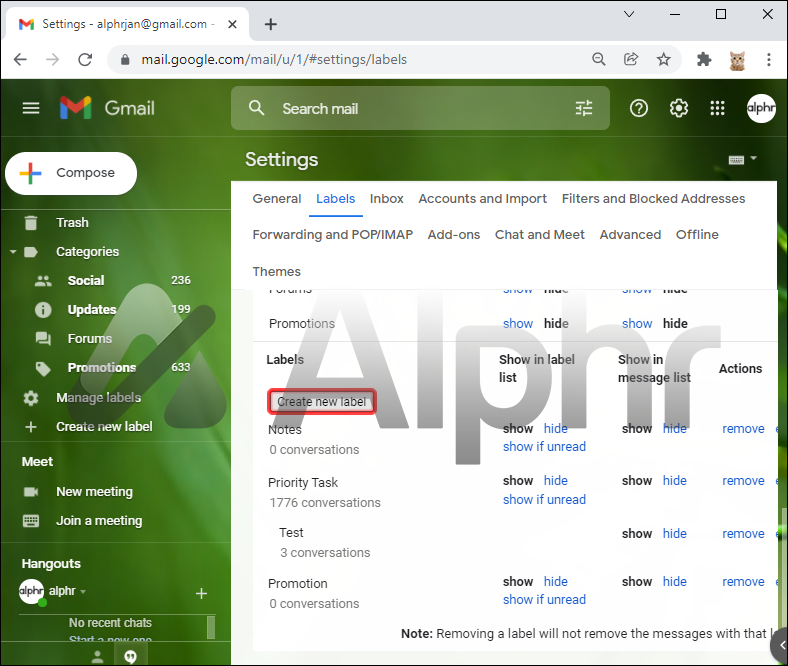
- Continue scrolling down until you find the button, “Create new label.”
- When you click the ‘Create new label” button, the identical pop-up box, as mentioned before, appears.
- Give your new folder a name and click “Create.”

Organize Your Emails
Keeping your mailbox organized can be a hassle. However, with Gmail labels, this task becomes significantly easier. Within minutes, you can create, remove, rename, and even color-code labels. And even though mobile apps are be lacking in some areas, the online version offers more than enough possibilities.
Creating labels is only the first step toward improving your inbox management. With some housekeeping and the help of Gmail’s email labeling features, you might reach the infamous “Inbox Zero” someday.
Have you ever created a folder in Gmail? What is your favorite way to organize your emails? Let us know in the comment section below!
Disclaimer: Some pages on this site may include an affiliate link. This does not effect our editorial in any way.