Google Forms allows you to create various polls, surveys, questionnaires, quizzes, and more. Sometimes doing long surveys can become boring to some people, and they give up without finishing it. This isn’t good when you need to gather important data or need an answer to your invitation to a social event. For this reason, Google Forms introduced conditional questions.
With this feature, you can adjust the questions and make your survey more efficient. This provides useful information, considering your next question is based on your previous answer. This way, your respondents don’t have to answer unnecessary questions and you don’t waste their time.
Read on to learn how to use this feature on Google Forms.
Understanding How Google Forms Work
Google Forms can be confusing if you’ve never used the app before or want to create a complex survey. For beginners, this software offers templates to get you started or you can decide to go with a blank form and make your questionnaire from scratch. Some templates you can use are RSVP, Time Off Request, Event Registration, Event Feedback, Party Invite, Contact Information, and more.
Furthermore, if you’re using Google Forms for the first time and want to create a new form, you can choose a tutorial that highlights and explains each option and the way it works.
How to Create a Survey in Google Forms
Let’s get started with creating a survey from scratch by opening the Google Forms page and clicking on the plus sign (+) in the bottom right corner of your screen. You can also create your form from the beginning by clicking on the “Blank” option under the “Start a new form” section or choose a template from the gallery on the same page.
After you select the new form to create, this is what you need to do:
- Name your form depending on the type in the left top corner of the screen (whether it’s a survey, quiz, questionnaire, or something else).
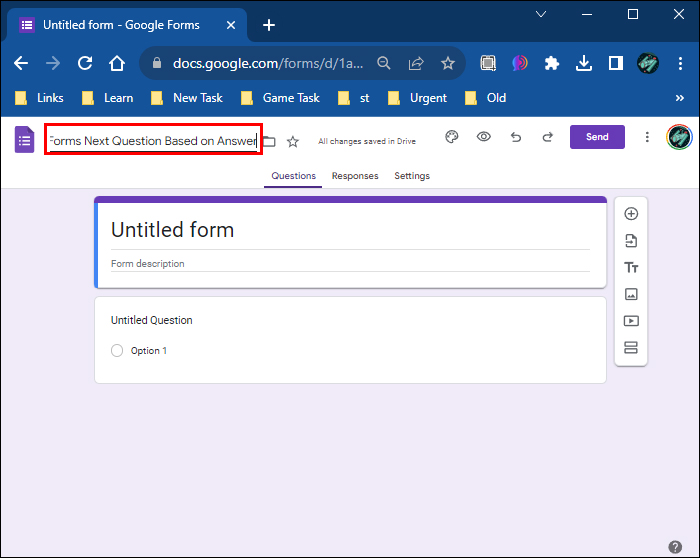
- Click on the form to add the desired title.

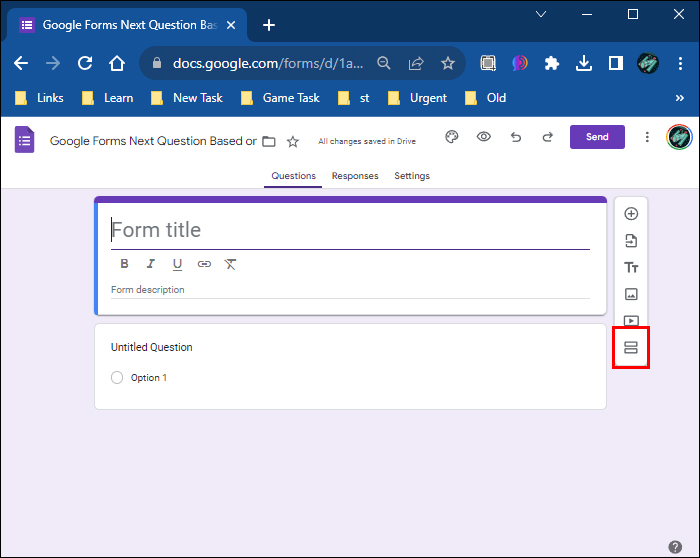
- On the right side of the form, click on the two small rectangles to add a section.
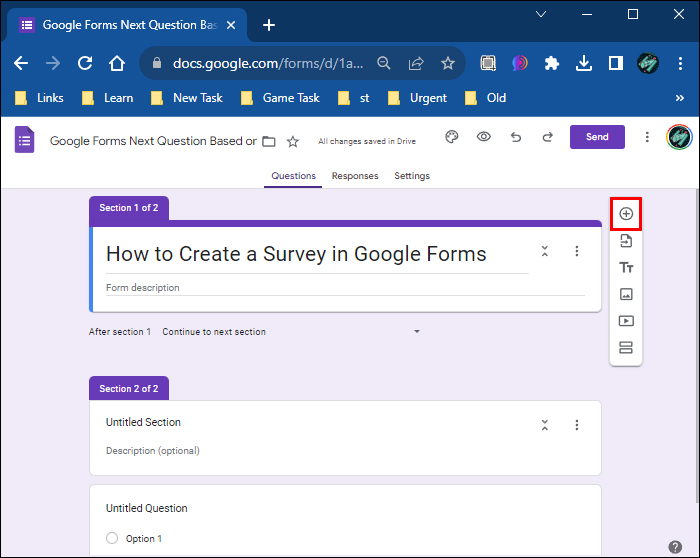
- Click on the first section.
- Tap the “Add Question” option from the right toolbar (the icon looks like a circled plus).
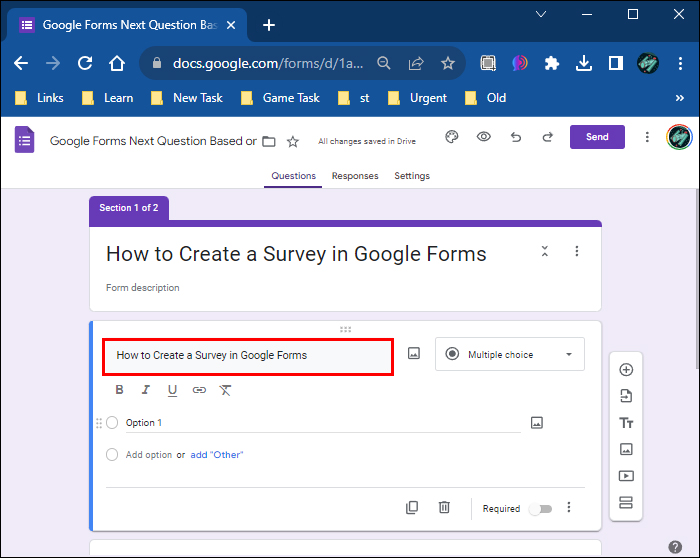
- Type the first question.
- Add as many questions as you want and customize the “Options” section.


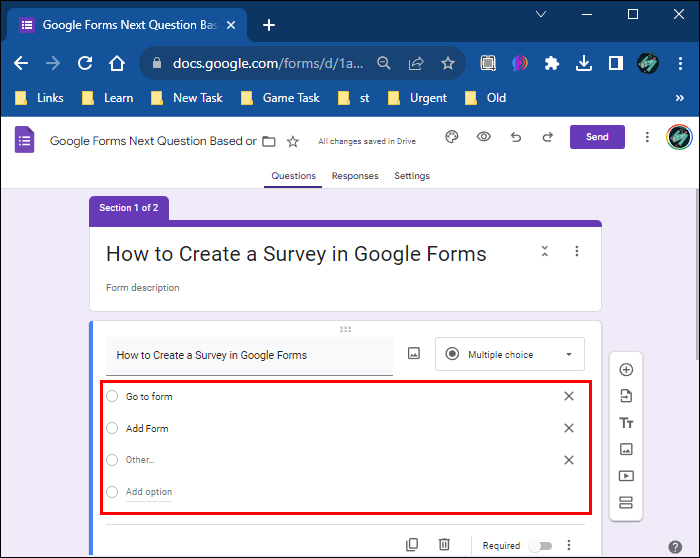
For example, if you’re creating a gaming survey, the first question can be “What’s your name?” while the second is “How old are you?” When customizing options, in this case, you will change the options for the second question. You can put 11-15, 16-20, over 20, etc. You can add as many options or potential answers as you need. If you want to add another question, it can be something like “Do you play video games?” with possible answers “Yes” and “No.” You can also change the “Options” section type from multiple answers to checking the boxes.
- After you create these three questions, add a new section.
- Name the section. For this example, you can put in “Gaming questions.”
- In this section, choose the “Add question” option and enter the question “How many video games do you play?”
- Repeat the process with the “Options” section and add as many responses as you need.


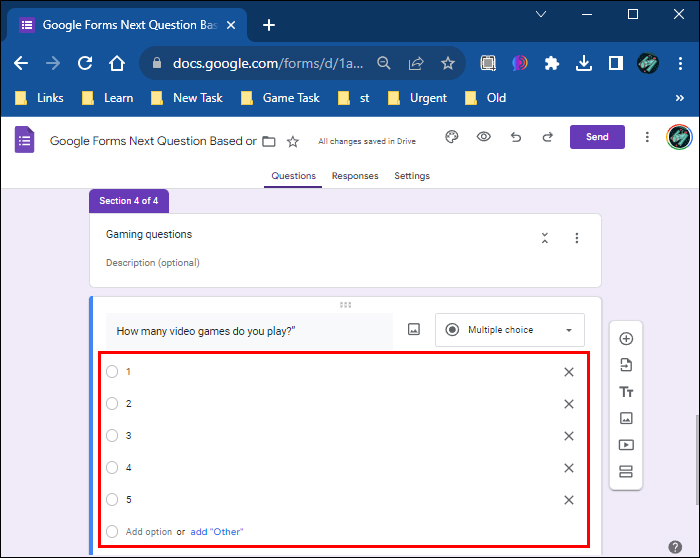
Note that this is optional; you can add as many questions as you want. In this case, adding another question is suitable where you can ask people which video games they play and provide possible answers with specific video game names.
You can repeat the abovementioned process of adding questions and options for each section you make. Adding descriptions to the sections is also available, which lets you further explain the questions.
How to Use Conditional Logic in Google Forms
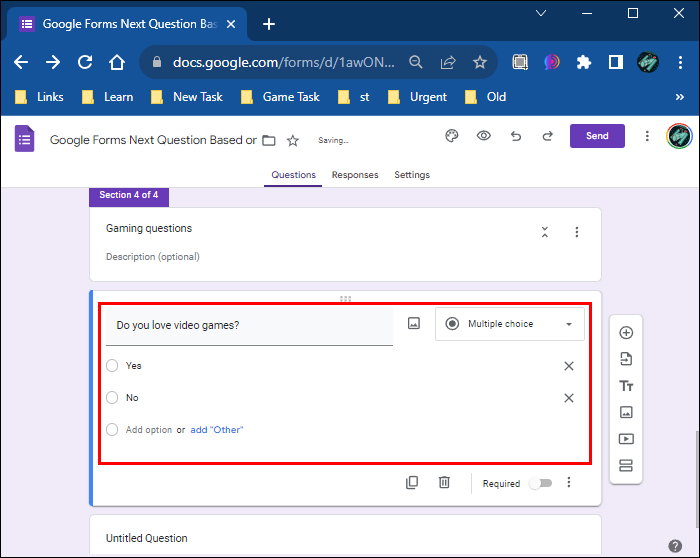
After you create your survey, like the example we provided in the previous section, you can add conditional questions or use conditional logic. This works best for yes/no answers. So go back to the section in your survey with those answers. In this case, it’s the “Do you play video games?”
Follow these steps to add conditional logic to these answers:
- Click on the question with the yes/no answer.
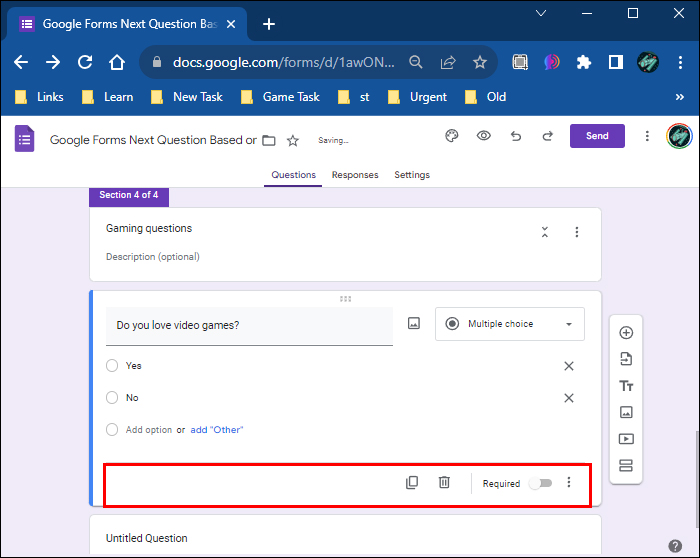
- Navigate to the bottom right part of the screen.
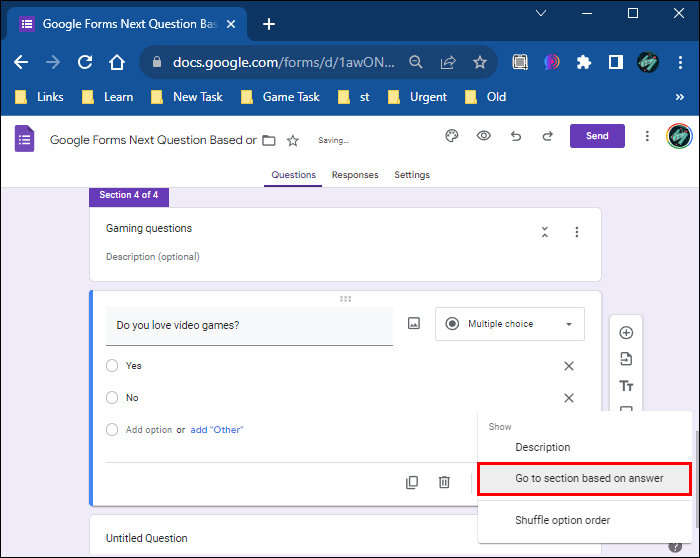
- Next to the “Required” toggle, tap the three vertical dots.
- Choose the “Go to section based on answer” option.
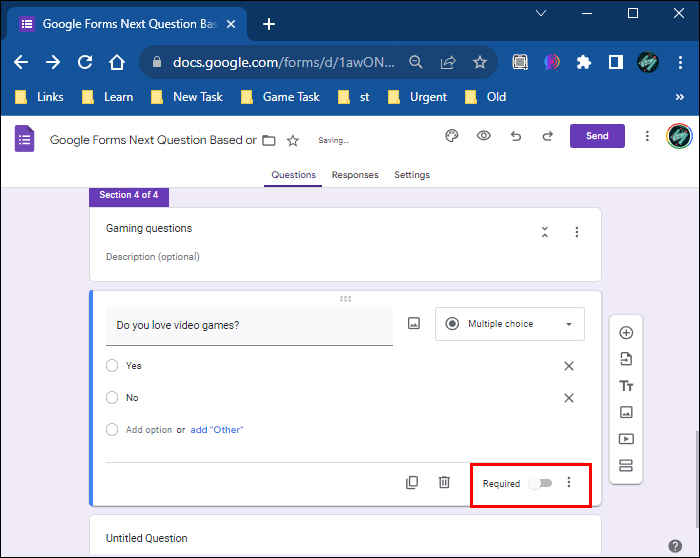
If you want answering all your questions to be mandatory, you can toggle the button for the “Required” option for every question. This way, all questions need to be answered and cannot be skipped. If you choose the “Required” option, you will see a small red snowflake next to your questions, indicating that this option has been enabled.
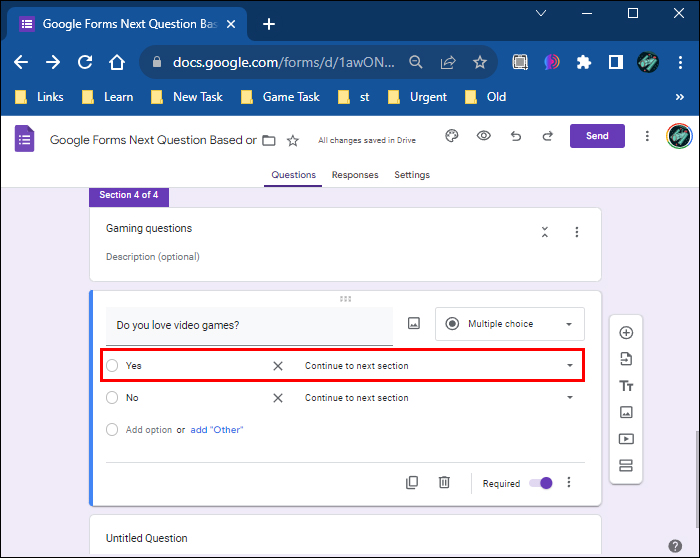
After doing this, you will see two new options, “Continue to next section” next to both answers.
- Click this option next to the “Yes” answer first.
- Then choose which section you want to redirect the person taking the survey to if they choose “Yes.”
- Click the “Continue to next section” option next to the “No” answer.
- Choose the option “Submit from.”
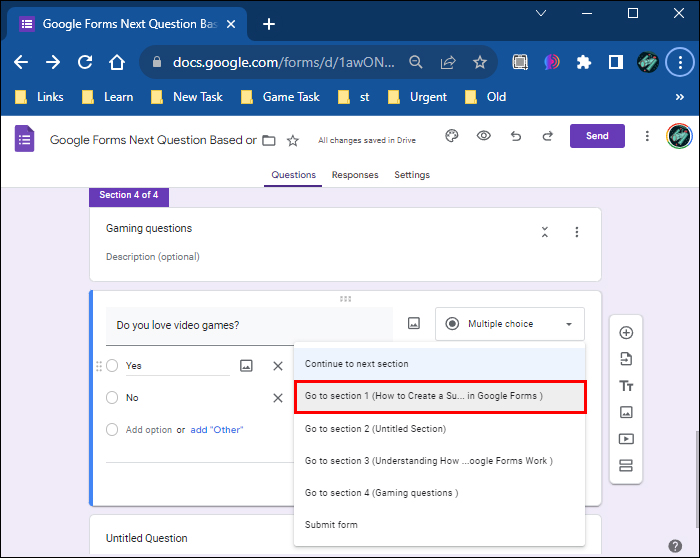

If someone answers the “Do you play video games?” question with “yes,” they will be redirected to another section. In this case, that can be “How many video games do you play?” which you created earlier. Or it will direct them to a different question, depending on the form of your survey.
On the other hand, if someone answers “no” to the above question, they will be redirected to the last page of the survey, where they can submit the form. This way, they can skip unrelated queries and can finish the survey immediately. You can use conditional logic on every question in your survey and redirect people to questions based on their answers.
Lastly, before you create the survey, you can check if everything is working by navigating to the eye icon in the top corner of your screen. This is the “Preview” option.
Setting Up the Theme for Your Survey
Next to the “Preview” option, you can set your theme and font for sections, questions, and text in the left sidebar. You also have the option to add an image to your header section and select the color for your background.
When choosing the header image, you can set the theme from the Google Forms gallery or add one from your PC. If you decide to add the image from the Google Forms gallery, you can choose from a variety of options depending on the type of survey you are making. Possible options are:
- Work and school
- Illustrations
- Birthday
- Food and dining
- Party
- Just kids
- Wedding
- Night out
- Sports and games
- Travel
- Others
Limiting Options in Google Forms
Google Forms allows you to customize your survey and add different features, but some options aren’t available for conditional questions.
- Adding conditional logic to each question can be time-consuming, considering you have to make sections for each question.
- You can’t add if/then statements.
- You can’t add and/or questions.
Customizing Surveys With Google Forms
Despite a few limitations, Google Forms provides users with a great way of making different forms. The forms can be implemented with conditional or standard questions. If you opt for conditional logic, the process will take longer but could produce satisfying results. Furthermore, you can use Google Form add-ons to customize your survey even more, including setting up a timer for a quiz, etc.
Which forms do you create the most on Google Forms? Let us know in the comments section below.
Disclaimer: Some pages on this site may include an affiliate link. This does not effect our editorial in any way.