When creating presentations, including on Google Slides, it’s essential to keep them organized and know what information to emphasize to attract the reader’s attention. By adding bullet points, you highlight the important sections and improve the presentation’s readability.
If you’re new to Google Slides and want to know how to add bullet points, you’ve come to the right place. This article will discuss how to do it using different platforms and offer further insight into the app.
How to Add Bullet Points to Google Slides on a PC
Adding bullet points to the Google Slides web version can be done in two ways. You can choose between adding the bullet points first and then the text, or vice versa.
If you want to add the bullet points first, follow the steps below:
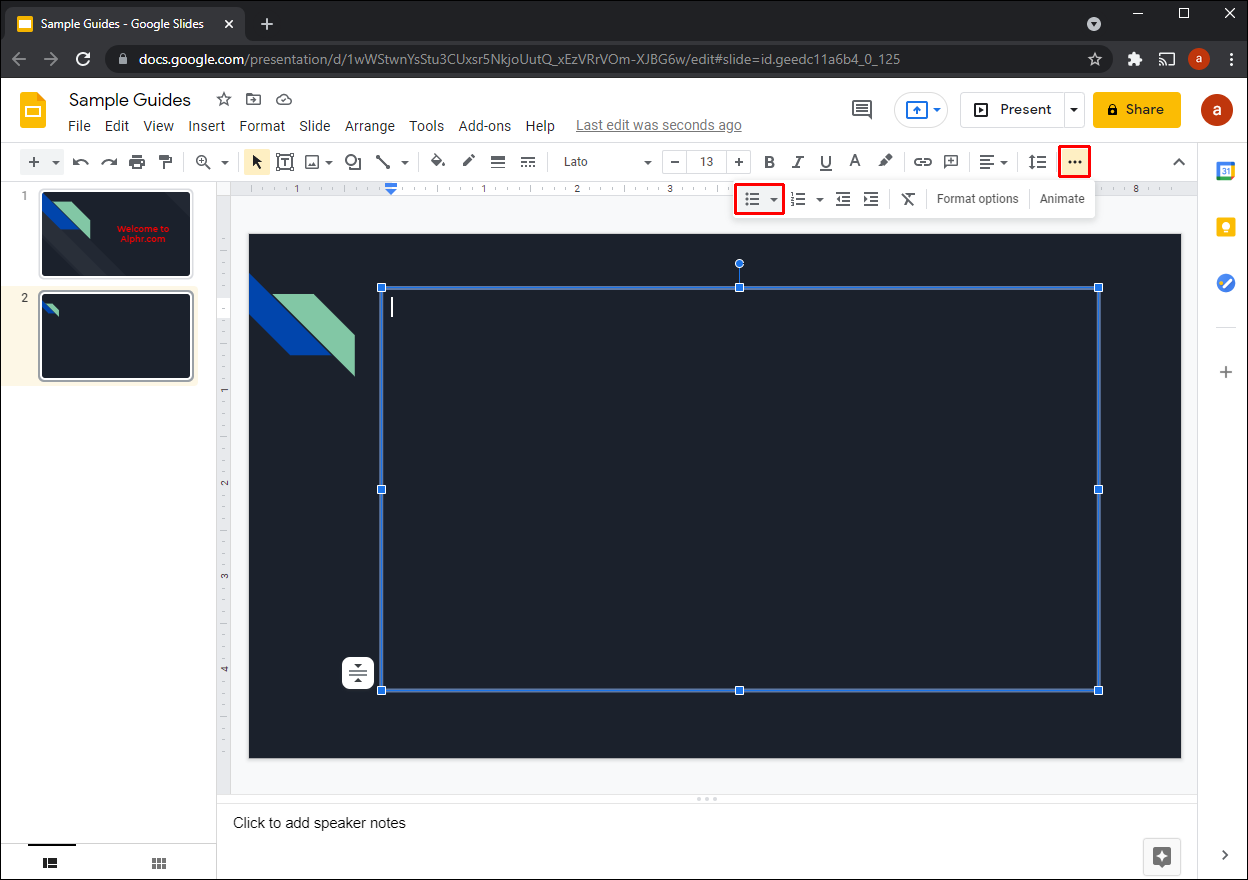
- Open your presentation and go to the slide where you want to insert bullet points.

- Press the bulleted list icon (the icon with three dots followed by three lines). If you don’t see it, press the three dots in the toolbar, and then select the icon. You can also use the “Ctrl + Shift + 8” shortcut.

If you’ve already written the text and want to add bullet points subsequently, follow these steps:
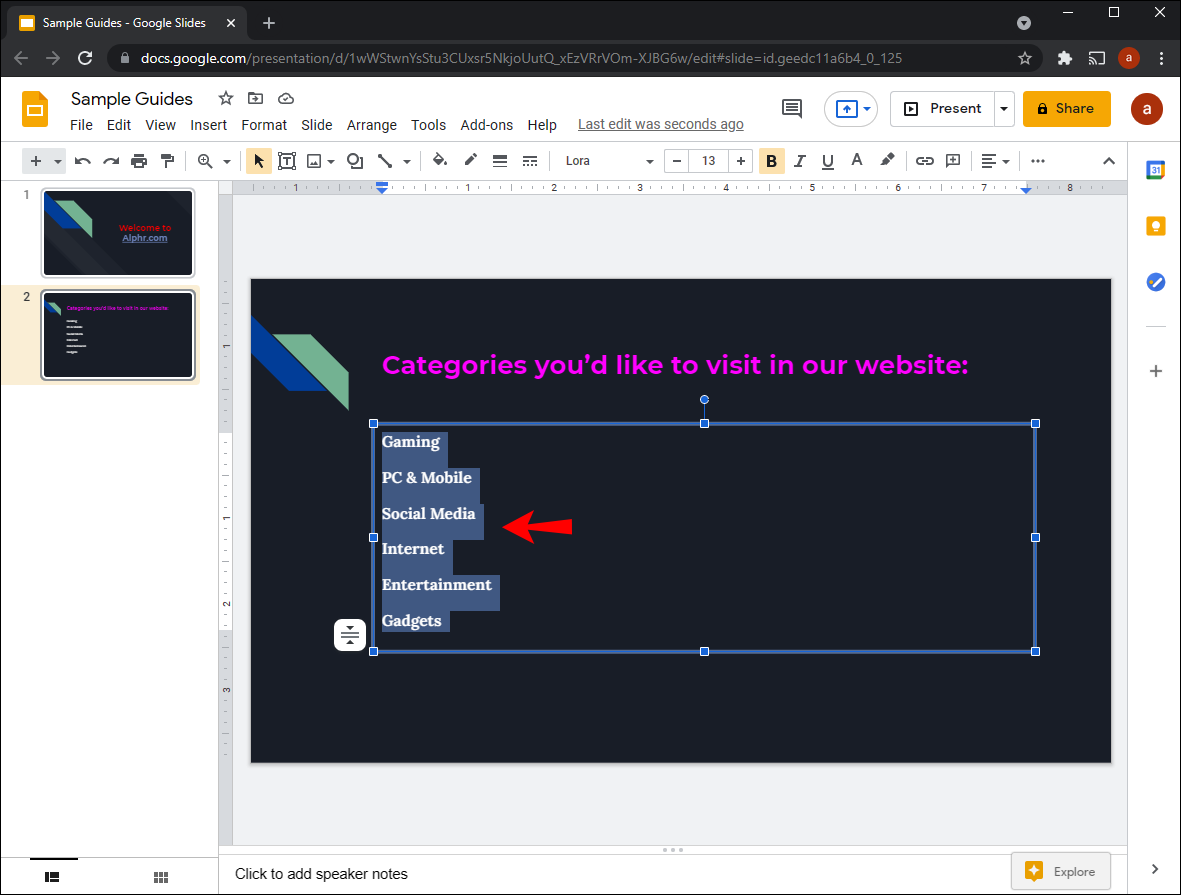
- Select the text which you want to put in bullet points.
- Select the bulleted list icon in the toolbar. If you don’t see it, press the three dots on the right, and then press the icon. You can also use the “Ctrl + Shift + 8” shortcut.

By default, the bullet points will be dots. If you want to change this, press the arrow next to the bulleted list icon and customize them.
How to Add Bullet Points to Google Slides on the iPhone App
The Google Slides app is available for iPhones on the App Store. As with the web version, you can add bullet points first and then the text, or do it vice versa.
If you want to add bullet points first, follow these steps:
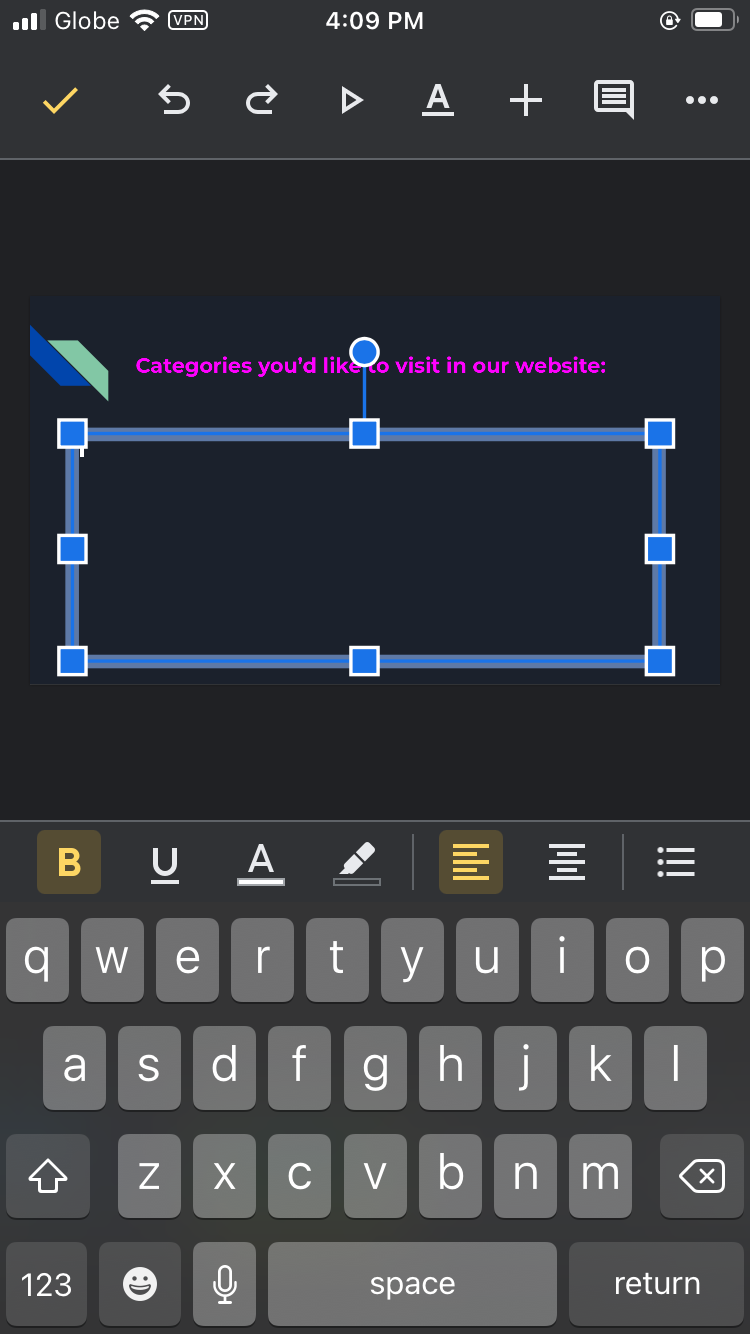
- Open the presentation and go to the slide to which you want to add bullet points.
- Double-tap the area where you want to add bullet points.
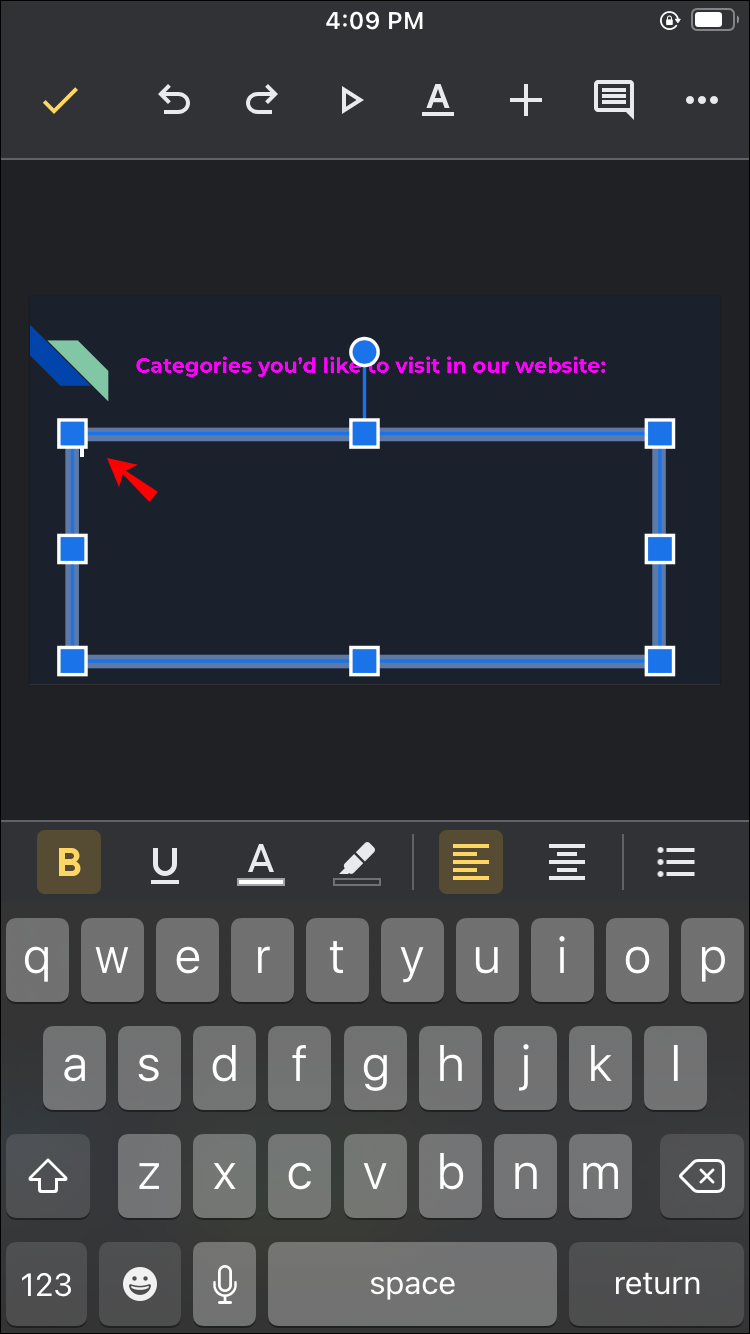
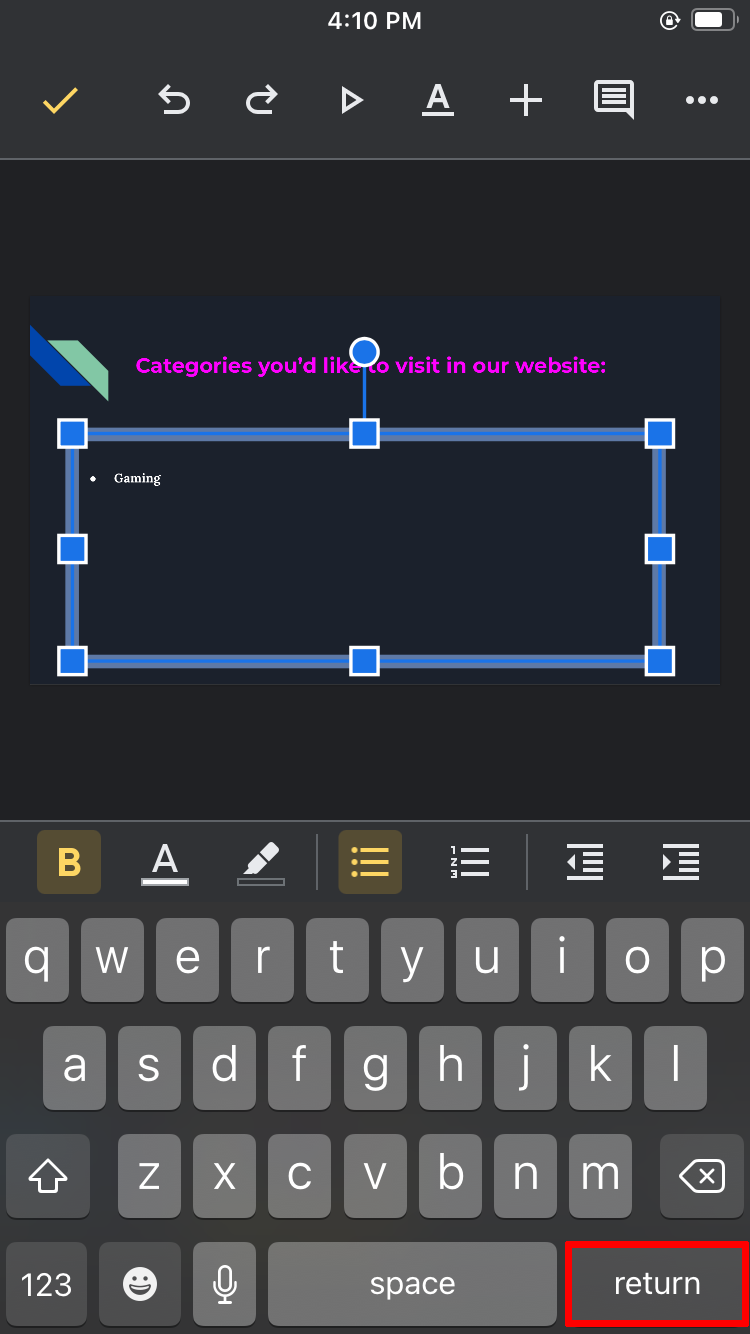
- Tap the bulleted list icon in the toolbar and type your text.
- When you’re done, tap “Return” to go to the following line.
- Once you’re finished, select the checkmark.


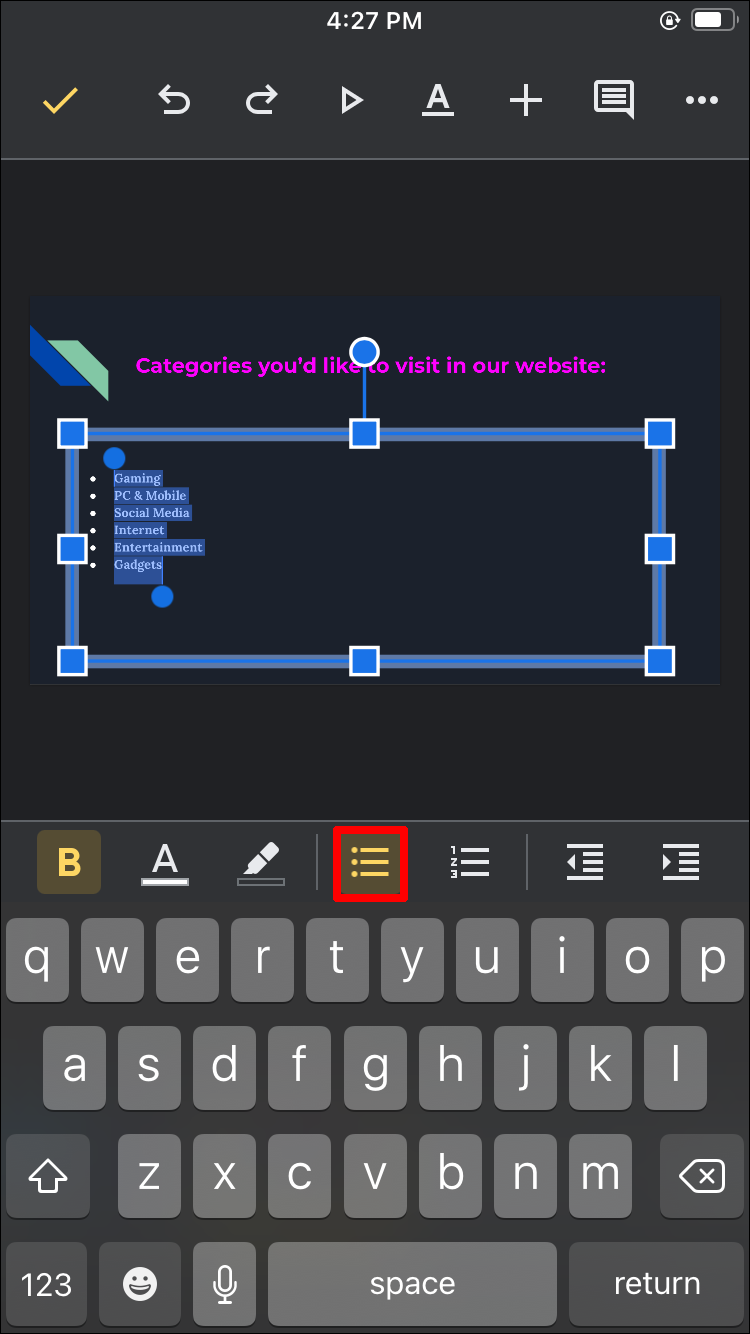
You can also add bullet points after you’ve typed the text:
- Highlight the text you want in bullet points.
- Tap the bulleted list icon in the toolbar.
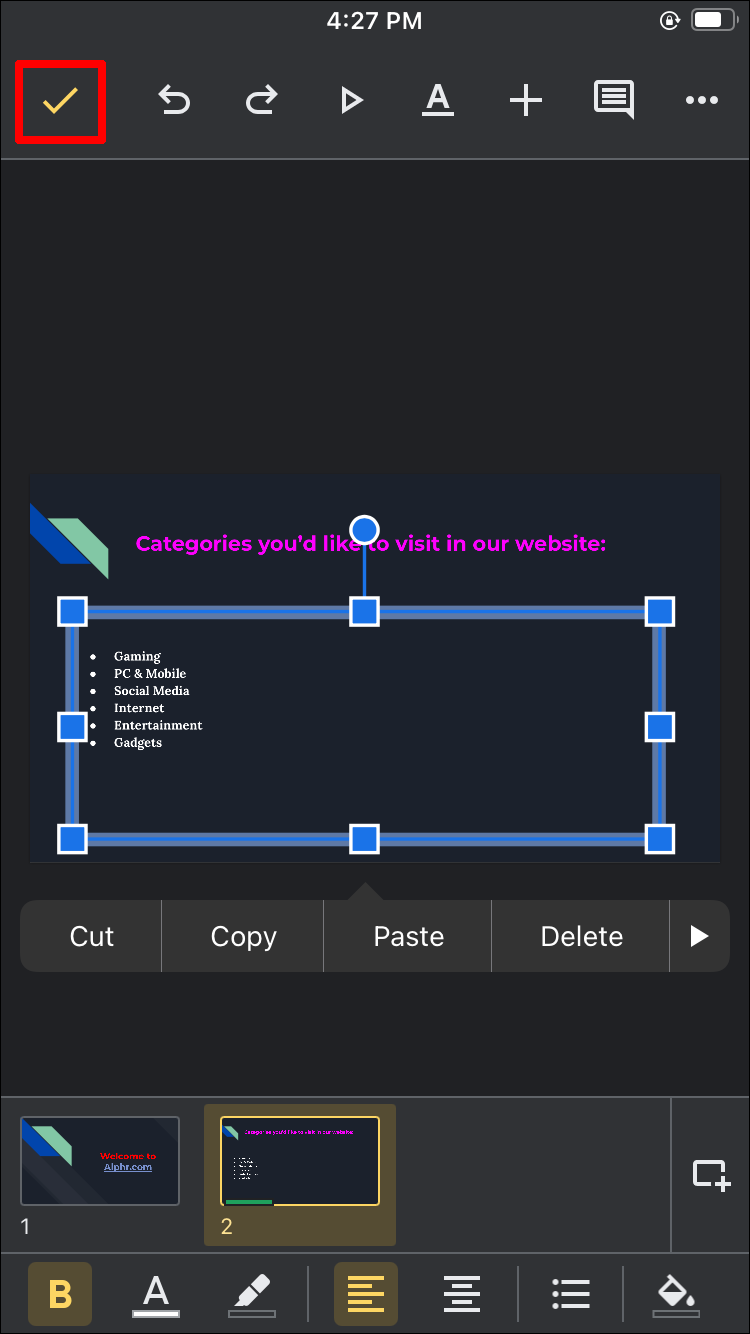
- When you’re done, tap the checkmark.

The bullet points will appear as dots. It’s not possible to change the symbol using the iPhone app.
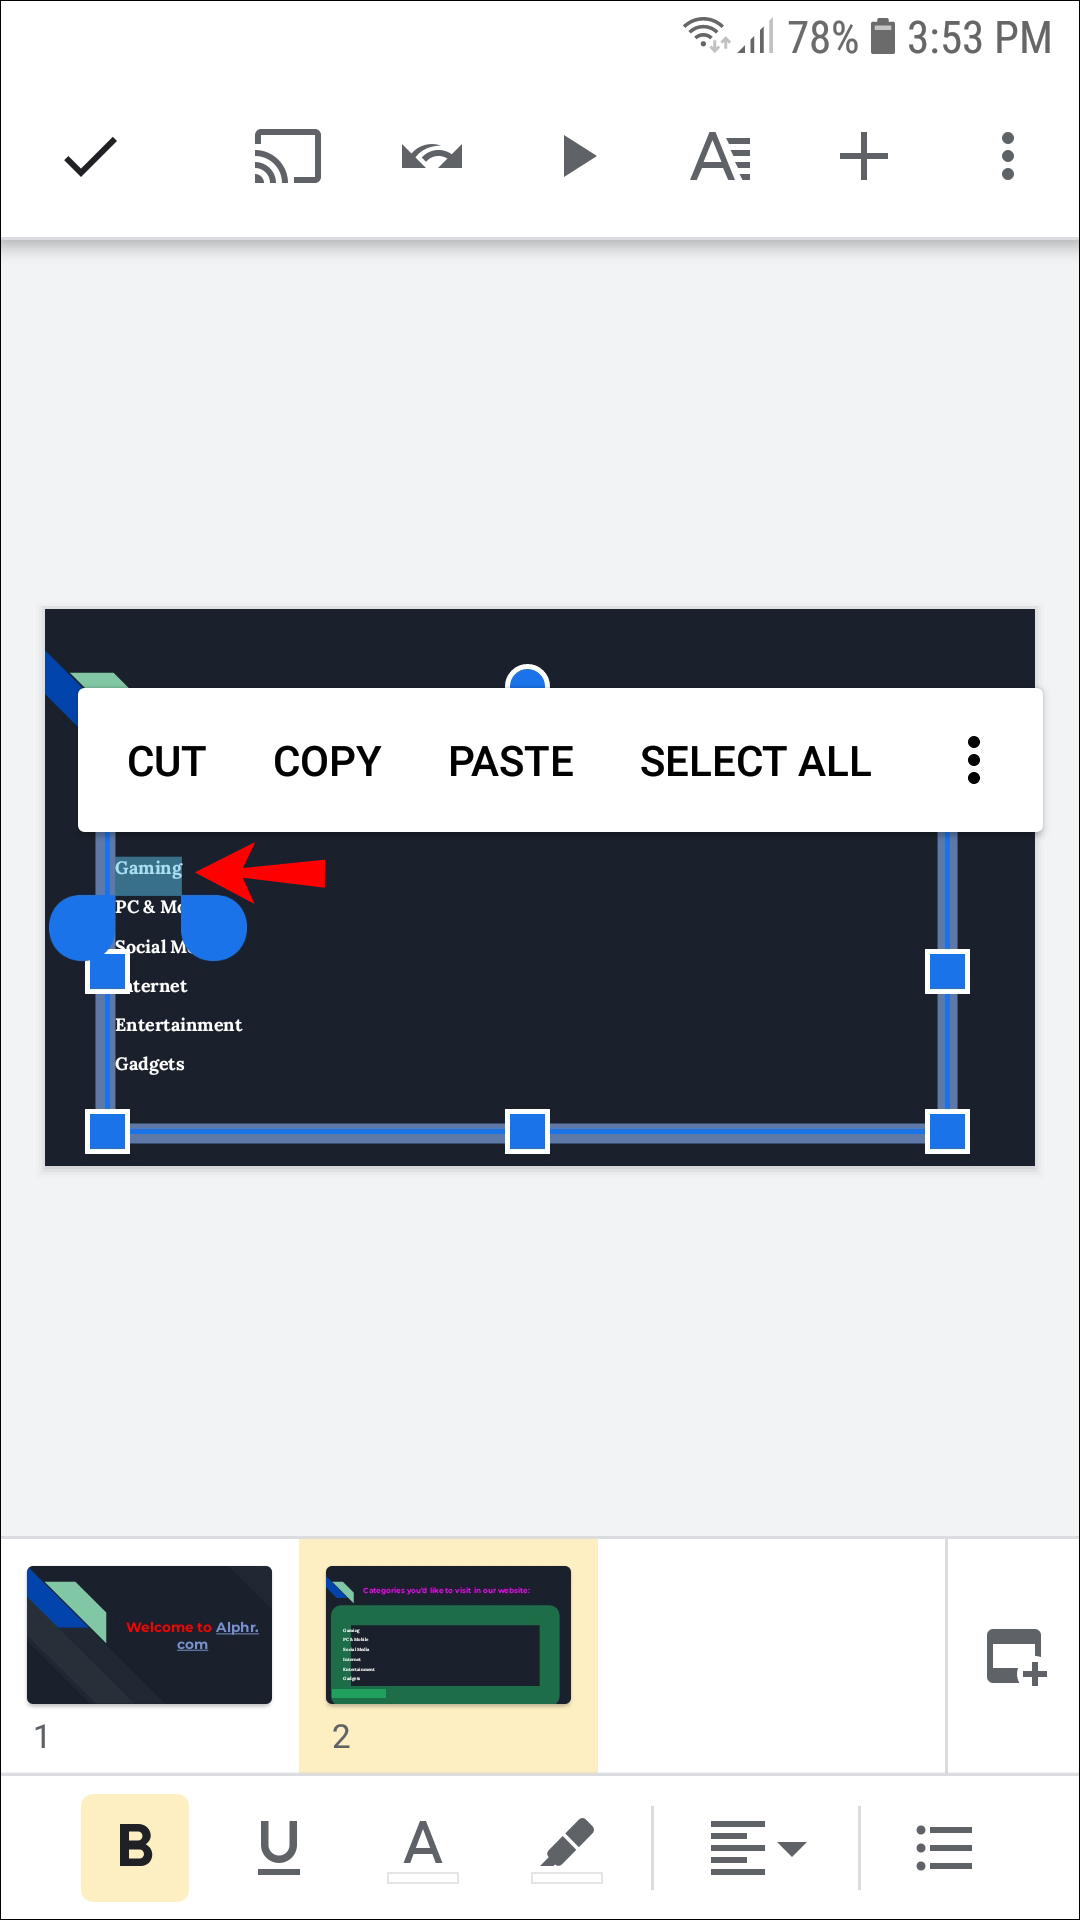
How to Add Bullet Points to Google Slides on an Android Device
The Google Slides mobile app is also available for Android and can be found on the Play Store. Adding bullet points to your presentation can be done in two ways: before or after you type the text.
To add the bullet points first, follow these steps:
- Open your presentation and go to the slide where you want to insert bullet points.
- Double-tap the section where you want to add bullet points.
- Tap the bulleted list icon in the toolbar and type your text.
- When you’re done, tap the return icon to go to the next line. The bullet point will be automatically added.
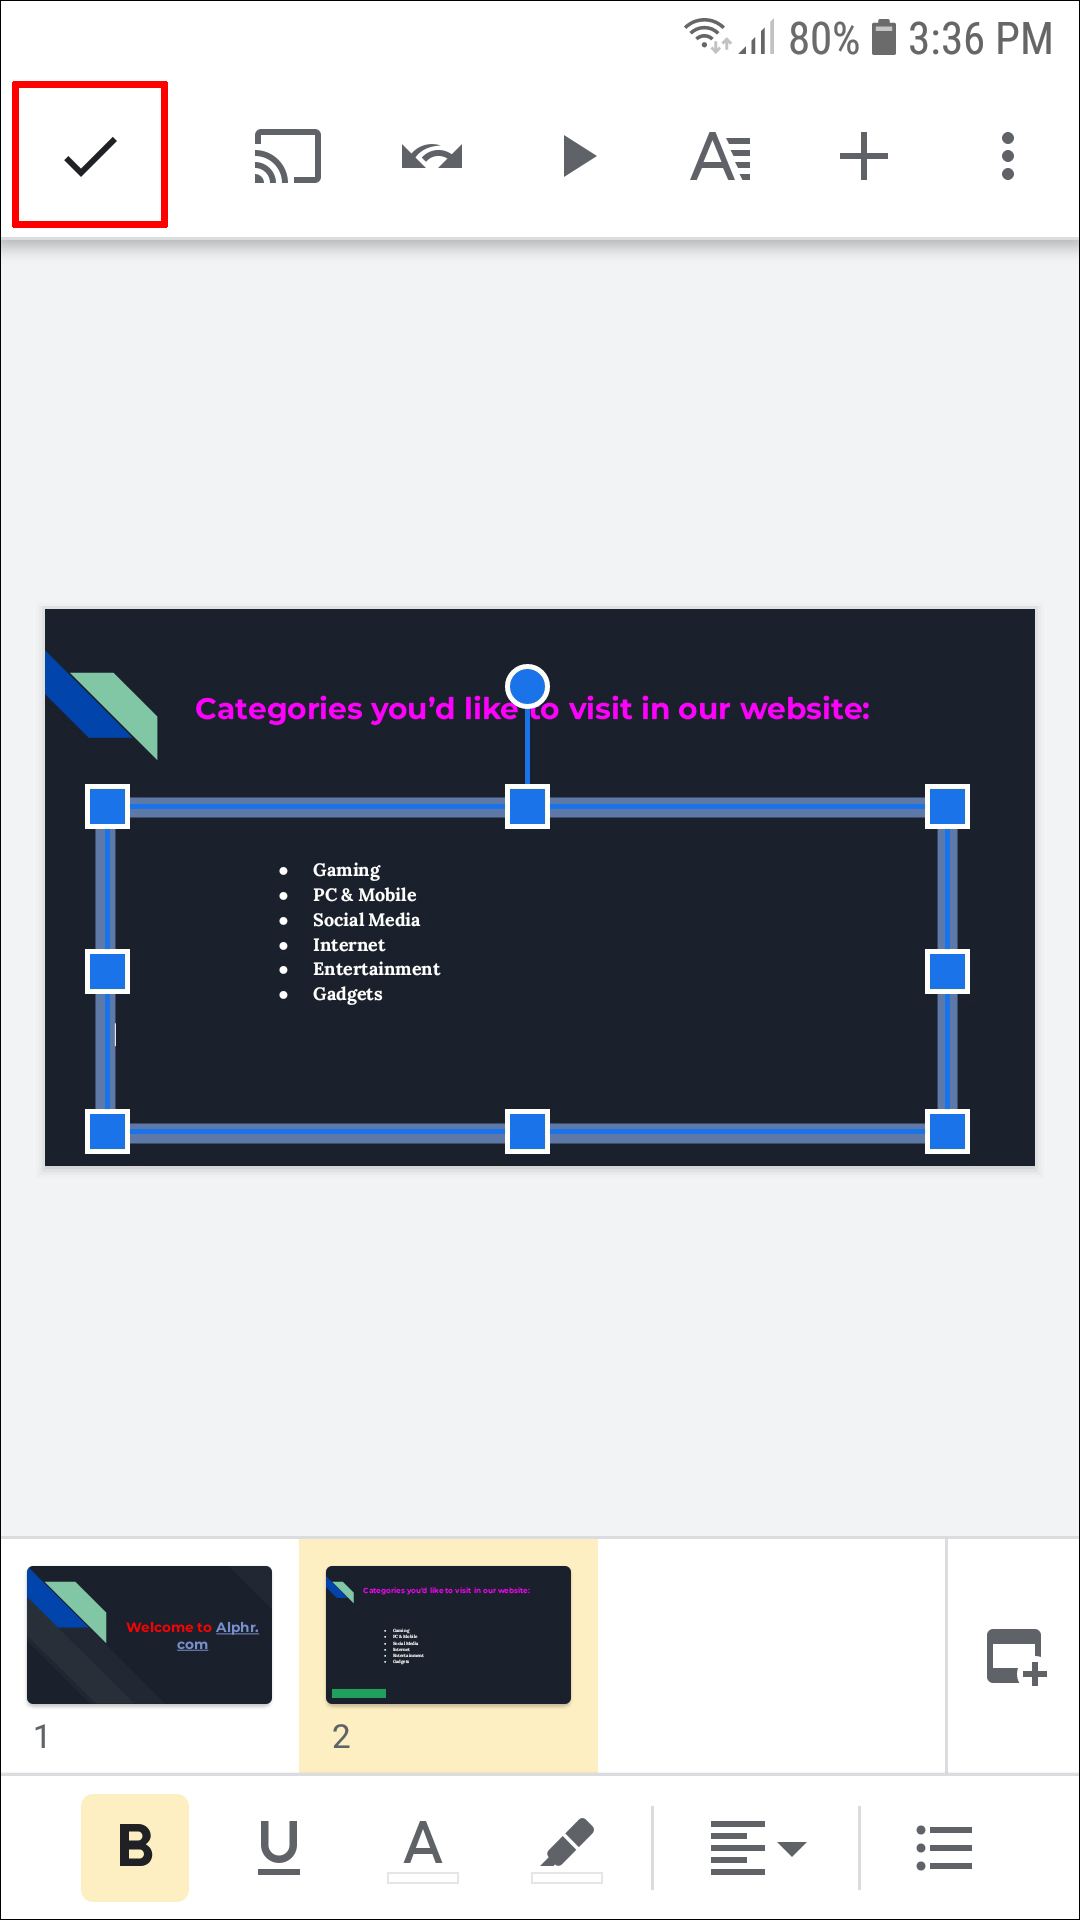
- Once you complete the list, tap the checkmark.


To add the bullet points after you’ve typed the text, follow the instructions below:
- Highlight the text which you want to put in bullet points.
- Tap the bullets icon in the toolbar.
- Tap the checkmark corner once you’re done.


The bullet points are dots by default, and the mobile version doesn’t enable you to customize the symbols.
How to Add Bullet Points to Google Slides on an iPad
As previously mentioned, Google Slides is available for iOS on the App Store. You can add bullet points first and then the text, or do it vice versa.
When you want to add the bullet points first, follow the instruction below:
- Open your presentation and go to the section of the slide where you’ll be adding bullet points.
- Double-tap the area where you want to add bullet points.
- Tap the bullets icon in the toolbar.
- When you’re done with the first line, tap the “Return” button to move to the following one.
- Once you finish the list, tap the checkmark to save it.
If you’ve already typed the text and think it would be better as a bulleted list, follow these steps:
- Double-tap and highlight the text you want to put in bullet points.
- Tap the bullets icon.
- Once you’ve finished the list, tap the checkmark.
The app adds dots as bullet points. Unfortunately, it’s not p
Device Links
ible to change this on your iPad.
Additional FAQs
How can I add sub-bullet points in Google Slides?
When you want to explain a point further, adding sub-bullets allows you to do it while maintaining the slide’s readability and organization. Here’s how to add sub-bullet points if you’re using Google Slides on your PC:
1. Place your cursor at the end of the bullet point to which you want to add sub-bullets.
2. Press “Enter” to go to the subsequent line and press the “Tab” key to create a sub-bullet point. You can also press the three dots in the toolbar and select the “Increase Indent” icon instead.
If you’ve typed the text first, follow these instructions:
1. Place the cursor on the text to which you want to add sub-bullets and press the bulleted list icon.
2. Select the “Increase Indent” icon or press the “Tab” key.
Tip: When pressing the “Tab” key, ensure you’ve moved the cursor to the beginning of the text. Otherwise, pressing the key will only separate it.
Keep Your Slides Organized With Bullet Points
Presentations can be hard to follow and dull if they are disorganized and messy. Learning how to add bullet points in Google Slides is essential for creating a successful, eye-catching presentation that highlights the important parts. Google Slides allows you to add bullet points on both your computer and mobile devices, and the process doesn’t take more than a few seconds.
Do you often add bullet points to your Google Slides presentations? Do you prefer using the app on your computer, tablet, or phone? Tell us in the comments section below.
Disclaimer: Some pages on this site may include an affiliate link. This does not effect our editorial in any way.


