The Hollow Knight DLC provides players with tons of exciting content. Depending on the path you choose, you get to encounter a bunch of new, challenging bosses that will get your blood racing. It adds a unique flair to the game and can rekindle your passion for the game. So, how do you access this extra content?
Even if you’re a seasoned Hollow Knight player, you may have trouble accessing the DLCs. To help prevent potential hassle, we’ll explain how you can activate them and experience a few more hours of thrilling gameplay.
How to Start DLCs in Hollow Knight
You can find multiple DLCs in Hollow Knight, including Hidden Dreams, Godmaster, and Grimm. Here’s how you can access each one:
How to Access DLC Hidden Dreams Hollow Knight
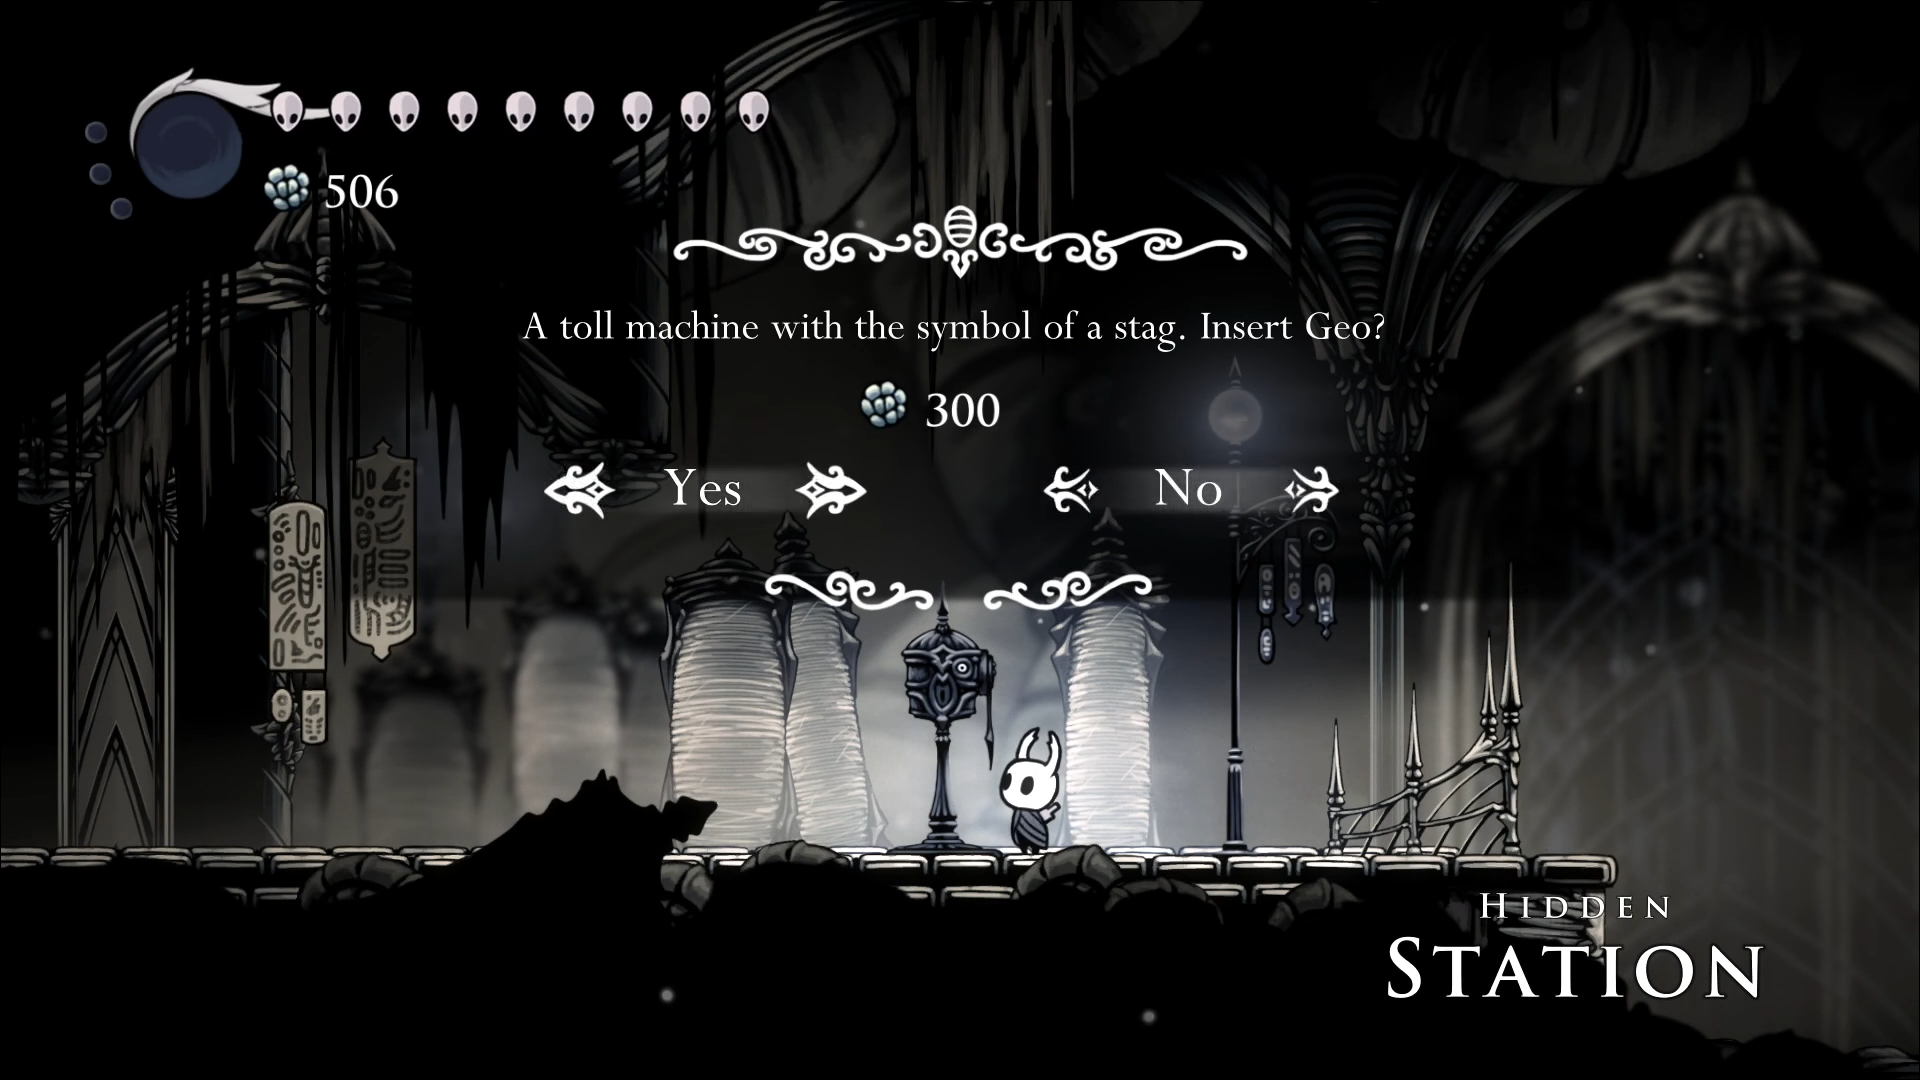
The Hidden Dreams DLC is one of the main reason’s players decide to jump back into the game. One of its many highlights is a new Stag Station. These steps outline what you need to do to find it:
- Travel to the Palace Grounds.
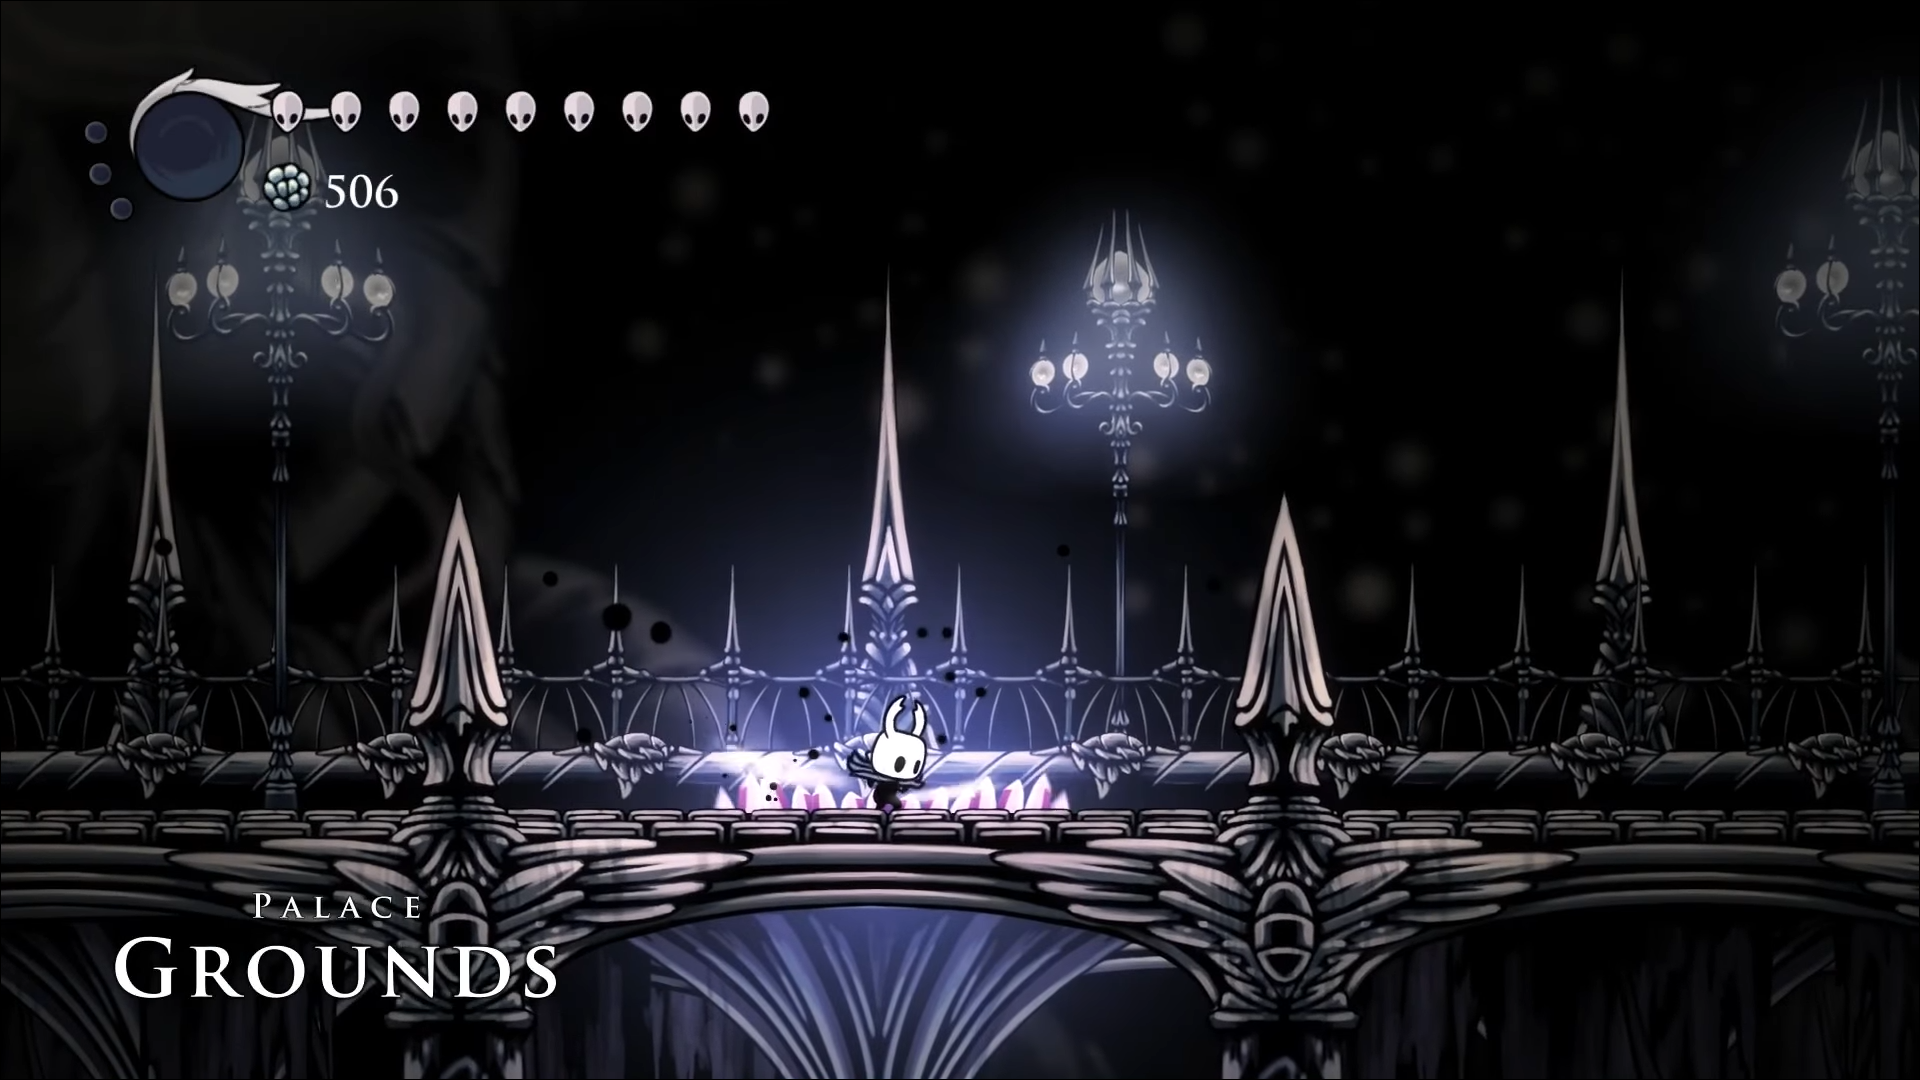
- Break the wall and look for a tall machine.

- Pay the toll (300 GEO) to unlock the Stag Station.
Another exciting part of this DLC is the addition of two bosses. You can now face off against the Grey Prince Zote and White Defender. You can fight both of them multiple times, and the battle will be more challenging each time.
You can find the White Defender in the Secret Room after making your way through the Dung Defender Arena. The boss is in the Ground Pound, right below the platform near the fluid tank.
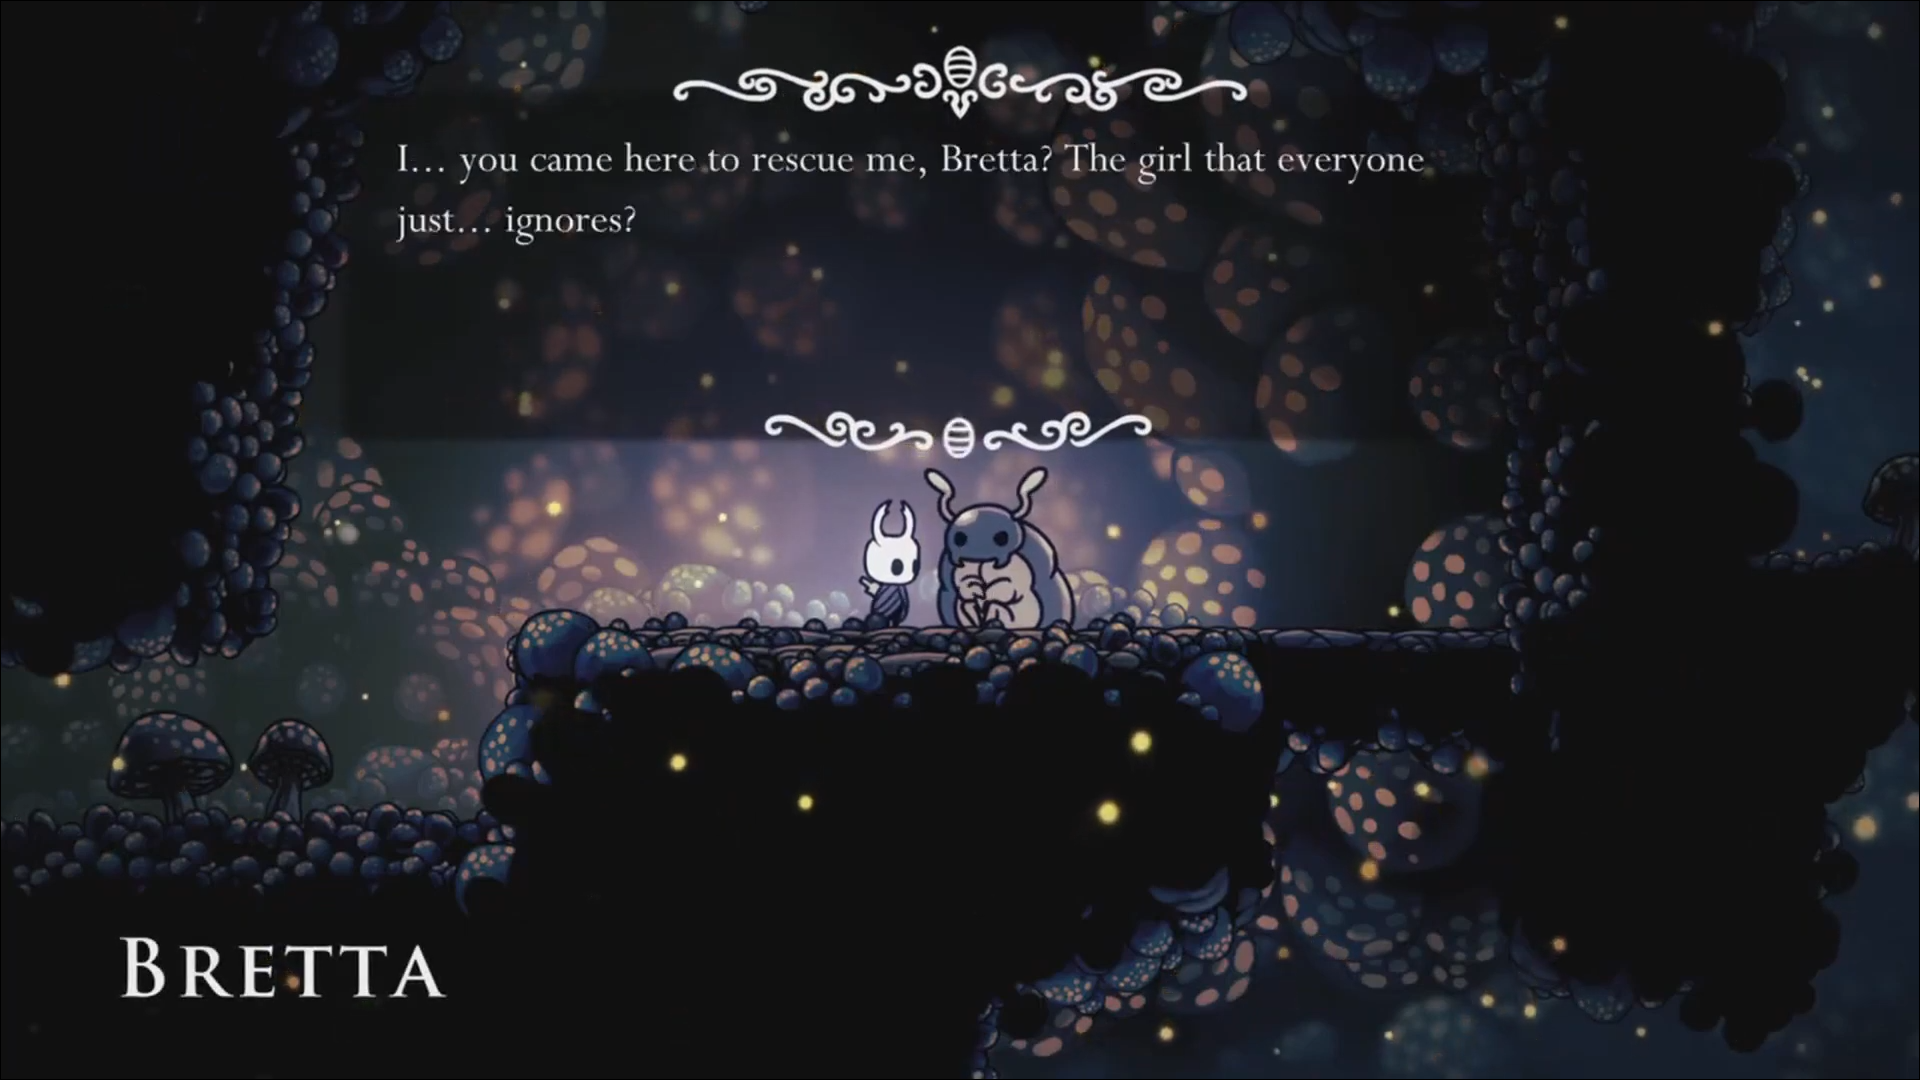
On the other hand, the Grey Prince Zote can be found in Bretta’s house. However, you’ll first need to complete a couple of missions.
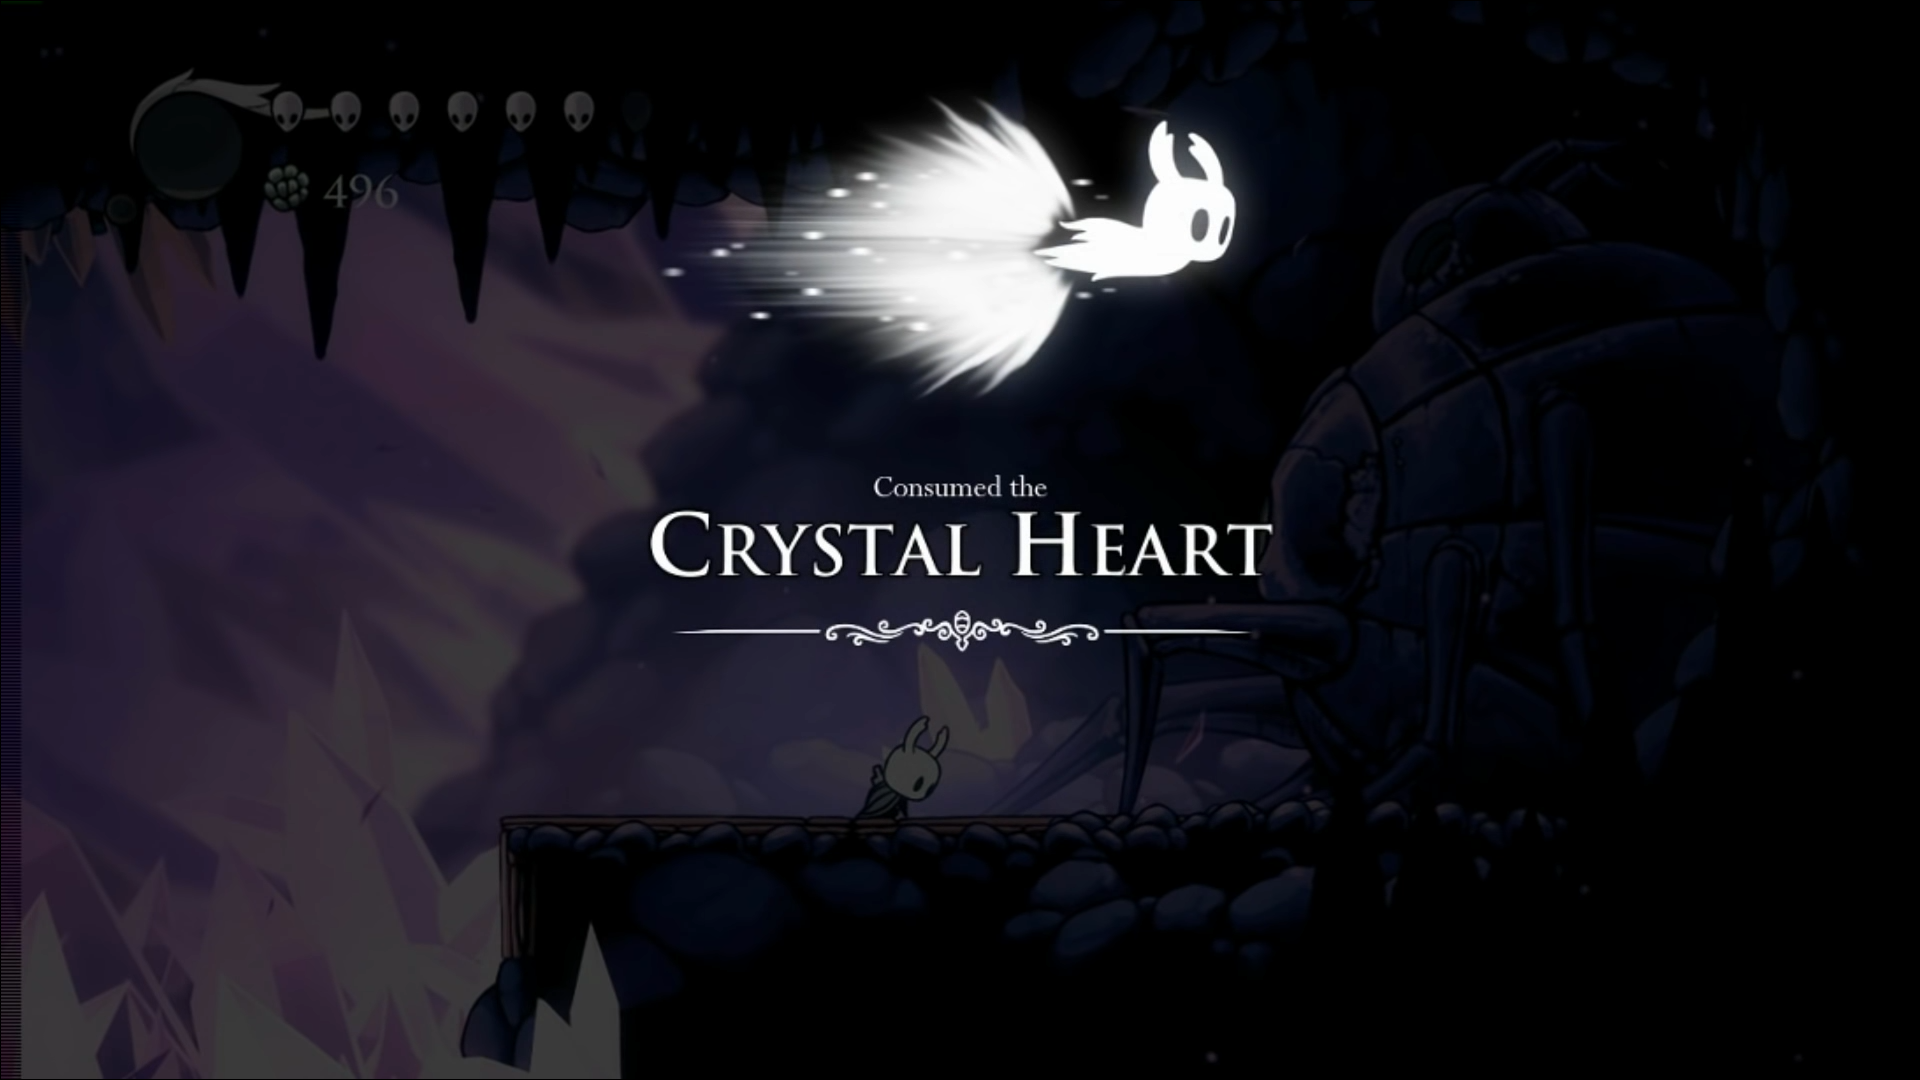
- Acquire the Monarch Wings in the Ancient Basin after completing the Broken Vessel fight. You’ll need to obtain the Crystal Heart to access the location.
- Save Bretta from Fungal Wastes.
- Save Zote and defeat him in the Colosseum of Fools.
- Once you’ve conquered the enemies, enter the basement of the house using the Monarch Wing.
- Look for a statue that can interact with your Dream Nail.
- You’ll immediately be taken to the Grey Prince Zote, and the fight will commence.
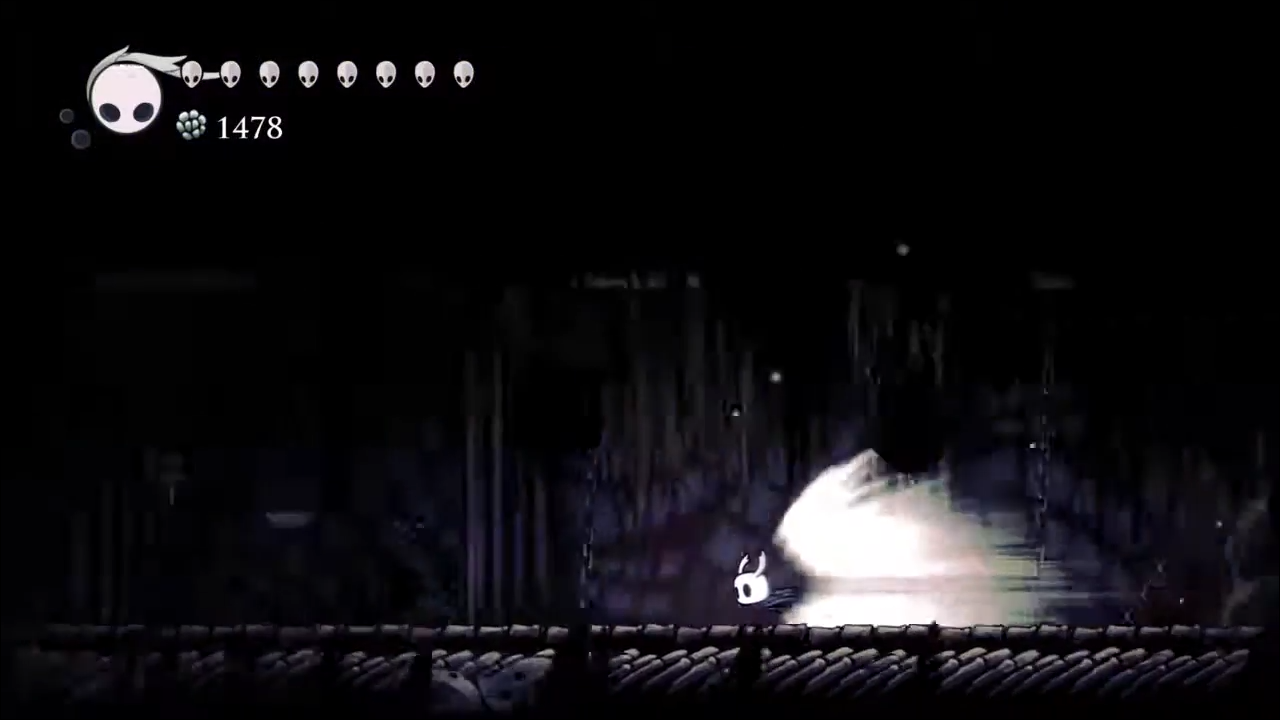


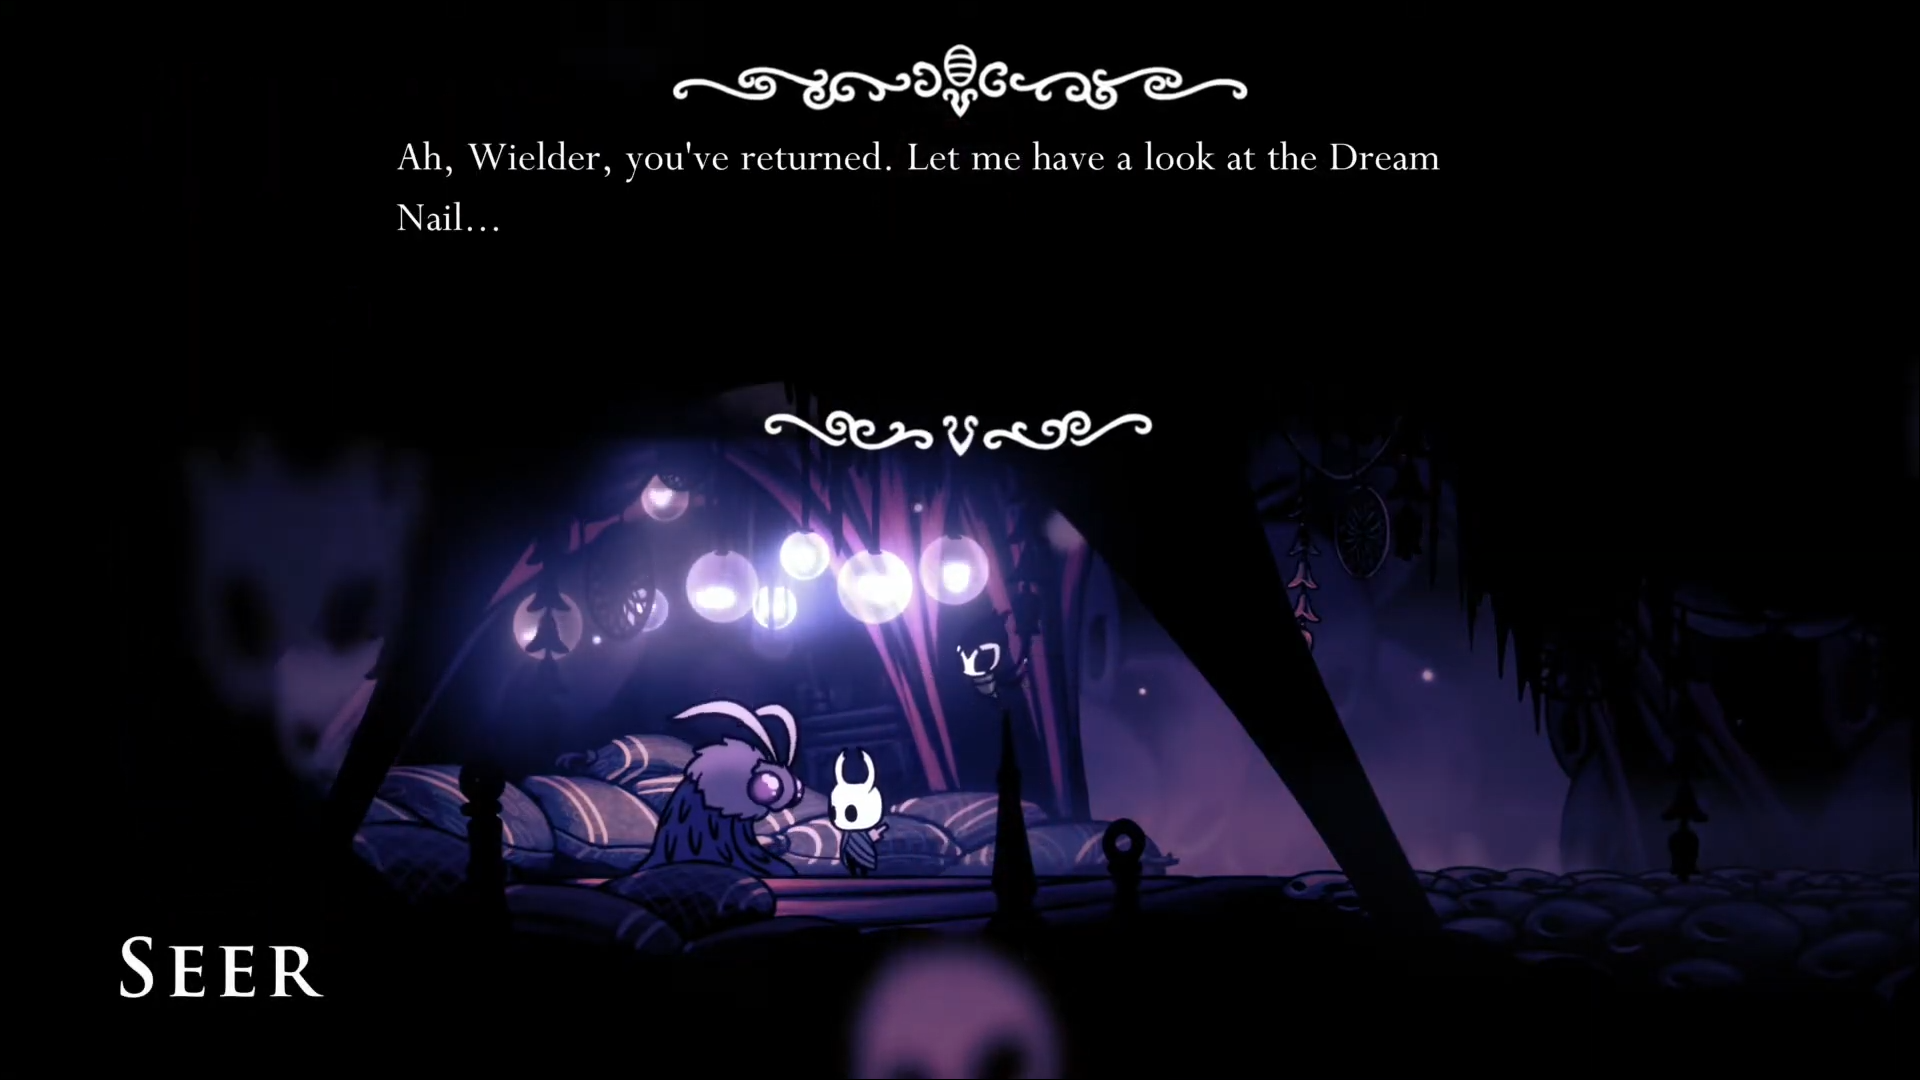
Another neat addition in the Hidden Dreams DLC is Dreamgate. It allows you to fast-travel to the location of your Dreamgate. The ability is convenient in regions where the path to the boss is particularly annoying.
Here’s how to acquire the Dreamgate:
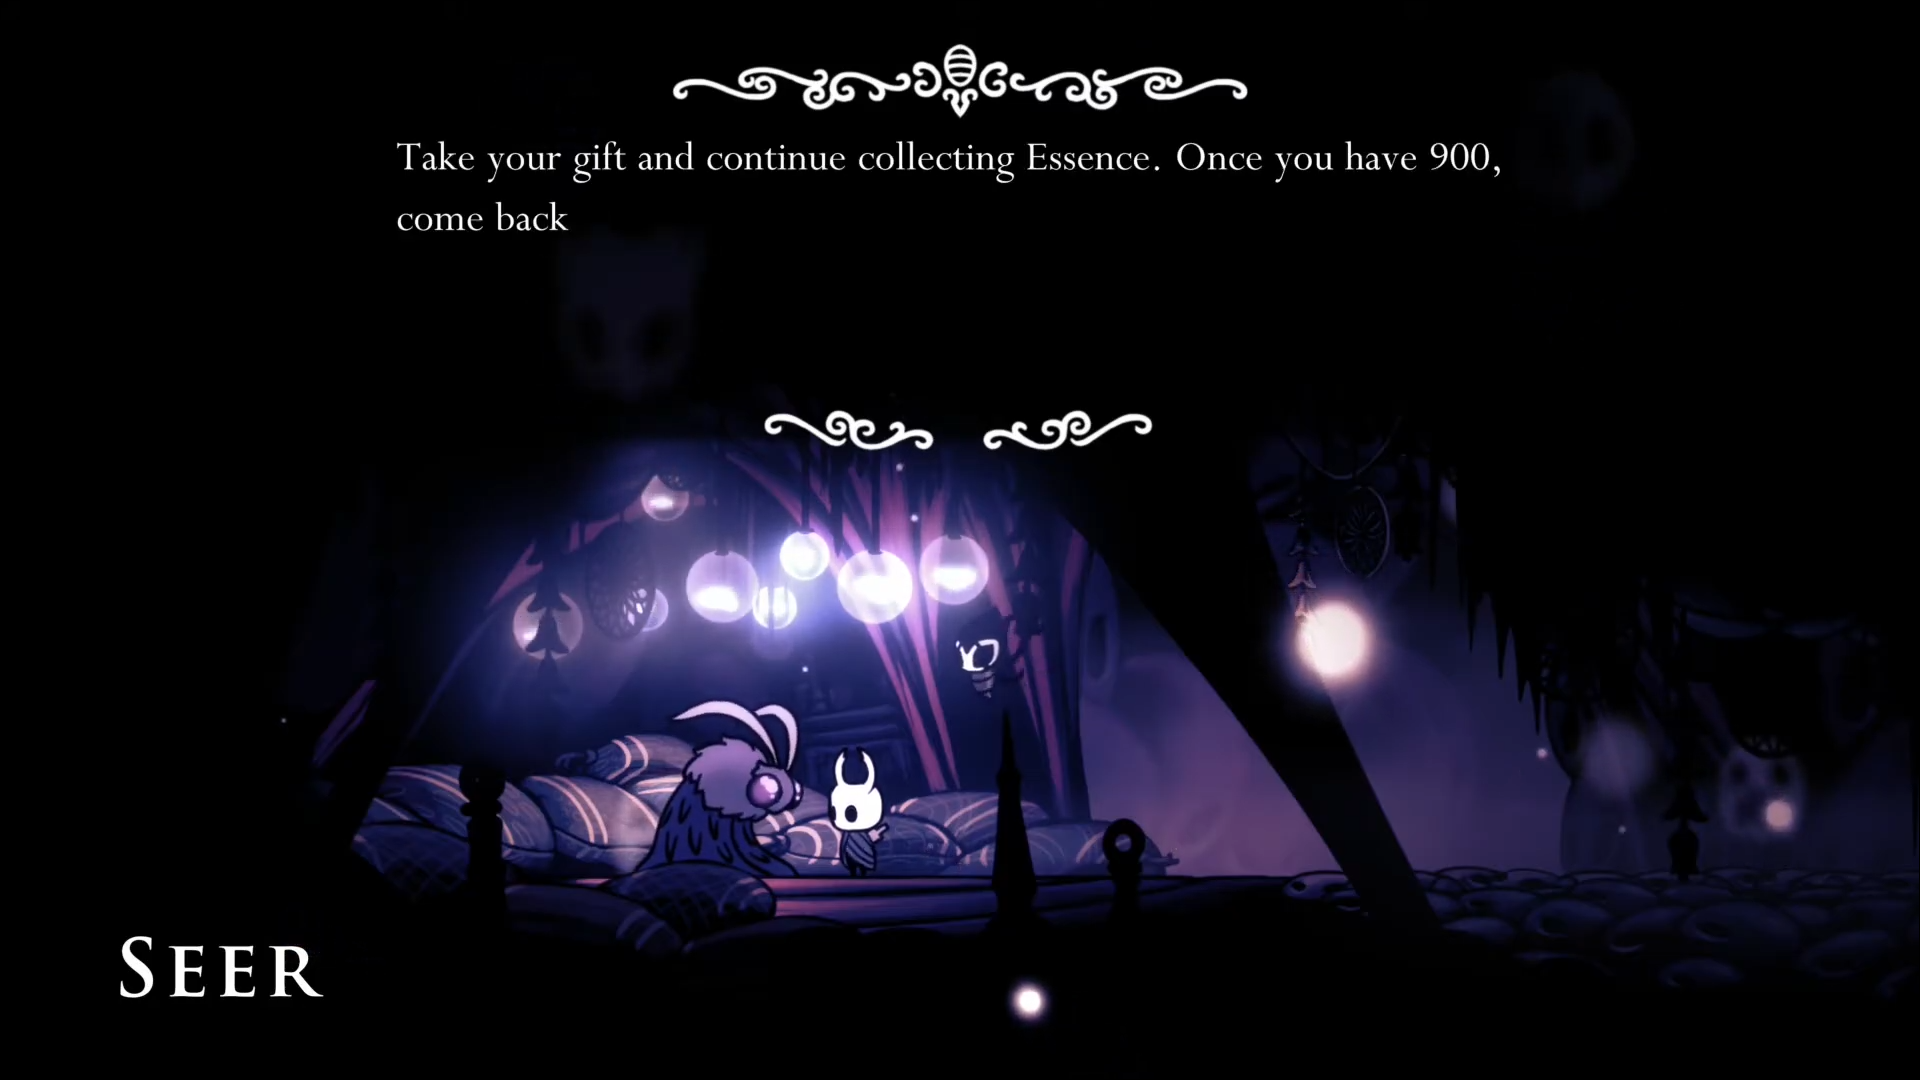
- Collect 900 or more Essence.
- Talk to the Seer and trade the Essence for your Dreamgate.
- If you’ve collected the Essence, but the Seer is dead, the ability should automatically unlock.
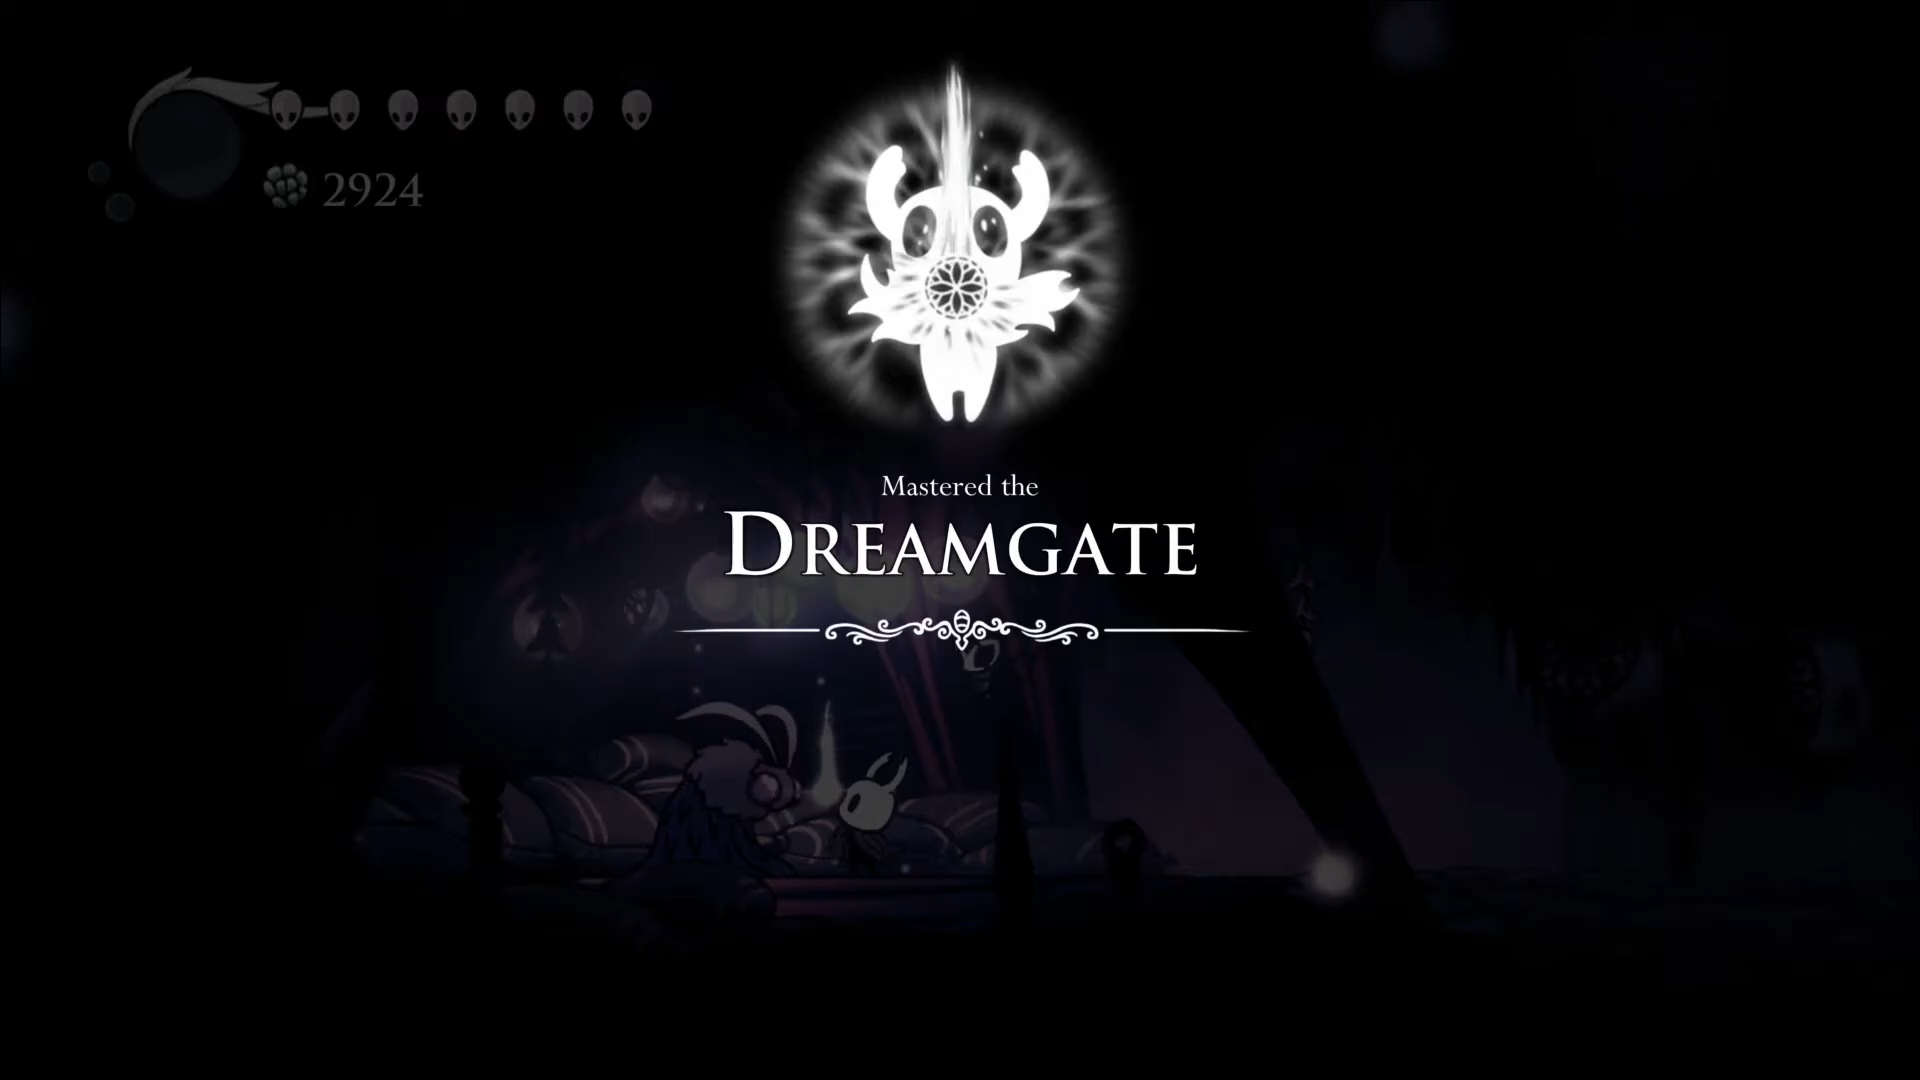
Once you’ve obtained Dreamgate, it’s time to activate it:
- Hold your Dream Nail and down buttons to set up the Dreamgate.
- After creating it, a circular icon and the location should appear on your map.
- Press the Dream Nail and up buttons to teleport to a created Dreamgate. Each time you teleport to your Dreamgate, you’ll lose one Essence.
How to Start the Godmaster DLC in Hollow Knight
Another free DLC you can play in Hollow Knight is Godmaster. Although it’s not easy to find, the quest is worth the effort.
The central zone of the DLC is a region named the Junk Pit. The bulk of the work of starting this DLC is finding the territory. But first, you’ll need to obtain a Simple Key:
- You may have already used all your Simple Keys since the game only contained three before the Godmaster DLC. However, you can find the fourth one in the Colosseum of Fools. Make your way to the area.
- Kill the Pale Lurker to acquire the key.


You can now proceed to the Junk Pit:
- Go to the Flukemarm, a huge Fluke-birthing unit in the Royal Waterway.
- Find the crack in the room’s ceiling outside the boss’s lair.
- Smash it open to reveal a maze-like room.
- Enter the room and follow the path until you reach the Junk Pit.
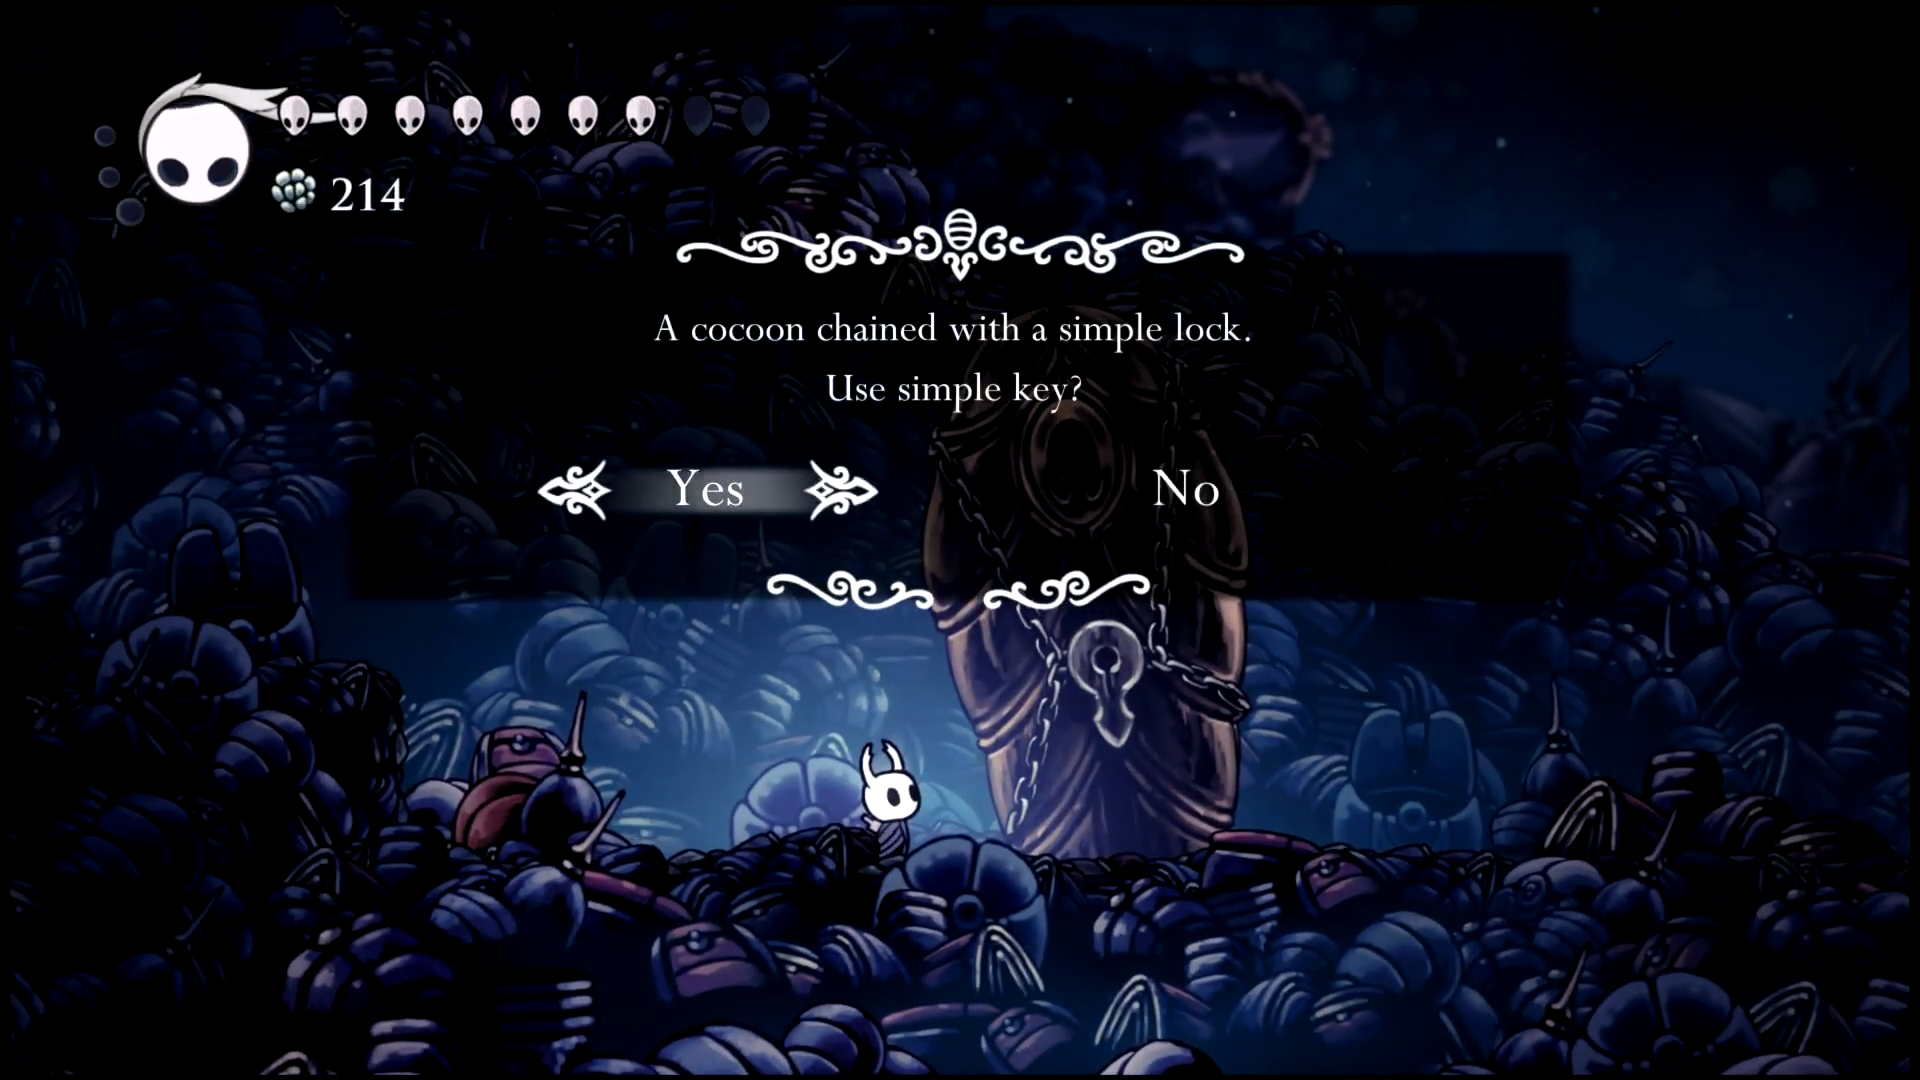
- Navigate a series of creepy tunnels to access a sarcophagus.
- Interact with the sarcophagus using your Simple Key to unlock it.
- Collect the new object and trigger a Dream Nail on the body, taking you to your destination.


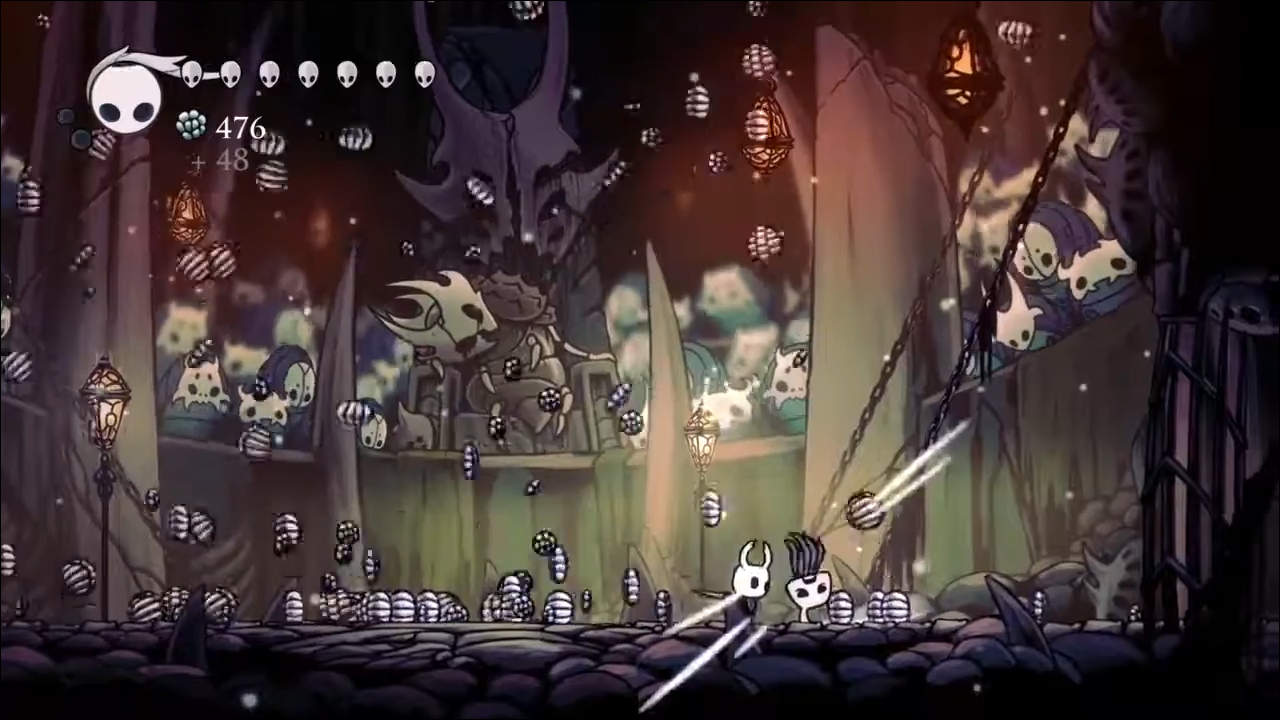
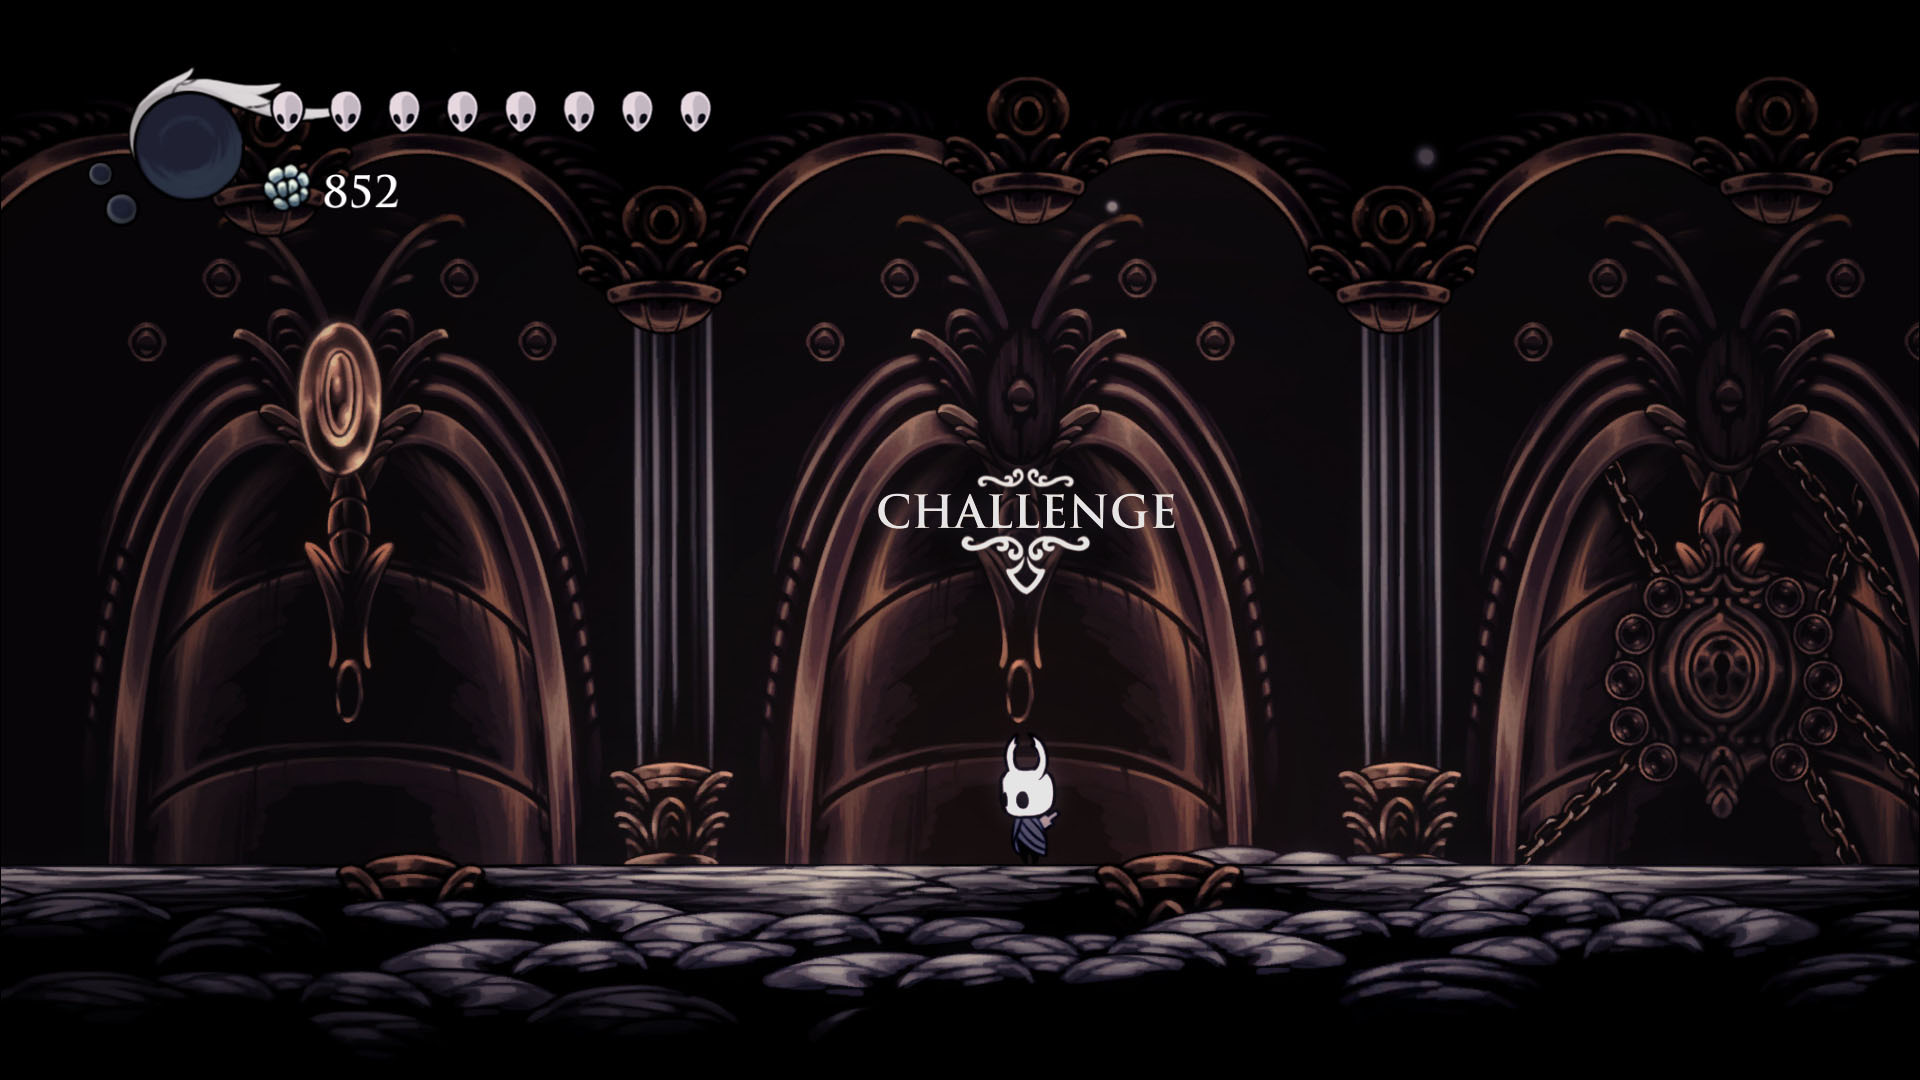
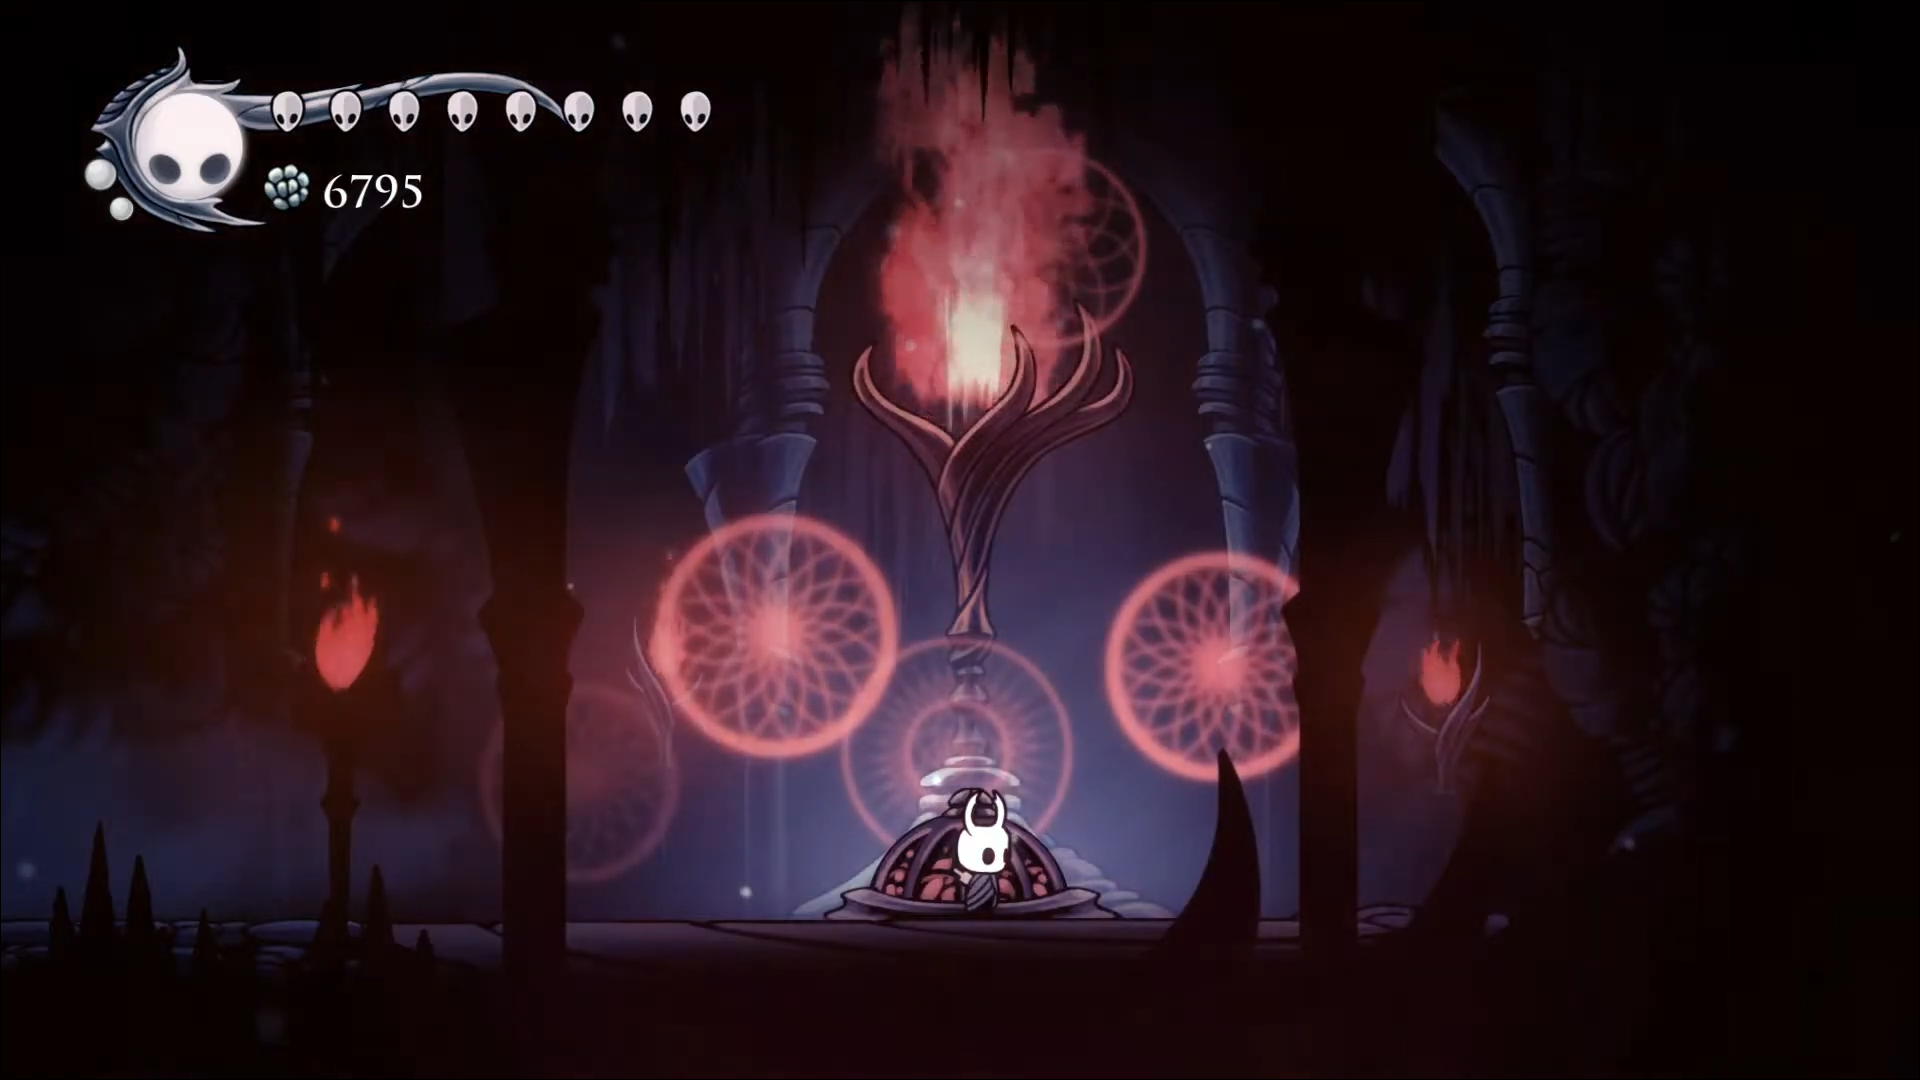
Here, you’ll find numerous new bosses that can make the game harder than ever – Pantheons. They are boss rushes that will have you defeat a specific number of formidable enemies successively. There are five Pantheons to beat in the DLC, and completing each one unlocks a new, tricker Pantheon to face.
Before challenging a Pantheon, you may want to first find a bench that serves as a resting area. It lets you prepare and change charms before engaging a Pantheon. Locating it isn’t too complicated:
- Find the platform with the first three Pantheon doors.
- Use the right or left walls to jump up and reach a higher platform.
- The bench is on this platform.
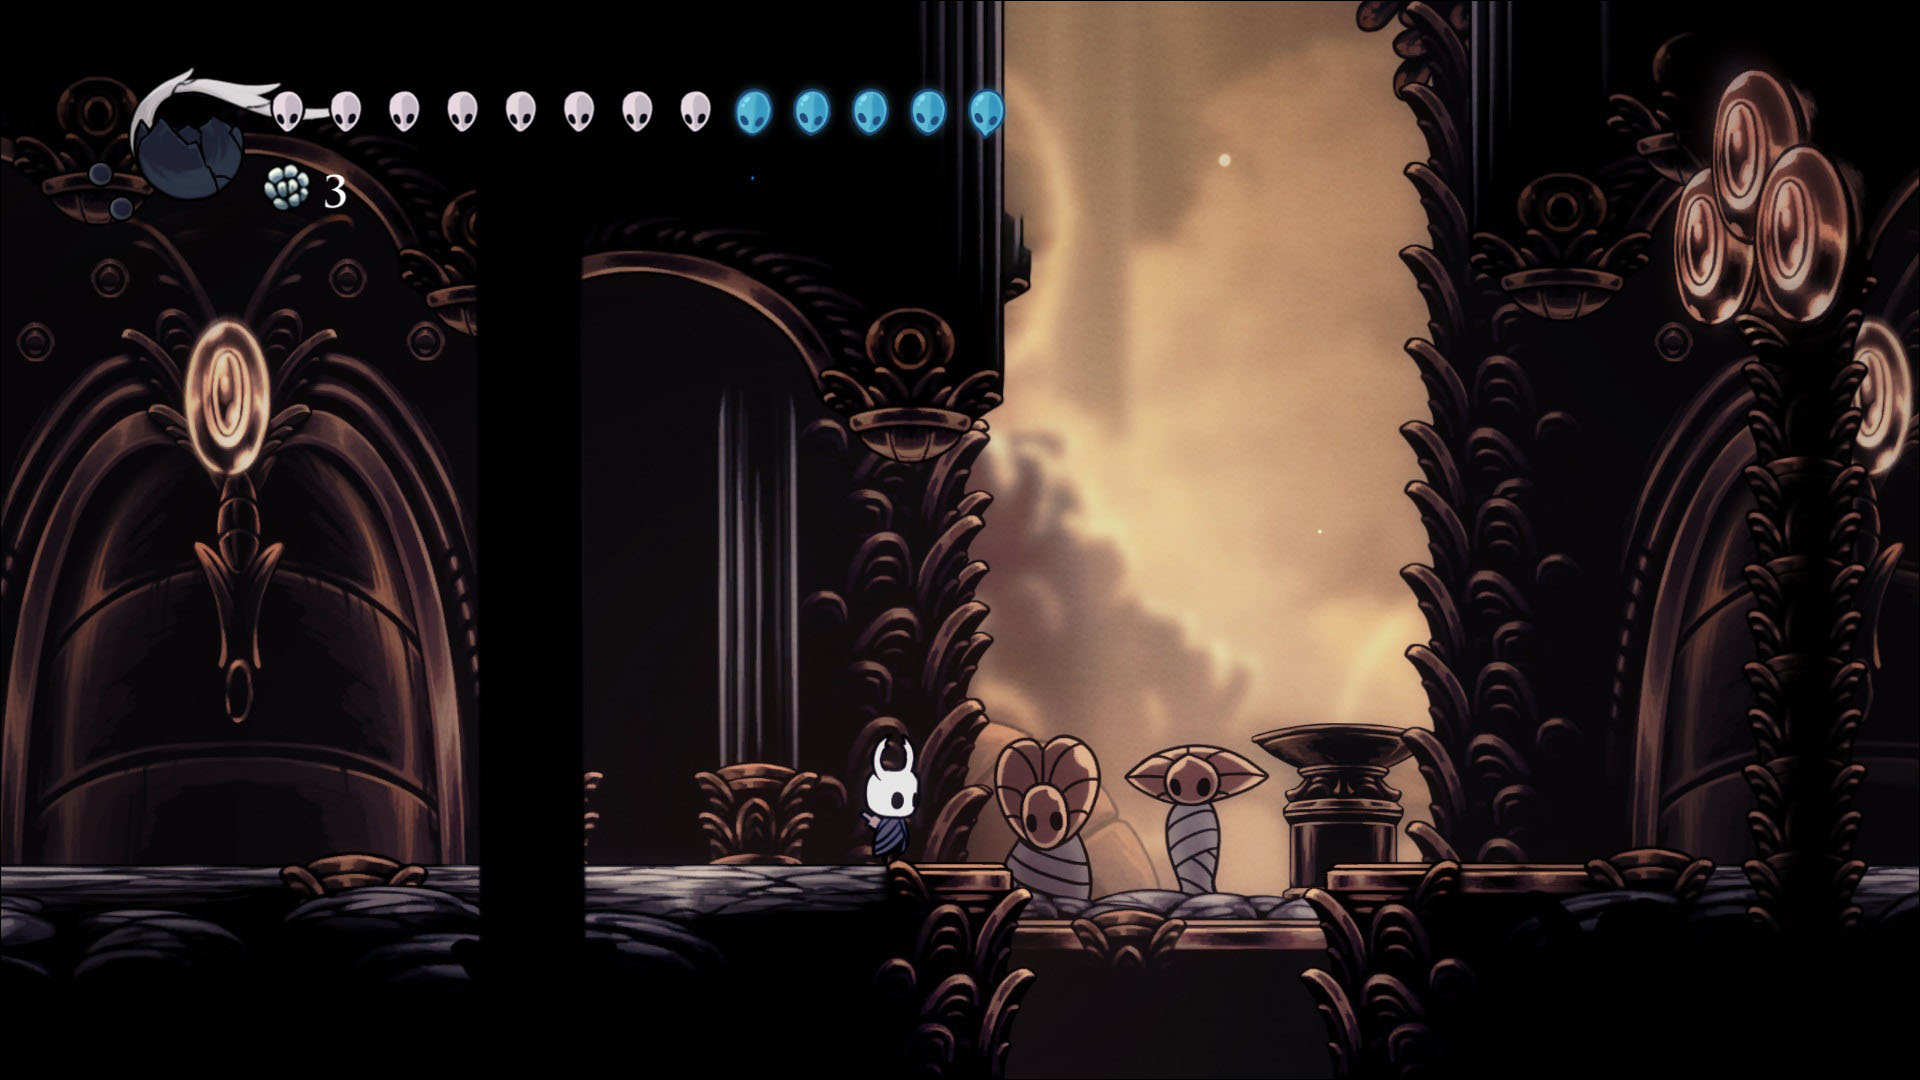

The first Pantheon you’ll face off with is the Pantheon of the Master. You can access it through the first gate available in the middle platform in the Godhome Tower. After finalizing the Pantheon, you’ll unlock the Brotherhood achievement. This phase consists of 10 enemies:
- Gruz Mother
- Vengefly King
- False Knight
- Hornet
- Massive Moss Charger
- Gorb
- Soul Warrior
- Brooding Mawlek
- Dung Defender
- Brothers Mato and Oro
If the Pantheons are too easy for you, you can bind yourself to make them harder. The list of available bindings is as follows:
- Soul – Limits your Soul capacity to just one use, regardless of your original capacity.
- Charms – Deactivates all equipped charms.
- Shell – Lowers your HP to a maximum of four white.
- Nail – Removes any Nail upgrades you might have acquired. Essentially, this function transforms your Nail into the condition at the start of the game.
Completing Pantheons with bindings is beneficial for several reasons. Firstly, they’re an excellent source of challenging battles. Secondly and more importantly, the fights grant you access to the room near the Hall of Gods. Accessing it shouldn’t be too complicated:
- Complete eight bindings and 12 out of 16.
- After assembling your collection, find the blue dream catcher.
- Use a Dream Nail to hit the item, and it’ll unlock a bulb in the resting areas during your Pantheons.
Another reason you want to use your bindings is to access the region named the Land of Storms. The territory can be reached by completing the five Pantheons using every binding. Once you’ve accomplished this, you’ll see a crack on the left side of the hot springs under the fifth Pantheon. Interact with it to find the Land of Storms.
One fascinating item you’ll find here is the Weathered Mask. It’s a Hollow Knight journal entry with a crest that belonged to the Land of Storms Godseekers.
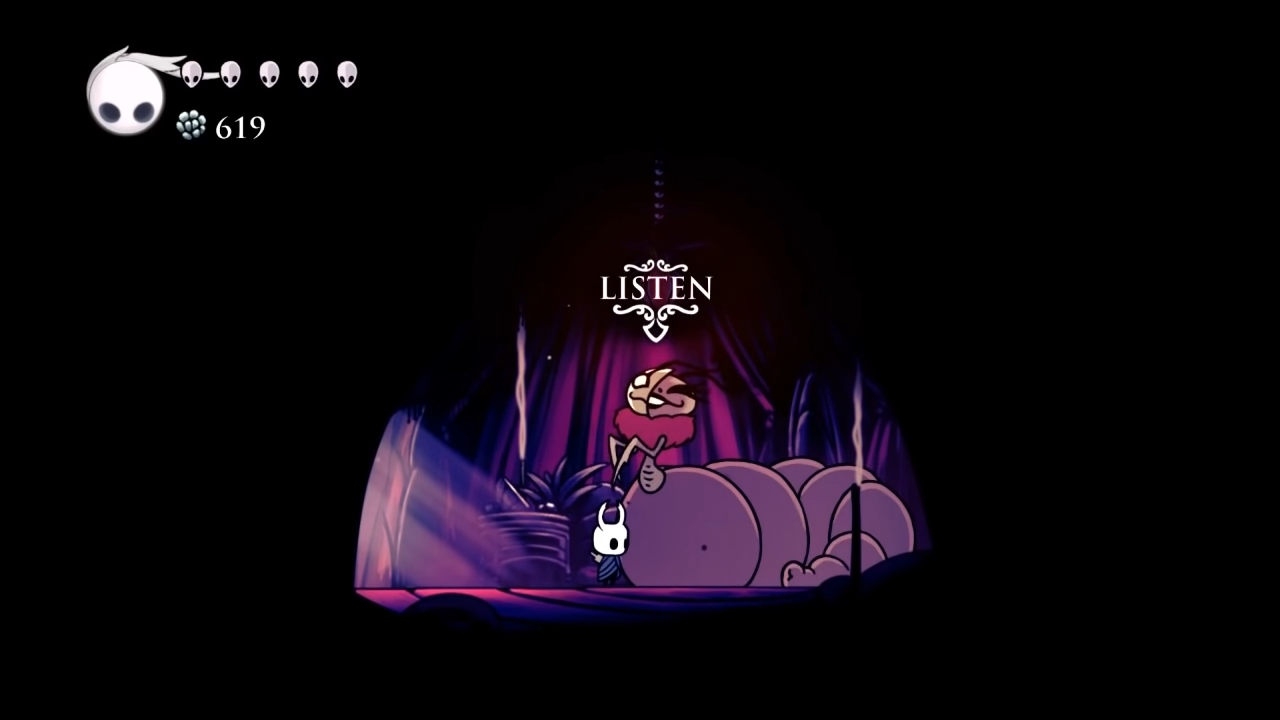
How to Start the Grimm DLC in Hollow Knight
Like the previous DLCs, activating the Grimm DLC isn’t straightforward. The path isn’t known from the get-go. Instead, you’ll have to find a hidden site before beginning the quest. To do so, you should take the following steps:
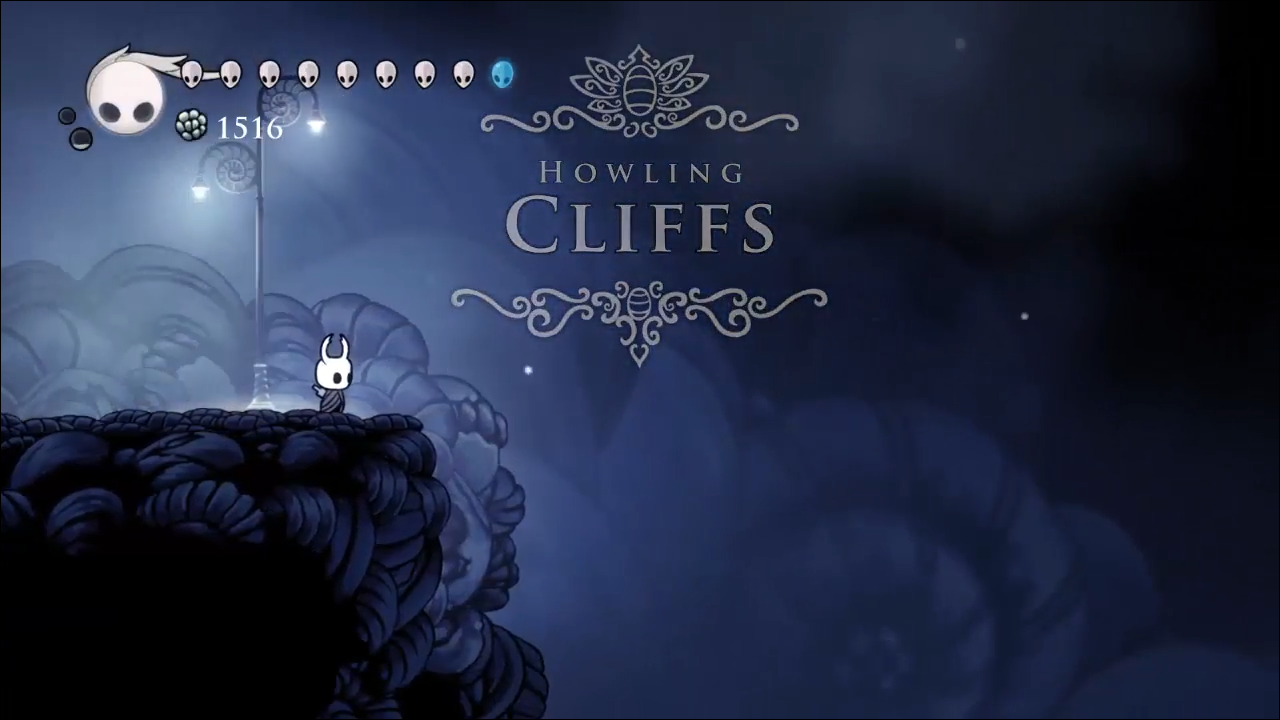
- Make your way to the Howling Cliffs.
- Find the breakable wall near the Cliffs. Smash the wall to reveal a hidden passage that heads off to your right. Follow the road to reach an insect corpse and a dead end.
- Inspect the corpse and return to the room you accessed before encountering the dead end.
- Find a bonfire and light it. Upon striking it, the background torches should light up, and music should start playing.
- Return to Dirtmouth and scan the territory. You should see a new tent.
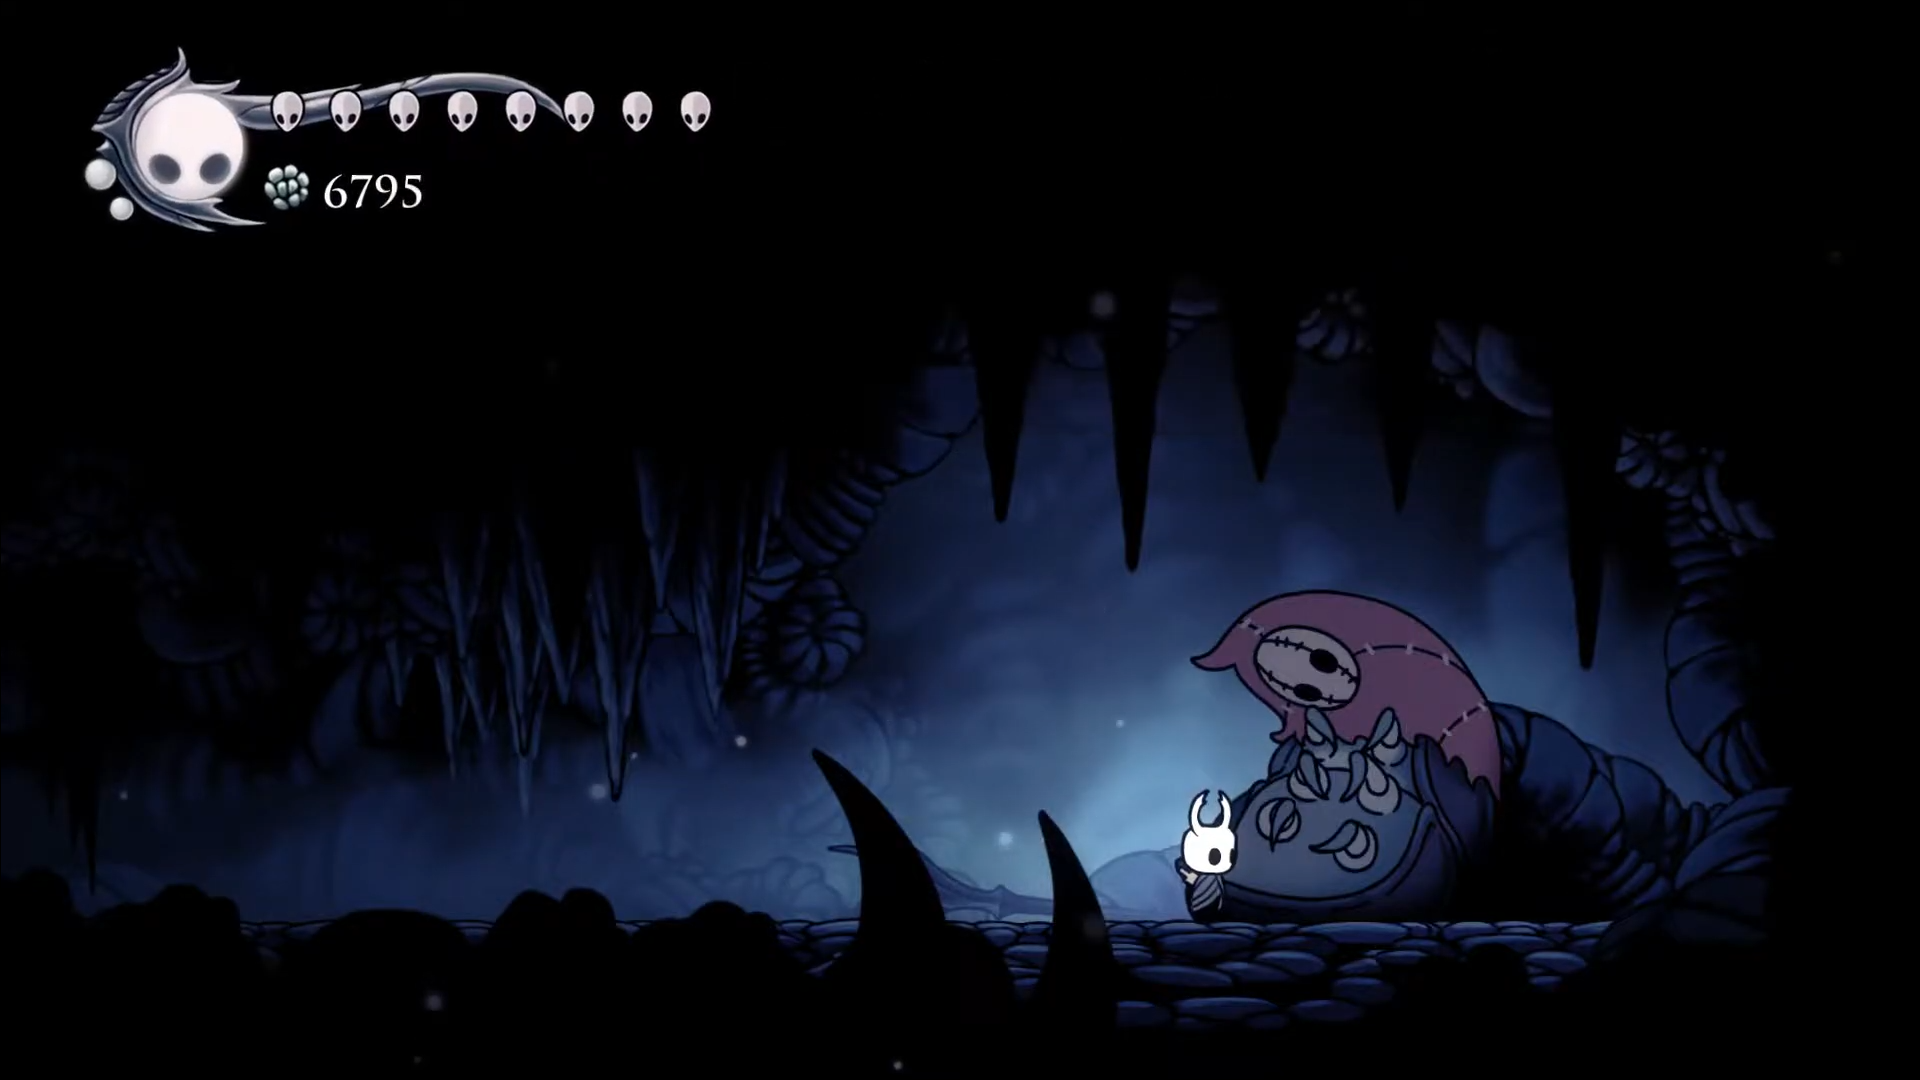
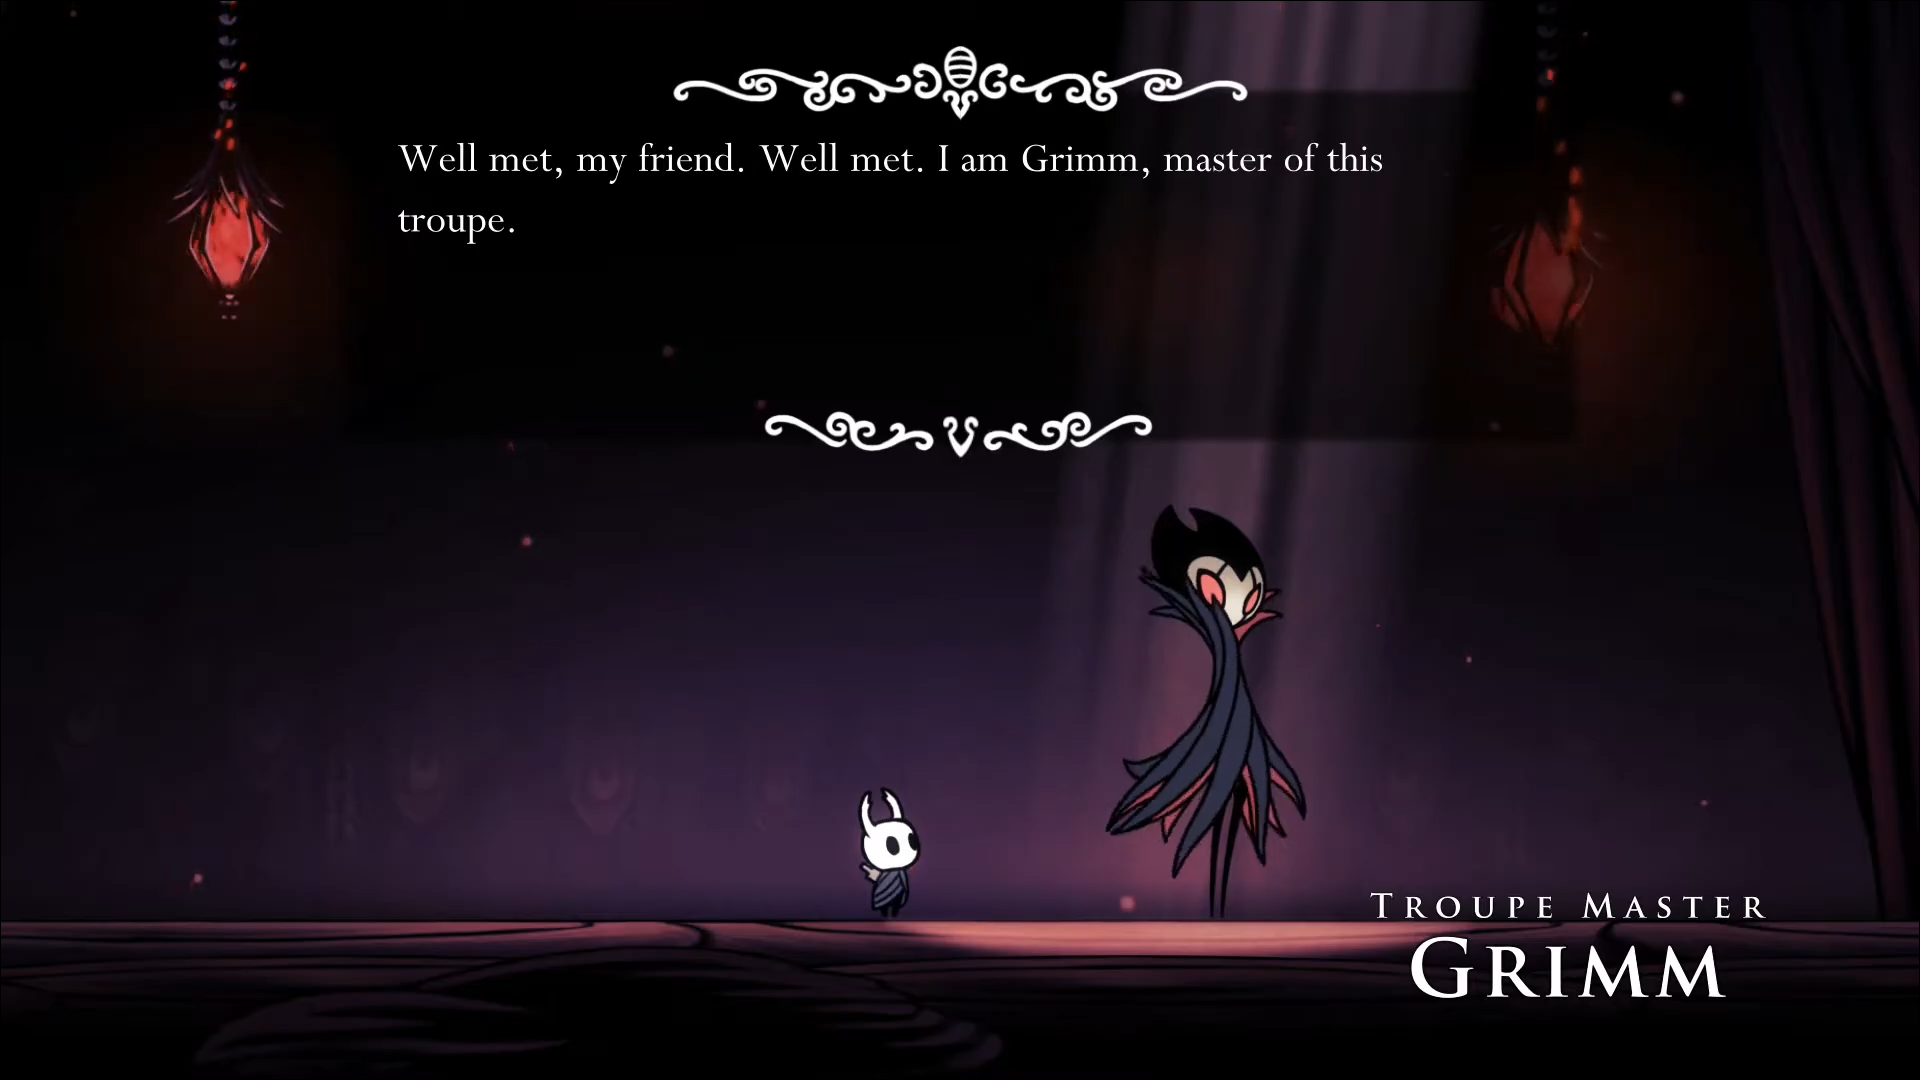
- Enter the tiny tent in the left part of the screen and speak to Divine. He will ask you why you’ve summoned the Grimm Troupe.
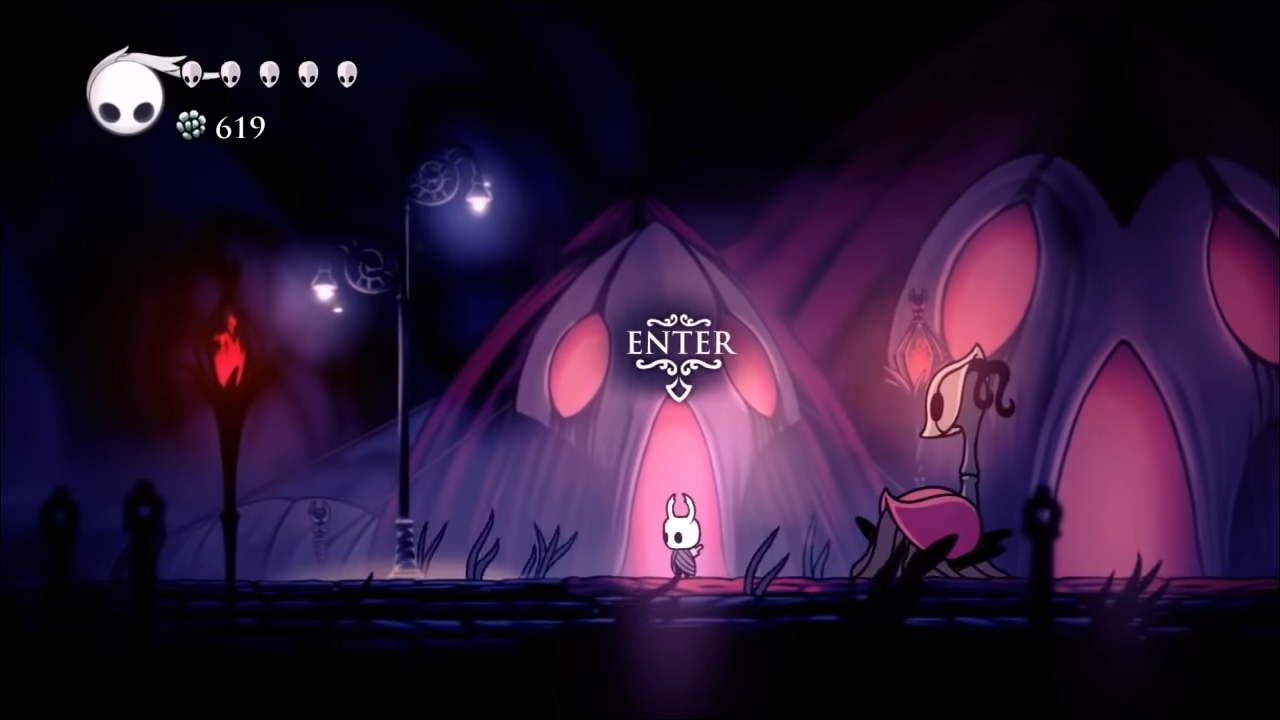
- Exit the tiny tent and access the large one. Talk to the Troupe Master, and he will ask you to depart and collect the flames scattered across the map. To facilitate your quest, the Master will reward you with a Grimmchild Charm. The charm reveals the flames’ location on the map, allowing you to complete the hunt more efficiently.
- You can now prepare for the quest and complete the Grimm DLC.

Apart from summoning and speaking to Troupe Master Grimm, you’ll be able to perform many other thrilling quests during this DLC:
- Defeat the three Grimmkin Novices using the Grimmchild charm.
- Vanquish the three Grimmkin Masters using the Grimmchild charm.
- Eliminate the Grimmkin Nightmares using the Grimmchild charm.
- Banish Grimm’s Troupe from Dirtmouth and help Brumm.
- Help troupe Master Grimm and complete a ritual.
Action-Packed Quests Are Closer Than Ever
Although activating a Hollow Knight DLC can take quite a lot of time and resources, they’re well worth the trouble. Hidden Dreams will give you a run for your money due to Grey Prince Zote’s fighting prowess, but you’ll also obtain the coveted Dreamgate. Godmaster might be the most challenging DLC, with a series of Pantheons that will have you on the edge of your seat. Finally, the Grimm missions will have you explore enchanting regions and find unique items.
What is your favorite Hollow Knight DLC? How long did it take you to activate all three DLCs? Would you play another one if the developers added it? Tell us in the comments section below.
Disclaimer: Some pages on this site may include an affiliate link. This does not effect our editorial in any way.