Do you prefer larger displays and wish that you could get your MacBook screen out of the way while still being able to use it? Clamshell or closed-display mode offers the perfect solution. Activating clamshell mode allows you to continue using your MacBook via an external display while its lid stays shut.
This article will provide you with information about all you need to know to be able to use a monitor when your MacBook is closed.
What You Need to Activate Clamshell Mode
Here’s what you need to enable Clamshell mode on your MacBook:
- An external mouse and keyboard
- External monitor
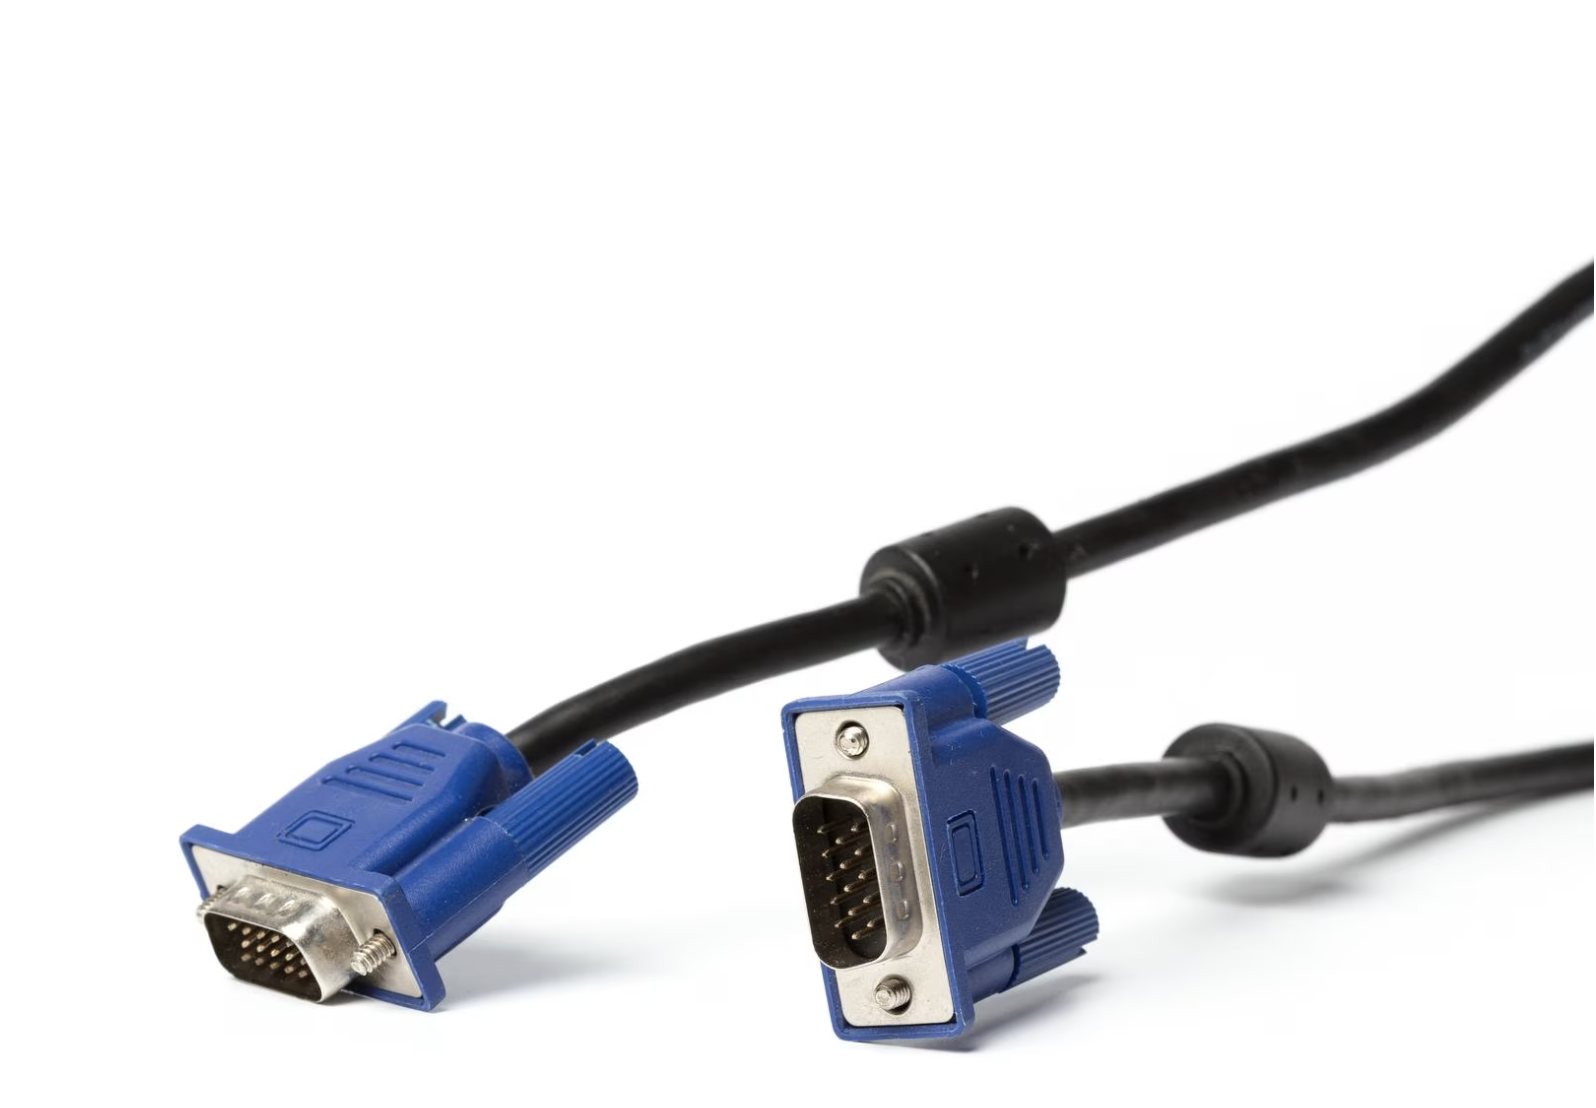
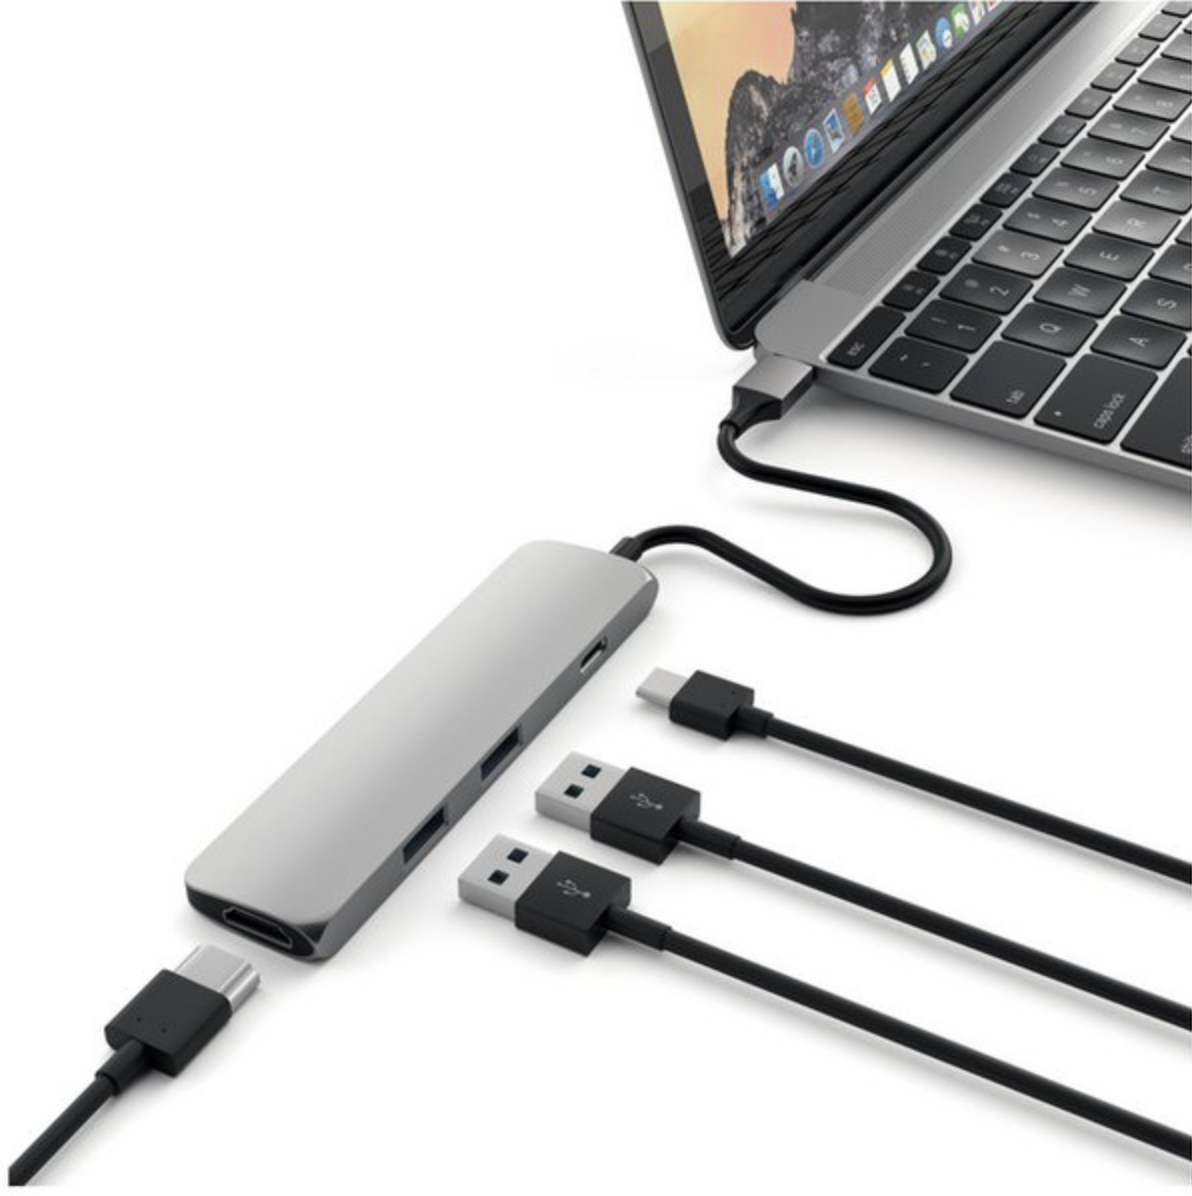
- If your MacBook only has USB-C ports, you will need an HDMI/VGA to USB-C adapter
- Your Mac needs to be plugged in
Additionally, a MacBook stand is ideal when using clamshell mode because it helps to enhance airflow and prevent overheating. This is because some MacBooks use the keyboard to distribute heat and this isn’t possible when the display is closed.
A Bluetooth mouse and keyboard are a better option for this setup though you can still use USB-connected accessories.
Activating Clamshell Mode on MacBook
Clamshell mode is enabled by default on newer MacBooks (M1 Pro or M1 Max chips). Otherwise, you’ll need to create one by working with your power settings.
With the correct settings and accessories, closing the lid on a plugged-in MacBook makes it go into Clamshell mode instead of to sleep.
Here’s how you can set up your Mac so it goes into Clamshell mode seamlessly:
- Connect your monitor to a power source.

- Connect your MacBook to the AC adapter.

- Use the VGA adapter to connect your MacBook to the external monitor then turn on your monitor.
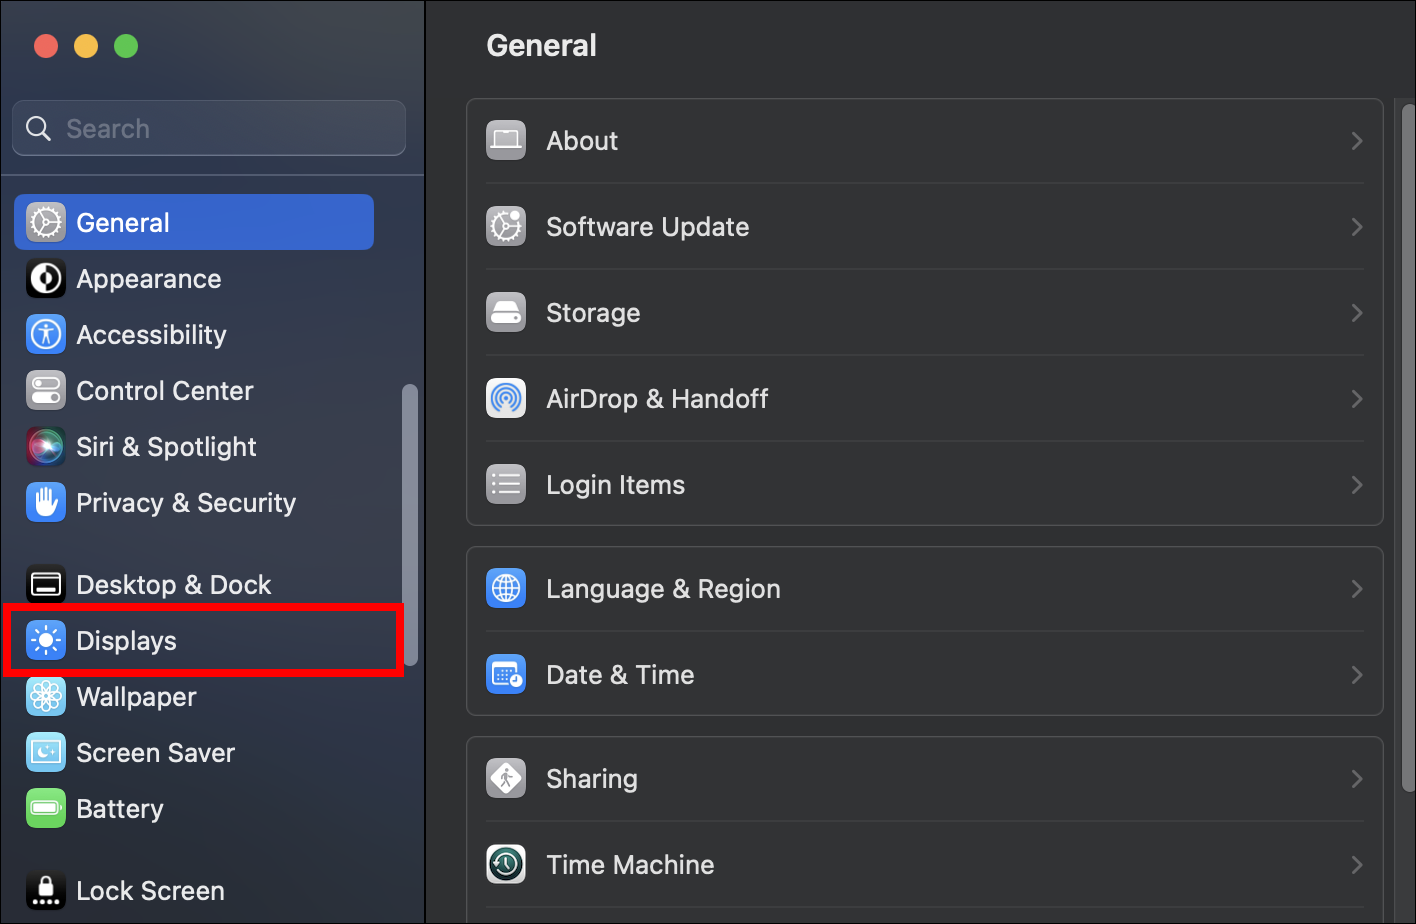
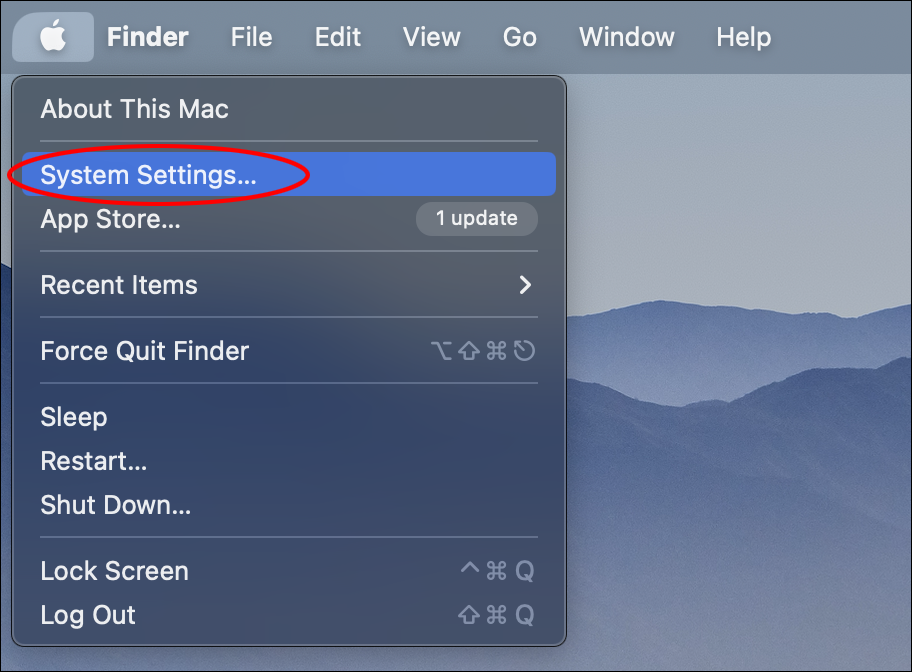
- Open “System Settings” on your monitor and select “Displays” to set up your monitor display settings. Enable Screen Mirroring.
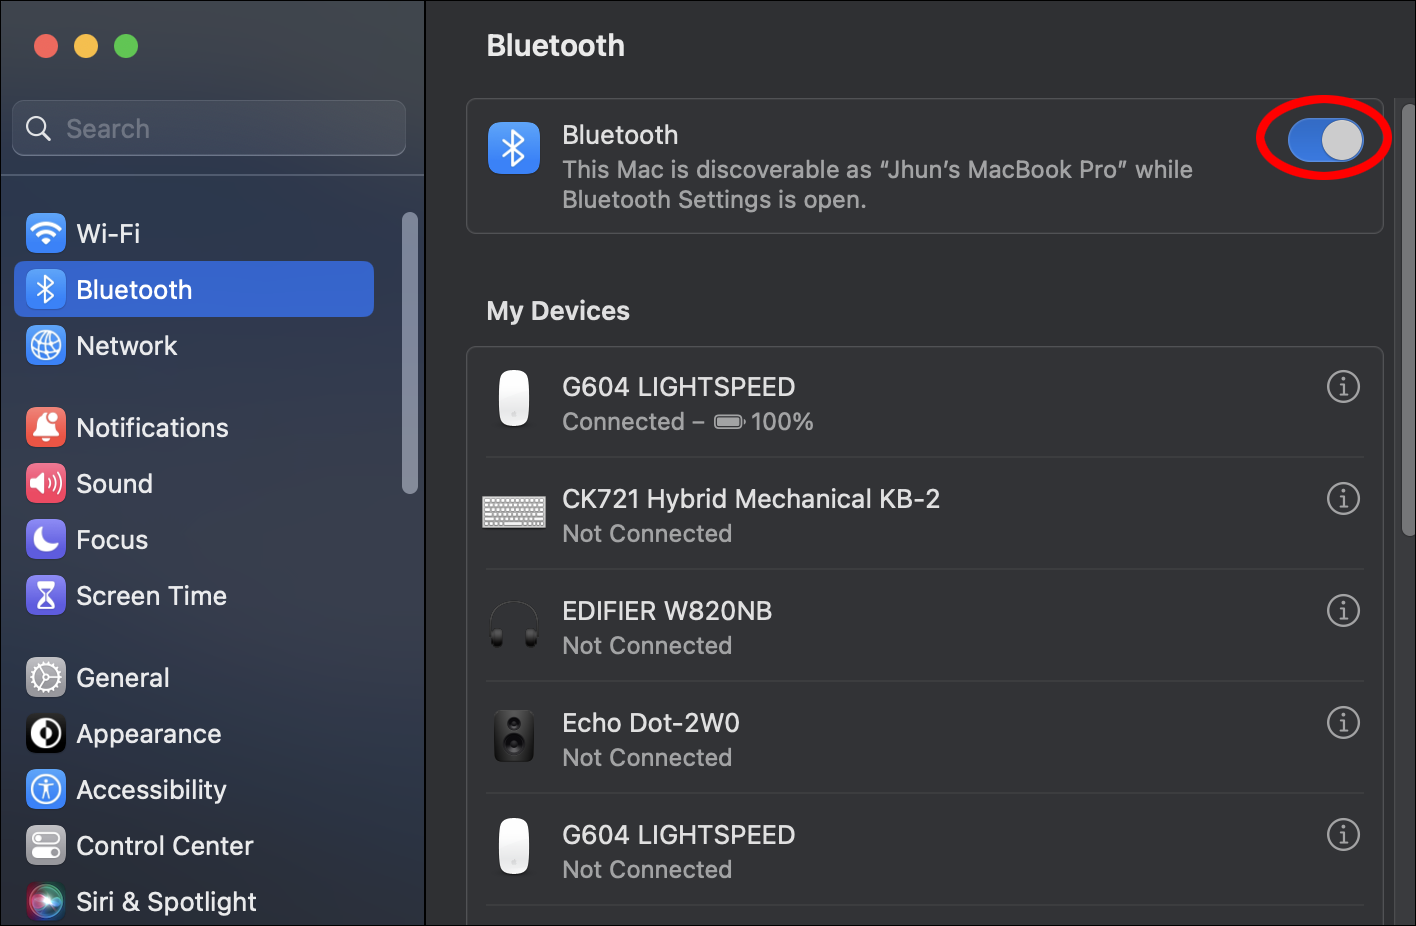
- If you’re using Bluetooth mouse and keyboard, enable Bluetooth on your MacBook and all other Bluetooth accessories. If you use cabled accessories, skip to step 7.
- Open the “System Settings” menu and click on the “Bluetooth” tab. Pair your MacBook with all the Bluetooth accessories displayed in this section.
- Connect your mouse and keyboard.
- Shut your MacBook lid once your PC desktop appears on the monitor.


You can wake your MacBook by pressing any key on your keyboard or moving your mouse.
Activating Clamshell Mode on Older MacBook
As mentioned, older MacBooks don’t have the Clamshell mode enabled by default.
After setting up the monitor (see instructions in the section above), you’ll need to go to power settings to stop the laptop from shutting off with the lid closed. Here’s what you’ll need to do:
- Open System Preferences.
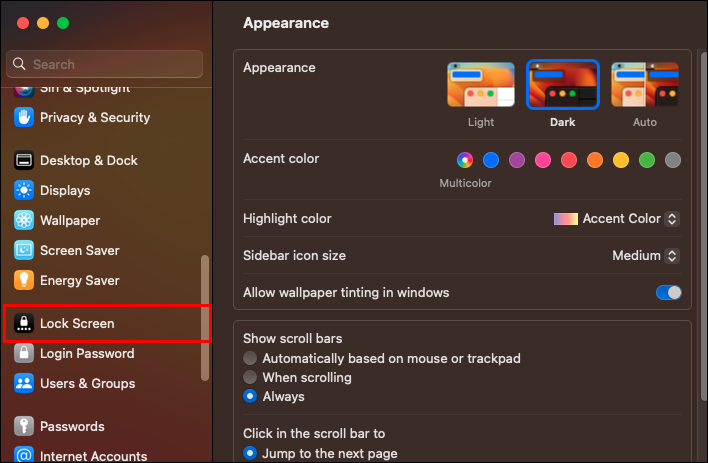
- Go to “Lock screen.”
- Next to “Turn display off when inactive,” select the “Never” option.
- In the “Turn display off on power adapter” dropdown, select “Never.”


This stops the display from shutting down and making the computer go to sleep as long as it’s plugged in. If you have set up screen mirroring correctly and have the accessories online, you should be able to see the screen on the freestanding monitor.
How to Activate Clamshell Mode on MacBook Using System Boot
Since newer MacBooks have native Clamshell support, you can start them up in Clamshell mode by closing the lid after turning it on. Here’s how:
- Plug in your MacBook to the AC adapter.
- Connect your external keyboard and mouse to your MacBook.
- Start up your MacBook and shut the lid immediately after you see the Apple logo on your screen.
- Your MacBook start-up screen will be displayed on your monitor as it continues to boot. Clamshell mode is enabled.
How to Schedule Start Up to Stay in Clamshell Mode
You can turn off the laptop in Clamshell mode by selecting options from the screen. However, you normally have to open the lid to press the power button to start it up again. If you set up your laptop to start automatically at a certain time, you can skip that step. Here’s how:
- Click on the Apple icon in the top left and select “System Preferences.”
- Select “Battery” and choose “Schedule” from the options listed on the left pane.
- Check the box next to “Start up or wake” and set the time you would like your MacBook to start up every day.
- Click “Apply” to complete the setup.

How to Always Keep Your MacOS Ventura Awake to Support Clamshell Mode
The MacOS Ventura features have made this process quite complex if you don’t have a MacBook with an M1 Pro chip. This is because you aren’t able to set up a time for your MacBook to boot through System Settings. The steps below will however help you to stop your MacBook from sleeping:
- Open “System Settings.”
- Select “Lock Screen” displayed on the left pane.
- On the “Turn display off when inactive” option, select “Never.”
- Next, turn the toggle on for the “Turn display off on power adapter when inactive” option.
Third-Party Applications That Will Stop Your MacBook From Going to Sleep in Clamshell Mode
There are great third-party applications that you can use to keep your MacBook awake when in clamshell mode. We recommend the options listed below:
Caffeinated

Caffeinated is a top-rated tool that you can download from the App Store to help keep your MacBook awake. Caffeinated does not override the energy saver settings on your MacBook. Keep your MacBook from sleeping by simply clicking on the coffee icon. Caffeinated only works for MacOS Ventura.
Amphetamine

You can download Amphetamine for free via the App Store. It ensures that your MacBook stays awake depending on the commands you schedule. These commands override the energy saver settings ensuring that your MacBook does not go into sleep mode.
Sleep Control Centre

Sleep Control Centre is a good option for you if you are looking for an Amphetamine look-alike. The app is also able to establish triggers that will help keep your MacBook awake. This app can also be downloaded for free on the App Store but you will need to pay for the pro version to get access premium features in the Sleep Control Centre.
Tips and Tricks to Help You Navigate Clamshell Mode
Listed below are key points that’ll help you properly navigate clamshell mode when using a MacBook:
- The clamshell mode won’t activate if you unplug your MacBook and then plug it in again. You will have to wake the screen by either clicking on your mouse or pressing a key on your keyboard.
- The clamshell mode won’t interrupt your MacBook audio experience when switching to an external monitor.
- If you want to always use your MacBook in clamshell mode, we recommend taking out its battery and keeping it plugged in. This will help enhance battery when you switch back.
FAQs
How do you exit clamshell mode on your MacBook?
You can exit clamshell mode on your MacBook by lifting up your MacBook display. The MacBook screen automatically goes on when you do this.
Are there any limitations you face when using your MacBook in Clamshell mode?
Your MacBook won’t be able to use True Tone to adjust your MacBook screen colors since its lid is the one sensing ambient light. Additionally, the laptop can overheat if it’s running demanding programs due to lacking proper heat dissipation from the keyboard.
Can you connect a MacBook to the monitor without HDMI?
Yes. You can purchase a multiport adapter and an HDMI cable or a dedicated MiniDisplayPort-to-HDMI cable to connect your MacBook to the monitor if you don’t have an HDMI port.
Once You Go Clamshell Mode There Is No Turning Back
Using your MacBook with the lid shut and navigating its display and system via an external monitor is possible. Setting up Clamshell mode on your PC provides a better viewing experience and can be easier on the eyes due to a larger screen. Be aware that your MacBook can overheat in Clamshell mode so ensure you get a stand for your PC to enhance battery life.
Have you ever used your MacBook in Clamshell mode? Let us know in the comments section below.
Disclaimer: Some pages on this site may include an affiliate link. This does not effect our editorial in any way.


