Although the iCloud and Photos app works great when it comes to managing and displaying your photos, finding out where they’re stored on your Mac is a more confusing task. If you want to copy or edit your photos, you’ll need to locate them on your hard drive first.
In this article, we’ll show you how to find all your pictures on your Mac, explain how they’re stored, and how to locate them after downloading from the iCloud.
How to Find Your Pictures
As previously mentioned, you can easily view your photos using the Photos app. However, to see the actual files, you’ll need to venture a bit deeper into the Finder. Follow these steps to locate your picture files:
- Open Finder, then go to Home.

- Find and open the Pictures folder.

- Find Photos Library.photoslibrary, right-click on it, and pick the Show Package Contents option.
- Open the Master’s folder.


Using this method, you’ll be able to see all of your photo files and manipulate them whichever way you want – you can edit, copy, move, or delete the photos. Be aware that any change you make in the picture files will reflect how the photos are shown in the Photos app.
The Alternative Method
Another way to find your photos is to use Spotlight. The advantage of this method is that you can perform a search for images by type. Here’s how to do just that:
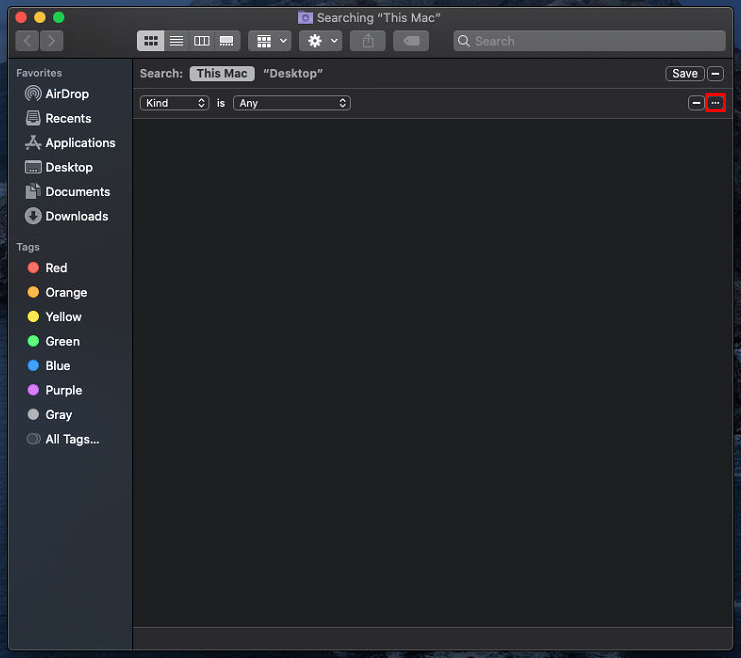
- Launch Finder Spotlight by pressing Command+spacebar
- Click the Plus button in the top right corner.
- Hold Option and you’ll see the Plus button turn into three dots. Click on it to add the criteria for the search.
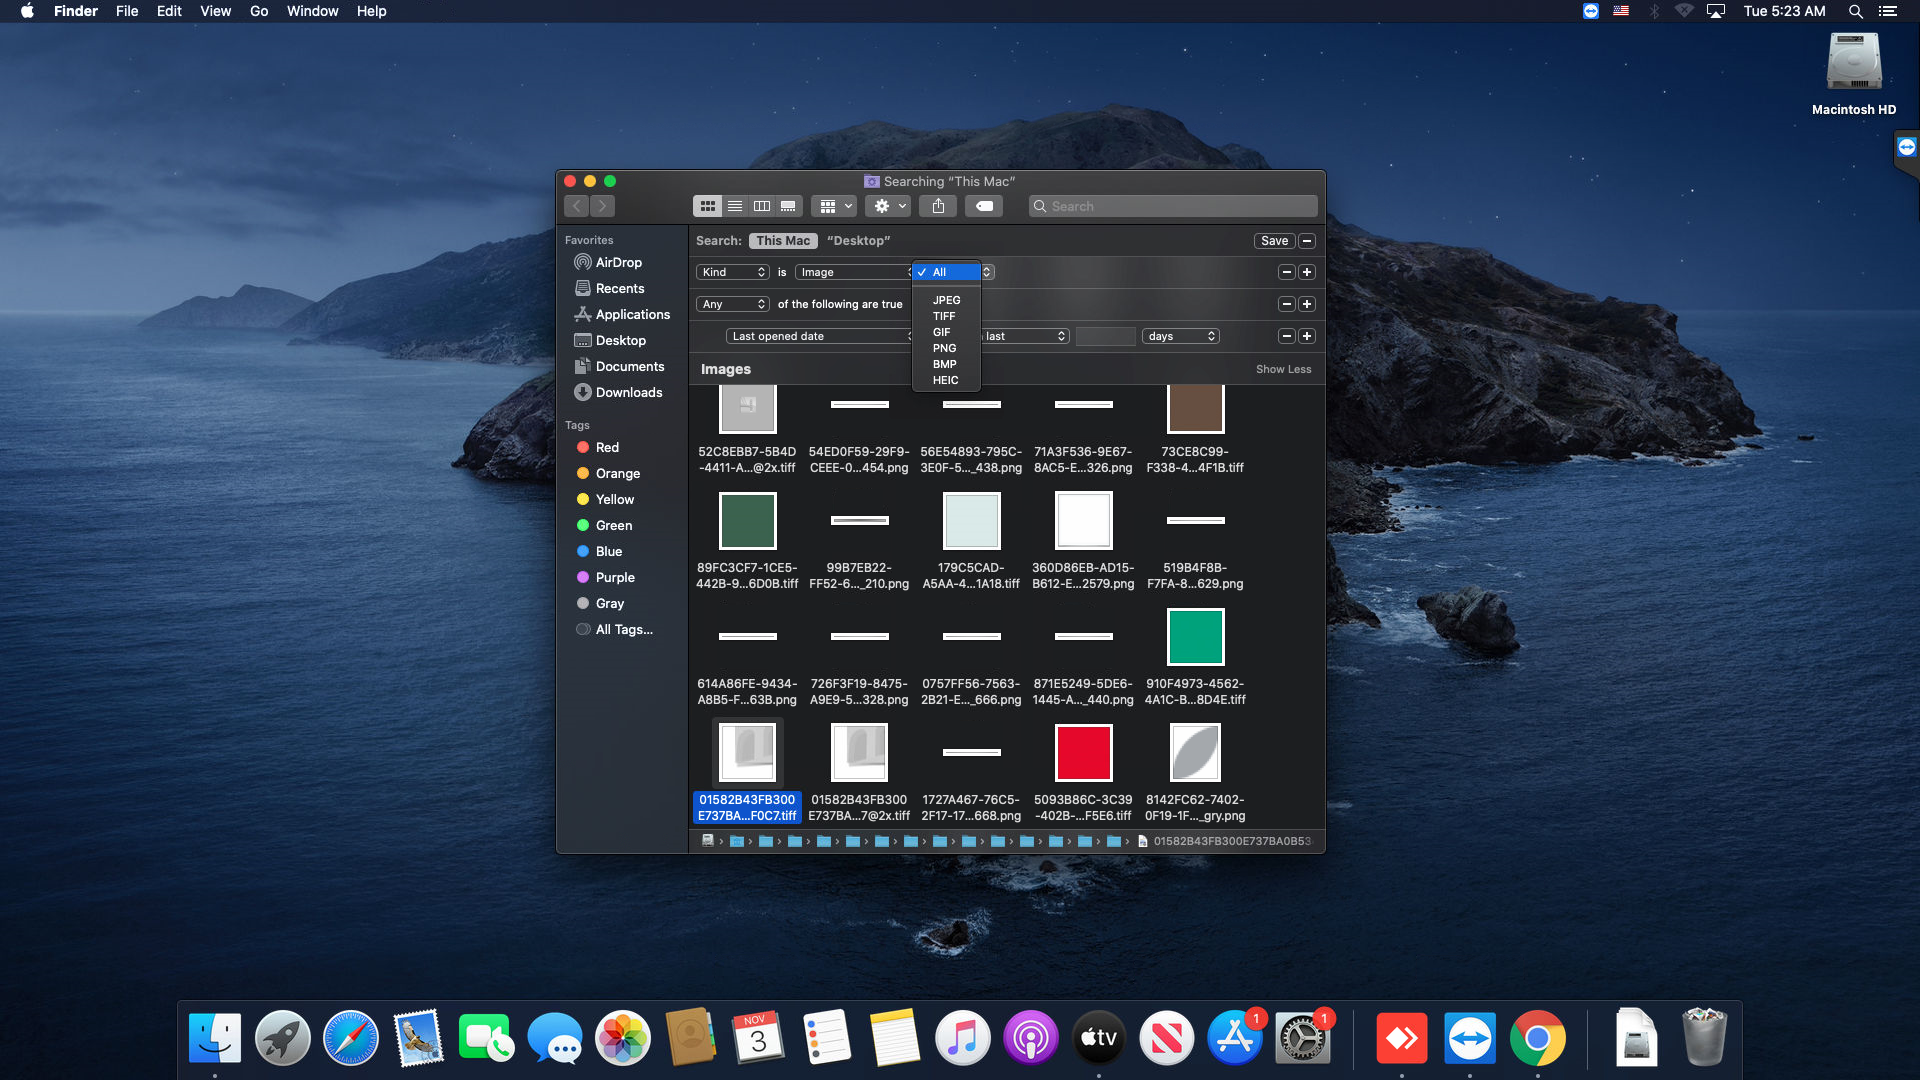
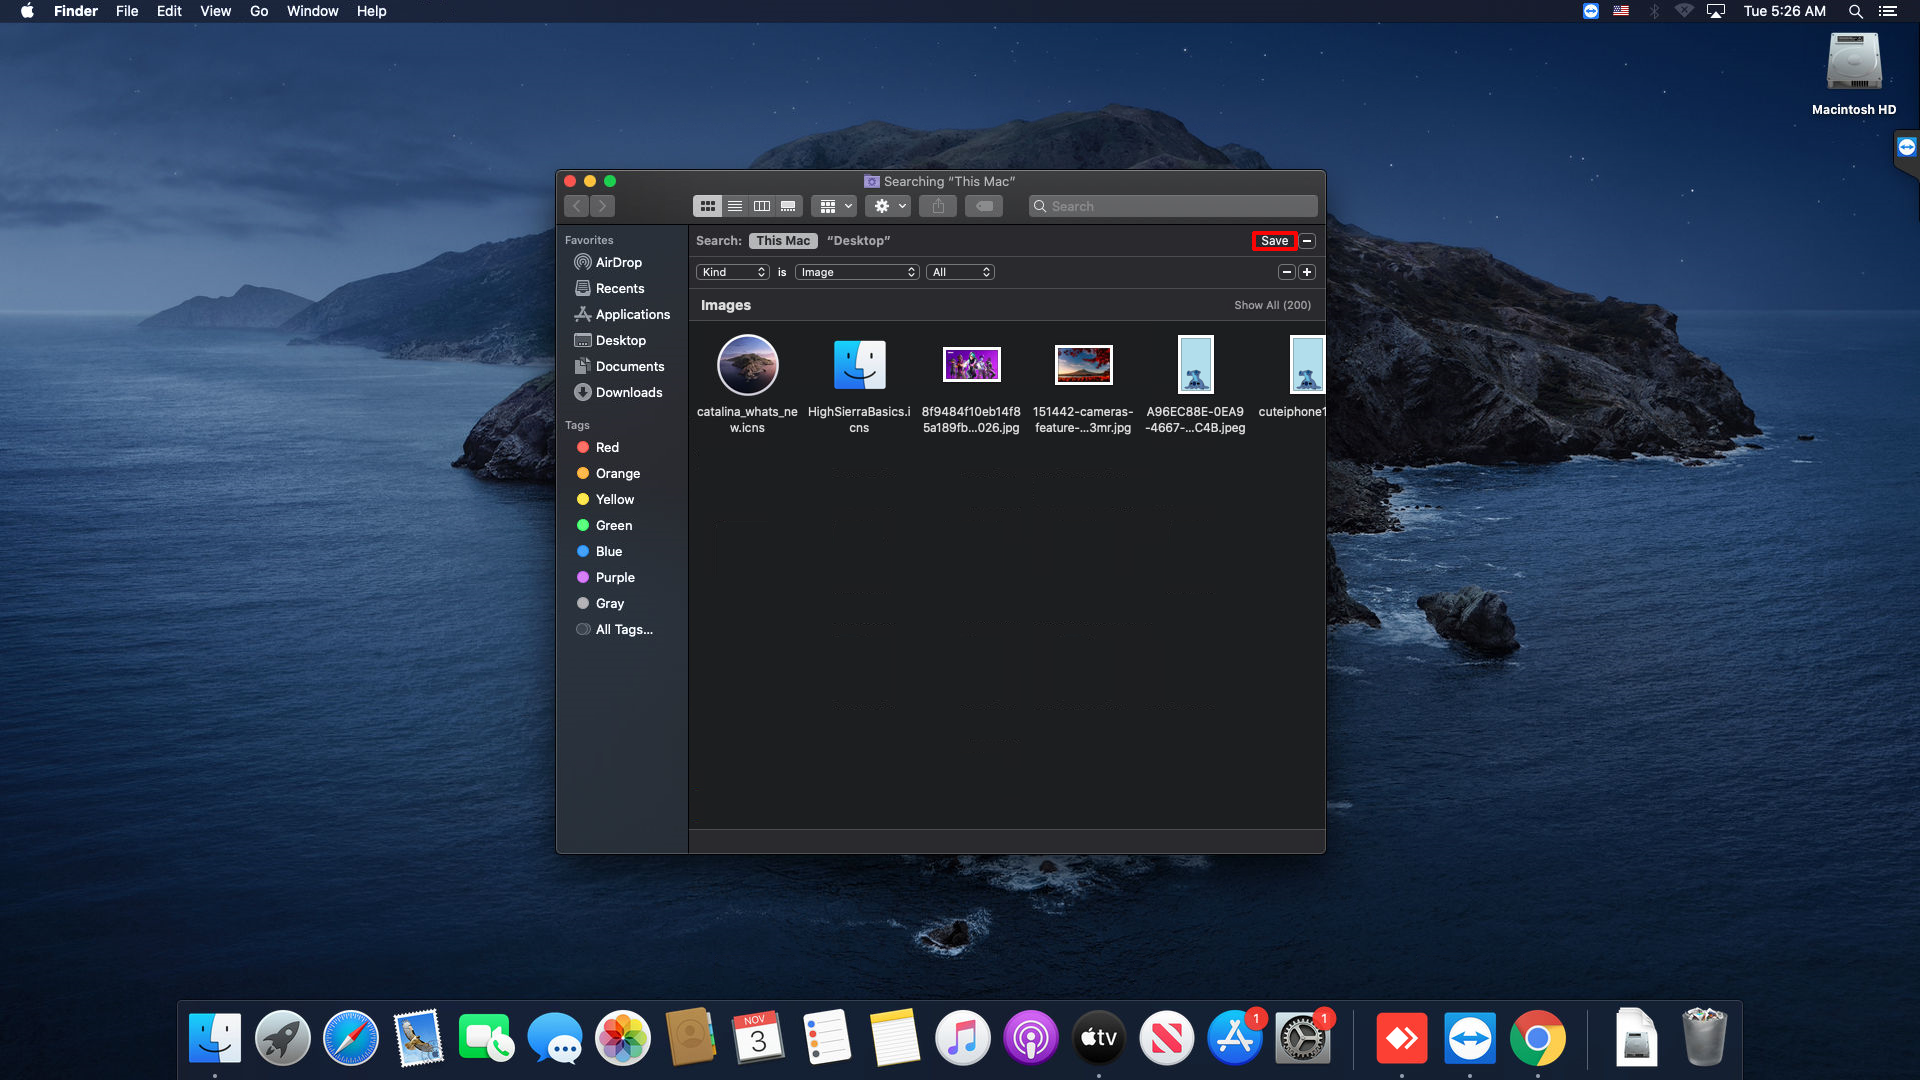
- You’ll see a menu named Any. From it, select Kind, Image, and a picture format like JPEG or PNG.
- At the end of that line, click the Plus button and add another set of criteria. Keep the Kind and Image options, but change the format. Do this for every picture format you can think of or for those stored on your Mac.
- Click Save in the upper right corner to save the criteria for future searches. Remember to name it so that you’ll always know what it’s for – pick a name like Pictures Search or something similar. After you choose Save, the criteria will disappear from your screen, and you’ll only see the Smart Folder you just created. However, you can reopen the criteria window by clicking the gear icon and choosing Show Search Criteria.
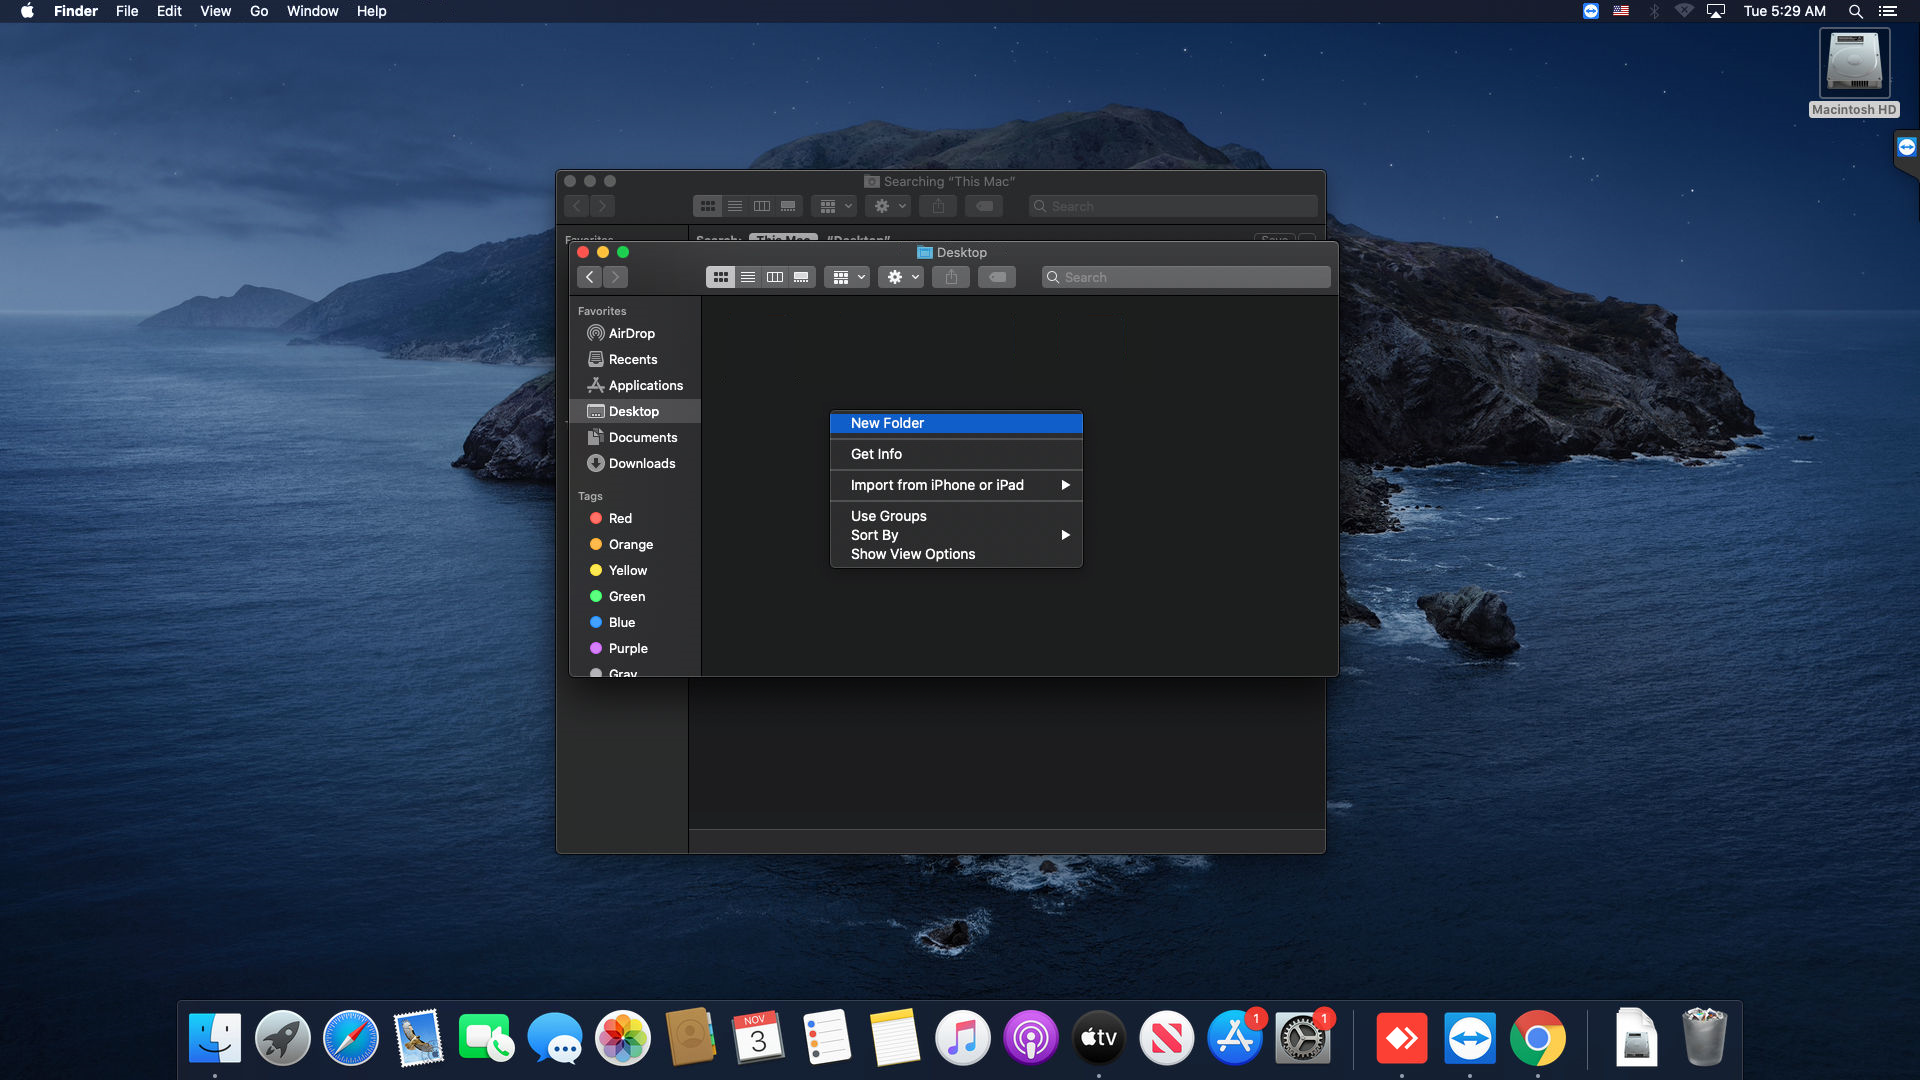
- If you want to move all your photos, or only those of a particular type, to a single folder, first set it up by creating and naming the new folder. Then, open it in a new window.
- Navigate to your search results and select all picture files by pressing Command+A or clicking on Select All from the File menu.
- Drag the photo files from the search results to the new folder. Note that if there’s a large number of files, the process might take a while, and if the search returns a huge number of photos, your system might even become unresponsive. That’s why, if there are too many images in the search results, it might be better to copy them to the new folder in several batches.


If you want to avoid copying images that are only graphics associated with other files, such as help files, you can exclude them from the search by size. To do so, go back to the Smart Folder, open the search criteria, and select File Size, Is Greater Than. Enter the minimum size in kilobytes, and the search won’t return results smaller than what you choose. The safest estimation on the minimum size would be from 3KB-100KB – images of that size are most probably not your photos. For this process, it would be helpful to know the average size of photo files. Usually, photos won’t be smaller than 0.5 MB, and even that’s mostly from cameras with three or fewer megapixels.
A further alternative to this method is to use third-party apps specialized for searching and organizing files and photos on Mac. This software might help you copy, move, view, and organize your pictures outside of the Photos app to make sure all of them are in one place.
Find Out How Many Photos You Have
If you’d like to find out the exact number of photos you have, the answer to that question is found in the Photos app. All you need to do is open the app, wait if it needs to load or index any new photos, and open the Photos view. Then, scroll to the bottom to see the list of all items contained in the Library. You’ll see the exact number of photos, videos, and other files.
You can also use the Photos app to migrate files to a visible location on your hard drive. To do that, simply select the desired photo and export it to your desktop. You can also use the drag-and-drop function to export photos, and the files can even be dropped directly to a photo editor.
What Are the Usual Photo Folders?
All of your photos will be stored in Photos Library.photoslibrary. Note that, to view the files, you’ll always have to open it through the right-click – double-clicking on it will simply open the Photos app. Remember that subfolders in this location could be named differently based on your Mac OS version, but whatever they’re called, all your pictures should be in there.
There is a way to find the folder of origin for every single photo, but this will be more easily done if you’ve been managing your photos manually. If you’ve imported copies of your pictures into the Photos app, the somewhat complicated process we’ve described above will apply. To avoid confusion, take notice that both methods involve the Photos app – the only difference is whether the images have been copied into it.
Showing the Photos in Finder
Once you find the picture you need in the Photos app, you can right-click it and choose Show Referenced File in Finder. The same can be done by picking this option from the File menu. On older Mac OS versions, this option was called Reveal in Finder, but the name’s meaning is pretty obvious either way. Once you click the option, you’ll be taken to the Finder window, where the image will be selected. From there, you can easily copy or move the image to another folder or edit it with image editing software.
How to Locate and Restore Lost Photos
Maybe you weren’t able to locate a specific photo, or it might be that the whole folder containing an album has gone missing? If by any chance you can’t find the desired photos even after trying every method, there’s a possibility you’ve accidentally deleted them.
However, that’s not the end of the story. Deleted files and folders, including photos, can be recovered. To do that, you’ll need third-party data recovery software. This kind of software scans the whole hard-drive and can find even the deleted files, as long as the data isn’t overwritten by something else. If you’ve lost some photos or even a whole folder of pictures, it’s most likely they can still be recovered if you haven’t made any changes since the deletion.
To recover lost files through a data recovery app, you’ll need to choose and download one. Most apps of this type function the same way, but user reviews might help when making a choice. Once you start the app, you’ll have to choose which partition to scan. Then, on most apps, there’ll be several scanning options, such as a Quick or Deep scan. If there are no relevant results after a lighter scan, it would be best to try some more thorough options.
The data recovery software will probably also let you choose the file type to scan for – if there’s such an option, select Pictures or Photos. Once the scan is done, you’ll be able to see the results and possibly even preview the files. If you find the lost photos among the results, simply pick the option to restore them, choose the folder where you want to save the images, and that’s it. Your lost photos will be restored and ready for use.
Getting the Picture
The way Mac systems deal with images can be somewhat confusing at times, especially if you’re used to depending on the iCloud and Photos app for image organization. In fact, for avid users, these tools can be very convenient and might organize photos with much more efficiency than is the case with manual management. However, even those users would like to handle the photo files on their own once in a while, and that’s when complications arise.
Now that you’ve learned how to find all pictures on your Mac, as well as where they’re stored, we’re pretty confident all your photos will be more readily available. If you follow our advice and remember all of the methods for discovering and copying your photos, you can organize your library exactly how you like it.
Did you have trouble finding your pictures on Mac? How did you discover their locations? Tell us in the comments section below.
Disclaimer: Some pages on this site may include an affiliate link. This does not effect our editorial in any way.