Flyers are arguably one of the easiest ways to advertise or inform other people of deals or events. Making them is a relatively simple process, but only if you’re familiar with what to do and have the right program. Google Docs, for example, has plenty of options for those who want to create an eye-catching flyer.
In this article, we’re going to give you the steps you need to make a flyer in Google Docs to get your event or your news noticed.
How to Make a Flyer in Google Docs
Google Docs is a handy way to make documents as it’s both free and not operating-system dependent. All you need is an internet connection to start making the flyers you need. To do this, follow the steps as detailed below:
Creating a Flyer in Google Docs from a Template
To make it easier for new users, Google Docs provides a selection of templates that you can use as a pattern for your document. Just follow these steps:
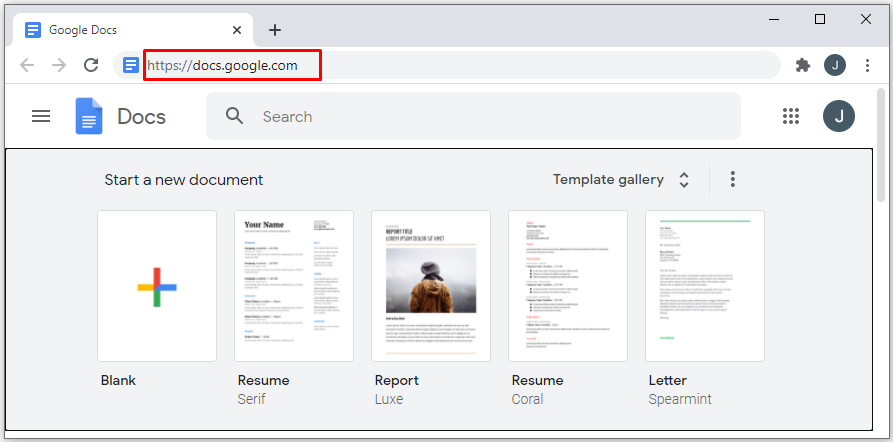
- Open Google Docs. Do note that you’ll need a Google Account to both create and save your document. If you don’t have an account, you can create one for free on Google’s Account Creation page.
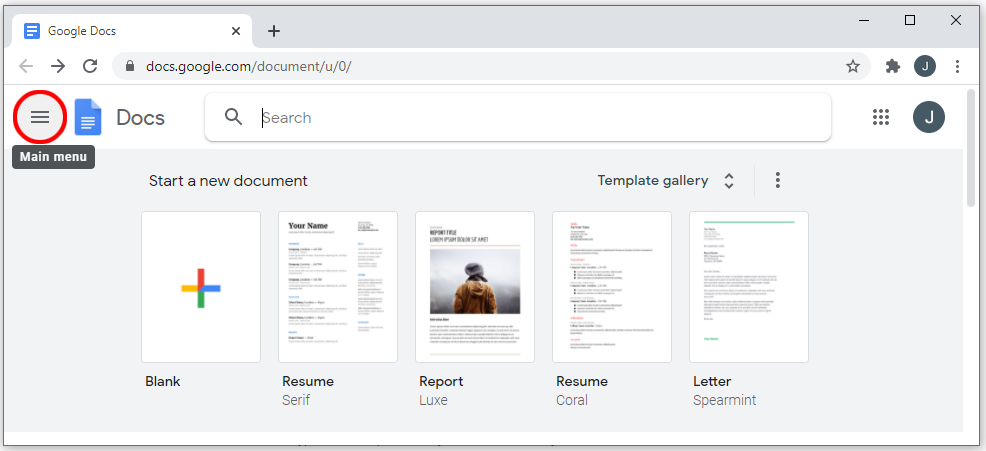
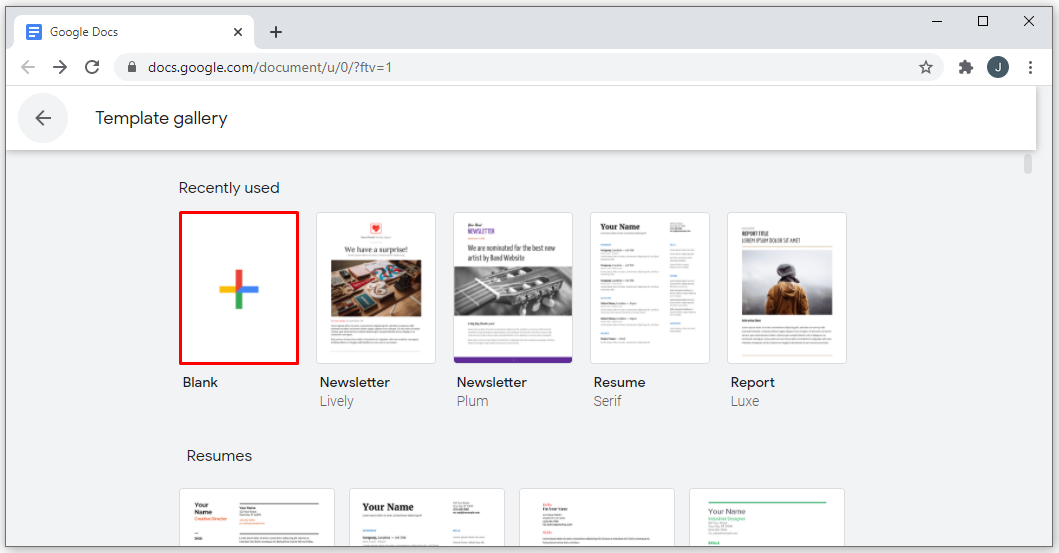
- Click on the Template gallery button on the upper right side of the Start a new document tab.

- If you can’t see the button, click on the Menu button on the upper left corner of the window. It’s the three-lines icon.
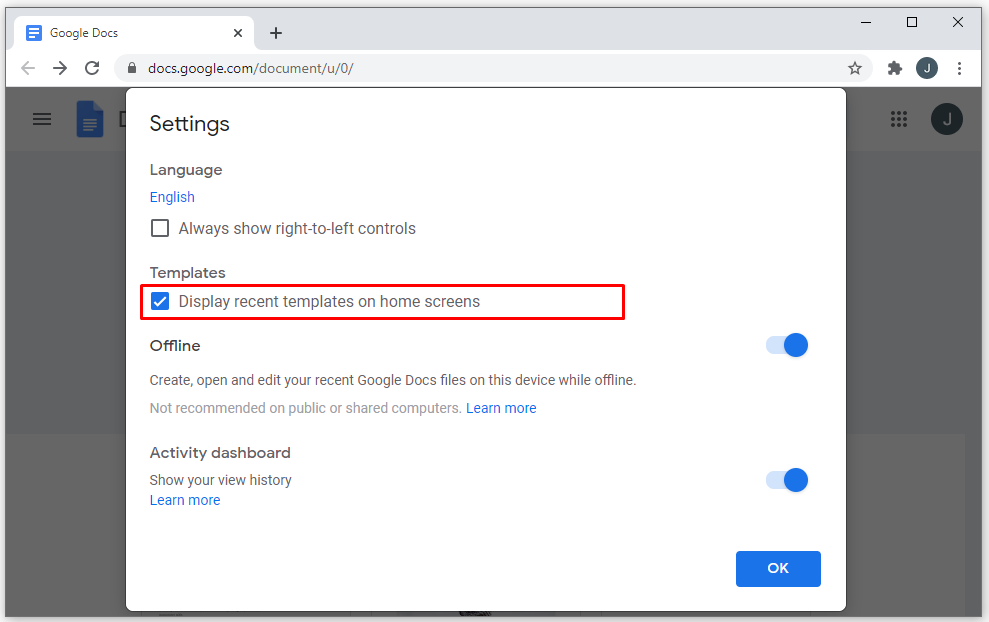
- From the dropdown menu, click on Settings.
- Make sure that the checkbox under Templates is toggled on.
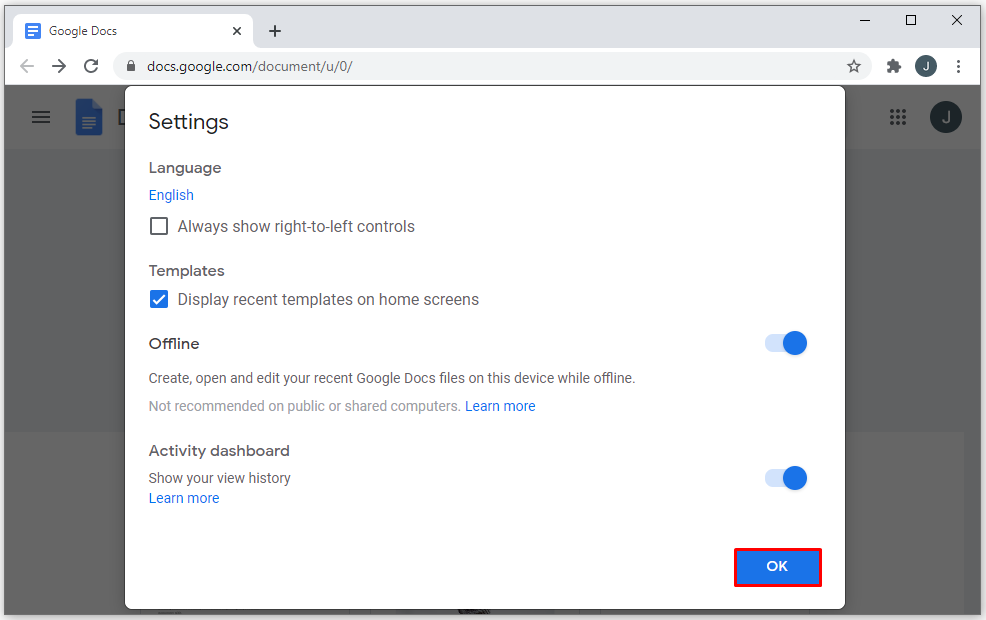
- Click on OK.
- If you can’t see the button, click on the Menu button on the upper left corner of the window. It’s the three-lines icon.
- Scroll down through the list of document templates to find one that suits your needs. The Brochure and Newsletter templates under the Work tab work very well as flyers.
- Once you’ve chosen a particular template, click on it.
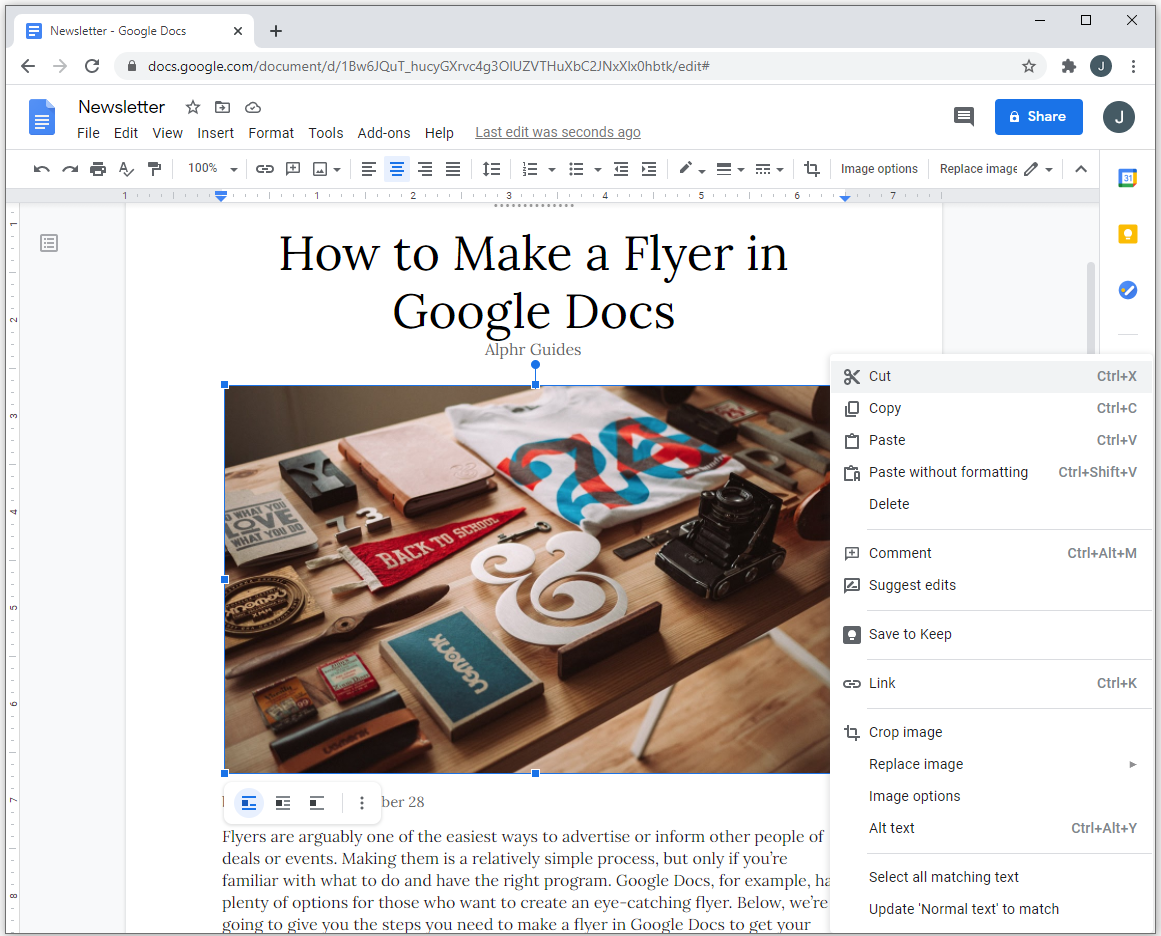
- Clicking on text allows you to edit the content of that text while clicking on images does the same. If you right-click on an image, the dropdown menu gives the option to directly replace it from your computer, the web, or from Google Drive. Edit the document as you see fit. For Mac users, the dropdown menu can be accessed by using Ctrl + click.


Creating a Flyer in Google Docs from a Blank Document
If, instead of using a template, you wish to start from scratch, you can do so by following these instructions:
- Open Google Docs.
- On the Start a new document tab, click on the big + sign.
- You’ll now be presented with a blank document that you can fill in with the details of your event or information.
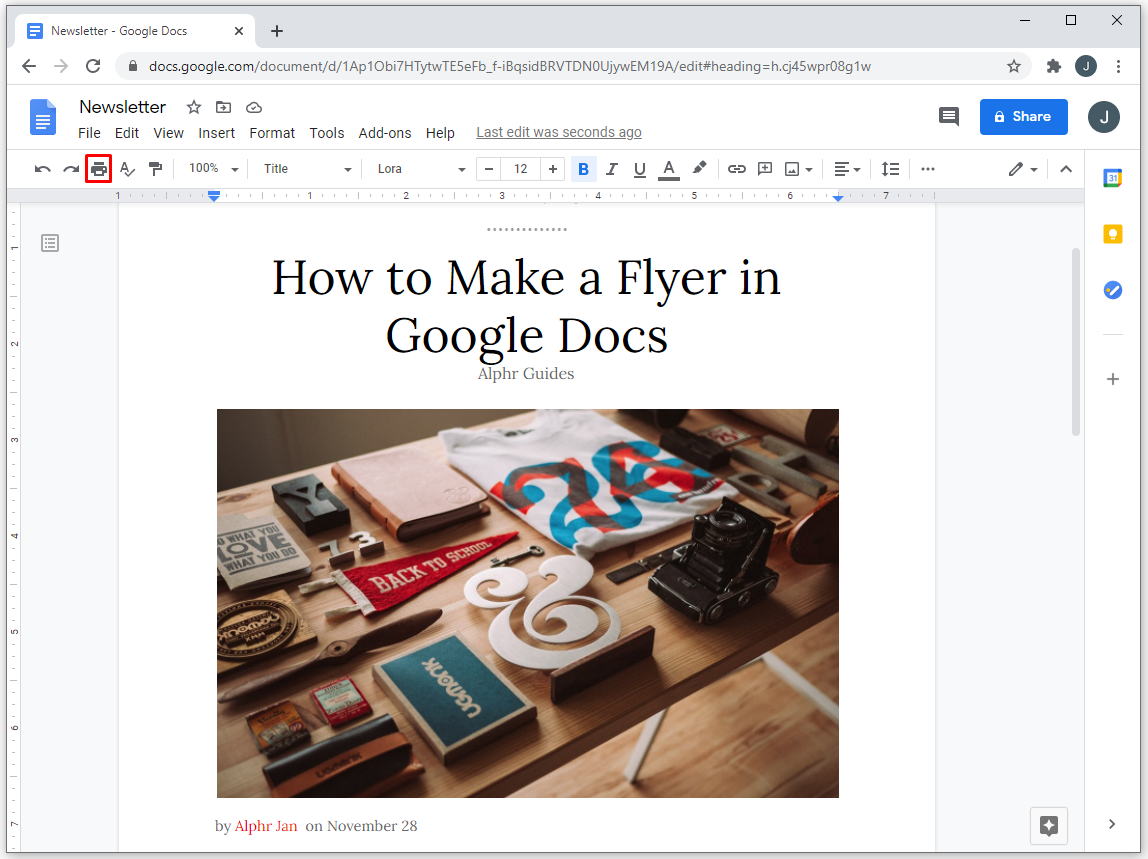
Google Docs automatically saves your progress whenever you take a pause from editing your document. All your files are saved in your Google Drive account. If you have a printer connected and wish to print your current flyer you can:
- Click on the printer icon on the upper left menu.
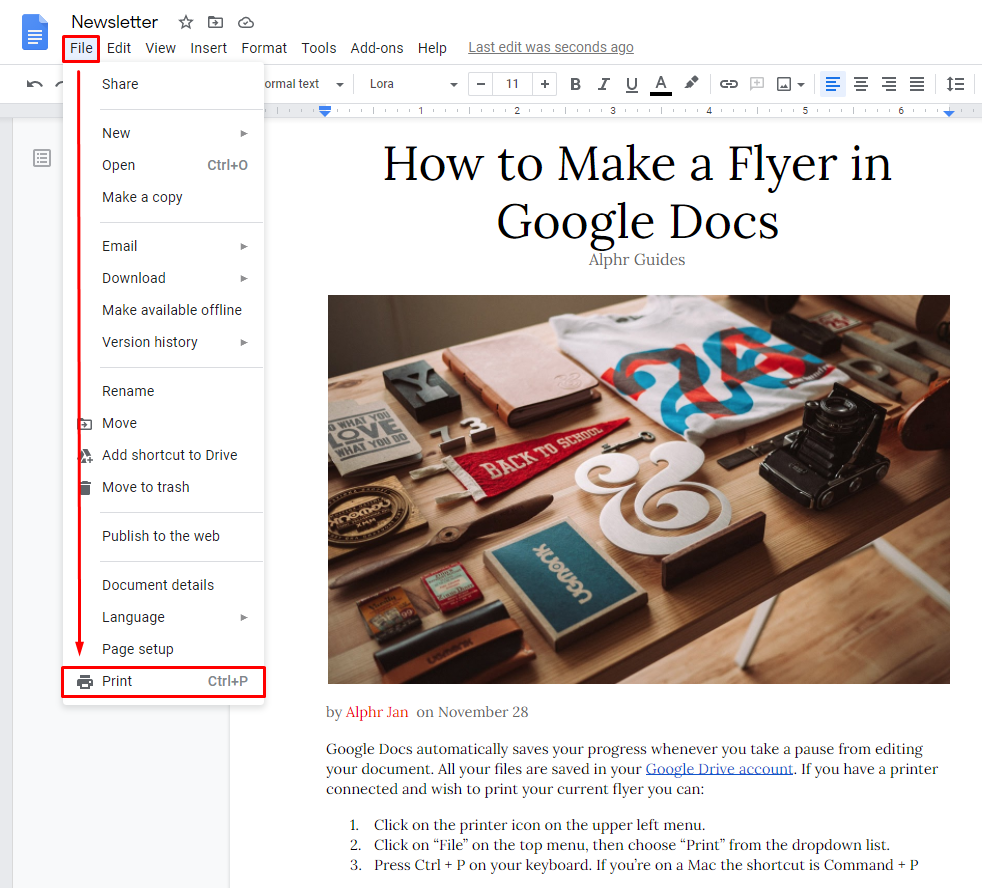
- Click on “File” on the top menu, then choose “Print” from the dropdown list.
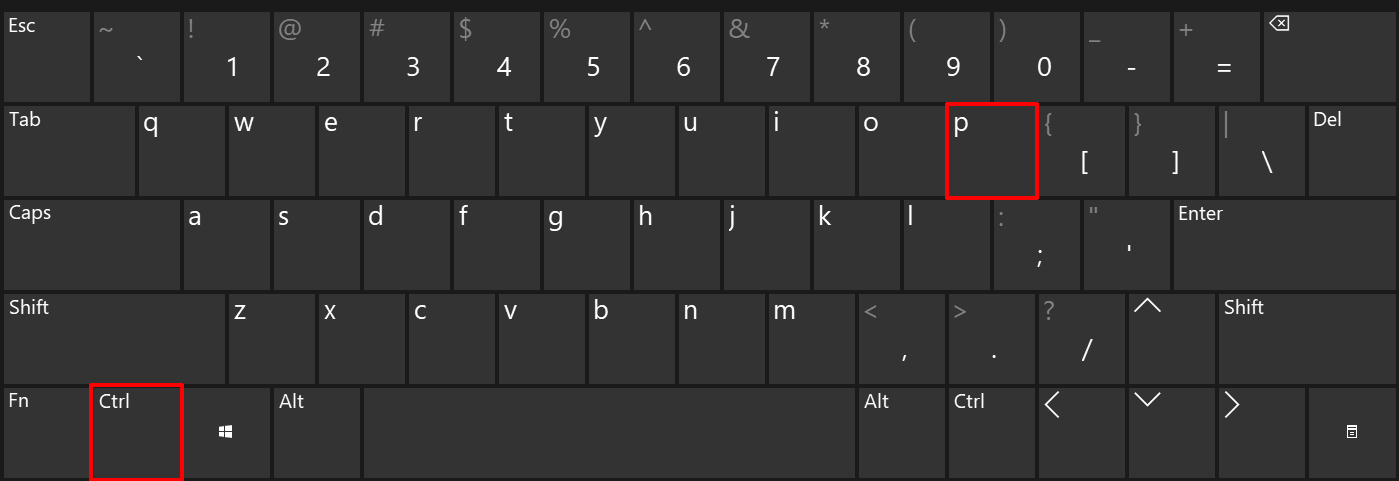
- Press Ctrl + P on your keyboard. If you’re on a Mac the shortcut is Command + P
If you wish to save your file to your computer for printing later, open your Google Drive account. Find the document in the list, then right-click on it. Choose “Download” from the dropdown menu.
How to Make a Pull-Tab Flyer in Google Docs
The pull-tab flyer’s unique feature is that has several tabs with relevant information (a phone number, a date, etc.) on the bottom that other people can tear one-off to take with them. This is a great way to advertise, as people who may find it bothersome to write down details, can instead just pull a tab and keep the info with them “just in case.”
Currently, there is no direct way to make vertical text in Google Docs, so if you want to make this particular type of flyer, you can do the following:
- On Google Docs, make a flyer either using a template or from a blank document as detailed above. Be sure to leave some space from the bottom of the page. This is where the tabs will go.
- Once you have your flyer done, move your cursor to the area where you want the pull tabs to be.
- On the top menu, click on Insert.
- Hover over Drawing from the dropdown list and then click on + New.
- From the icons on the top menu, click on Text Box. This is the T icon inside a square.
- Draw the text box on the window. It doesn’t matter how big it is, this can be adjusted later.
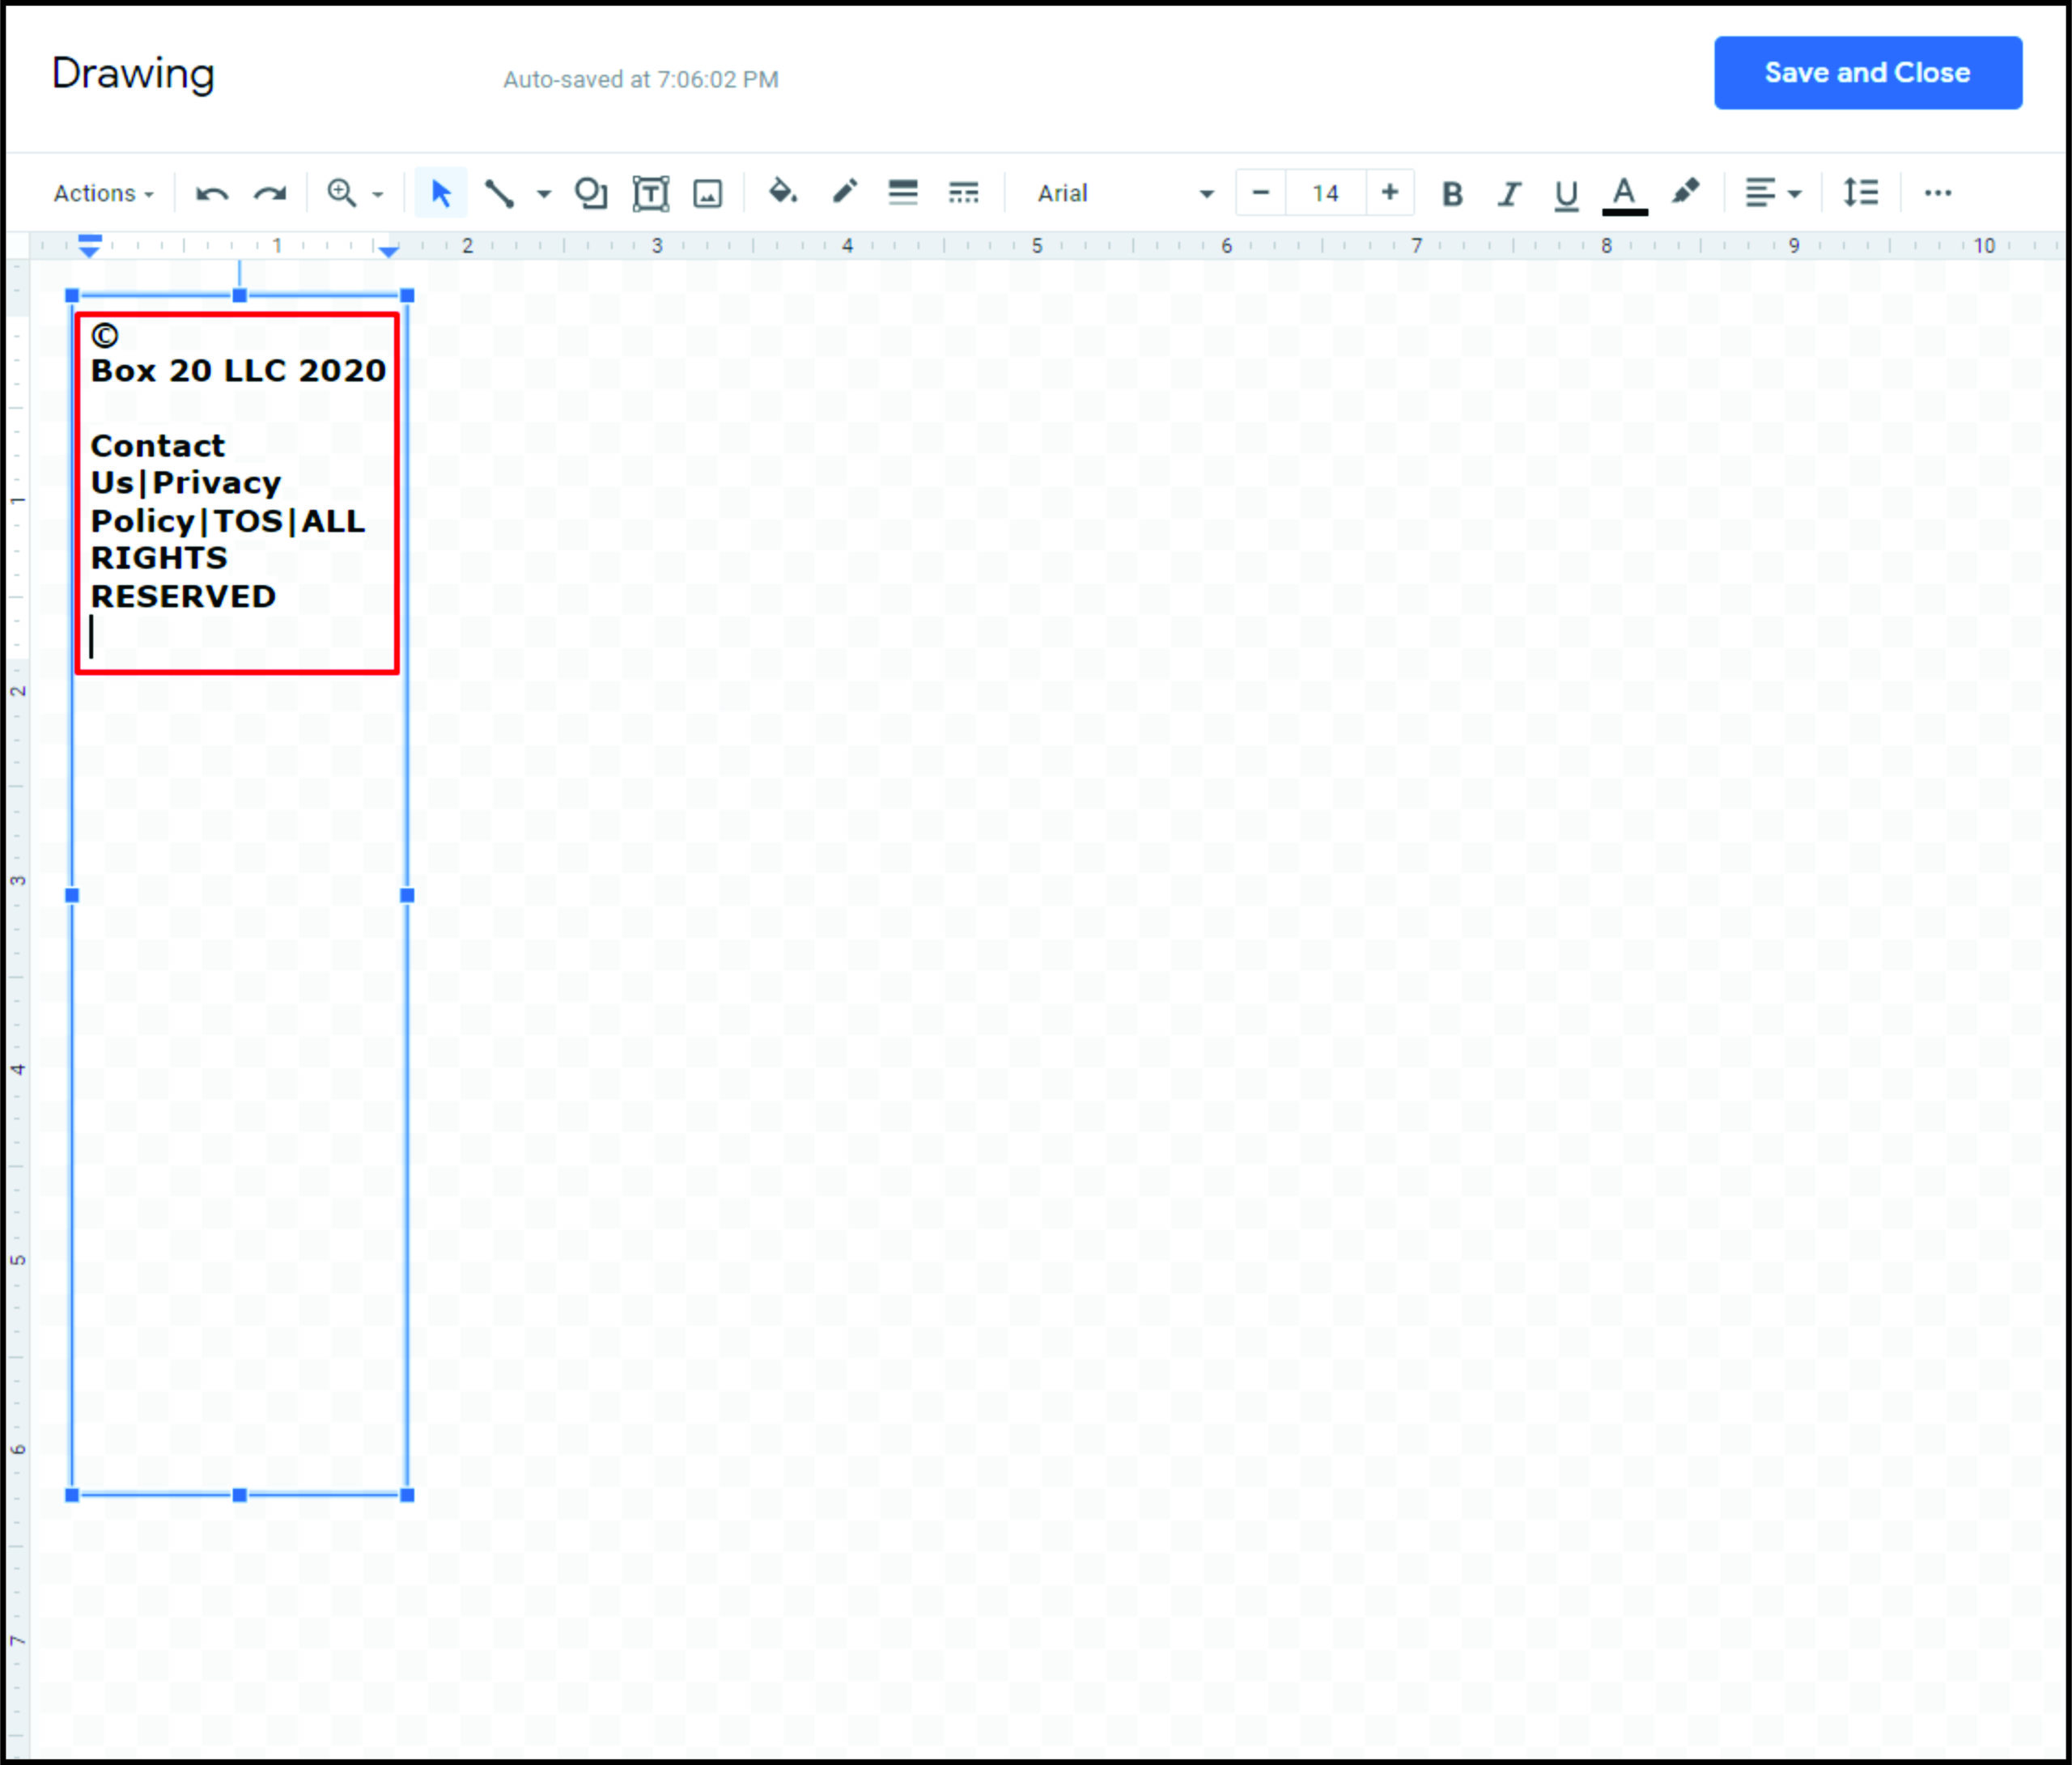
- Fill in the information that you want in the pull-tab. Usually, these are contact numbers, dates, or addresses.
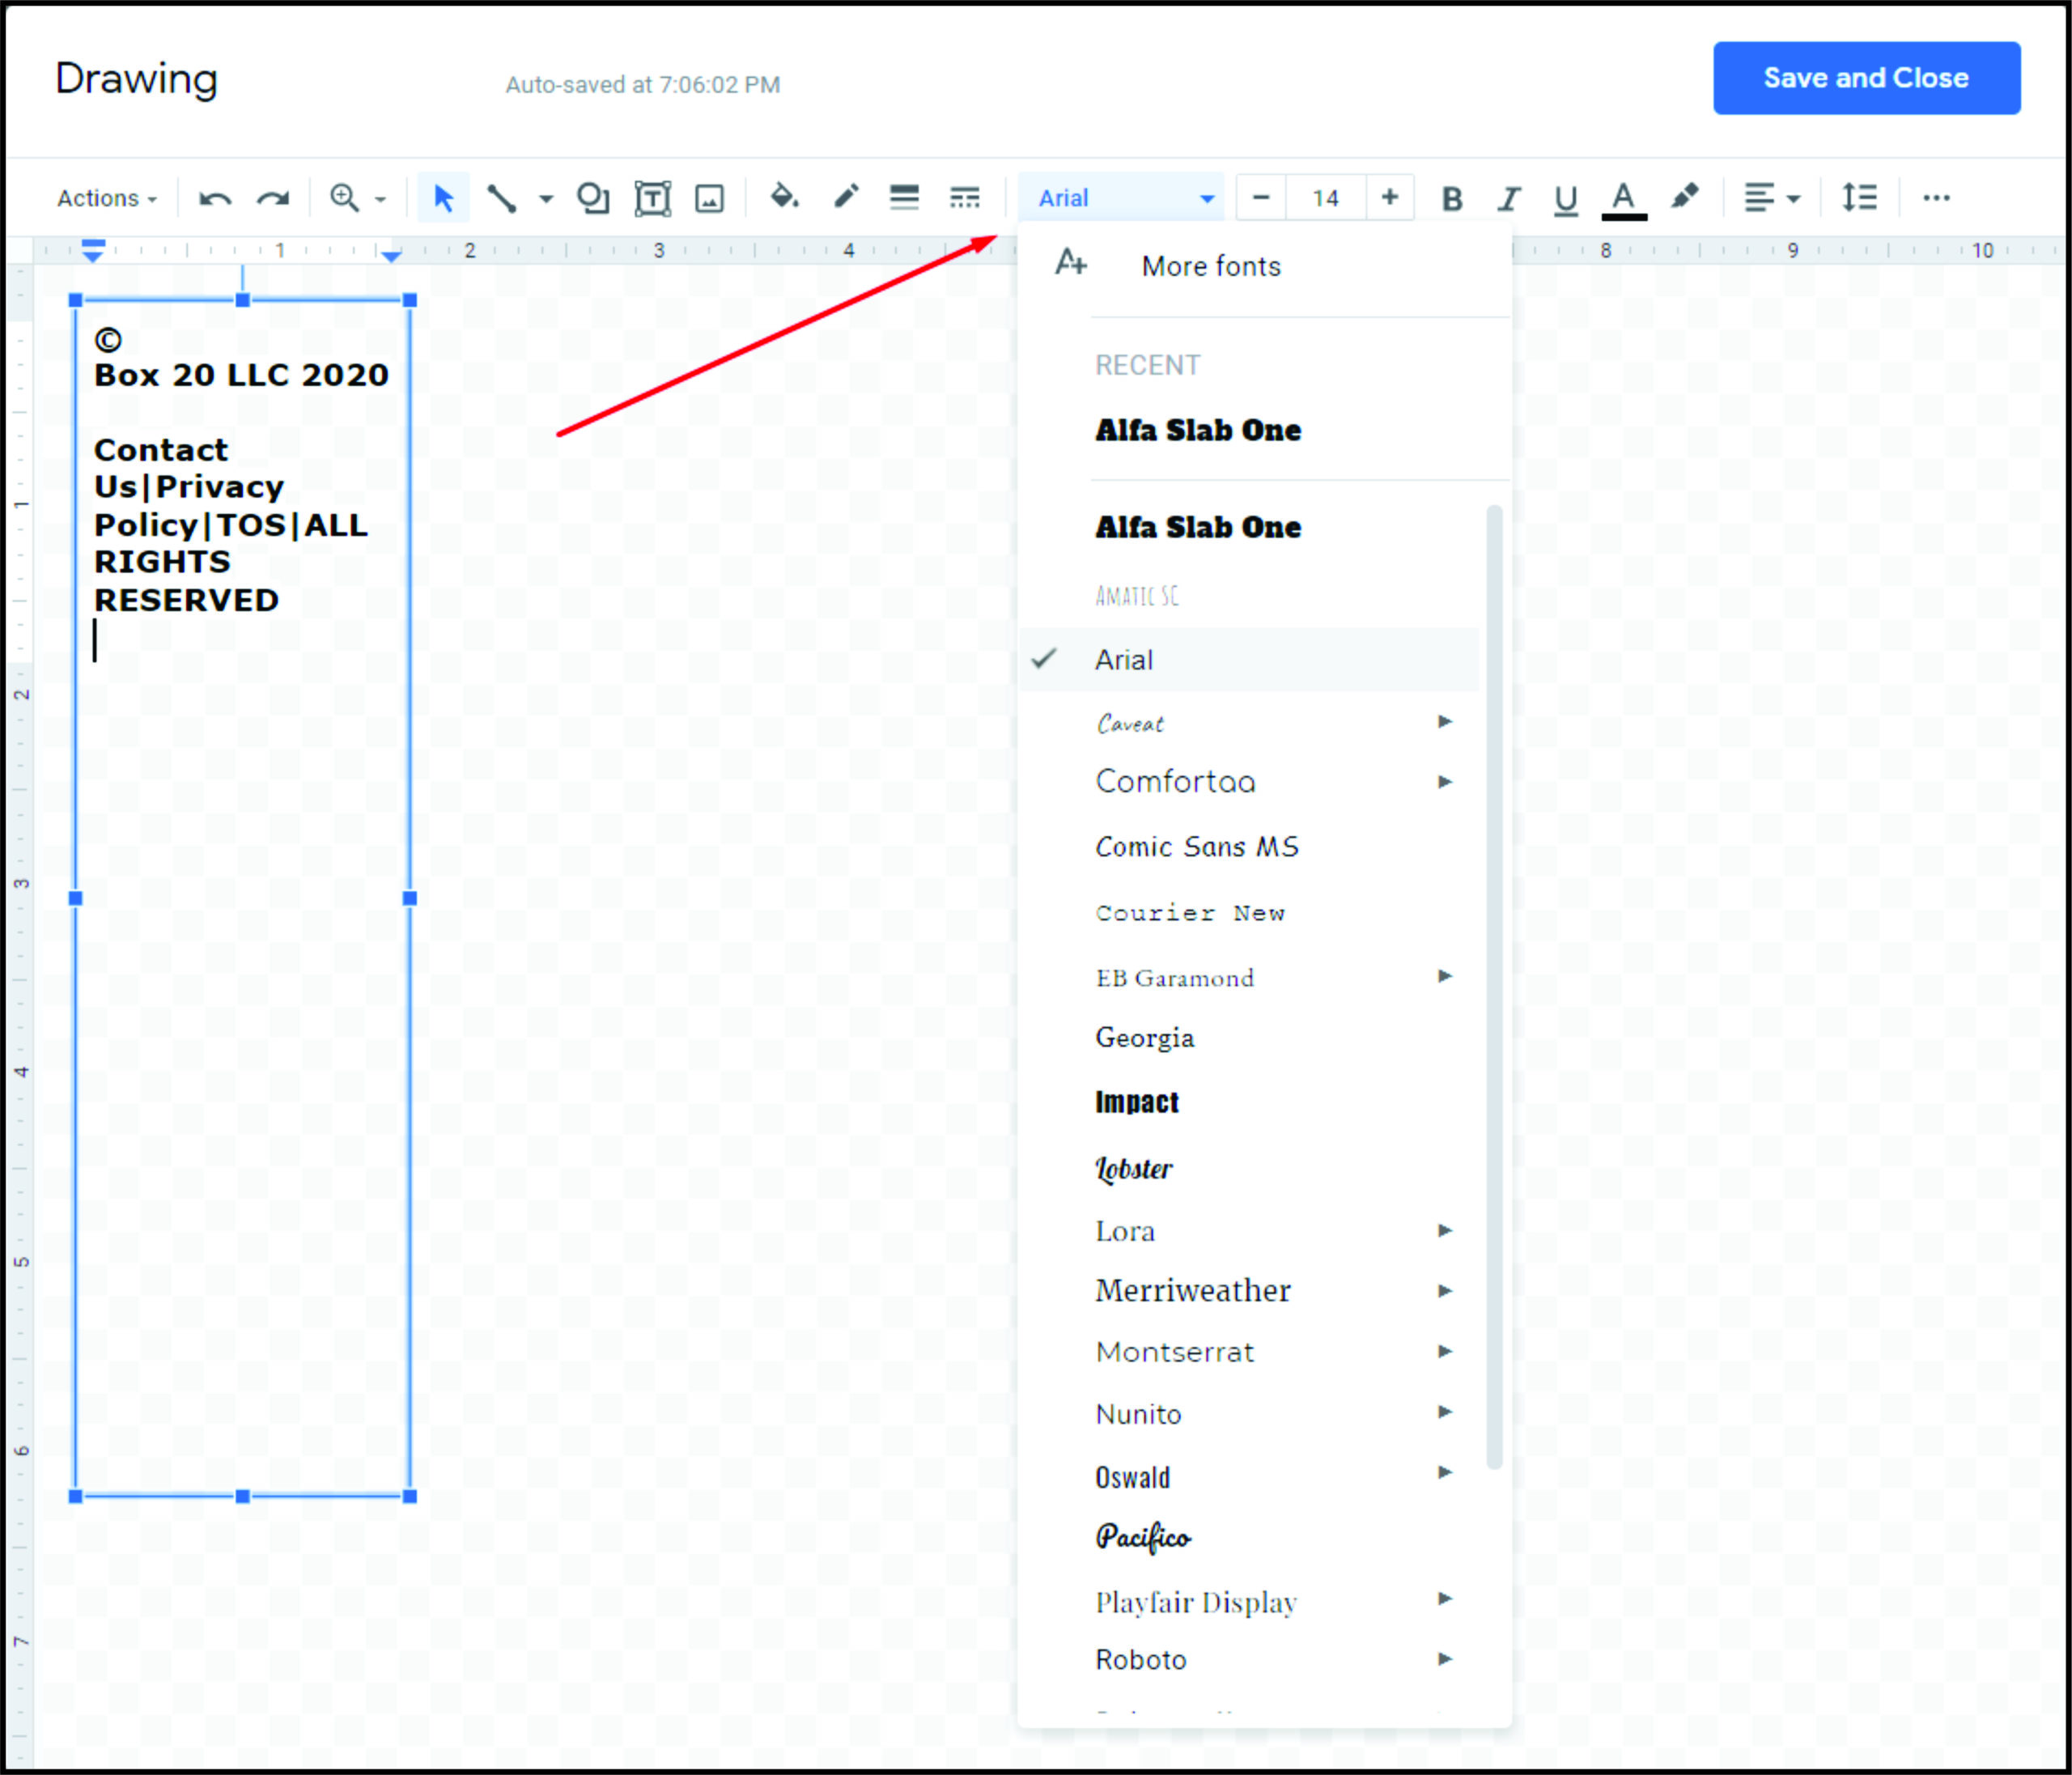
- You can adjust the font by selecting the entire text and choosing the appropriate font in the top menu.
- Font size can be adjusted by clicking on the + or – signs to the right of the font name. You can also simply type in the font size that you want.
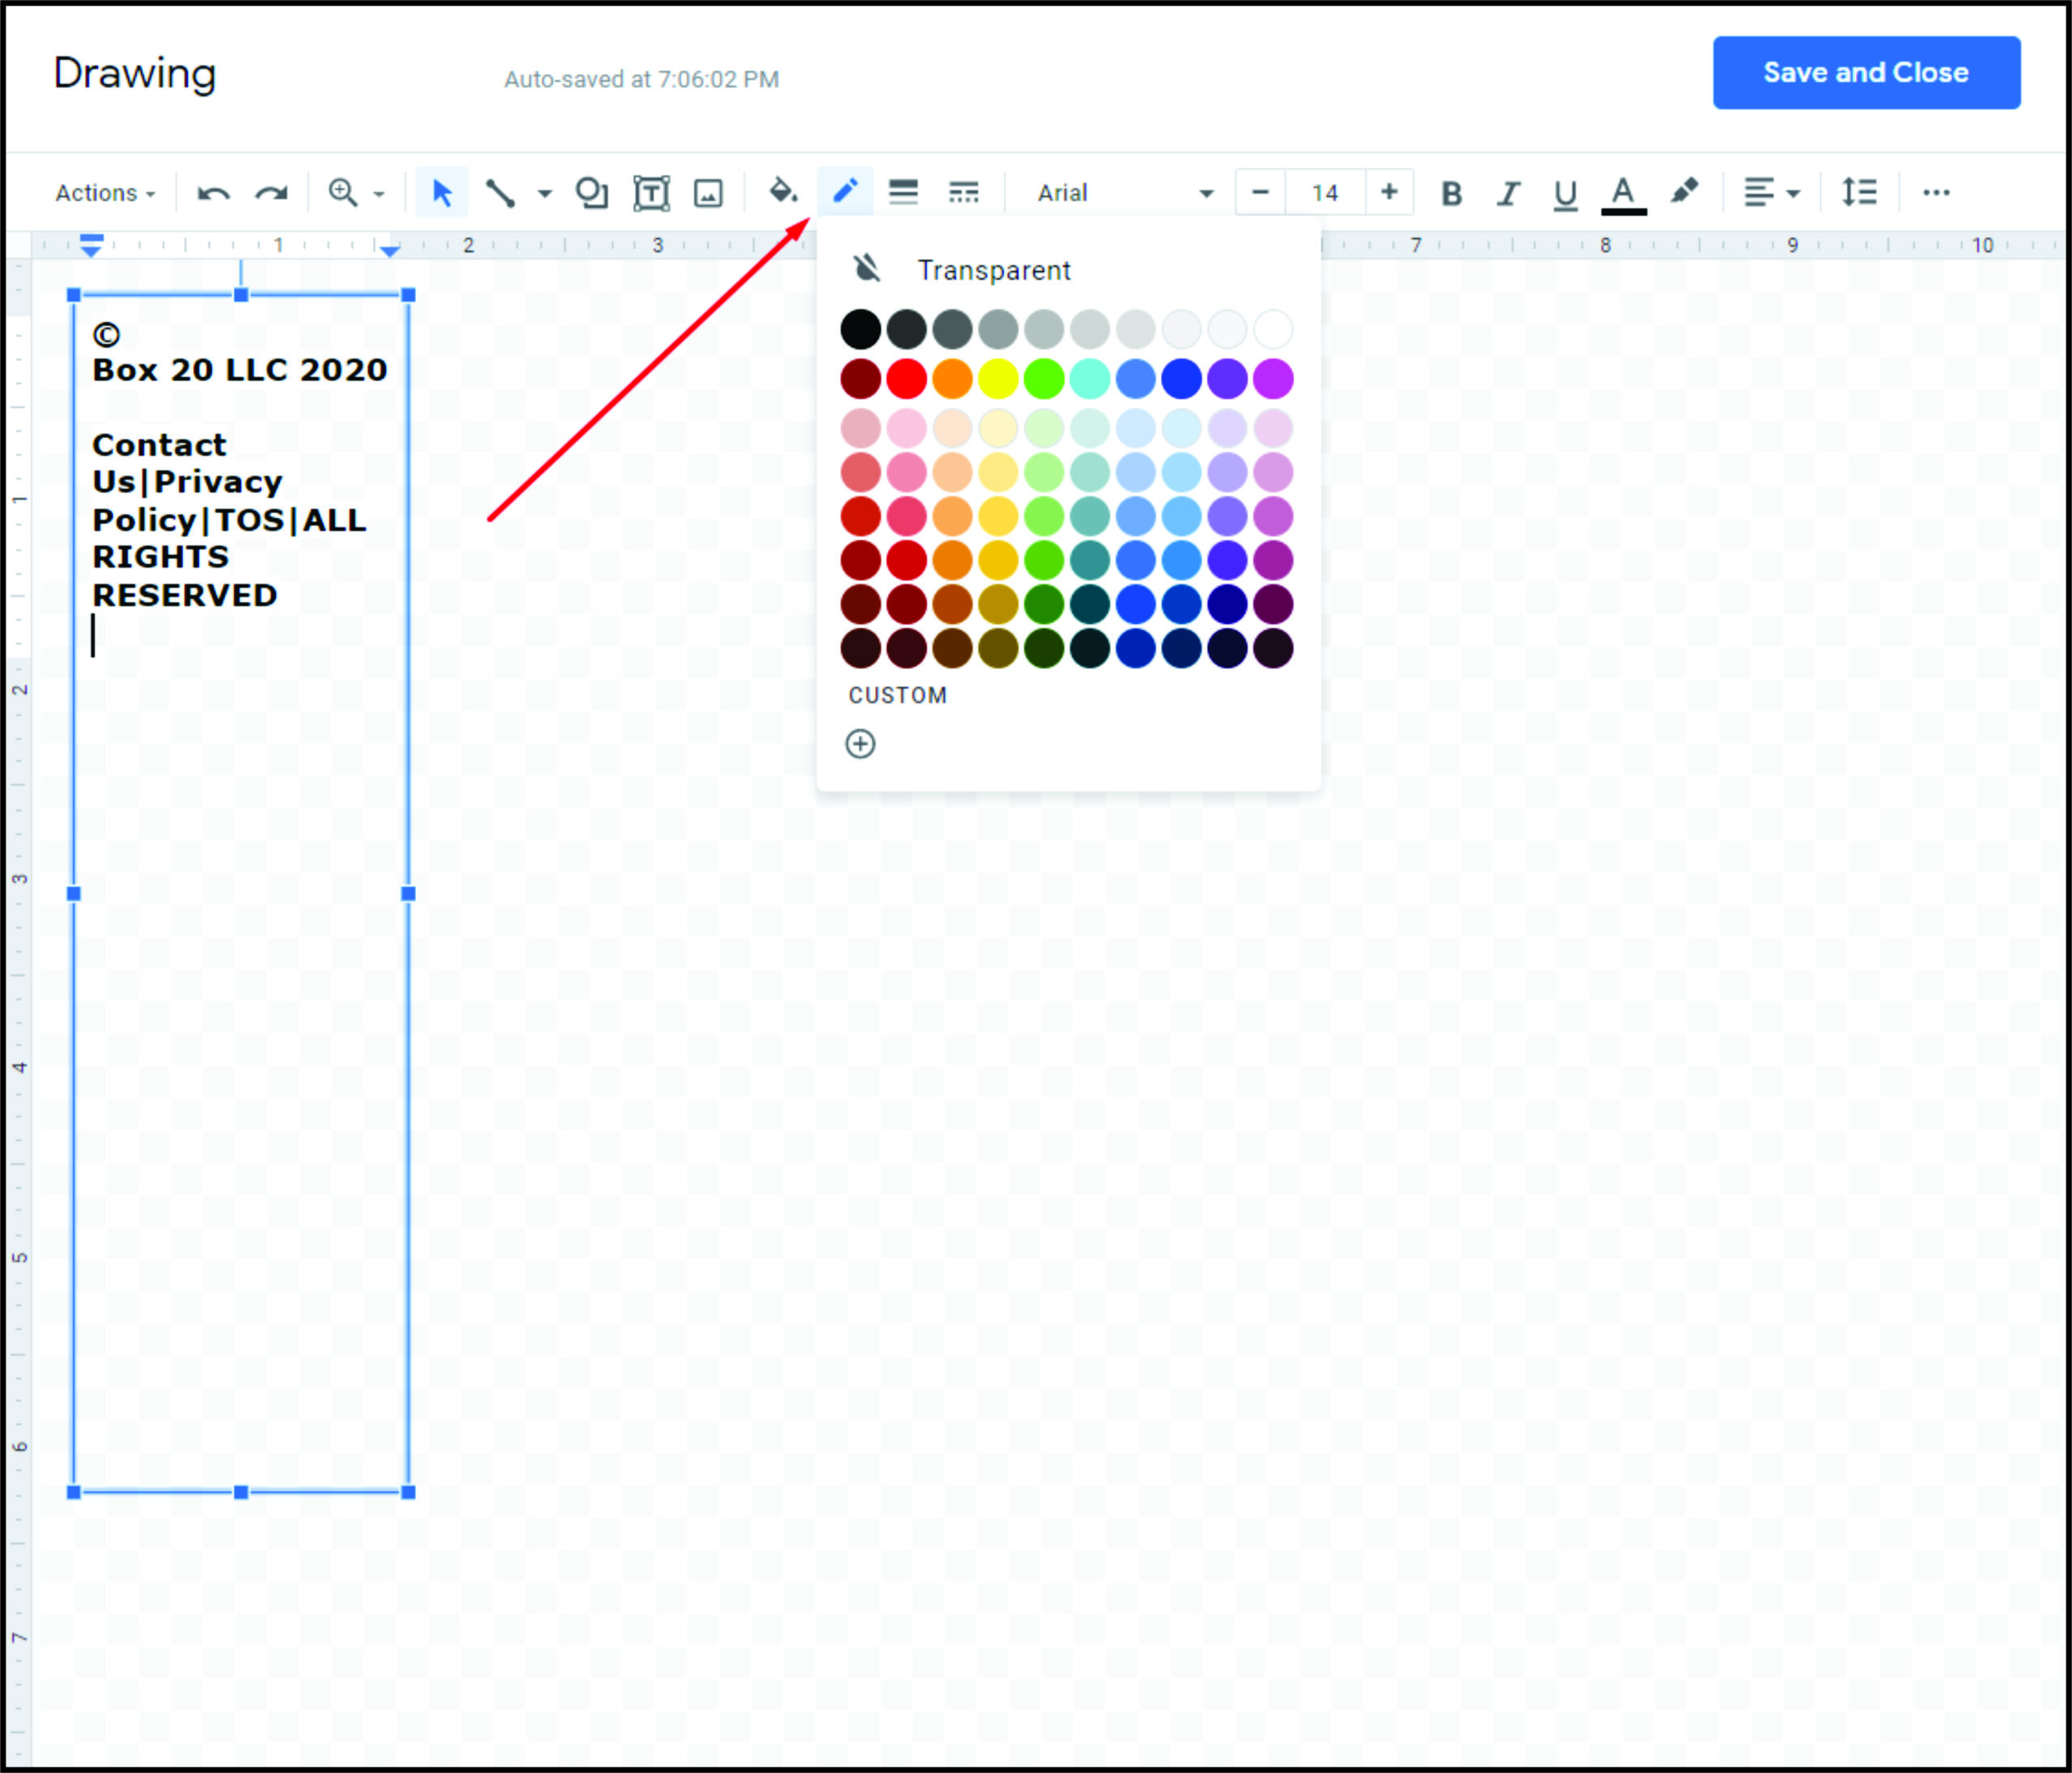
- You can choose to have borders on your tab. This is done by clicking on the Border color button. It looks like a pencil drawing a line. The size and pattern of the border can be adjusted by using the border weight and border dash icons to the right of it.
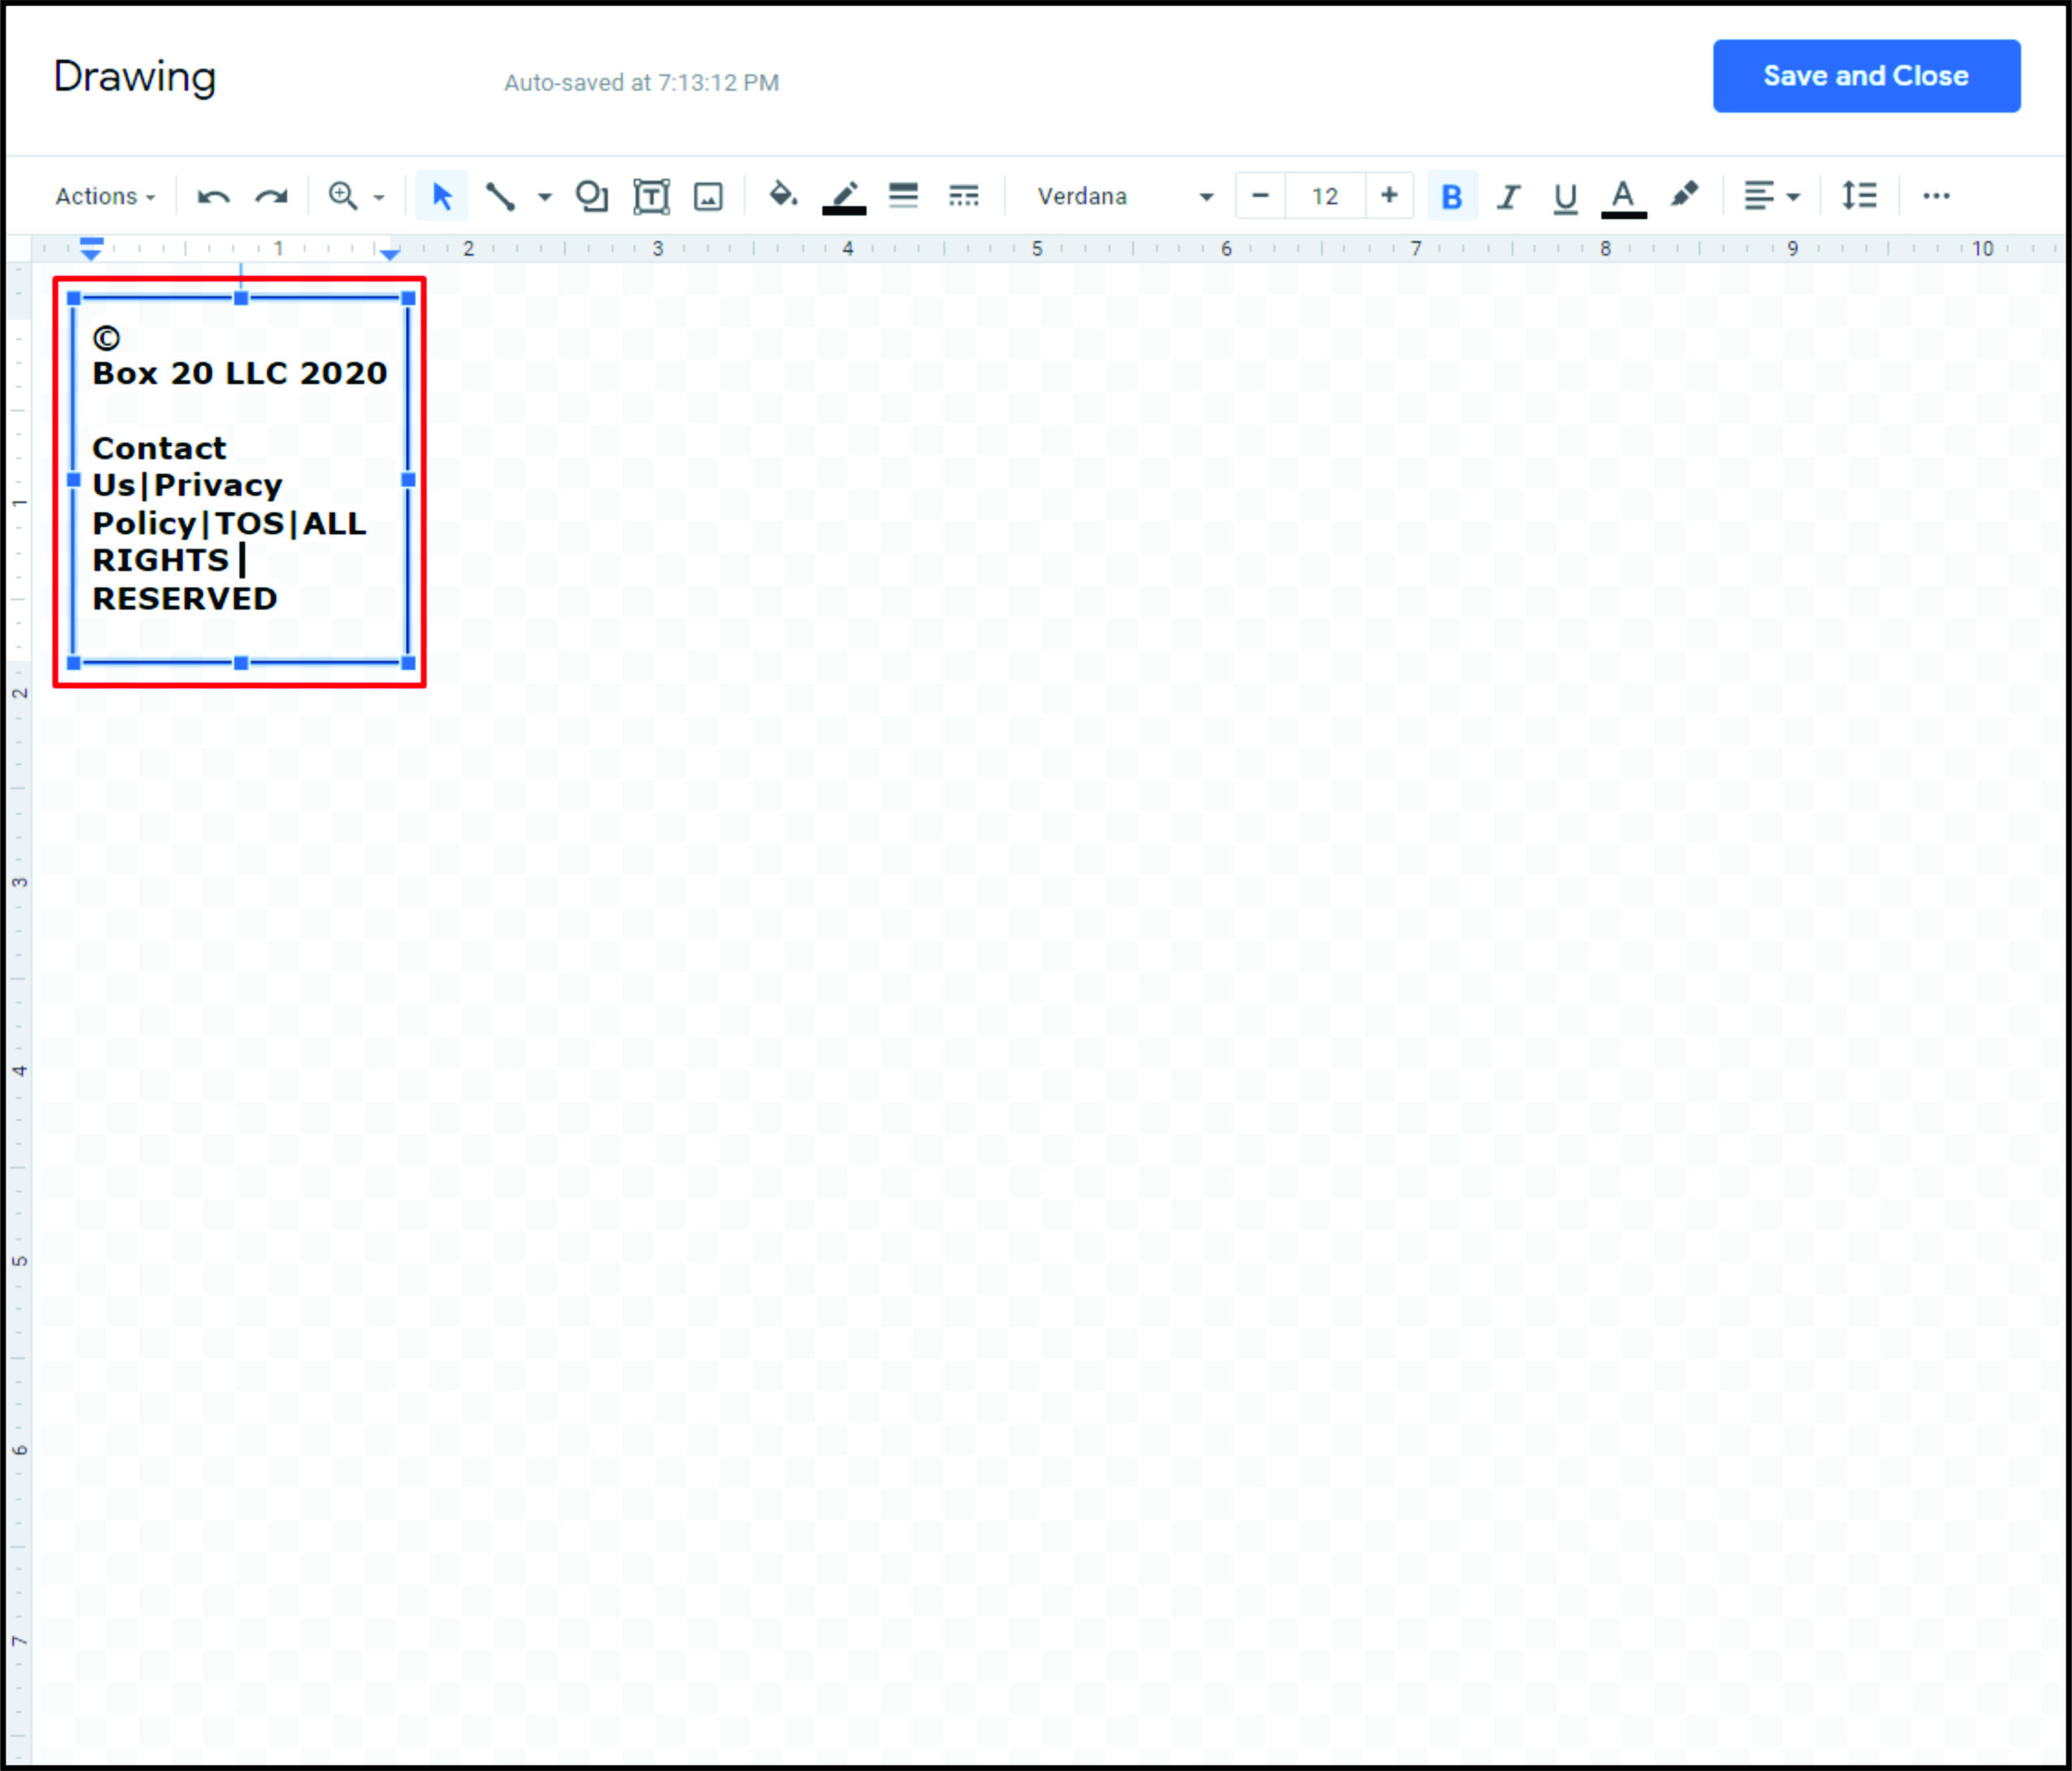
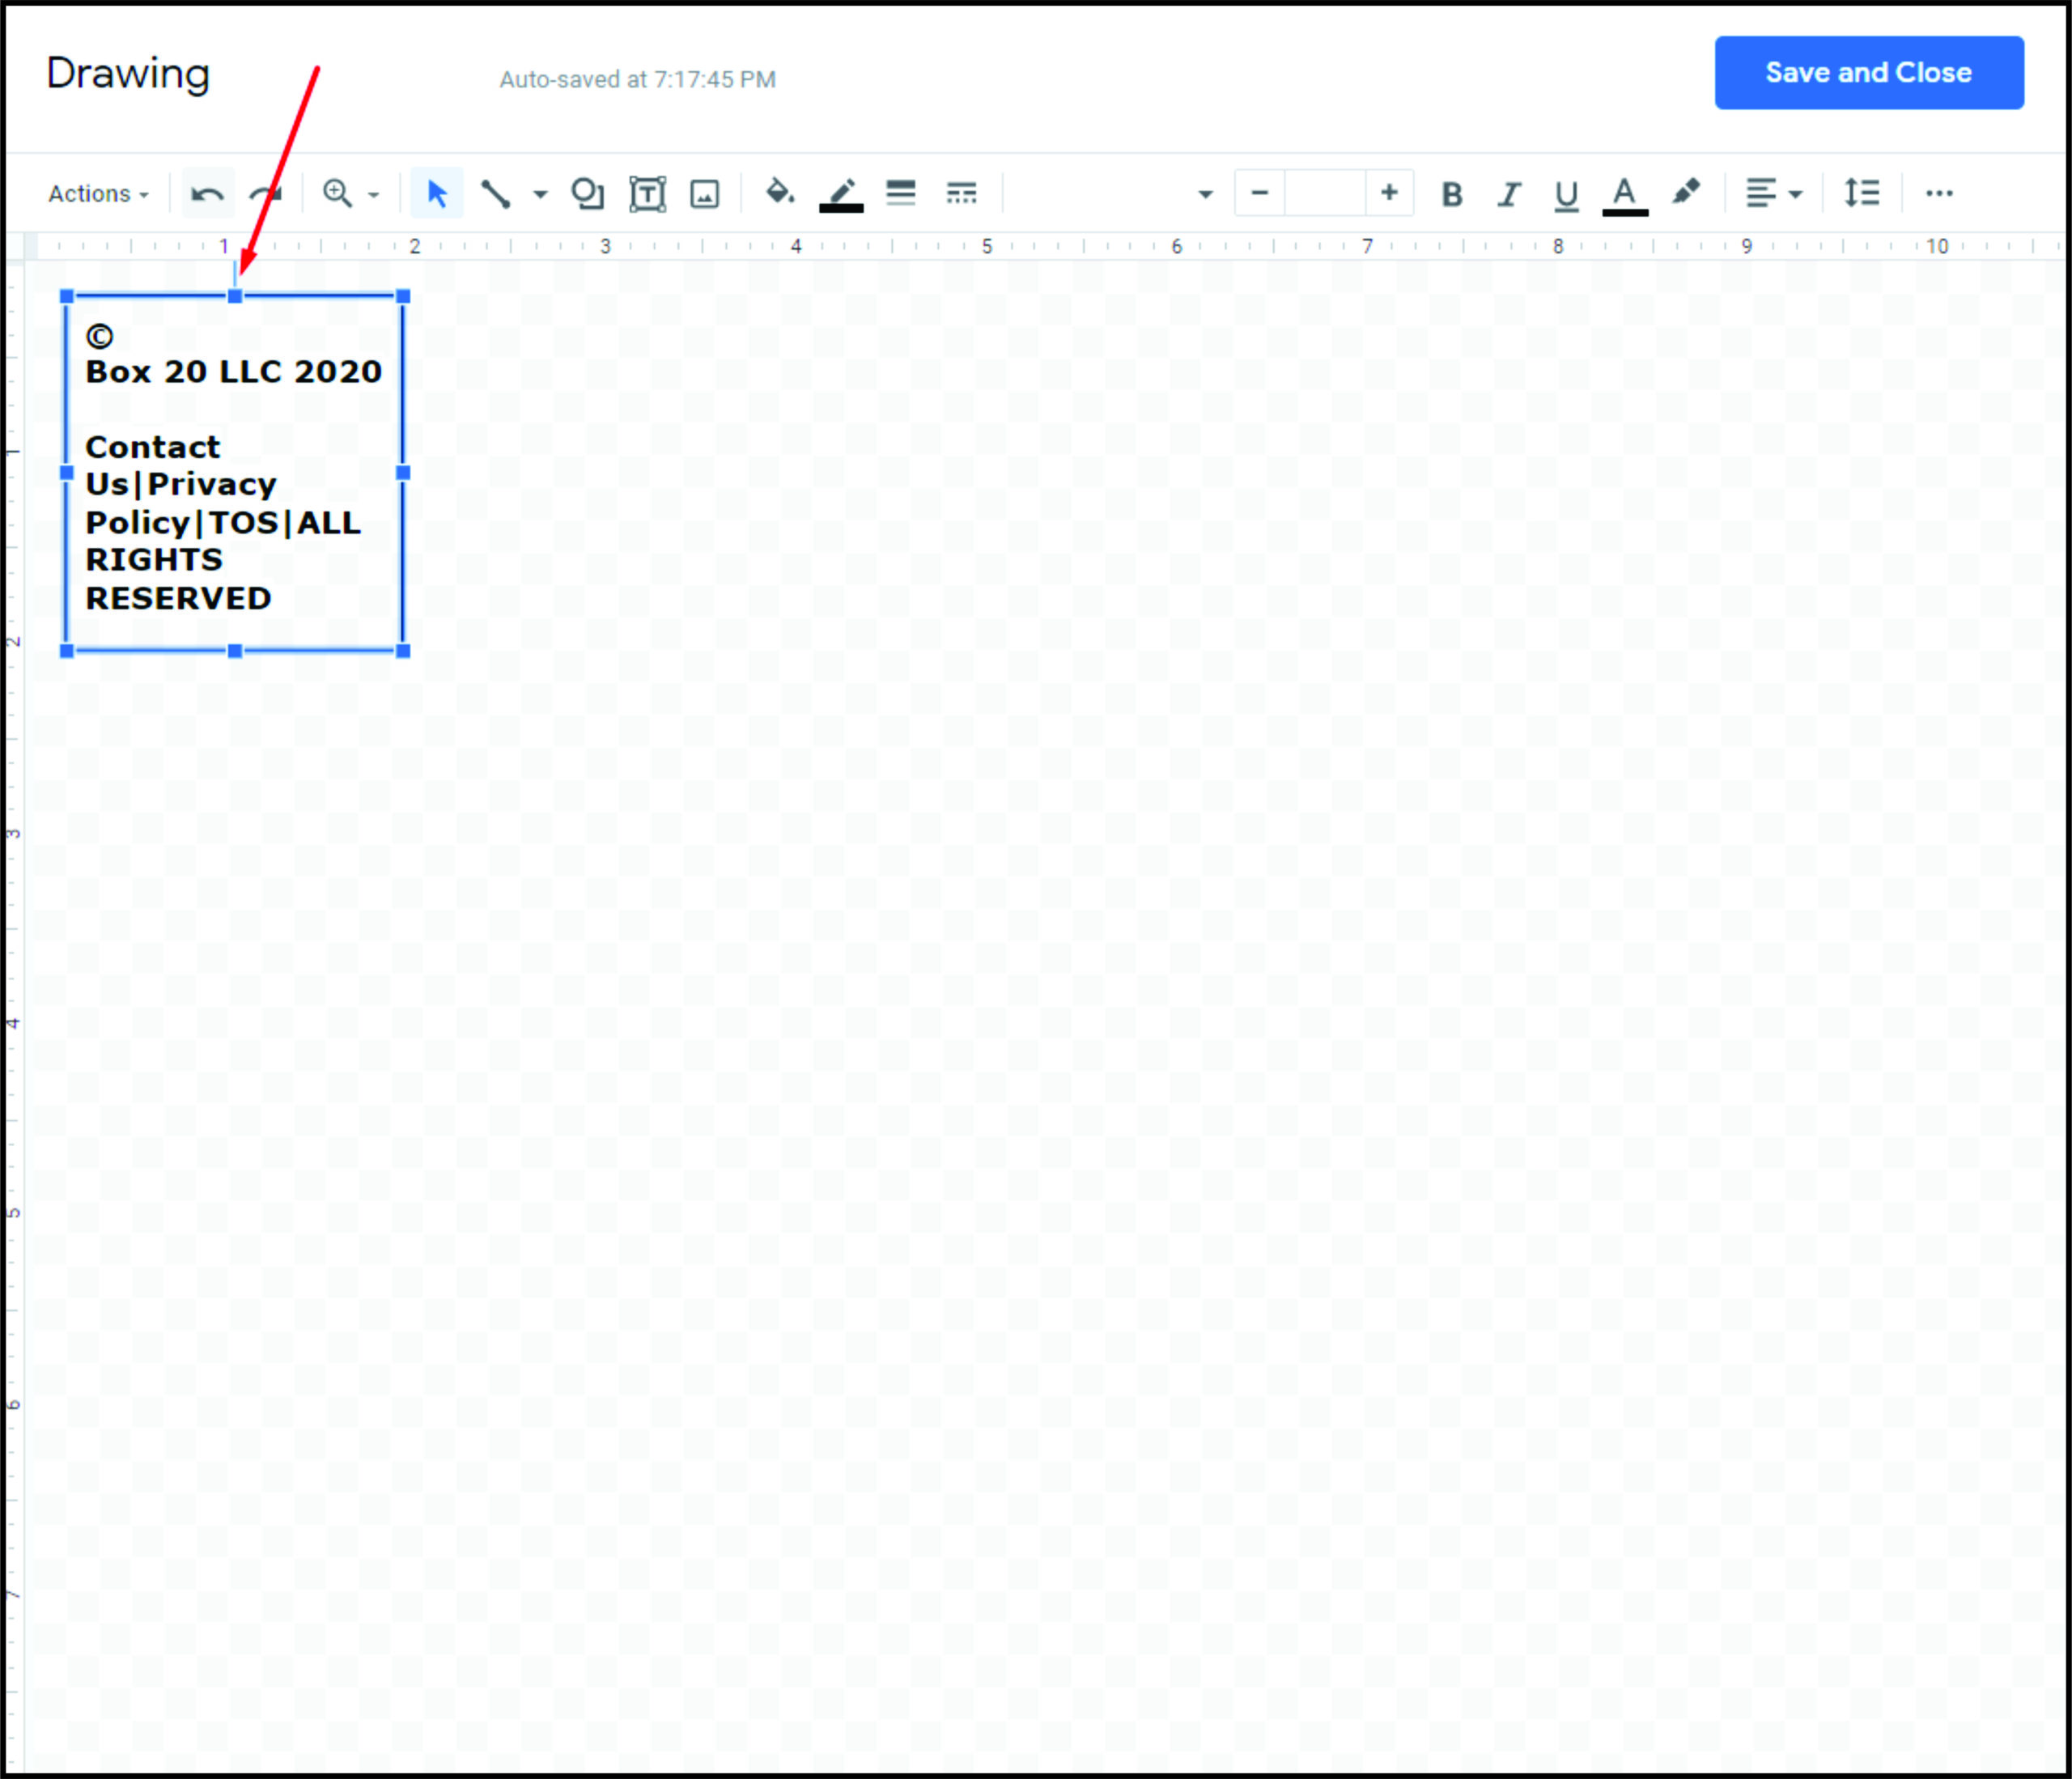
- Once you have the text set up the way you want, select the text box.
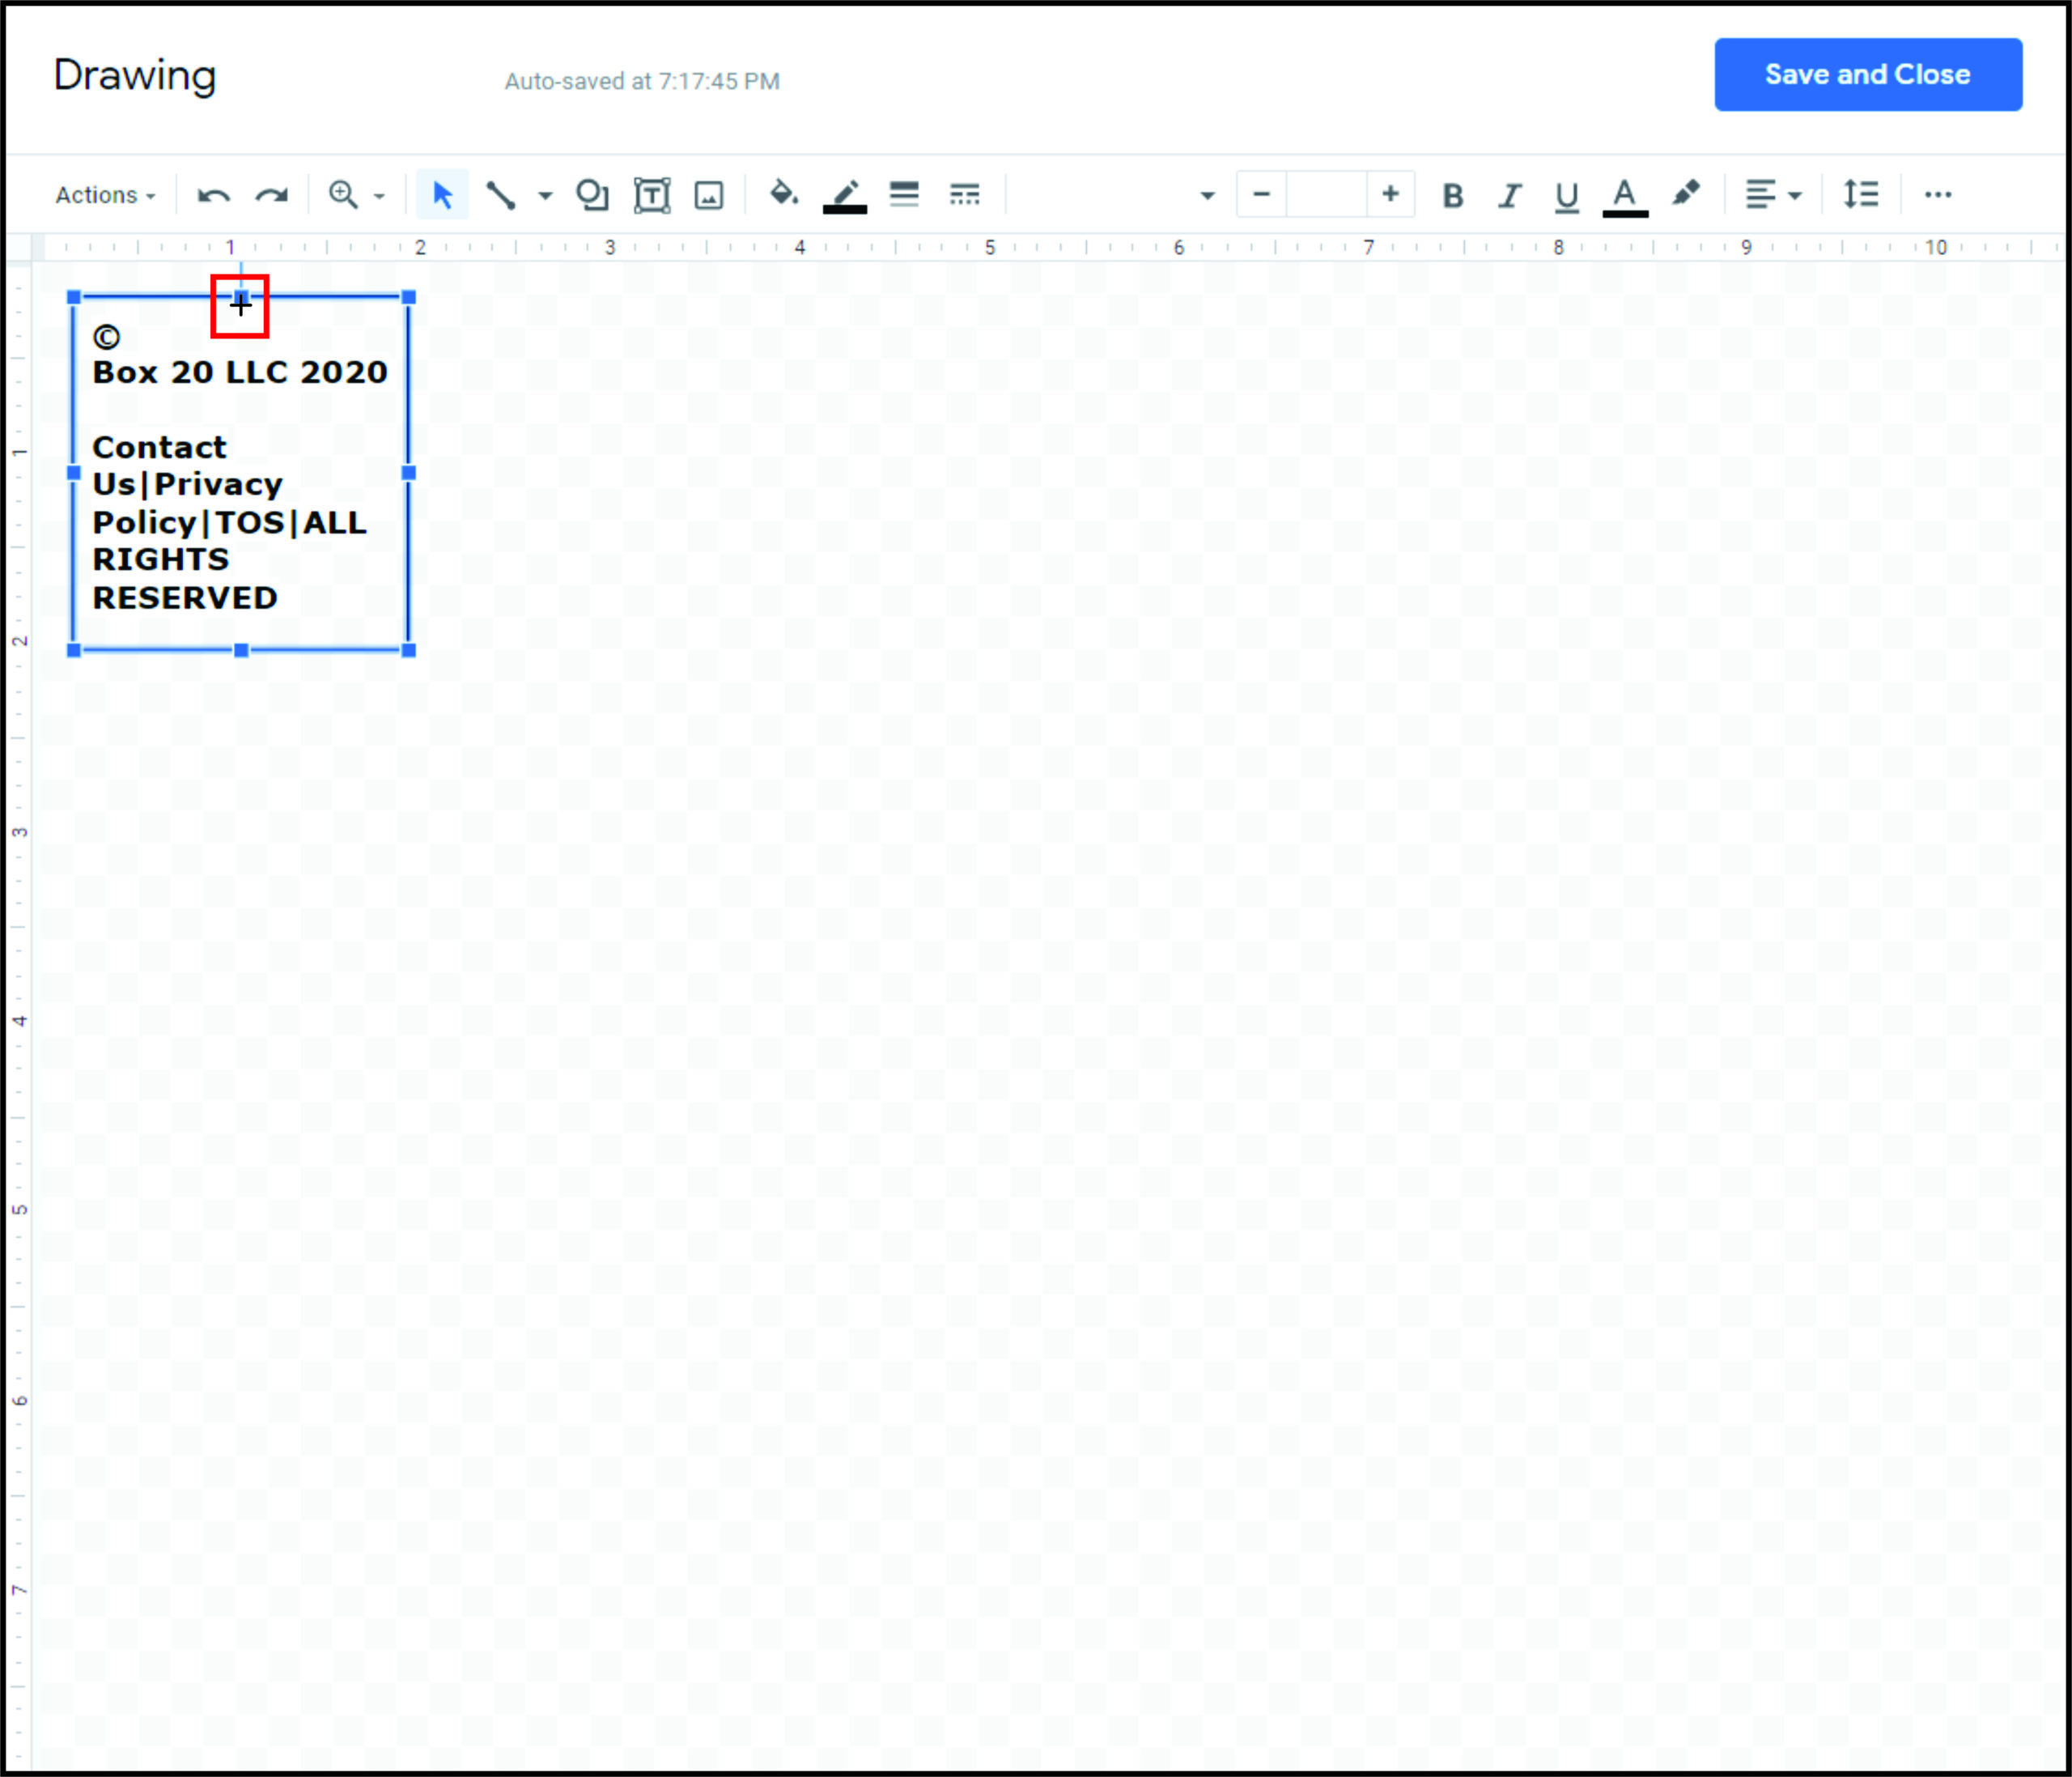
- Hover your cursor over the dot just above the text box until the cursor turns into crosshairs.
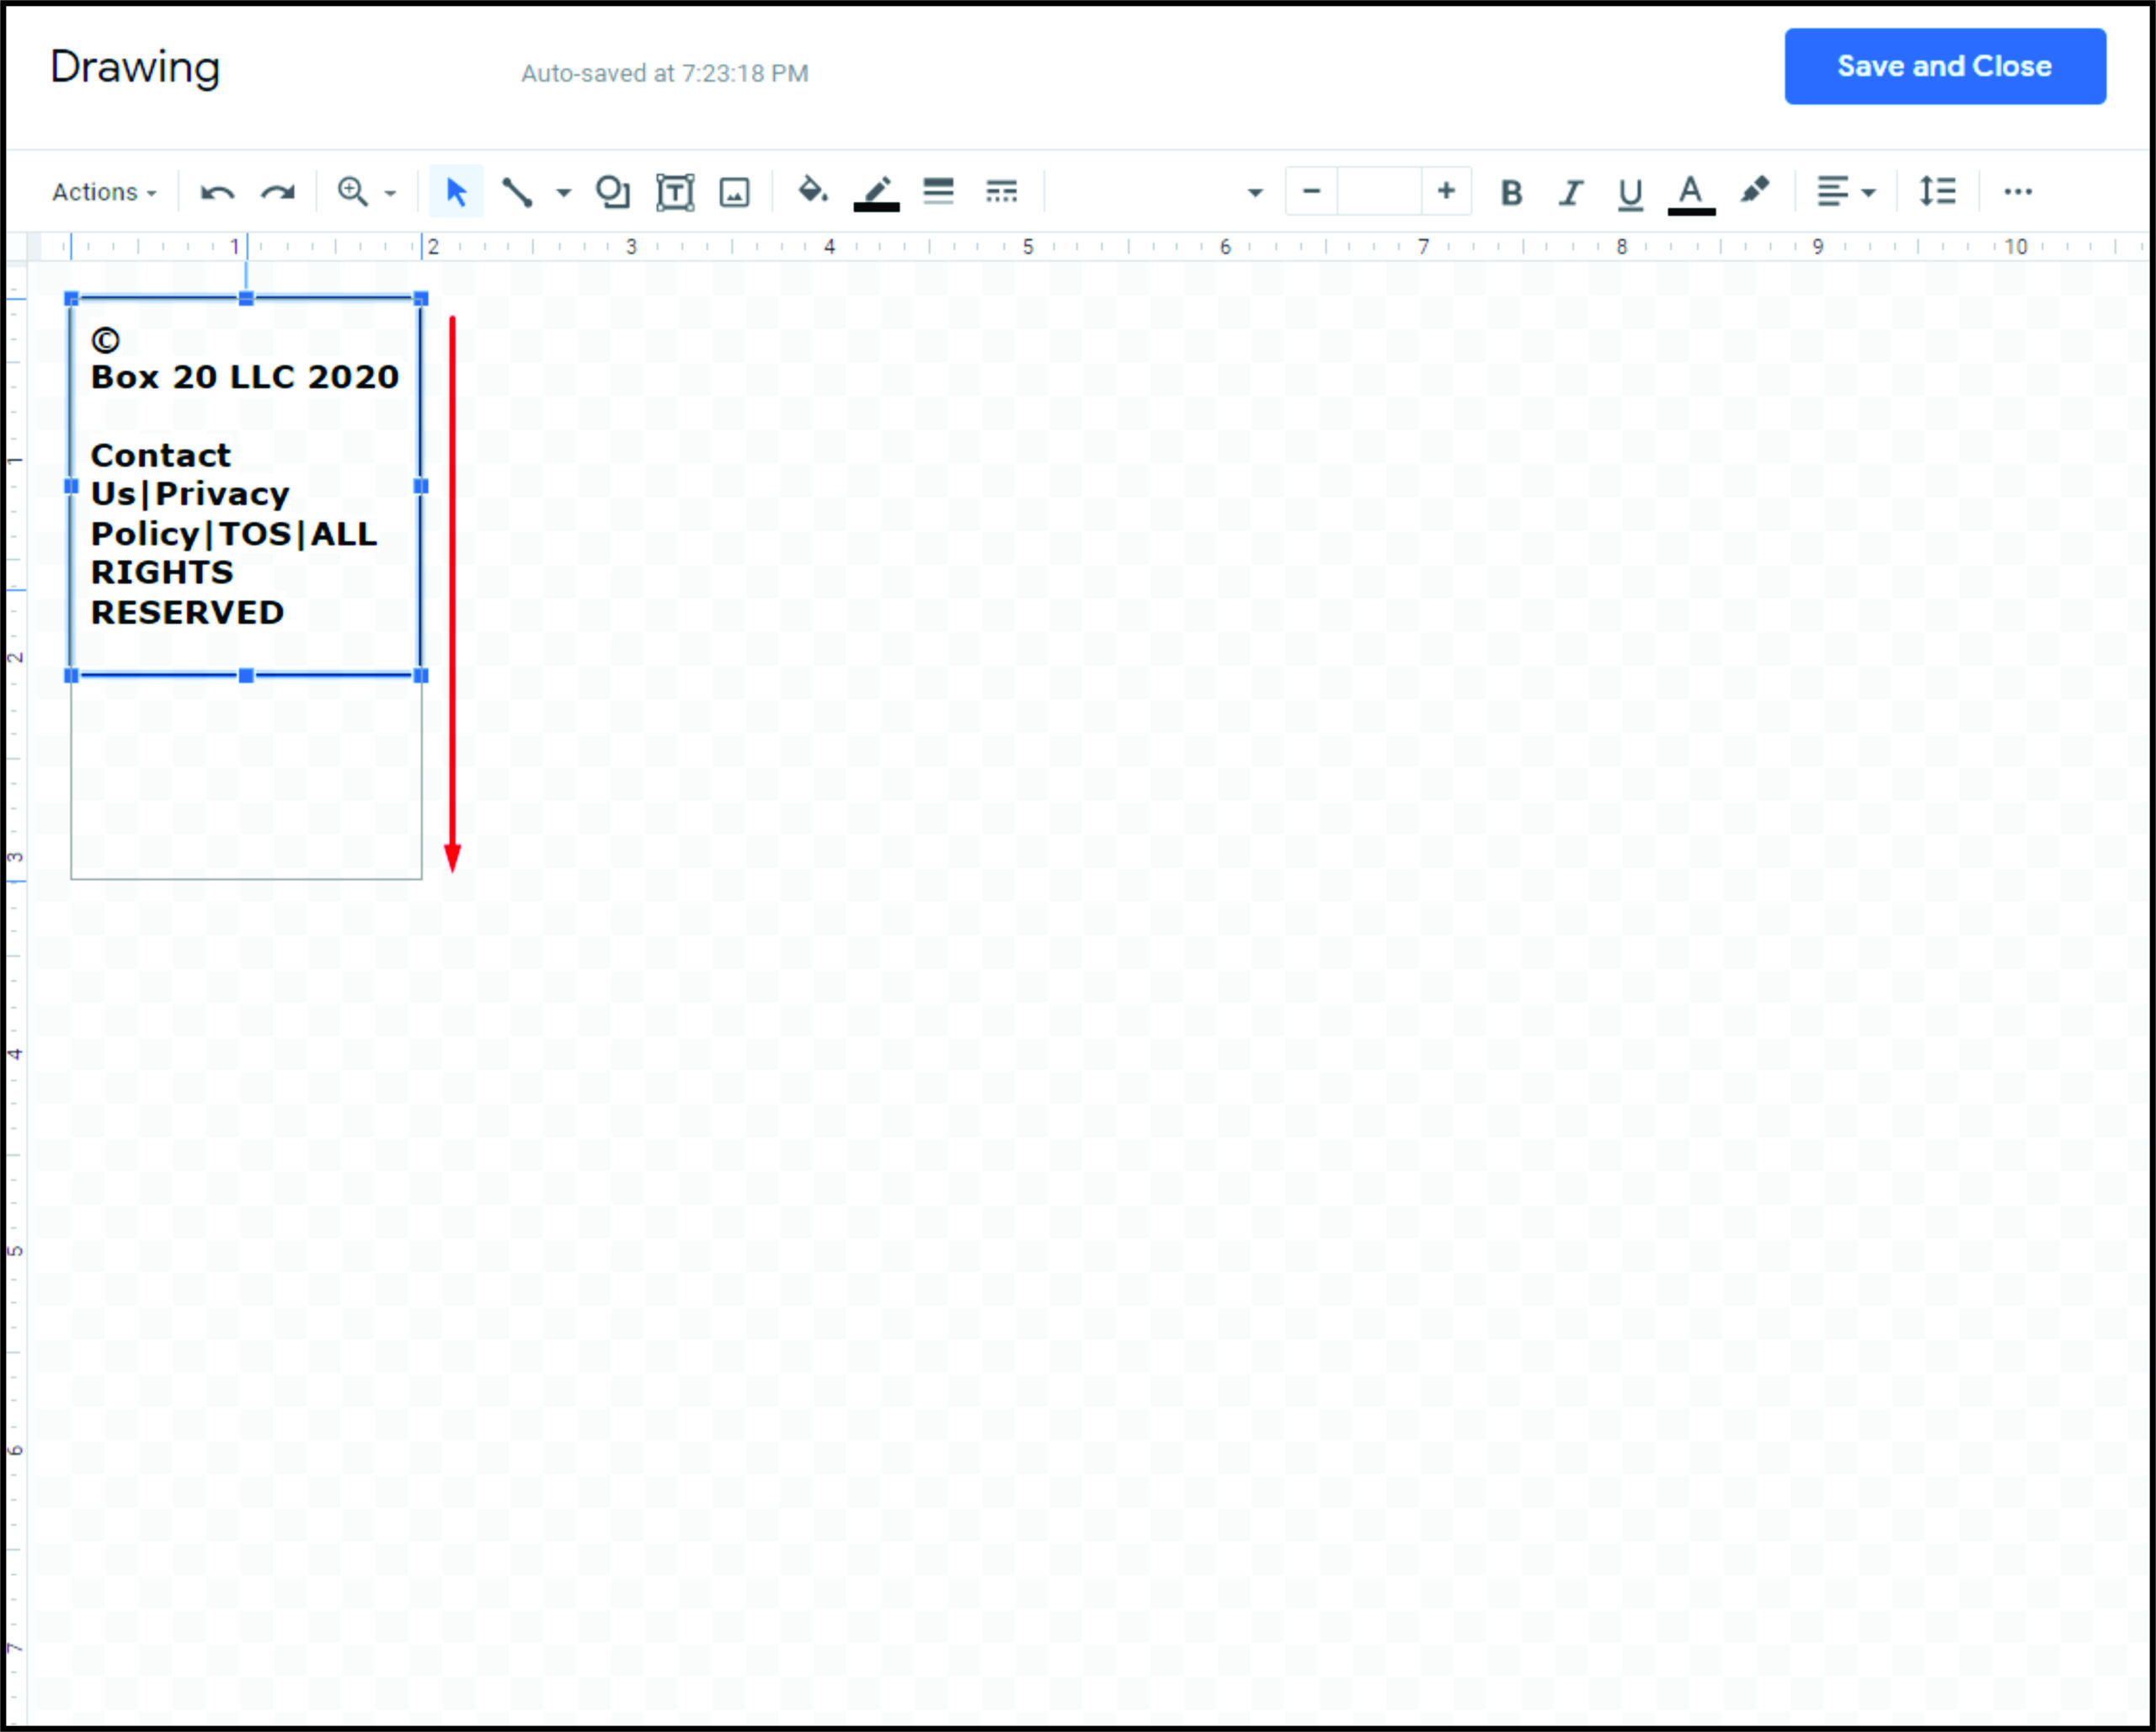
- Click and hold your mouse, then move it to the right until the text box turns completely vertical.
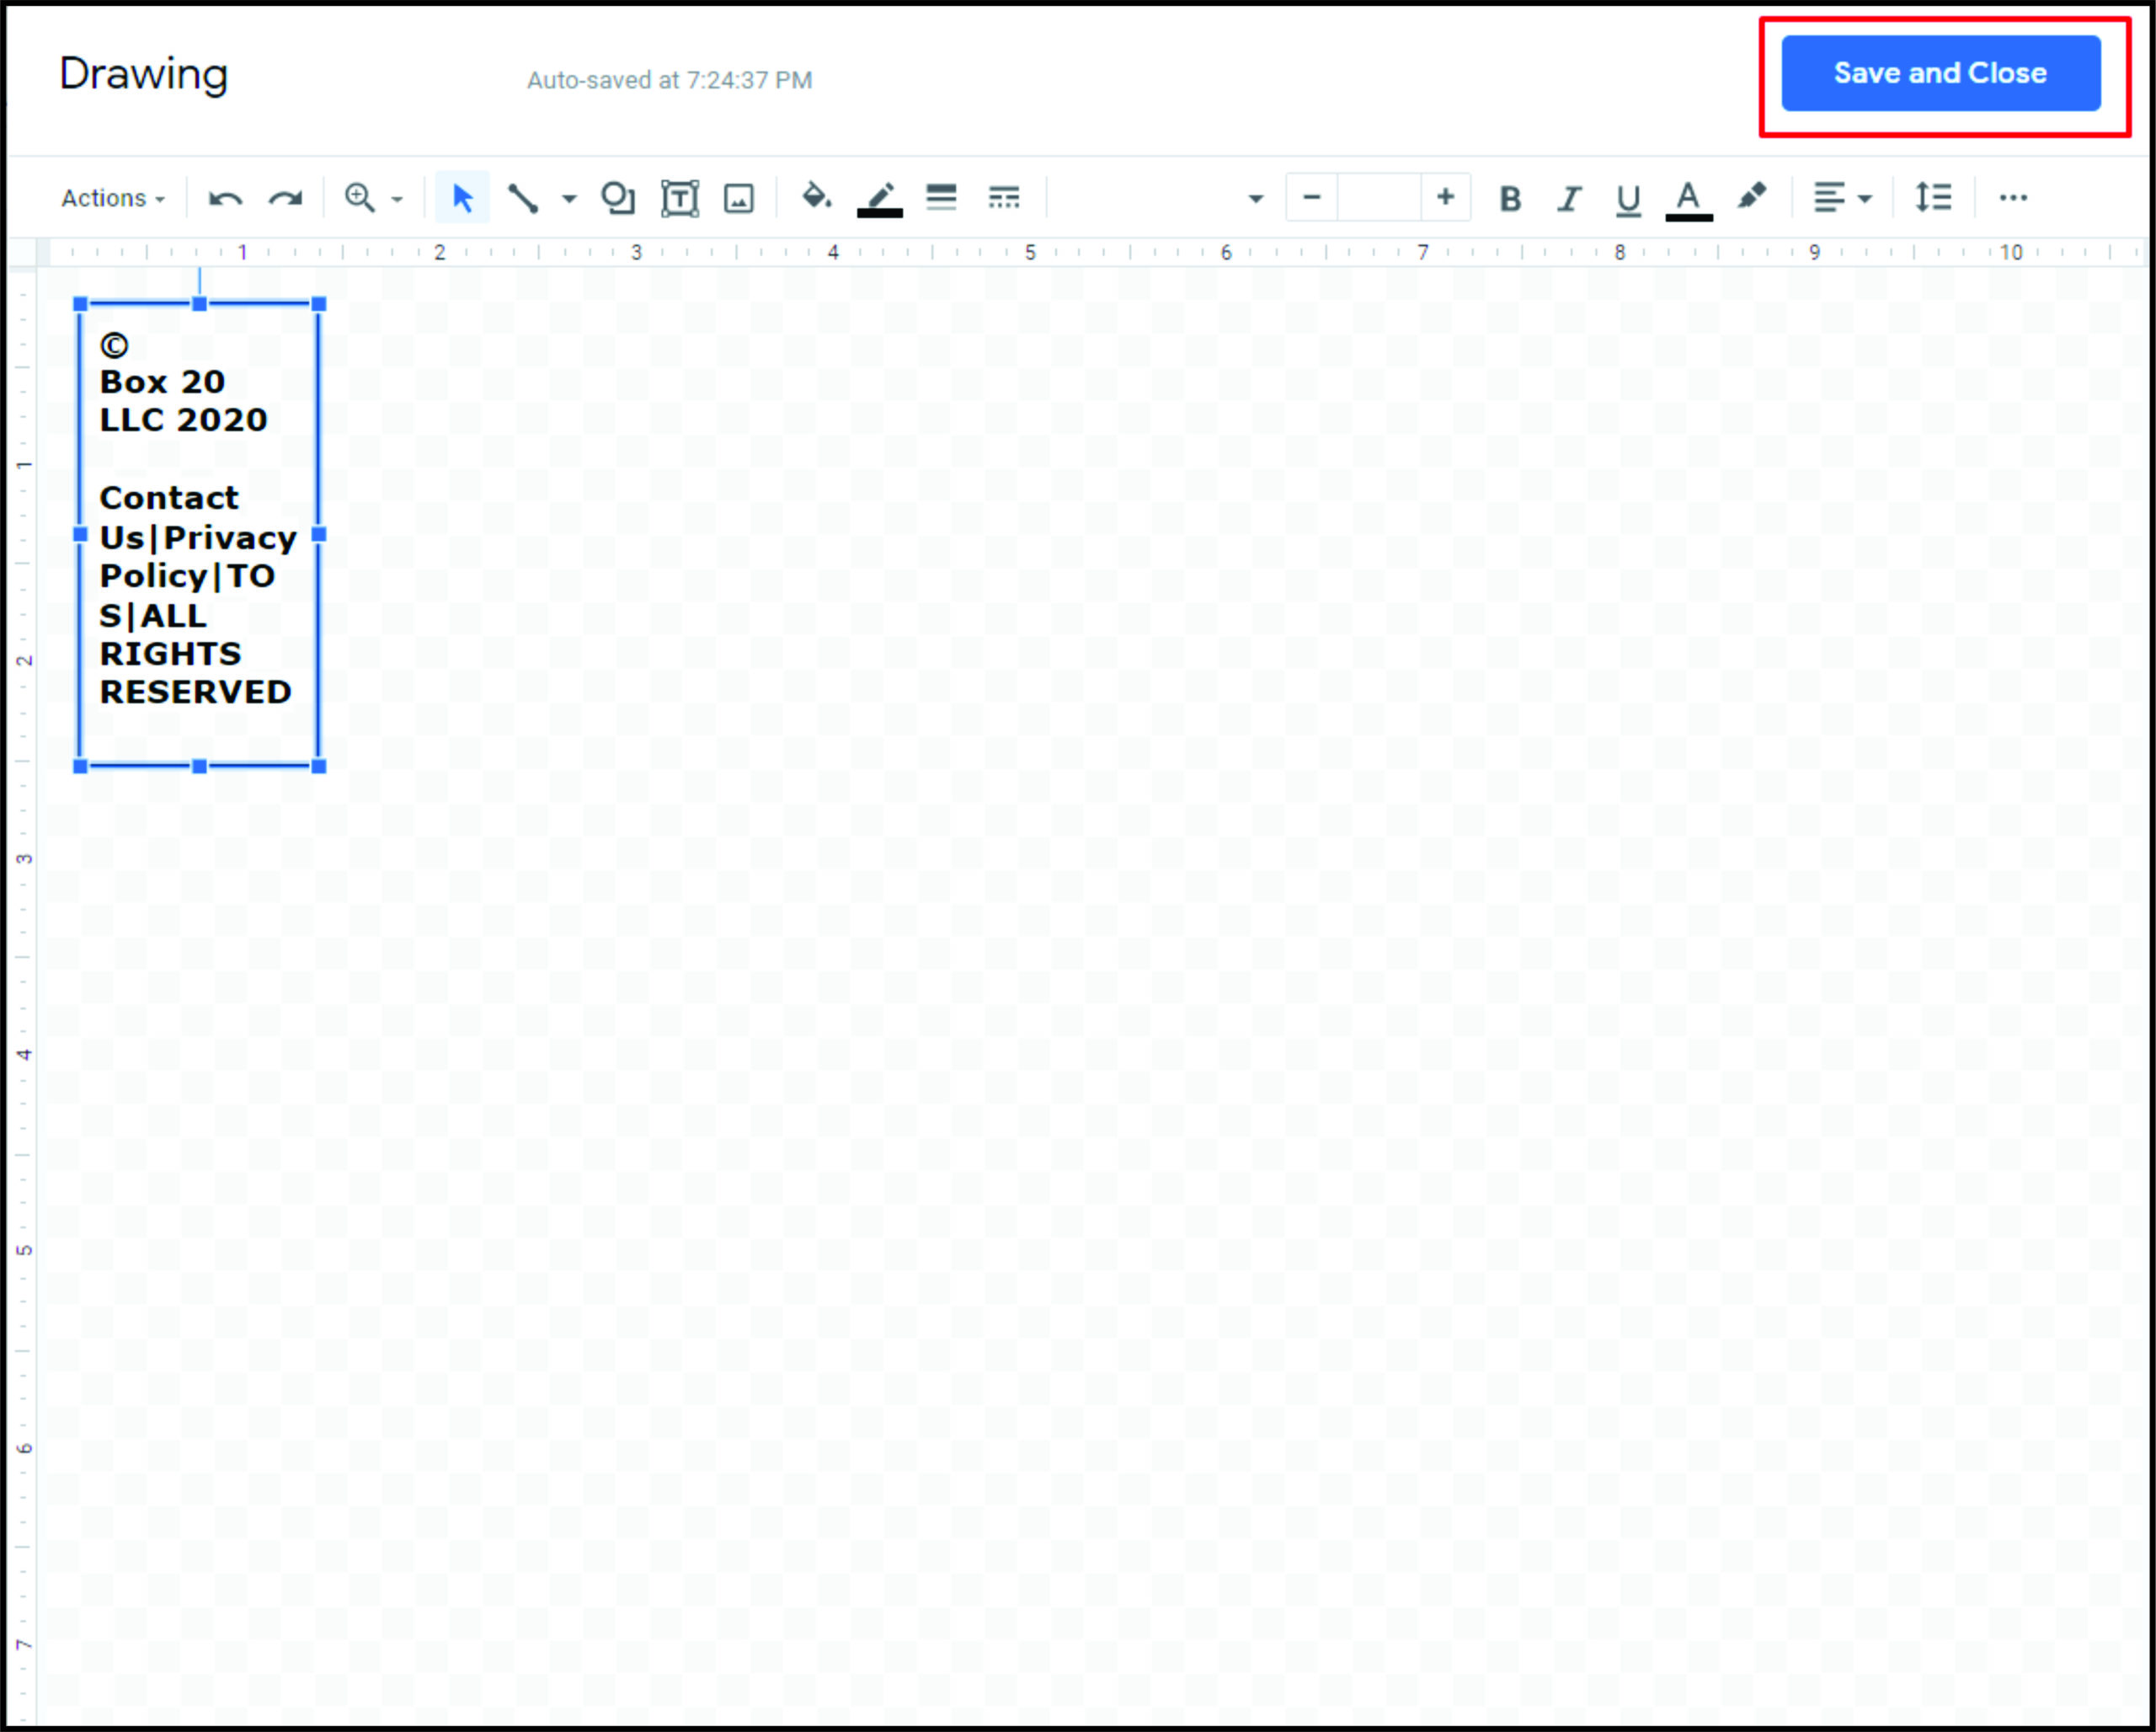
- You can move and drag the image by hovering over the text box until the cursor turns into white arrowed crosshairs.
- Once you’re satisfied, click on Save and Close in the upper right corner of the window.
- You now have a vertical pull tab on your document. Click and drag it to the desired location on the document.
- Select the image, then right-click on it. From the list choose Copy.
- Click on the space to the right, then right-click and choose Paste.
- Repeat until you’ve filled the bottom section with pull tabs.
- Follow the instructions given above for printing or saving the document for later.


How to Make a Half-Page Flyer in Google Docs
Half-page flyers, as the name suggests, are flyers with a design that only covers half the size of an ordinary flyer. With this design, you can print two smaller, but identical, flyers on the same page that can be cut apart to save time and paper. These can either be horizontal or vertical, depending on your need.
To create a half-page flyer, you can use several techniques, and they’re detailed below:
Making a Horizontal Half-Page Flyer in Google Docs
- Follow the instructions above to create a flyer either from a template or scratch.
- Keep the necessary information limited to only half the page.
- If you wish to insert a page break between the two sides of the flyer, click on Insert > Horizontal line from the list.
- Copy all data from the top of your flyer, then paste them on the other half of the page.


Making a Vertical Flyer in Google Docs
- Before filling in the data on your flyer, click on Format on the top menu.
- Hover over Columns and click on the image with two columns.
- If you wish to add a line between the columns, you can do the following:
- Click on the entire page.
- Click on Format, hover over Columns and click on More options.
- Make sure that the Line between columns checkbox is toggled on.
- Click on the entire page.
- Fill in the information that you want on one half of the flyer, then copy and paste it on the other half.
Making a vertical flyer with landscape page orientation.
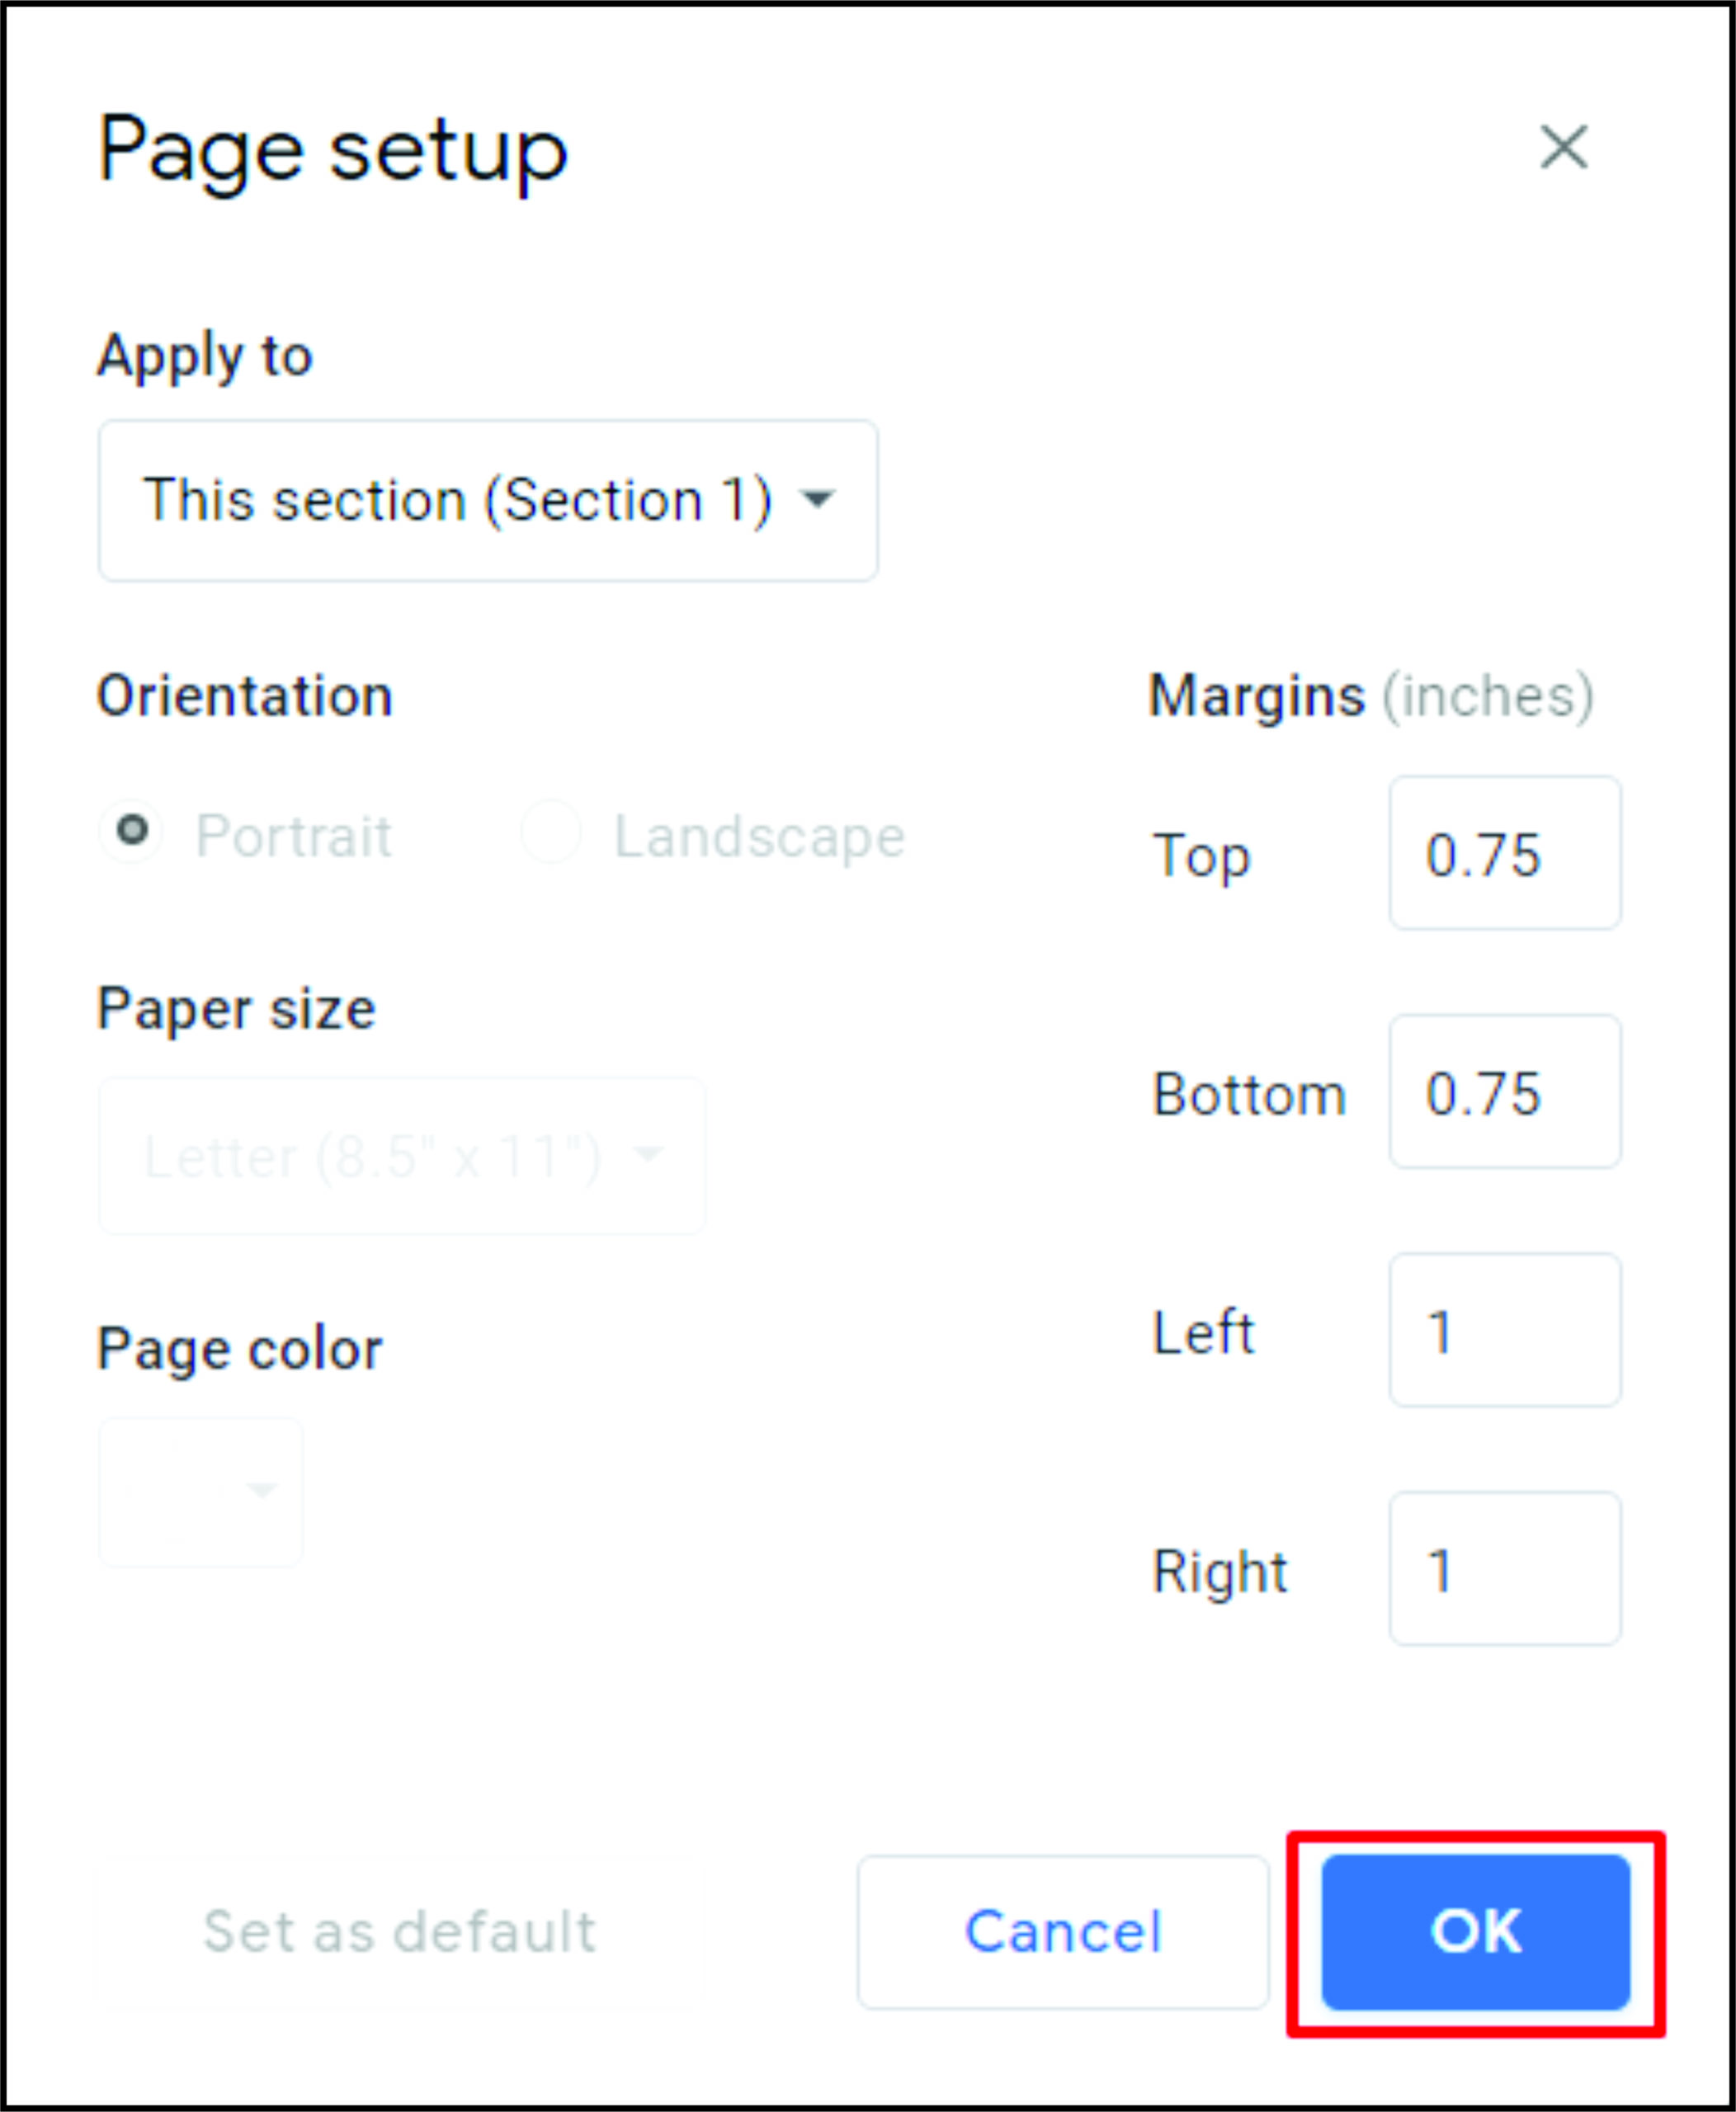
- On the top menu, click on File > Page setup.
- Under Orientation, click on the Landscape toggle.
- Click on OK.
- Follow the instructions above to make either a vertical or horizontal half-page flyer.
How to Make a Good Flyer on Google Docs
To make a good flyer, here are a few important notes in mind. First, the most efficient flyer is one where all the important information can be seen with a glance. Be sure to get to the point and keep unessential data to a minimum.
Second, adding images and flashy text can be used to draw attention to all the relevant facts, but don’t overuse them. Lastly, make sure all the relevant data is on the flyer. If you’re welcoming inquiries, make sure contact information is actually on the flyer itself. Effective communication is the key to making a great flyer.
How to Create a Fillable Template in Google Docs
If you have a G Suite account, you’re given the option to save your currently finished flyer as a template that you can use later.
- To do this, click on the Template gallery button on the upper right side of your Google Docs homepage.
- Your company’s template gallery should be listed just beside the General templates tab. Clicking on the Submit template button on the right side of the window will allow you to choose the Google Docs file that you wish to use as a template.
If you don’t have a G Suite account, here’s how.
- Open your completed flyer and click on File > Make a copy. This will make a duplicate of the document which you can later edit to fit your new needs.
Additional FAQs
Is There a Flyer Template on Google Docs?
Although by default, there is no dedicated flyer template on Google Docs, several other templates work rather well in its place. The Brochure or Newsletter template, for example, offers great designs that draw the reader’s attention to important information.
If you wish to find new templates to use, you can perform a Google search for “flyer templates” or visit Template.net to see all their available free document templates.
How Can I Create a Form in Google Docs?
1. On the Google Docs home page, click on the menu icon on the upper left corner of the window.
2. From the list click on Forms.
3. From there you can choose a form template or create one from scratch by clicking on + blank.
How Do You Make a Tear-Off Flyer in Google Docs?
Tear-off flyers and pull-tab flyers are the same. Refer to the “How to make a pull-tab flyer in Google Docs” instructions given above.
Making Advertising Easy
Whether you want to update people about an upcoming event or give them information about an interesting product, flyers certainly do a lot to make advertising easy. Knowing how to make a flyer in Google Docs gives you an easily accessible tool for creating them.
Do you have any tips or tricks regarding flyers and flyer templates in Google Docs? Share your thoughts in the comments section below.
Disclaimer: Some pages on this site may include an affiliate link. This does not effect our editorial in any way.