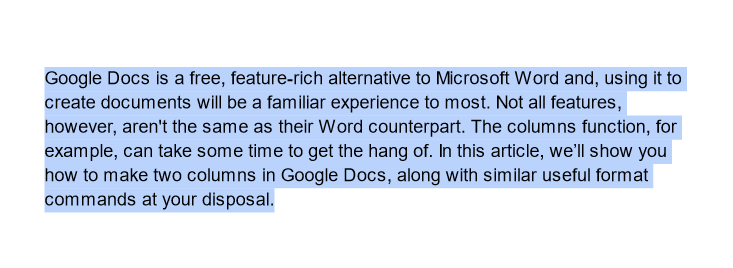
Google Docs is a free, feature-rich alternative to Microsoft Word and, using it to create documents will be a familiar experience to most. Not all features, however, aren’t the same as their Word counterpart. The columns function, for example, can take some time to get the hang of.
In this article, we’ll show you how to make two columns in Google Docs, along with similar useful format commands at your disposal.
How to Make Two Columns of Text in Google Docs
The multiple-column feature in Google Docs wasn’t included when Google Docs was first released, but the demand for said option prompted developers to add it in.
To add a second column to one page of your document, follow these steps:
- To apply a two-column format on your entire google doc:
- Open Google Docs and select Blank page.

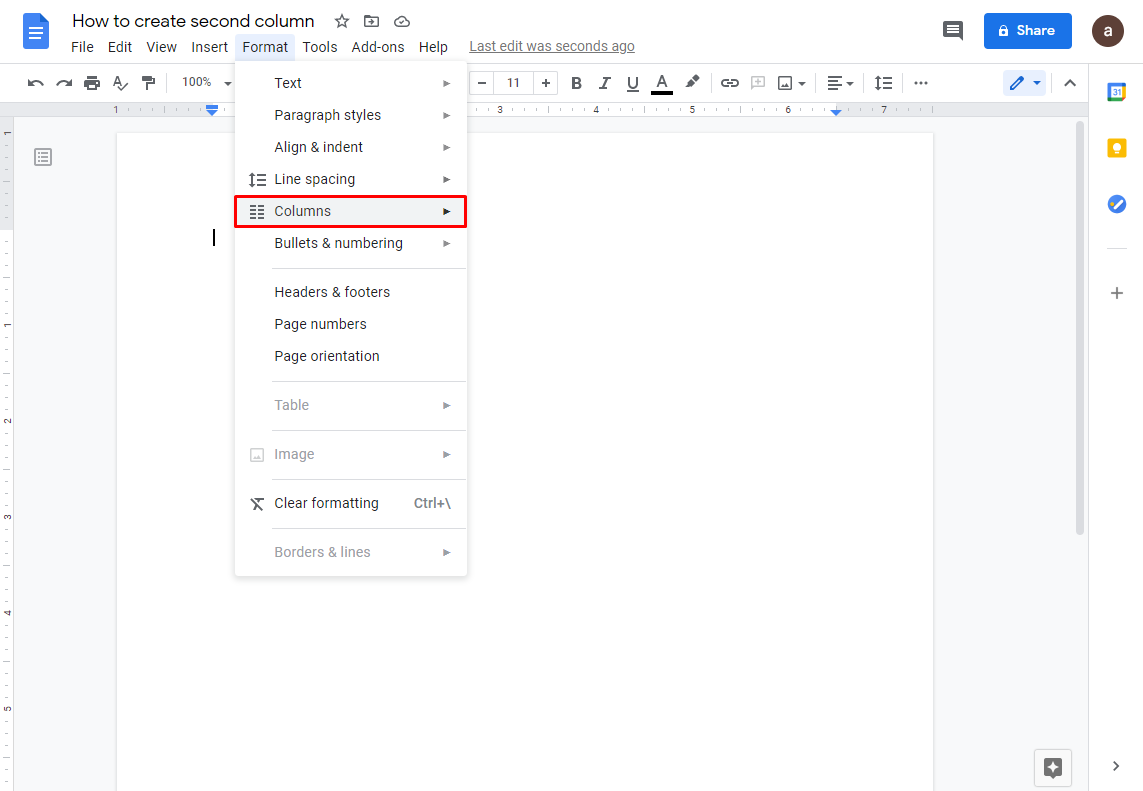
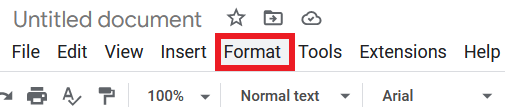
- On the top menu, click on Format.

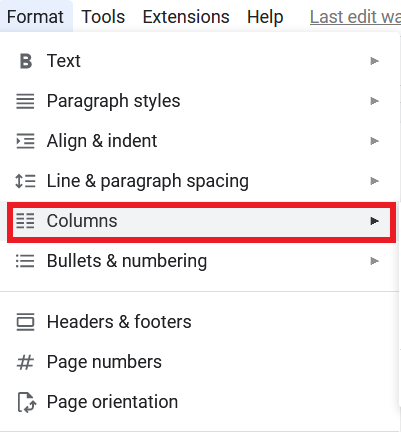
- From the drop-down list hover over Columns.
- Click on the two-column image to apply it to your document.
- Open Google Docs and select Blank page.
- To apply the two-column format to a portion of your document:
- Open the Google Doc that has the text that you want to apply your formatting to, or create a new one from a blank page.
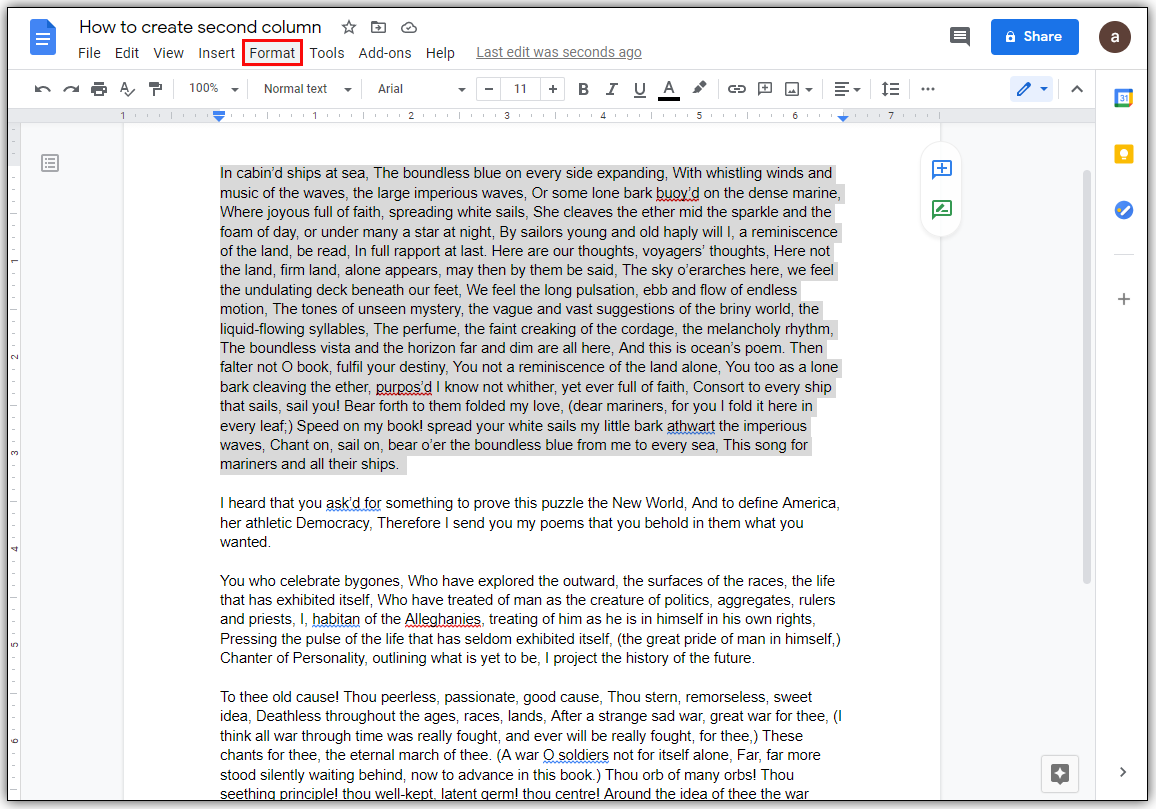
- Highlight the part of the text that you want to add the formatting to.
- Click on Format in the top menu.
- Hover over Columns in the drop-down list.
- Click on the two-column image.
- Open the Google Doc that has the text that you want to apply your formatting to, or create a new one from a blank page.
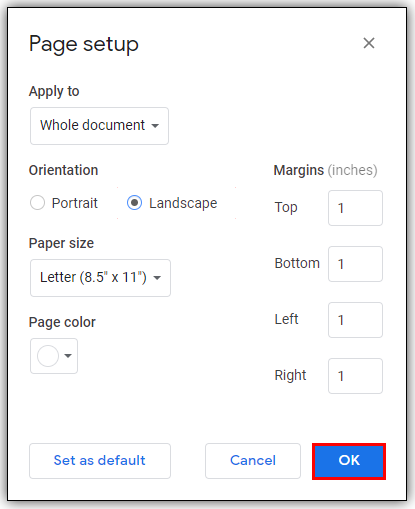
- To create a horizontal half-page document:
- Open your Google Doc or create a new one.
- Click on File in the upper left corner of the top menu.
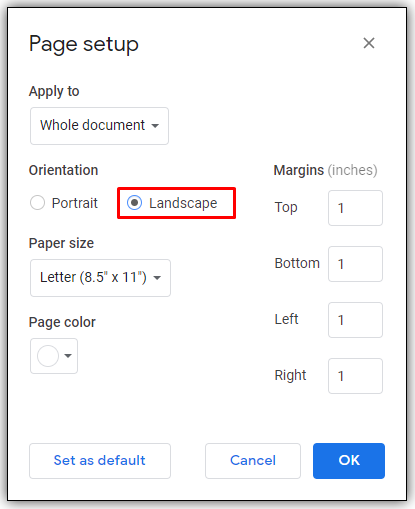
- . Select Page Setup from the dropdown list.
- Toggle on Landscape from the popup window.
- Click OK. Alternatively, if you’re going to make several new horizontal-oriented documents, click on Set as Default to keep this setting. You can toggle this off again later.
- Click on Format in the top menu.
- Hover over Columns from the drop-down list.
- Click on the two-column image.
- Open your Google Doc or create a new one.
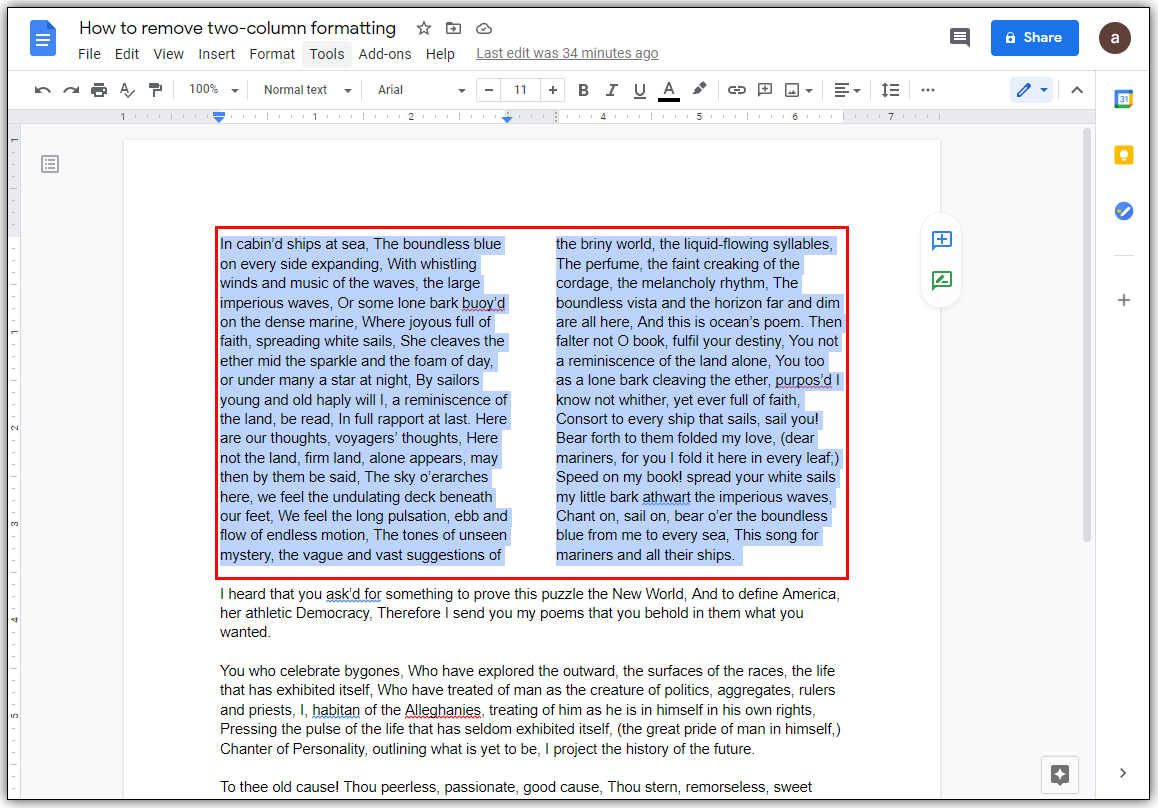
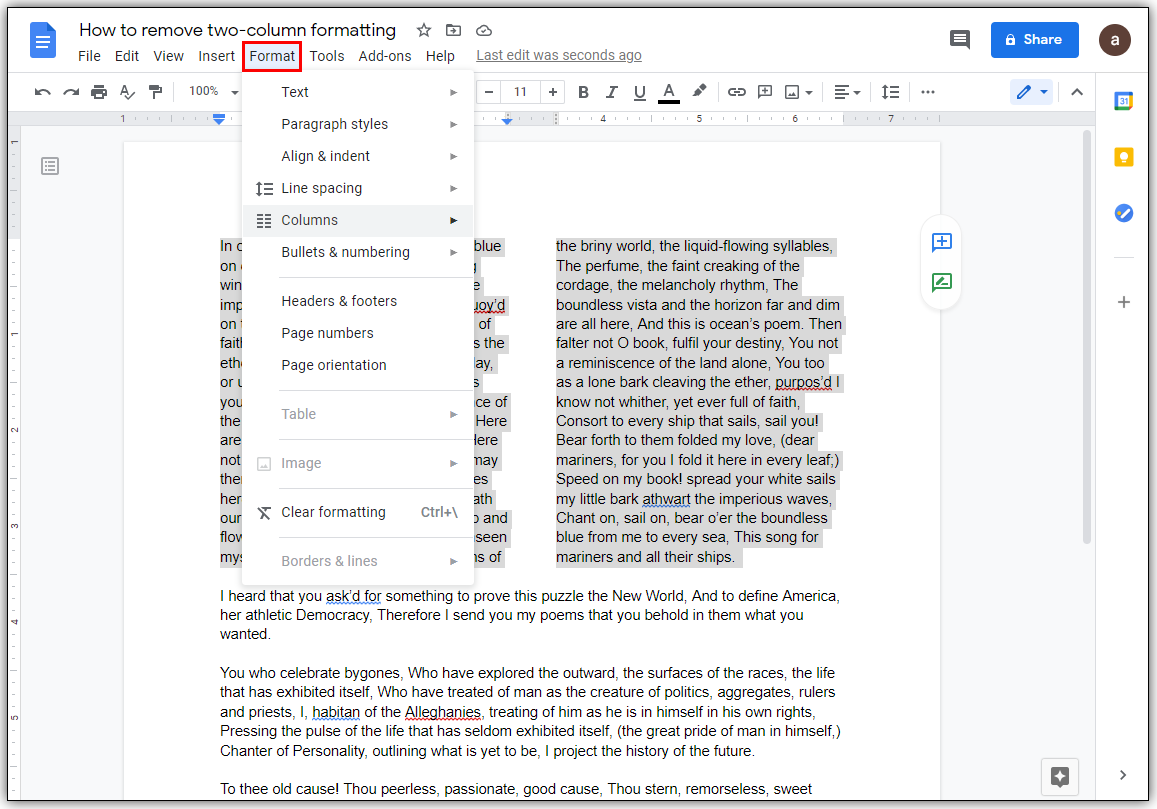
- To remove two-column formatting:
- Select the portion of the text that you want two-column formatting to be removed from.
- Click on Format.
- Hover over Columns.
- Select the one-column format image.
- Select the portion of the text that you want two-column formatting to be removed from.


How to Customize Columns in Google Docs
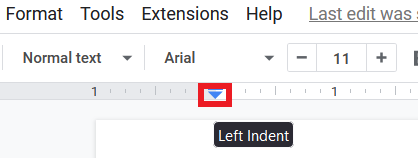
When using multiple columns in Google Docs, you can edit the formatting of the columns to create your custom setup. These tools are located at the ruler tool at the top of the page.
The important ones to remember are:
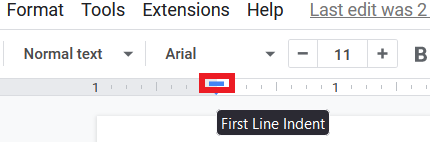
- The blue down arrow on both ends of each column represents the left and right indent. Click and hold with your mouse to adjust indentation.
- The blue line on top of the left side blue arrow is the first line indent. This is important if you use tabs for paragraphs. To move it, click and hold as you did for the down arrows. Usually, if you move the left indent, the first line indent will move as well. Clicking and holding on the first line indent will move it separately.
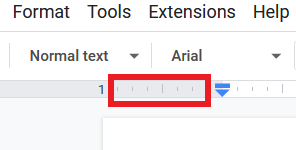
- The gray portion on the ruler between columns represents the margin. You can move it by hovering over it with your mouse until the cursor transforms into the margin tool. The margin tool looks like two vertical lines with arrows pointing left and right. When the cursor transforms, click and hold then move it left or right.
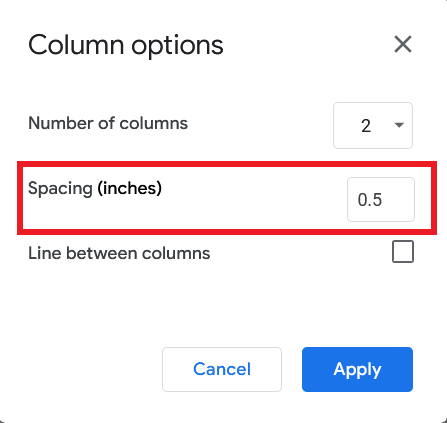
- You can determine specific spacing widths by entering the measurement on the formatting options. You can access this by:
- Click on Format in the top menu.
- Hover over Columns.
- Click on More Options.
- Input a specific number to determine the width in inches in the text box to the right of Spacing and click Apply.
- Click on Format in the top menu.
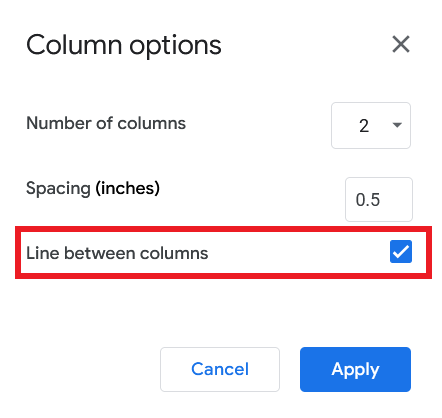
- If you wish to make a line between the columns, open the formatting options under columns and toggle on the Line Between Columns.

How to Make Two Columns in Google Docs in Chrome
Google Docs, being mainly online aren’t platform-dependent, and can be used in any browser. However, there is one advantage to using Google Chrome. As Google’s own official Google Offline Chrome Extension, allows you to use the word processor even if you don’t have an internet connection.
Download and install the extension to your Google Chrome browser to allow its functionality even in offline mode. You can then add columns to your Google Docs project on your Google Chrome browser by using the same steps detailed above.
How to Type in a Second Column in Google Docs
Typically, in a document that already has a two-column format, you’ll automatically move to the second column once space runs out in the first. If you wish to be able to type on either column at once, you can do so by inserting column breaks in the document.
This can be done by doing the following:
- Click on Insert in the top menu.
- Hover over Break in the drop-down list.
- Click on Column Break.
- Alternatively, you can right-click on your mouse then choose Column Break from the popup menu. If you’re using a Mac, use Ctrl + click then do the same.


By doing this, you can now click between both columns to go back and forth, then type your text as you like.
How to Make Two Columns in the Google Docson Mobile App
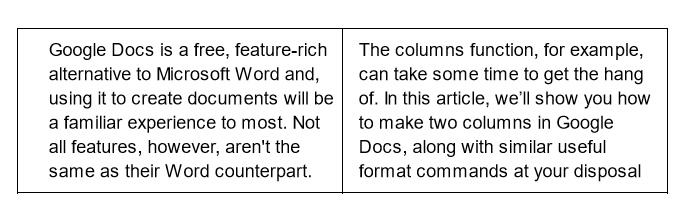
The Column Format feature is unfortunately unavailable in the mobile version of the Google Docs mobile app. There are ways to get around this though, and it involves using tables instead.
To do this:
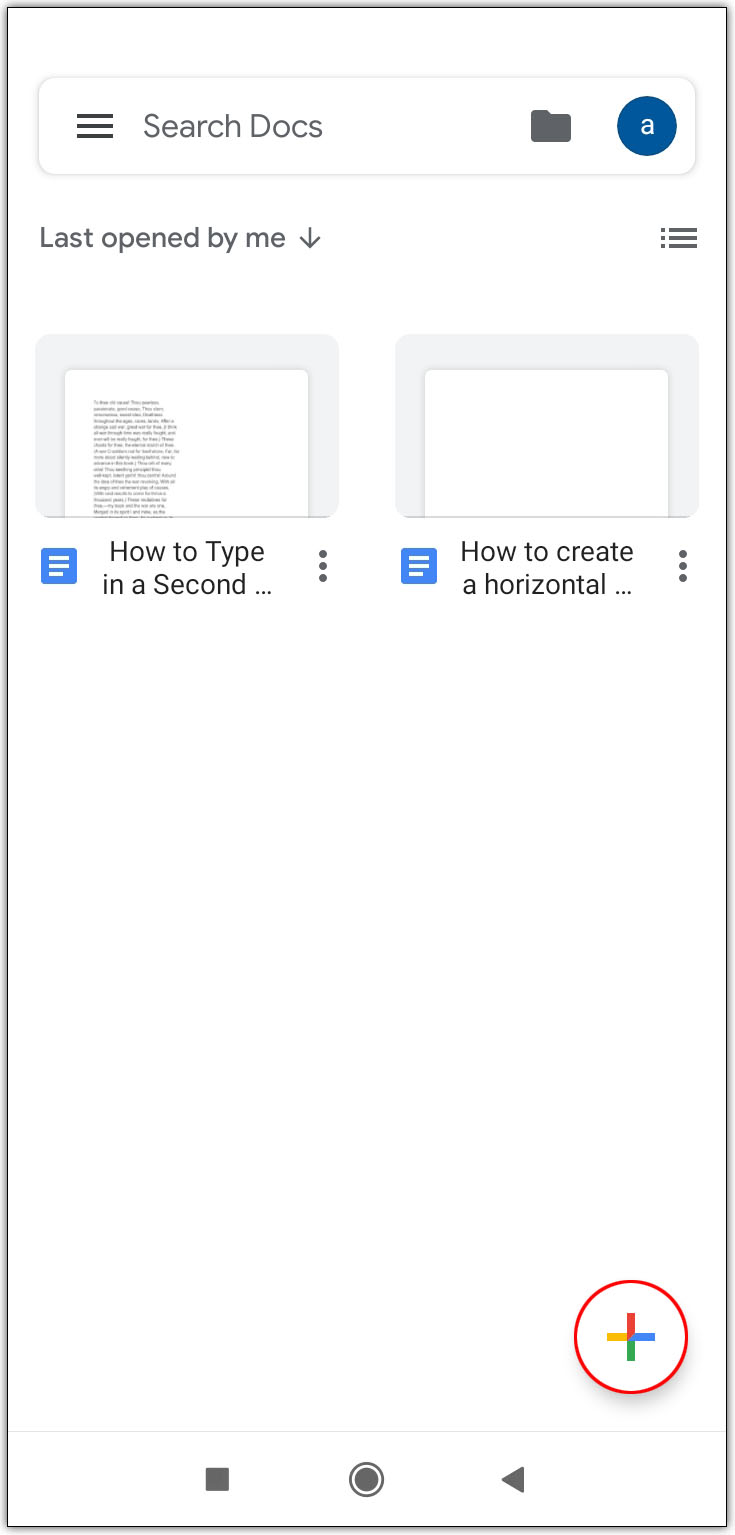
- Open the Google Docs mobile app, then tap on the + in the lower right-hand corner of the screen.
- Tap on New Document. Alternatively, if you tap on Choose Template, you can browse the choices to see if there are templates with multiple columns available.
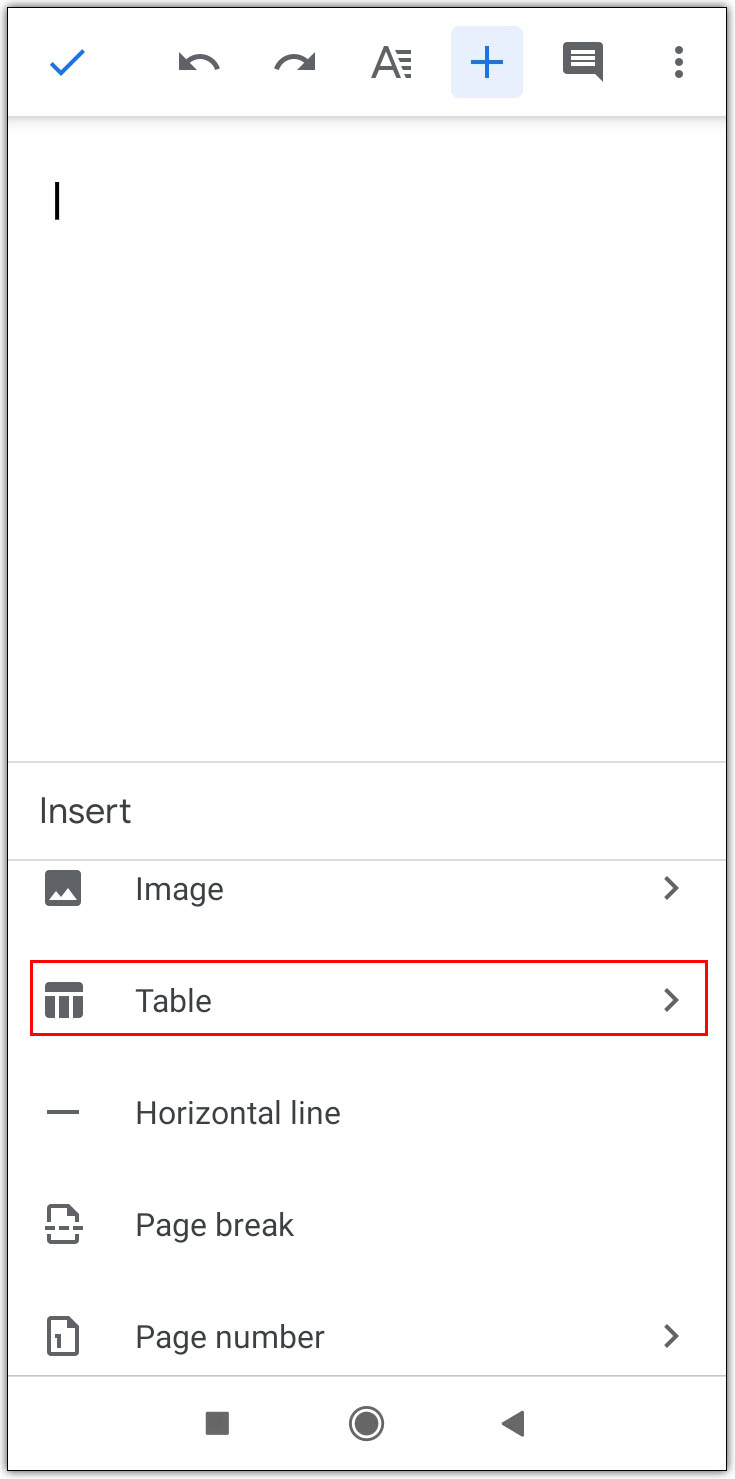
- Tap on Insert. This is the + symbol in the top-right menu.
- Scroll down the list and then tap on Table.
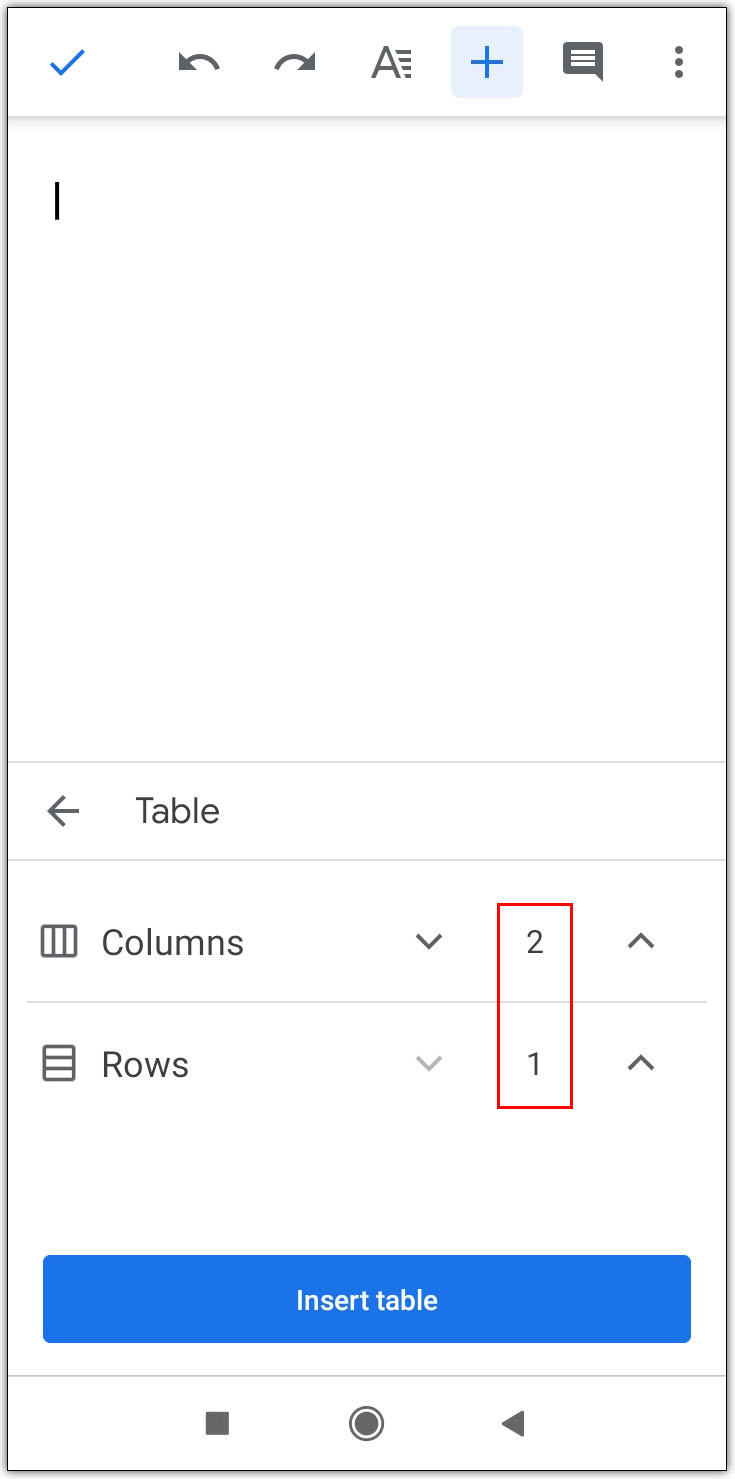
- Tap on the down arrow on Columns to reduce them to two. Tap on the down arrow on Rows to reduce them to one.
- Tap on Insert Table.


The downside to using tablets in the mobile version is that you can’t exactly remove the borders like you can if using the browser. If you want the additional functionality, open your mobile web browser then access Google Docs from there.
Additional FAQs
These are the questions that usually pop up whenever there are discussions about columns in Google Docs.
How Do You Split Cells in Google Docs?
At this time, you can’t split cells in a table created in Google Docs unless they have been previously merged in Google Docs as well.
To merge cells, just highlight the cells you wish to merge then do the following:
1. Click on Format in the top menu.

2. Hover over Table.

3. Click on Merge Cells.

4. Alternatively, you can right-click then choose Merge Cells from the popup menu.

5. To split merged cells, right-click or Ctrl + click on the merged cell then select Unmerge
How Do You Create Columns in Existing Google Docs?
You can have a maximum of three text columns in a Google Doc. To add a column:
1. Highlight the existing text
2. Go to the three-column image under the Format menu.

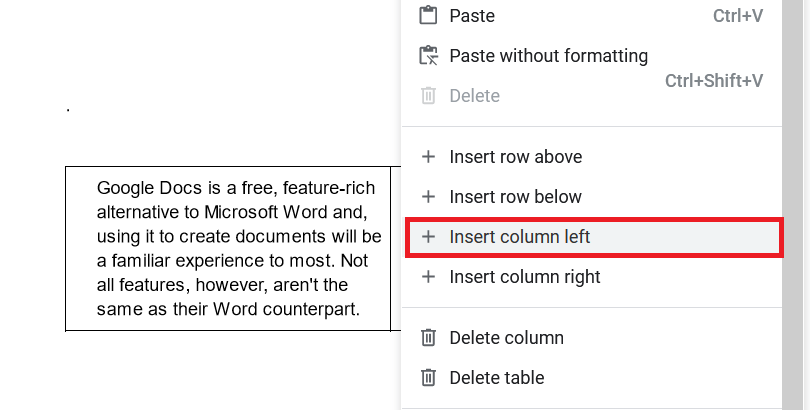
If you wish to add columns to a table inserted into the Google Doc:
1. Right-click, or ctrl + click inside the table
2. Choose insert column left or right.
Google Docs: A Versatile Tool
As demands for more formatting options are addressed by the developers of Google Docs, more and more features will become available. For now, knowing how to make two columns in Google Docs increases the functionality of this already versatile application.
Do you have any experience, tips or tricks making multiple columns in Google Docs? Share your thoughts in the comments section below.
Disclaimer: Some pages on this site may include an affiliate link. This does not effect our editorial in any way.