The iOS 14 update brought many long-awaited customization options for iPhone users. Apart from adding an app drawer, Apple made sure you could customize your device’s screen to suit your preferences.
Now, your iPhone and iPad are compatible with several third-party apps for screen customization, but Widgetsmith stands out from the crowd. This widget app was designed by an experienced Apple developer, so it’s no wonder the app has become popular so quickly.
If changing your iPhone’s background doesn’t do the trick anymore, perhaps downloading Widgetsmith will add the customization and the style you’ve been missing. If you’re unfamiliar with the Widgetsmith app, we’ll guide you through the basics and show you how to start using it.
How to Use Widgetsmith on an iPhone
One of the best aspects of the Widgetsmith app is how easy it is to use. The setup is pretty straightforward and keeps the selection process user-friendly.
All the widget templates are ready-made, and you don’t have to design anything on your own. The first step to using Widgetsmith on your iPhone is downloading the app’s latest version from the App Store.
When you launch the app for the first time, you will be prompted to grant specific permissions to use the app. Once you have that covered, it’s time to start setting up the widgets. Here’s how it works:
- Launch the Widgetsmith app.

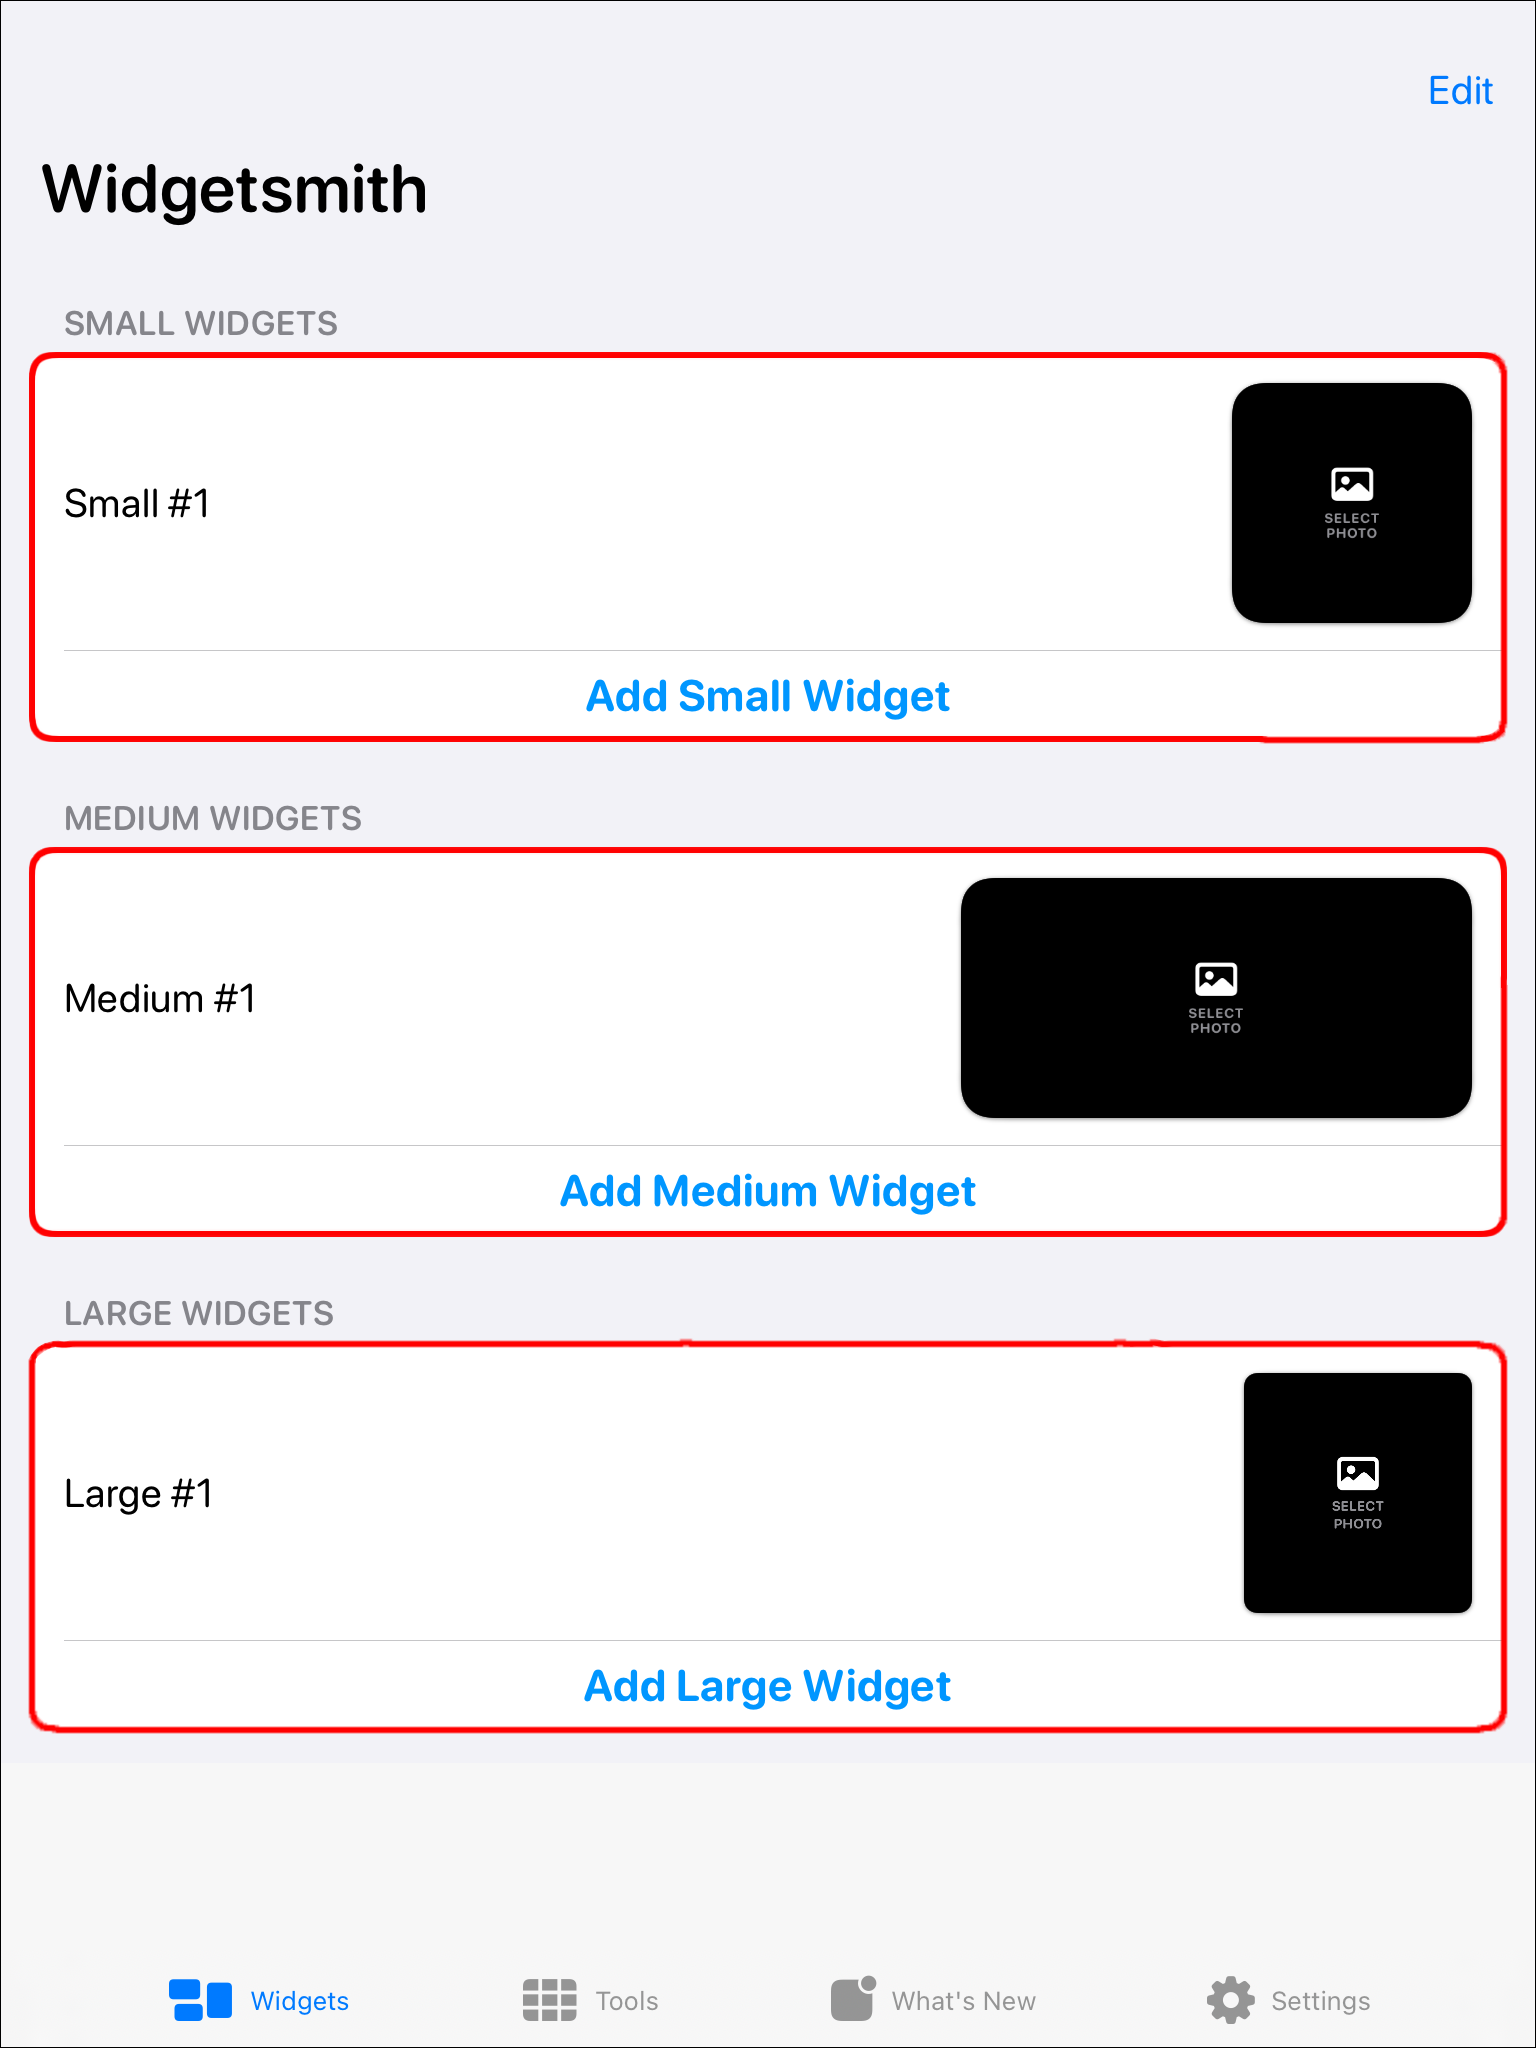
- The first choice is to choose the widget size. You have Small, Medium, and Large options.

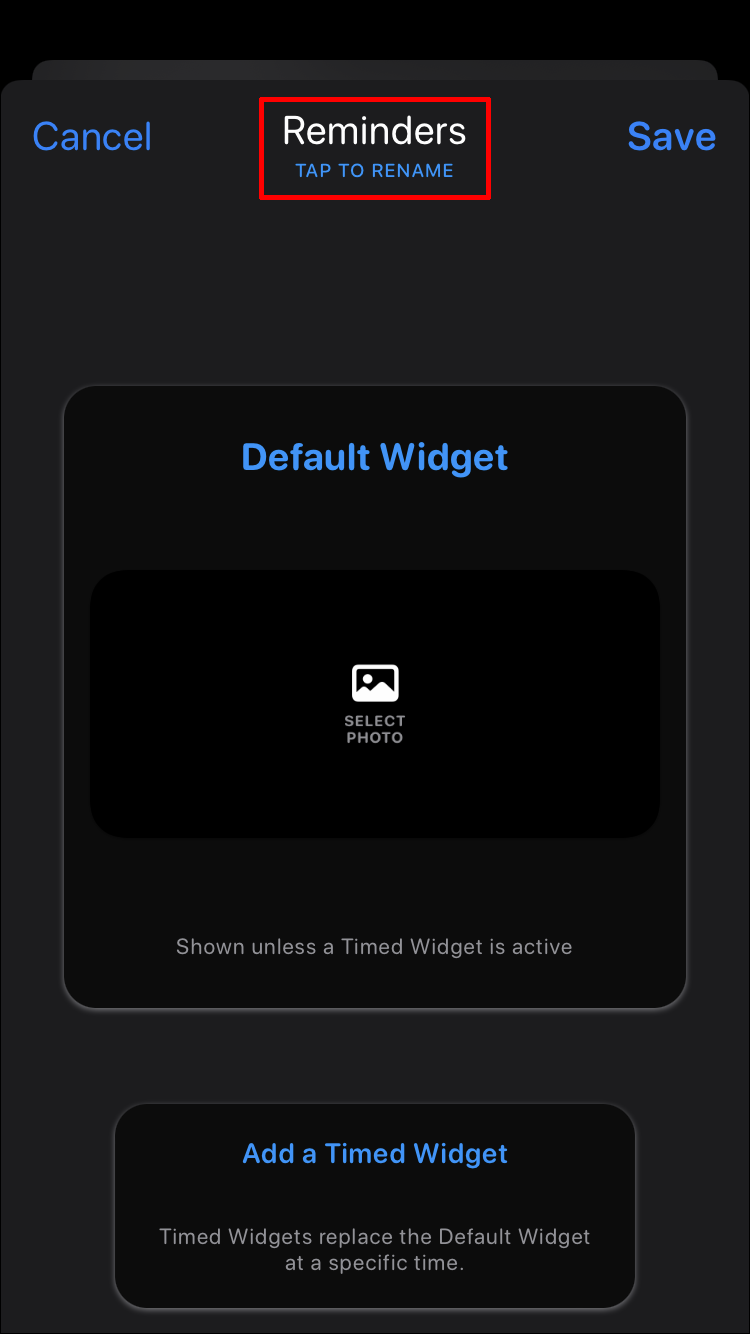
- Select “Add [Small/Medium/Large] Widget” and rename it. For example, “Reminders.”
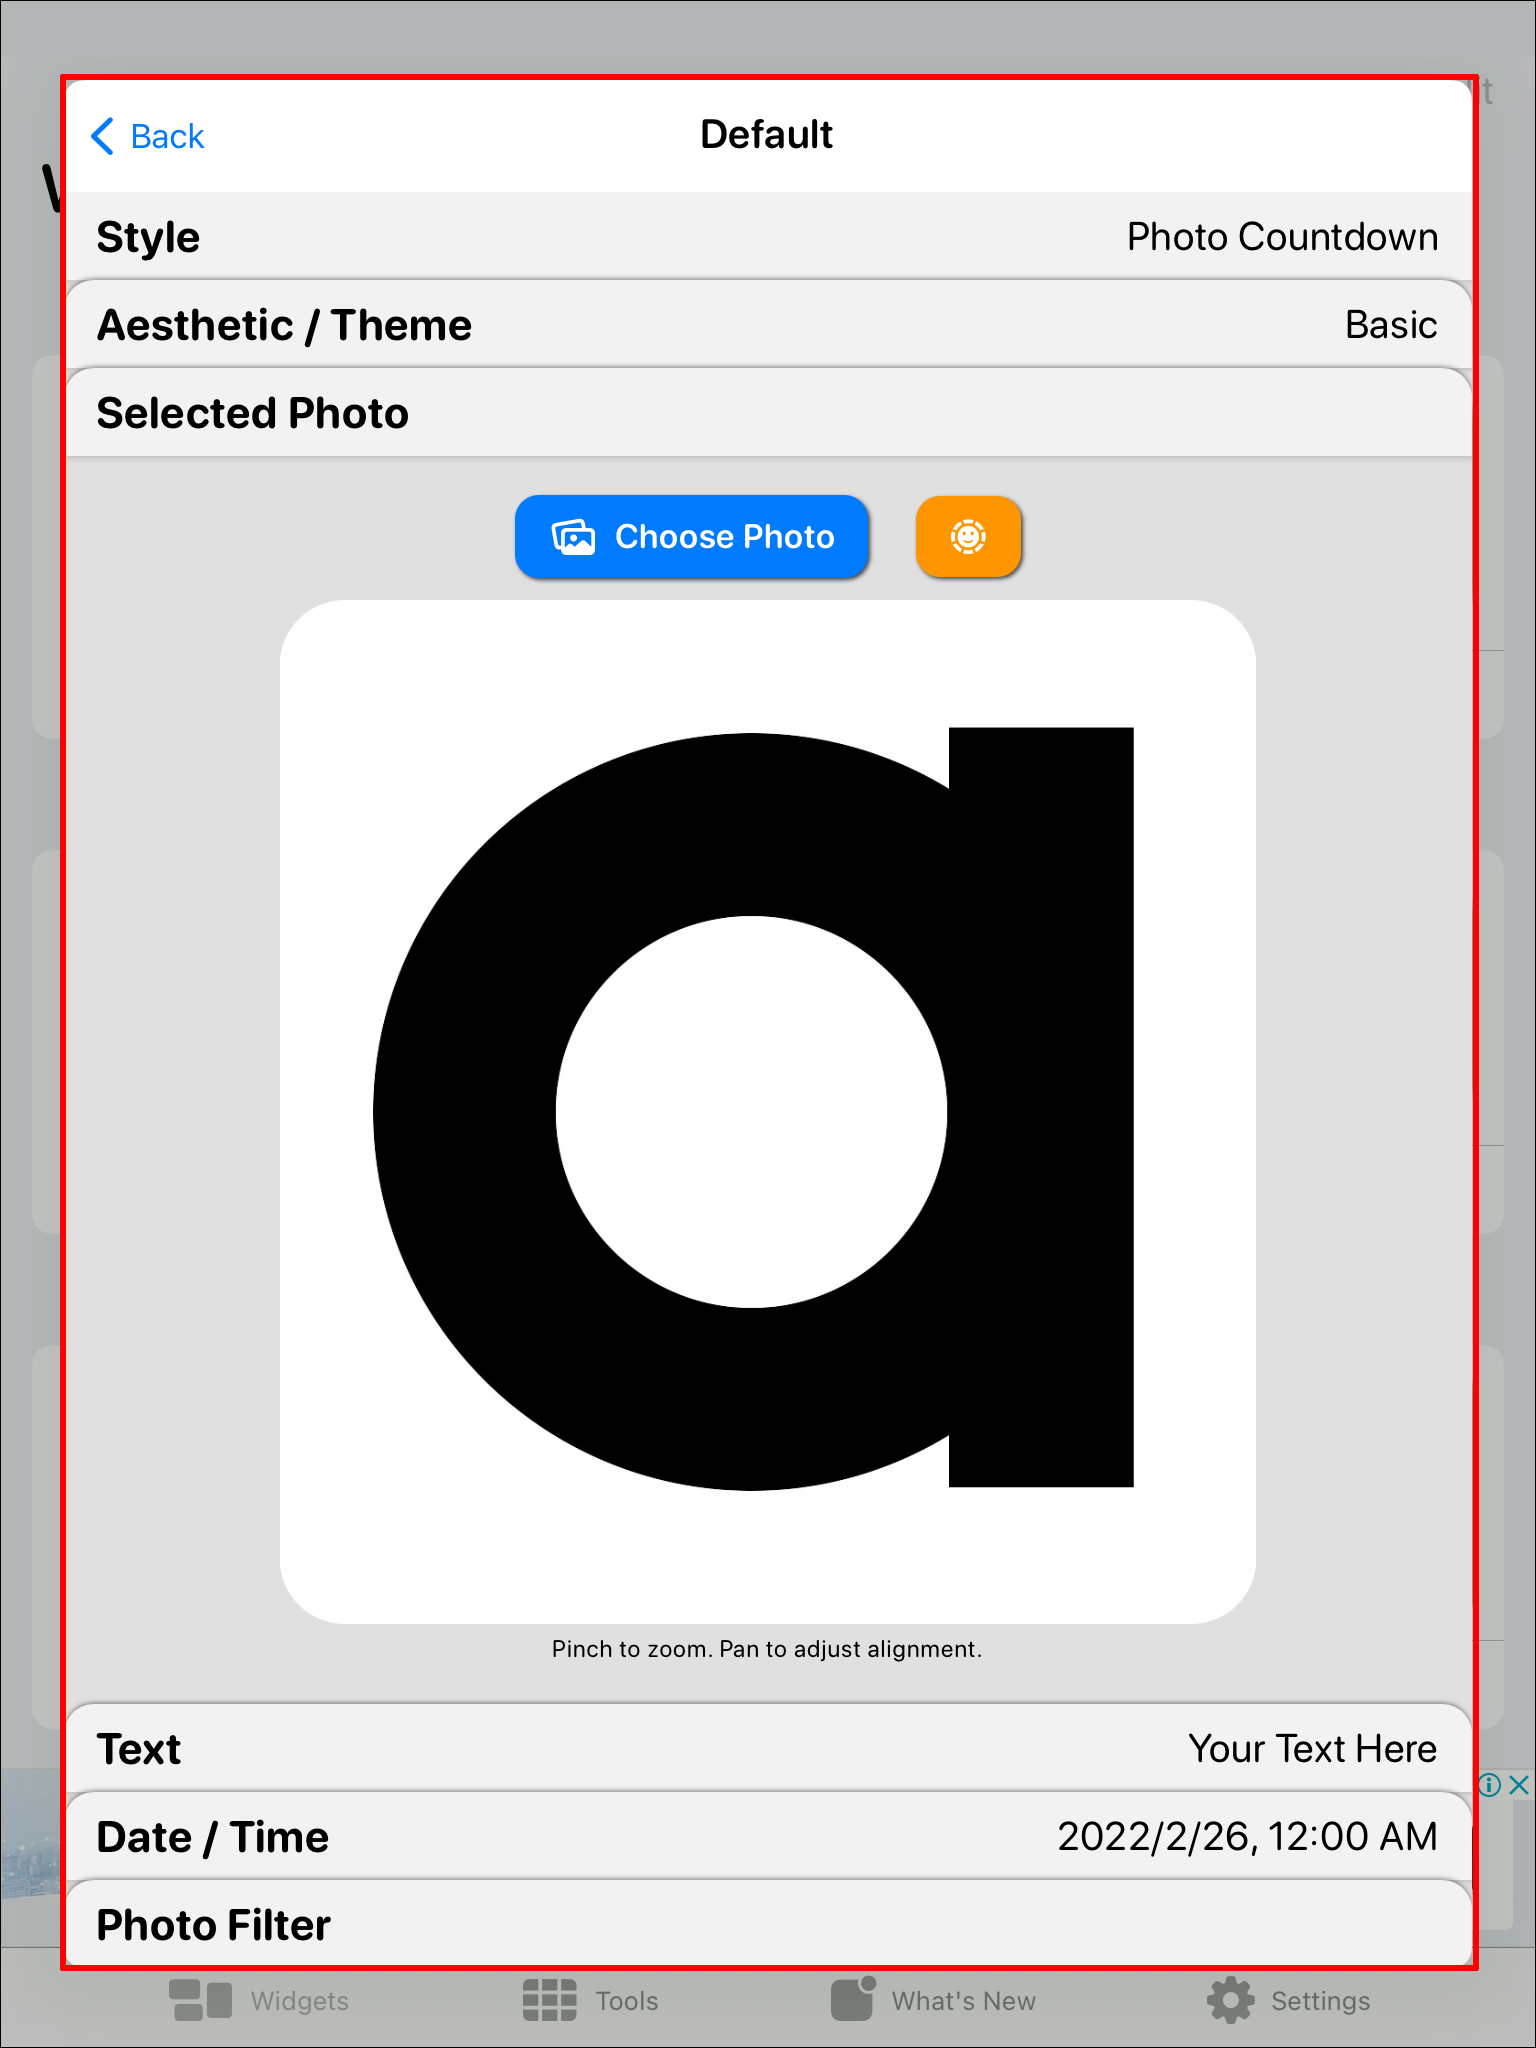
- Tap the “Default Widget” option, which will prompt you to the selection page.
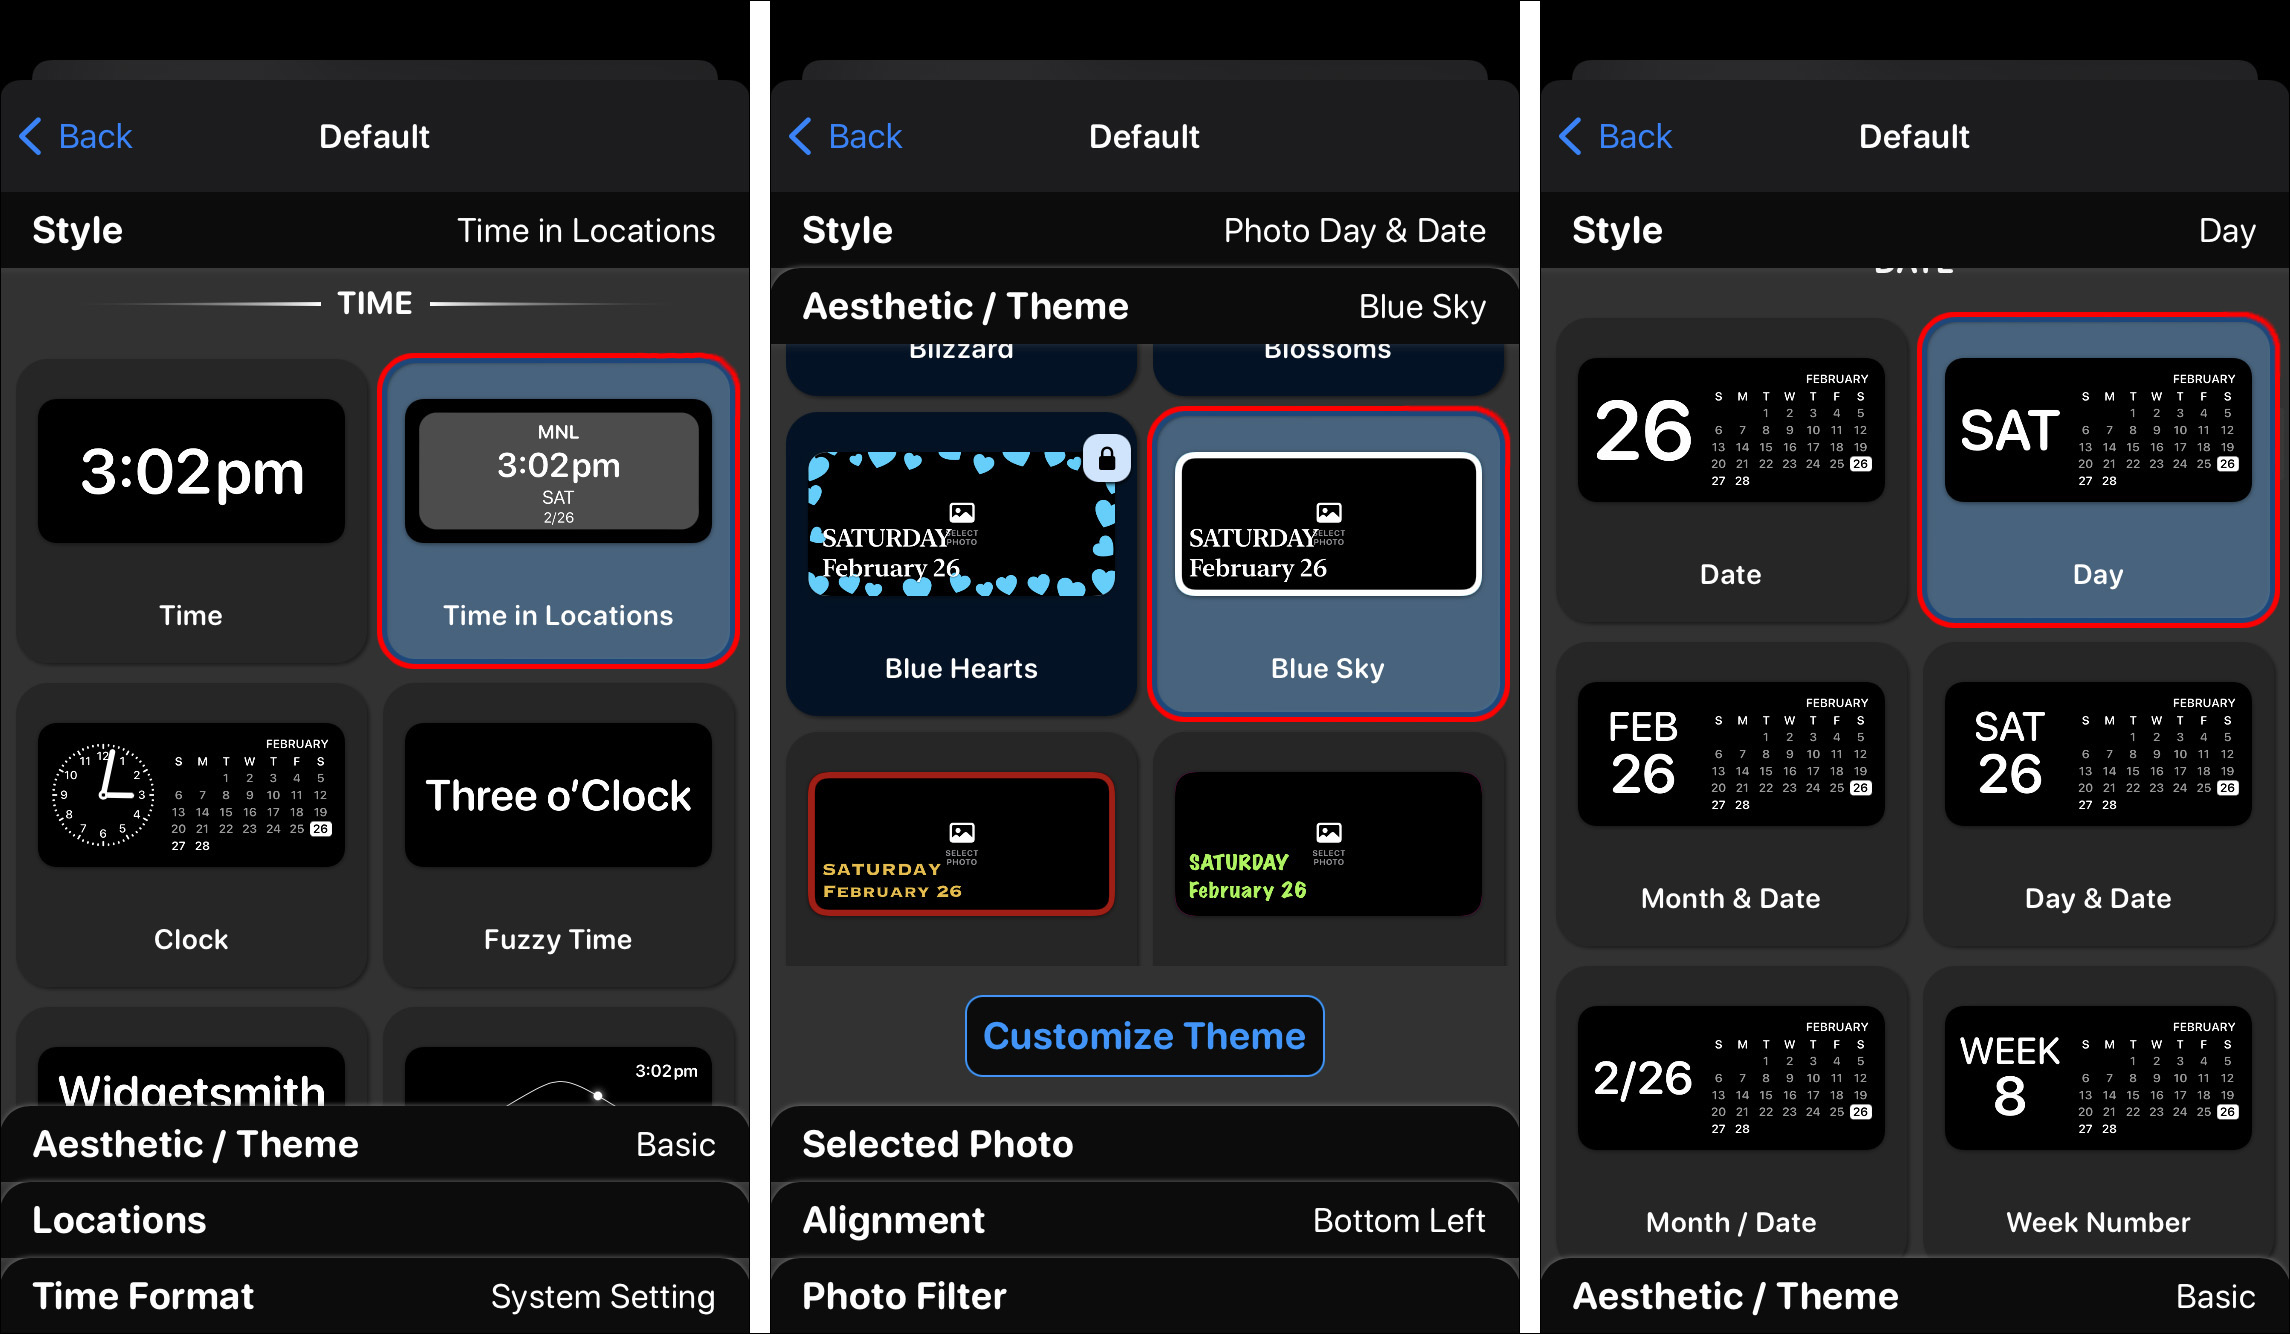
- Here, you can browse styles, change fonts, adjust tint color, and even change the background color.
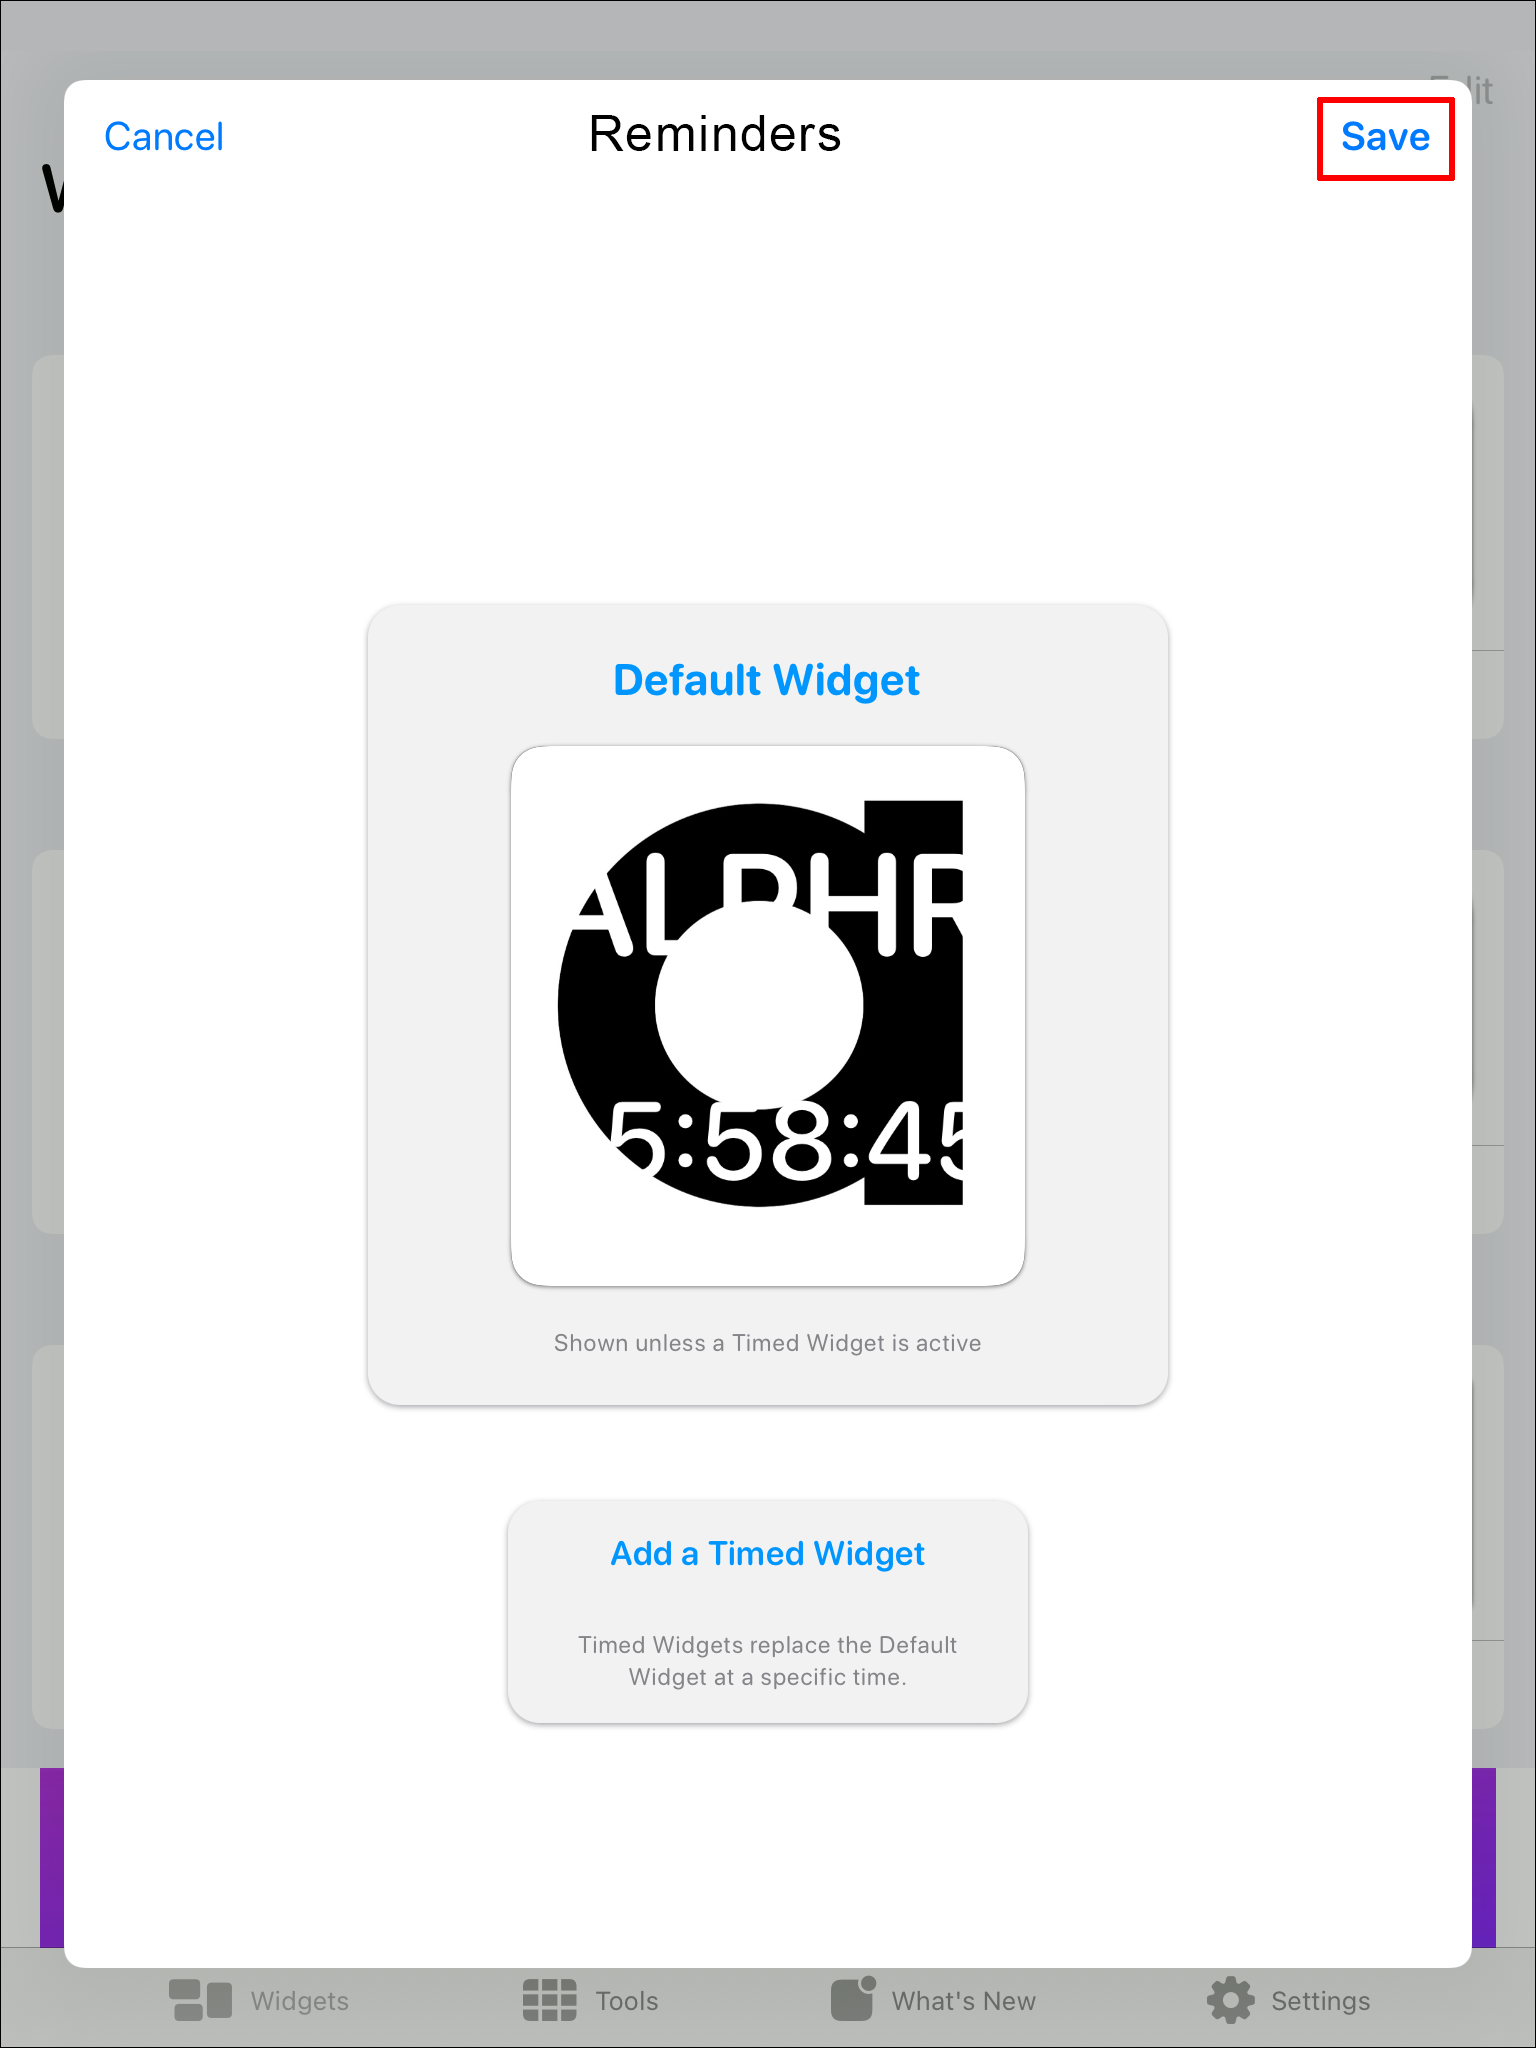
- Select “Save” and return to the Home Screen when you’ve finished customizing the widget


Regardless of which size widget you’ve selected, the process is the same. Keep in mind that only the small widget is square-shaped, while medium and large are rectangular.
How to Use Widgetsmith on an iPad
The Widgetsmith app is also available on the App Store if you have an iPad. By installing the app, you can transform your Health & Activity or Calendar to better suit your preferences.
Once you download and install Widgetsmith, the customization process can begin. Here are the basic steps to follow:
- Open the Widgetsmith app on your iPad.
- Pick the size for your widgets. The available options are Small, Medium, and Large.
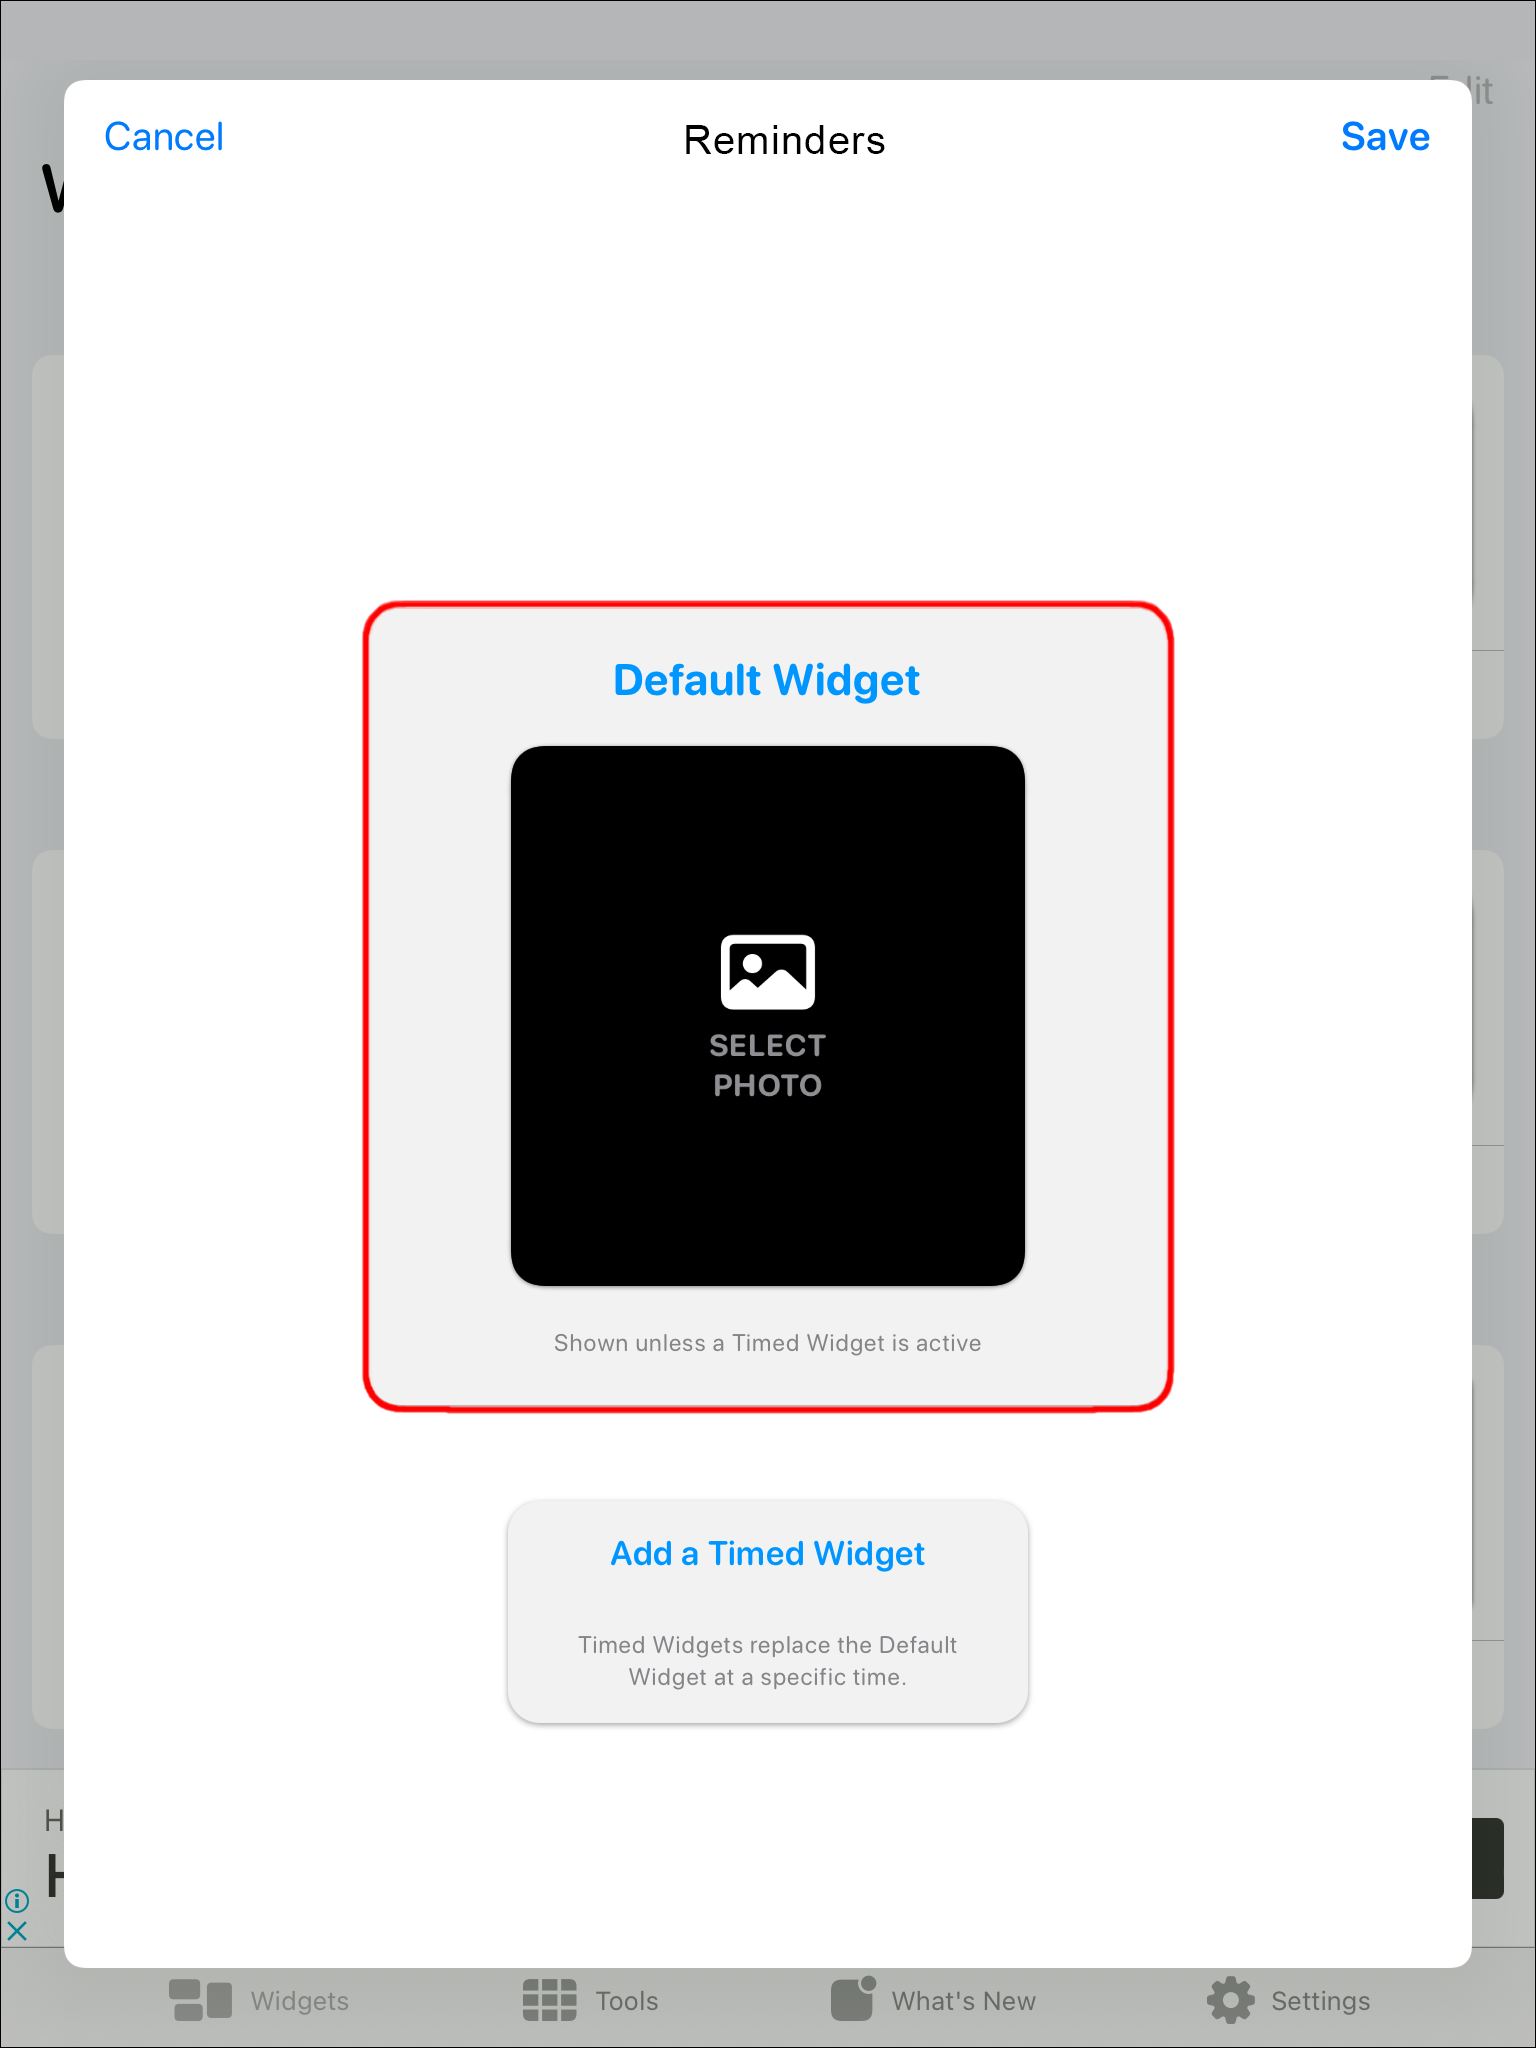
- Choose a widget and rename it, then tap the “Default Widget” option.
- The following screen allows you to browse numerous options. You can change the widget style, tint and background color, and font.
- When you’re done customizing widgets, select “Save.”

Widgetsmith also allows users to change the widget border color and select the preferred clock style for their device.
How to Use Widgetsmith on an Android
Unfortunately, Android users don’t have the option to download the Widgetsmith app from the Google Play Store. The app is not yet available for Android devices, and it’s uncertain if or when it will be.
Android users have had access to third-party widget apps for a long time, so this process is not unfamiliar. Still, the success and popularity of Widgetsmith can leave them wondering if they’re missing something special.
A quick Google search will yield many Widgetsmith APK (Android Application Package) files. However, that doesn’t mean you should download any of them, as they may not be safe or work properly.
FAQ
Device Links
-question">Can you customize every widget with Widgetsmith?
At the moment, Widgetsmith allows users to change the appearance for Time, Date, Calendar, Reminders, Photos, Custom Text, Astronomy, Tides, Weather, and Health & Activity.
Is Widgetsmith available for older versions of iOS?
Unfortunately, the Widgetsmith app can only be used with iOS 14 and 15. The app was designed specifically to work with newer versions of the operating system and deliver a premium user experience.
Is Widgetsmith free?
Widgetsmith has a free version, which offers a lot of features. For $2 per month or $20 paid annually, you get access to the premium version of the app.
You can be charged for the subscription via your iTunes account and enjoy access to the Weather and Tides widget with this version of the app.
Can you add your photos to Widgetsmith?
In the “Style” section of the Widgetsmith app, you can access photos from your device and use them as widgets. Sometimes none of the available styles are what you’re looking for, so you can add more personalization.
For example, you can use a photo of the sunrise to change the appearance of the Weather widget.
What are timed widgets?
Another useful feature available in Widgetsmith is the timed widgets. These types of widgets appear on your screen for a specified period, like an hour or two.
Once the assigned timeframe is over, these widgets will disappear from the Home Screen. This can be useful if you only need easy access to a widget for a specific amount of time and no more than that. To create a timed widget in Widgetsmith, follow these steps:
1. Open Widgetsmith.
2. Choose a customized widget.
3. Select the “Add a Timed Widget” option.
4. Select the desired timeframe for the widget.
5. Tap on the widget grid, then customize it by choosing the “Aesthetic/Theme” option.
6. Once completed, select “Save.”
Mastering Widgetsmith and Personalizing Your Device
Not every iPhone and the iPad user will rush to change their widgets, but it can be an undoubtedly fun activity. Your device can feature a completely unique style and represent your personality better than ever if you get creative enough.
Keep in mind that your iPhone or iPad must run on iOS 14 or 15 to experience the benefits of the Widgetsmith app. Android users are out of luck for now, but that can easily change if the app continues to add more users.
You don’t have to be tech-savvy to start creating customized widgets with Widgetsmith, as the interface is very user-friendly. You can also use your personal photos and even pay a subscription fee if you want to experience full features.
Have you been using the Widgetsmith on your iPhone or iPad? Let us know in the comments section below.
Disclaimer: Some pages on this site may include an affiliate link. This does not effect our editorial in any way.