Clipping mask is one of Adobe Illustrator’s most impressive design tools. Graphic designers can use it to hide aspects of a picture below it. This helps to highlight specific parts of that image. Meanwhile, you create a clipping set when you mask and highlight at least two shapes from a layer or group. If you’re looking to create unique and eye-catching designs, learning to create a clipping mask might help. In this article, you will learn different ways to use clipping masks to help elevate your designs.
Making a Clipping Mask
You can create a clipping mask in Illustrator using several methods. This section will explore three different ways you can use to make clipping masks. Using this tool will help you create intriguing designs.
Making Clipping Masks for Objects in a Pattern
If you want to make clipping masks for specific items in a pattern, here’s how you can achieve this:
- Create a new Illustrator document.
- Upload your pattern and image to the new document.

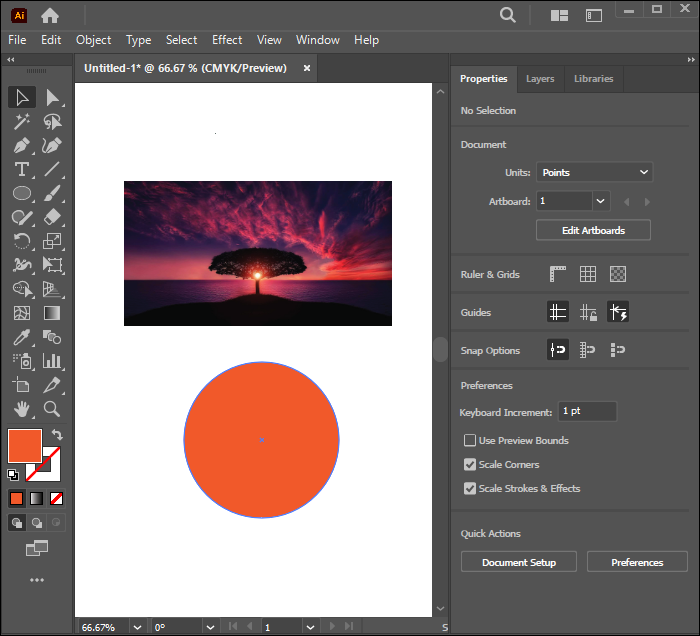
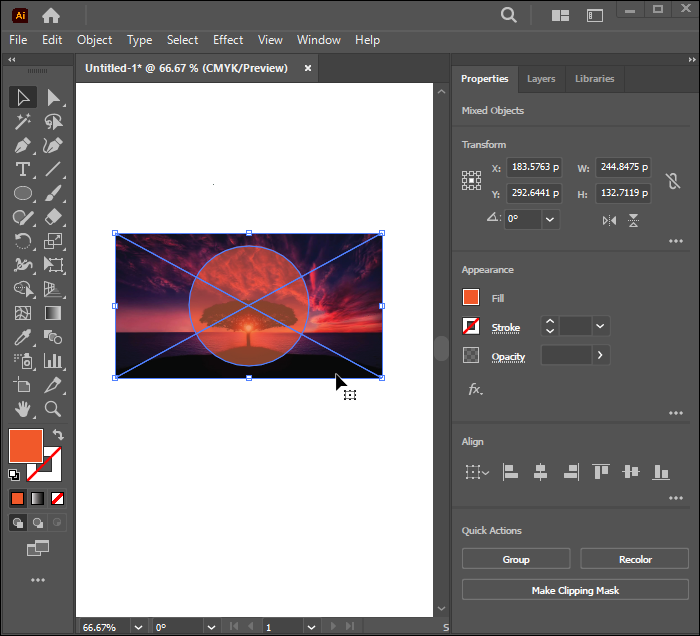
- Develop your pattern design and place it on top of the image.
- Reduce the pattern’s opacity. This will help to increase the image visibility underneath.
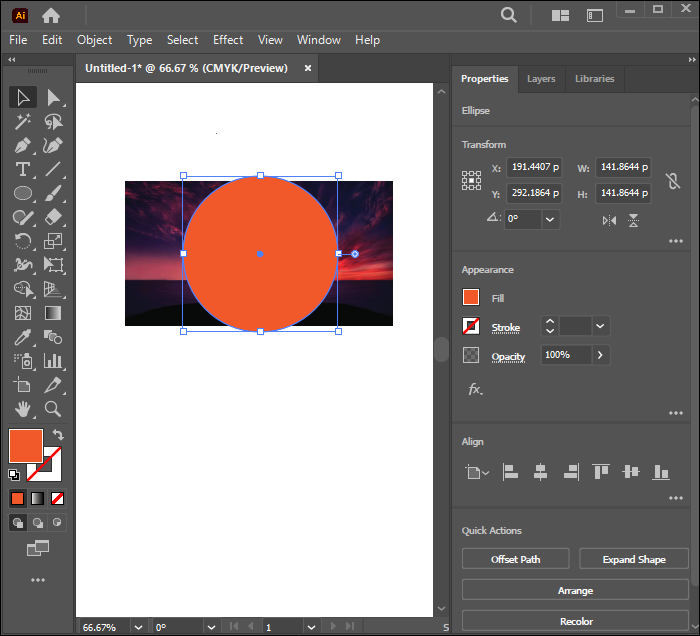
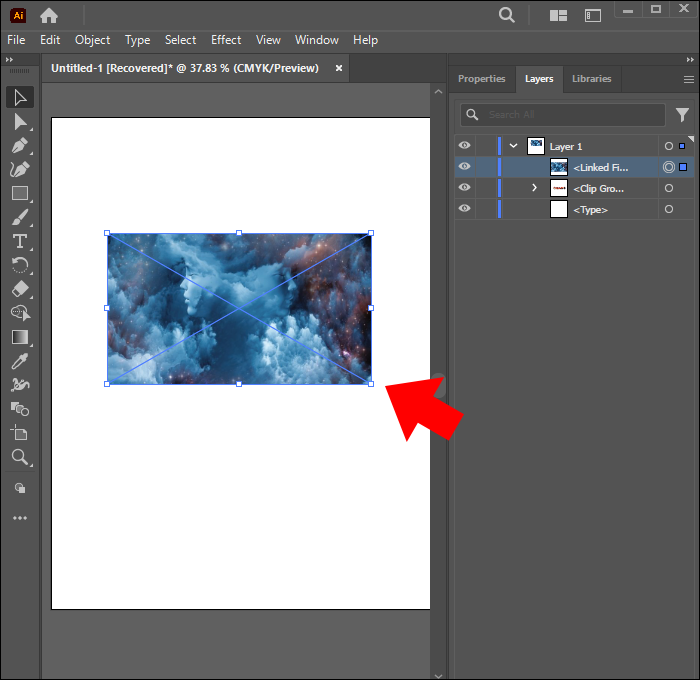
- Long-press the shift key and select all the objects to which you want to apply the clipping mask.
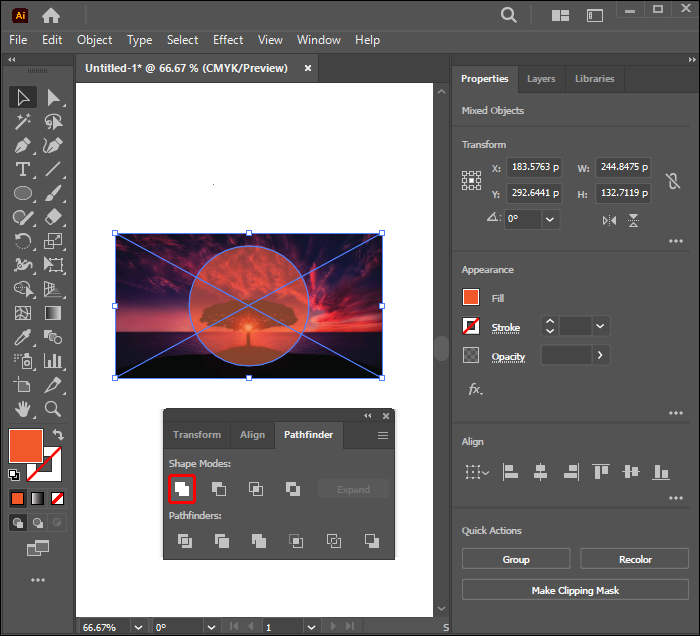
- Locate the “Pathfinder” window, then select “Shape Modes.”
- Click on the “Unite” option on the Pathfinder window’s far left. This will merge the objects to create one vector shape.
- Go to “Object,” select “Compound Path,” then click on “Make.” This will convert the vector shape to make a compound path.
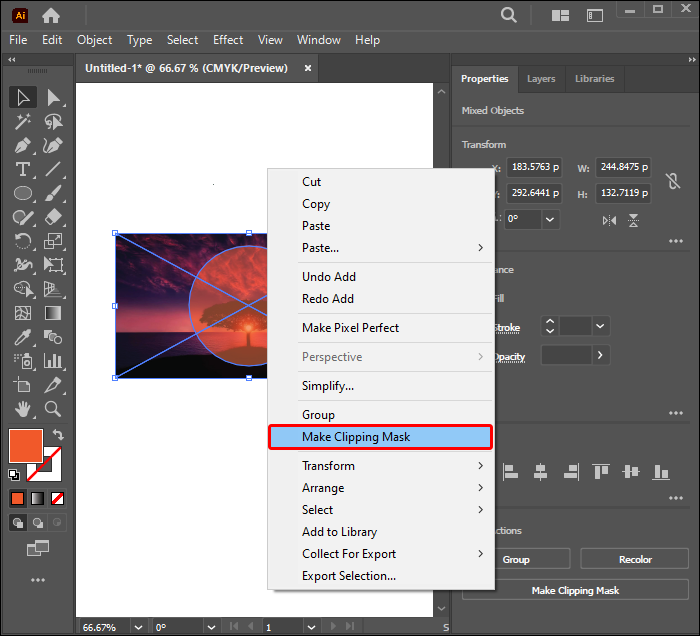
- Hold down shift, then click on both image and pattern to select.
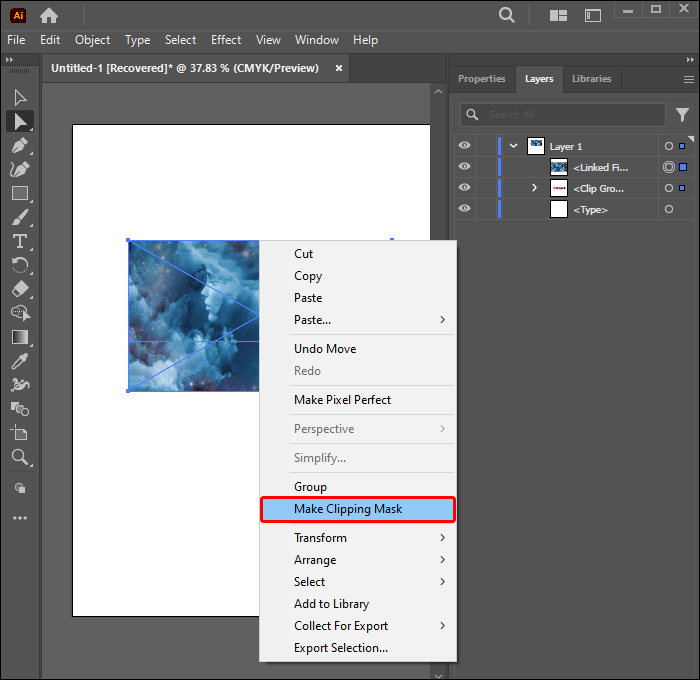
- Right-click on the selected items, then choose “Make Clipping Mask.”


Creating a Text Clipping Mask
Follow the steps below to learn how to mask text with a pattern:
- Open a new Illustrator document.
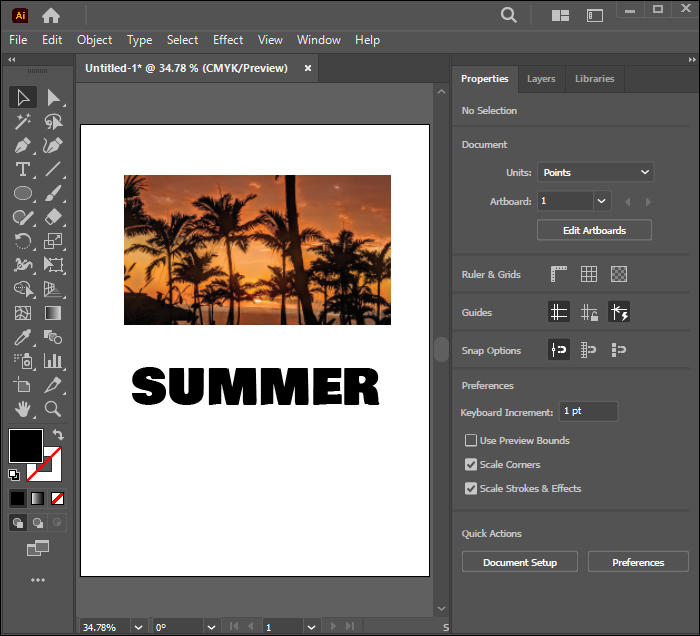
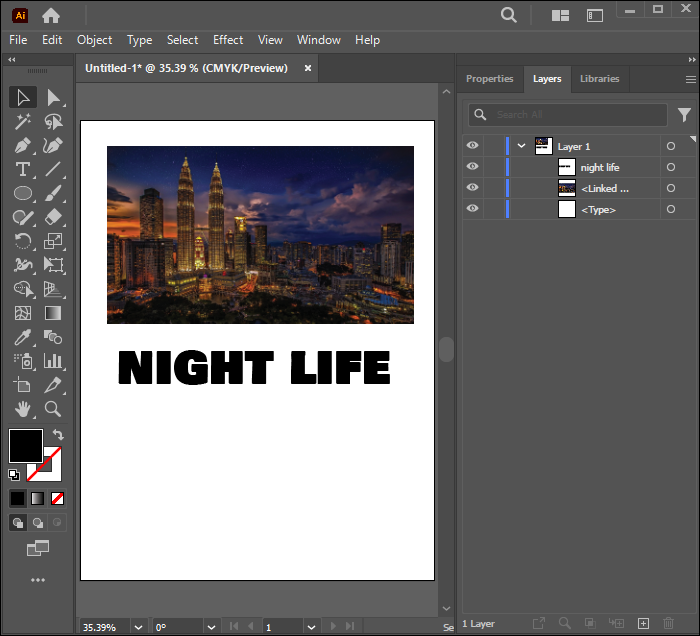
- Add your pattern object and text to the new page.
- Place your primary item – the text – on top of the pattern. You can also use a photo as the “pattern.”
- If the order is incorrect, you can adjust it by highlighting the text, right-clicking it, and choosing “Arrange.” You can then select “Bring to Front.”
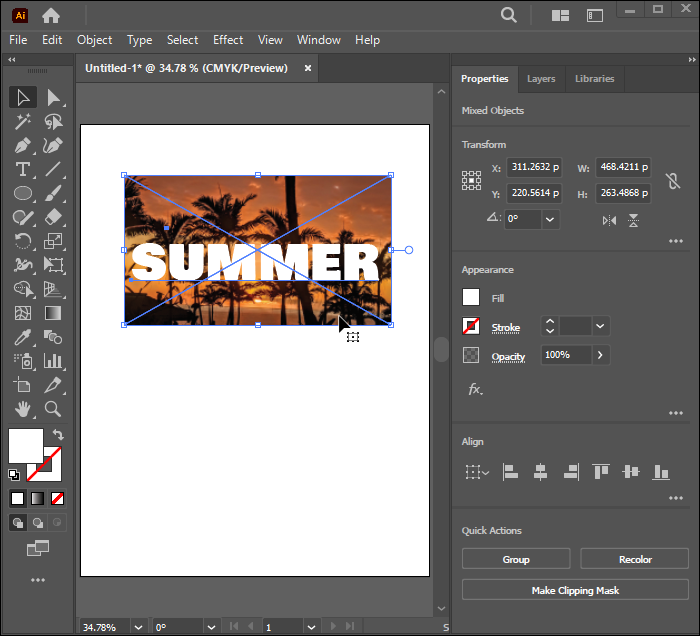
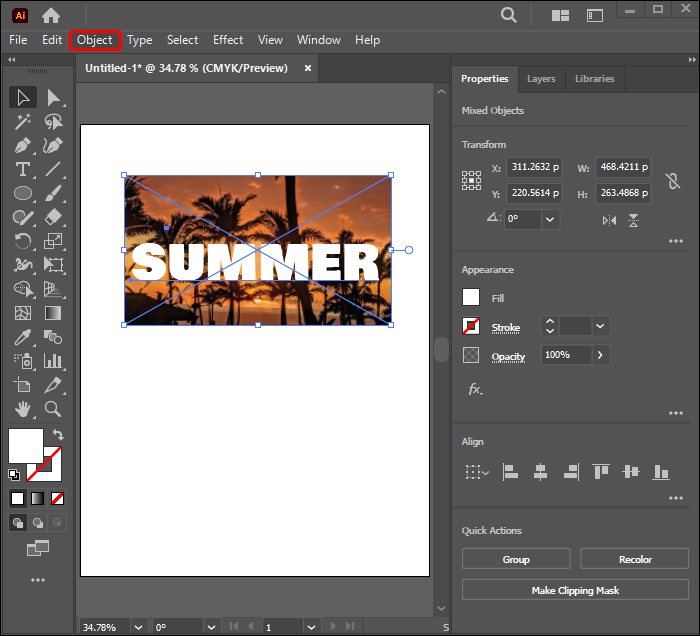
- Long-press the shift key and click on both text and pattern to select.
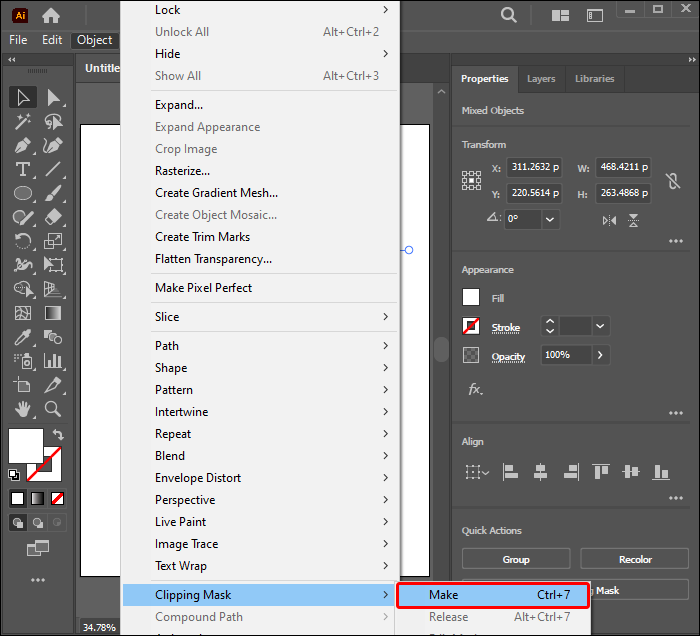
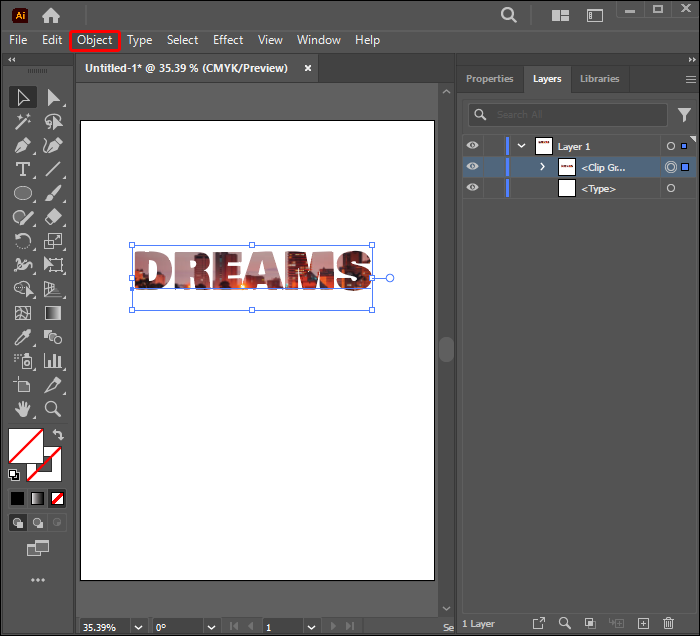
- Go to “Object.”
- Click on “Clipping mask.”
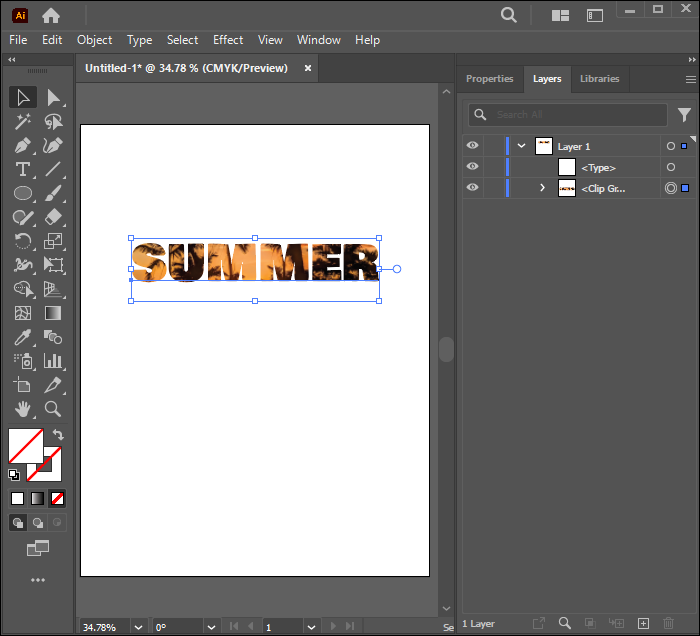
- Select “Make” from the main menu. The pattern will mask your text.


If you prefer shortcuts, simply click Command + 7 when using a Mac or Ctrl + 7 for Windows. You can still make some adjustments to your new clipping mask after creating the design. Here’s how you can adjust it:
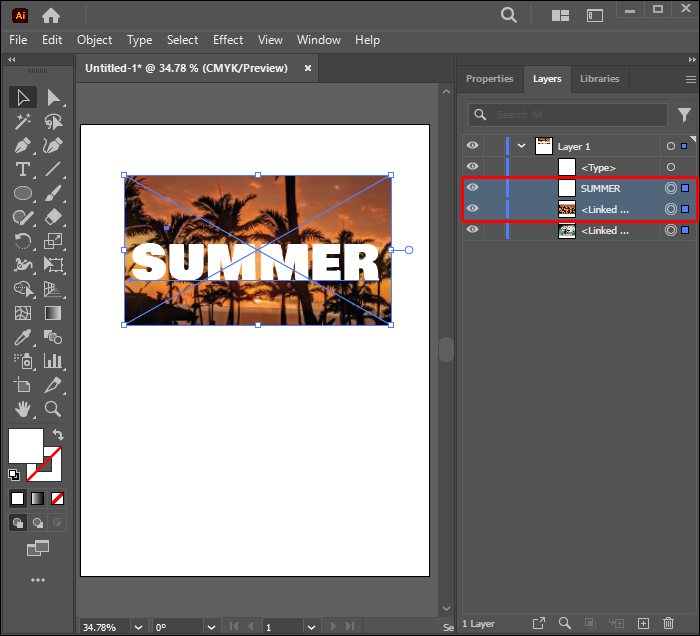
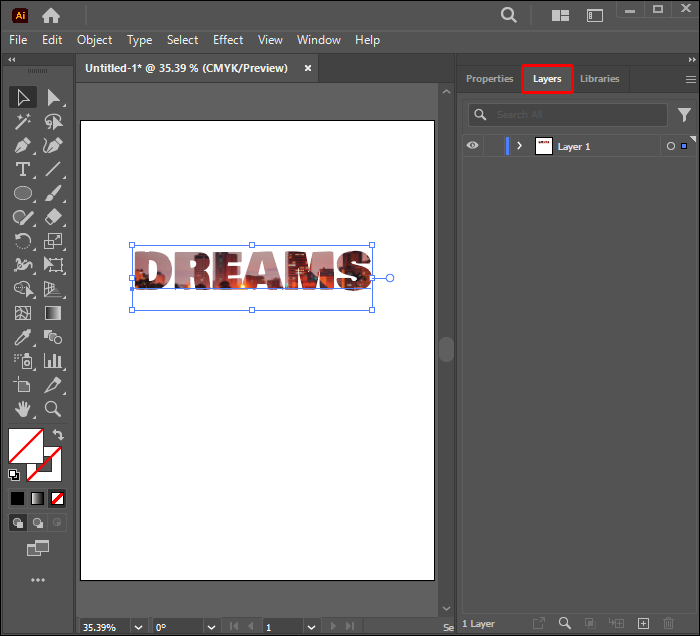
- Open the “Layers” panel.
- Select the “Layers” menu. It will expand to display options.
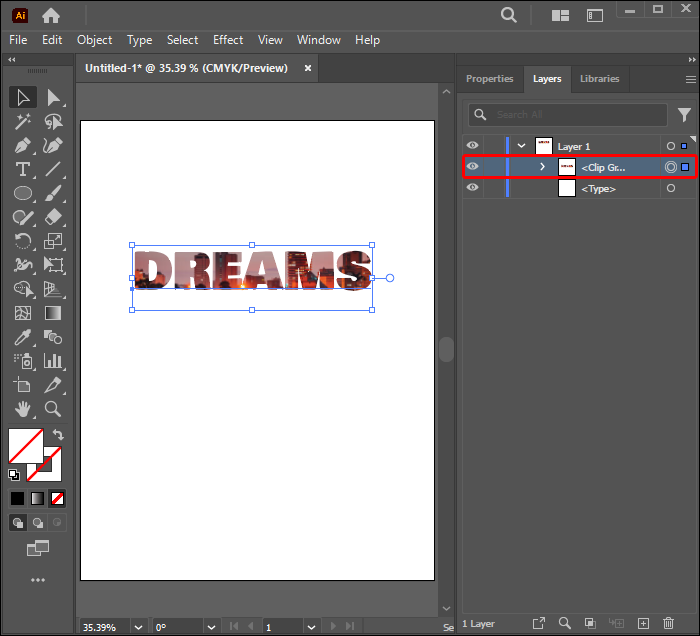
- Click on the pattern you want to modify from the highlighted clip group.
- Adjust the design until you achieve the desired results.


Creating an Editable Text Clipping Mask
This section explains how to make a clipping mask that allows you to edit your text object. Follow the steps below to do this successfully:
- Add your text and pattern to a new Illustrator document.
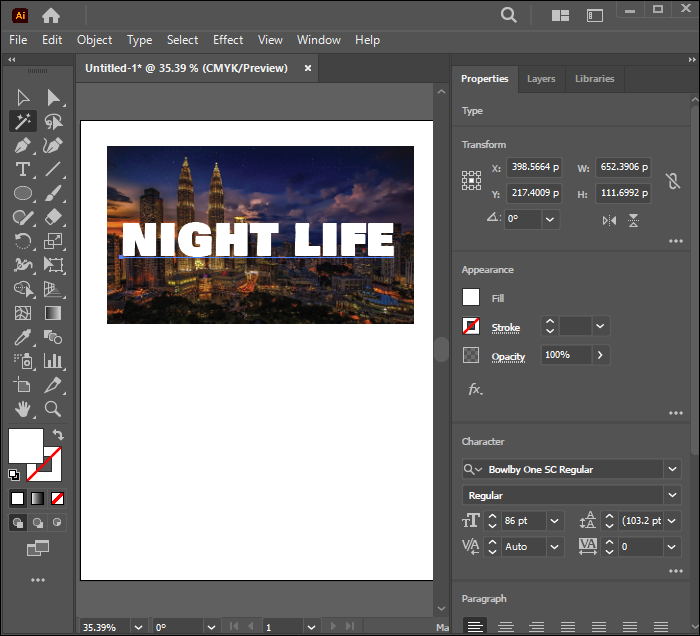
- Ensure your text appears on top of all other objects and the pattern.
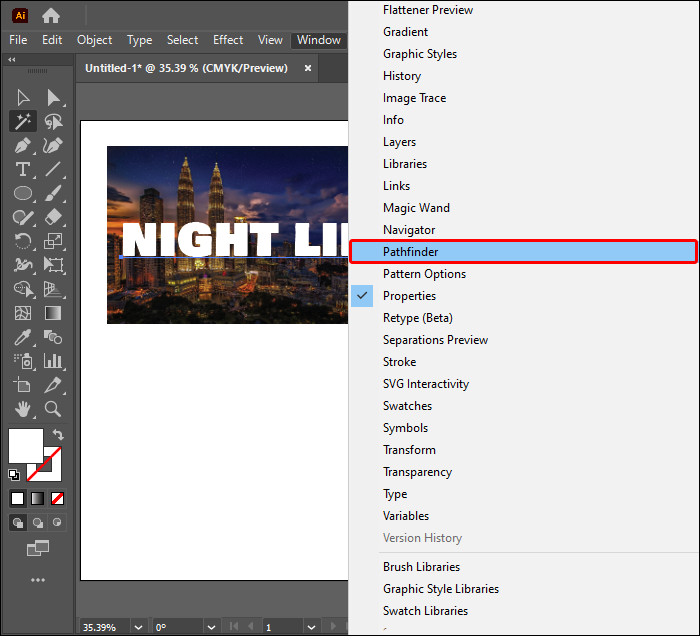
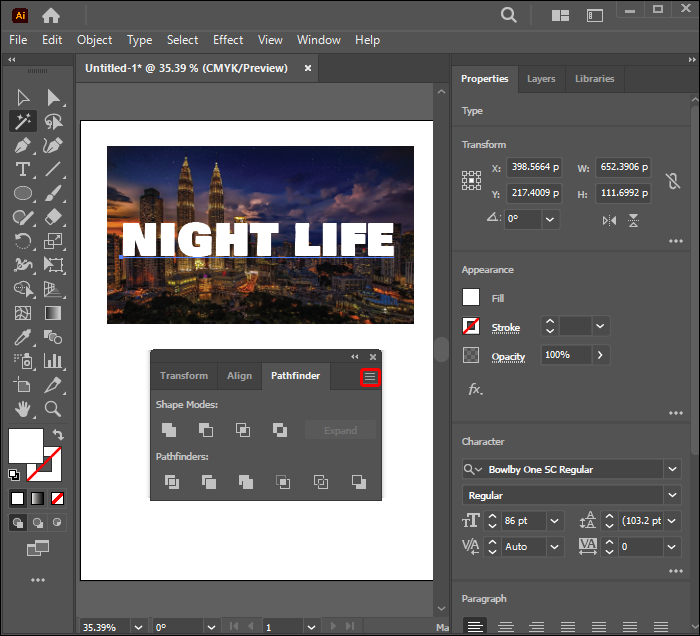
- Locate the “Pathfinder” window.
- Select “Pathfinder” in the top right corner of your screen.
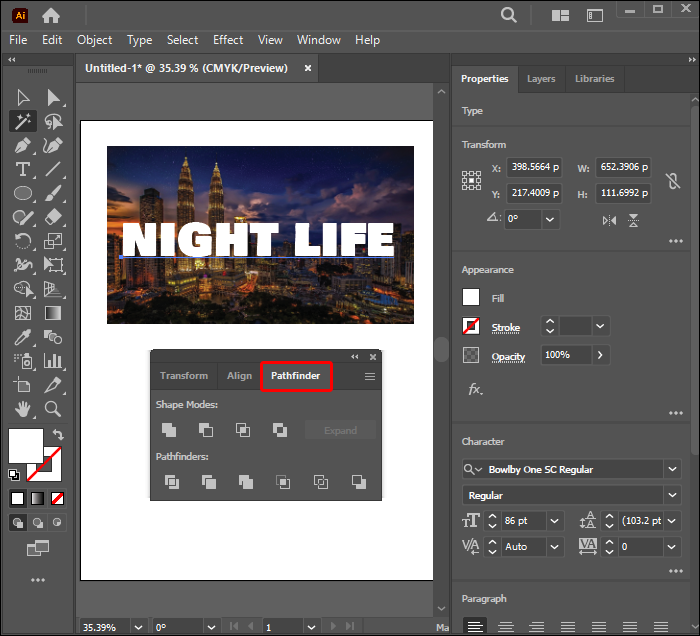
- Go to the “Compound Shape” option and toggle it on.
- Choose “Make Compound Shape.” Enabling this option will help you edit your text object even after applying a pattern.
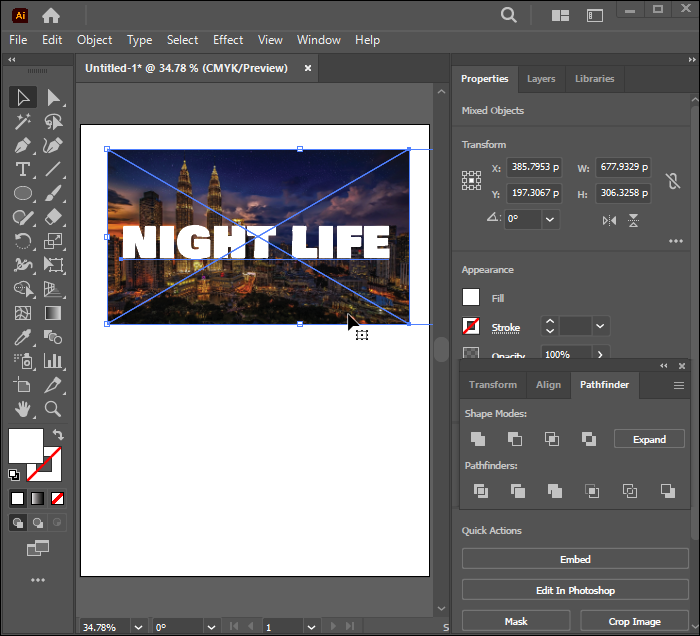
- Press and hold down the shift key and click on your pattern and text to select.
- Right-click on the items selected. Choose “Make Clipping Mask” from the drop-down menu.


Your editable text clipping mask is ready. All you have to do is press “T” to activate the Type tool and edit your text whenever you need to. Your clipping mask will still stay on while you do this.
Editing a Clipping Mask
You may need to edit a clipping mask several times before you achieve your desired design. What you need to do largely depends on the changes you want to make. This section will highlight circumstances that may make you want to edit the clipping mask. Follow the instructions below to edit a clipping mask:
- Open the “Layers” panel.
- Click on the clipping set.
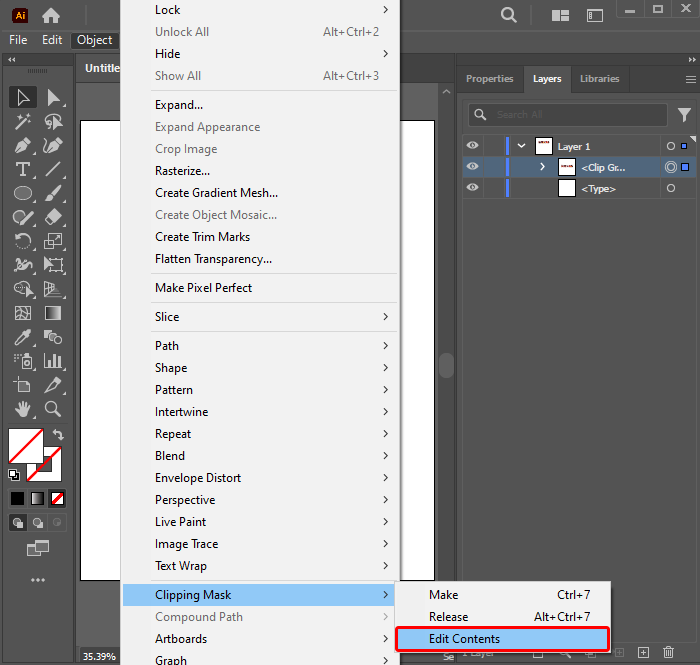
- Select “Object.”
- Choose the clipping mask.
- Select “Edit mask.”

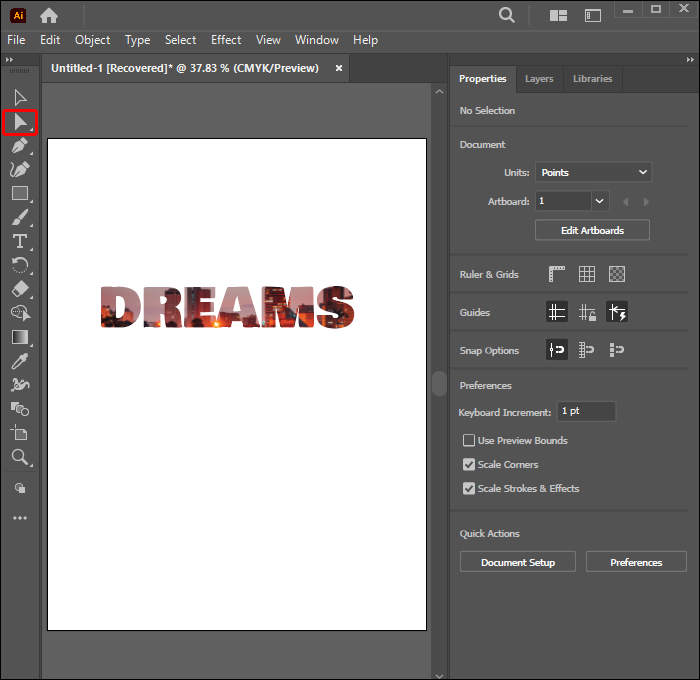
You can then edit the clipping mask by using the “Direct Selection” tool. This feature will help you to create a new clipping path. It can also enable you to adjust the clipping path by changing the object’s center reference point. You can add a fill and stroke to the clipping path if necessary.
Editing a Clipping Set
If you’re working with two or more objects in a group or layer, you may need to adjust portions of the clipping path that go beyond the clipping mask borders. Here’s how you can edit paths within a clipping set:
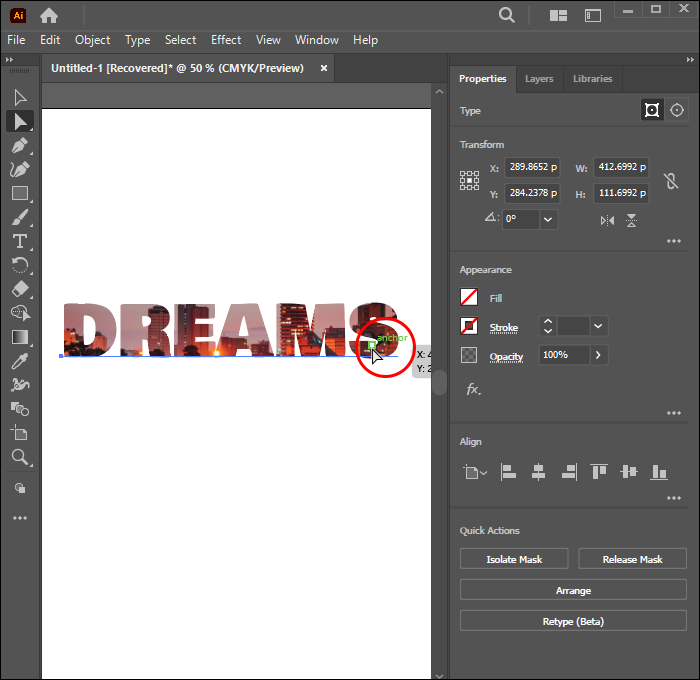
- Hover the “Direct Selection” tool over the compound path you wish to edit inside the mask.
- Click on the path outline once it appears to select.
- Edit the clipping path.

Add or Remove Objects From a Clipping Mask
After reviewing, you may want to add or remove objects from a masked artwork. Follow the instructions below to add an object:
- Open the “Layers” panel.
- Position the new item on top of the masked object.
- Activate the “Direct Selection” tool and ensure it’s in place.
- Create a new mask.
- The added object will appear in the new mask.


Clipping Mask Making Tips
There are a few points to note when using a clipping mask. The tips provided below will help you use this tool effectively for the best results:
- Always ensure that the clipping path stays on top of the object you want to clip.
- There can only be one clipping path on a clipping mask.
- You can clip more than one object in a clipping mask.
- All clipped items must appear in the same layer.
FAQs
Why is my clipping mask refusing to work?
You likely haven’t outlined a vector clipping path for your object. Clipping masks can only be derived from vector objects.
Can you remove the clipping mask in Illustrator?
Yes. You can undo the effects if you aren’t happy with the clipping mask results. Simply select and right-click on the object, then choose the “Release Clipping Mask” option.
What is a compound clipping mask?
This is the outline of an object created by grouping them to form one compound path.
Elevate Your Creative Process
Adobe primarily designed the Clipping Mask tool to help designers place patterns inside objects. But it has grown to become useful for many new functions that have become essential to the designing field. Learning how to make clipping masks in Illustrator can seem overwhelming for some graphic designers. It can take a bit of practice to perfect the skill, but in the end, the spectacular designs can be the unique touch your artwork needs. It’s a great tool that makes creating graphics fun.
What aspect of the Clipping Mask are you excited to explore in Illustrator? Would you advise other graphic designers to try out this tool? Let us know in the comments section below.
Disclaimer: Some pages on this site may include an affiliate link. This does not effect our editorial in any way.


