Are you looking for ways to spice up your artwork? Pattern creation is an essential element in graphic design. You can make a pattern from scratch or customize a pattern in Illustrator. Adding patterns to objects, texts, and photos can take your designs to another level. But they can be a pain to create if you don’t properly understand basic pattern-making steps.
This tutorial will demonstrate ways you can make patterns in Illustrator.
Making Patterns in Illustrator
Illustrator provides two primary ways for pattern creation. You can either use the Pattern Maker or manually build your design. Using Illustrator’s Pattern Maker is a smart choice if you’re a beginner. Manually designing a pattern is a complex process, often used by expert designers. Below are instructions to help you create patterns using the Pattern Maker:
- Launch Illustrator.
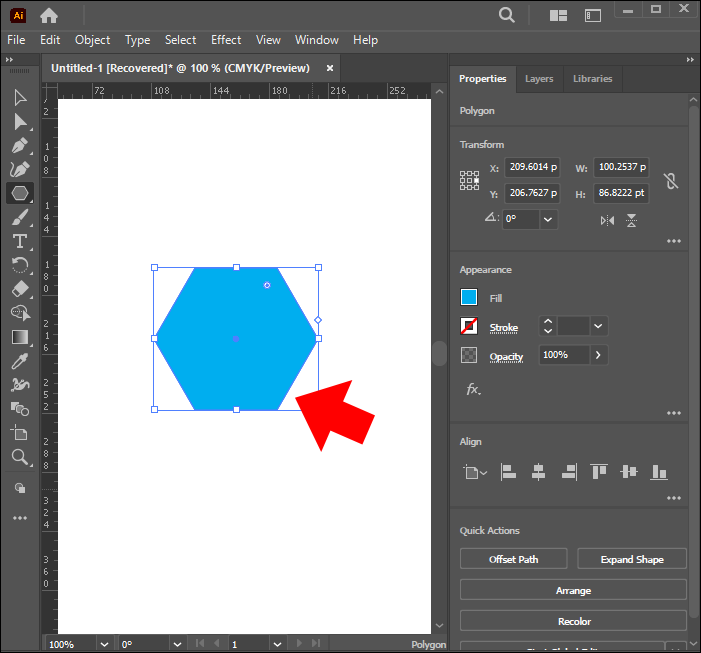
- Create an object.

- Select the shape.
- Click on the “Object” tab.
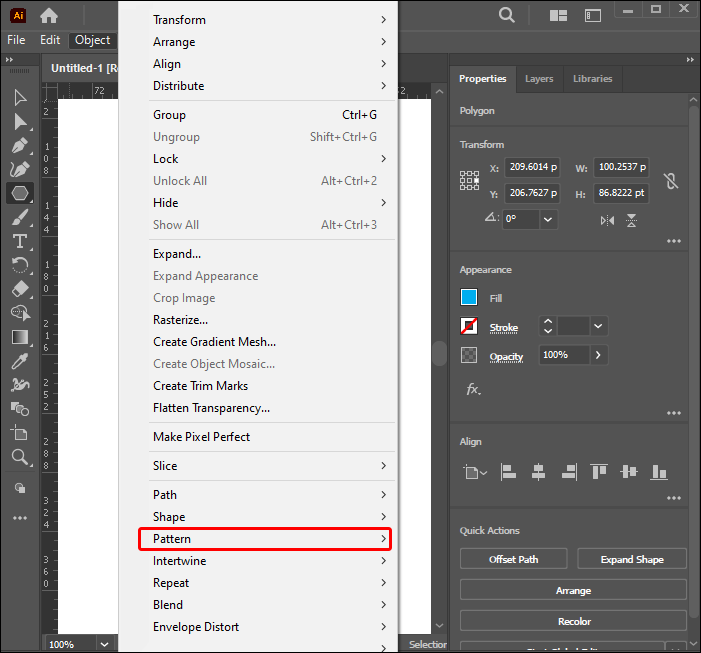
- Select “Pattern” from the drop-down menu.
- Choose “Make” from the pop-up menu.
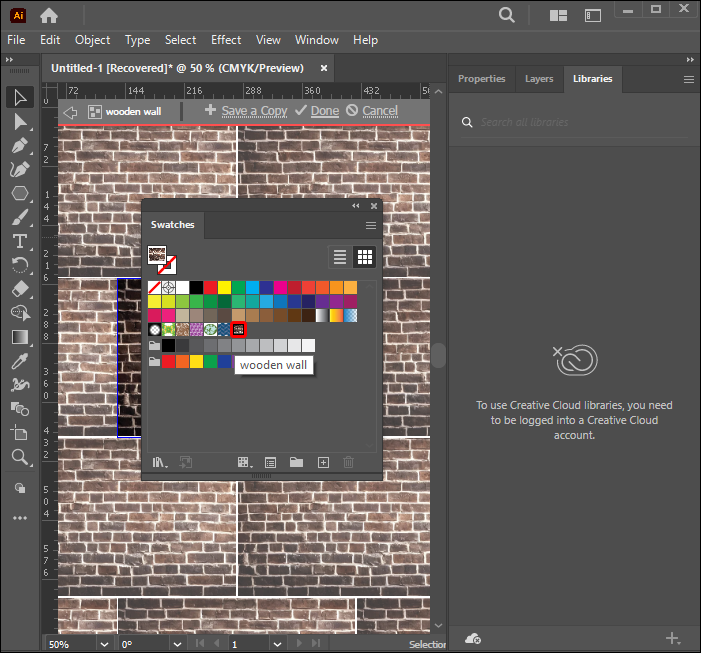
- Select “OK” on the new window notifying you that the pattern has been added to the Swatches panel.


The new dialogue box will also inform you that any changes made after this step will affect the created pattern. Once you’ve completed your design, Illustrator will provide you with options to change your pattern.
Editing Patterns in Illustrator
You can skip this process if you’re happy with the pattern you created. Once the pattern has been added to the Swatch panel, a “Patterns Options” dialog box will appear. Follow the steps below to tweak your design:
- Assign your pattern a name under the “Name” field in the “Patterns Options” panel.
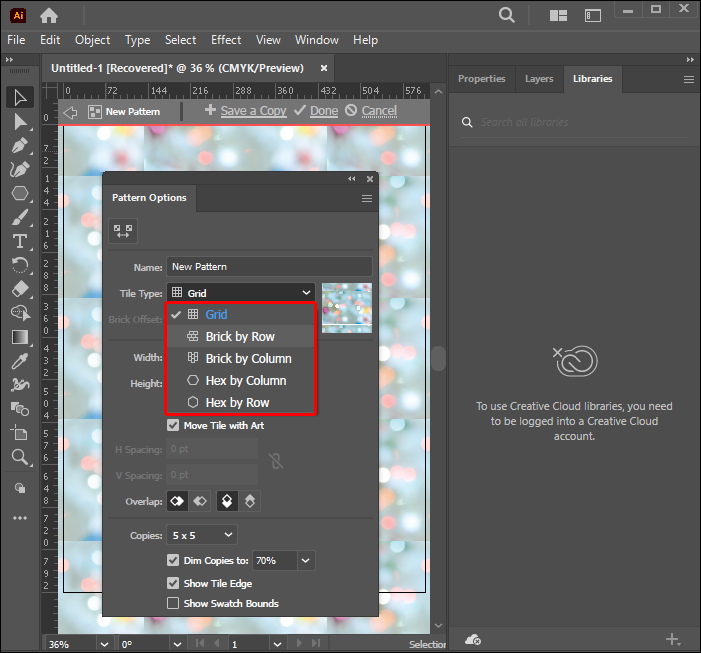
- Go to “Tile Type.”
- Click on the down-facing arrow to select a design.
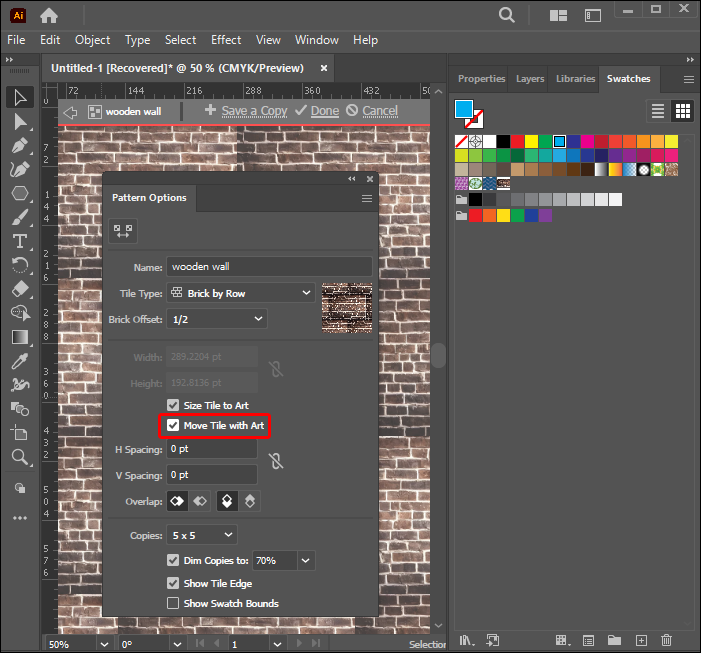
- Choose “Size Tile to Art” if you want the tile to attach to the artwork edges close to it.
- If you want the tile to follow along when adjusting the pattern position, select “Move Tile with Art.”
- Add positive values in the H Spacing and V Spacing fields to put some space between the box and artwork if needed.
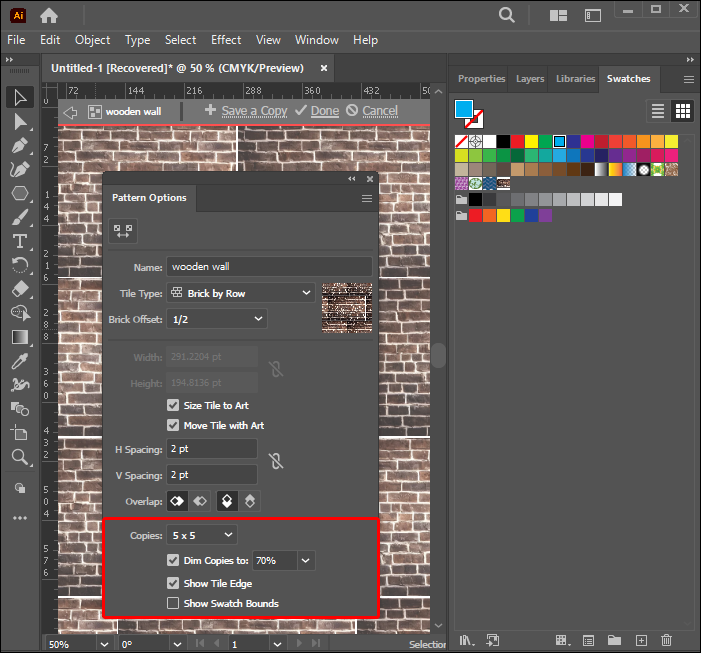
- Go to “Copies.”
- Select the copies of the file type you need.
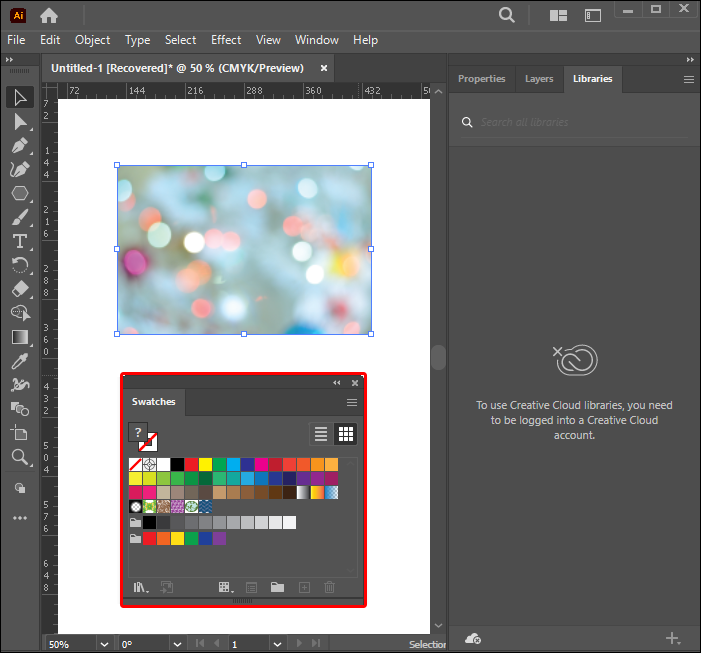
- The pattern will move from your window to the Swatches panel.
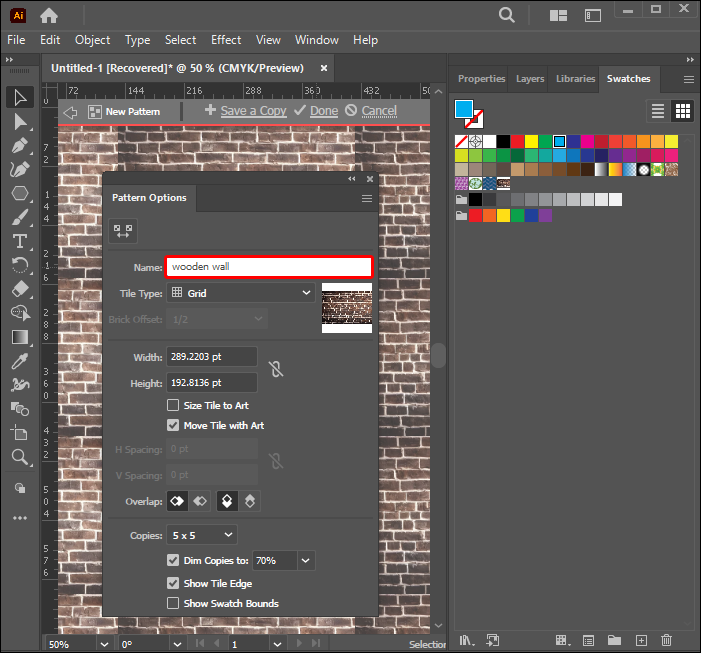
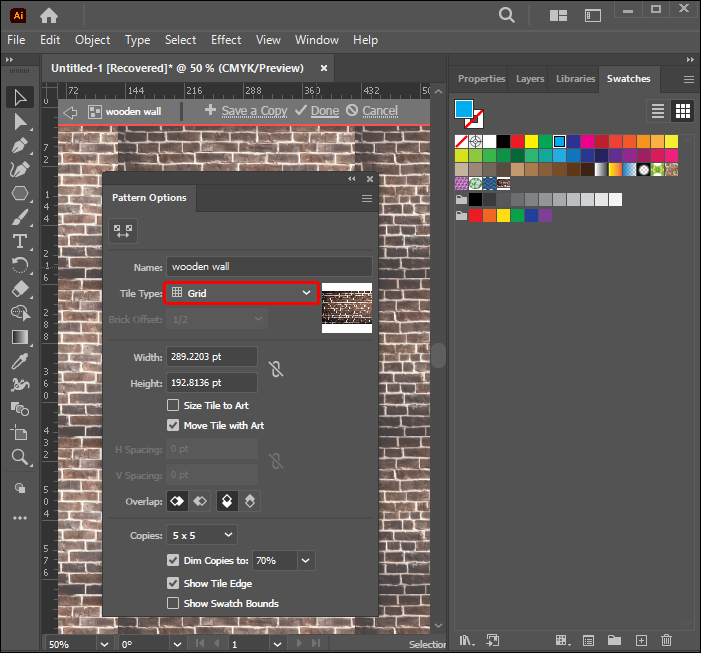


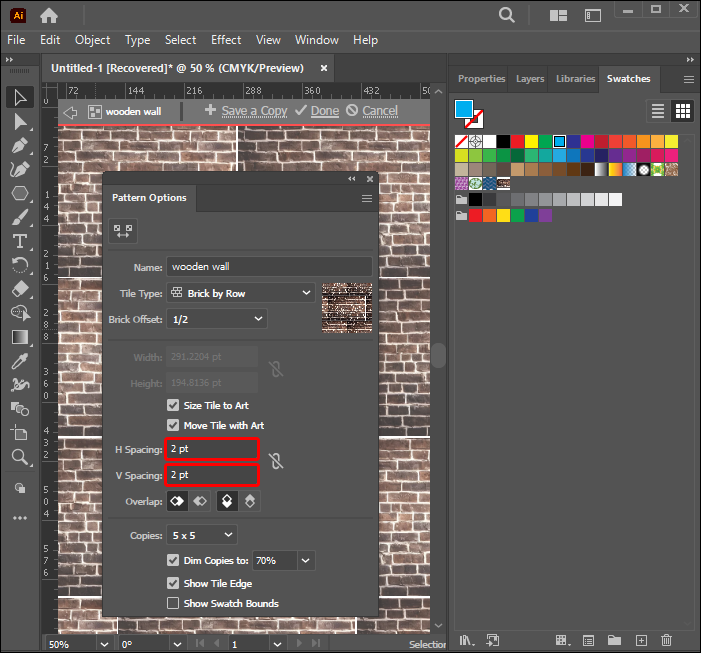
The width and height fields on the Pattern Options dialog box show the size of the tile type box applied. The default tile type is Grid, while the Copies’ default measurement is 3X3. Placing negative values in the H-spacing and V-spacing options will make your objects overlap.
There is a quick way to move your pattern to the Swatches panel. Select the items in your pattern, then drag and drop them into the swatches library.
If you need to tweak the pattern later on, you can do so easily. Just go to the Swatches panel and double-click on the item. This will open up the Patterns Options window. You can make your changes to the pattern once this is done.
Editing Specific Objects Within a Pattern
Illustrator allows you to make specific alterations to your pattern. The steps below will guide you through the process:
- Open the “Swatches” panel.
- Double-click on the object.
- Go to the Patterns Options panel.
- Click on the object you want to change inside the Tile Type box.
- Make the changes.

The changes you make in the Tile Type box will be translated across the whole pattern. However, it isn’t possible to make these adjustments when working with a raster image.
Understanding Illustrator Tile Patterns
There are some basic concepts regarding pattern tiles that you need to understand for better design creation. The points below will help explain tiling:
- Pattern tiles start from the ruler’s origin. This means they move from the artwork’s bottom-left region toward its opposite direction.
- Changing the file’s ruler origin will move the point where the tiling begins.
- You’ll only work with one tile when using Fill patterns.
- By contrast, brush patterns utilize up to five tiles. These patterns tile perpendicular to the path.
- Your Fill patterns will tile perpendicular to the artwork’s X-axis.
- Fill patterns tile artwork inside the pattern bounding box only. Brush patterns also tile artwork within this box but also those grouped with it.
Types of Pattern Tiling
Grid
Grid is Illustrator’s default tile type. The tiling is arranged so that each tile’s center is vertically and horizontally aligned to the center of the tiles next to it.
Brick by Row
This tiling is rectangular in shape and created in a row. The tiling layout in columns is all vertically aligned using its center. But, the rows tiling center is horizontally aligned.
Brick by Column
Unlike the tile type, the rectangles in this layout are arranged in columns. The columns have the tile’s center aligned vertically, while the center of the tile’s alternate columns are horizontally aligned.
Hex by Column
This tile type follows a hexagonal pattern and is arranged in columns. The column tile’s center is vertically aligned. Alternating columns have their center horizontally aligned.
Hex by Row
As suggested by the name, this layout is hexagonal and arranged in rows. The row’s tiling center is horizontally aligned, while alternate rows have their tile center vertically aligned.
Elevate Your Pattern-Building Skills
Illustrator provides powerful aids to help you create and use patterns. This design tool can help you save time and boost your performance. Understandably, before CS6, it wasn’t easy to edit and play around with pattern swatches. But, current Illustrator updates have made pattern building a fun and seamless design aspect. They offer you more control and flexibility. This article explains how to work with old and new Illustrator versions to create unique patterns.
Which Illustrator version are you currently using? Have other tips on creating brilliant pattern designs? Let us know in the comments section below.
Disclaimer: Some pages on this site may include an affiliate link. This does not effect our editorial in any way.


