Blurry Instagram Reels are a common issue for many users. This can be frustrating if you’ve put special effort into creating engaging videos for your feed. While the malfunction frequently lies with the app itself, there are potential solutions to ensure your videos have a clear resolution.
In this article, you’ll learn how to upload high-quality Instagram Reels.
Using the Right Device for Your Reels
A blurry Reel commonly happens because of problems with the Instagram app. However, using an older device can also make video quality much lower. This is especially true if your phone’s resolution is too low for Instagram’s suggested video quality.
Here are a few tips to keep in mind before uploading:
- Use a device that supports a resolution of at least 1080 p HD.
- Refrain from editing or zooming in your video during recording. This negatively impacts the overall video quality when uploading to Instagram.
- Consider using some free video editing tools such as CapCut. A video editing tool will clean up the video quality, masking some of the issues such as brightness or saturation problems.
Server and Connection Problems Influencing Reels
Problems with Instagram Reels may persist, even when using a newer device with superb video quality. Sometimes, it has to do with the internet connection or again, with the app itself.
- Make sure to check your internet connection. It could severely hinder the quality of your Reel if it isn’t strong enough. When recording in an area with a particularly weak connection, save your video to upload later once you establish better internet.
- It might be an Instagram server outage. Social media platforms will occasionally have malfunctions due to server problems. Certain elements might fail to load, messages won’t send, and Reels turn out blurry. If that’s the case, check with a friend to see if they have the same problem. There’s no particular solution here. The best you can do is wait it out until Instagram resolves the issue. Be sure to save the Reel in your gallery for later use.
Update for the Best Reel Quality
Applications such as Instagram are constantly adding new features. Once an old version becomes outdated, some functions might lose quality. That’s why it’s best to always check for updates if they’re available.
This is how to update the Instagram app if you’re using an Android device:
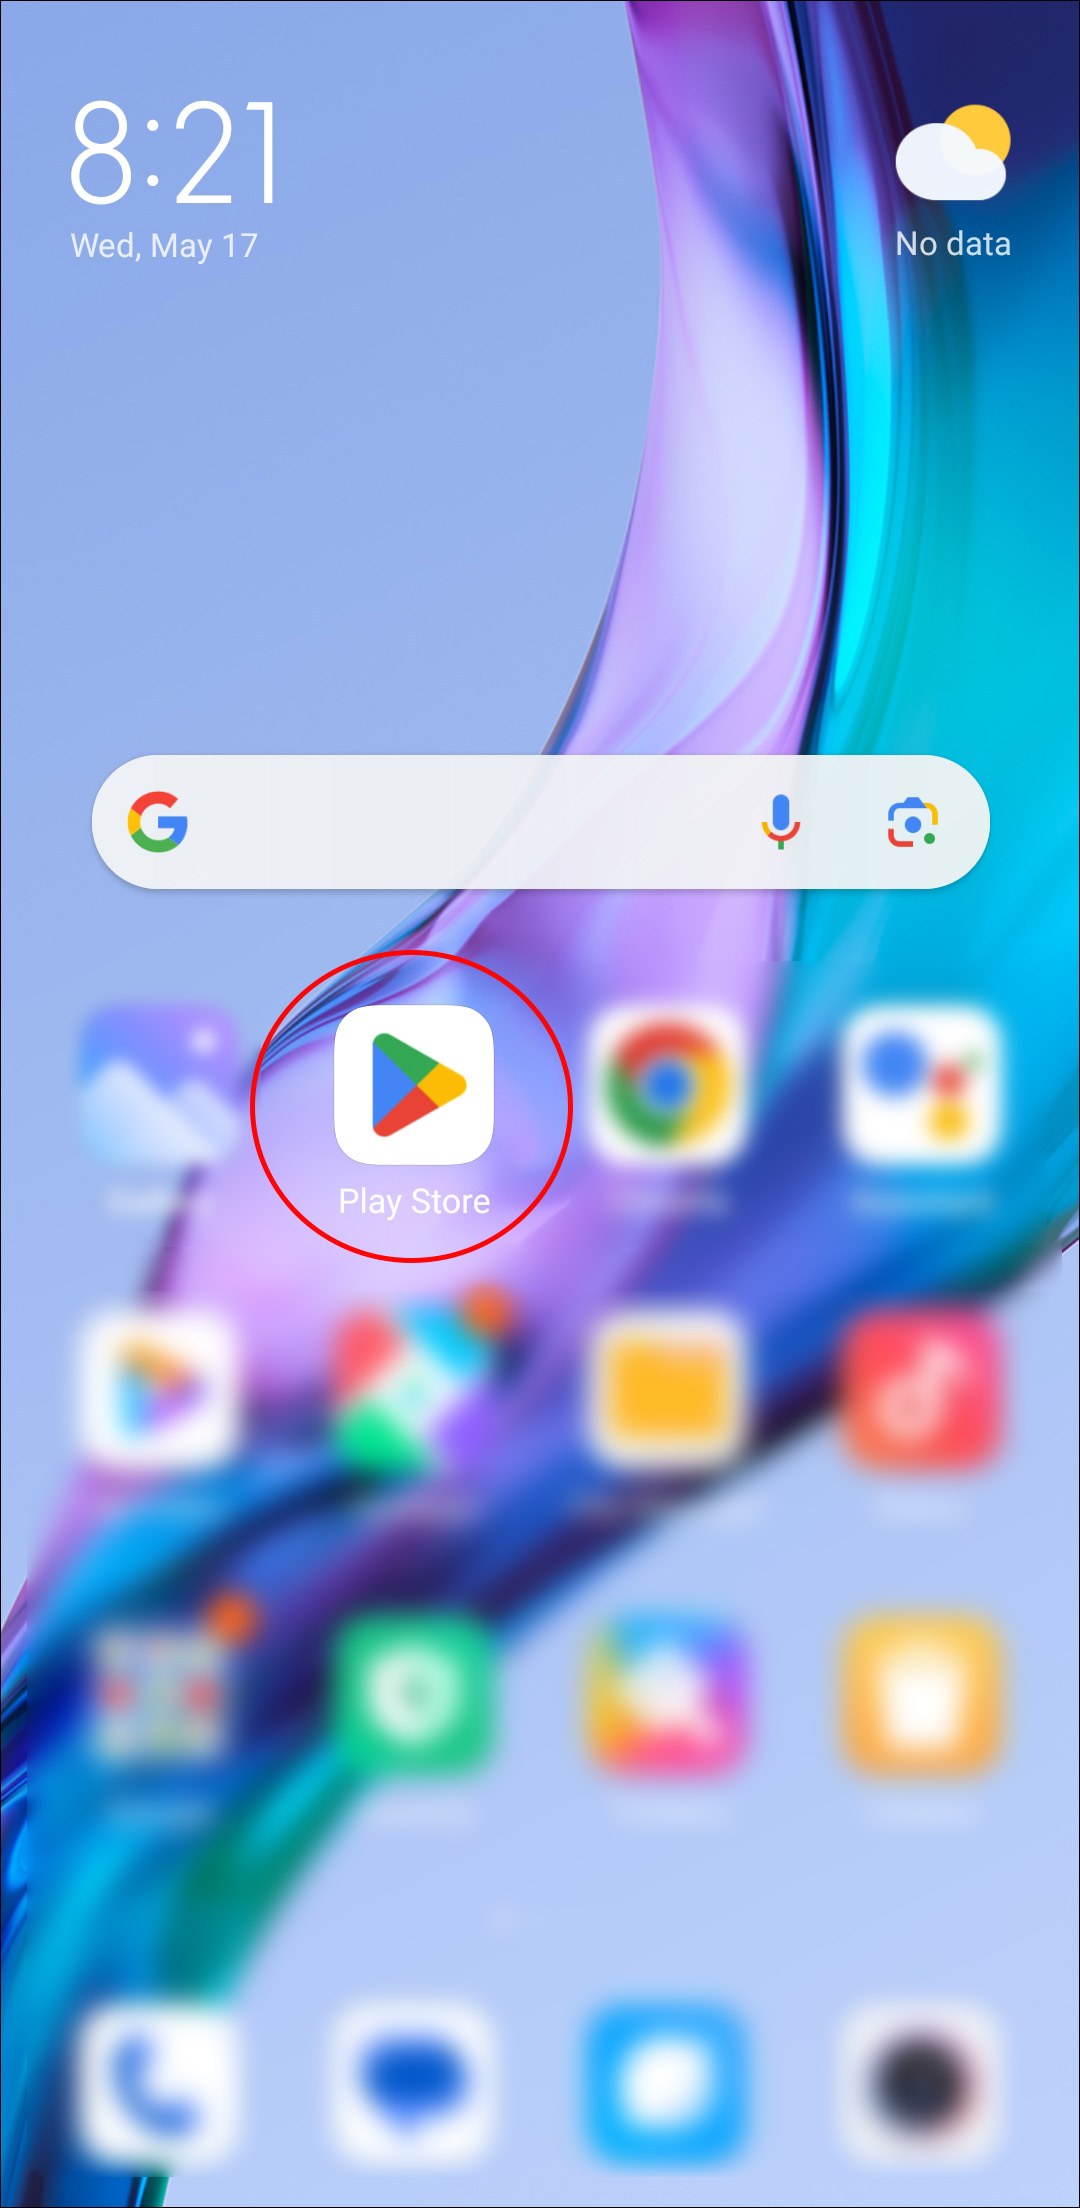
- Locate and tap on your Android phone’s “Google Play” application.
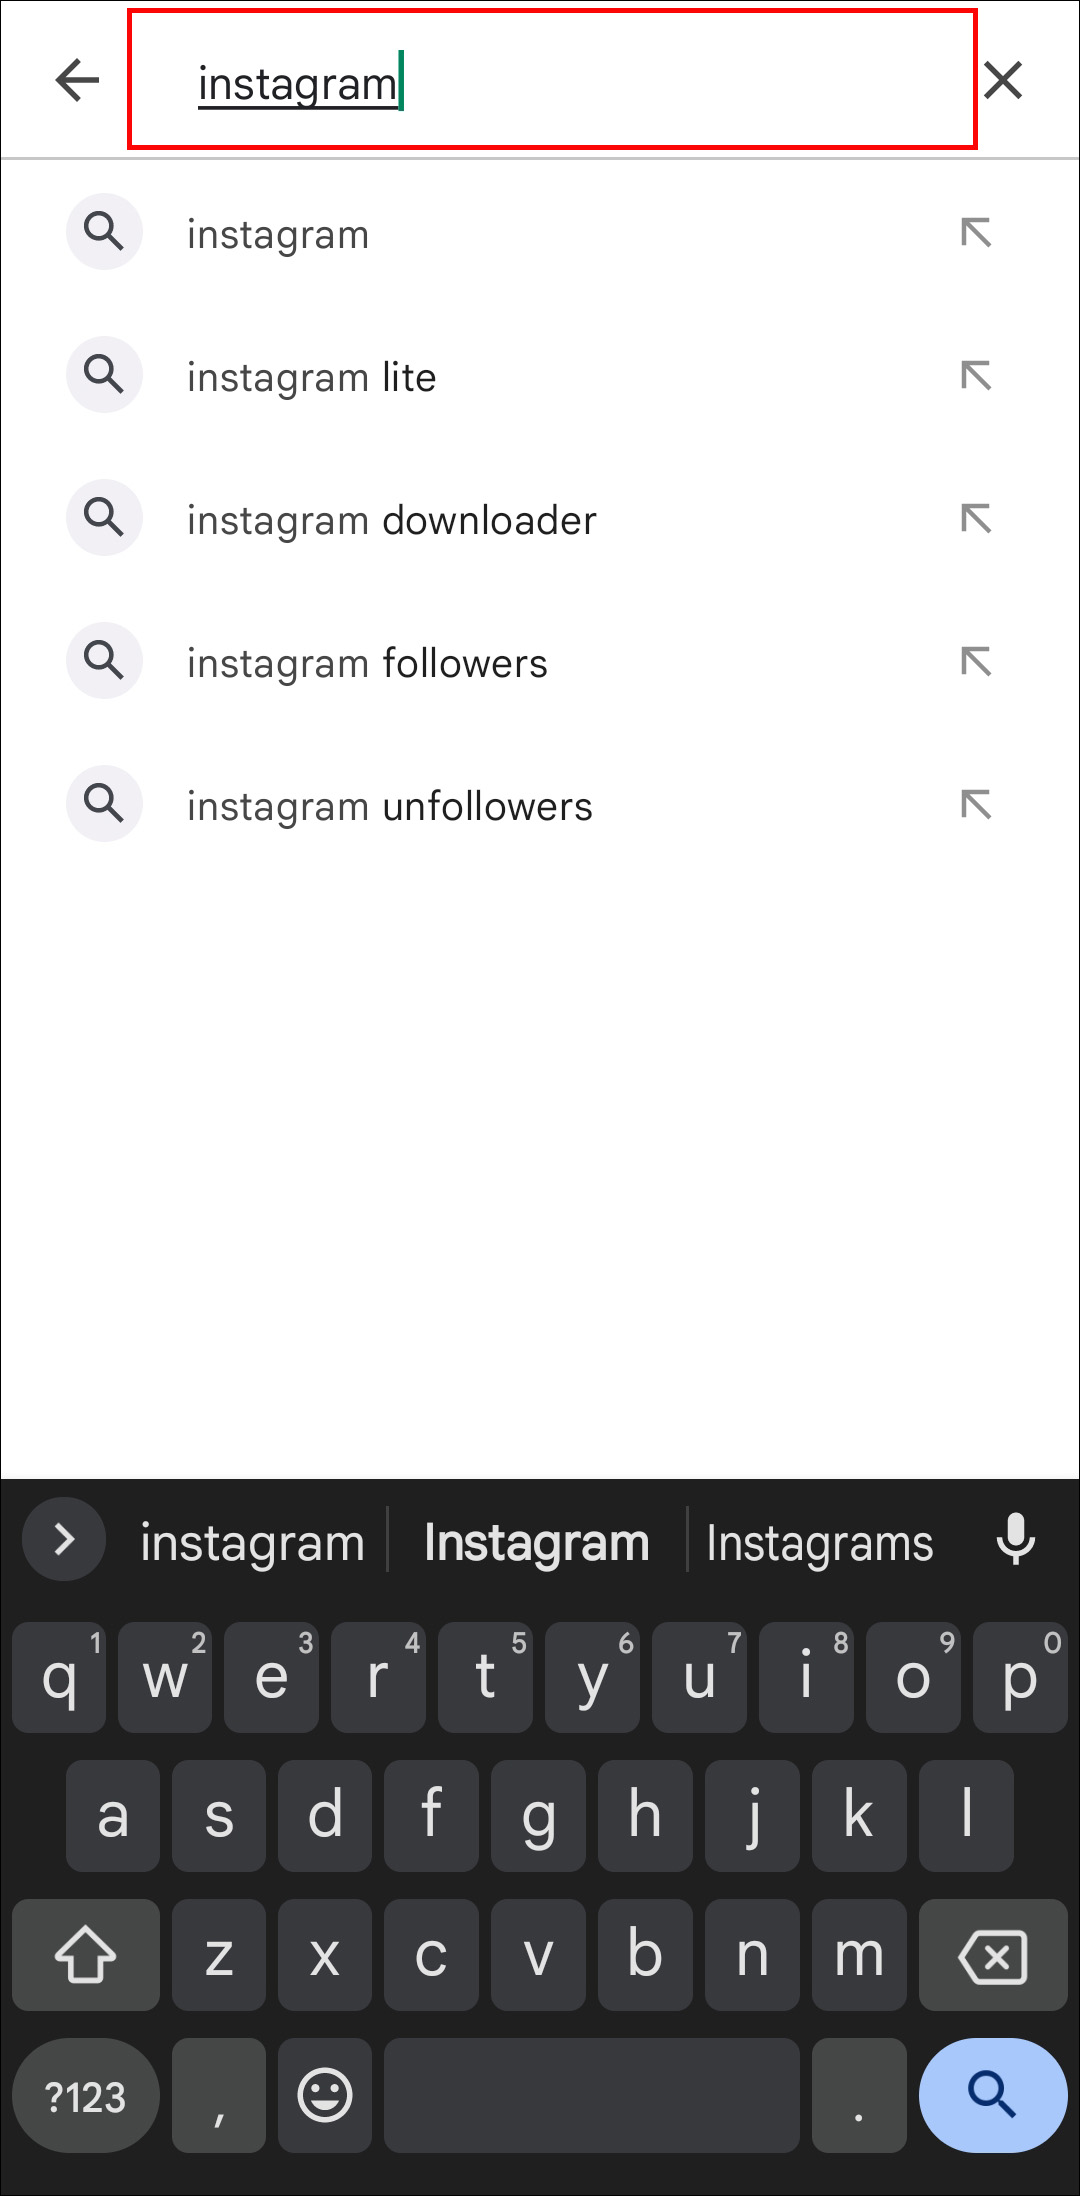
- Type in “Instagram” in the search bar and then select the search icon.

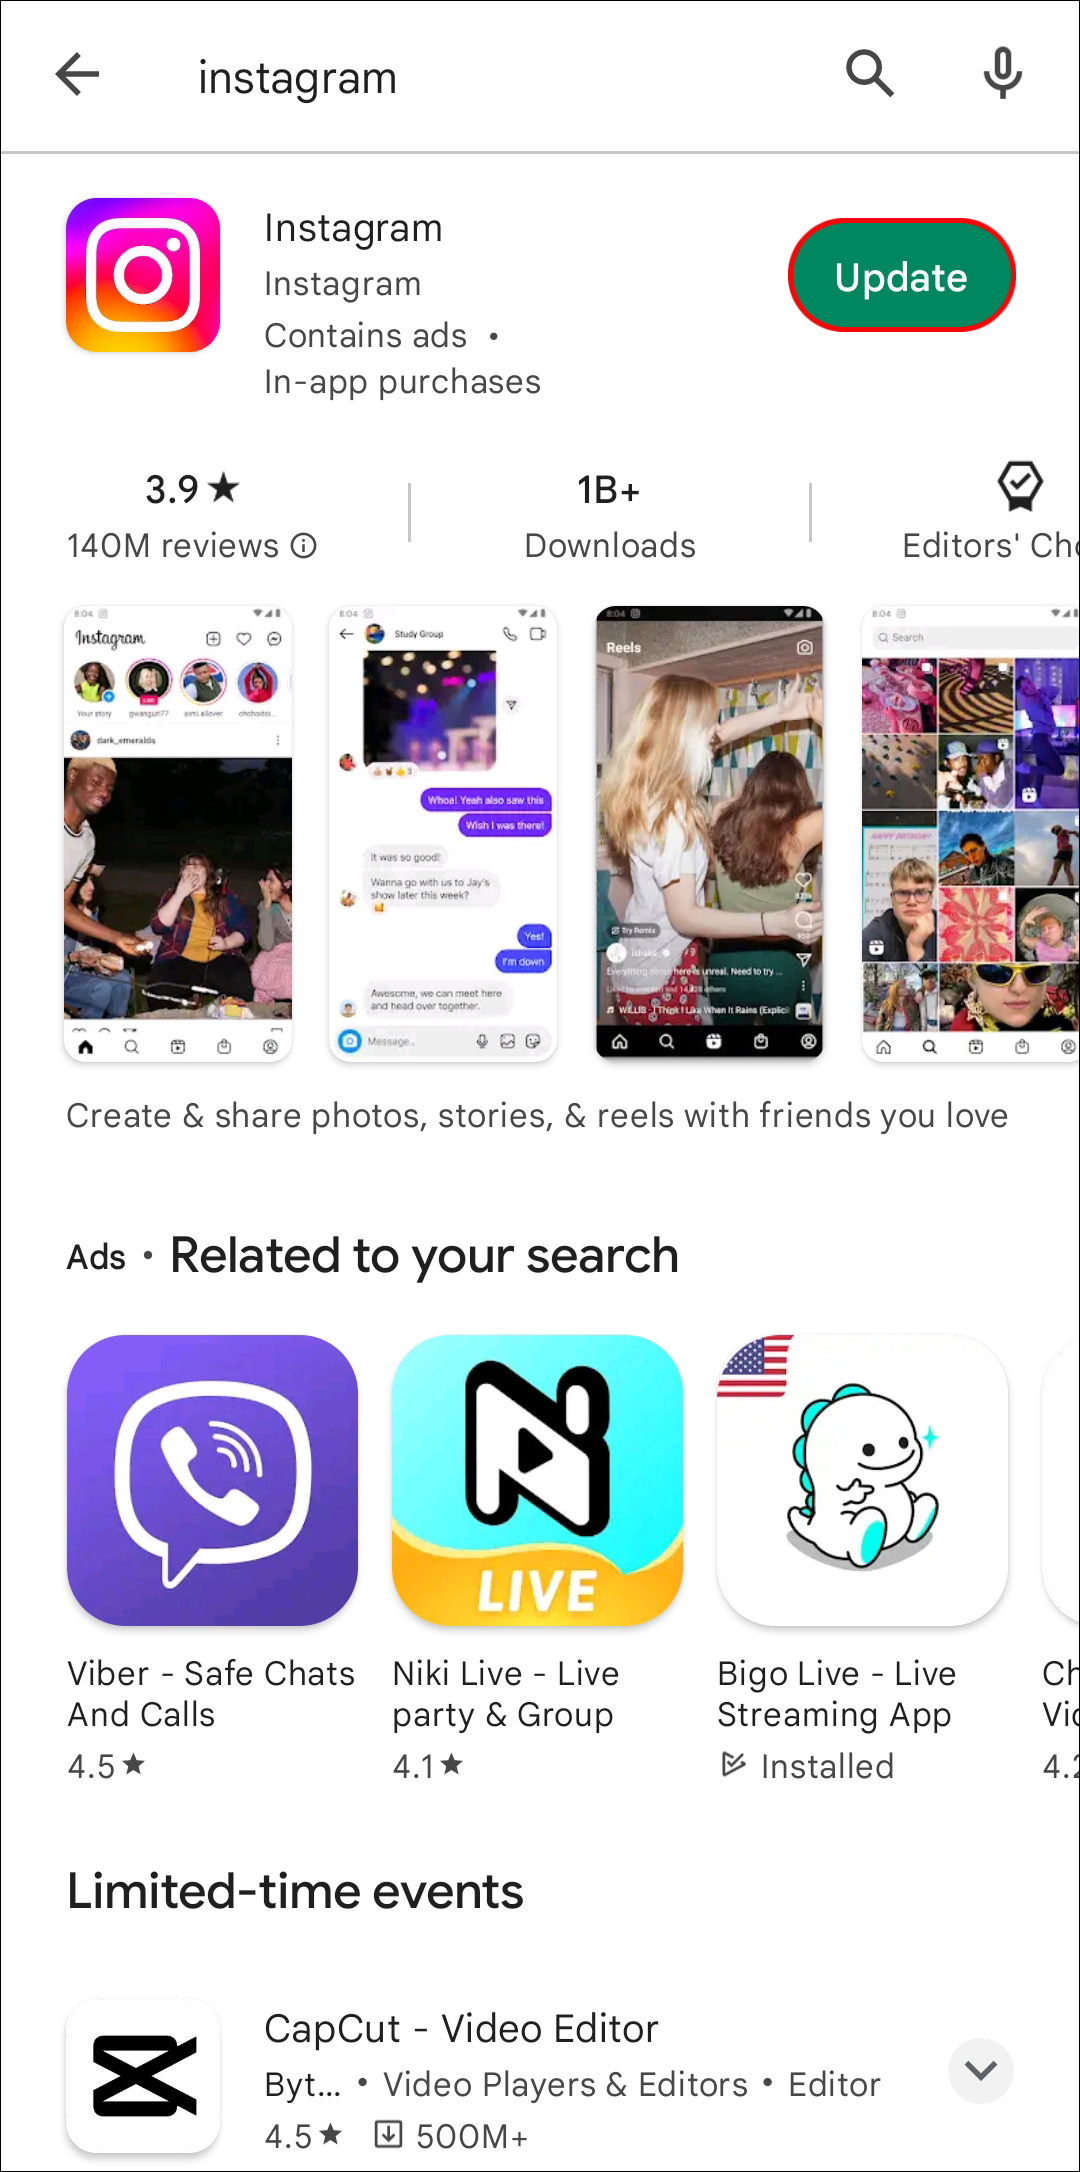
- Tap on the app once it appears. If an update is pending, you can tap the “Update” button to initiate it.
Here’s how to update the Instagram app if you’re using an iOS device:
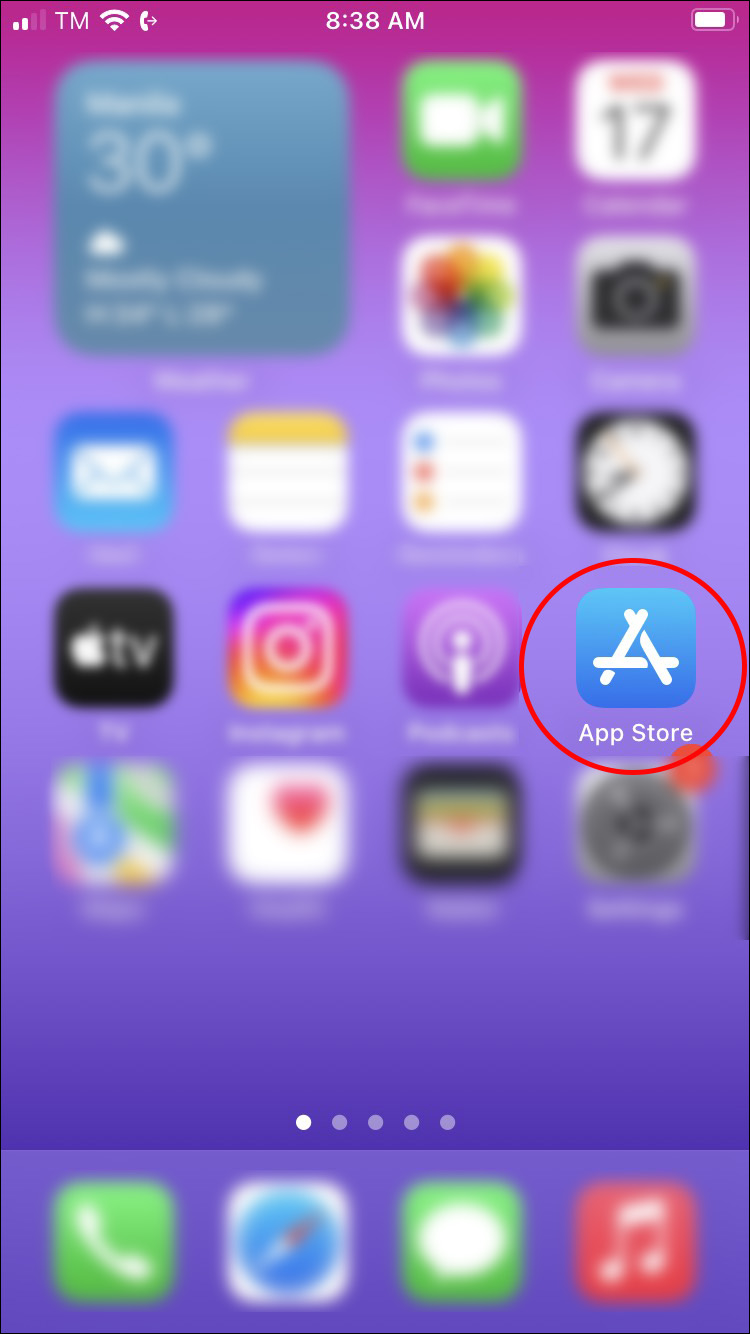
- Find and tap on the “App Store” from the app library on the device.
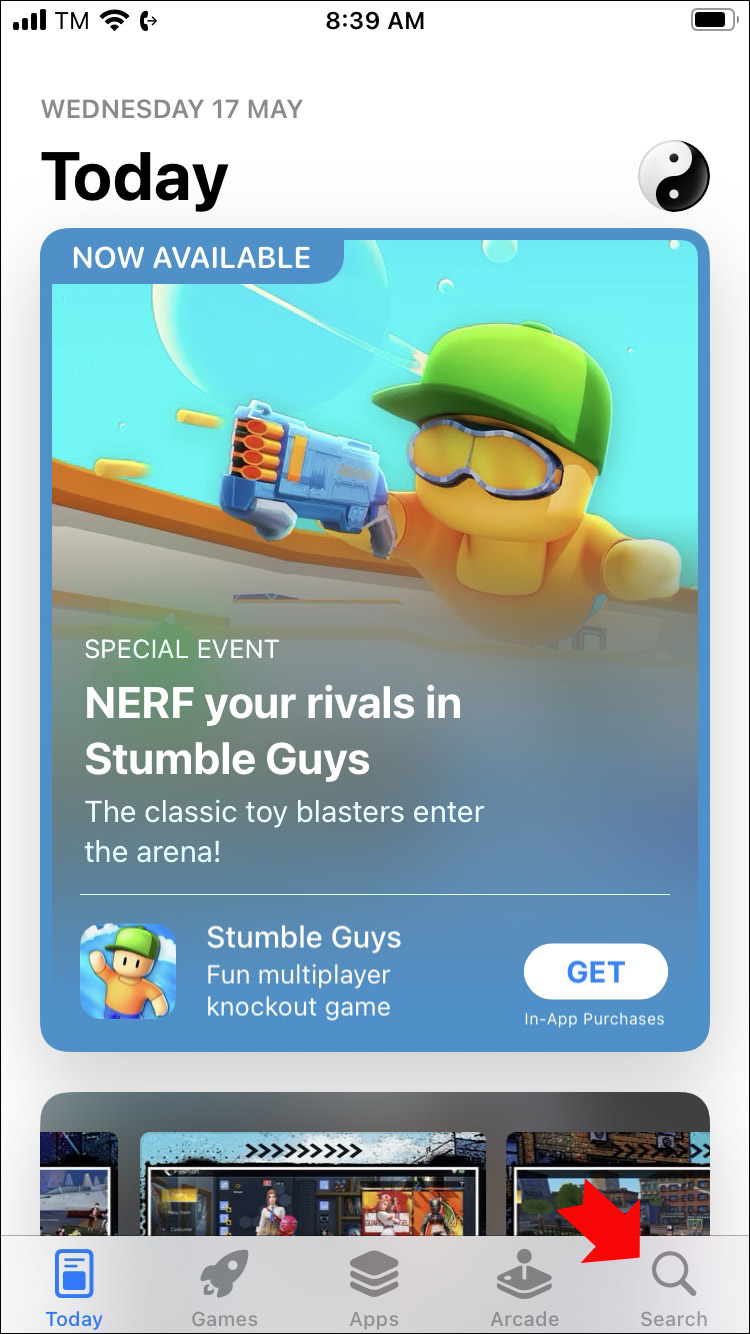
- Select the search bar option at the bottom of your device interface.
- Type out “Instagram” and select the “Search” icon.
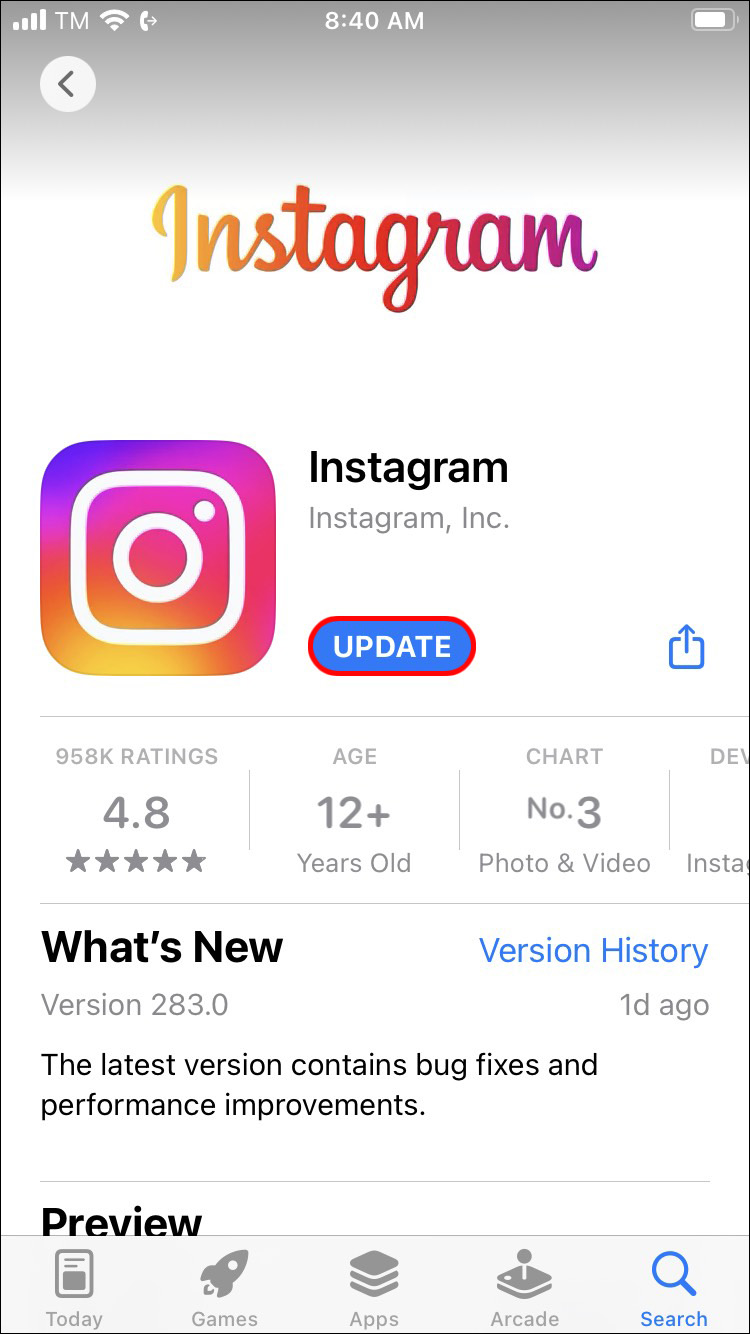
- Select the Instagram application and tap the “Update” button if it’s available.

Make the Best Instagram Reels for Your Feed
Solving the blurry, low-quality issue with Instagram Reels means you can post with more confidence. One-minute Reel posts are particularly useful if you have an Instagram business account. Owners use them to feature the latest limited-edition product or make a simple tutorial. Others can post Reels on their personal accounts to capture their favorite memories.
Here are the basic steps to make a Reel for your feed:
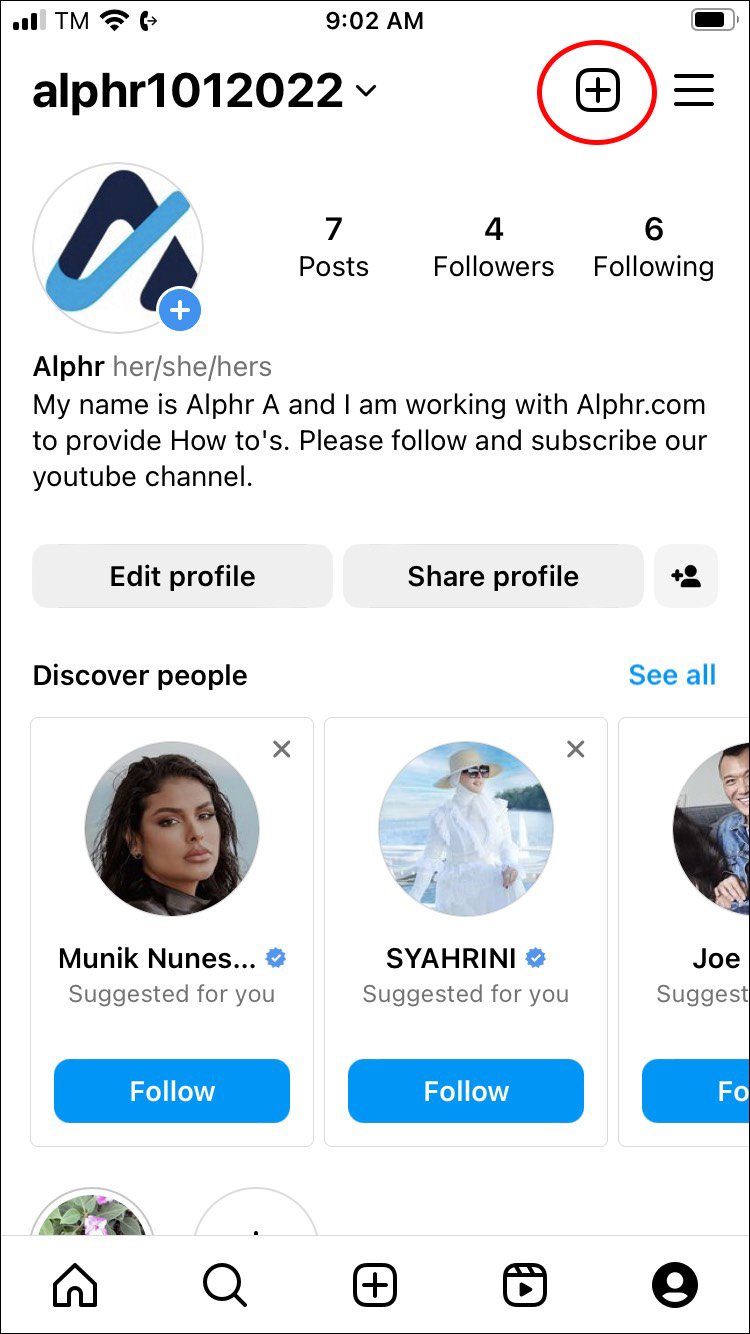
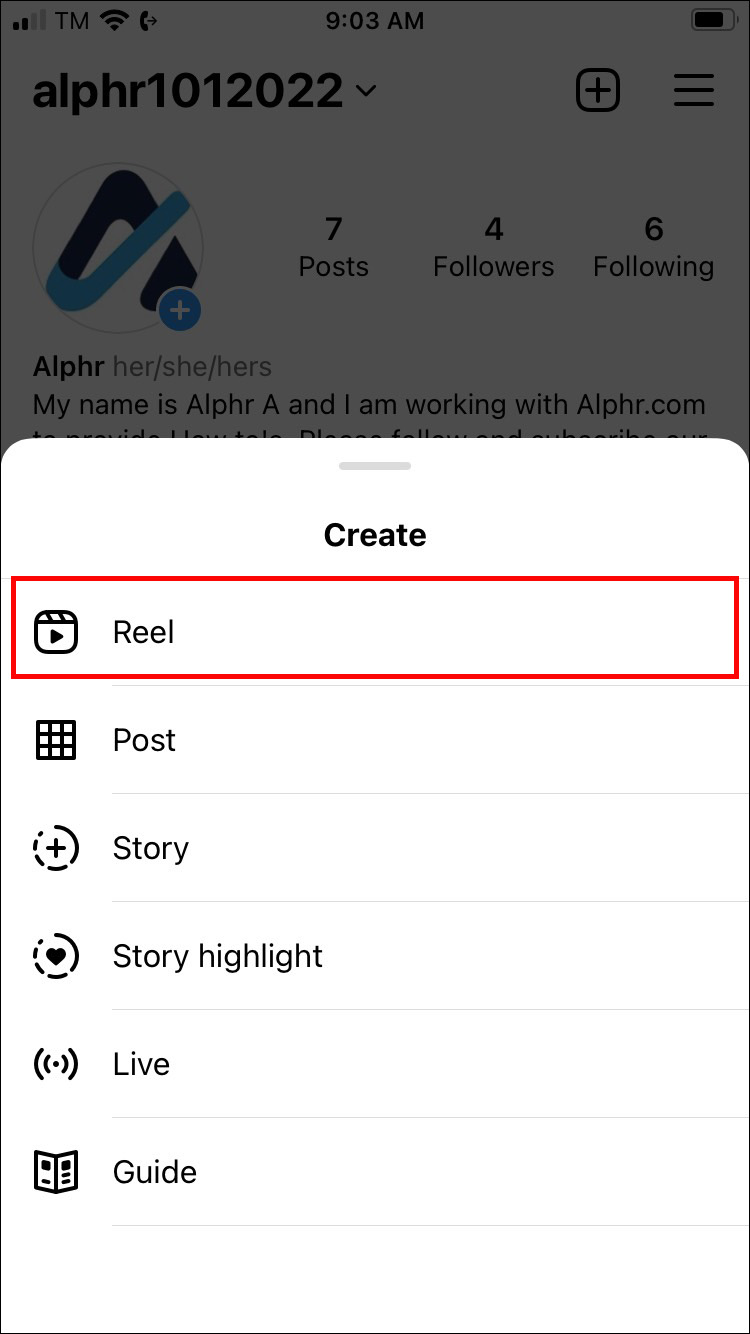
- Tap on the “plus” icon. You can find this icon in the upper right section on your profile page.
- Select the “Reel” icon. This will open up your camera.
- Select the “Length” option. This will help you set the right length for your video Reel.
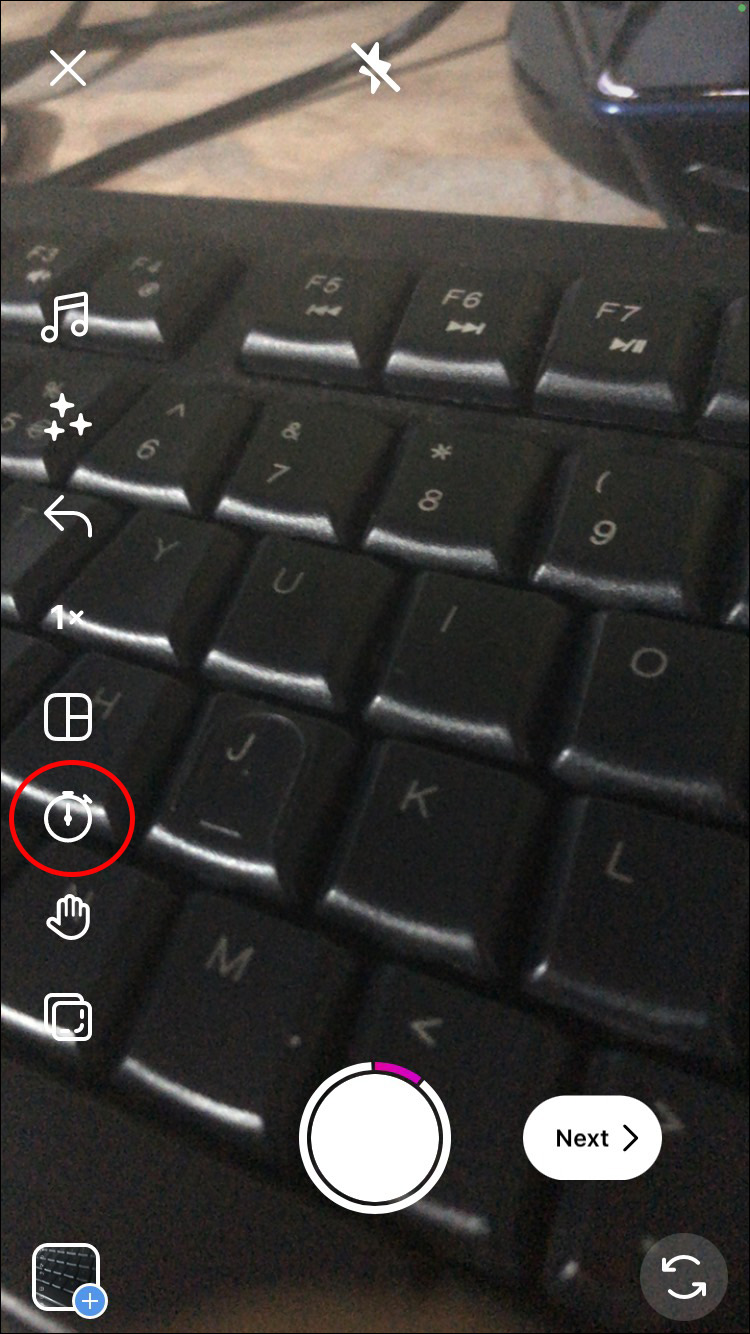
- Tap on the “timer” option to set it up and prepare for recording.
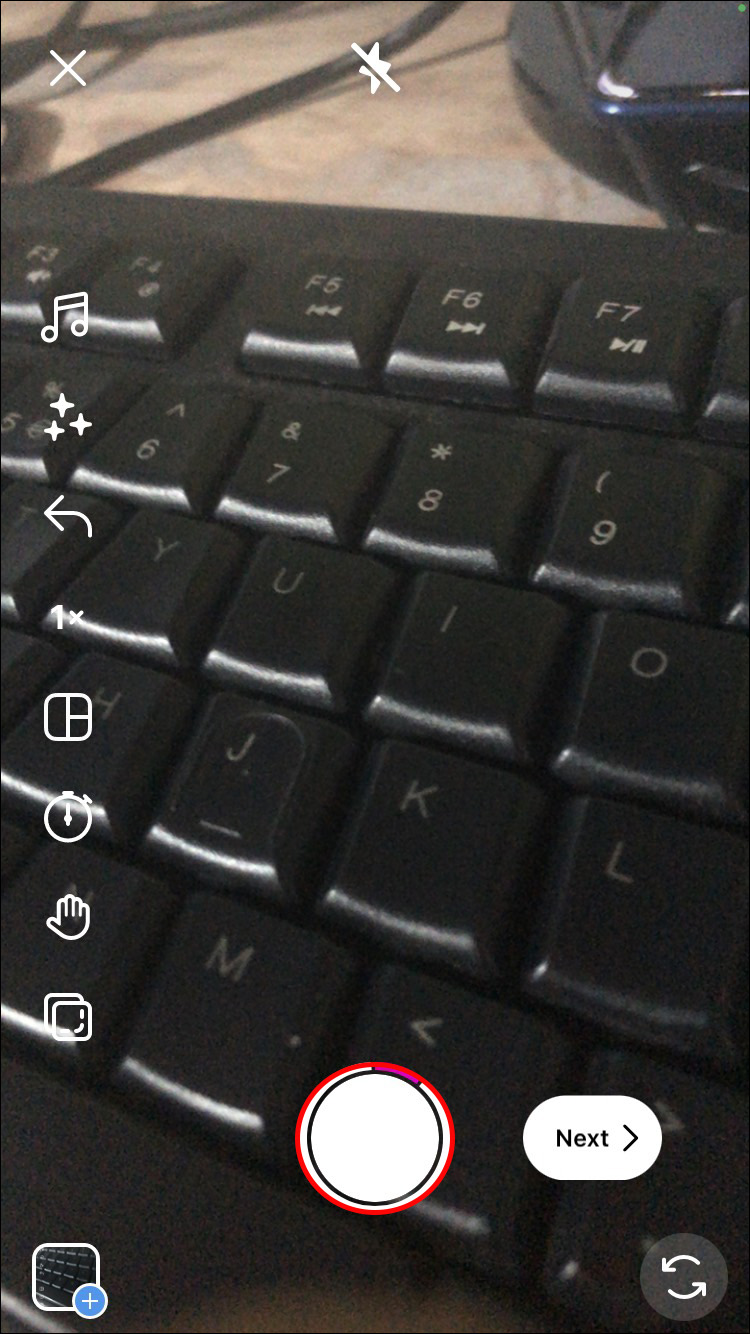
- Begin the recording by holding down the middle circle button.
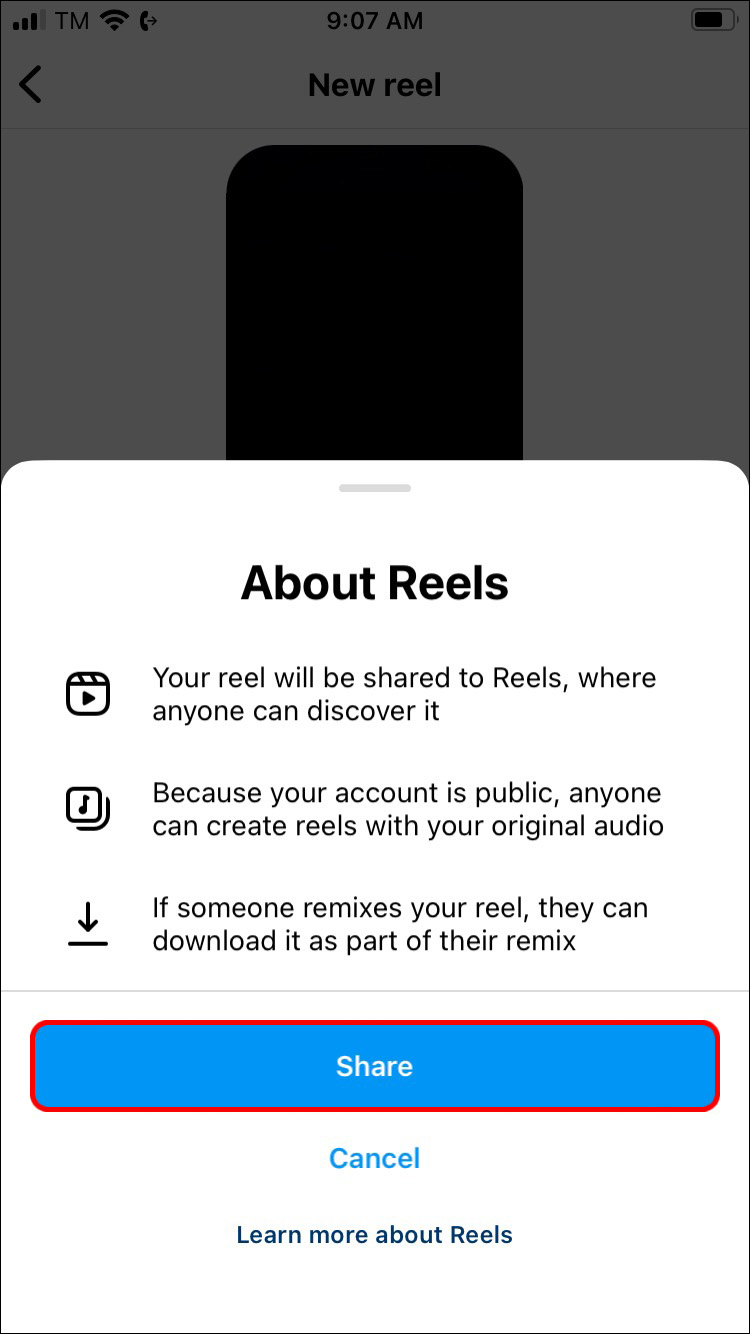
- After editing the reel, select the “Share” option to publish it to the platform.

You might already have a recorded Reel on your device that you’ve been saving for later. Simply upload it by tapping the lower toolbar’s square “upload” icon.
The Best Way to Edit Your Reels
Before you upload your Reel, here are a few tricks to improve engagement:
- Add some text or stickers to your Reel by selecting the icons available before publishing. This is a chance to add an additional caption to your Reel for context and a pop of color for good measure.
- Use music in your Reel. After tapping the music note icon, search for a song in the search bar. Select from the available songs to have one play on the Reel. The platform constantly updates, so you’ll have regular access to new music.
- Adjust the speed and the layout. By selecting the speed icon of the Reel, you can speed it up or slow it down. This is a great option if you want to show the viewer extra content or emphasize other sections. Layouts will allow users to add more recordings into the whole frame.
Be sure to use the editing elements mentioned above, as they will make the Reel more engaging and fun for your viewers.
If you don’t like Instagram’s editing options, you can always use a separate video editing app or software. However, you should avoid uploading Reels from other sites with watermarks or covering the Reel with too much text, as this can be bad for your audience engagement.
How to Get Rid of Your Reel
If you decide that you’re not happy with your Reel] Instagram lets you delete it like any other of your posts or Stories.
- Launch the Instagram app and then select the Reels icon. You can find this at the very bottom toolbar of the interface.
- Locate and select the Reel you wish to delete. Select “More Options” and then select “Delete.”

After deleting your Reel, you can exit and relaunch the Instagram application. After rechecking the available Reels, it should be gone.
FAQs
How can I record and upload Instagram Reels on my computer or laptop?
Currently, Instagram doesn’t support this option on desktops, computers, or laptops. You can only upload Reels to the Instagram platform using a device such as a phone.
Why won’t my Instagram Reel record over one minute?
That’s not an error but rather the time limit for Instagram Reels. They can’t last over one minute.
Will making Instagram Reels give me more followers?
Like any other posting option on Instagram, Reels can serve as tools to boost engagement and accumulate more followers. That’s because your Reel content might interest many people who want to see more. If you’re a business, you can use high-quality Reels to show people the benefits of your product.
Become an Expert for Amazing Instagram Reels
Blurry Instagram Reels can discourage people from posting. However, you can easily remedy this issue by using a newer device. Save your recorded videos in your gallery and publish them once you establish a stronger internet connection. Other times, it’s not a problem on your end but rather an issue with the Instagram servers. Your best bet is to wait it out before trying to post Reels again. Along with the right editing skills, you can use Reels to engage your audience in new ways.
Did you find it easy to fix the blurry Reel problem on Instagram? Was it easy to create your Reels? Let us know in the comments section below.
Disclaimer: Some pages on this site may include an affiliate link. This does not effect our editorial in any way.