Python has many features to help you integrate systems and work more efficiently. One of them is PIP. This package manager installs and organizes libraries written in this programming language. However, activating it on your Windows PC can be tricky.
This article will show you how to install PIP in both Windows 10 and Windows 11
How To Install PIP in Windows 10/11
PIP is an integral part of Python and is so necessary that the developers have included it with the core program since versions 3.4 and 2.7.9 (for Python 3 and 2, respectively). This means that the manager may already be installed on your computer. You’ll need to use the Command Prompt to verify this.
Here’s how to do so.
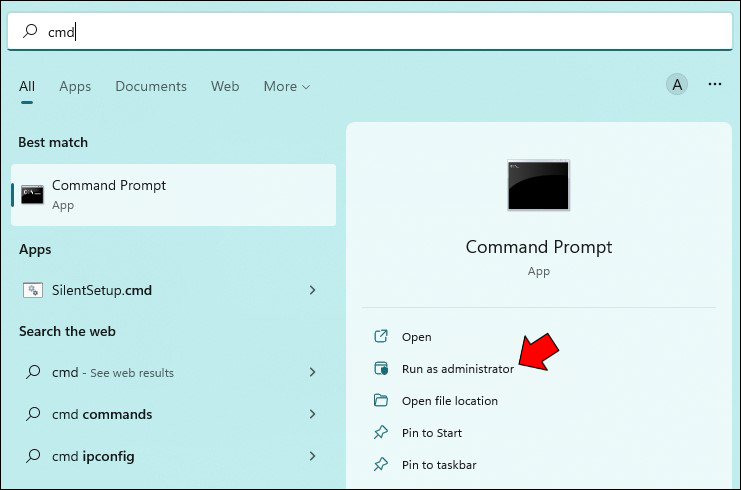
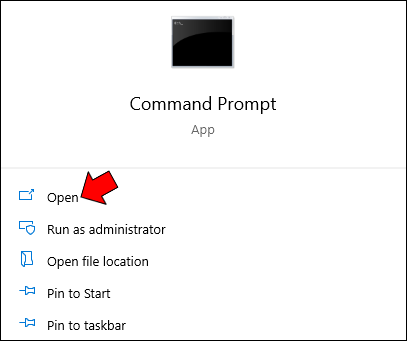
- Click the “Start Menu” icon and type “cmd.”

- Choose “Run as administrator” on the right side.

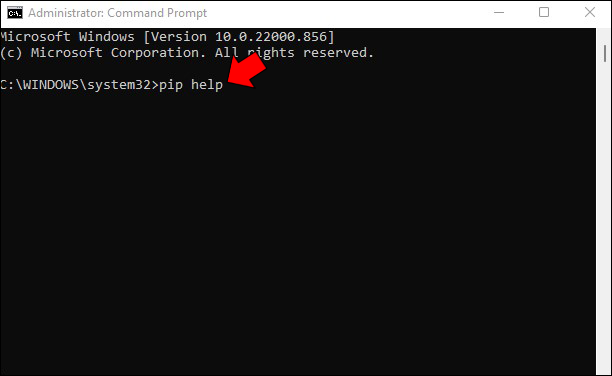
- Type “pip help” and press “Enter.”
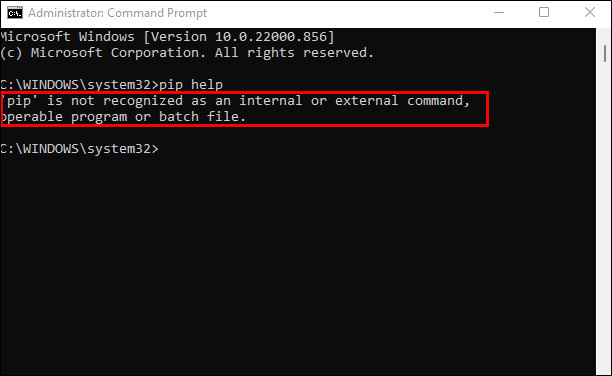
- Note the feedback. It might not be installed if the cmd tells you your PIP is unrecognized as an external or internal command, batch file, or operable program. The culprit may also be an improper variable path but assume you haven’t installed the manager yet.
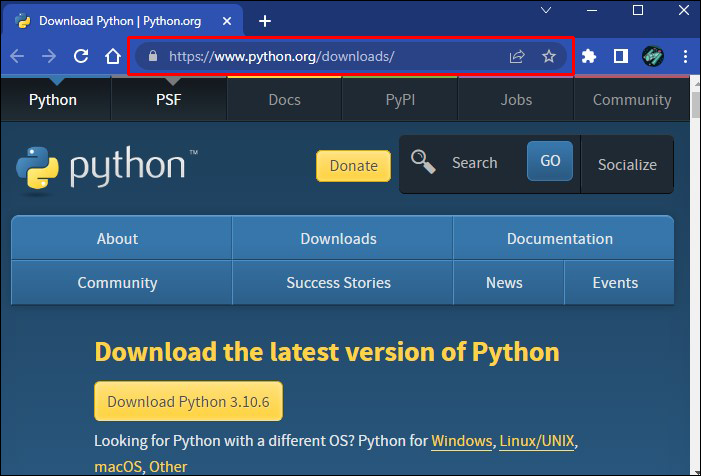
- Once you verify your Windows 11 PC doesn’t have PIP, launch your browser and go to the Python for Windows website.
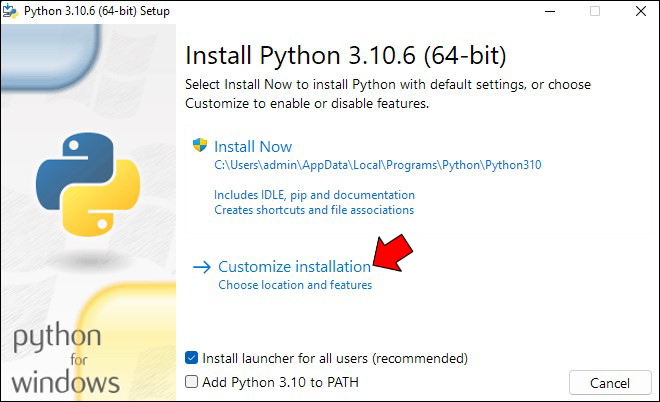
- Download and run the setup file.
- Press the “Customize installation” button.
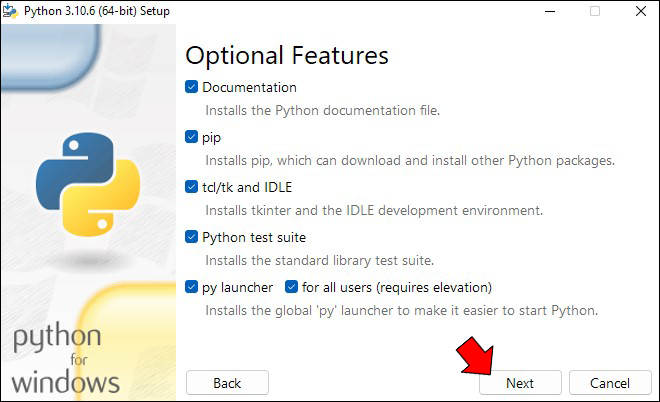
- Tick the box next to the “PIP” section to ensure the system installs it. Newer versions may not require this—they install the manager automatically.
- Click on “Next” in the bottom-right section of the “Optional Features” window.
- Click on “Install” in the “Advanced Options” window that appears.
- Select “Yes” on the User Account Control (UAC) popup window to install Python for Windows.
- In the “Setup was successful” screen, click “Close” to exit the installer.


PIP is now installed, but the work isn’t over yet. You may want to run it from anywhere on your computer for various purposes. However, opening it from specific locations may trigger an error. You’ll need to add the PIP manager location to your Environment Variables to prevent the error, which shouldn’t be too difficult.
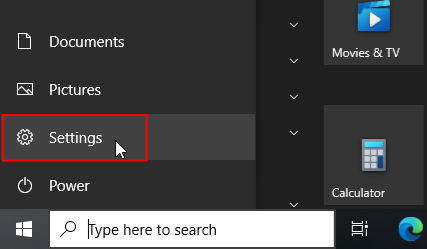
- Open “Settings.”
- Select “System.”
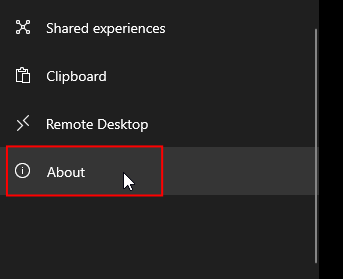
- Click on “About.”
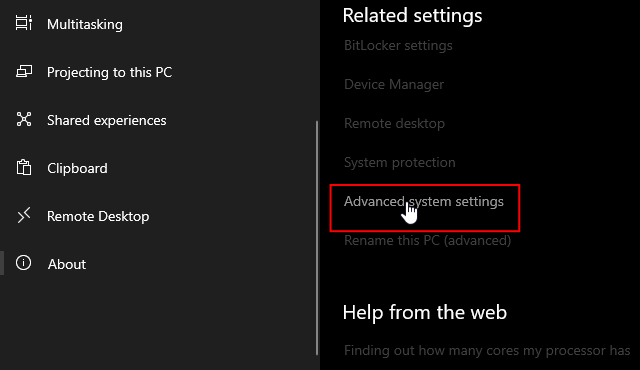
- Scroll down the window to the “Related settings” section and click “Advanced system settings.”
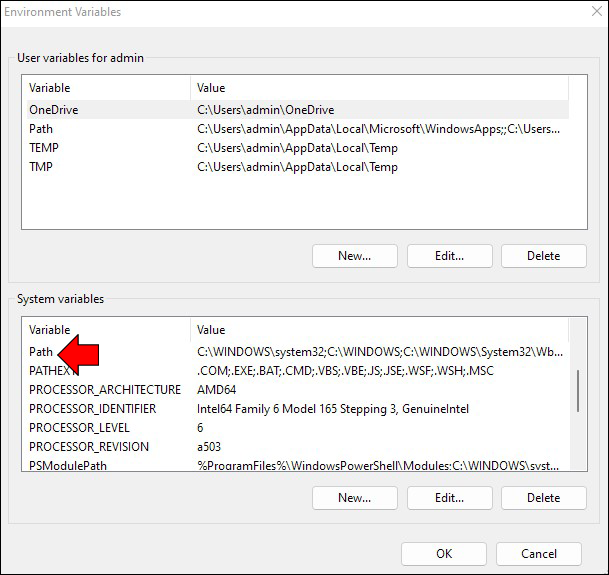
- Click on “Environment Variables.”
- In the “System variables” section, double-click the “Path” variable.
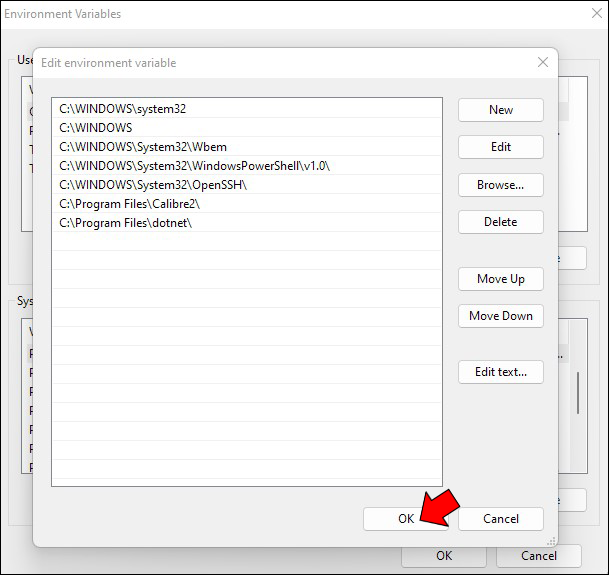
- Choose “New.”
- Add the installed location of the PIP directory and manager as the new entry, such as “C:\Python27\Scripts.” You’ll generally find the folder in the root of your “C:\” drive.
- Click the “OK” button to save your changes.
- Reboot the PC.


How to Install PIP in Windows Through CMD
There’s no need to perform advanced programming to install PIP in Windows. You can use basic features to add this manager. For instance, cmd might be your best option.
This is how it works.
- Open a browser and head to this web page.
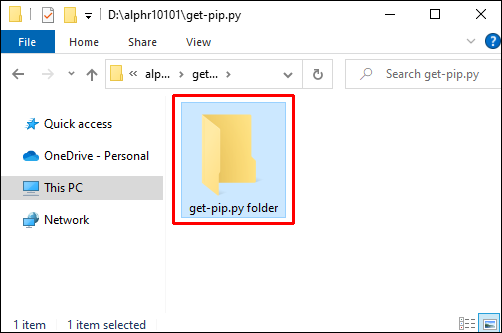
- Download the get-pip.py and save it to a folder.
- Open your command prompt.
- Find the folder that contains the downloaded file.
- Run this command:
python get-pip.py. - Your program should be ready to use in a few seconds.


Double-check your directory path if you receive a message that the system can’t find your file. You can use the”dir“command to check out the contents of individual folders.
How to Reinstall PIP
As previously mentioned, PIP can sometimes produce an error when launched. The specific error language depends on the operating system:
- Windows – system can’t recognize PIP as an external or internal command, batch file, or operable program
- Linux – command not found
- macOS – command not found: PIP
These errors usually indicate the installation wasn’t performed correctly. But regardless of the cause, they’re frustrating because you can’t use the manager to organize critical packages.
Although the messages differ, they point to a common problem – the computer can’t find PIP in the locations from the path variable. Depending on your device, this variable is part of your system/environment variables.
To resolve the issue, you’ll first need to inspect the path variable using these steps:
- Run your command prompt
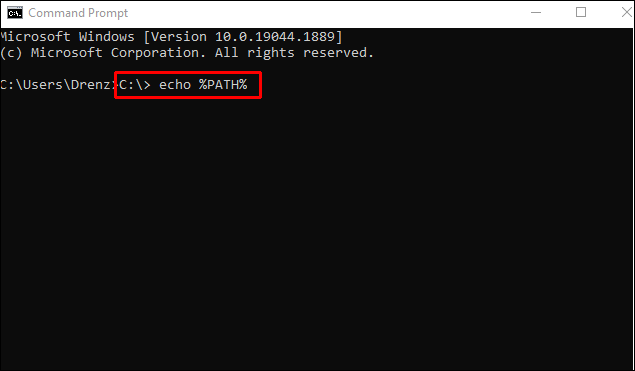
- Enter the following command if you’re a Windows user:
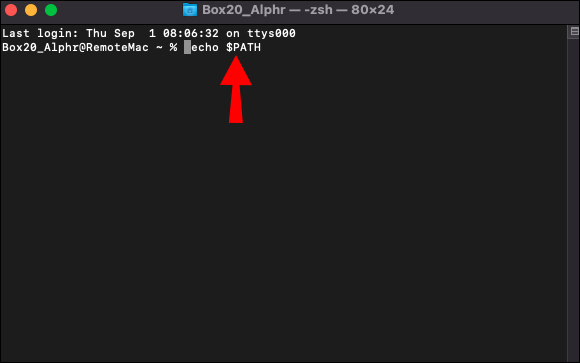
C:\> echo %PATH% - Enter the following command if you’re a Linux or Mac user:
$ echo $PATH
Once the command is processed, you’ll see the location on the disk where your OS is looking for your executable programs. Depending on your system, the places are separated by a semicolon or colon.
The directory with the PIP file should be in the path variable after creating your virtual environment or installing Python. However, it can still be missing for many reasons. There’s a method to reinstall PIP and add it to the correct directory.
- Open the Command Prompt.
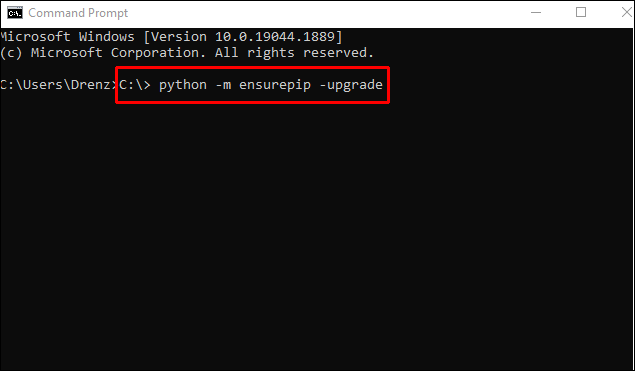
- Type in the following command if you use Python in Windows:
C:\> python -m ensurepip –upgrade - Type in the following command if you use Python in Linux or macOS:
$ python3 -m ensurepip –upgrade
Seamless Python Experience
The only way to take your Python skills to the next level is to have the ability to access all features. You’ll easily integrate PIP, one of the essential functions of this programming language. Also, avoid frustrating errors by taking your time during the installation to double-check the directory.
Why do you use PIP in Python? Did you have any trouble installing PIP? Share your experiences in the comments section below.
Disclaimer: Some pages on this site may include an affiliate link. This does not effect our editorial in any way.