If you use KineMaster’s video editing app, you may be wondering how to upload videos to YouTube. After all, the online video sharing app has unrivaled reach in the social media realm, making it the go-to choice for so many content creators.
If you want to upload a KineMaster Video to YouTube, you’re in the right place. This article will explain everything you need to know about the process.
Uploading a KineMaster Video to YouTube via the Editing Screen
The ultimate joy of shooting and editing a video is being able to upload it successfully. You can use three methods to post your KineMaster videos to YouTube. Here’s how you can upload it using KineMaster’s editing screen interface:
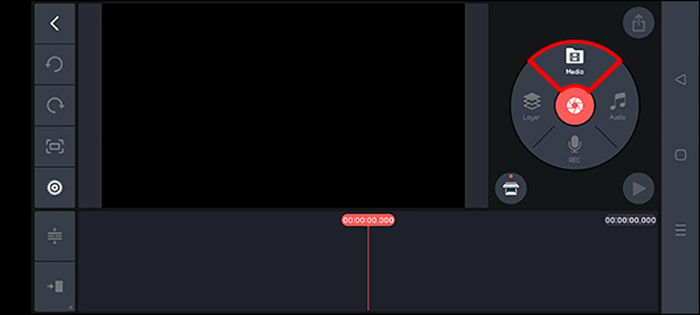
- Launch KineMaster and click on the “Film” icon. This will open the Editing screen.
- Select “Media” located under the circular “Setting” menu. Choose your project file from the “Media Browser.”

- Navigate to the screen’s left pane and click the “Share” icon.
- Scroll to the screen’s bottom and select “Export.” Choose “No, Thanks, save with watermark” if using KineMaster’s free version.
- The exported will appear on the screen’s right side. Click on the “Share” icon.
- Select the “YouTube” option.
- Type in your video’s title and description on the new window.
- Navigate to the top of the screen and click on the blue “Arrow” icon to post and publish your video.
- Your content is now up on the platform for public viewing.


Uploading a KineMaster Video to YouTube via Export Menu
This process is completed through the app’s main menu. It’s pretty straightforward, especially if you want to upload the video without opening it. This method isn’t ideal if you’re yet to edit your video in KineMaster.
Here’s how you can do it:
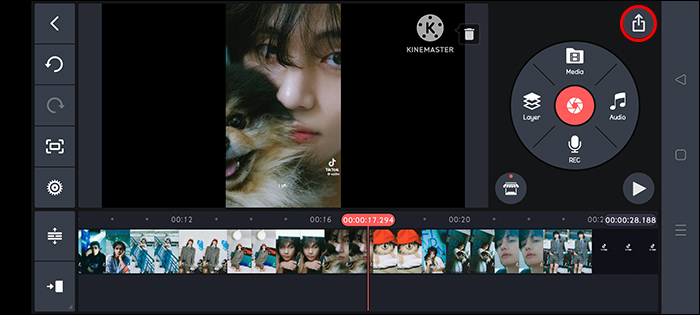
- Launch KineMaster and select the video you want to upload.
- Navigate to the top right corner and click the “Export” icon.
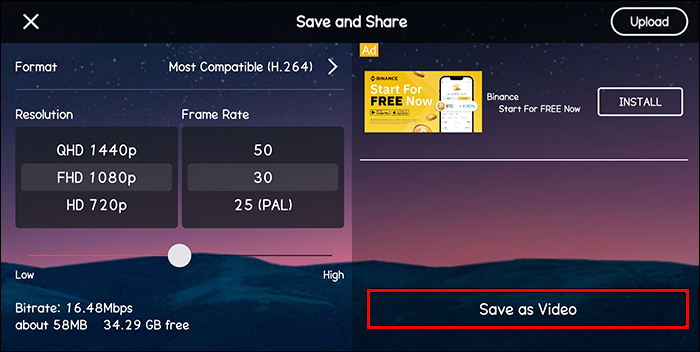
- Set your bitrate, frame rate, and resolution under the “Export and Share” window.
- Click the “Export” button.
- Once your project is exported, it’ll appear on the screen’s right side. Click on the “Share” icon in the middle of your project file.
- Several social platforms will be displayed. Select “YouTube” to access its mobile app.
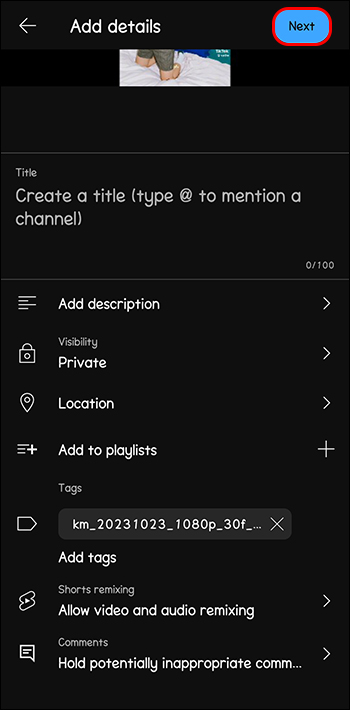
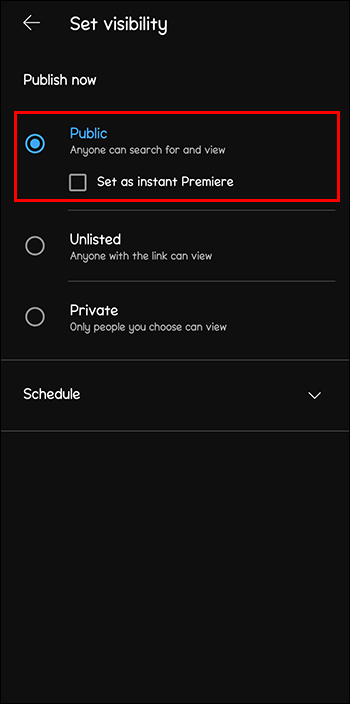
- Scroll down to the “Privacy” section and choose “Private.” This will give you time to go to the YouTube desktop or Studio app to add essential information, such as your thumbnail or description, before your video goes public.
- Navigate to the top right of your screen and click the blue “UPLOAD” button.
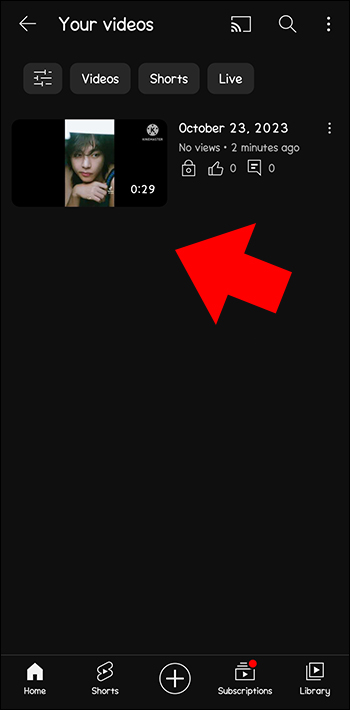
- The video will appear on your “My Videos” tab on the Creator Studio for the rest of the editing process. You can also find it on the YouTube Creator Studio app.
- Once you’re ready to make the video public, return to the “Privacy” section in KineMaster and change it to “Public.”


Uploading a KineMaster Video via Gallery
Some users save their videos to their phones before uploading them for security purposes. It usually is a backup in case you lose content or have storage issues. Here’s how you can upload your KineMaster Video on YouTube via your phone’s gallery:
- Open KineMaster and select your project file. Click on the red “Film” icon to open the “Export” menu.
- Select the “Share” icon on the screen’s left pane. Navigate to the bottom of the window and click “Export.”
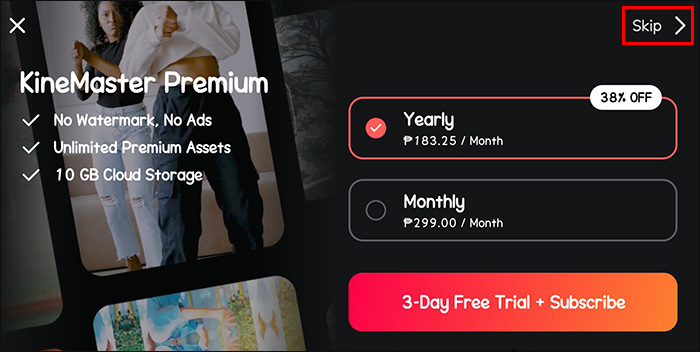
- An upgrade to the Professional Edition window will be displayed. Select the “No, thanks, save with watermark” option to proceed with the exportation process.
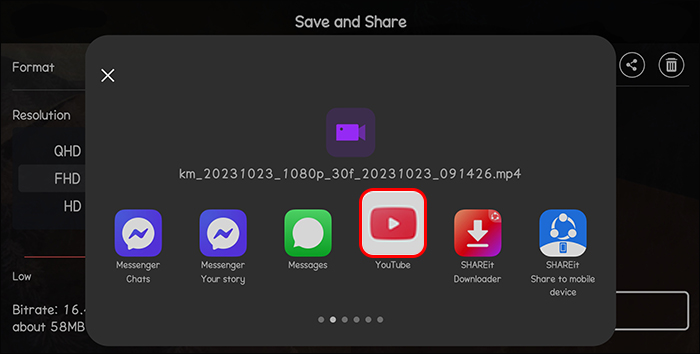
- The saved video will appear on the screen’s right side. Click on the “Share” icon seen at its center.
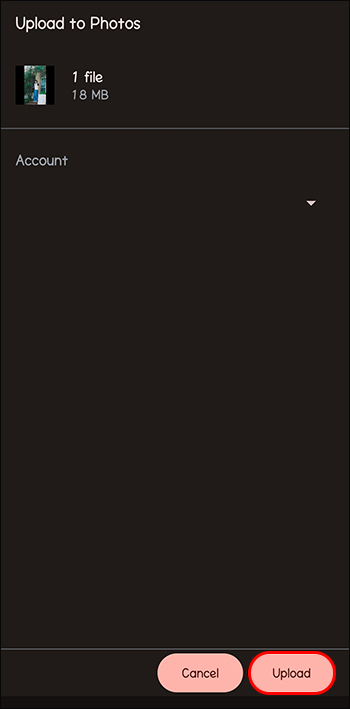
- All graphics apps and social platforms will be displayed. Select the “Upload to Photos” icon.
- Click “UPLOAD” on the next screen.
- Launch the YouTube app on your phone. Tap on the “Record” icon at the top of the window.
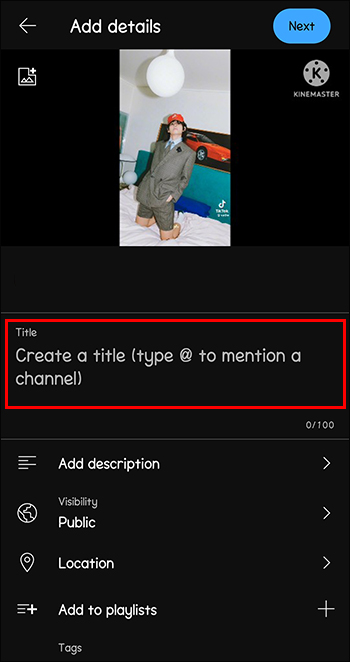
- Select the video you exported. Enter the video title, description, and any other information you’d like to add.
- Navigate to the top of the screen and click the blue arrow “Next” icon to publish the video.


Uploading KineMaster Videos to YouTube Without a Watermark
YouTube is all about visual appeal and engaging content. The KineMaster logo imprinted on your free-to-edit videos can be distracting for viewers. Most of them get thrown off, and this can result in diminished revenue. Fortunately, there are ways to eliminate the watermark.
Upgrade to KineMaster Premium Plan Subscription
The most accurate way to remove the watermark is to pay for an upgrade. All users with the free version have the watermark appearing on their content. It’s a way for the app to leverage and expand its market reach in exchange for offering you a free video editing platform. Apart from removing the watermark, this upgrade will grant you access to premium features like advanced layer control and additional audio and video effects.
Crop and Layer Your Video
Content creators can explore KineMaster’s numerous editing features to erase the watermark. Layering and cropping are some of the most reliable methods. The layering tool can mask the logo, making it less visible to the audience. Users can also transfer the watermark from a focal position to an area on the display that doesn’t require too much attention. Its size can also be altered using the cropping tool.
Test Out the Video’s Aspect Ratios
YouTube does have a standard ratio for all posted videos. However, you can slightly alter these values during editing to make the watermark less noticeable. This will make it less distracting for your viewers.
Adopt Background Music and Sound Effects
While this is more applicable for voice-over videos, you can still fit it in for little instances of your video. This will help direct your audience’s attention towards the video’s main content and keep them engaged. KineMaster provides a variety of copy-right free music and sounds you can use. These are available to everyone using the platform.
Using Third-Party Applications
This is only applicable to Android users. VideoProc Vlogger is one of the premium editing software apps that will help you effortlessly erase the KineMaster watermark from your videos. And you get to use it for free. You can use it to crop and cover the watermark with your logo, pixels, and even text.
FAQs
Are KineMaster assets copy-right free?
Yes. All edits you make with KineMaster assets can’t make you receive a YouTube strike. Whether they are sound effects, GIFs, or music, they are all licensed by the app.
Which is the easiest way to erase the KineMaster watermark?
Using third-party applications is the best option in terms of convenience and reliability.
Can you monetize KineMaster YouTube videos that have a watermark?
Yes. However, it’s best to try and make it less visible or remove it entirely so it doesn’t affect your viewership.
Going Viral
If you want to bring your personal or business brand kicking and screaming into the 21st century, YouTube is likely to be a key component. Combined with KineMaster’s incredible free editing tools, there’ll be no stopping you. You can tap into YouTube’s vast popularity and promote your content across all social media channels.
Have you ever uploaded KineMaster videos to YouTube? If so, did you use any of the tips of tricks featured in this article? Let us know in the comments section below.
Disclaimer: Some pages on this site may include an affiliate link. This does not effect our editorial in any way.