The Google My Maps tool lets you build custom routes when you want to pre-plan your trip and have offline access whilst traveling. If you want to know how to create a custom route on Google Maps, we’ve detailed the steps in this article.
This article will include steps for the various map customization options, including how to save and share your route. Since some of the Google My Maps features are not currently available via iOS devices; this article will be covering mostly Windows, macOS, and Android.
How to Make a Custom Route on Google Maps on Desktop (Windows or macOS)
To create a custom route on Google Maps using Windows or macOS:
- Navigate to Google Maps and sign in to your Google account.
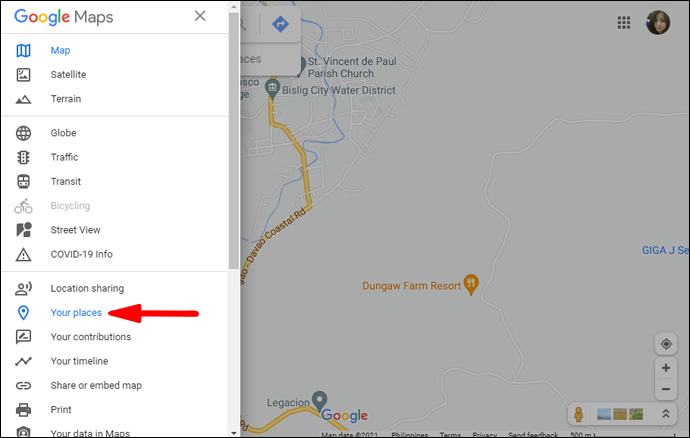
- From the top-left corner, click on the hamburger menu.

- Select Your places from the pull-down menu.
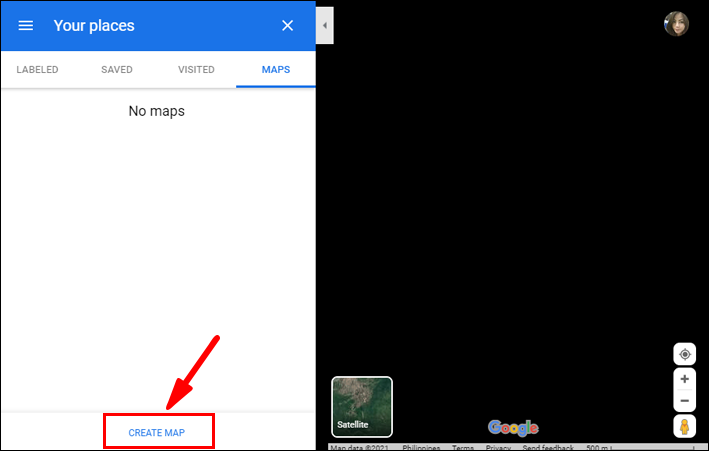
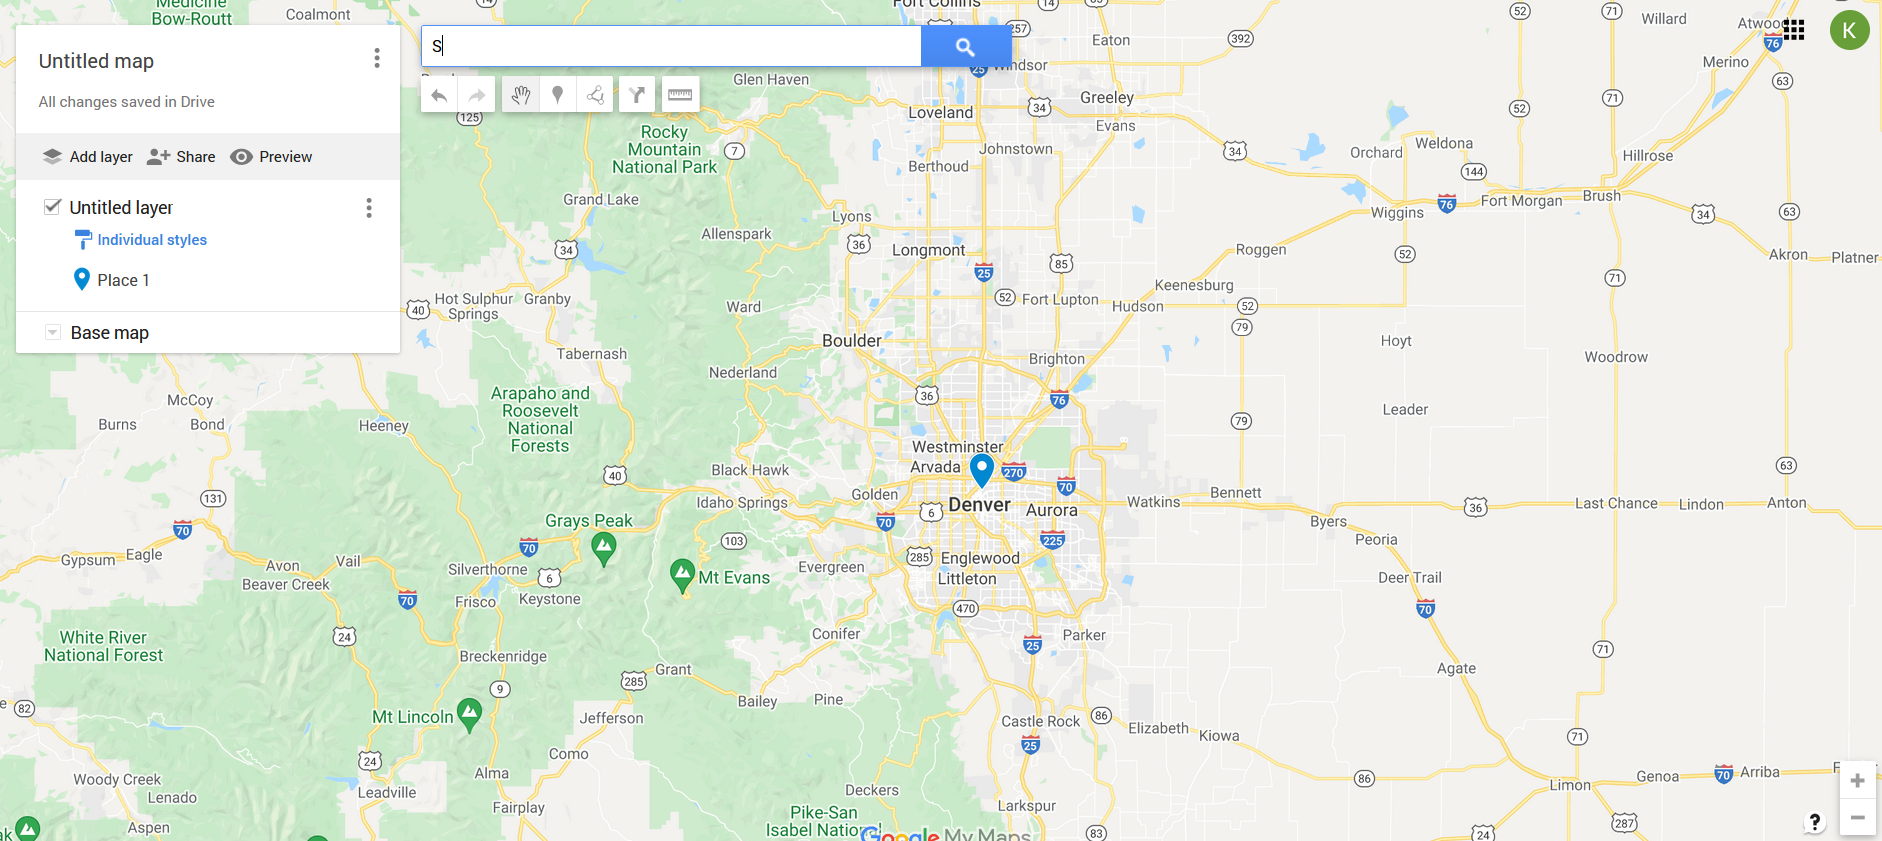
- Click on Maps then Create Map.
- Your custom map will open in a new Google Maps window.
- Your custom map will open in a new Google Maps window.
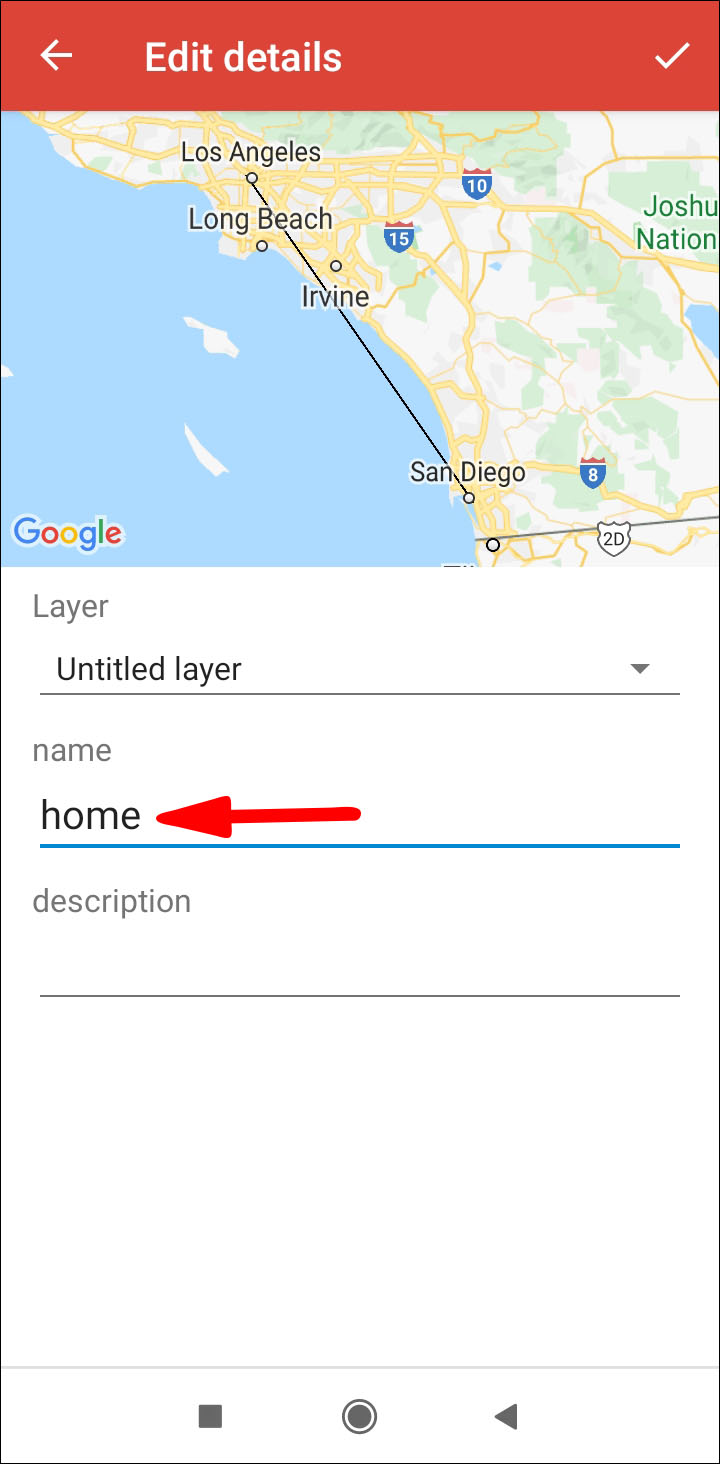
- Towards the top-left, click on Untitled Map to enter the map’s name and description.
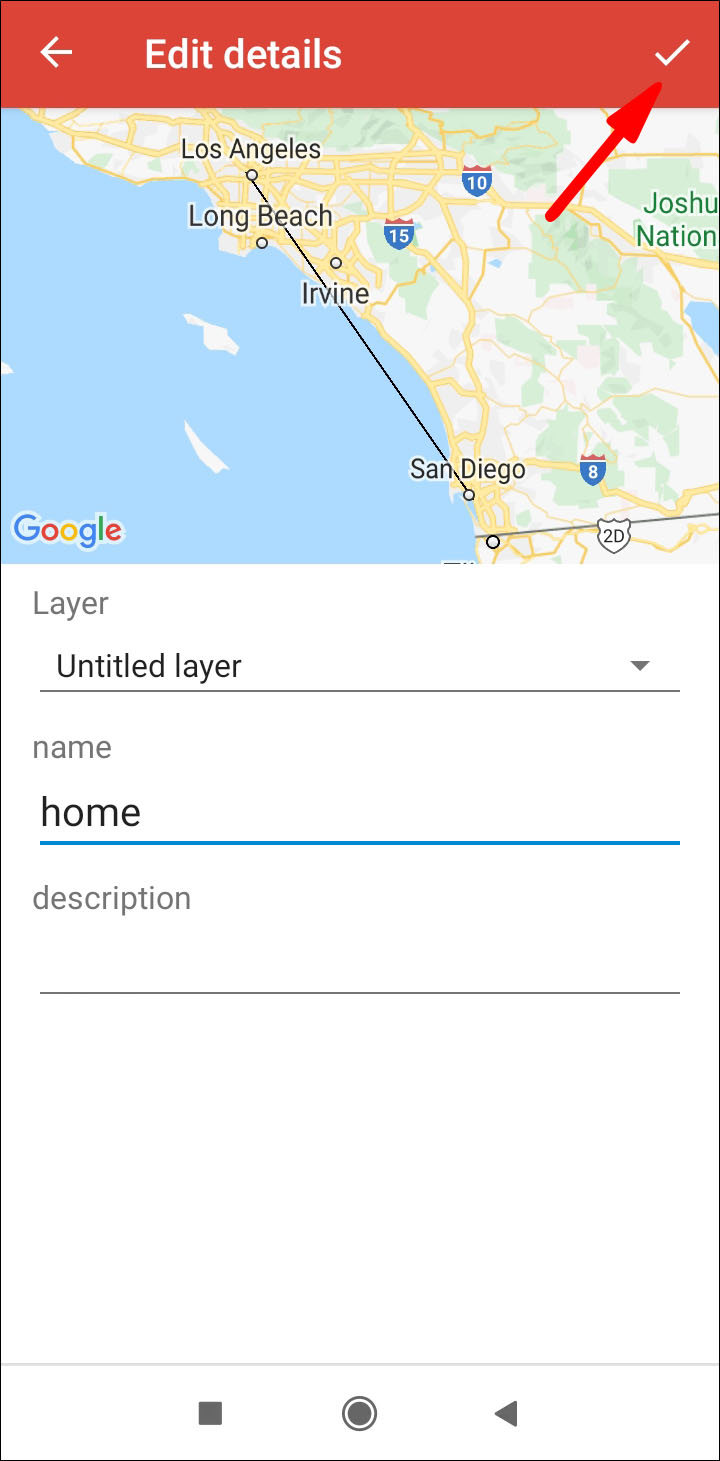
- Hit Save to confirm.


Custom Routes on Google Maps on Desktop: Customization Options
Using Google Maps on desktop to create custom routes gives you access to many other customization options that you might find useful.
Visual Appearance on Desktop
To choose a different look for your map:
- From the bottom of the menu, select Base map.
- Then select either Map, Satellite, or Terrain.


Adding New Directions in a Separate Layer on Desktop
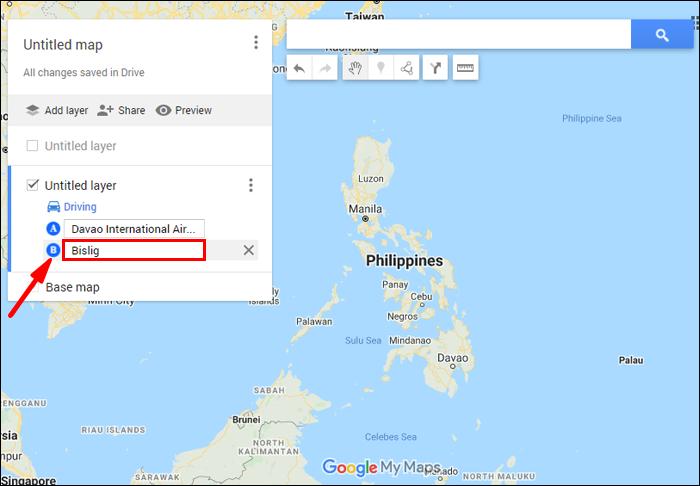
To add point A to B directions as a separate layer on your custom map:
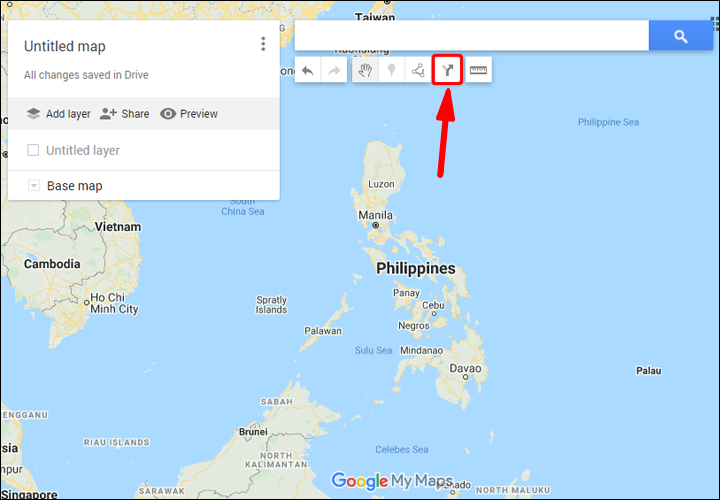
- From the toolbar under the search bar, select Add directions.
- A new directions layer will display in the menu on the left of your screen.
- A new directions layer will display in the menu on the left of your screen.
- Select your transportation mode e.g. driving, cycling, or walking.
- Then enter your departure point in the text box A.
- Then enter your destination point in the text box B.
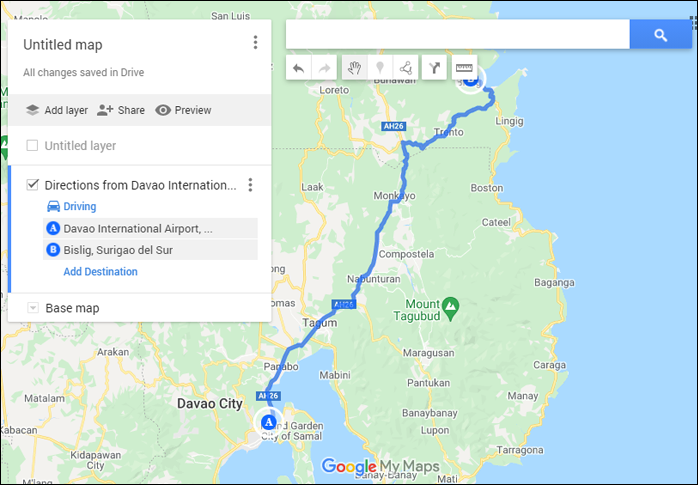
- The directions will appear on your map.


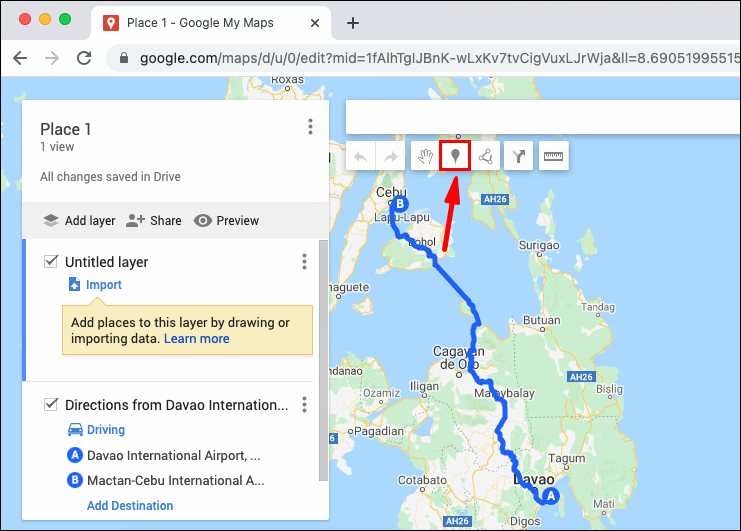
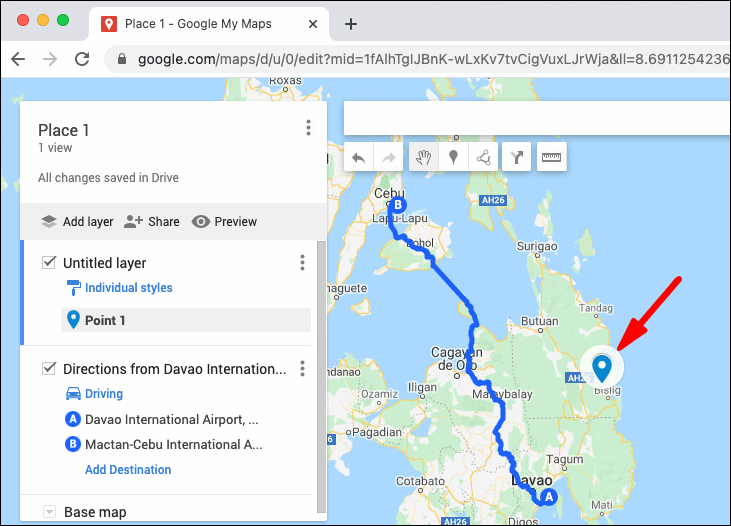
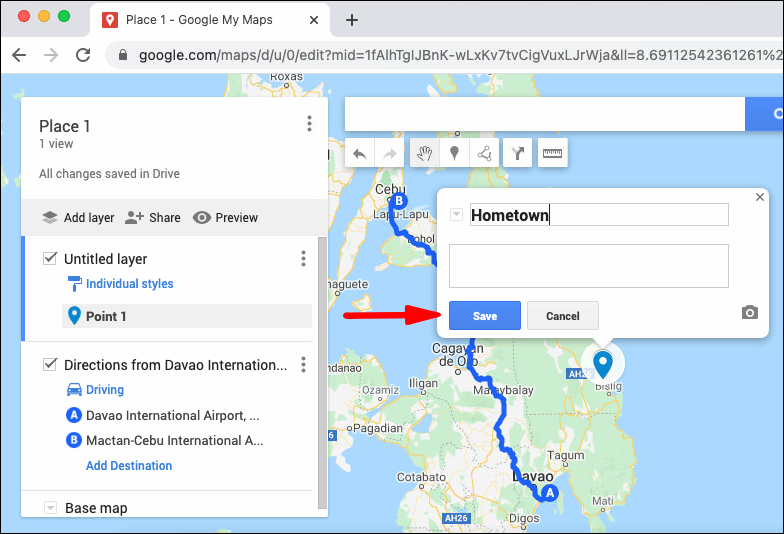
Adding Markers to Your Google Map on Desktop
To add Markers to your Google Map on Desktop:
- Navigate to and sign in to My Maps.
- Open your map, then select Add marker.
- Click on a layer, then click on the point to position the place.
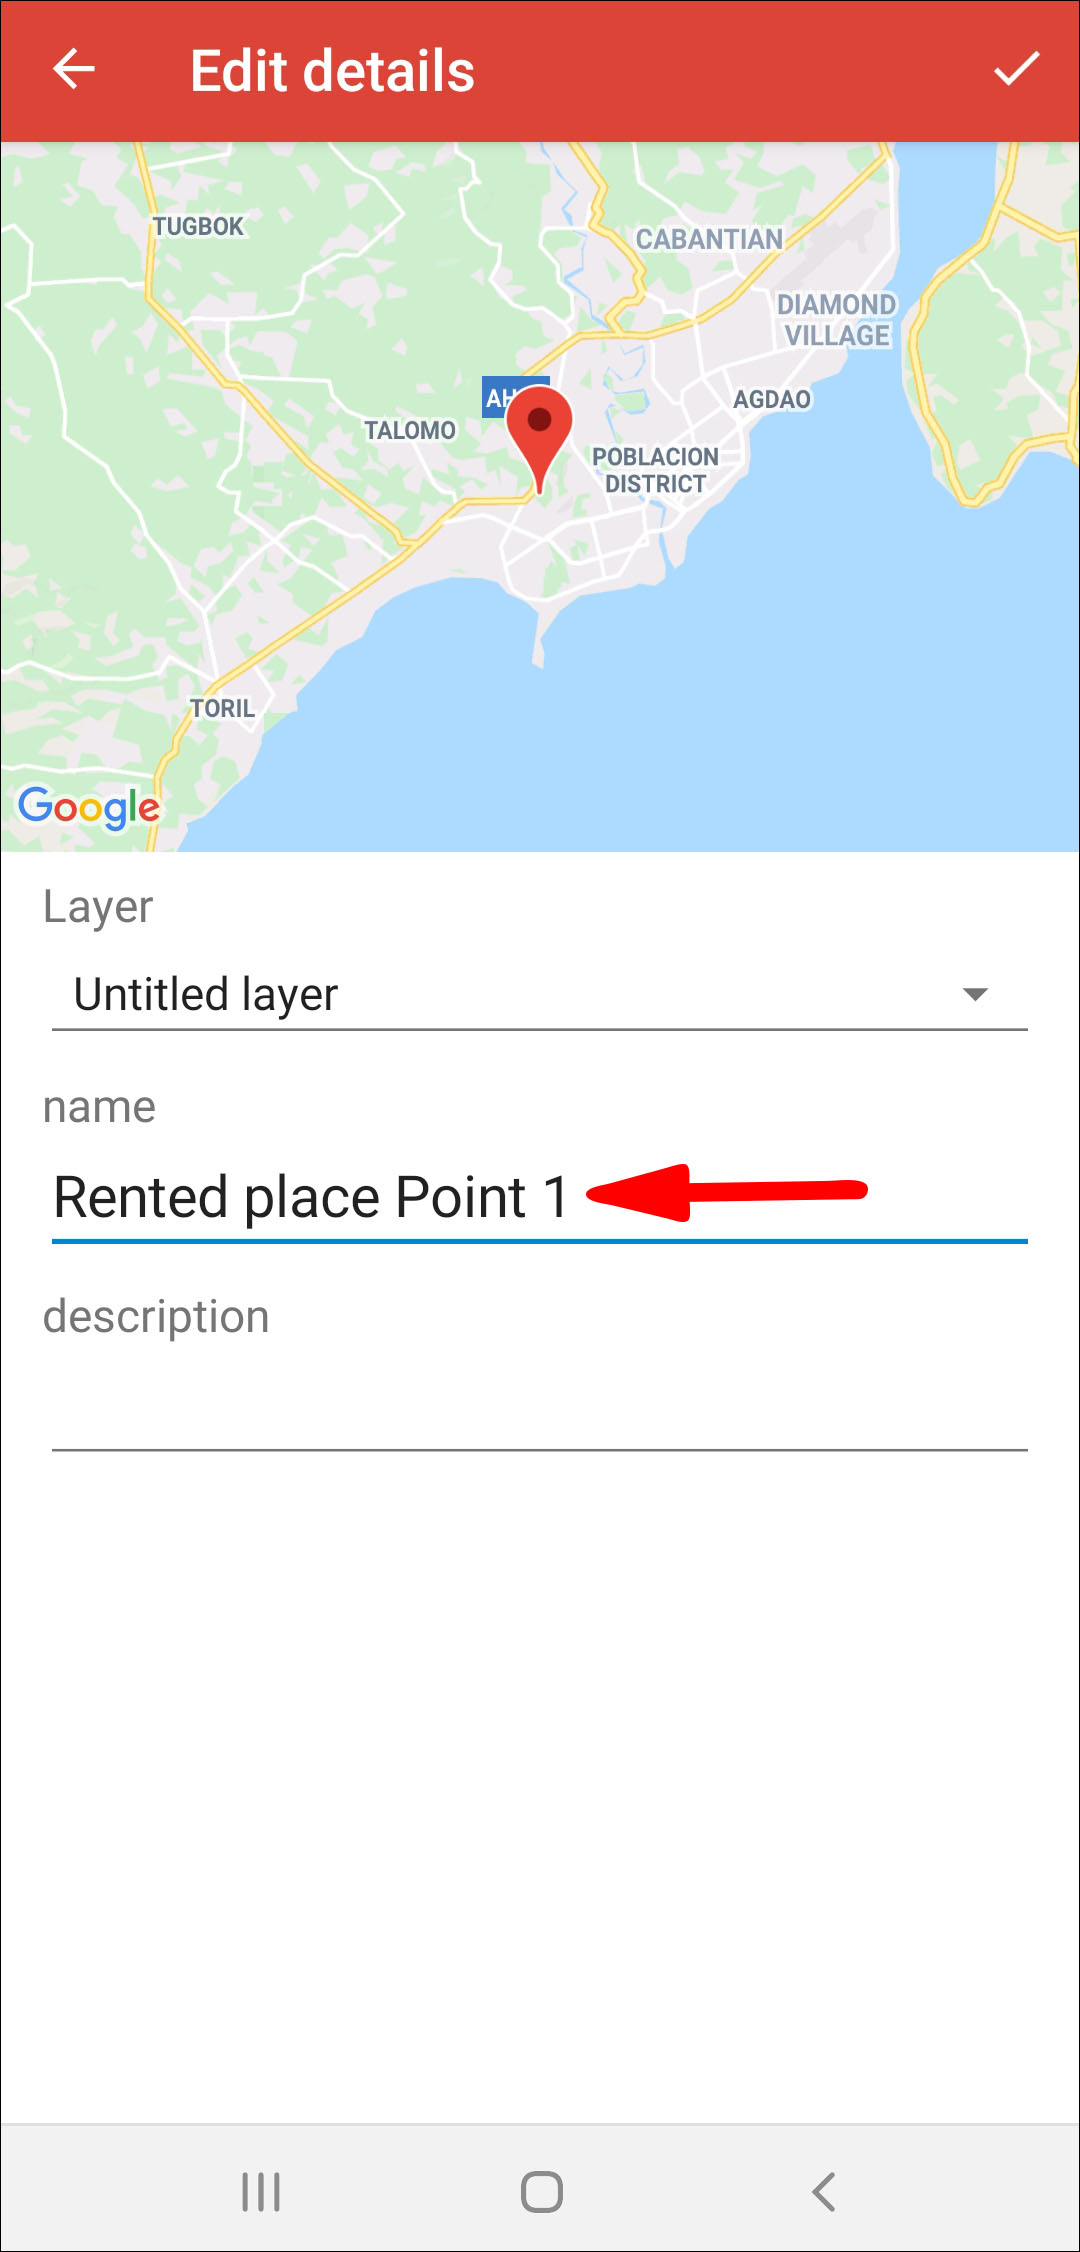
- Give the place a name.
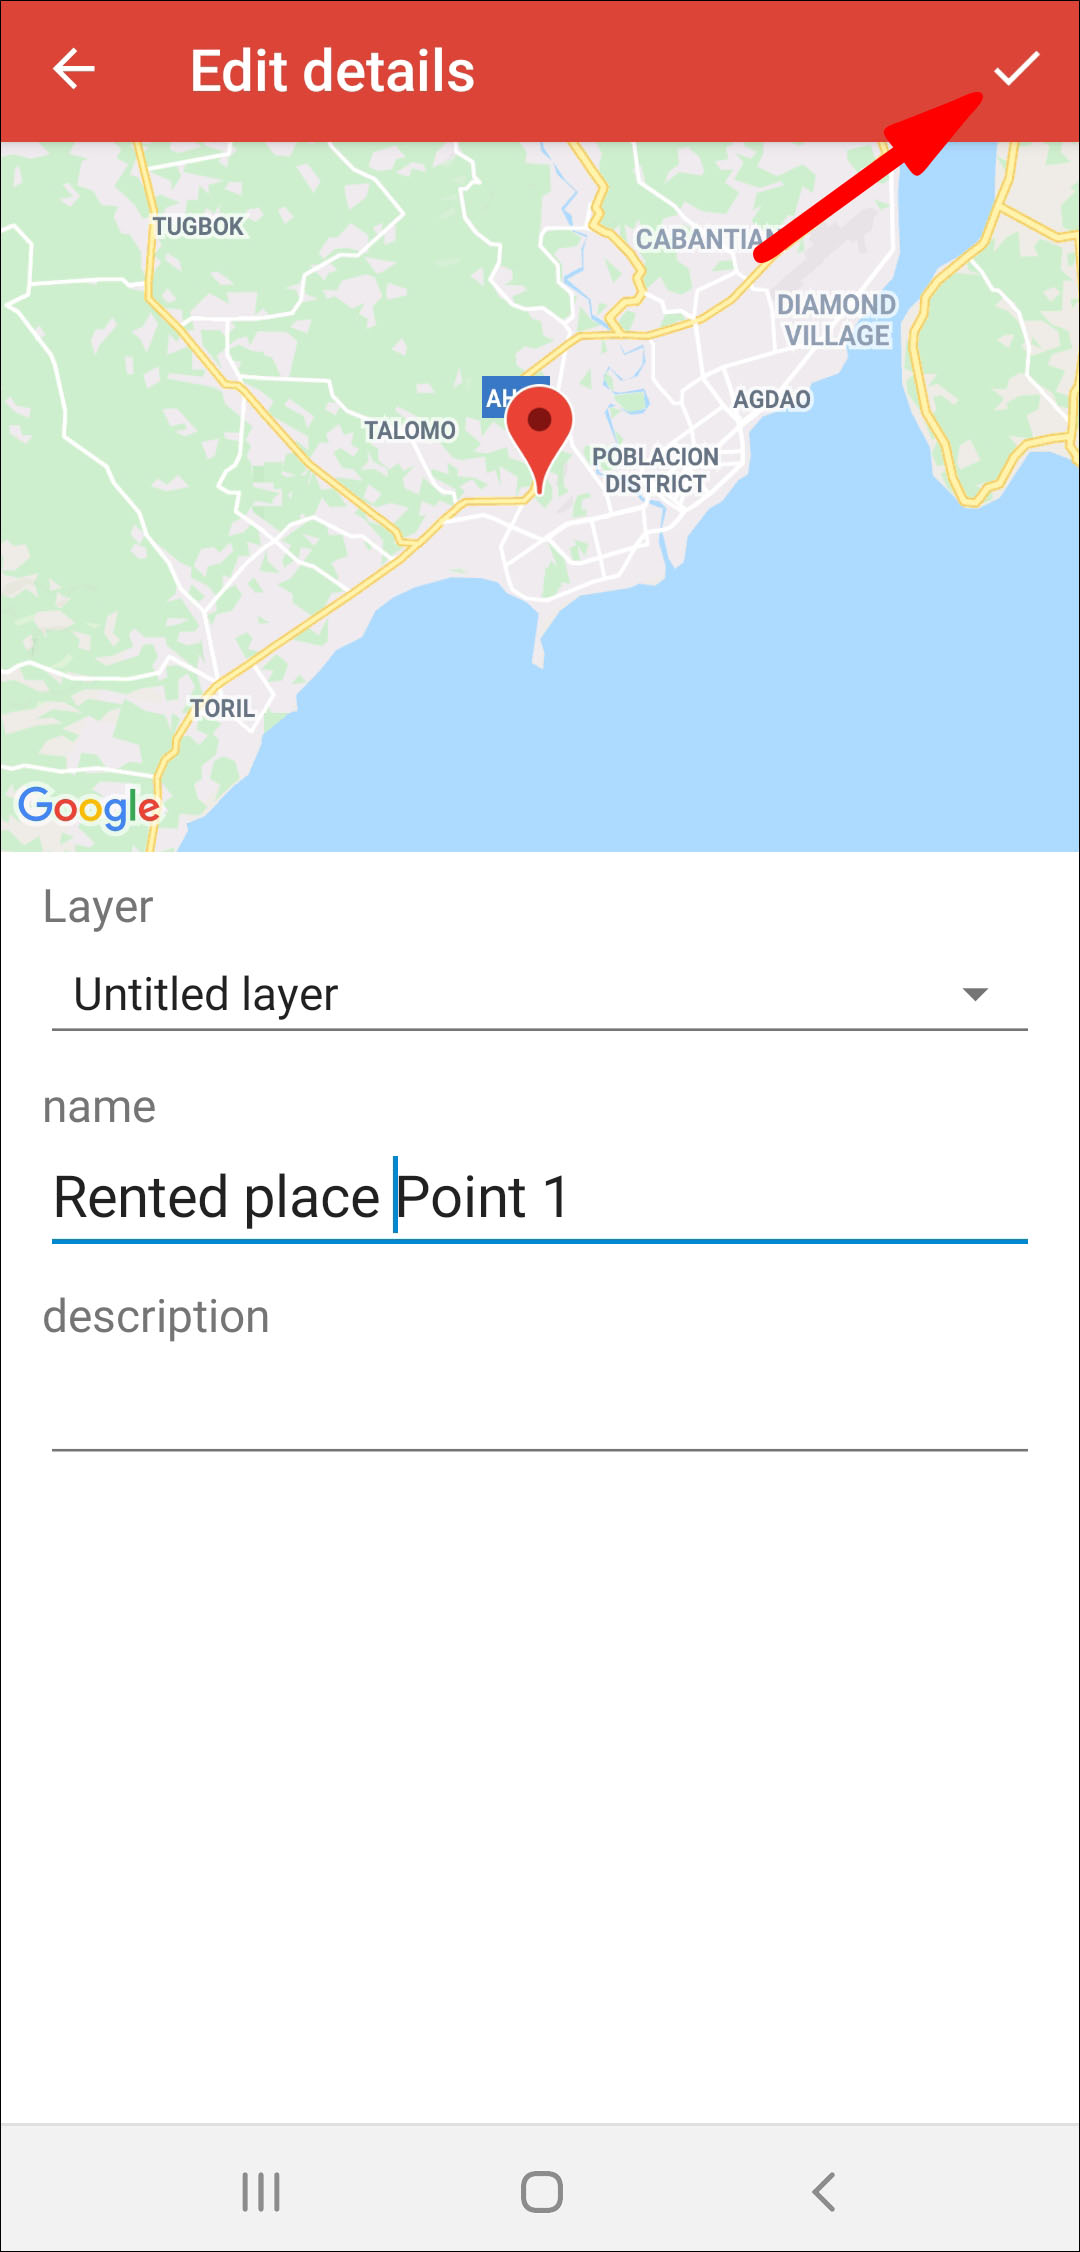
- Hit Save.

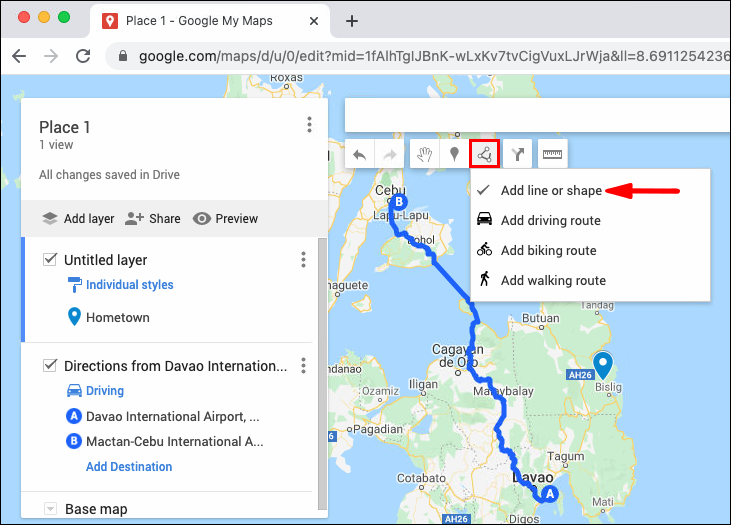
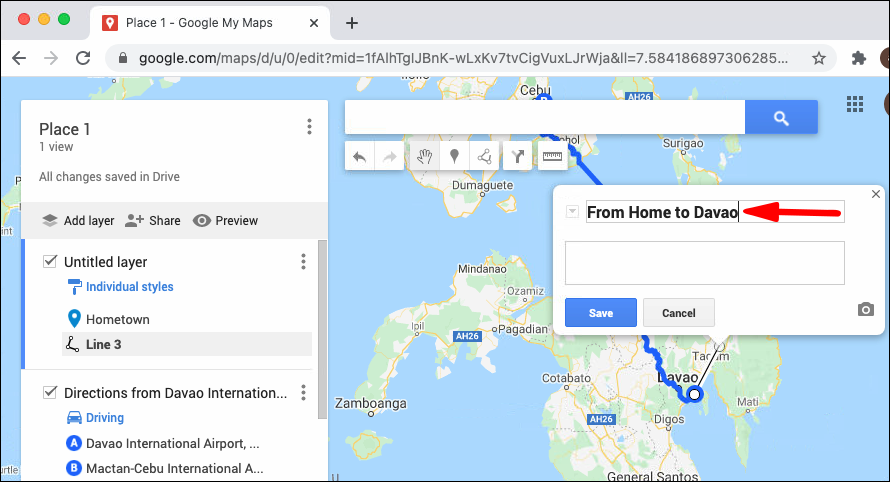
Adding Lines and Shapes to Your Google Maps on Desktop
To add a shape or line to your Google Maps via Desktop:
- Navigate to and sign in to My Maps.
- Open your map, then tap on the Draw a line > Add line or shape.
- Pick a layer and click on where you want to start drawing.
- Click on the corners or bend your shape or line. Press and hold the mouse to move the map.
- Double-click once you’ve finished your drawing.
- Give your shape or line a name.
- Once you’re done, hit Save.


How to Measure Distance on Google Maps on Desktop
To measure distances and areas on Google Maps using on Desktop:
1. Navigate to and sign in to My Maps. Open your map or create a map.
3. Click on the Measure distances and areas measuring tape icon.
4. Click on where you wish to start measuring from.
5. Click on the corner and bends of a line/shape.
6. Double-click once you’ve finished drawing.
· The distance will be highlighted in blue on the map.
· The area will also appear – if it’s a shape.
How to Make a Custom Route on Google Maps on a Mobile Device
This feature is unfortunately not currently available for Android and iOS devices. However, there are a number of the other customization features available on mobile devices.
Adding Markers to Your Google Map
Adding Markers to Your Google Map on Android
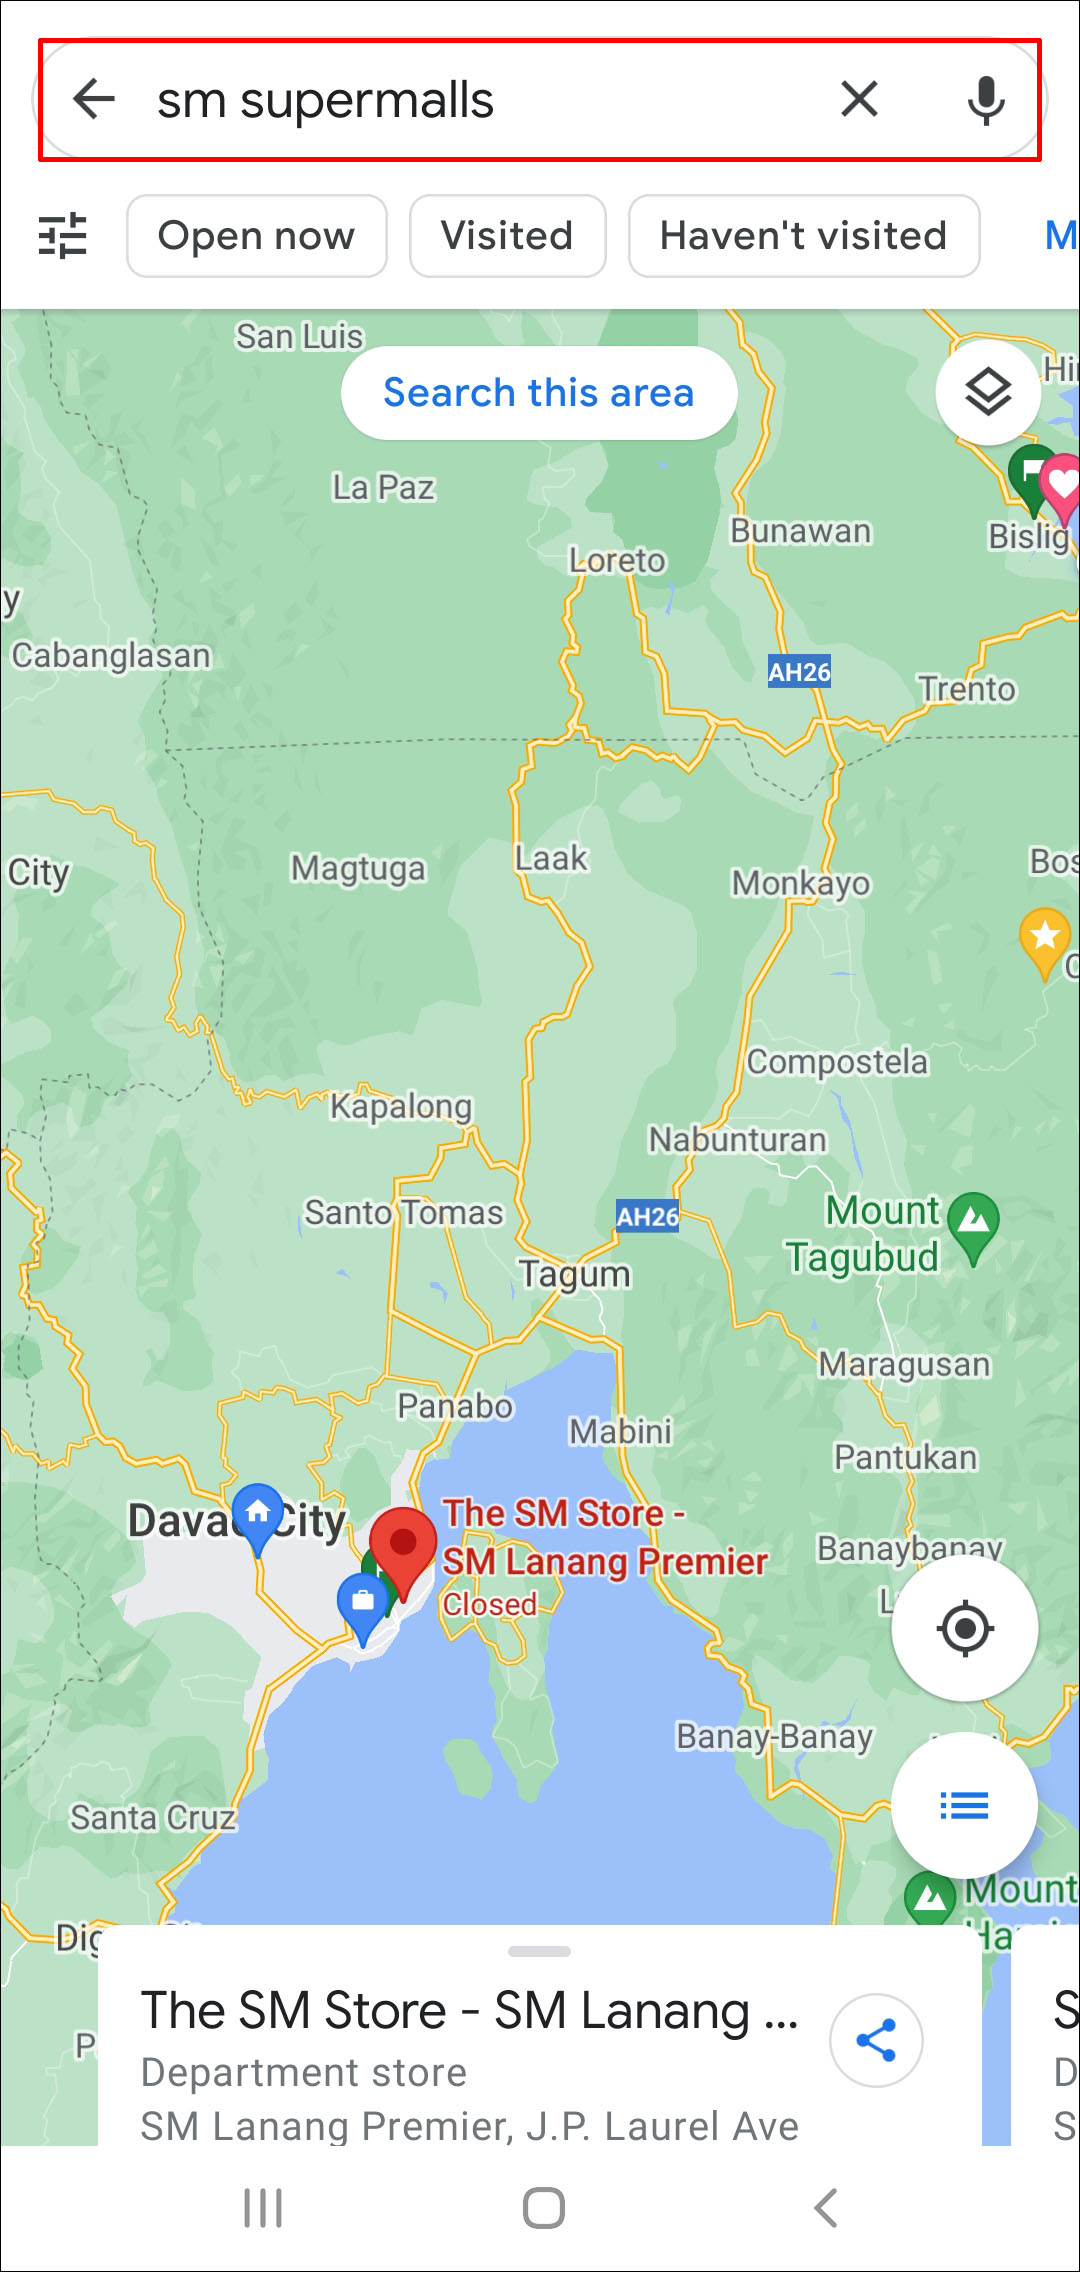
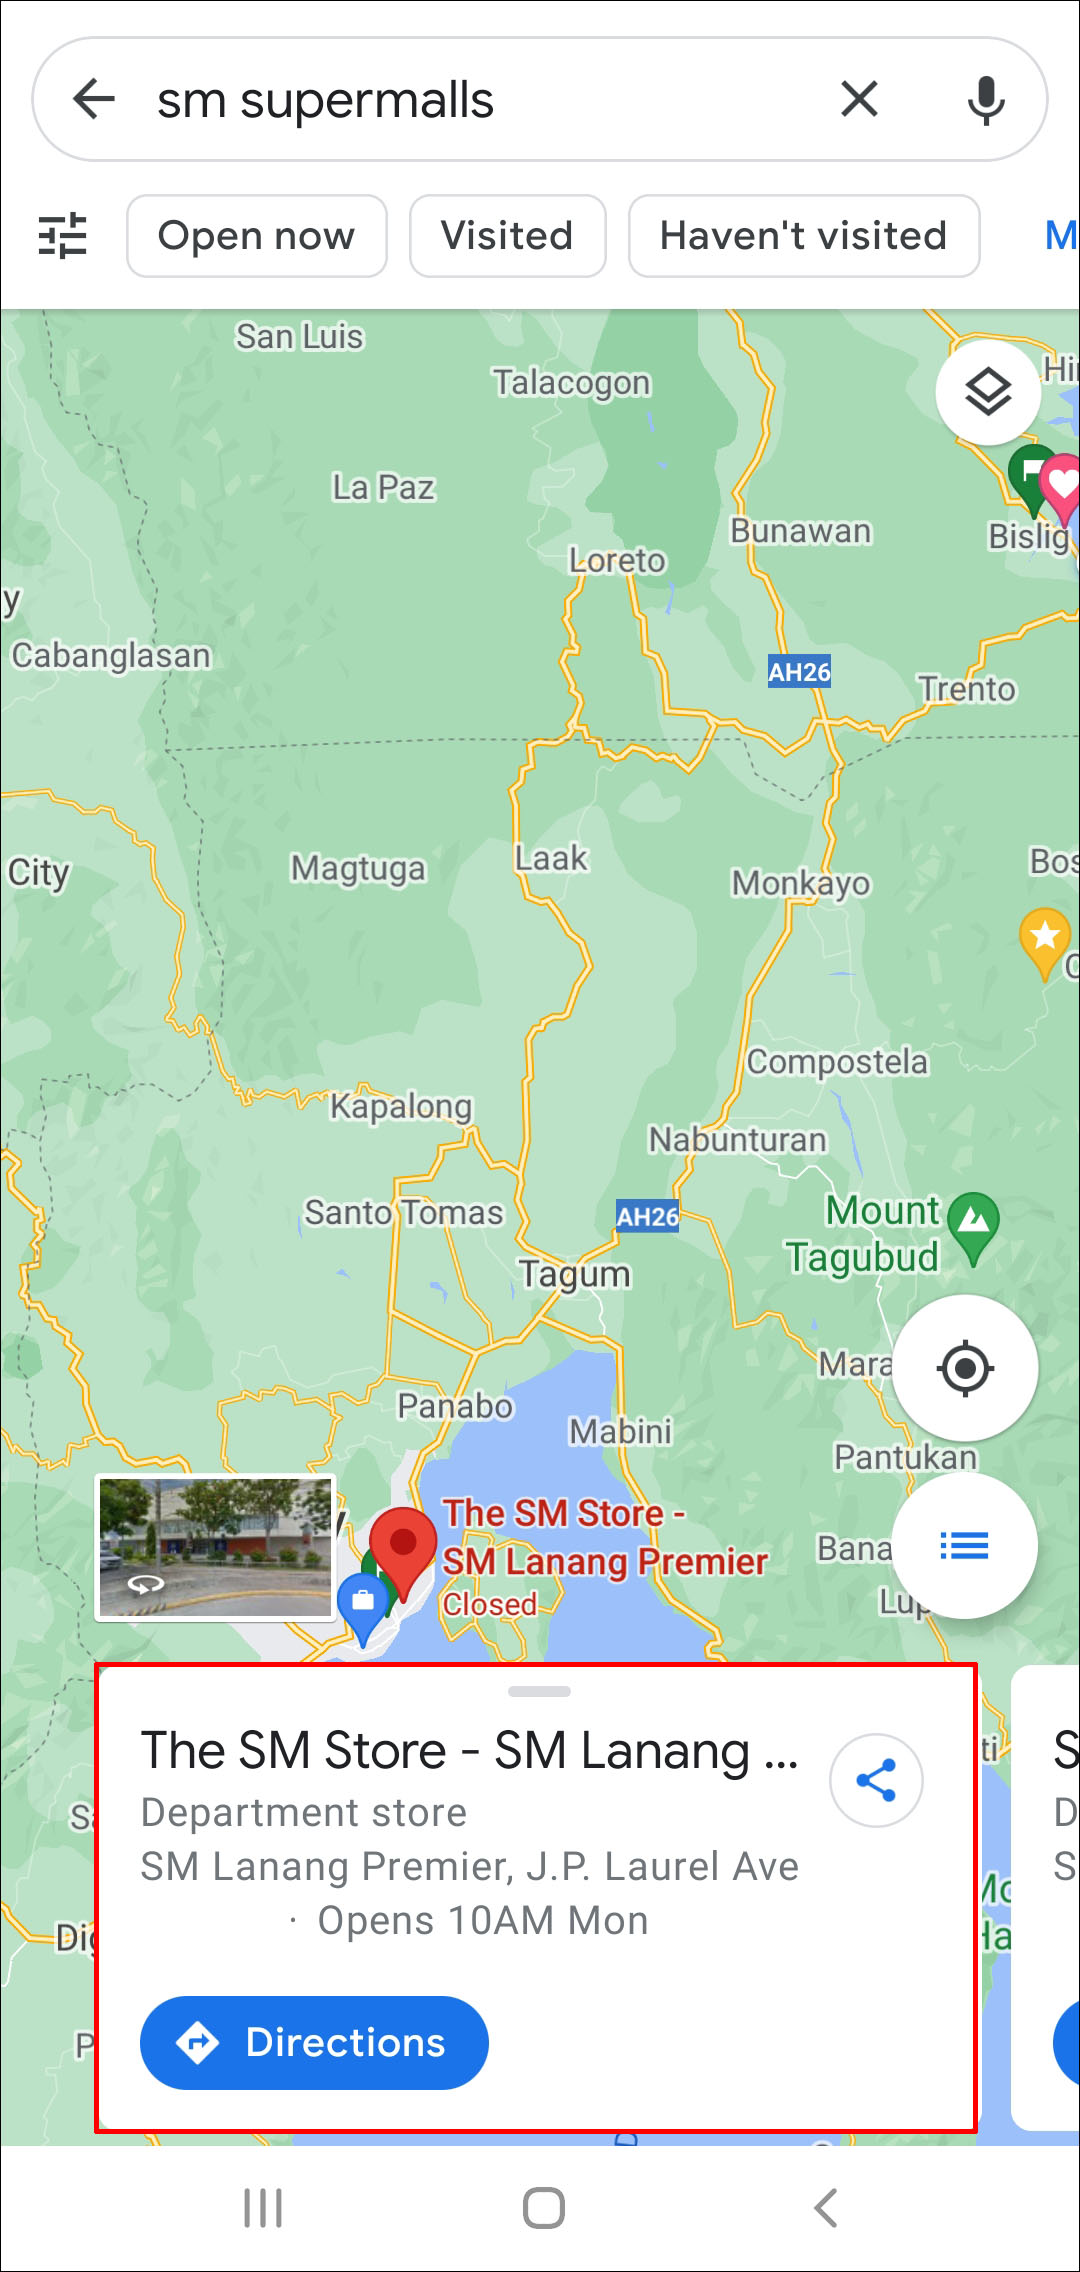
To add Markers to your Google Map using your Android device:
- Launch My Maps.
- Open your map, then click on the plus sign at the bottom-right of the screen to include a new point, then Add a new point.
- Move the map until the “X” is at the place you want it.
- Now, click on Select this location.
- Give your place a name, then decide on a layer.
- Then, hit Done.


Adding Lines and Shapes to Your Google Maps
Adding Lines and Shapes to Your Google Maps on Android
To add a line to your Google Maps via your Android device:
- Launch My Maps.
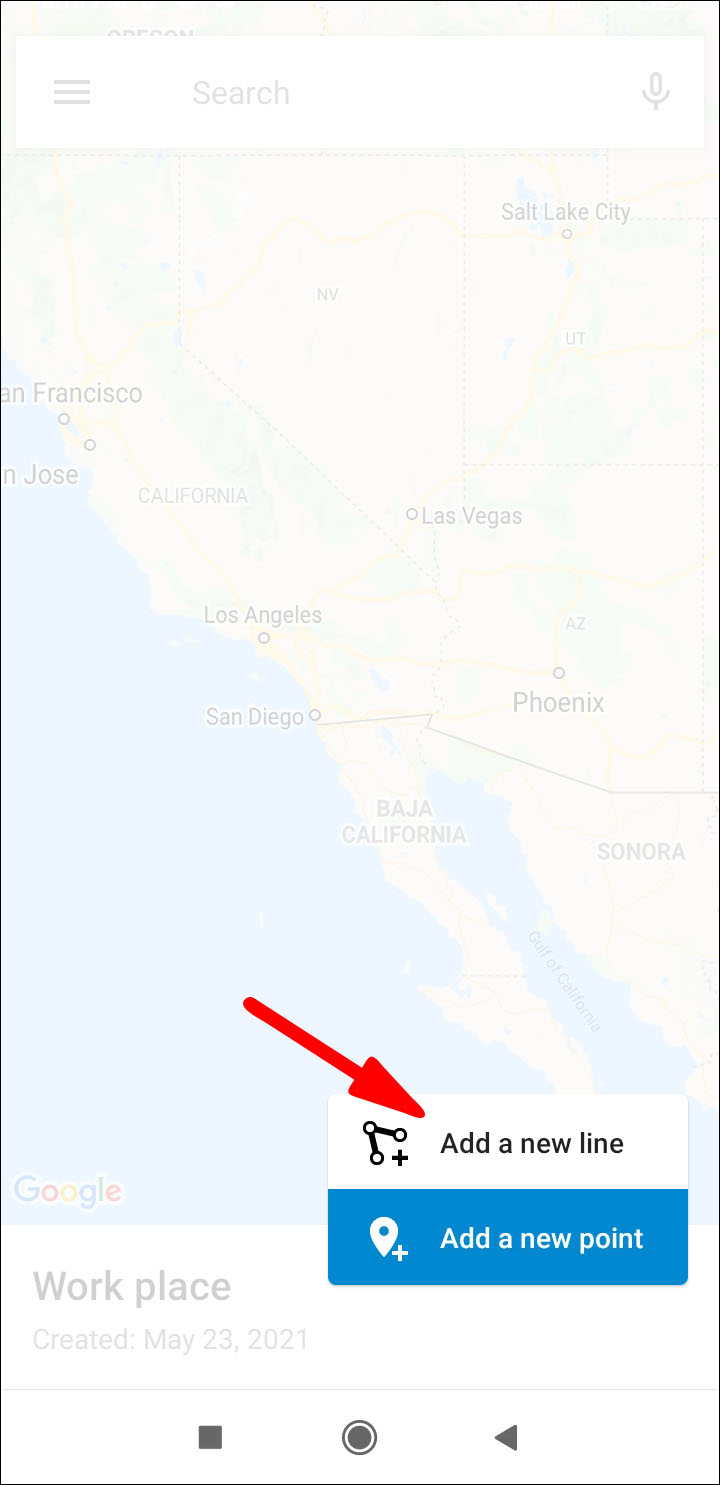
- Open your map; to add a line, click on the plus sign at the bottom-right then Add a new line.
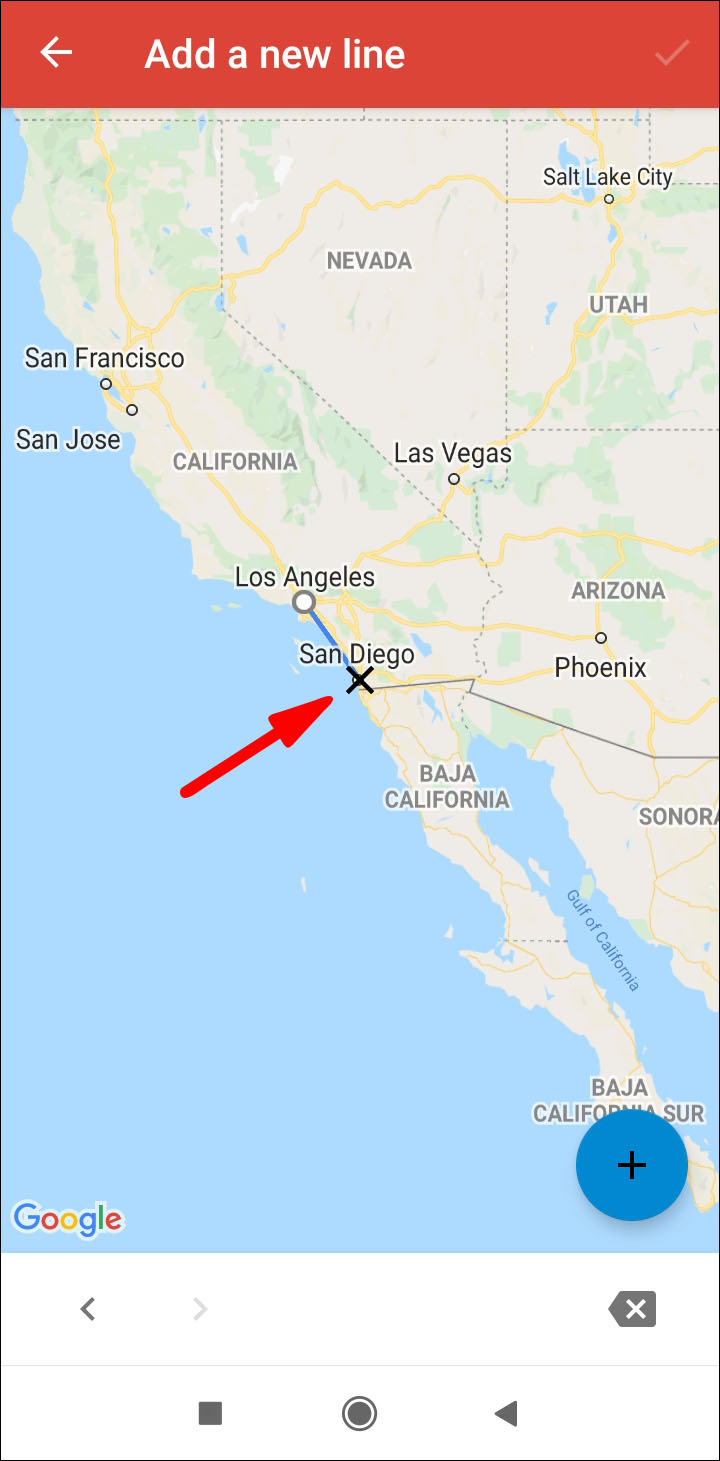
- Drag the map until the “X” is at the place you want, then tap the plus sign again.
- Replicate until you have drawn your line, then hit Done.
Hit the Backspace icon if you need to go back a step. - Name your line, then decide on a layer.
- Then, hit Done.


How to Share Your Custom Google Map
Sharing a Custom Google Map on Android
To share your Google Map on social media or a website using your Android:
- Launch My Maps.
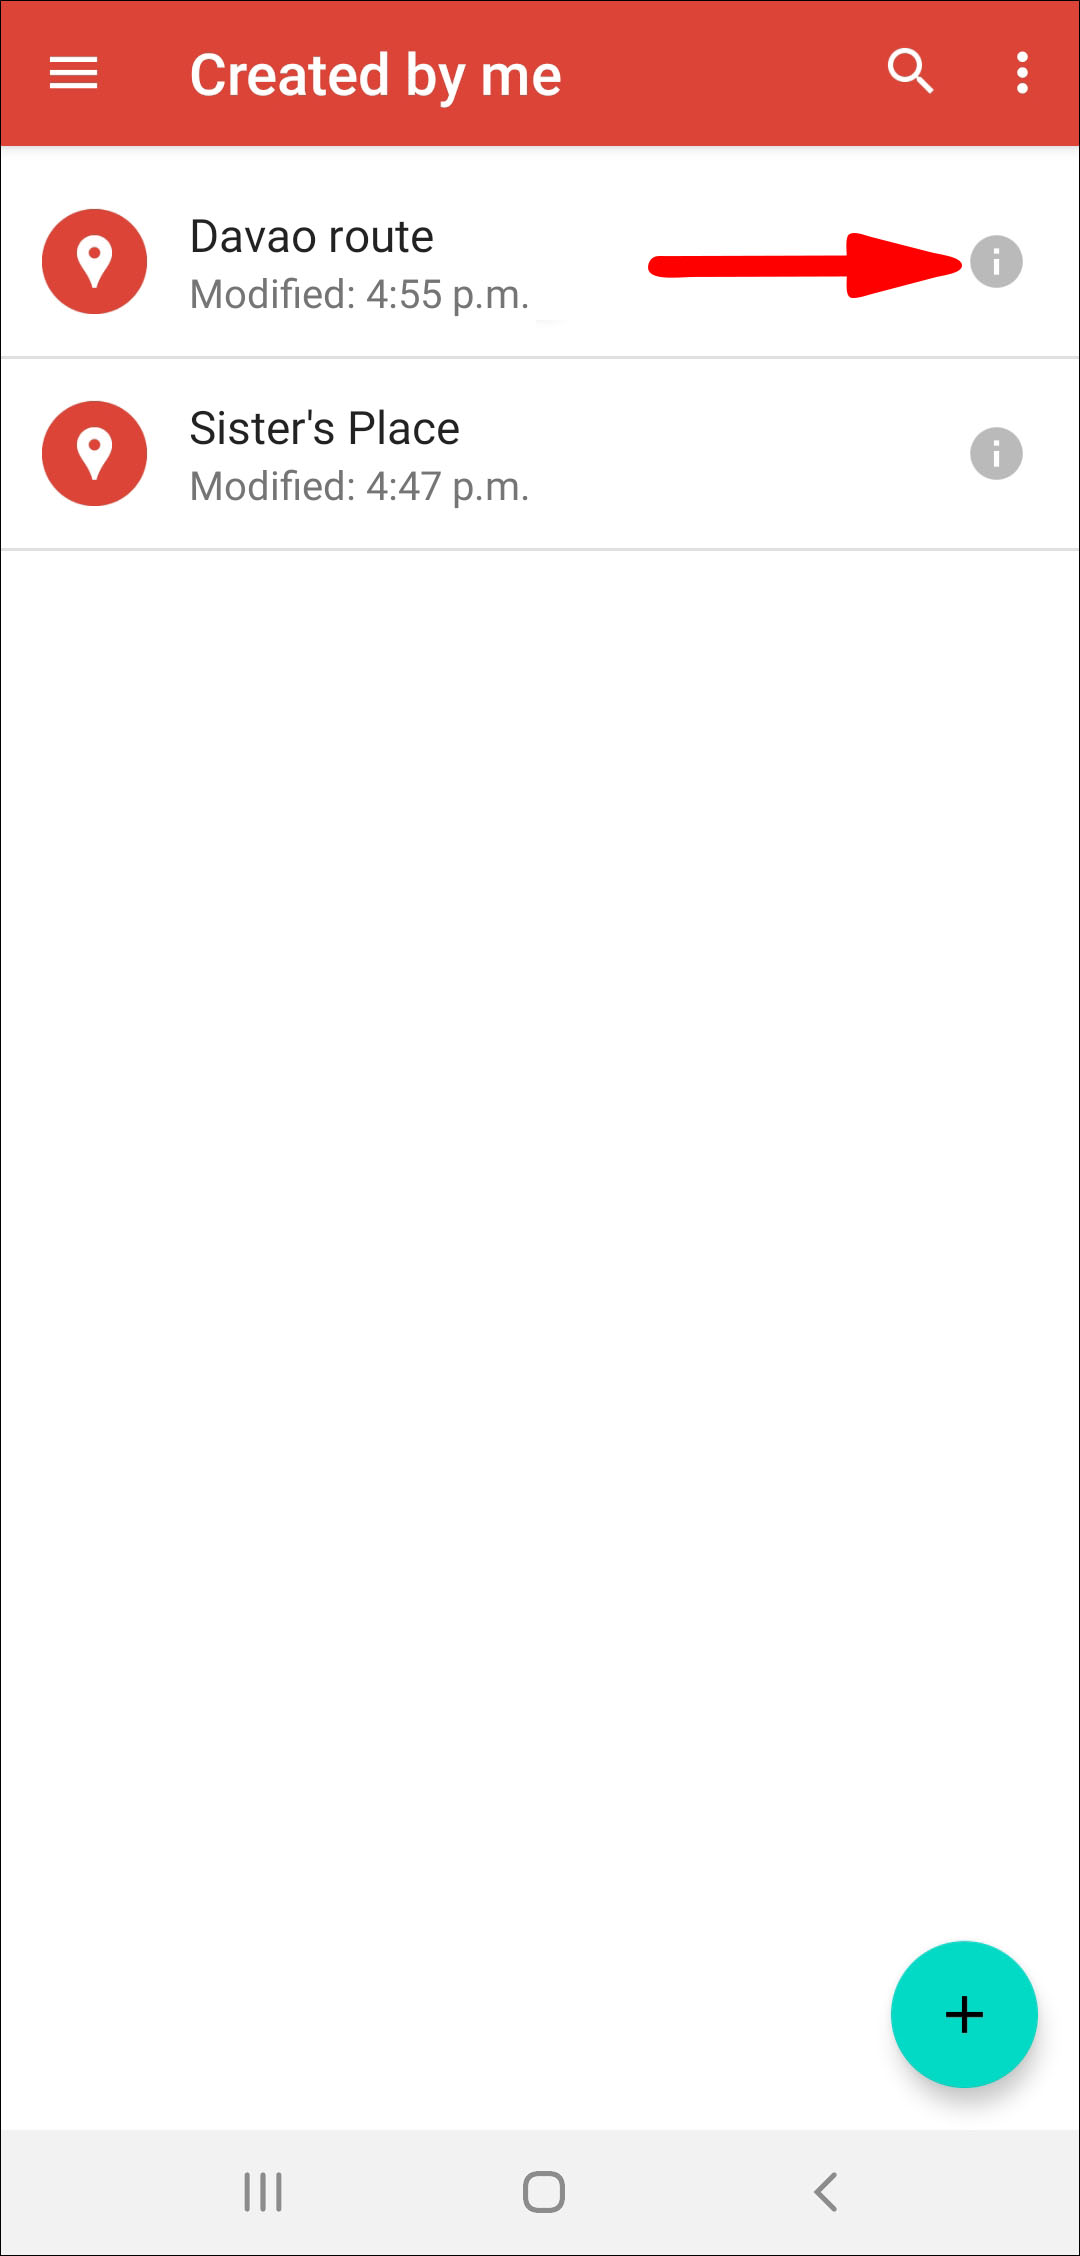
- Locate the map you wish to share, then click on the Info icon.
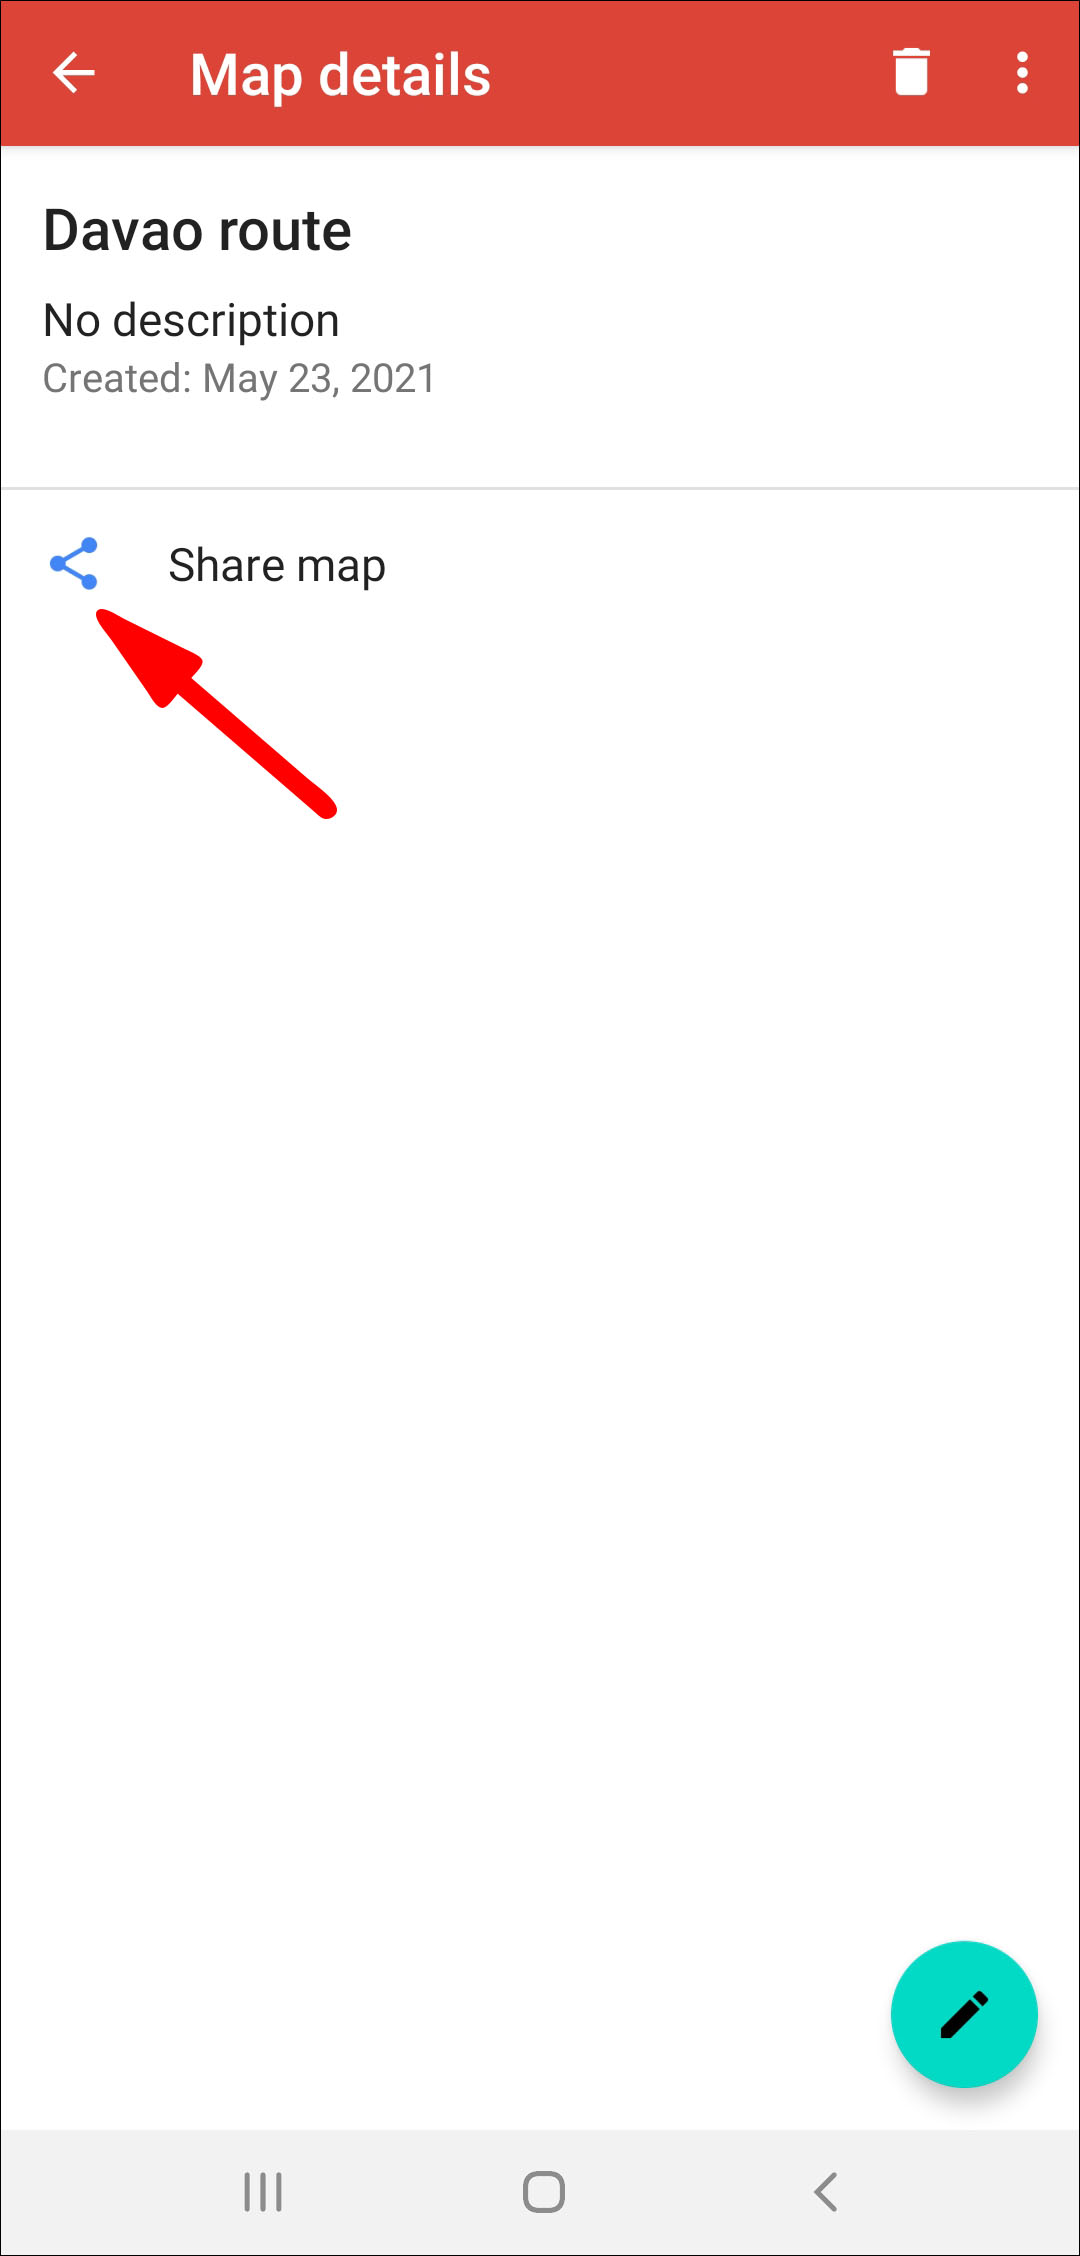
- Click on the Share icon.
- Now choose how you wish to share your map.

Sharing a Custom Google Map on Desktop
To share your custom Google Map on social media or a website using the desktop version:
- Navigate to and sign in to My Maps.
- Locate the map you wish to share.
- On the right, at the top of the thumbnail click on the Share icon.
- Then choose how you wish to share your map.


Adding CustoDevice Links
hotos to Google Maps
Device Links
How to add Photos to Google Maps: Desktop
To add a pic to your Google Map, from a place page using your Windows or macOS:
1. Navigate to and sign in to My Maps, then search for a place.
2. Once you’ve chosen a place, select Add a photo.

3. Drag the photo to the box displayed or select Choose photos to upload one.

Note: You cannot add photos for addresses or coordinates, but you can for places of interest including businesses or parks.
How Do I Add Photographs to My Custom Google Map?
To add a pic to your Google Map, from Google Photos or your Gallery using an Android device:
1. Launch the Google Maps app.

2. Enter a search for the place or select it on the map.
3. For more information, click on the place name or address at the bottom.
4. Scroll towards the right, then select Photos.
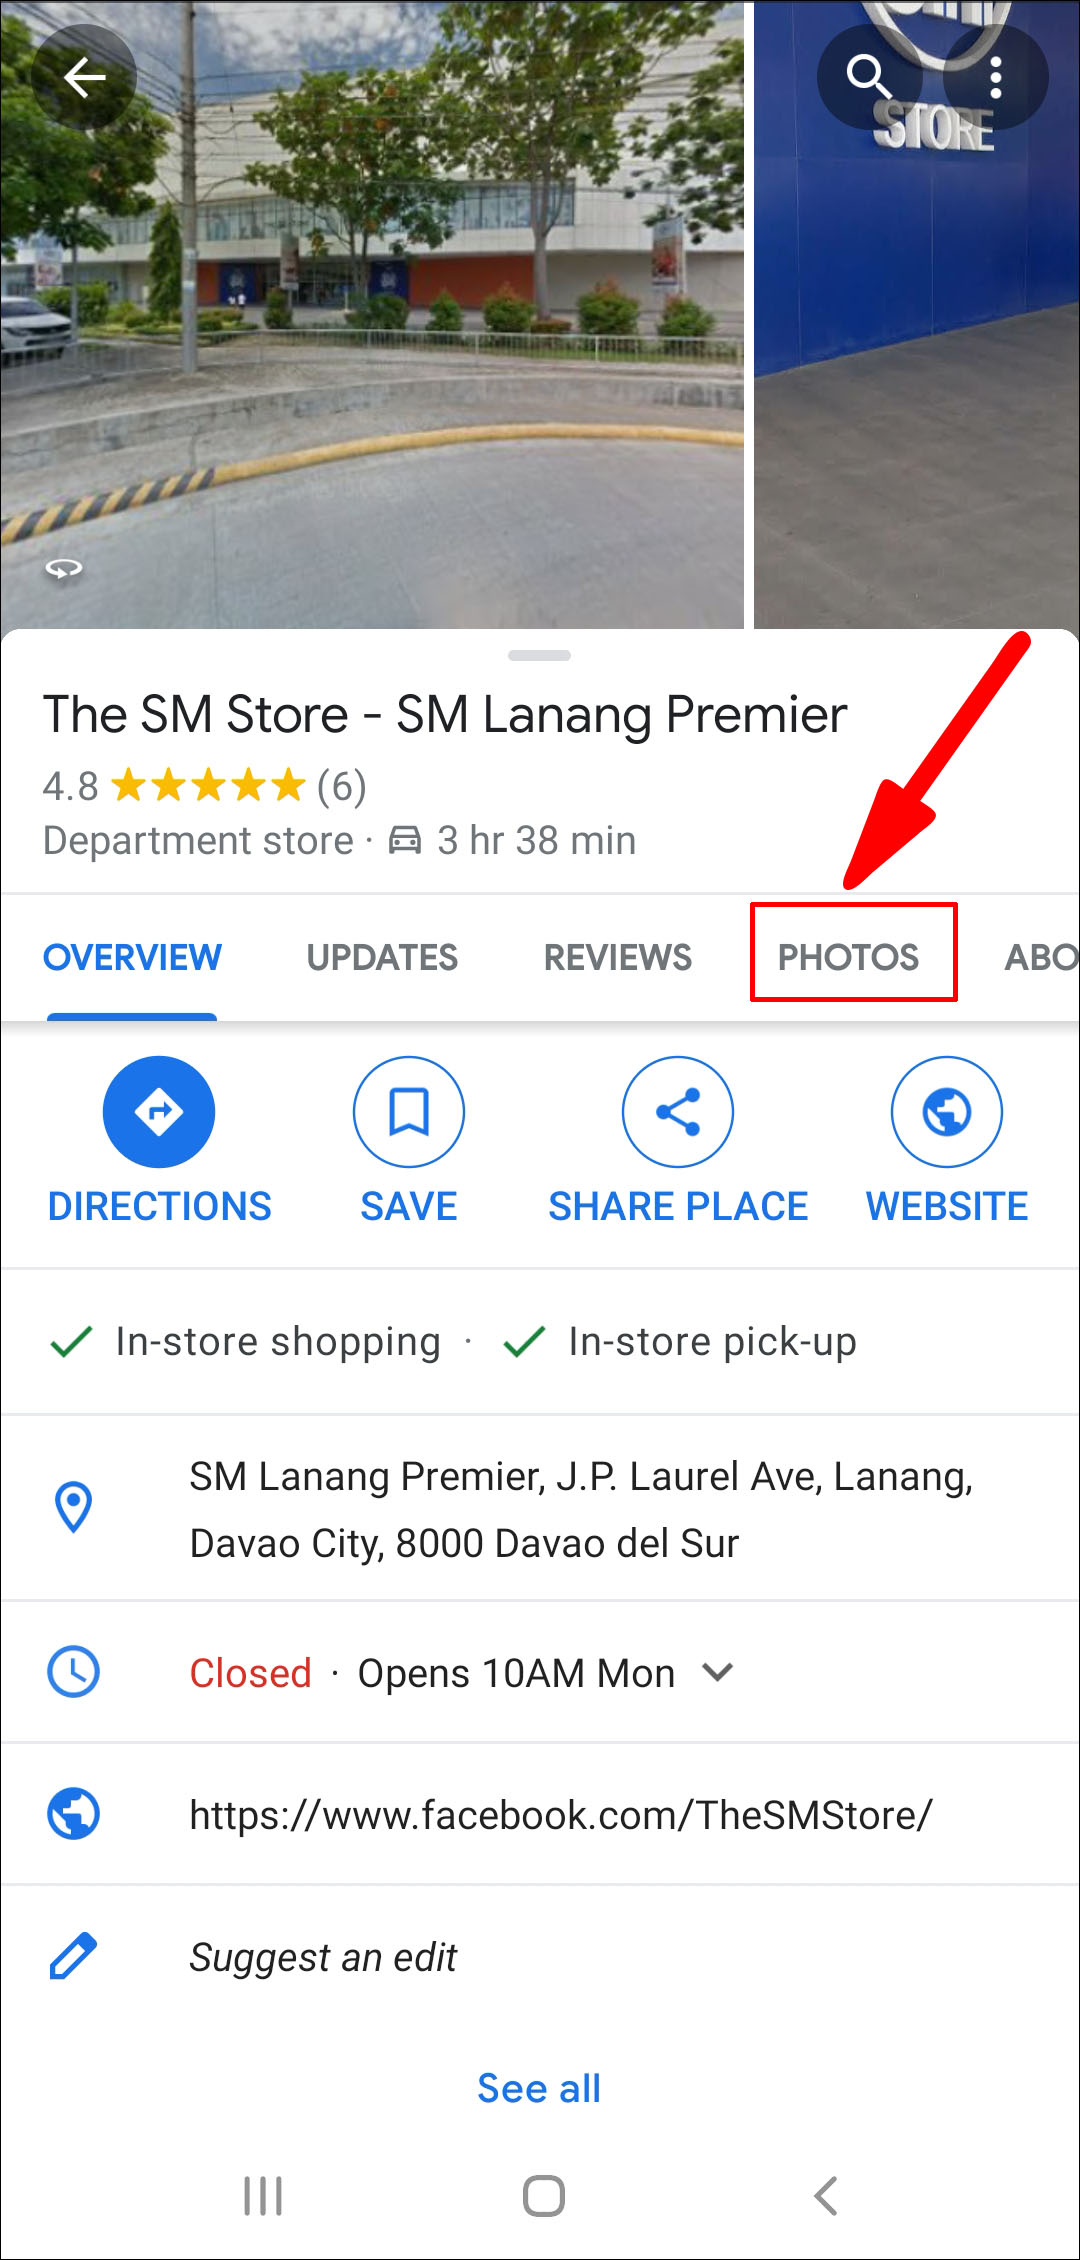
5. Now, click on Add a photo.
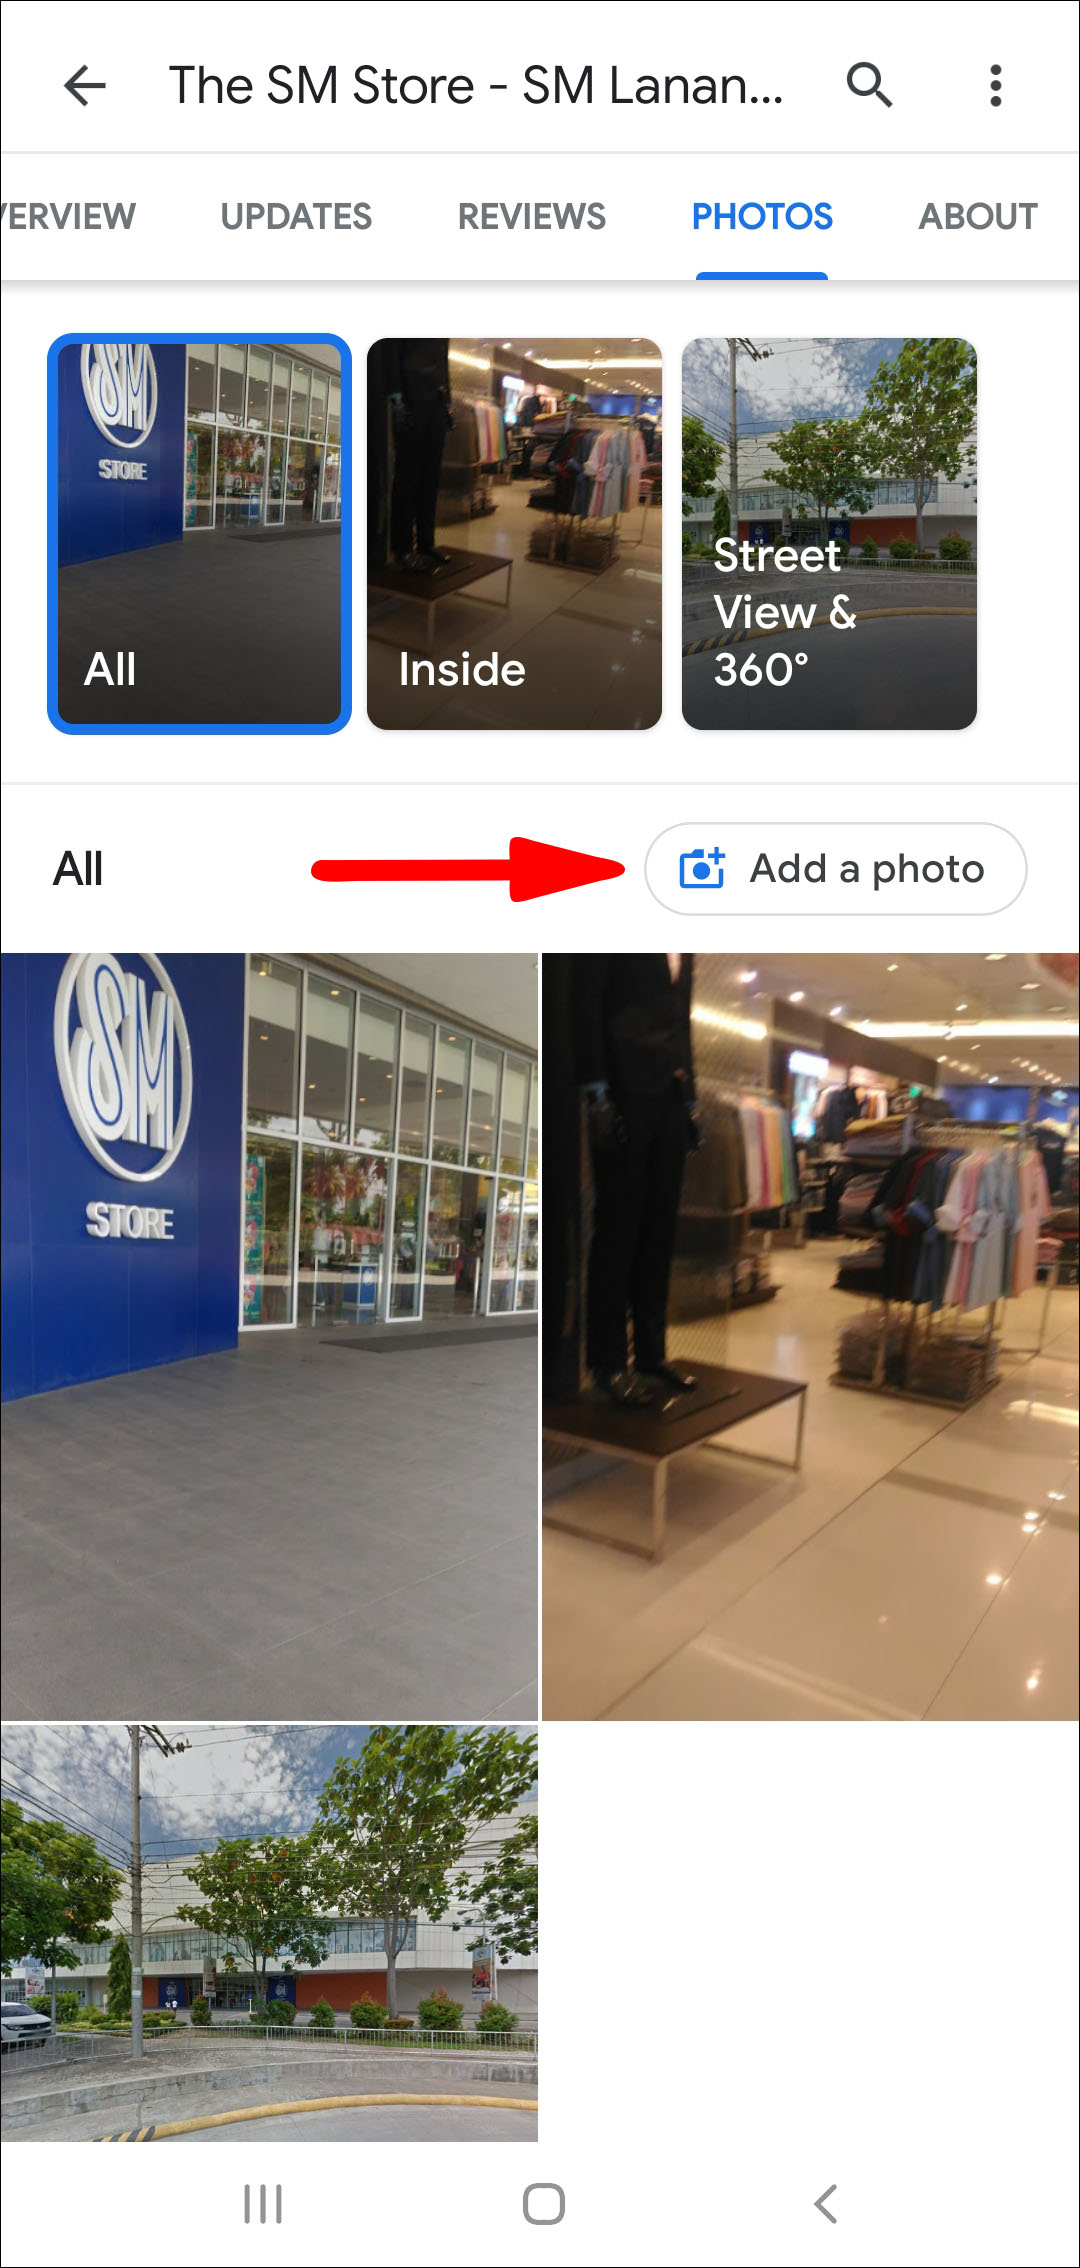
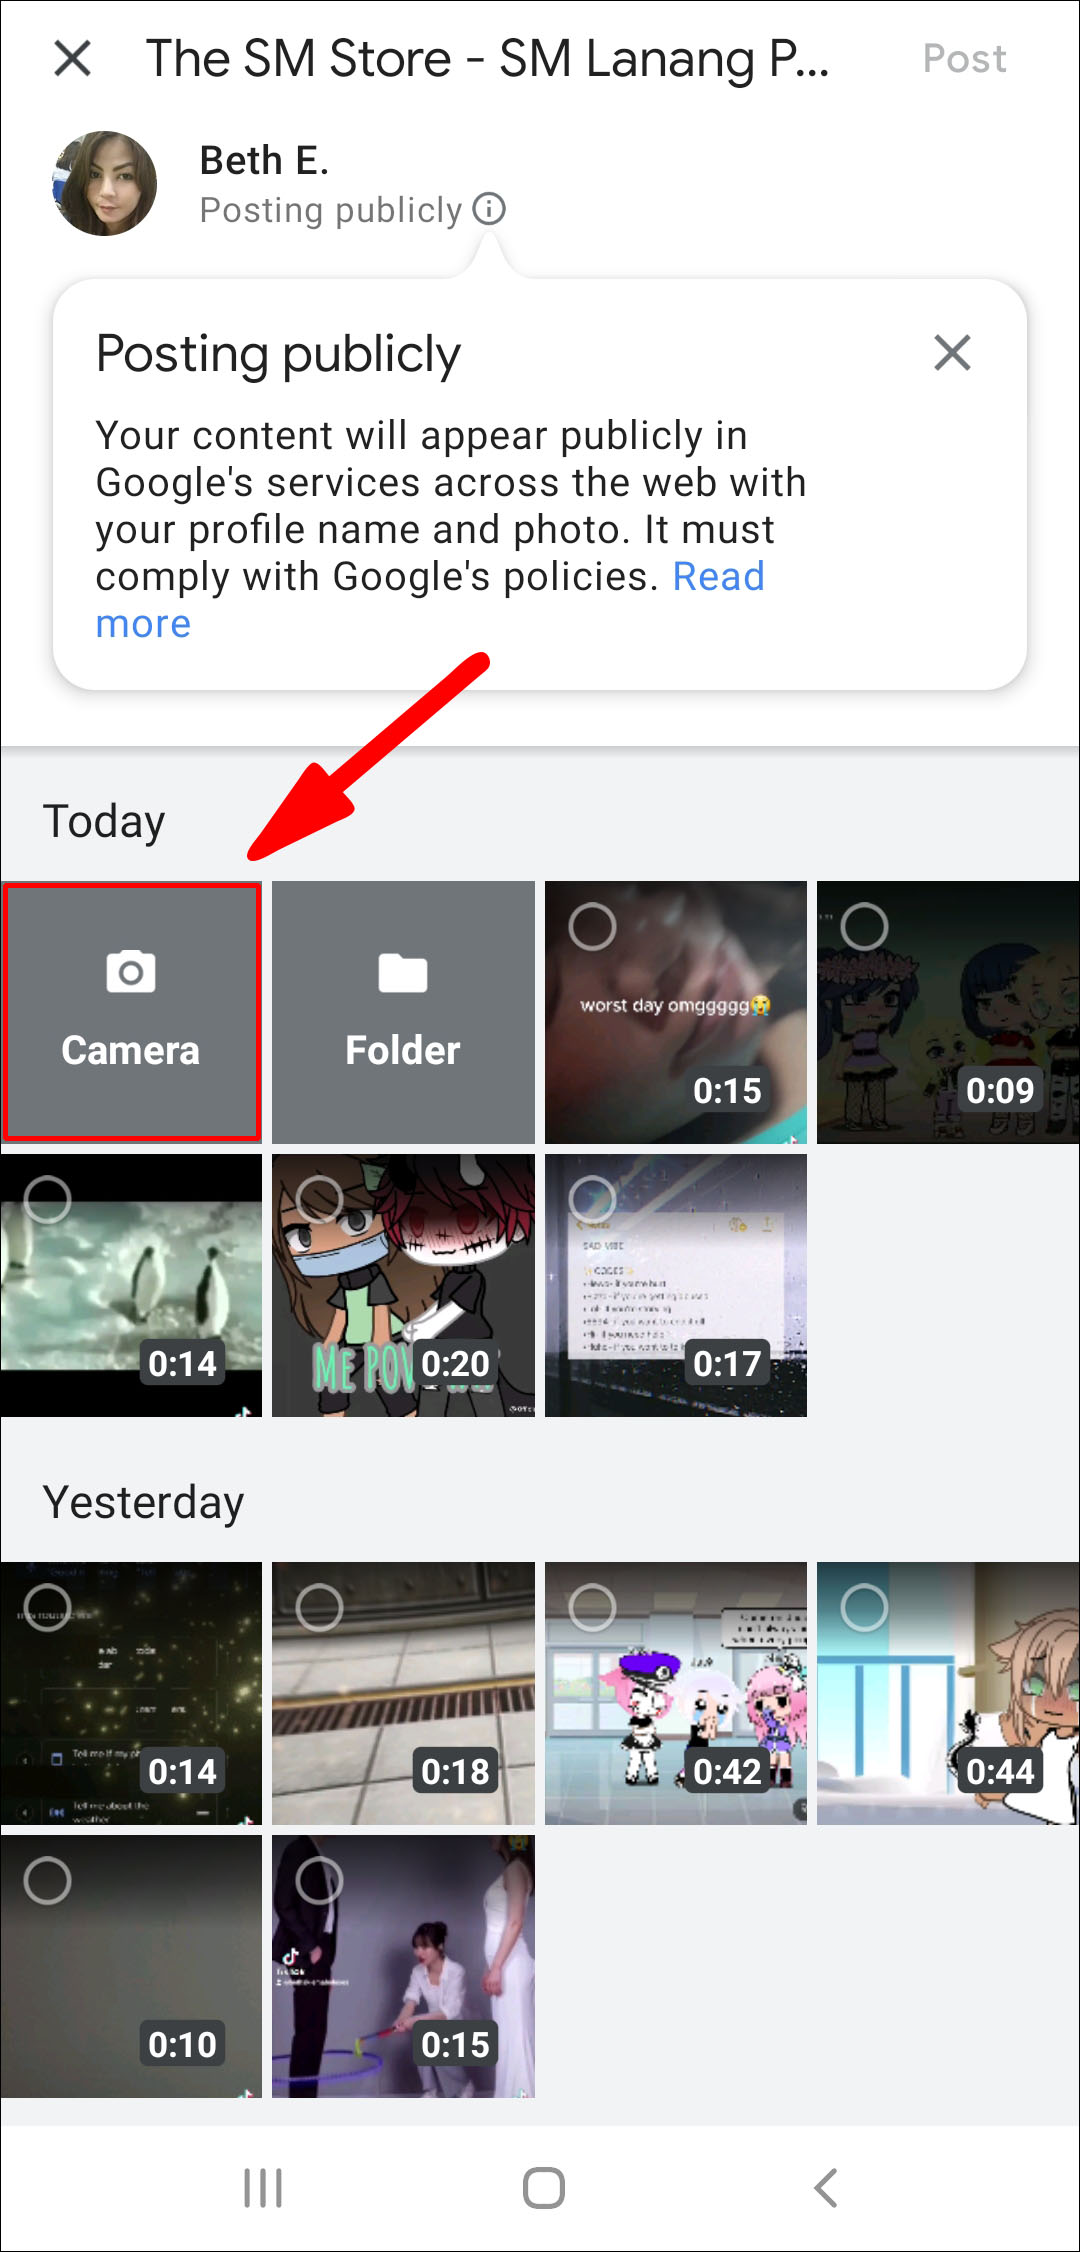
6. Then decide what you want to do:
· Click on Folder to select a photo from your gallery.
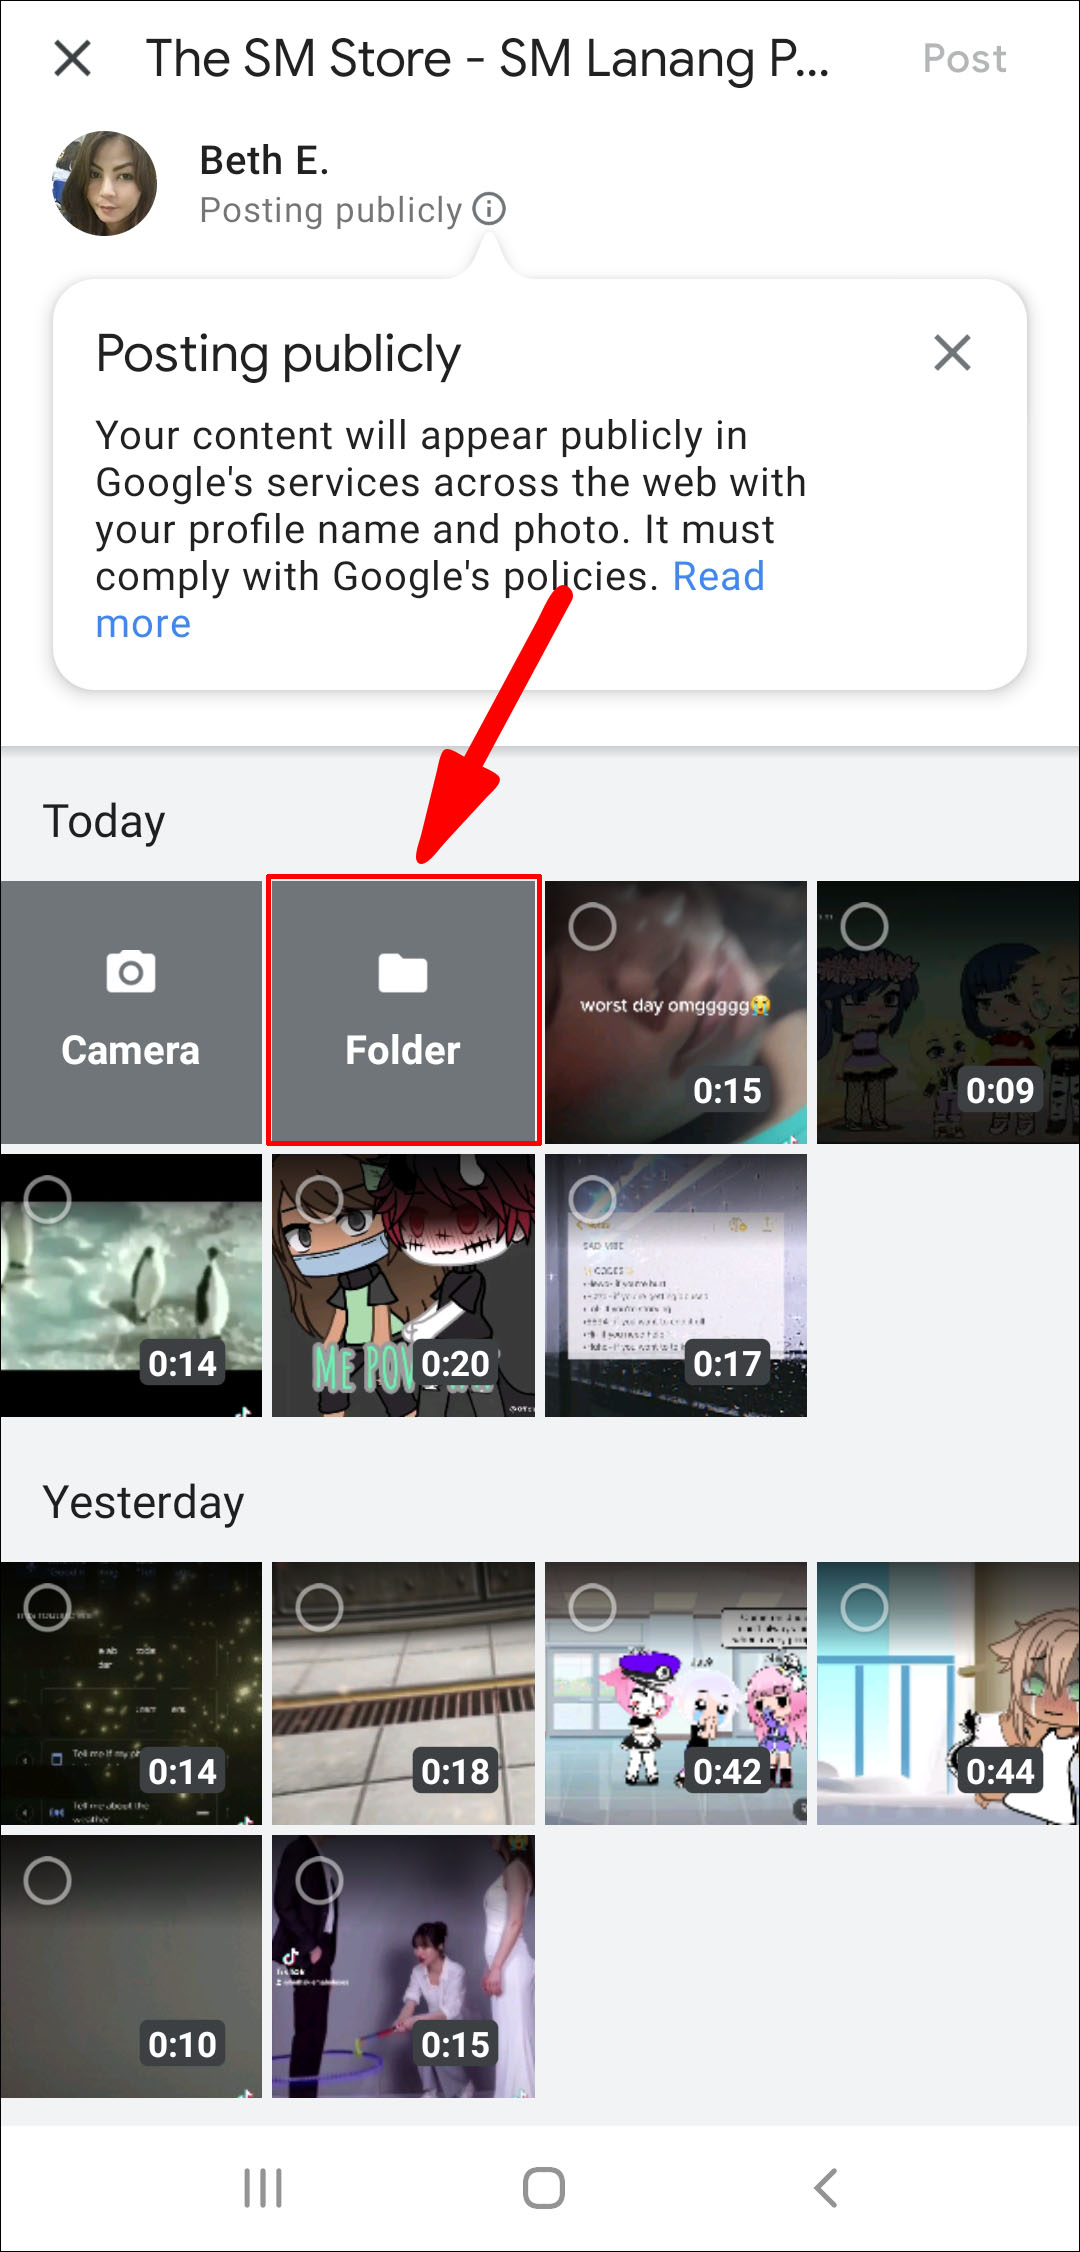
· Select Camera then the shutter to take a new photo.
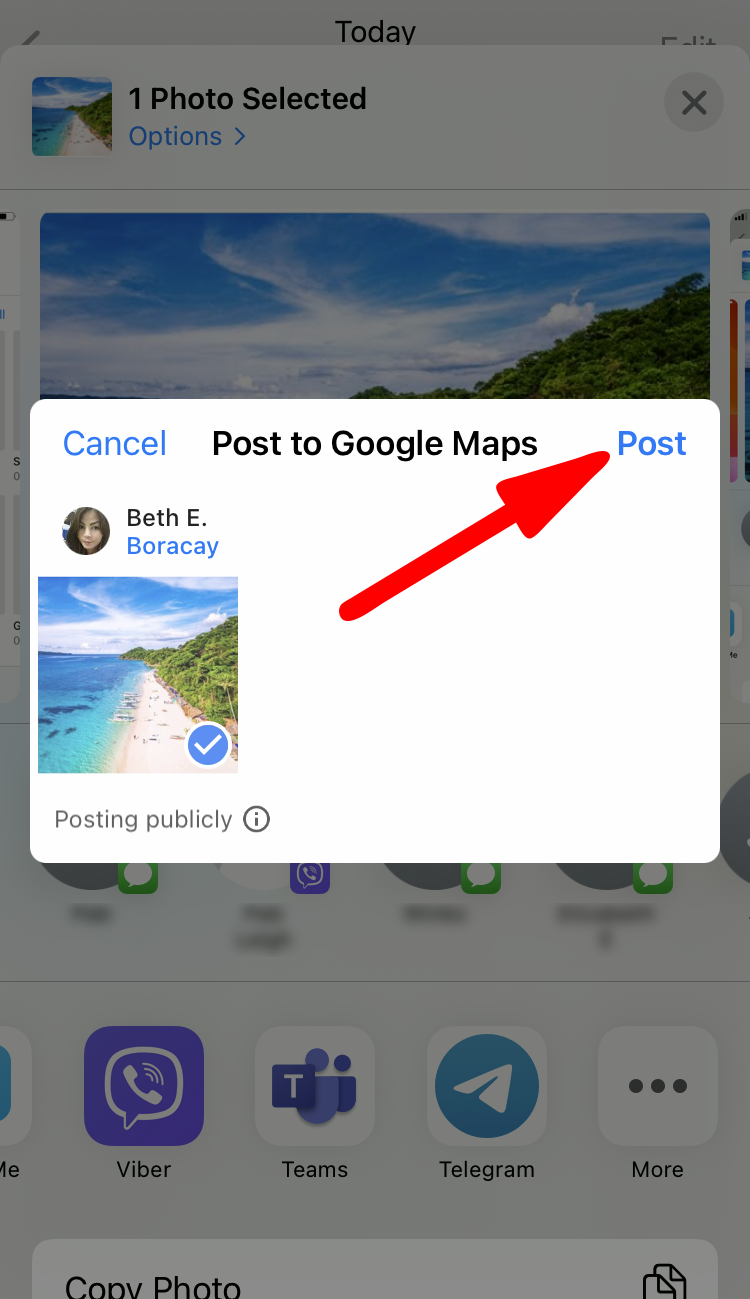
How to add Photos to Google Maps: iOS
To add a pic to your Google Map from Google Photos or your Gallery via an iOS device:
1. Launch your Gallery app or Google Photos.

2. Click on a photo.

3. Select Share.

5. Select the three-dotted More menu.

6. Select Post to Google Maps > Done.
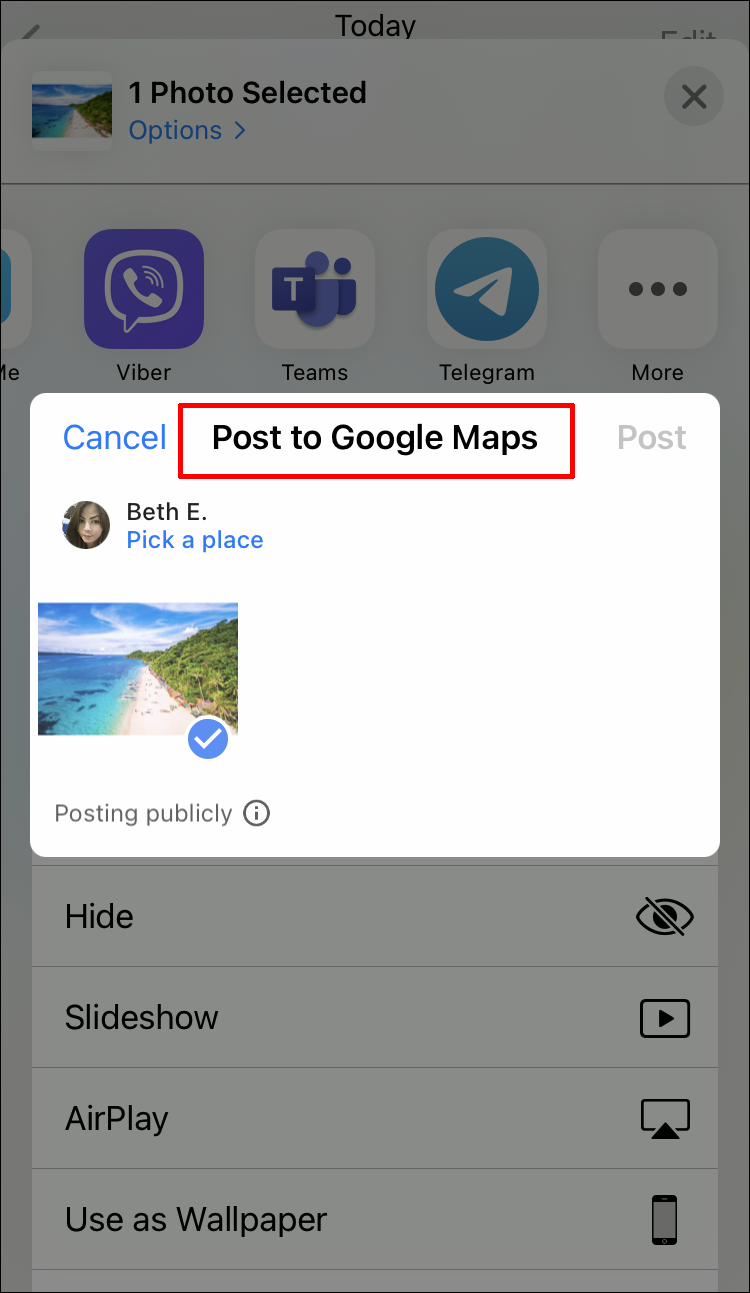
7. Google Maps will choose a place for you when it’s clear where your photo is from. Otherwise, select Pick a place to search for an address or place.

8. Hit Post.
Pre-Planned Routes With Google Maps
Google Maps can be customized to suit your needs. Pre-planning your routes with Google My Maps supports familiarity with new routes; they can be shared with friends when traveling to the same place, while offline access provides reassurance and minimizes stress.
Now that we’ve shown you how to plan your journeys, customize, and save them, how useful have you found this feature – do you frequently use it for your trips? Did you use it offline – if so, did you arrive at your destination? Let us know about your experiences with Google Maps in the comments section below.
Disclaimer: Some pages on this site may include an affiliate link. This does not effect our editorial in any way.