Minecraft is famous for its wide array of mods. You can find mods for just about anything, from improving graphics to adding new biomes or mobs. It should come as no surprise, especially since Minecraft’s player community is one of the largest and most dedicated in the entire gaming industry.
If you would like to add fresh excitement and new elements to your Minecraft worlds using mods, this guide will help.
You’ll see how to find and download custom Minecraft mods and install them so that they load with the game. From there, your possibilities are endless. Let’s get started!
Methods to Obtain Minecraft Java Mods
Minecraft Java mods can be accessed and downloaded using different methods, such as CurseForge.com and MinecraftMods.com. Perhaps, the most popular website is Curse Forge, and MinecraftMods.com also refers to Curse Forge from their download links. Other precompiled mods are available on the internet, but CurseForge.com and MinecraftMods.com are safer options that help avoid malware and spyware.
Methods to Install Minecraft Java Mods
Forge is software for adding mods in Minecraft Java, which lets you load pre-created mods into the game. It adds a “Mods” button on the title screen of Minecraft Java where you can select any loaded mods to launch with your game.
Although Forge is the most common application, others have evolved, driven initially by Forge’s previous lack of updates to newer Minecraft versions, which has since been resolved. Other modding software options include Quilt, Fabric, and Rift. All modding software carries the same purpose but handles things a little differently.
How to install Minecraft Mods using Forge.
To install mods in Minecraft Java using Forge, you must first install Forge, then obtain mods that work with it.
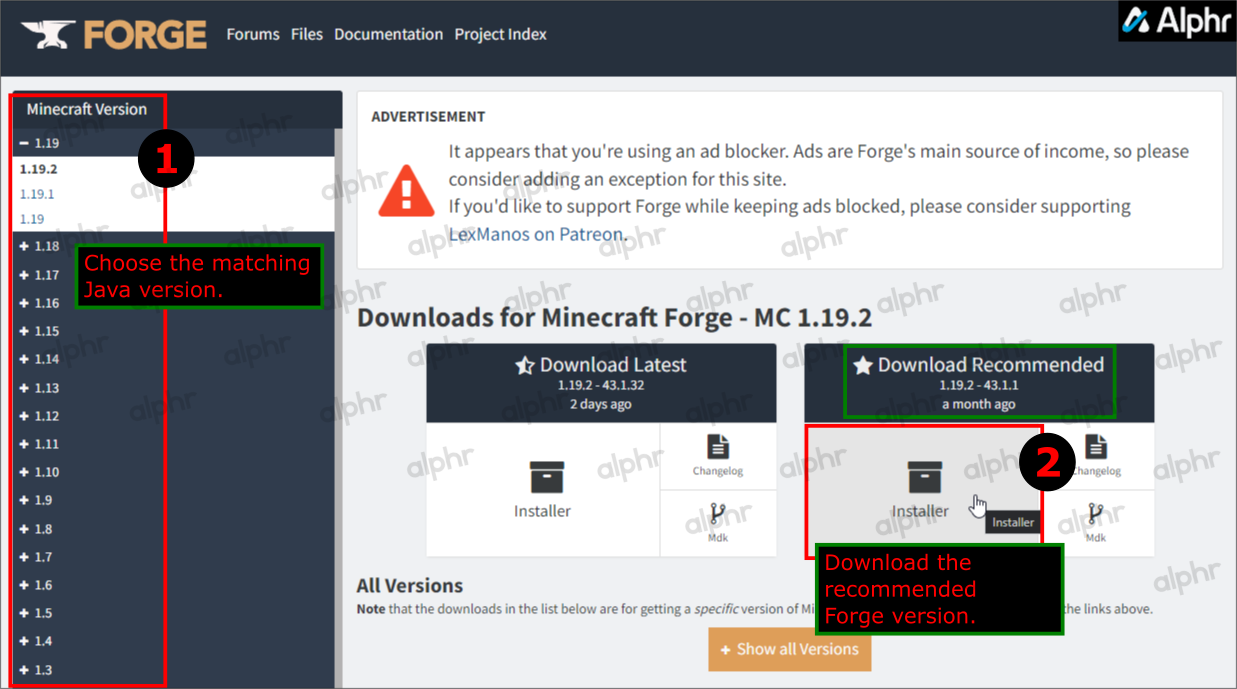
- Go to the Minecraft Forge website and download the “recommended” installer for your version of Minecraft Java. The “latest” option is the newest but also susceptible to bugs and instability.
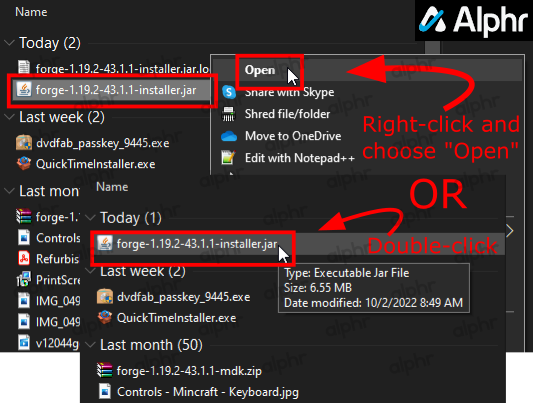
- Right-click the “java installation file (*.jar)” in Explorer and select “Open” or simply double-click it.

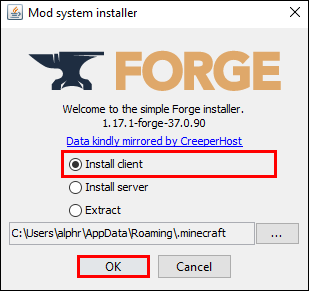
- In the Forge installation window, ensure “Install client” is checked, then click on “OK.”
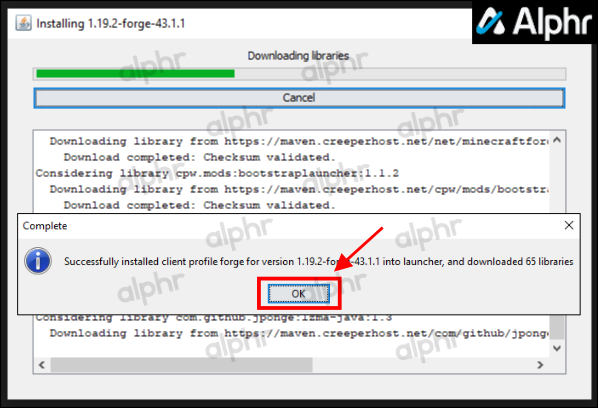
- An installation progress window appears. Once finished, click the “OK” button in the pop-up prompt.
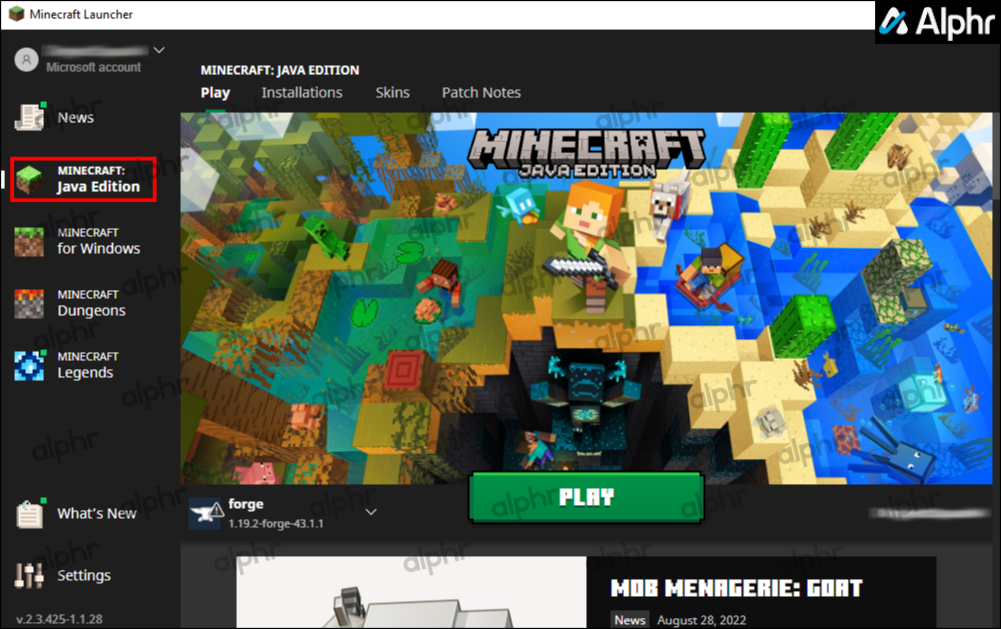
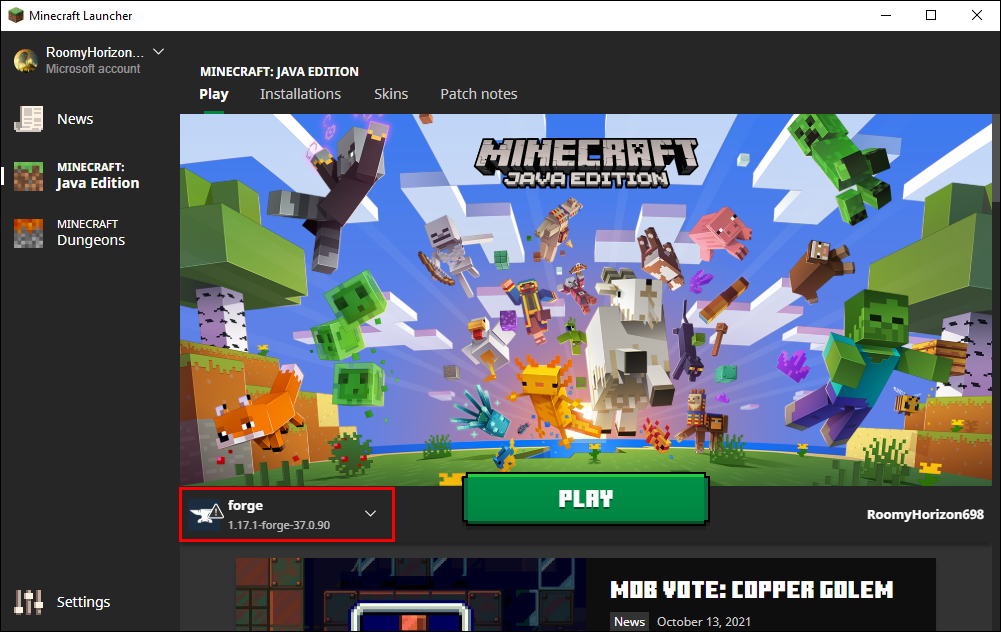
- Launch the “Minecraft Launcher,” then select “Minecraft Java.” You can just click on “Minecraft Java” directly if you want, but it will load or install the launcher through the Xbox app anyway.
- If Minecraft Forge got installed correctly, it should appear as a version on the Java launch screen along with any other versions you installed. Ensure that the Forge version is selected.
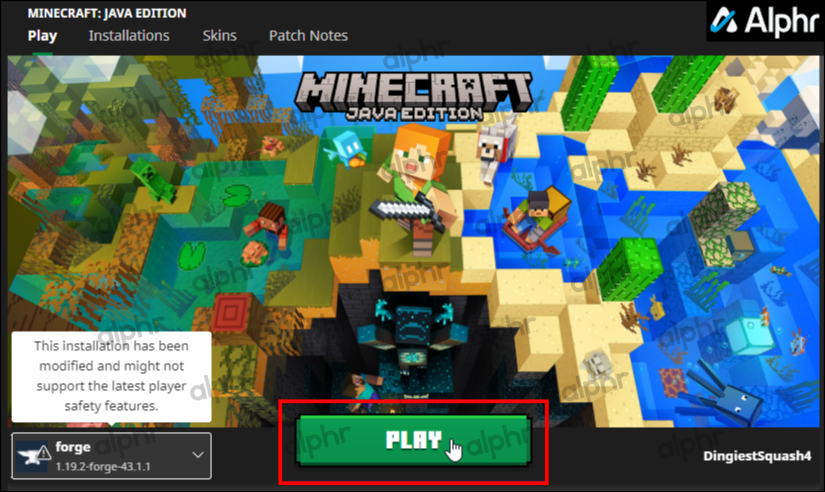
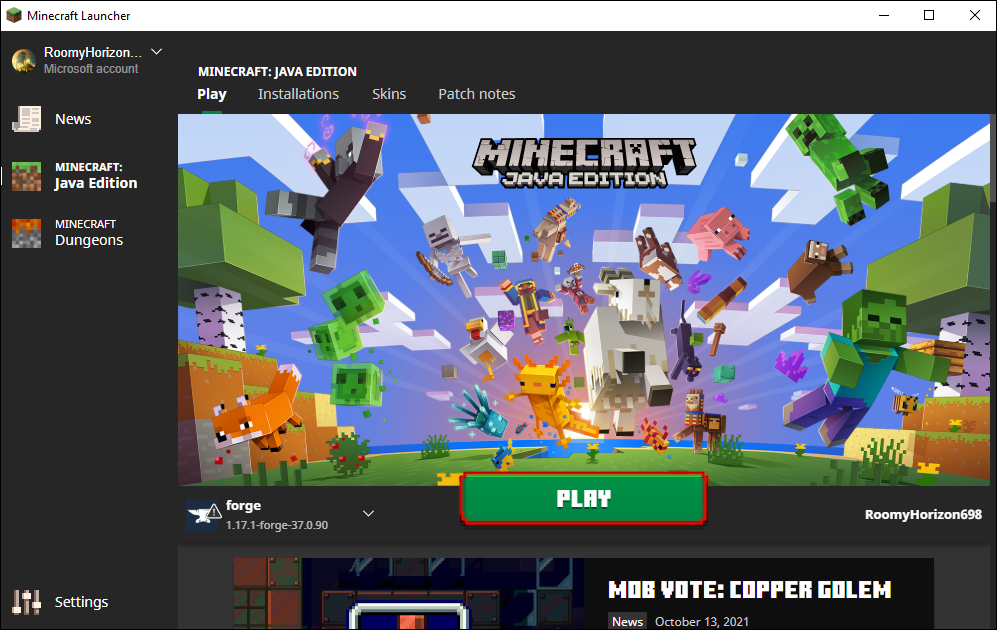
- Click on the green “Play” button to launch Minecraft Java using the Forge version.
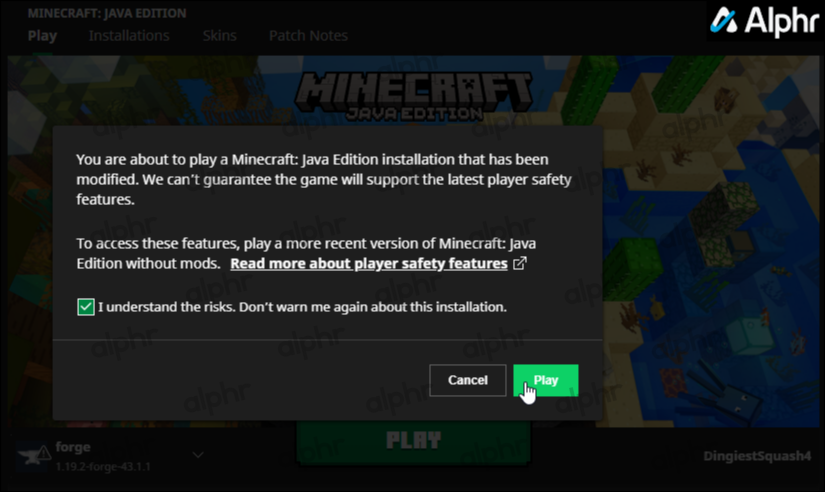
- Click on the green “Play” button in the confirmation window to approve the modified version and the safety risks of using it.
- Minecraft Java will install all necessary Forge files to the Minecraft folders. Once Forge gets integrated, close Minecraft Java and relaunch it using the Forge version.
- Minecraft Java launches once more, displaying the Forge version in the bottom-left section of the menu, which shows you which version of Minecraft Java you are using at any time.


Now, all you need to do is add your Forge-compatible mods by pasting them into the “mods” folder found at “C:\Users\[profile name]\AppData\Roaming\.minecraft\mods.” Of course, you’ll have to relaunch Minecraft Java once more to load the mods you just added.
Creating Mods using LearnToMod
Alternatively, you can code a mod online using tools such as LearnToMod. It’s much easier to use for beginners, though you need a subscription. You can either code a mod using JavaScript or use a drag-and-drop editor. After purchasing a subscription, follow the steps below to start making a mod:
- On the main page, click Start Server. Wait five to 10 minutes while the server loads.
- Once the server loads, you’ll see its IP address on your screen. Copy it.
- Launch Minecraft Java and go to Multiplayer, then Direct Connect.
- Paste the server IP address into a dedicated field and click Join Server.
- Click Play, then Mods from the top navigation menu.
- Click Code.
- Give your mod a name and click Blocky or JS to create a mod in a drag-and-drop editor or code it in JavaScript.


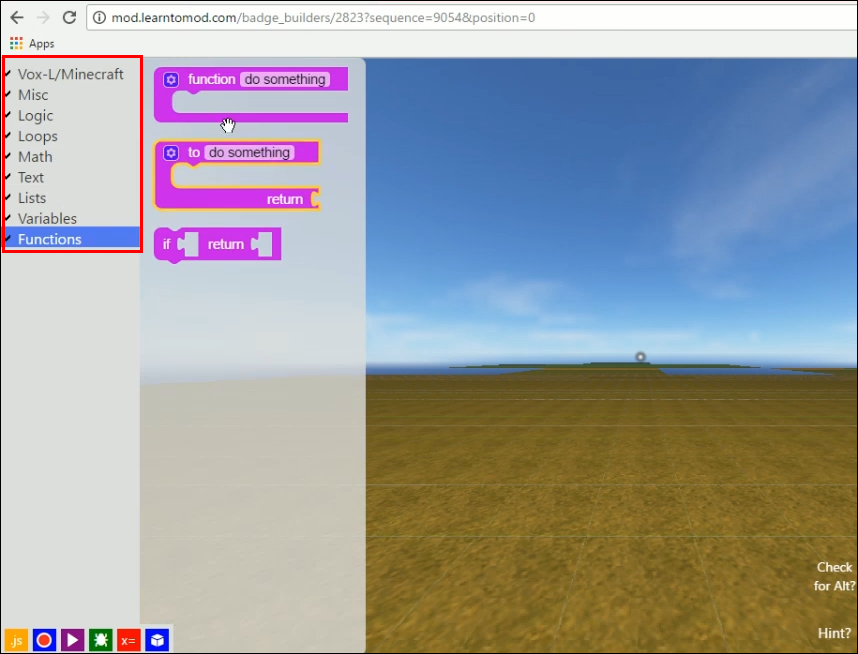

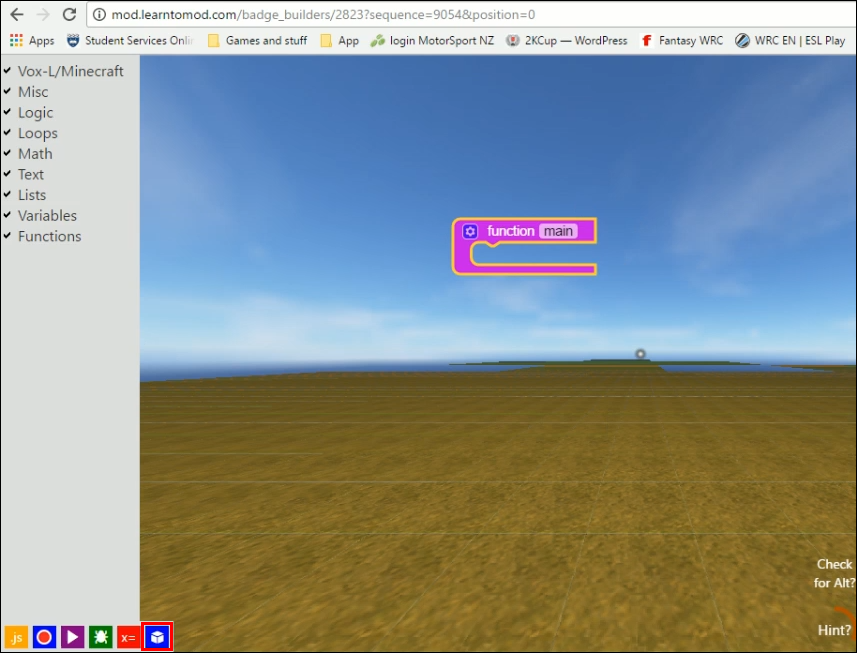
The next steps differ depending on your chosen method. Thankfully, the site provides a detailed guide for creating mods with the blocky editor. For the JS code, you’ll need to learn some programming.
How to Make a Minecraft Modpack
Modpacks allow you to combine selected mods without lag. Creating one doesn’t require extensive tech knowledge. Here’s how to do that:
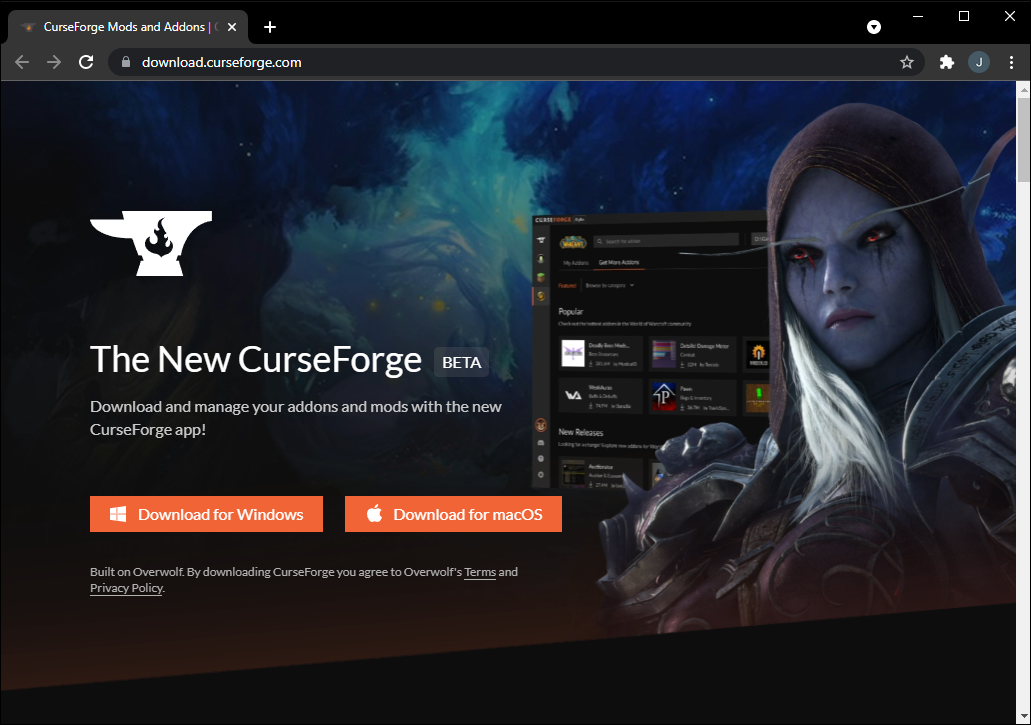
- Download the CurseForge app installation file version suitable for your operating system. Launch the file and follow the on-screen installation instructions.
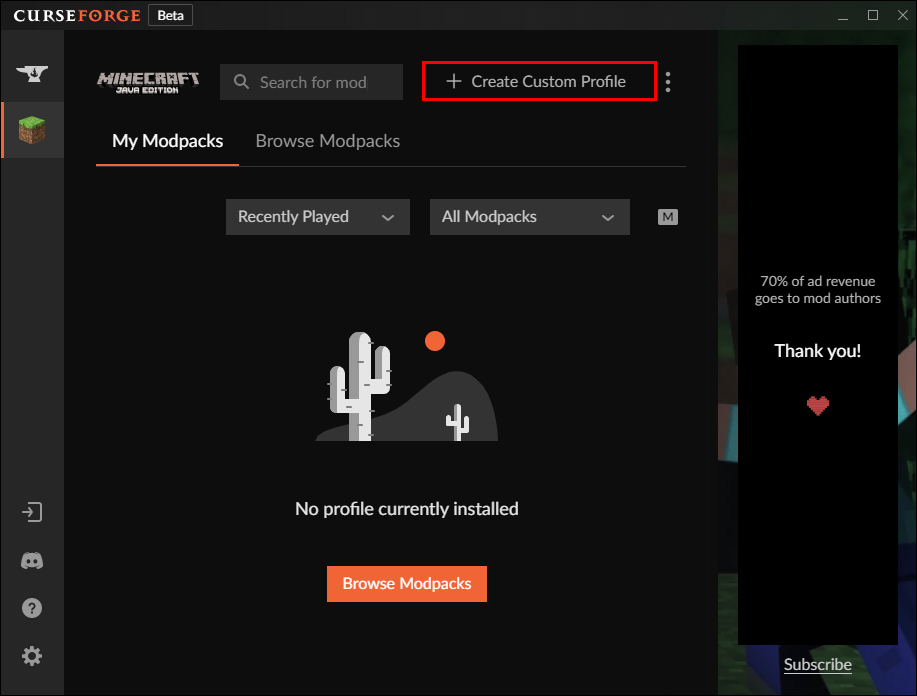
- When the app is installed, open it and navigate to the Minecraft tab.
- Click Create Custom Profile.
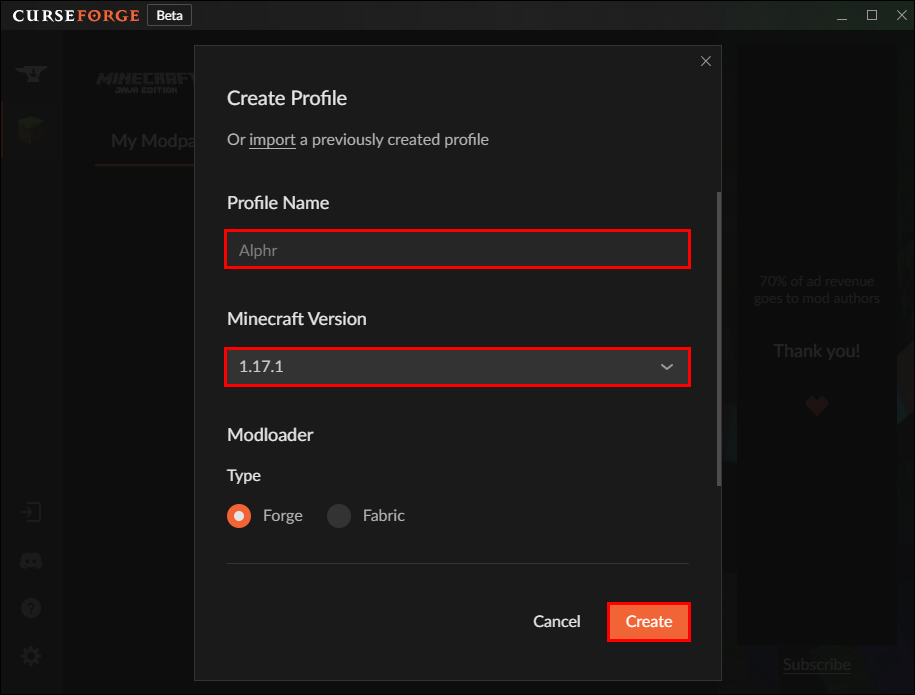
- Enter your profile name and select your Minecraft Version, then click Create.
- Click Add More Content on the page that appears.
- Select the desired mods from the Forge catalog and click Install next to each one.
- Once the pack is created, click Play next to its name to start playing with the selected mods.


How to Create a Minecraft Modded Server
The first step in creating a modded Minecraft server is downloading Minecraft Forge. Follow the instructions below to install this essential app:
- Head to Minecraft Forge Website and click the three-stripe icon in the top left corner to expand the sidebar menu.
- Select the Forge version corresponding with your Minecraft version from the sidebar. Then, click Install.
- Find the Forge installation file on your computer and double-click it.
- Follow on-screen installation instructions. Select Install Server when prompted.
- Open Minecraft Launcher and head to Launch Options.
- Click Add New, then expand the dropdown menu under Version and select release [version] forge.
- Go back to Minecraft Launcher’s main page and click an arrow next to the Play button. When the game launches, you should see a Mods button in the starting menu.


Next, accept EULA changes by adjusting the Forge file code. It sounds complicated, but in practice, it’s relatively straightforward. Here’s how to do that:
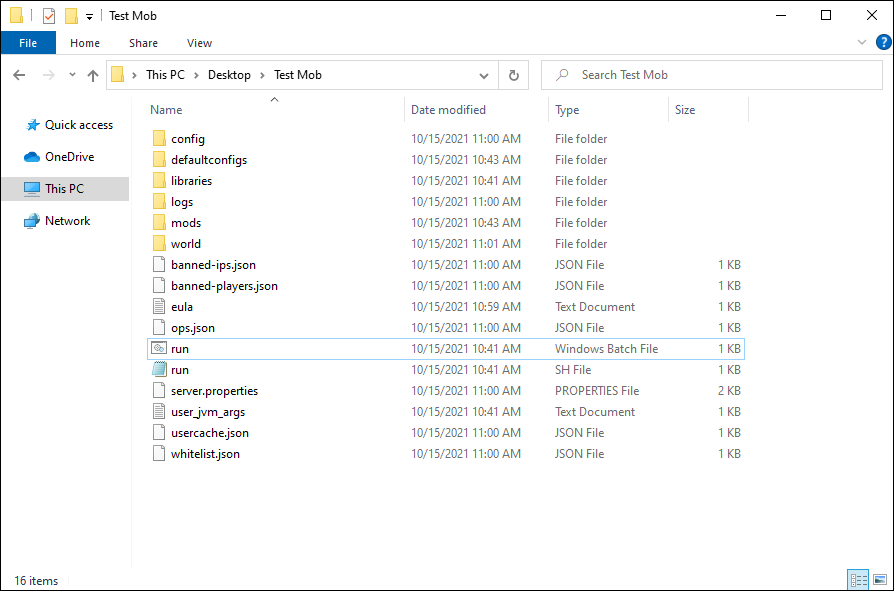
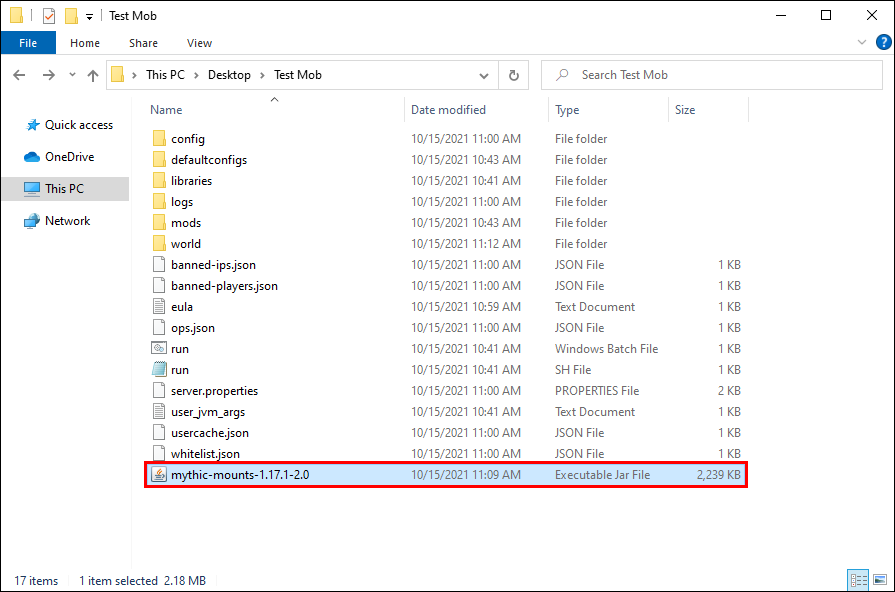
- Navigate to your Minecraft Server folder and find the forge [version] universal.jar file. Launch it. Folders labeled logs, mods, and eula.txt should appear in the Servers folder.
- Open the eula.txt file and change the “false” line to true. Press Ctrl + S to save changes and exit the file.
- Launch the forge [version] universal.jar once again. You’ll see more files appear in the Servers folder.
- Wait until a Minecraft server window appears. Close the window.


Congratulations, you now have a modded Minecraft server. Now, it’s time to add some mods to it and configure the server’s RAM usage settings. Follow the steps below:
- Download the desired mods from the Forge Mod Database.
- Paste the downloaded mods’ .jar files into your modded server folder.
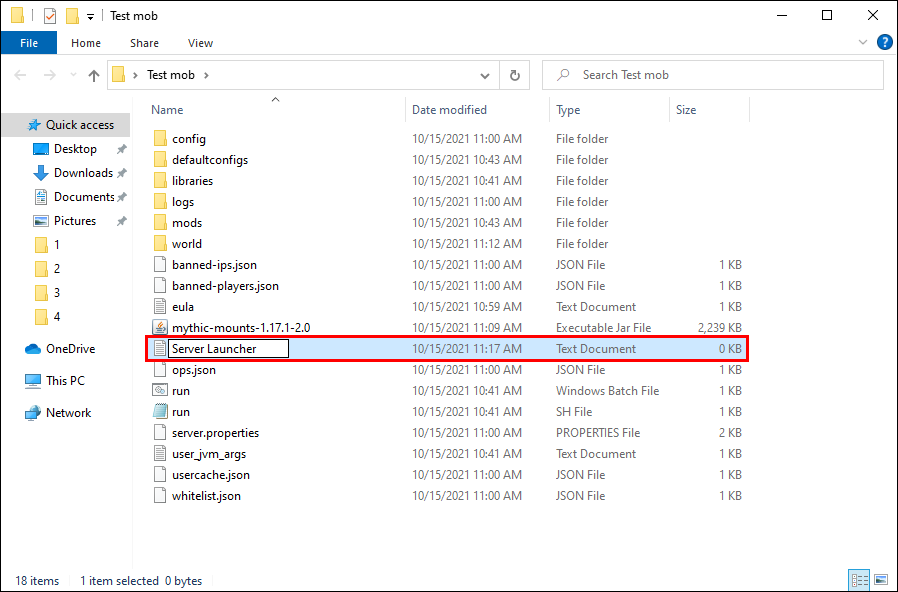
- Right-click the main Server folder and select New, then Text Document. Name it Server Launcher.
- Paste the following line into the document: java -Xmx2048M -Xms2048M -jar forge-1.12.2-14.23.5.2838-universal.jar -o true nogui. The 2048 part stands for the amount of RAM the server will be using, two gigabytes. Replace it with 4096 to allow the server to use four gigabytes of RAM. This will help to reduce the lag on your server.
- Save the file as Server Launcher.bat. Double-click this file every time you wish to start the server.


How to Create a Minecraft Mod Without Coding Experience
You don’t necessarily need to have coding experience to create Minecraft mods. It can be done using dedicated software, such as MCreator, available for Mac, Windows, and Linux.
With it, you can create armor and biomes or add animated textures or mobs with custom AI. This software features user-friendly tools such as an animation editor, mob animation wizard, and sound manager. Your mod can be tested during the development process, too. Think of it as of drag-and-drop website editor like Wix.
Furthermore, MCreator features an integrated code editor that lets you test your programming knowledge if you wish. Minecraft and Minecraft Forge codes are already uploaded into the editor. If you’re interested, the MCreator’s official site provides detailed guides on creating various mod elements.
Does Minecraft Bedrock support mods?
Minecraft Bedrock doesn’t support mods officially or unofficially. That’s related to the universal codebase it uses. Currently, the only way to change things up in the Bedrock edition is to get texture packs, skins, and other add-ons via the Minecraft Marketplace.
Support the Community
Now that you know how Minecraft mods are created, you can get your hands on coding for the community or start learning its basics. Modding requires a lot of time, effort, and knowledge, so the community deserves major respect for providing us with fresh experiences. Gamers share their creations completely for free, so make sure to say “thanks!” to fellow modders whenever you get a chance.
What are your favorite Minecraft mods? Share your top picks in the comments section below.
Related Posts

Disclaimer: Some pages on this site may include an affiliate link. This does not effect our editorial in any way.