Device Links
The app Notability has taken notetaking on iOS devices to a whole new level. With the outstanding features and functionality on offer, it’s hard to find an app more suitable for working with documents than this one.
This being said, one of the essential features when working with documents is the ability to add bookmarks. But how do you bookmark a page in Notability? If you’ve been looking for the answers, you’ve come to the right place.
This article shares step-by-step instructions on how to add bookmarks in Notability on iPhone, iPad, and Mac. As a bonus, you’ll learn how to navigate to your bookmarked pages and get rid of bookmarks you no longer need.
How to Add a Bookmark in Notability on an iPhone
Bookmarks allow us to keep track of where we left off when reading or working with files. Bookmarking a page in Notability is especially useful if you work with longer documents regularly. The feature lets you quickly access the page you need without going over hundreds of pages every single time.
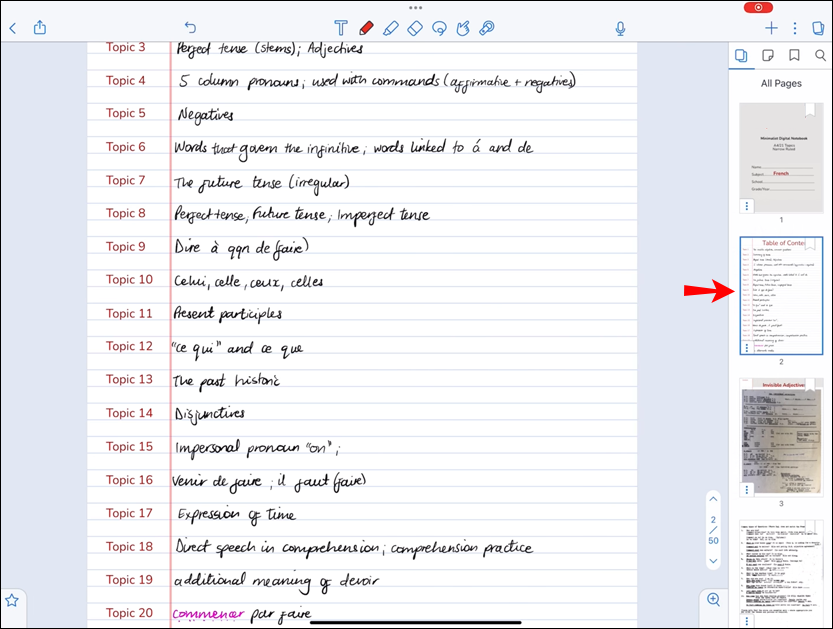
So, once you start the Notability app on your iPhone and open a document, you’ll see a thumbnail preview of all pages within that file. To bookmark a page, follow the steps below:
- Open the document you wish to bookmark a page from in Notability.
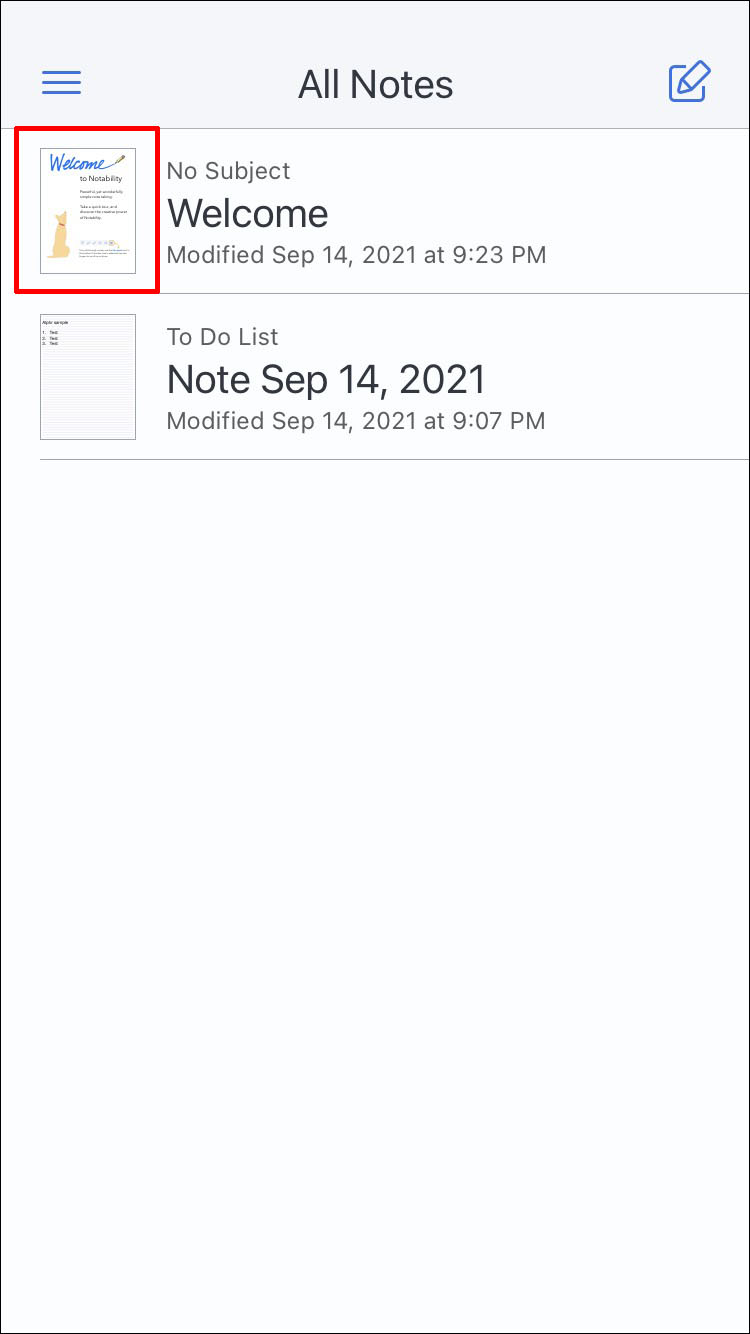
- Find the page you want to bookmark in the thumbnail preview.

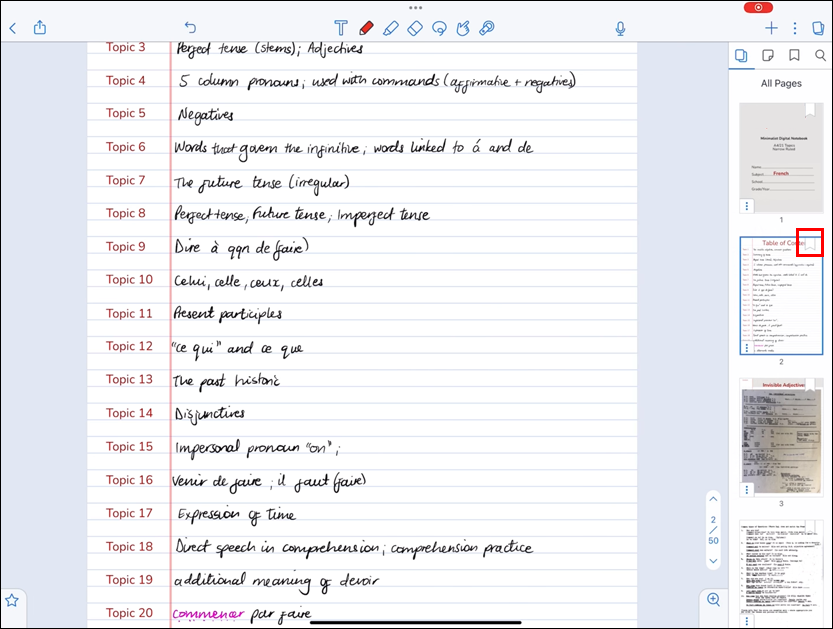
- Tap the grey bookmark symbol located in the upper-right corner of the thumbnail page.
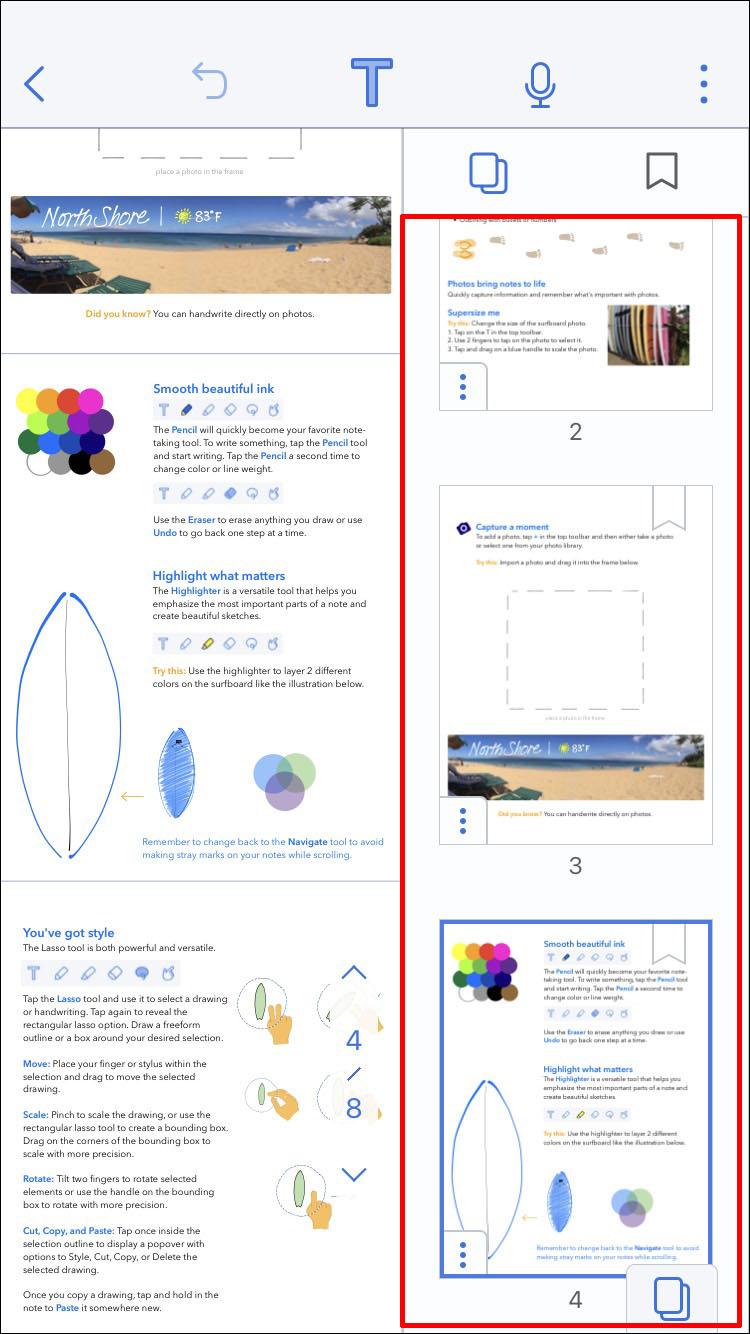
That page’s bookmark icon will now turn red. This means you have successfully bookmarked a page.
Note: You can only bookmark whole pages in Notability. The option to bookmark chunks of texts is not yet available.
View Bookmarked Pages in Notability on an iPhone
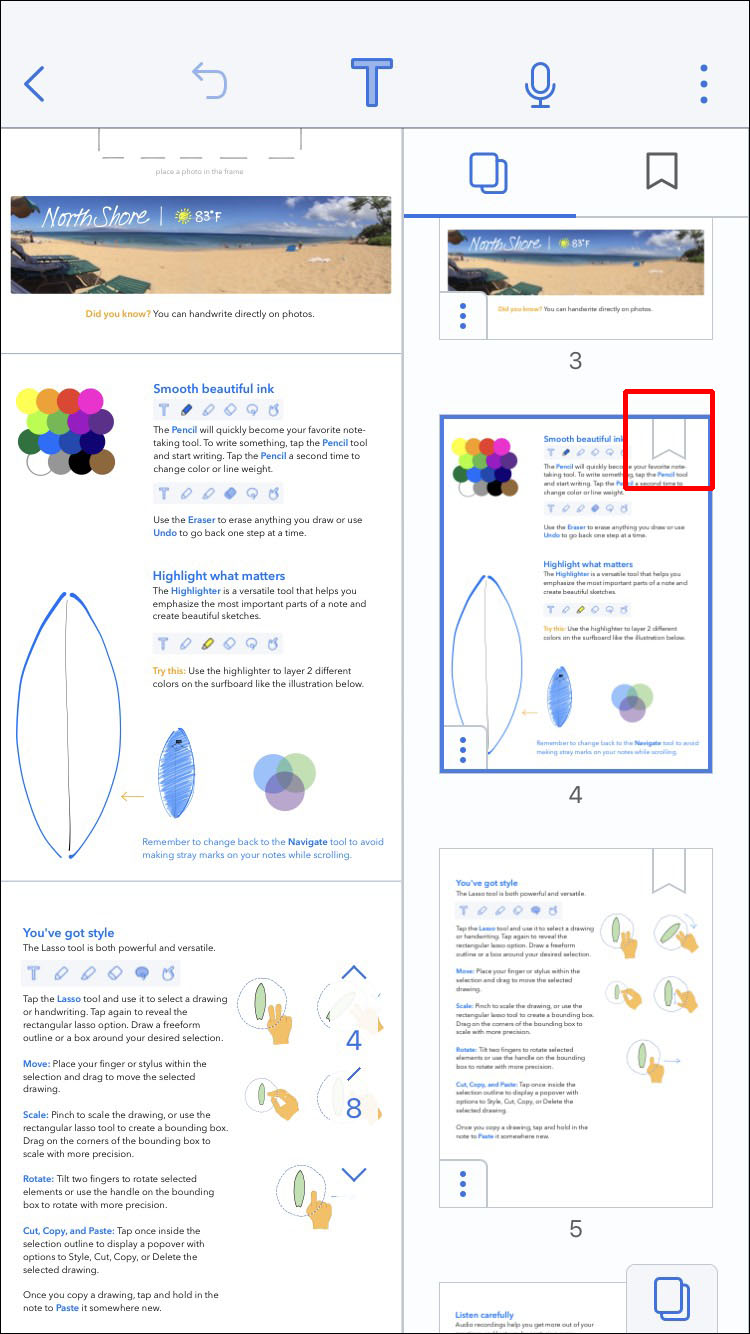
To access your bookmarked pages, navigate to the red bookmark icon from the menu. It’s the icon that looks just like the bookmark on the thumbnail page of your document.
You’ll have access to all your bookmarked pages under the same tab.
Un-Bookmark a Page in Notability on an iPhone
Maybe you’re done using a page and no longer need it bookmarked. If so, you can un-bookmark a page in Notability by simply tapping on the red bookmark icon for that page.
Once the red icon turns gray, it means the page is no longer bookmarked.
You can now bookmark and un-bookmark a page in Notability on your iPhone.
How to Add a Bookmark in Notability on an iPad
There are plenty of reasons to add bookmarks to pages in Notability. For one, it makes it easier to organize your documents. It also makes long documents much easier to navigate. Plus, it’s super convenient to use – requiring just a single tap.
You can bookmark any page in your Notability app on an iPad by following the steps below:
- Launch the Notability app on your iPad.
- Open the file you want to work with within the Notability app.
- Locate the page you wish to bookmark.
- Tap on the bookmark icon that appears above the page.
Note that the Notability app currently only allows bookmarking whole pages. You can’t bookmark a paragraph or a sentence only.
View Bookmarked Pages in Notability on an iPad
Notability lets you see all your bookmarked pages under a single tab. Just tap on the bookmark icon in the menu to access the thumbnail page preview with all your bookmarked pages.
Un-Bookmark a Page in Notability on an iPad
To un-bookmark a page, simply tap on the red bookmark icon in the page thumbnail. If the bookmark icon turns grey, it means it’s no longer bookmarked.
You can now bookmark and un-bookmark a page in Notability on your iPad.
How to Add a Bookmark in Notability on a Mac
Mac users can organize their notes to their hearts’ content with the Notability app. Not only is it effortless to make notes, but structuring your content is also a breeze. An important feature that helps easy access to specific pages is the bookmark feature.
Bookmarking is incredibly convenient if you often work with long documents. By marking out pages, you can easily access them whenever. Plus, all bookmarked pages are grouped under a specific tab – resulting in extra neatness for your projects.
To bookmark a page in Notability using your Mac, follow the steps below:
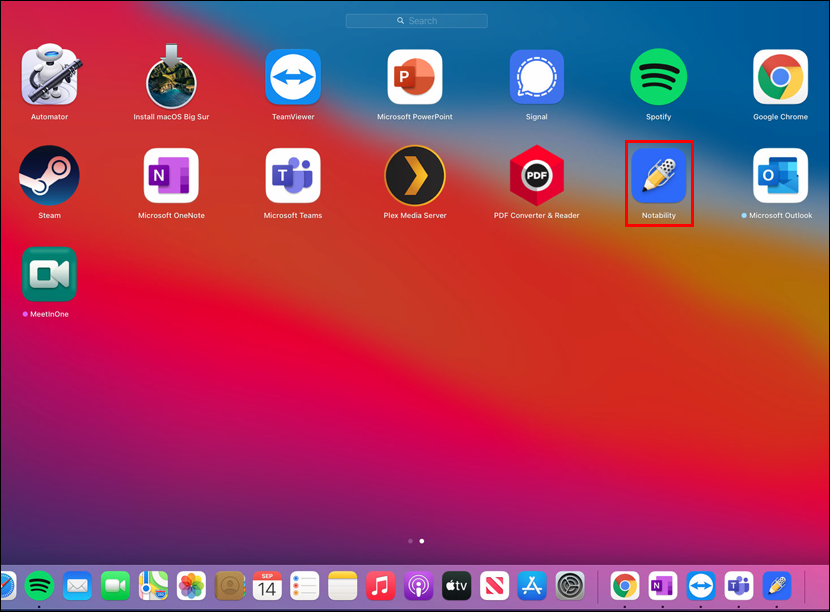
- Run the Notability app on your Mac.
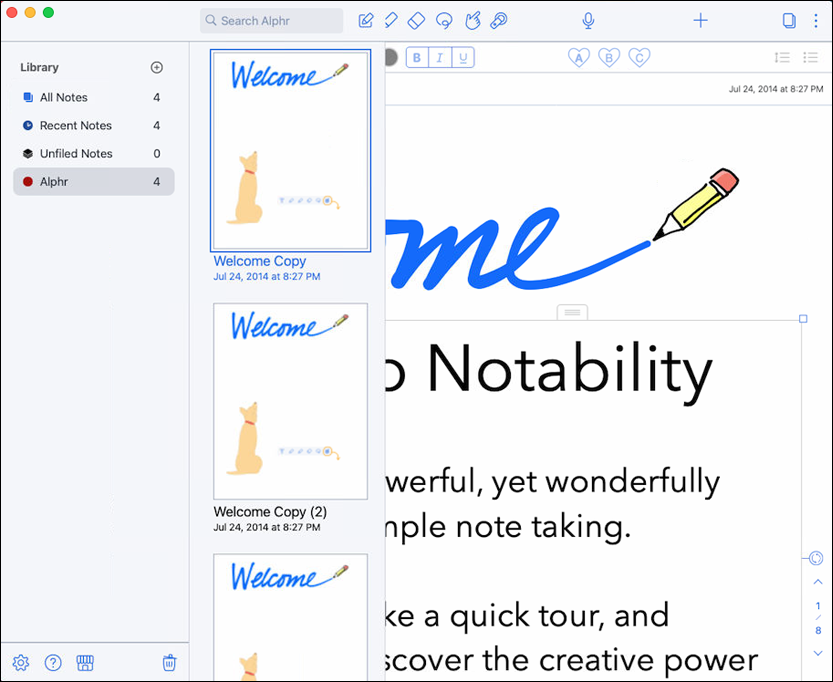
- Open the document you wish to bookmark a page from.
- You’ll see a thumbnail page preview on the right-hand. Locate the page you want to bookmark.
- Tap on the grey bookmark icon in the upper-right corner of that thumbnail page.
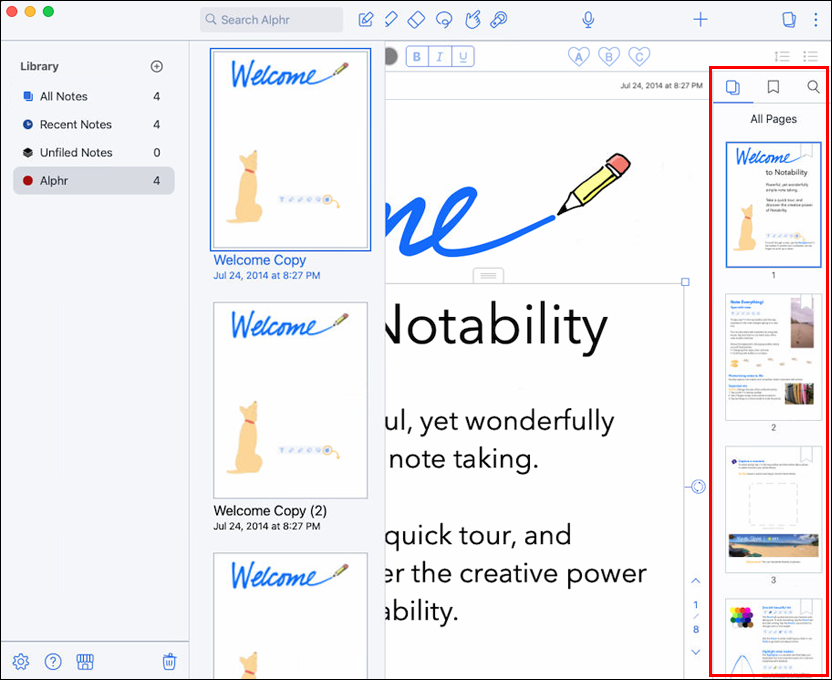
You have now bookmarked that specific page and can notice how the bookmark icon will have turned red.
Note that the current Notability app only allows bookmarking whole pages. You can’t bookmark chunks of texts yet. However, you can always highlight specific parts of your document to make them stand out.
Un-Bookmark a Page in Notability on a Mac
If you need to restore your pages in Notability, you can always undo your action.
To un-bookmark a page, simply click on the red bookmark icon for that page. Once it goes back to grey, it means it’s no longer bookmarked.
View Bookmarked Pages in Notability on a Mac
The best thing about bookmarks is that you can access all your bookmarked pages under a single tab. Just navigate to the red bookmark icon in the right-hand menu above the thumbnail page previews and next to the document search icon.
When you click on the red bookmark icon, the thumbnail menu with your document pages will show thumbnail previews of only your bookmarked pages.
Notability Bookmarks All the Way
As you can see from the steps above, bookmarking a page in Notability is incredibly straightforward. Now that you know how to bookmark, un-bookmark, and access your bookmarked pages in the app, you can organize your documents even better.
This article shared everything there is to know about bookmarking pages in Notability. If you have any questions about the topic, share them in the comments section below.
Disclaimer: Some pages on this site may include an affiliate link. This does not effect our editorial in any way.


