Open Broadcasting Software (OBS) is often used to record streaming videos and users like its lightweight but powerful performance. It doesn’t use much processing power to record and stream simultaneously, especially with a gaming PC.
But OBS can also directly record desktop audio, which is useful for other purposes. If you want to learn how to record desktop audio using OBS, you’re in luck. This article will not only tell you how but also cover some solutions that can help if OBS isn’t working correctly. We’ll also answer some of your burning questions regarding its benefits and limitations.
How to Record Desktop Audio in OBS on a Windows PC
Many OBS users are on Windows, especially if they’re streamers and gamers. Since gaming computers are often far more powerful than Macs, both groups of users are fond of OBS for Windows. If you’re creating how-to videos for Windows or software only available to this operating system, you’ll find this section perfect for your needs.
Here are the steps to recording desktop audio on Windows:
- Launch OBS Studio on your Windows PC.

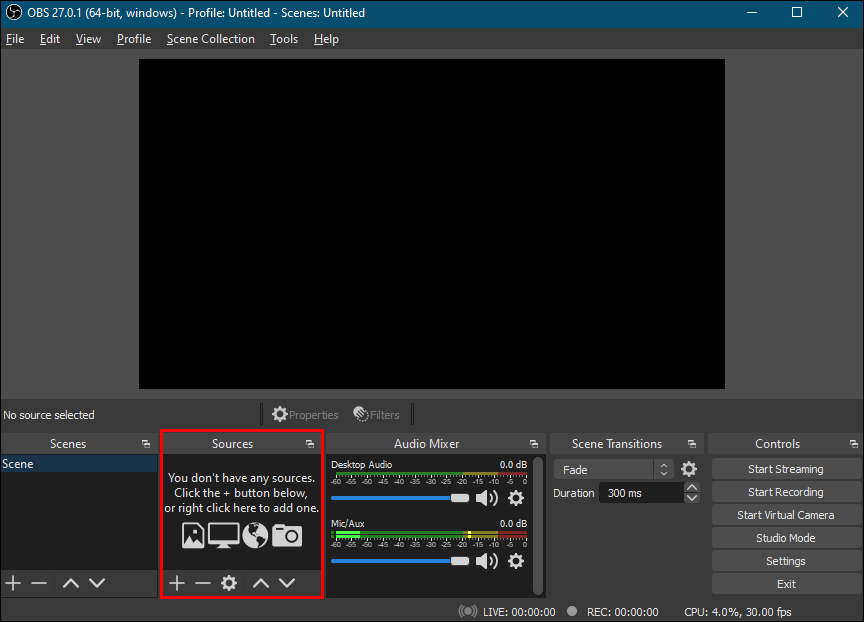
- Go to the bottom of the screen and select the Sources box – second from the left.

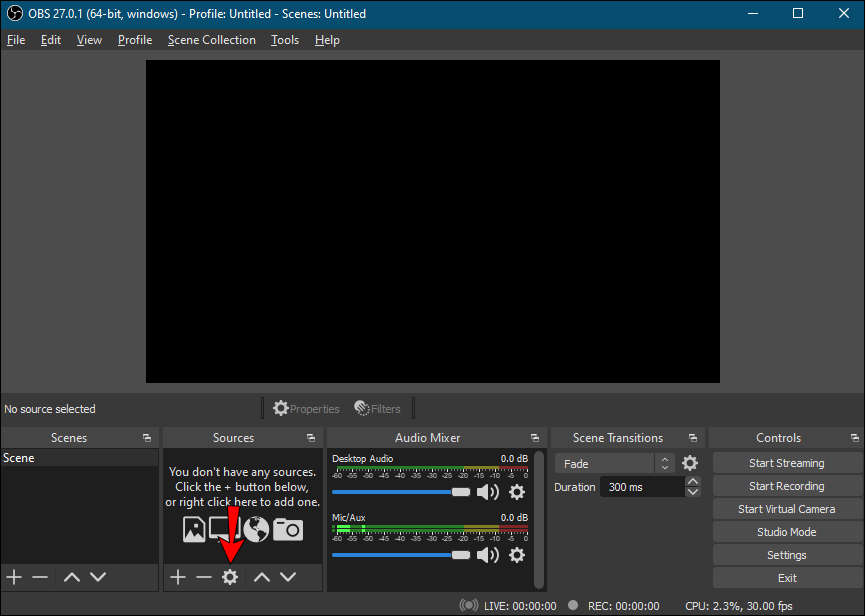
- Select the gear icon in the Sources box.
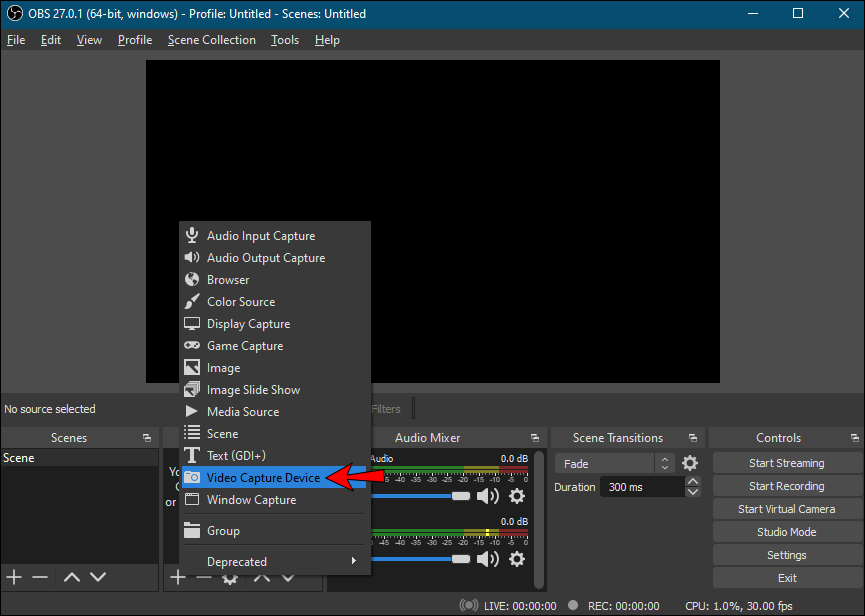
- Choose your input display, especially if you also require the video.
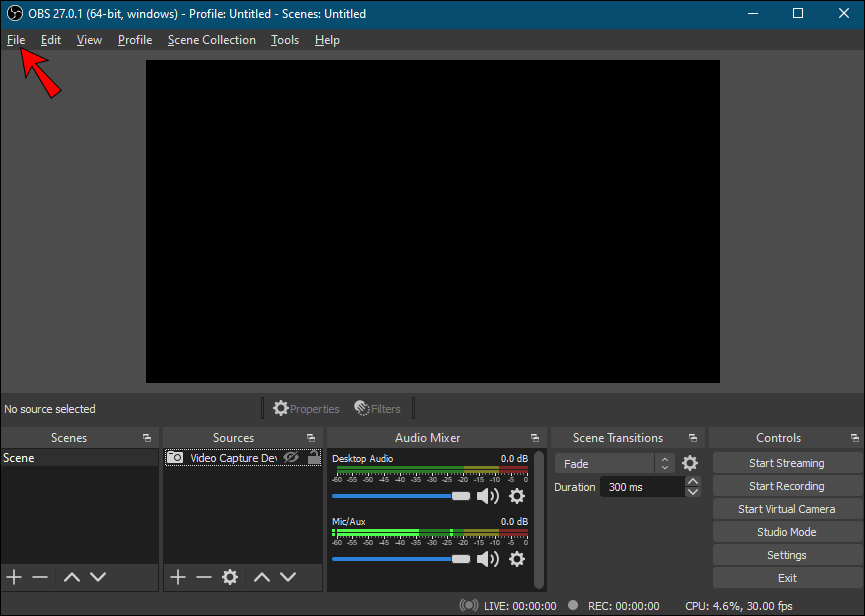
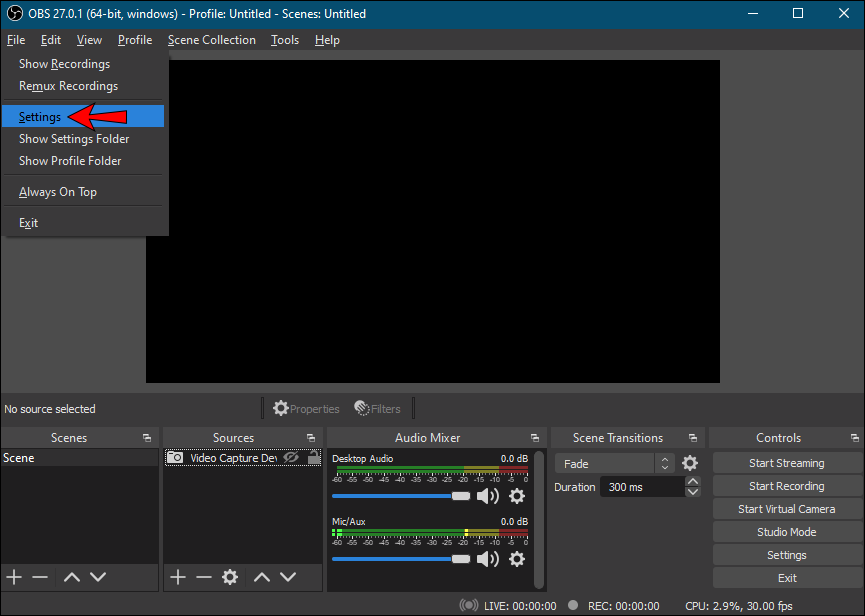
- For audio, go to “File” at the top left.
- Select “Settings” from the menu.
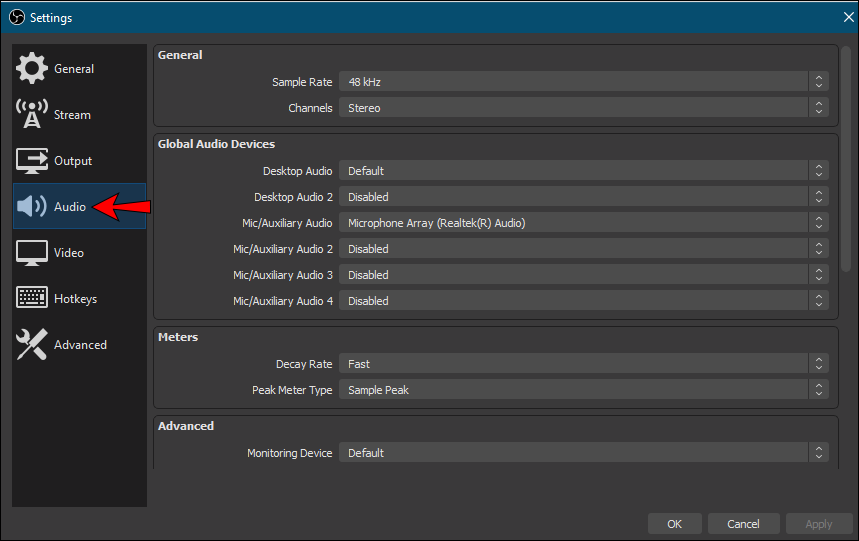
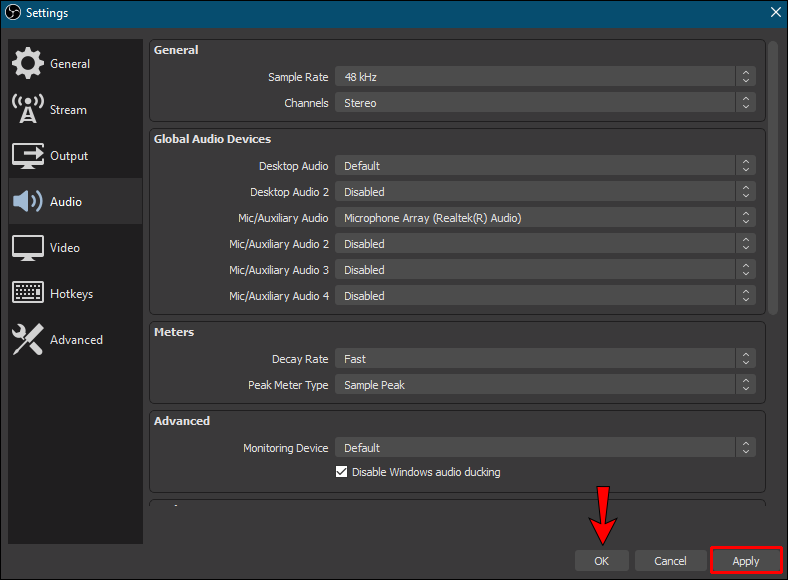
- From the left side of the new window, select “Audio.”
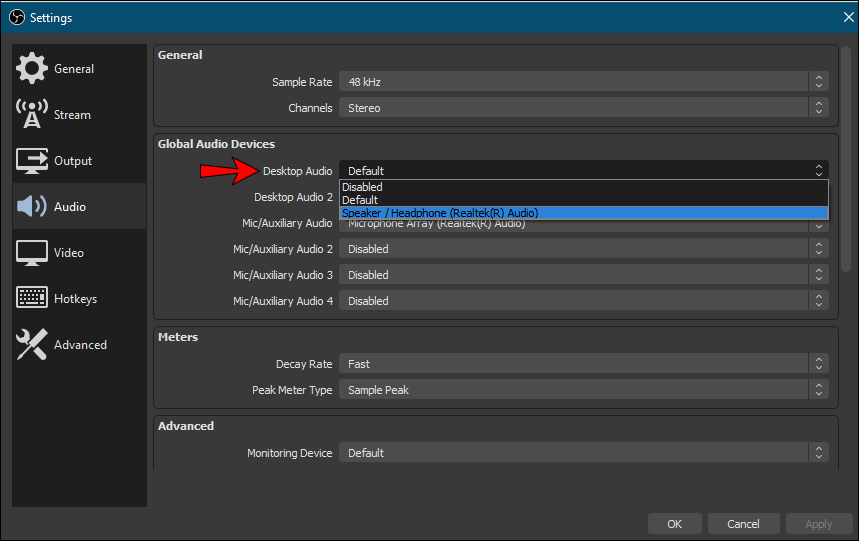
- Select “Desktop Audio” and choose the proper source.
- While you’re here, you can also configure the audio quality if you wish.
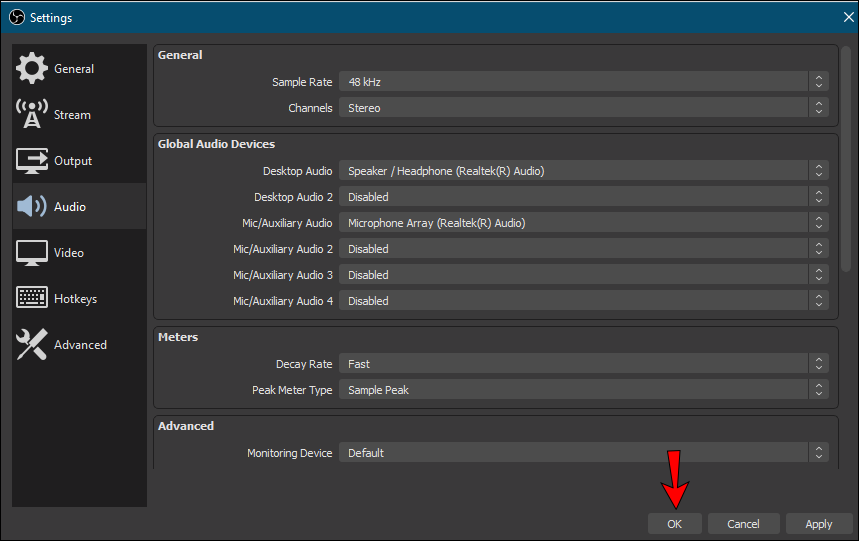
- Select “OK” to finish with the audio settings.
- Test if OBS is recording both video and audio.
- If yes, you can go ahead and record whatever audio you wish.
- To end, stop recording and export the audio file.
After following all these steps, you’ll end up with a video file, most likely an MP4 file. This is because OBS isn’t able to export audio files separately. All the audio is stored on this video file. But if you only want the audio file, don’t panic.
There are many tools both online and offline that can convert videos. Most of the online tools can be used for free and don’t compromise the quality. This is apparent when you select the highest audio settings before conversion.
After conversion, you’ll receive your audio file, and you can upload and share it wherever you wish. It can even become part of another video project you have on the side. The choice is yours.
How to Record Desktop Audio in OBS on a Mac
OBS is also available on macOS since some users prefer using Apple products. Some streamers use Macs to edit their footage, while others want the software to make how-to videos compatible for Mac. Either way, Mac users can rejoice as OBS is also completely free for them.
Generally, OBS doesn’t differ very much across operating systems. You can get familiarized with OBS on Windows and feel right at home when you transition to using it on a Mac. As such, the steps are similar to those on Windows.
Here are the steps:
- Launch OBS Studio on your Windows PC.
- Go to the bottom of the screen and select the Sources box – second from the left.
- Select the gear icon in the Sources box.
- Choose your input display, especially if you also require the video.
- For audio, go to “File” at the top left.
- Select “Settings” from the menu.
- From the left side of the new window, select “Audio.”
- Select “Desktop Audio” and choose the proper source.
- While you’re here, you can also configure the audio quality if you wish.
- Select “OK” to finish with the audio settings.
- Test if OBS is recording both video and audio.
- If yes, you can go ahead and record whatever audio you wish.
- To end, stop recording and export the audio file.

Just as on Windows, you’ll have to convert the video file into an audio file. macOS users can employ practically the same file conversion websites as their friends on Windows. However, they will have to install macOS versions of the programs or obtain different software.
There’s no difference in quality after conversion as long as you have the best audio settings. If you exported the video file with a specific bitrate, you should set the conversion website to give you the same bit rate and other settings. By doing so, you don’t risk getting a low-quality audio file.
Addressing OBS Not Recording Audio
Sometimes, OBS or your computer malfunctions, and you’ll find your videos completely without audio. There’s nothing to fear, as in the following section, you’ll find some crucial solutions. If none of them don’t work, you may have to reinstall OBS or use an alternative.
Checking the Tracks
The first method has to do with checking the tracks in OBS. Here are the steps:
- Launch OBS.
- Select “Files.”
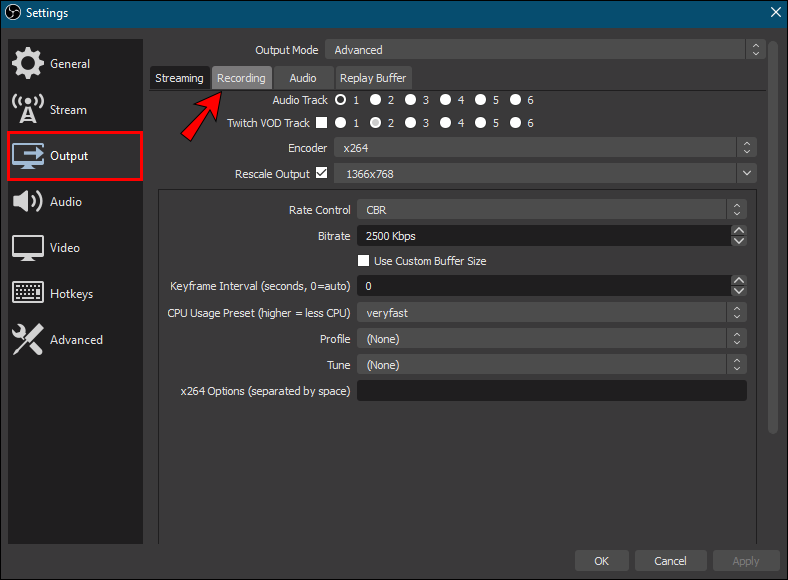
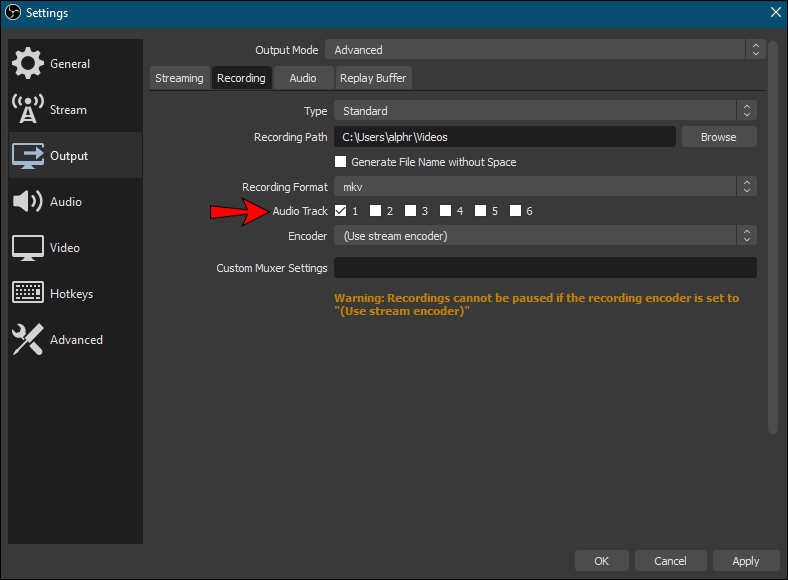
- Go to “Output” and select “Recording.”
- Make sure you’re recording the right tracks.
- Test and see if the video file has audio.
This is a simple fix, but you can try the following option if it’s already correct.
Checking the Audio Settings
Another place to check next is the audio settings. This fix is done by following the steps below:
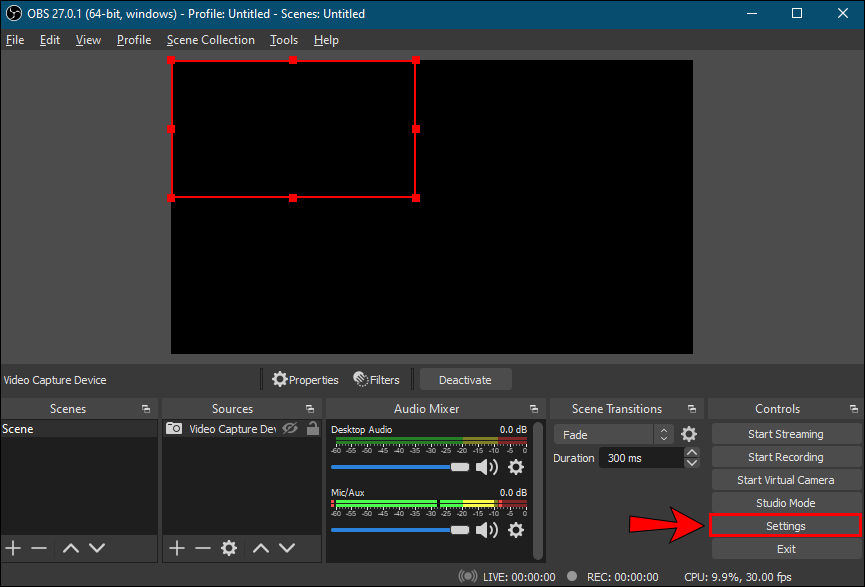
- Launch OBS.
- Go to “Settings.”
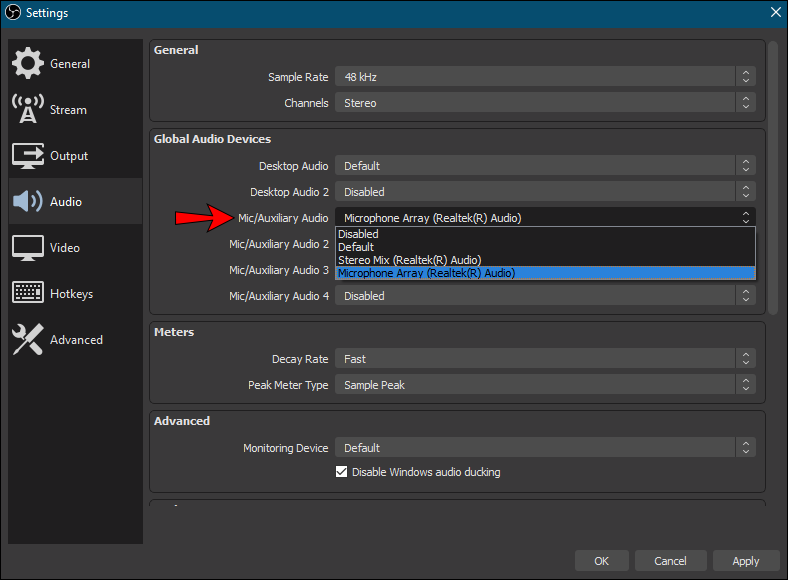
- Select “Audio.”
- Select the menu called “Desktop Audio Device.”
- Choose the correct device to record.
- Next, go to “Microphone/Auxiliary Audio Device” to make sure you’re using the right sources.
- Click “Apply” and then “OK.”
- Test and see if OBS captures the audio.
Sometimes the audio sources aren’t configured right, and this method can address that problem.
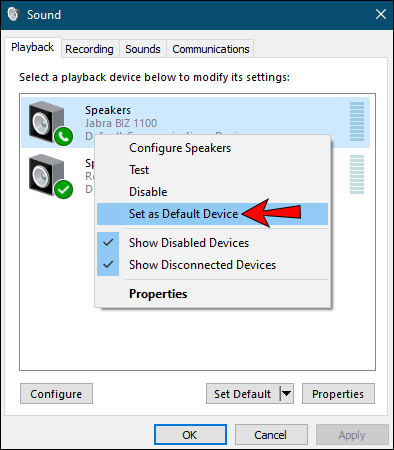
Making the Speakers the Default Audio Device
If somehow you’ve made detachable devices as the default audio source, OBS won’t be able to record. The video is silent because the device isn’t available after being disconnected. To address this problem, we offer this possible solution:
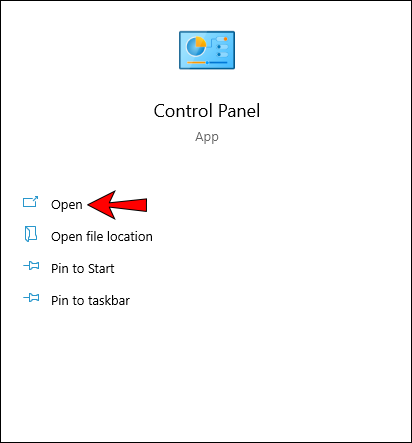
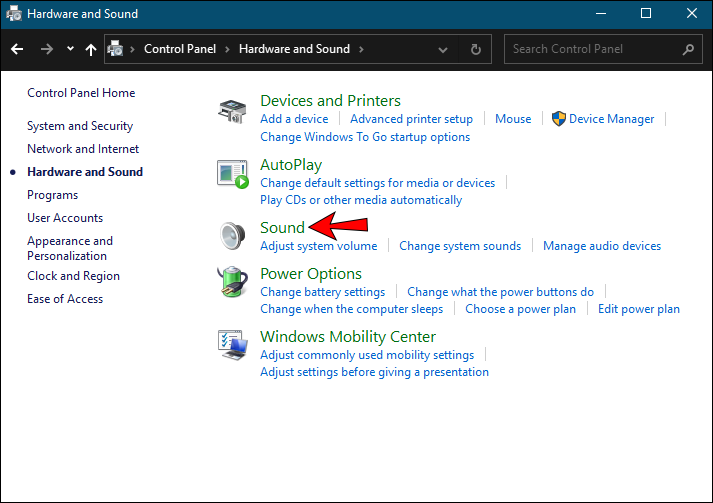
- Open the Control Panel on Windows.
- Select “Sound.”
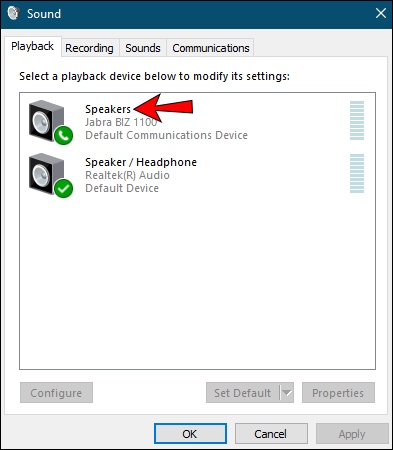
- Choose “Sound Control Panel.”
- In the Playback tab, select “Speakers.”
- Make them the default option.
- Click “Apply” to use these settings.
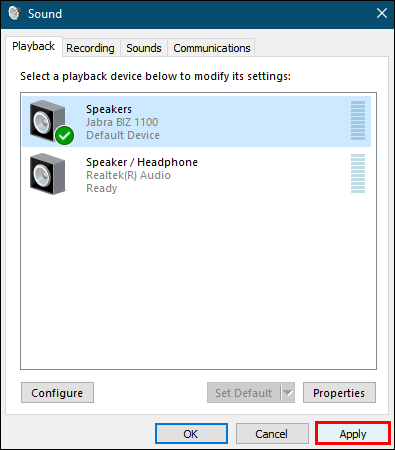
After making the audio source available, OBS should be able to capture desktop audio and other sources reliably. Similar steps can be found on macOS, as the main goal is to make the speakers the default source.
Adjusting the Encoding Settings
OBS also allows you to adjust the encoding settings. Here’s how:
- Launch OBS.
- Go to “Settings.”
- Select “Encoding” on the left side.
- From the “Bitrate” menu, select “128.”
- Type “3500” in the box.
- Uncheck “Use CBR.”
- Select “Apply” and “OK.”
- Restart OBS.
After all of these fixes, your audio should be working again.
Coming in Loud and Clear
Now that you know how to capture and separate desktop audio from OBS on Windows and Mac, you’ll find recording and extracting audio from videos much more effortless. You’ll have to separate the audio from the video file by other means, but it’s not too hard. However, we also recommend you use other software instead.
Do you have a preferred audio recording program? Do you prefer OBS Studio or Streamlabs? Let us know in the comments section below.
Disclaimer: Some pages on this site may include an affiliate link. This does not effect our editorial in any way.