Obsidian users can create many things with the note-taking app, including tables. A table provides a way to break down complex information and compare items. It can make your Obsidian notes look more professional and easier to understand. Adding a table to Obsidian can be hard for some users. If you can’t do it, you’ve come to the right place.
This article covers the best approach for creating tables in Obsidian.
How to Create a Table in Obsidian
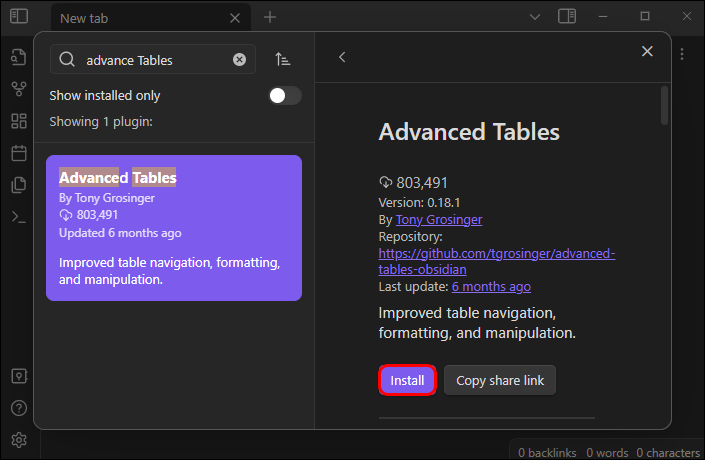
An Obsidian table can help you compare two or more things, summarize data, or show statistics. The quickest way to make a table in your Obsidian app is to use a plugin. Most developers recommend the Markdown plugin. It can let you format the table cells and columns as you wish. You have two ways to install this plugin. First, you can get it within the Obsidian app or from GitHub. To install it directly from the app is easier:
- Login to your app and access the “Settings” tab.

- Click on “Browse community plugins.”

- Look up “Advanced Tables.”|
- Press “Install.”
- Now close the “Community Plugins” window.


Obsidian Characters for Making Tables
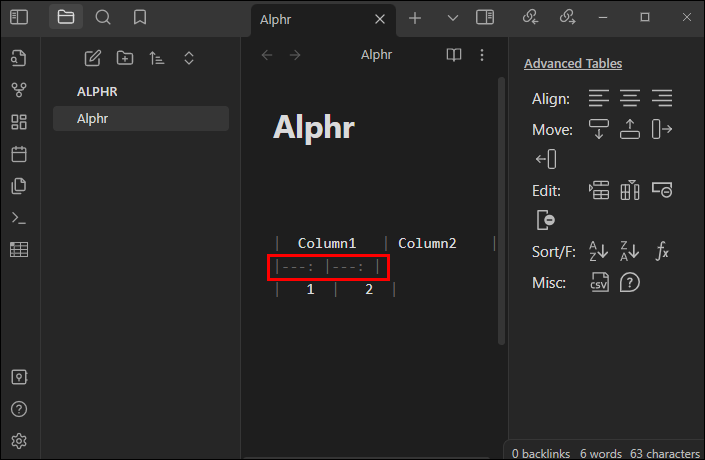
You create a Markdown table using two characters. The first is a hyphen, and the second is a pipe (I). The pipe will help you separate your table columns, while hyphens will let you split the header row from the rows beneath it. Usually, you should use three hyphens to separate two headers. However, you can increase hyphens to make your columns more orderly and proportional.
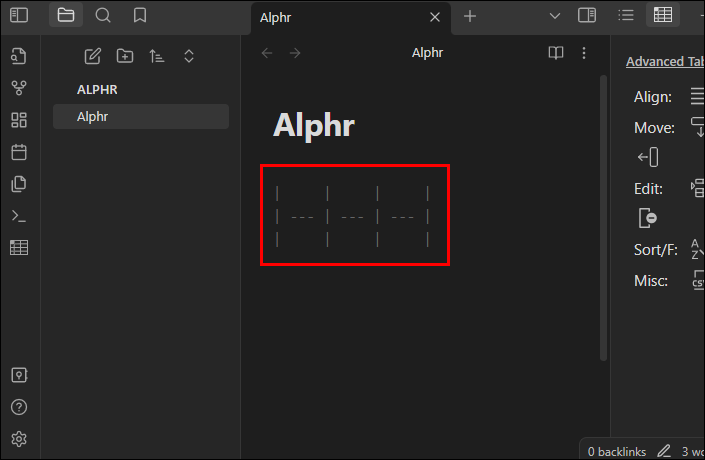
Also, a table with enough hyphens is easier to edit. Whether you use three hyphens or many, the app will automatically adjust the cell size in the reading mode. Moreover, you can make a table with as many rows and columns as you wish. If you do this, use the same number of pipes to separate columns. You can also:
- Add a specific item to each cell if you’ve already organized the data to feature in the table.
- Draw two pipes with nothing between them to ensure the cells are blank.
- Remove rows and columns that don’t make sense. This is because Markdown creates flexible tables in Obsidian.
How to Align the Text in Your Table
Adding columns and rows is only the beginning. The next task to do with the Markdown plugin is to align data in every cell. Obsidian will automatically align the text in cells to the left side. To adjust the alignment, add a colon to the header row in one of three ways:
- To align a column to the right, enter a colon at the beginning of the hyphens (—-:) in the right column.
- To align a column to the left, insert a colon at the end of the hyphens (:—- ).
- To align a column to the middle, insert colons at the beginning and end of the hyphens (:—-:) in the middle column.

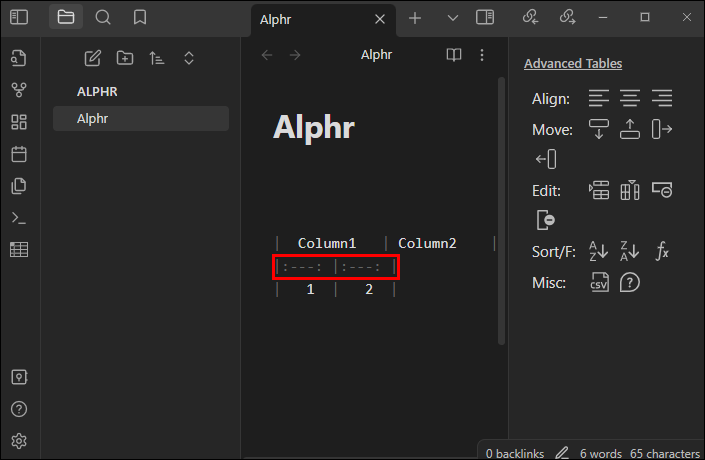
Thus, your table will have three columns with different alignments. For instance, the first column will align to the right, the second to the middle, and the third to the left.
How to Format Your New Table
The Markdown can let you format the table you’ve just made. To format the content of every cell in the table, use different filters. For instance, you can apply italics, bold, strikethrough, images, etc. If you know how to format text in the app, you should do the same in the table. After setting the correct alignment for columns, adjust the content with cells as you wish.
To ensure the content in the first column appears bold, add this: **Bold**. To make your middle column data unique, you should add **Italic**. In the last column, you can add the strikethrough. You can continue to add new formatting elements to the remaining cells until your table looks great.
How to Create Advanced Tables
After making basic markdown tables, you can improve them. You will continue using Markdown to make your tables more advanced in Obsidian. The Markdown can allow you to create a table with Microsoft Excel’s navigation style. Also, it can do auto-formatting and provide handy spreadsheet formulas. You can use it to manipulate your rows and columns, including adding, removing, and aligning.
Other advanced activities to use it for include exporting to CSV and sorting rows by a given column. Above all, this plugin can function on your mobile app as well. You will also use specific hotkeys to make an advanced table in Obsidian with Markdown. This is what will happen if you press these keys:
- Tab – It will take you to the next cell.
- Enter – It should move you to the next row.
- Shift and Tab – These will take you a step back to view the previous cell.
- Control, Shift, and D – Pressing these keys together will bring up a sidebar with table controls.
Obsidian has something called the Command palette. You can use it to find “Advanced Tables.” Creating a table is as simple as manipulating the appropriate hotkeys like this:
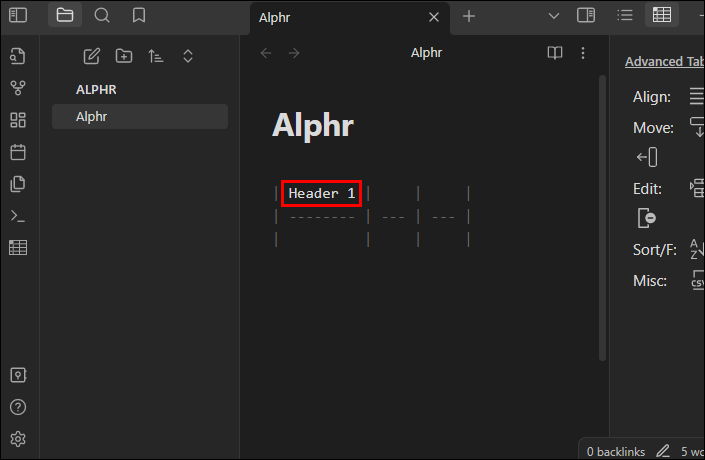
- Make the first pipe to signify the column.
- Type Header 1, and press “Tab” to move to the next one.
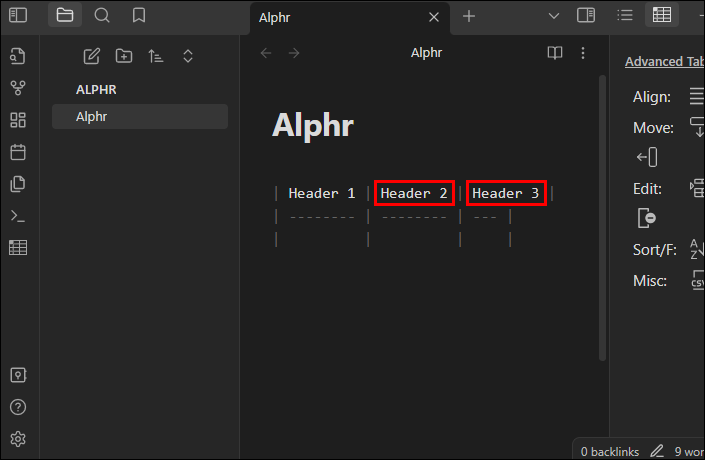
- Type Header 2, press Tab, and type Header 3.
- Now press Enter to shift to the next row. Fill data in column cells while pressing Enter to move to the next row.

Dataview Plugin – Why Install It in Obsidian?
Dataview is the plugin that will turn your Obsidian vault into a powerful database. It puts queried data in a table, list, or report. If you want to make your Obsidian app more convenient, add this plugin. This is how you can install the Dataview plugin:
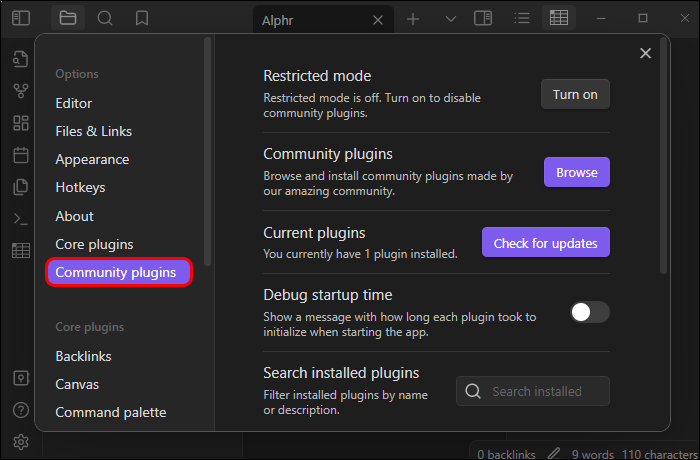
- Go to the Obsidian “Settings” and click on its icon to view the menu.
- Move to the “Community plugins” on the left side and activate the tab.
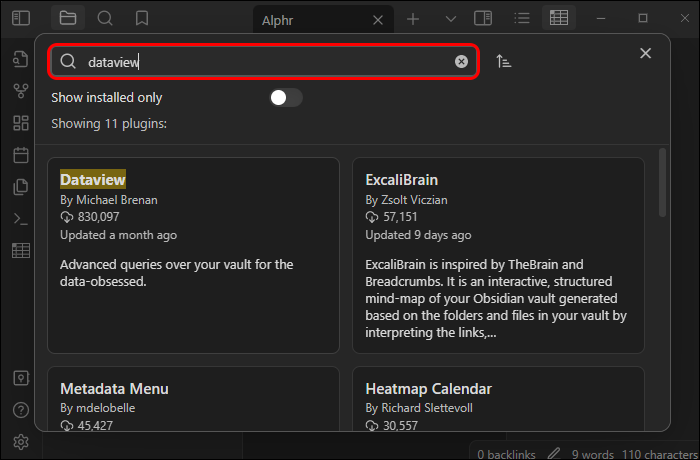
- “Browse” this tab and enter “dataview” in the search box.
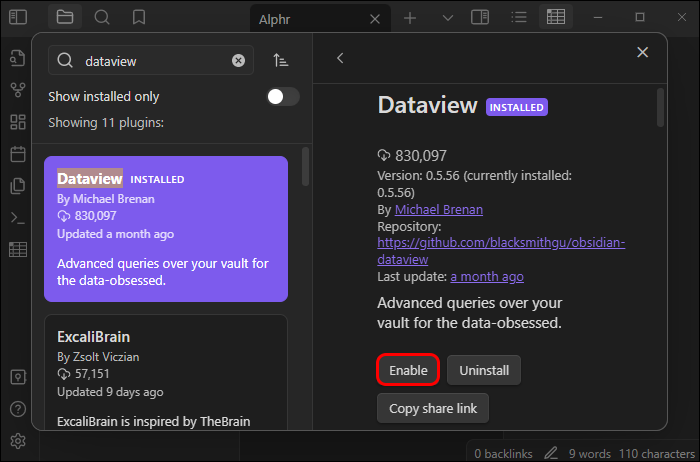
- Click on “Dataview” and choose “Install.”
- When the installation ends, click “Enable.”
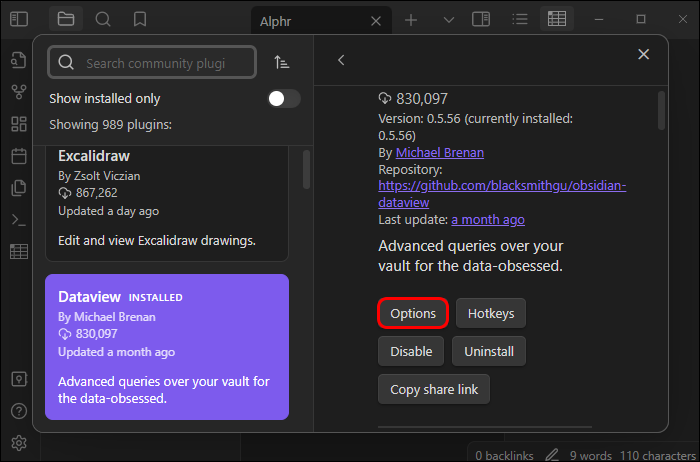
- Open “Dataview settings” and click “Options.”
- Finish by tapping “Enable JavaScript Queries” and “Enable Inline JavaScript Queries.”


Dataview will now extract data from Markdown frontmatter and Inline fields. It will then query that data using any of its four modes, including Data View Query Language.
FAQs
How can you use Obsidian to study?
Obsidian can help you take notes when studying. To create our first note in Obsidian, move to the “folder” and click “New Note.” You can shorten this path by pressing Ctrl and N on your keyboard. Write more notes and organize them with tags, folders, and links.
Does Obsidian support HTML?
Obsidian supports HTML as long as you have a relevant community plugin like the HTML Reader. To get this plugin in Obsidian, locate “Community plugins” in the “Settings” menu and tap “Browse.” Now search for this plugin and install it.
Can you use Obsidian with the Markdown plugin?
Markdown makes a perfect tool for creating plugins in Obsidian. You can use the app to format your notes with plain text elements.
Create Neat Obsidian Tables
As you can see, creating a customizable table in Obsidian with Markdown isn’t difficult. Focus on the symbols for separating columns and headers. As noted, use pipes for columns and hyphens for table headers. These tips should help whether you want to make a basic or an advanced table.
What is your experience with Markdown Obsidian tables? Did you use any instructions in this article to add a new table? We’d like to hear from you in the comments section.
Disclaimer: Some pages on this site may include an affiliate link. This does not effect our editorial in any way.


