Obsidian is all about making your notes work for you by keeping them neatly organized. Groups are one of the features that enable this. By clustering related bits of information, you can retrieve key details more easily and skyrocket your productivity.
But how exactly do you add groups? You’ll find out in this Obsidian tutorial.
How To Add Groups in Obsidian
Whether you’re a first-time or experienced Obsidian user, you shouldn’t have trouble accessing the groups feature. Take the following steps to enable it:
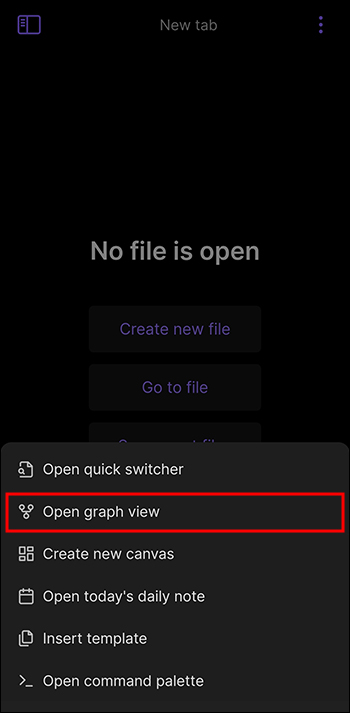
- Go to your Ribbon. If you’re using the PC version, you’ll find it in the left part of your interface. You should be able to see the section, even if you’ve deactivated the sidebar. If you’re running the smartphone version, simply tap the “Menu” key represented by the three vertical lines in the lower-right part of the screen.

- Hit the prompt that lets you open your graph view. This menu allows you to determine what your notes look like.

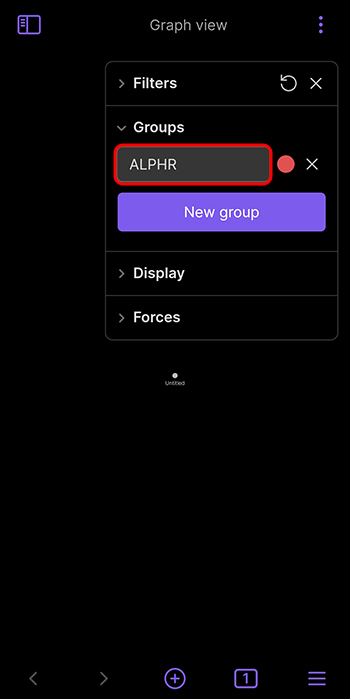
- Press the “New group” button.
- Enter the notes that will be included in your cluster.
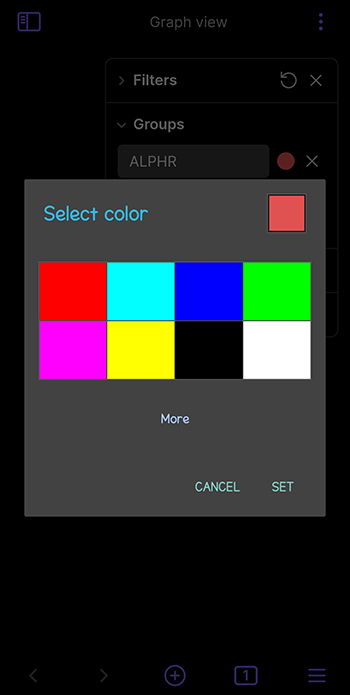
- Tap the circle to choose a color for your category, and you’re good to go. The app will now show the information in the desired nuance, allowing you to distinguish it from the rest of your vault.

Once you’ve grouped your items together, don’t put your feet up. There might be a way to further optimize your note view, and Obsidian has just the right feature for you.
Enter “Display.” This nifty set of tools located right next to groups in your graph view tells you how your information will look in your vault. Here’s what you can do:
- Incorporate an animation with the “Animate” button.
- Make your links thicker or narrower with the “Link thickness” option.
- Decide whether or not you want to show where each link is going with the “Arrows” toggle.
- Enlarge or reduce the circles representing your notes with the “Node size” menu.
- Determine the translucence of note names with the “Text fade threshold” key.
How Do You Add Tab Groups in Obsidian?
One of the most impressive features of Obsidian is its versatility. It’s evident in many aspects, including the ability to group multiple elements, not just notes. For example, the program also allows you to group tabs.
Although grouping tabs has a similar goal as grouping notes (showing related items close together), you’ll need to take a slightly different route to enable this feature:
- Open Obsidian and go to your vault.
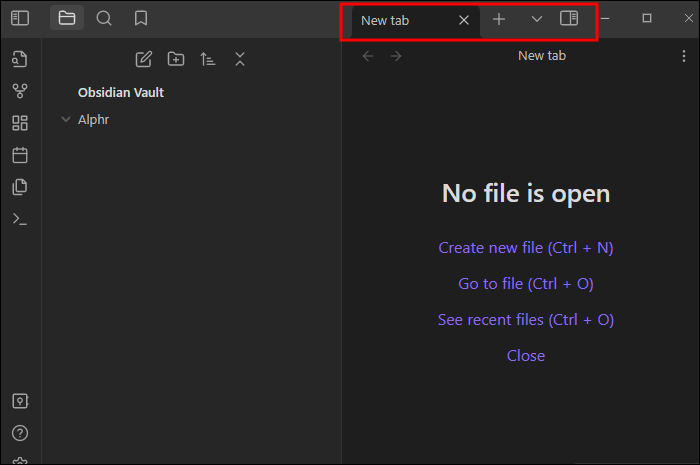
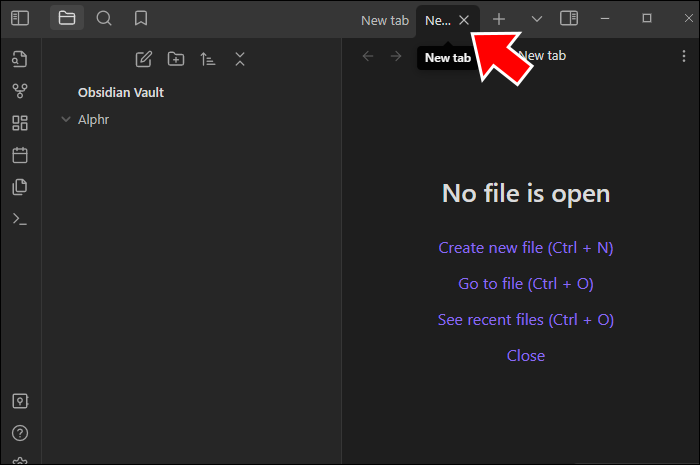
- Navigate to the top part of your workspace.
- Open multiple tabs by pressing the plus symbol next to the original tab.
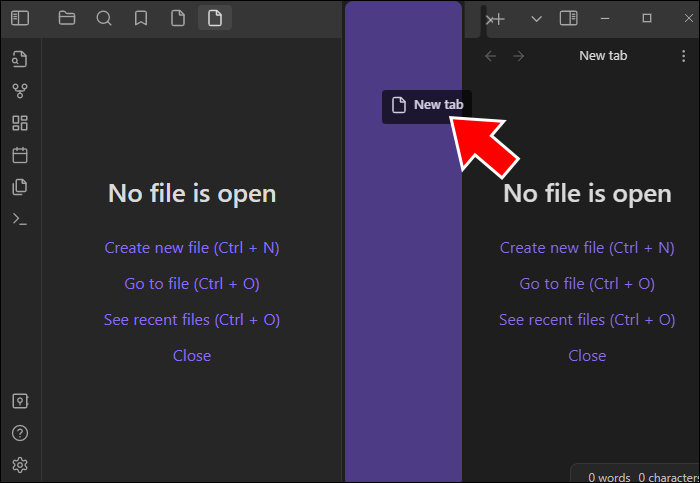
- Press and hold any tab.
- Drag and drop the tab to any other place in your spreadsheet, such as to your left or right sidebar.
- Choose the appropriate location and let Obsidian work its magic. The app will now highlight your tab, indicating the starting position of your new group.


In addition to grouping tabs, stacking tabs can also be convenient. It’s basically a different view of the tabs in a single tab group. Here’s how you can stack tabs in Obsidian:
- Create a new vault or load an existing file.
- Set up multiple tabs if you haven’t done so already.
- Group a few tabs by following the above steps.
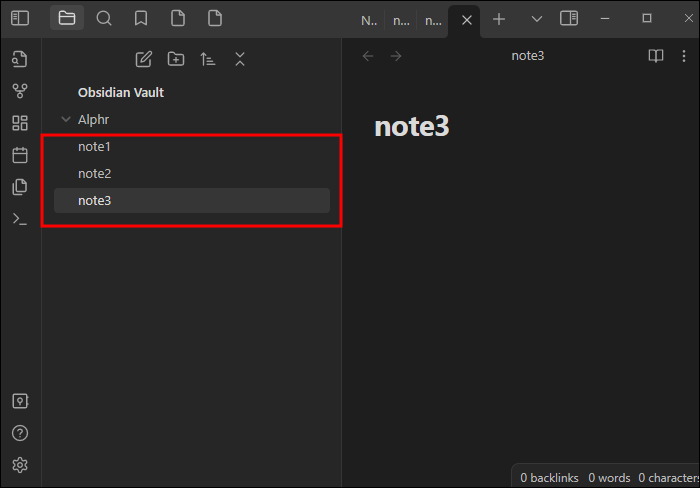
- Open two or three notes within your cluster of tabs.
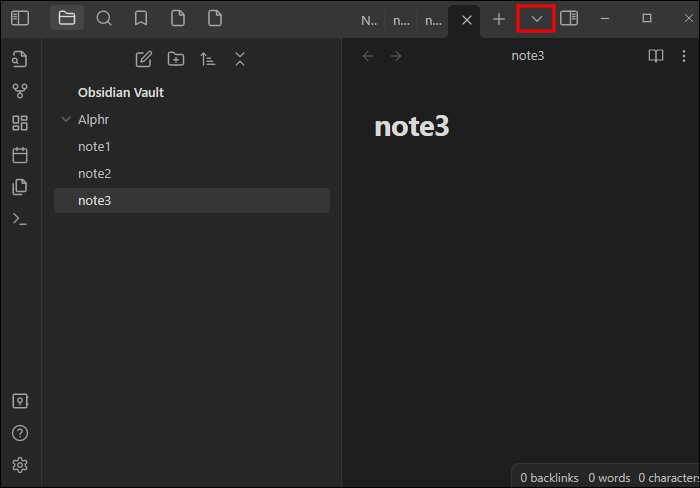
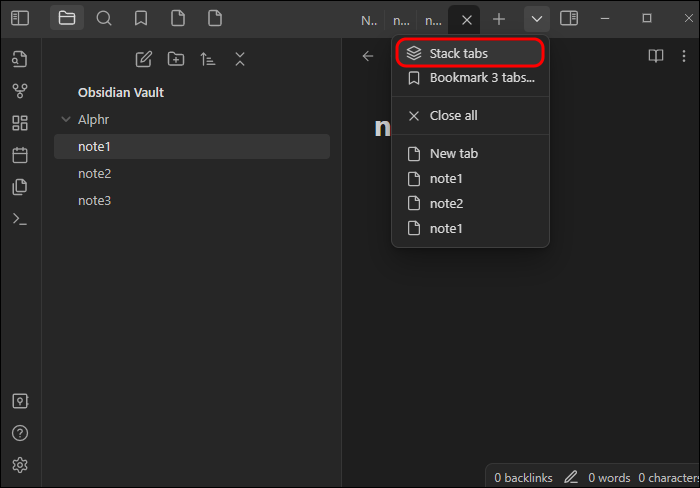
- Strike the down arrow in the top-right section of the display.
- Choose the “Stack tabs” option, and that’s all there is to it. The app will now spread out your notes across different tabs, giving you a better understanding of each one. If you wish to emphasize a particular note, you need only click it or scroll with your mouse wheel to cycle from one file to another.
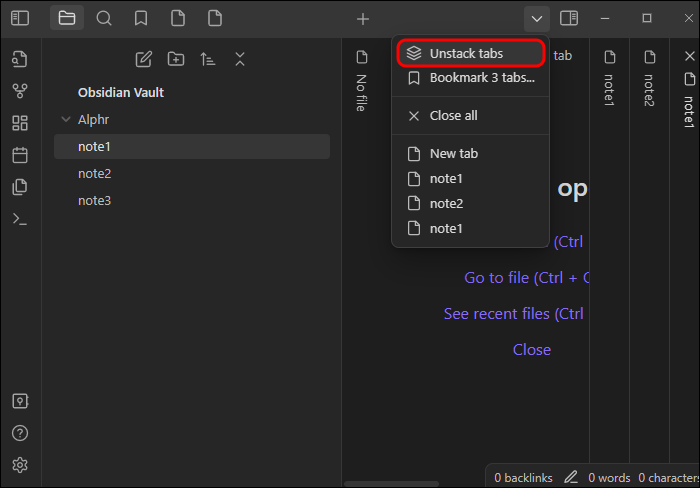
- If the stacked view doesn’t hit the mark, press the down arrow again and pick the “Unstack tabs” feature.

How Do You Use the Search Function in Obsidian?
We’ve brought up the search function when discussing the first method of adding groups to your Obsidian vault. You need it to determine which notes will go to your group.
However, Obsidian doesn’t limit you to basic search functionality. You can do a bunch of amazing things with this tool to speed up your search, filter results, and dig deeper into your database.
The most important fact you should know about the search feature is that there are multiple ways to access it. Besides enabling it from your graph view, you can try a few alternatives too.
- Clicking – head to the left part of your workspace and click the search symbol represented by a magnifying glass.
- Shortcut – use the “Ctrl + Shift + F” key combination if you’re a Windows user or “Cmd + Shift + F” if you’re a macOS user.
From there, you’ll be able to look up pretty much anything from your Obsidian database. For instance, you can highlight certain text in your word editor, copy it, and paste it to the Obsidian search box. The platform will instantly show if there are matching words or phrases.
Alternatively, the feature can show your search history. Suppose you run an empty search. In other words, you press the search button without looking up anything. Rather than feed you an error or similar issue commonly found in other systems, Obsidian will provide a list of the most recent terms. You can click them to continue your browsing or use them as prompts to find related items.
Here are a few more tips to help you elevate your search game:
- Utilize the “file” or “path” option to search the files or paths in your Obsidian vault.
- Put your search terms in quotes to look for specific items. For example, if you wish to find Monday tasks in your group, simply enter “Monday tasks” into the search box. The software will reveal any notes with the exact same wording.
- Use backslashes to look up quoted words or phrases in your vault. For instance, if you type in “my boss told me to \”keep up the good work\” today,” the app will look for the quoted text only and not the surrounding words and phrases.
- Rely on the “or” operator to tell Obsidian to retrieve items that contain any word or phrase mentioned in your search term. For instance, a “shoes socks” search will return the items that contain both words, whereas “shoes or socks” delivers notes that contain any of those two words. The app even lets you combine the two methods.
- Tell the system to ignore a word or phrase by prefacing it with a hyphen. For example, typing in “today’s brainstorming-session” lists the notes that contain “today’s” and “brainstorming” while omitting “session” from the search results. If you wish to ignore multiple words or phrases, you’ll need to enter a hyphen before each item.
Harness the Grouping Power of Obsidian
Obsidian supports a whole host of integrations to improve app functionality and help you stay on top of your projects. But if you’re considering a plugin only to add groups, there’s no need to do so. The group feature is readily available from your graph view, and it’ll be a real ace up your sleeve. Just pick the appropriate color, and you’ll be able to retrieve critical information in a heartbeat.
What’s your favorite method of organizing notes in Obsidian? How many notes does your largest vault have? Let us know in the comments section below.
Disclaimer: Some pages on this site may include an affiliate link. This does not effect our editorial in any way.