If you have critical data on a Word document, it will help to have a protection mechanism that keeps it away from prying eyes. One easy way to protect documents is by using of password.
In this article, you’ll learn how to go about the process so you can keep your word documents safe. So, keep reading to find out more.
How to Password-Protect a Word Document in Office 365
If you’re using Office 365 and would like to add a password to your Word document, follow these steps:
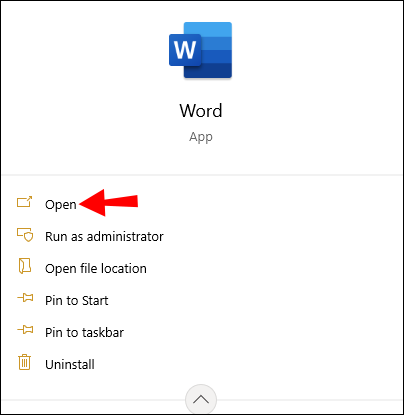
- Open your Word document using Microsoft Office 365.
- Go to “File”.

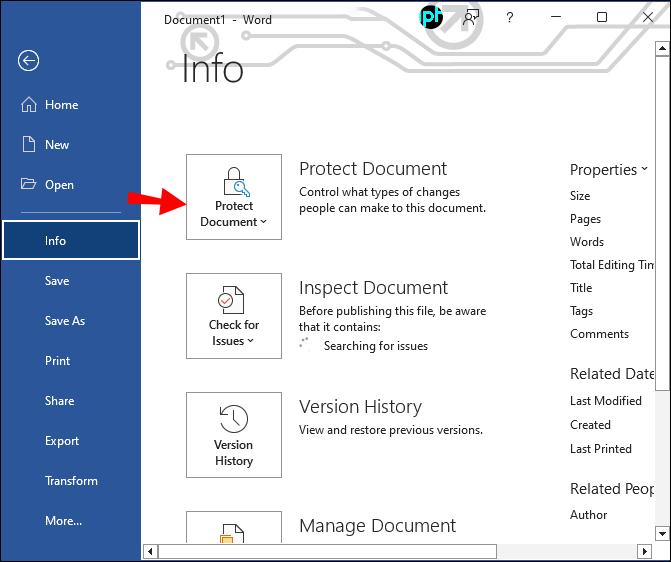
- Select “Info.”
- Click the “Protect Document” widget.
- From the options, select “Encrypt with Password.”
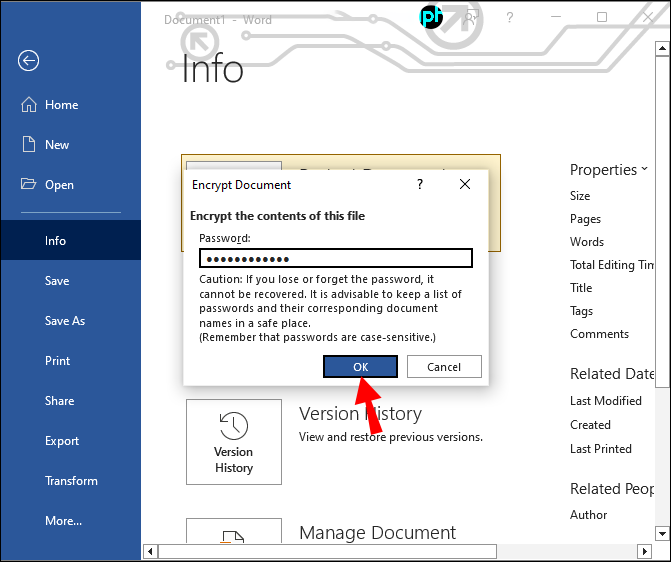
- In the popup dialogue box, enter the password you want to use to protect the document and press “OK.”
- Re-enter the password you typed above to verify it.
- Office 365 should now indicate that a password is required to open the document.


Please note that losing your document’s password means losing access to it. So, choose a password that’s easy to remember, and once you’ve set it, jot it down somewhere so you can have a reference in case you lose it. You can also use a password manager such as Bitwarden.
How to Password-Protect a Word Document on a Mac
There are many ways to add a password to a document for Mac users. Here are some of the most common ones.
How to Password-Protect a Word Document on a Mac Using Pages
Pages is one of the built-in document authoring tools for Mac users. Here’s how to use the app to protect your Word document with a password:
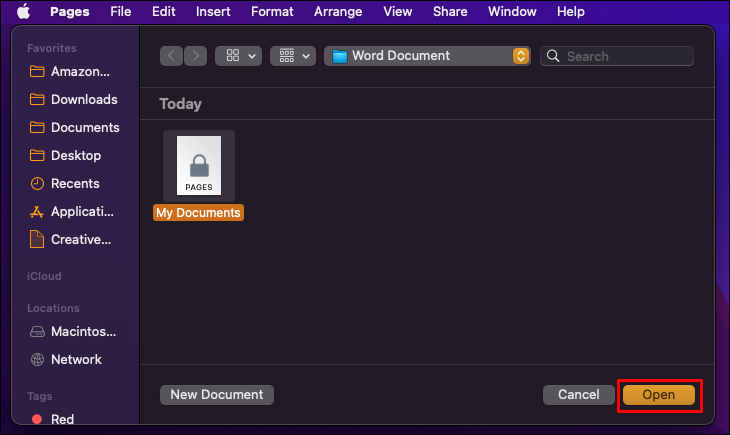
- Open the Word document you wish to password-protect using Pages.
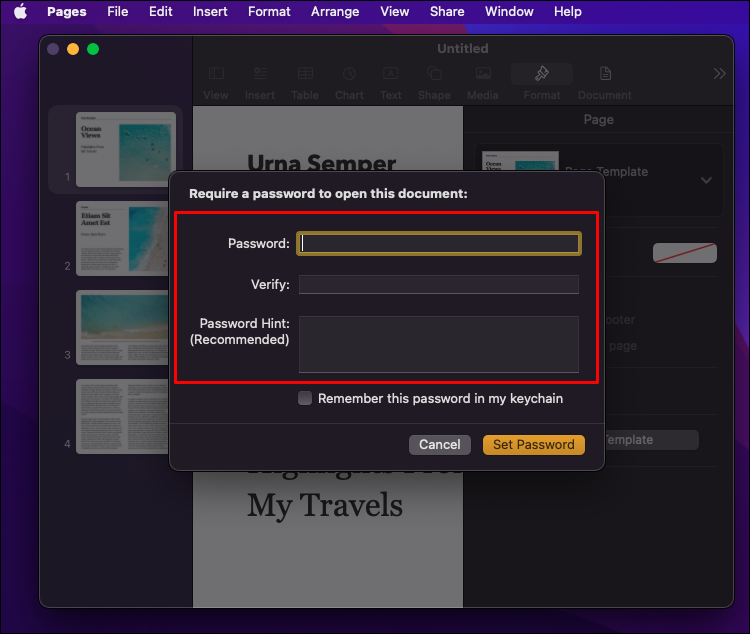
- Go to “File” then “Set Password.”
- Type in the password you want to use to protect the file, then confirm it. On the same widget, you can add a hint to give you clues in case you’re struggling to reminisce your password.
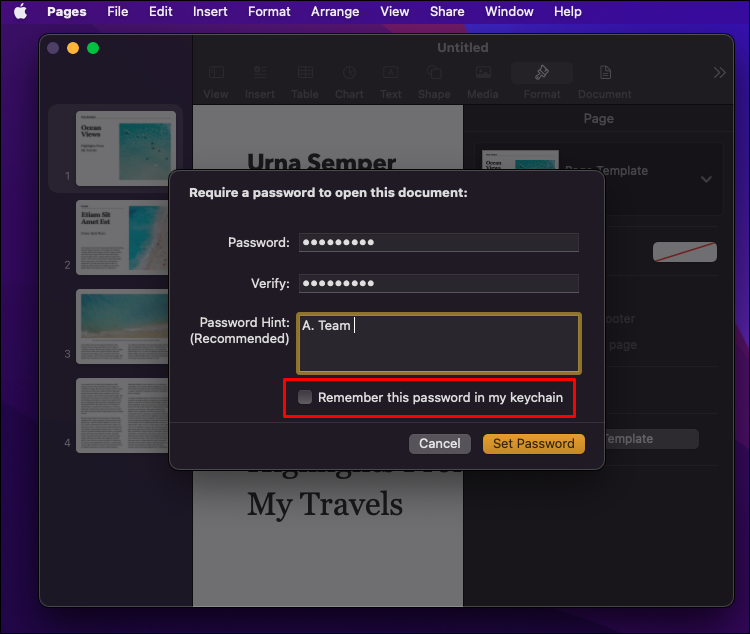
- If you want, you can check the “Remember this password in my keychain” so your password is auto-filled if you open the document on your computer. This doesn’t really help with security, however.
- Press the “Set Password” button to finish.

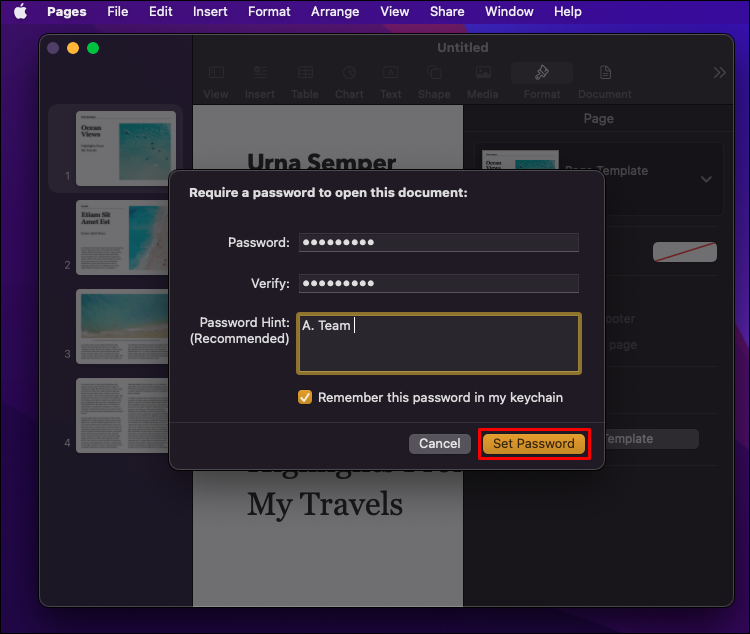
Now that you have set the password for your Word document, you will be required to provide the password you’ve just set before accessing it.
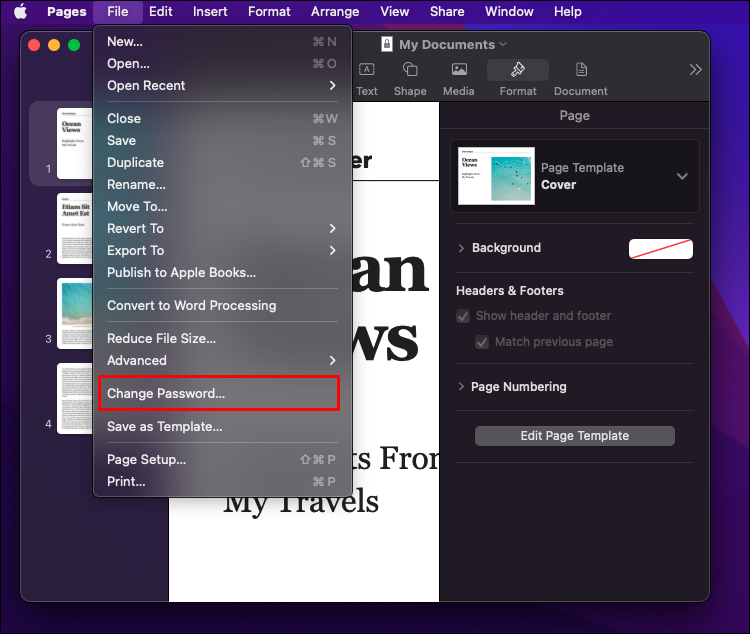
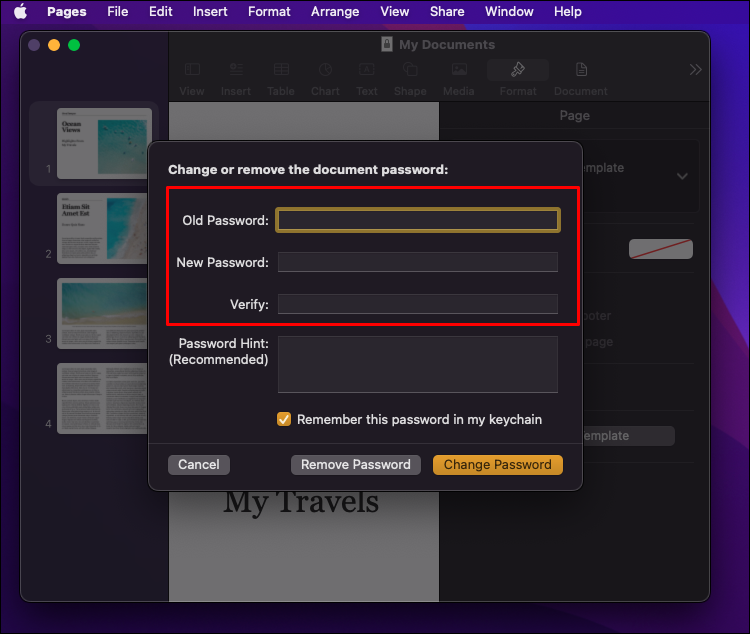
Pages also allow you to change your document’s current password if you feel it isn’t secure. To change your document’s password, follow these steps:
- Open the Word document whose password you want to change with Pages.
- Navigate to “File” then “Change Password.”
- Key in the old password and type and retype the new password in the relevant fields.
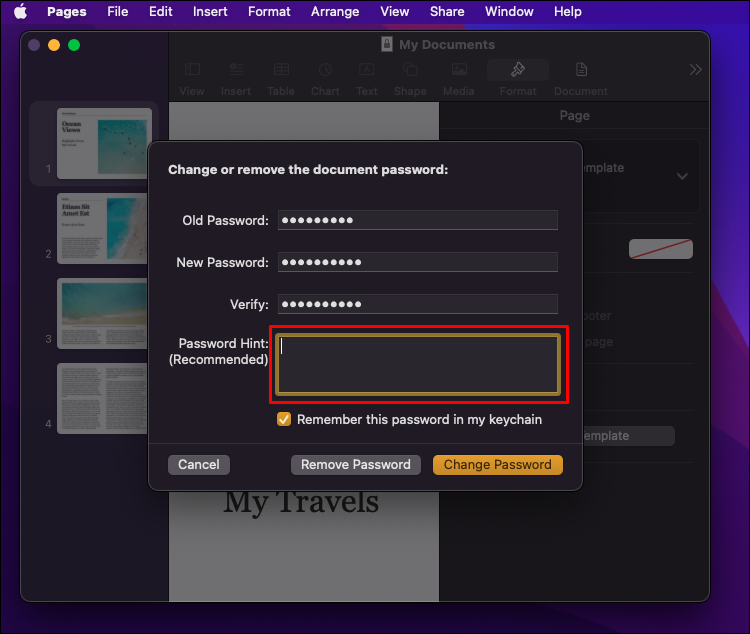
- In the last text field, you can provide a hint for your password if you want.
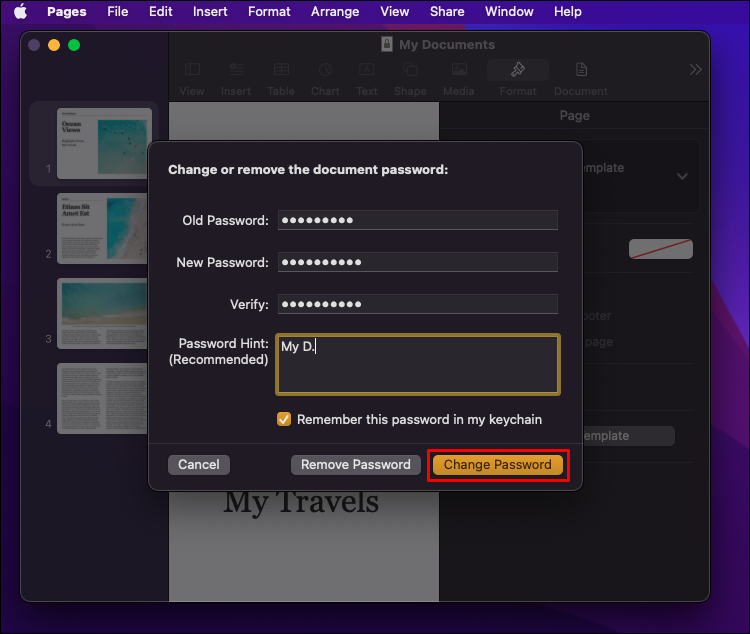
- Once all the fields are filled, press the “Change Password” button to finish.
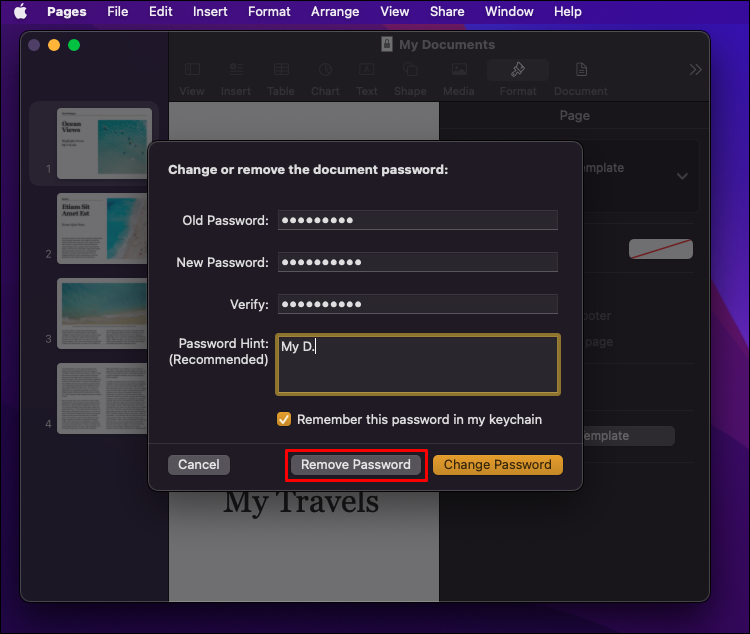
- If you want to remove the document’s password, you can do so in the above widget. Simply click the “Remove password” button.
How to Password-Protect a Word Document on a Mac Using Keynote
Keynote is another excellent option for adding passwords to your Word documents. To do so, follow the steps below:
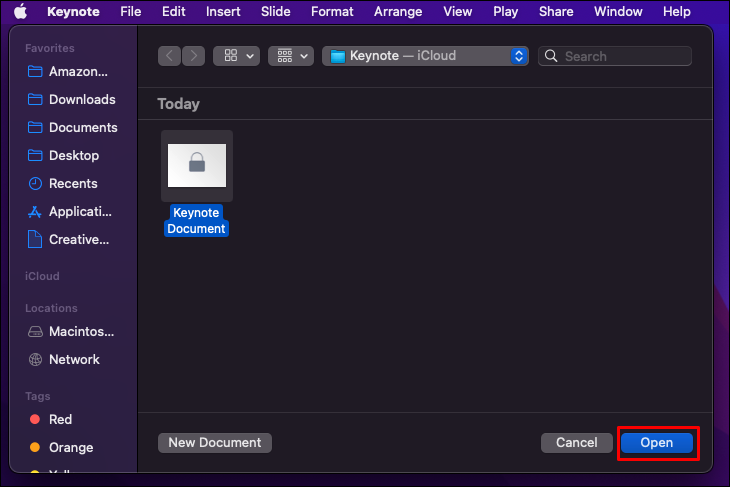
- Open the document you want to add a password to using Keynote.
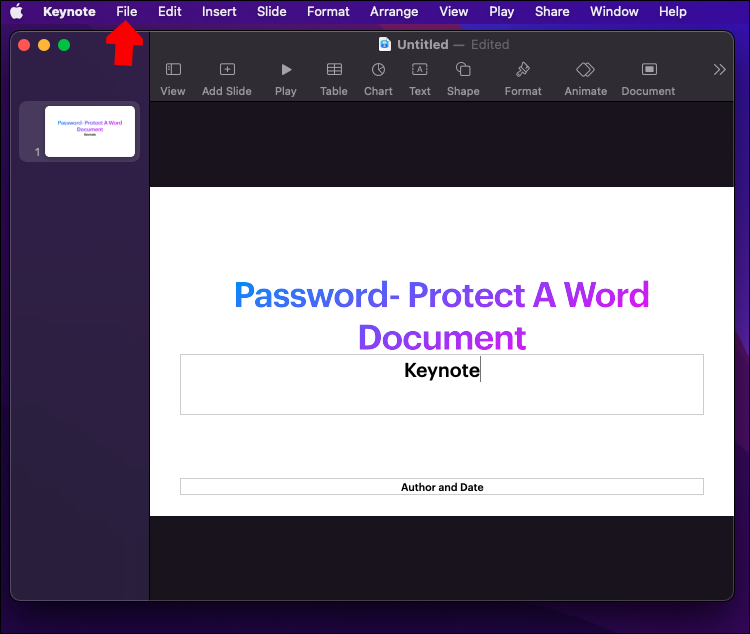
- Go to the menu and click on “File.”
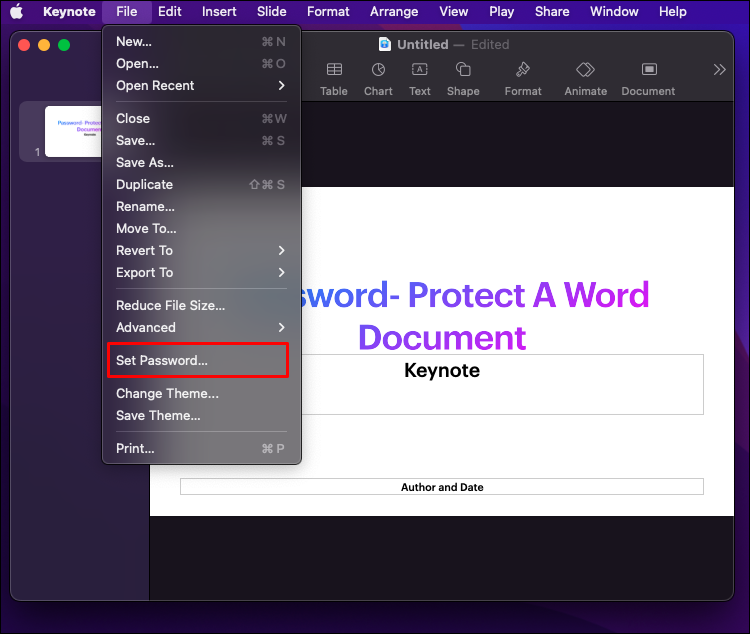
- From the options, select “Set Password.”
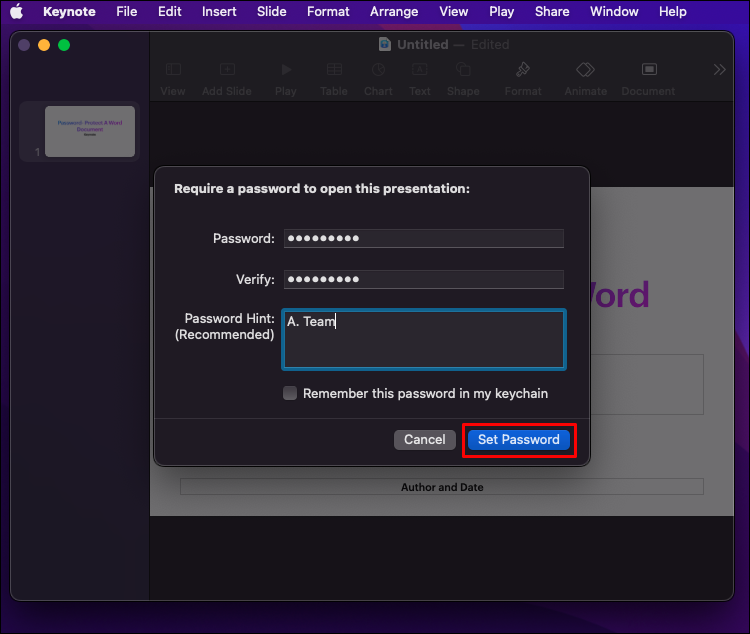
- In the “Password” field, type the desired password.
- Confirm the password you’ve just typed above and provide a hint for it if you wish.
- Hit the “Set Password” button to finish.


How to Password-Protect a Word document on Mac Using Microsoft Word
If you have Microsoft Word installed on your computer, then adding a password to a Word document shouldn’t be a problem. Here’s how to go about the process:
- Open the document you want to password-protect in Word.
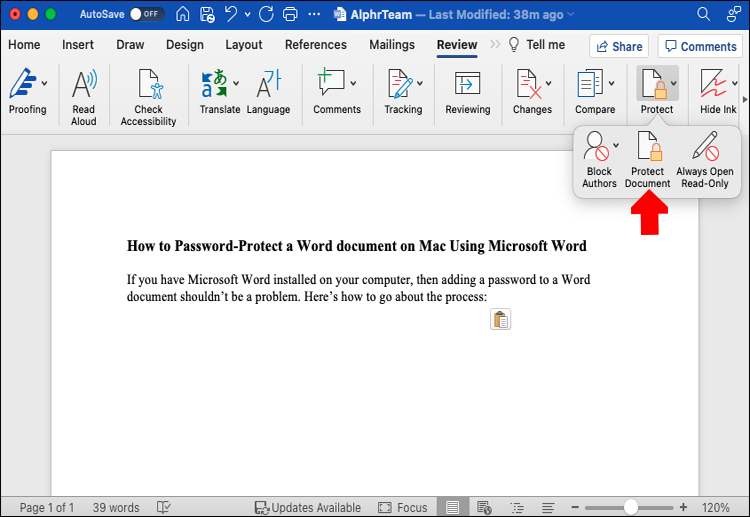
- Open the “Review” tab.
- Expand the “Protect” menu and select “Protect Document” from the options.
- Type in the password you want to use to open the document and confirm it.
- In the “Protection” section, specify the additional types of protection you would like the password to provide.
- Click “OK” to finish.


How to Password-Protect a Word Document on iPad
Protecting a Word document on an iPad can be a hassle because the Word for iOS app doesn’t support the password feature (at the time of writing). For that reason, you’ll need the help of a tool such as GroupDocs. Here’s how to use the tool to password-protect your Word document:
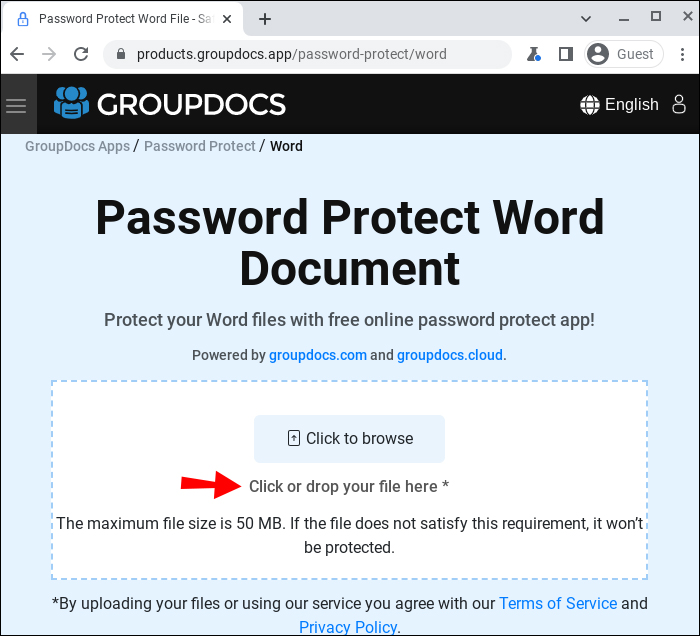
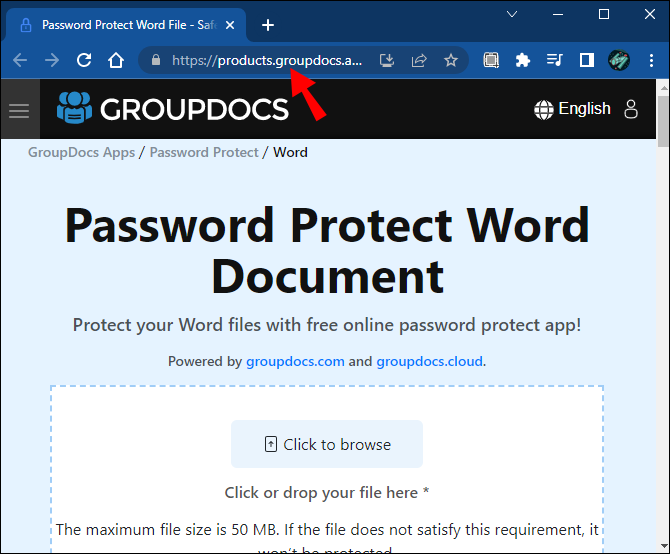
- On your browser, go to the GroupDocs Password-protector tool.
- If you want, you can change the display to desktop mode to get that desktop experience.
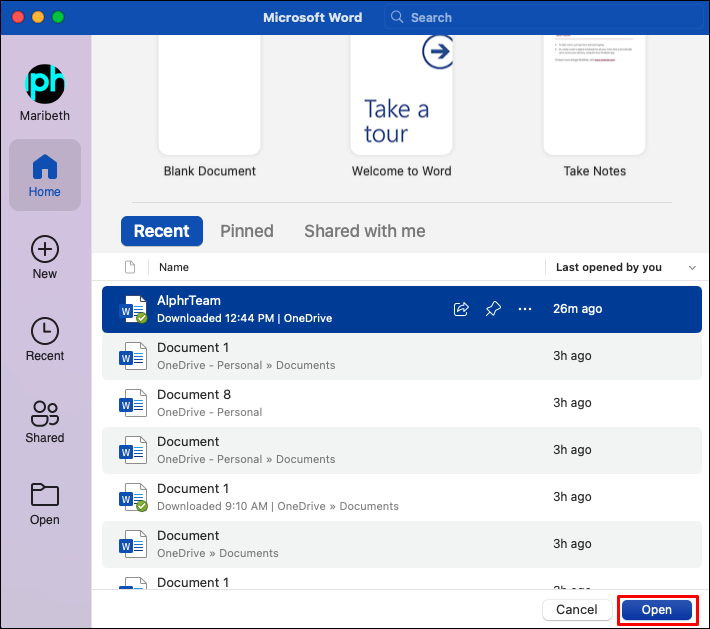
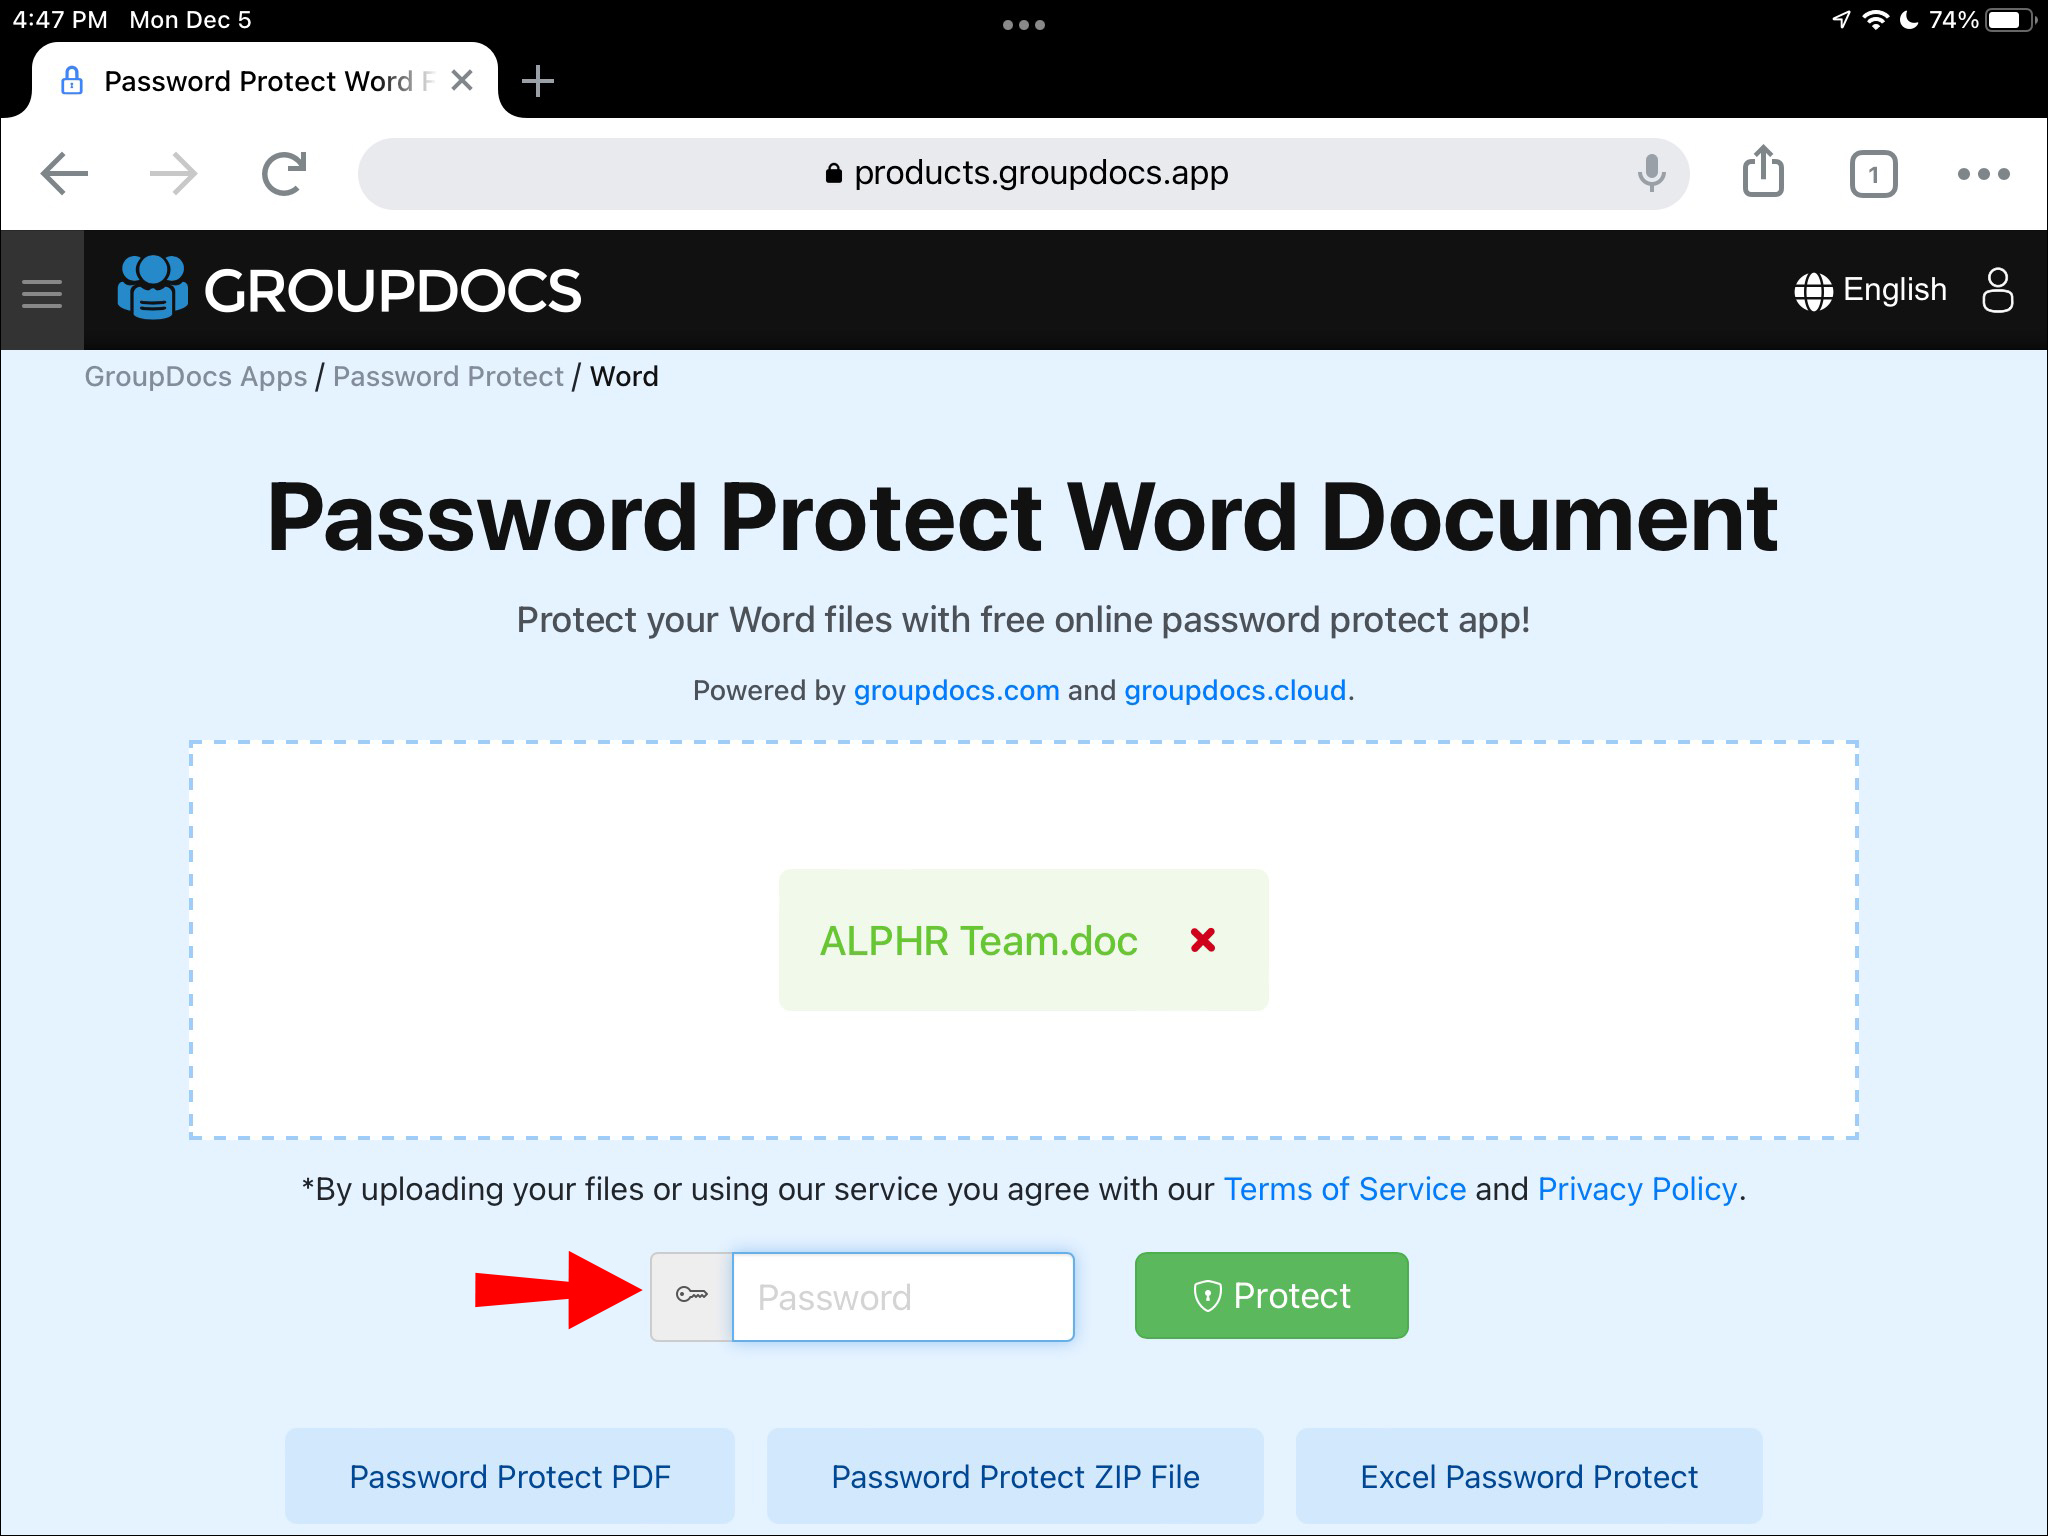
- Tap the “Click to browse” button to upload the Word document you want to protect with a password.
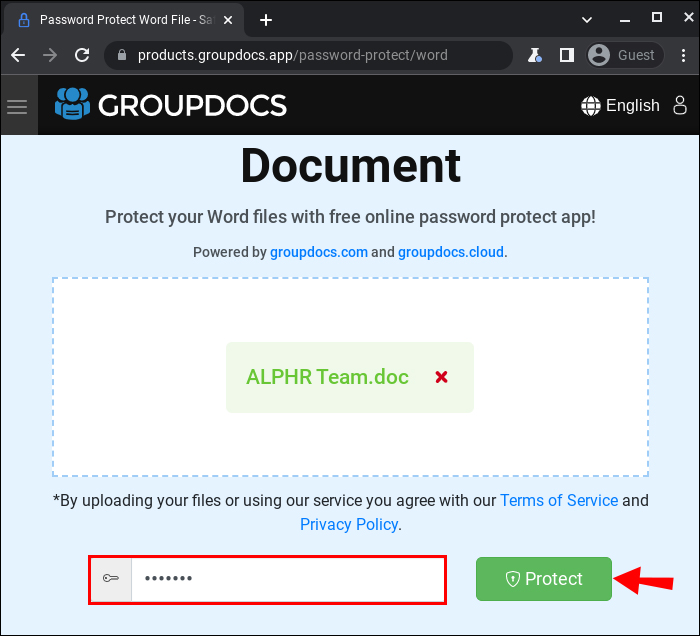
- In the “Password” field, type the password you want to use to protect the file.
- Click the “Protect” button to finish.
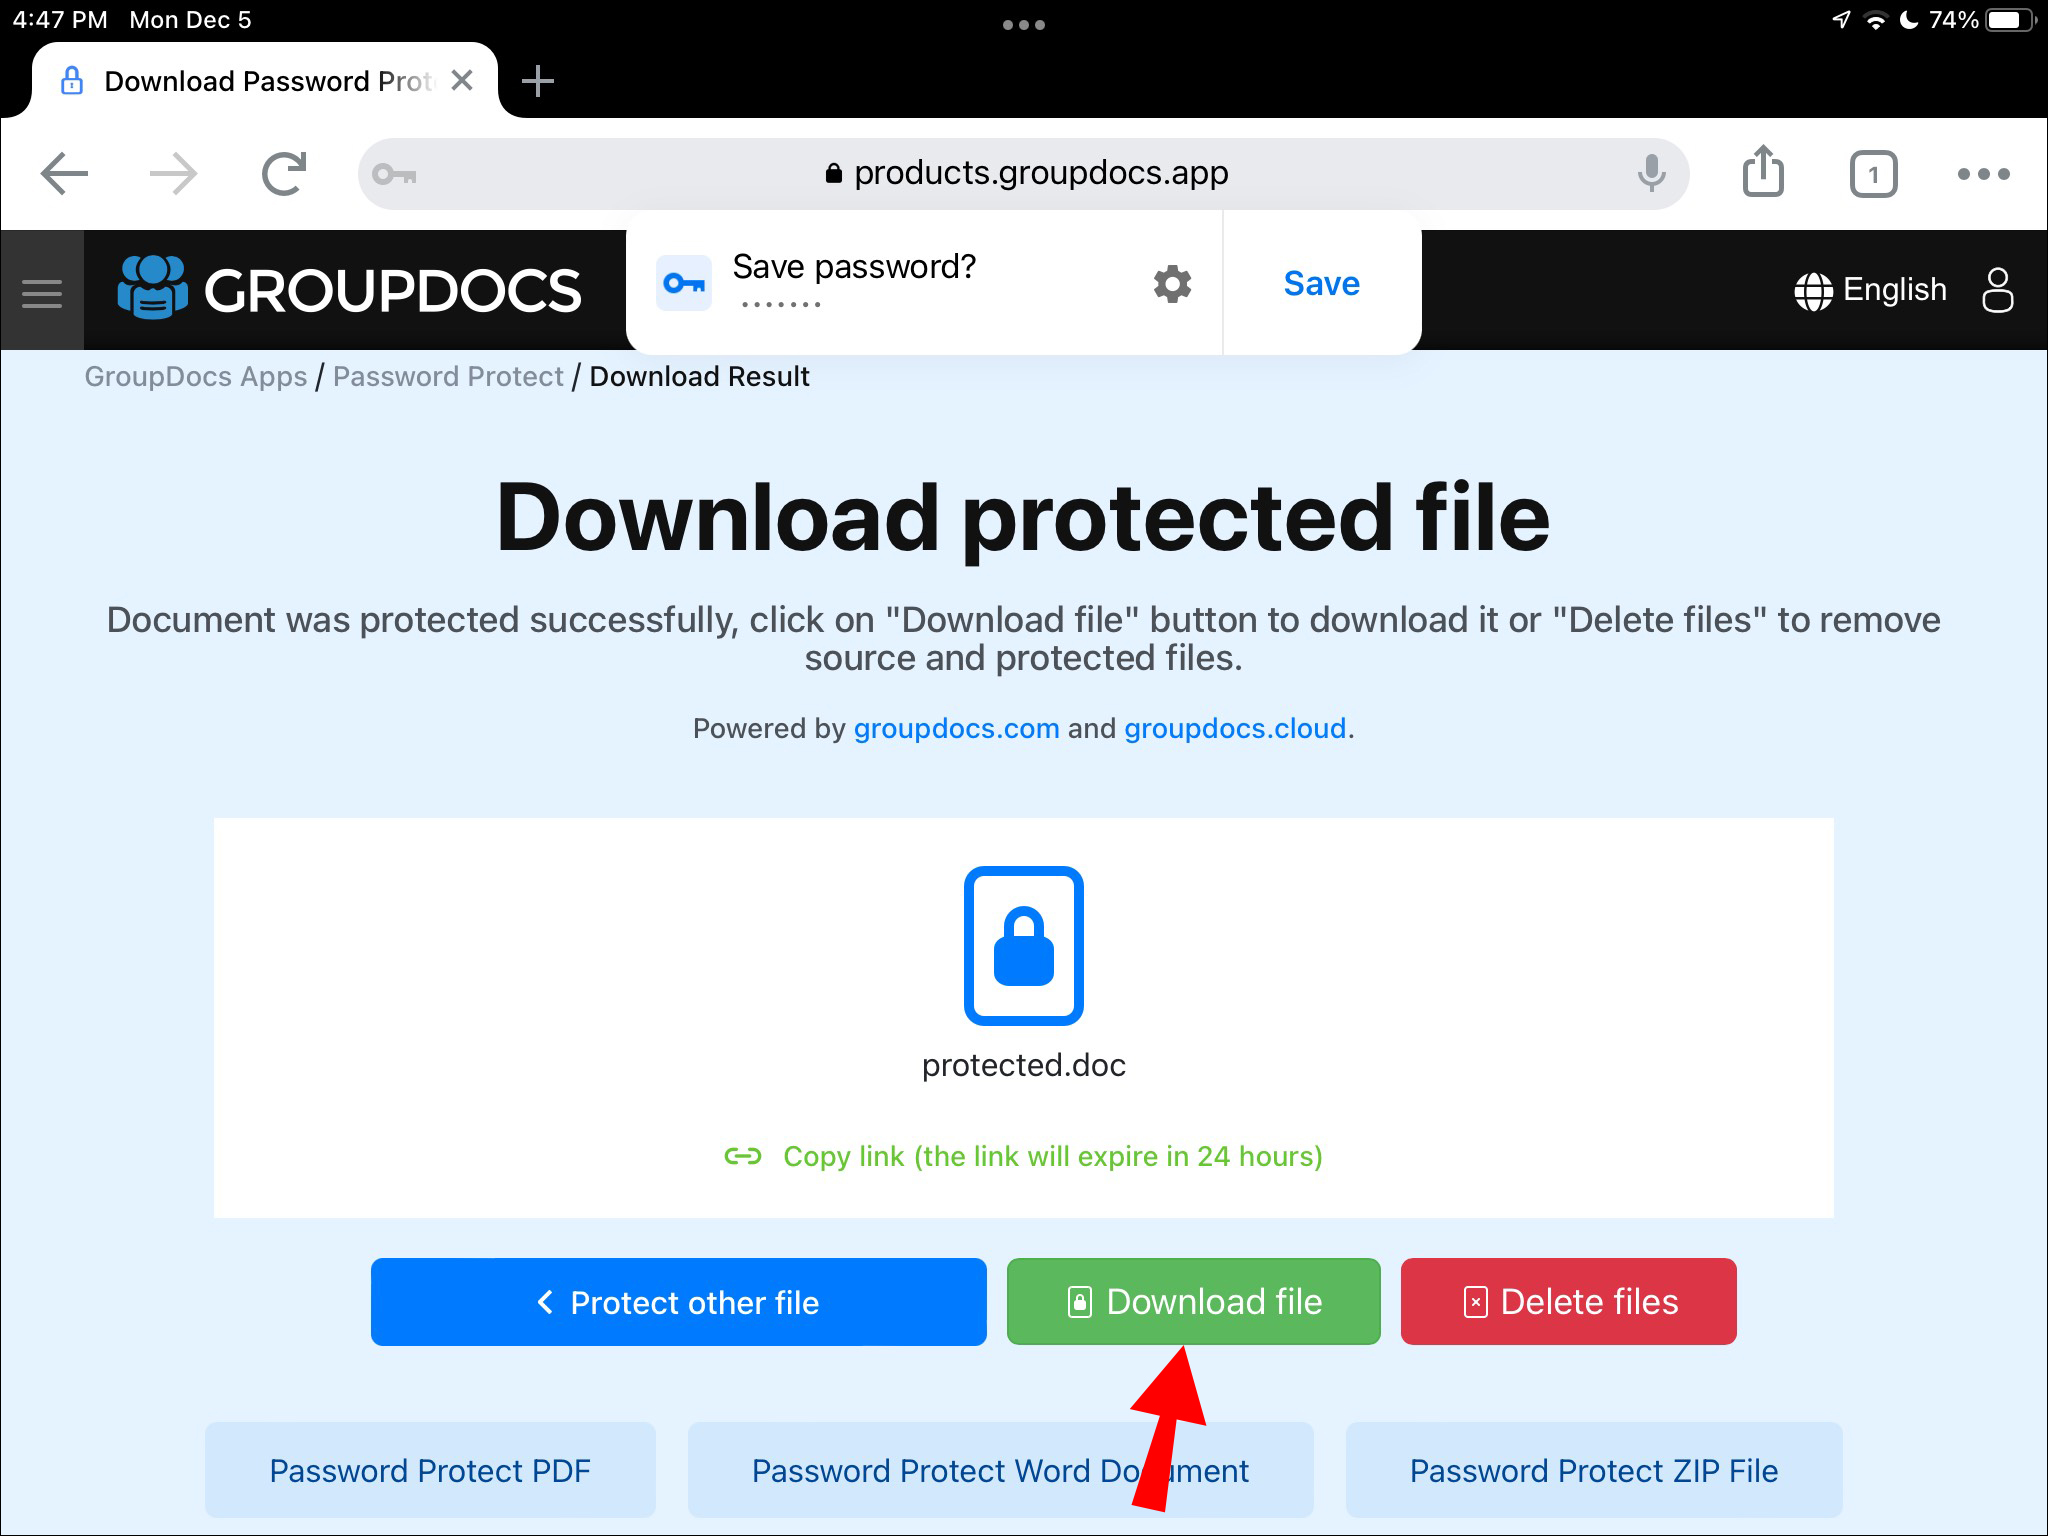
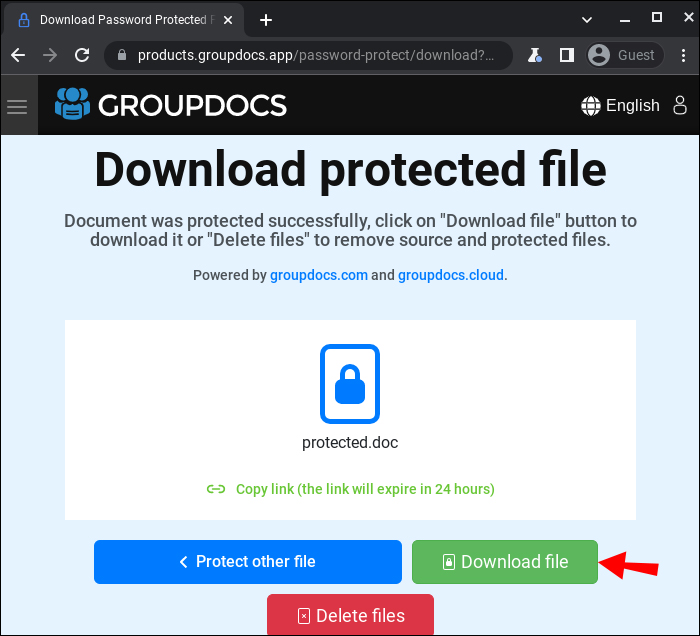
- Click the “Download file” button to download the file to your local storage.


Please note that you can only upload and protect a file sized 50 MB or smaller. Therefore, if you try to upload a document exceeding that size, it won’t be processed. Also, it’s recommended that you delete the original file from your device so you can only keep the one that’s protected.
How to Password-Protect a Word Document on Chromebook
To protect a word document on a Chromebook, you’ll need the help of a third-party program because Microsoft Word for Android doesn’t have the feature. One website you can use is GroupDocs Password-protector tool. Here’s how to go about the process:
- On your Chromebook, open a browser and go to GroupDocs Password-protector tool.
- Drag and drop the file you want to protect into the upload box.
- Type in the password you want to use to protect the file and hit the “Protect” button.
- Click the “Download file” button to download the protected file to your phone’s local storage.

How to Password-Protect a Word Document on Windows
Microsoft Word is an excellent choice for adding passwords to Word documents if you’re on Windows. You can get Word either through a Microsoft 365 subscription or by purchasing a Microsoft Office package. To add a password to your Word document using the app, follow the steps below:
- Open the Word document you’d like to protect with a password in Word.
- Go to “File.”
- from the left sidebar, select “Info.”
- Open the “Protect Document” widget.
- From the menu, select “Encrypt with Password.”
- Type in a strong, secure password that’s easy to remember.
- Hit the “OK” button.
- Confirm the password and press “OK” to complete the process.
Please note that if you forget or lose your document password, you can’t recover it. Therefore, keep a list of documents with their passwords in a safe place, so you never find yourself in this situation. Also, keep in mind that passwords are case-sensitive.
If you don’t have Microsoft Office, follow these steps to add a password to your Word document.
- On your browser, go to the GroupDocs File Protector tool.
- Tap the “Click to browse” button to upload the Word document you want to protect with a password.
- In the “Password” field, key in the password you want to use.
- Once you’re done, press the “Protect” button.
- Click the “Download file” button to download the file to your computer’s local storage.


Generally, it’s a good practice to scan files downloaded from the internet through an anti-virus to protect your computer better. This is especially important for files downloaded from third-party websites.
Additional FAQ
How do I password-protect a PDF on my computer?
The best way to protect a PDF on any computer or phone is through an online service called TinyWow.
TinyWow is your go-to place for all PDF-related functions. To protect your PDF with a password using the tool, follow these steps:
1. On your browser, go to TinyWow’s PDF protect page.
2. Search for “Protect PDF” and select the first result that shows up.
3. Click the “Upload from PC or Mobile” button to upload the PDF file you want to protect with a password.
4. Enter a suitable password for your document and press the “Protect” button.
5. Wait a few seconds for the processing to finish.
6. Once the file is ready, hit the “Download” button to download the file you’ve just protected to your device’s local storage.
Please note that the website stores your processed files for an hour from upload time. Therefore, download your file immediately if it’s already encrypted; otherwise, you risk repeating the process.
Also, if you run into any issues, let’s say, you encounter an error while processing the file; trying a different browser should resolve the issue.
Keep the Intruders at Bay
Passwords are a great way of adding an extra layer of security to your Word documents so you can better manage who has access to them. Fortunately, you have a lot of choices at your disposal. For Mac users, for instance, apps such as Keynote, Pages, and Microsoft Word do an exceptional job. For Windows users, MS Word is a great app to use. Finally, for those wanting to protect their word documents on Chromebook or iPad, the GroupDocs password tool should suffice.
Have you tried protecting your Word document with a password before? Which app did you use to complete the task? Please let us know in the comments section below.
Disclaimer: Some pages on this site may include an affiliate link. This does not effect our editorial in any way.