If you have multiple documents or files that you want to print from your Mac, you could open them one-by-one and print them individually. But there’s a better way (well, two better ways actually) using the built-in capabilities of macOS that lets you easily print multiple files at once.
So instead of wasting time opening and printing file after file, here’s how to print multiple files at once in macOS.
Print Multiple Files via Finder
To use the Finder method to print multiple files at once on your Mac, first launch a new Finder window. You can do this by clicking on the Finder icon in your Dock or, with Finder selected as the active application, use the keyboard shortcut Command-N.

From the new Finder window, navigate to the location that contains the files you want to print. In our example, it’s a folder on the Desktop.
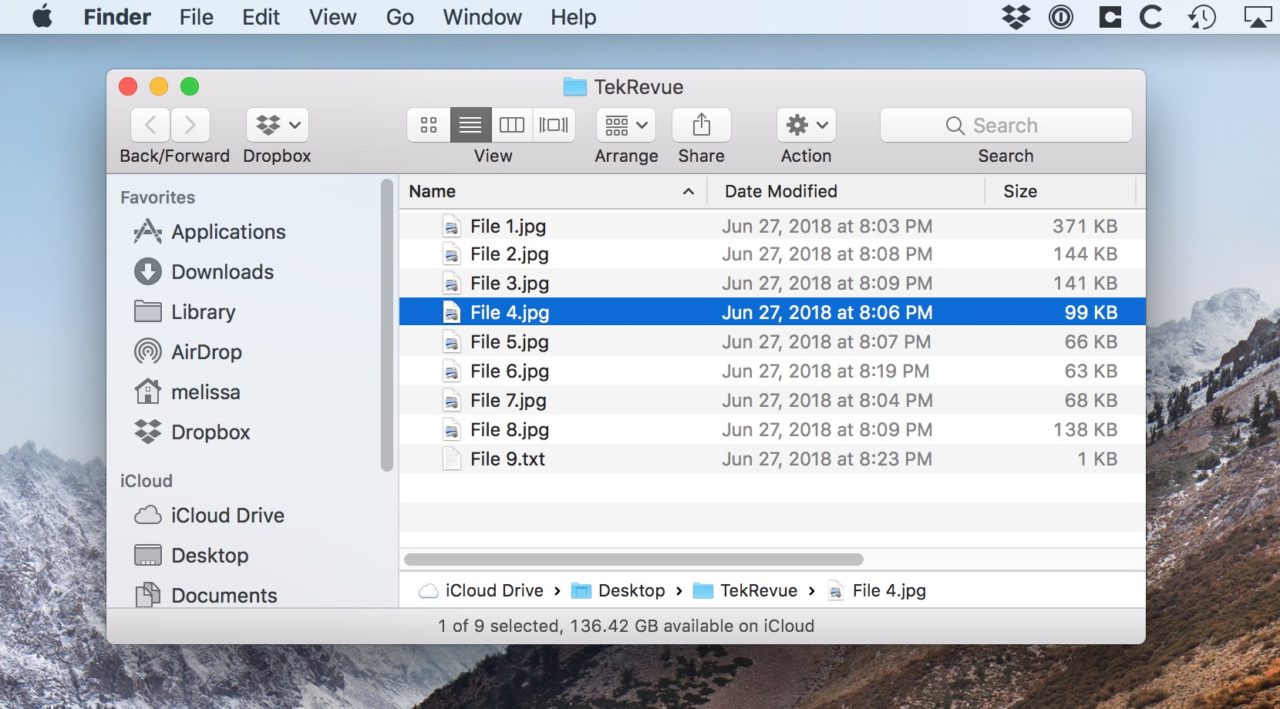
Select all of the files (Command-A) or just the files you want to print by holding down the Command key and clicking once on each desired file.
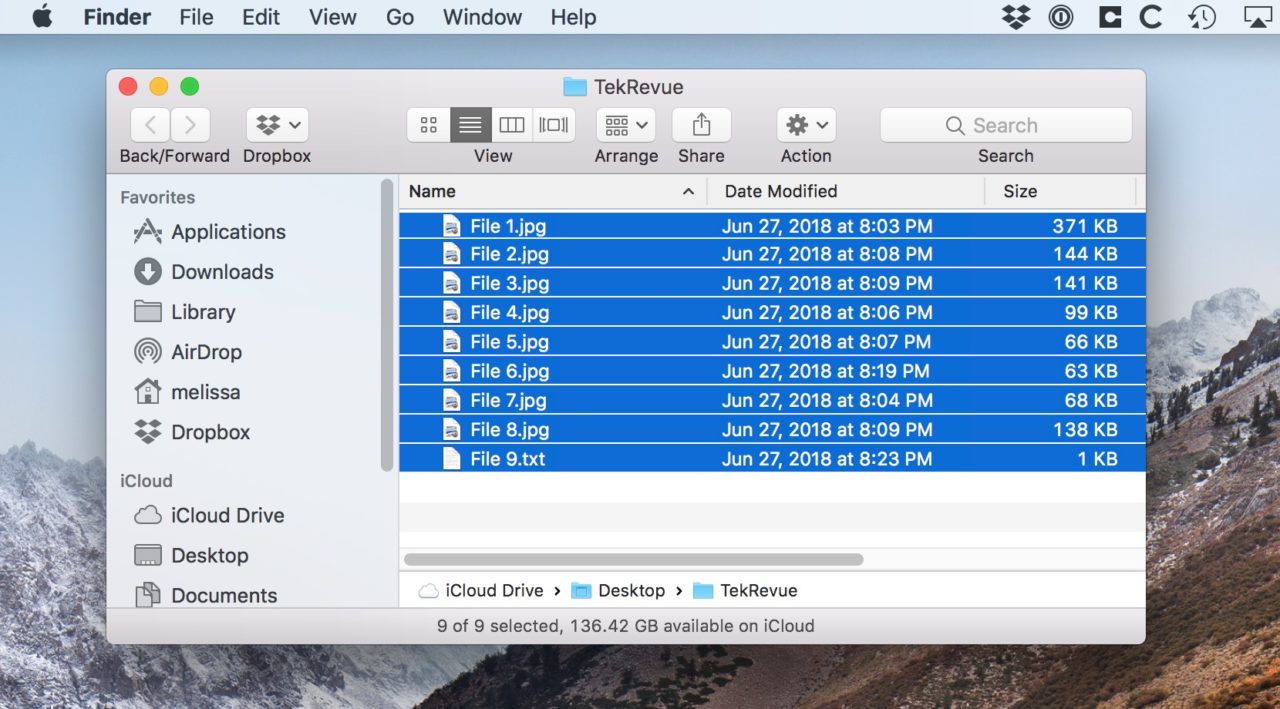
Once you’ve got the files you want to print selected, choose File > Print from Finder’s menu bar options.

For some reason, not a lot of folks seem to know that you can print from the Finder! But anyway, once you pick that, Finder will go through, open the program for each file you’d selected, and print the item on its own.
Print Multiple Files via the Print Queue
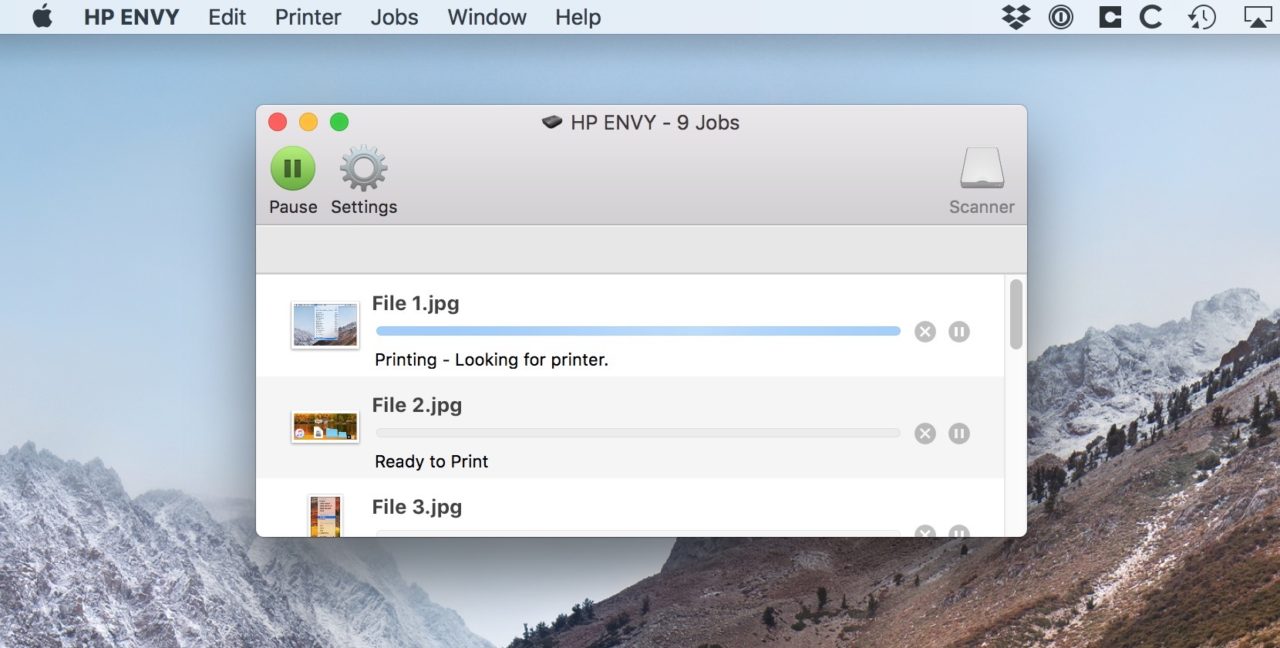
Another method for printing multiple files at once is to use what’s called the print queue to drag your items into. The print queue is just the window that you’ll see if you click on a printer’s icon in your Dock while a print job is processing:


When that window is open, you can select your items to print as we did above and then drag your selection from the Finder window and drop it onto the print queue, as I’m doing below:

Your files will then appear in the queue and will be printed in order. The time it takes to process the print queue will depend on how large your files are and the connection speed between your Mac and the printer, so sit tight!
If your printer’s icon isn’t already in the Dock, you can always access your print queue manually by first launching System Preferences:

Then clicking on “Printers & Scanners.”

Choose your printer from the list of devices on the left side of the window and then click Open Print Queue.

Once your Print Queue is open, you can keep it in your Dock indefinitely by right-clicking (or Control-clicking) on its icon and selecting Options > Keep in Dock.
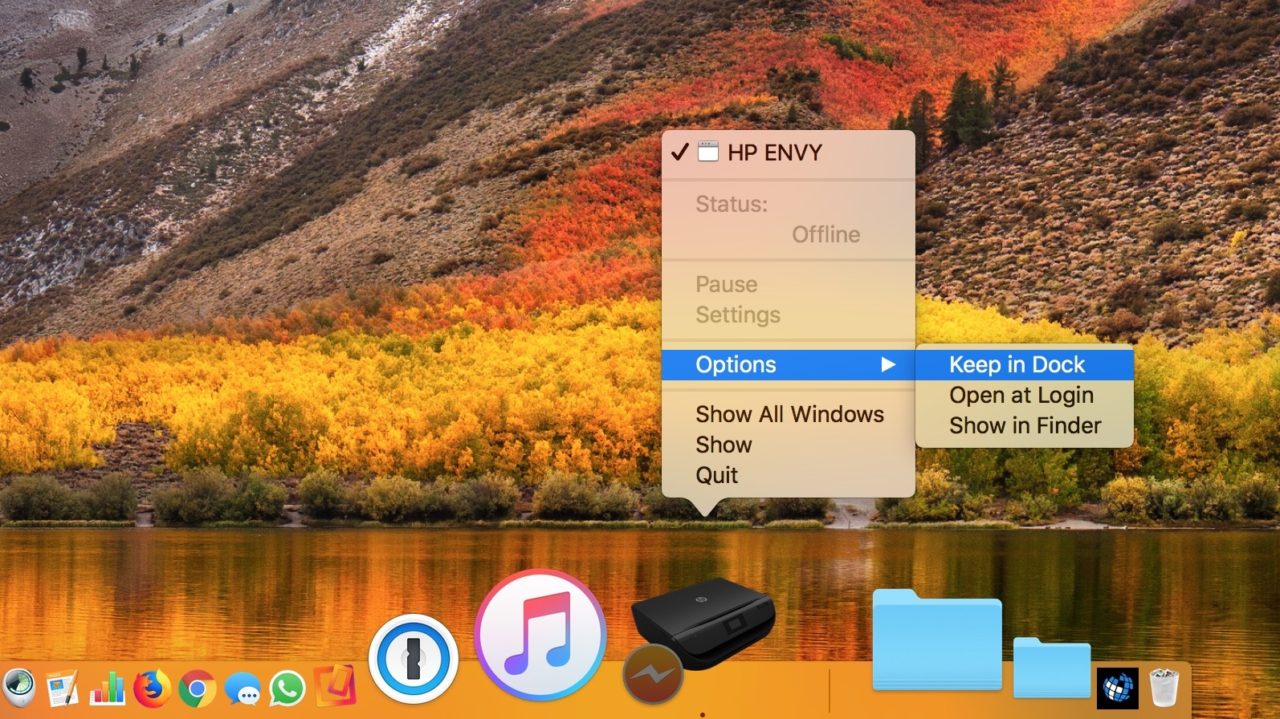
Then you’ll have a one-click way to open a window within which you can drag files to print. Easy-peasy, right? Especially when you need to print 50 things at once.
Disclaimer: Some pages on this site may include an affiliate link. This does not effect our editorial in any way.

