Google Meet makes connecting with your team or classroom simple and easy. As a standard part of G Suite, the app comes with a lot of excellent features. For example, if not all students or teammates can attend a meeting, you can record and save it.
That way, everyone stays in the loop at all times. But who gets to record the meeting, and how does it all work? In this article, we’ll explain everything you need to know about recording Google Meet calls.
Before You Start Recording
Unlike Google Hangouts, Google Meet is more commonly used in a business setting. The G Suite account in its standard offering has three editions – Basic, Business, and Enterprise. They all contain Google Meet, but not all of them support the meeting recording feature.
In fact, only Enterprise and Enterprise for Education support it. However, Google recently introduced some changes regarding Google Meet. In March 2020, they announced that all G Suite customers will have access to premium features.
This includes live streaming, up to 250 participants, as well as the option for recording. But only up to September 30, 2020. After that date, it’s going to be business as usual. However, all recordings you’ve created during this time will remain in your Google Drive.
Therefore, if your organization uses the Basic or Business G Suite account, this is an opportunity to make the most of all the amazing premium features.

Start and Stop a Recording
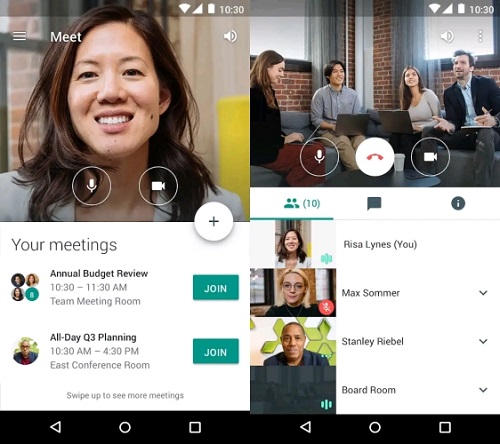
You can only record a Google Meet call via the web version of the app. Participants who join the meeting via the Google Meet app on Android or iOS devices can’t start or stop the recording. However, they will be notified when the recording starts and finishes.
To record a meeting in Google Meet, you have to join the video meeting, start the presentation, and then hit record. This is what you need to do:
- Go to Google Meet, and start a meeting.
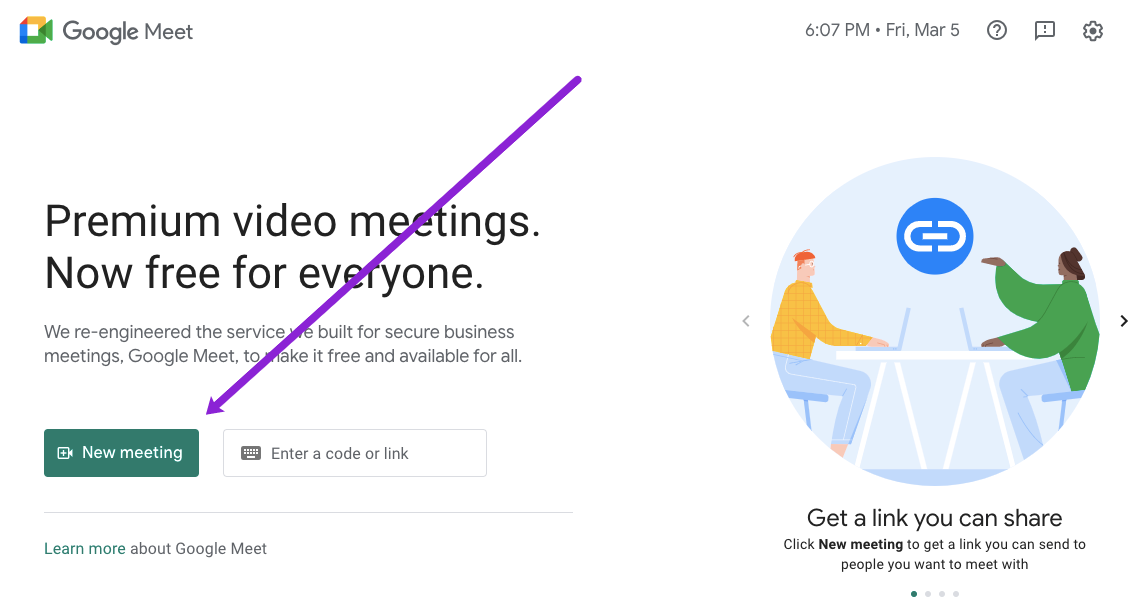
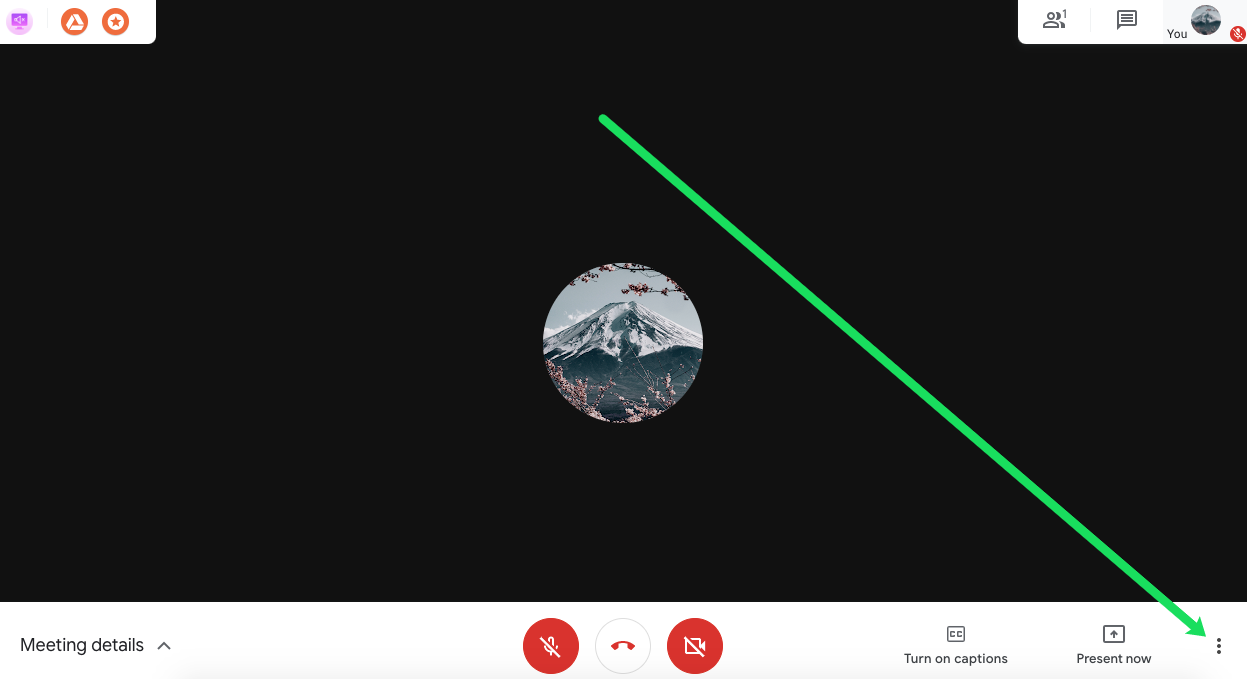
- Click on “More” (three vertical dots) and then “Record meeting.”

- You’ll see a popup window that says, “Ask for consent”. Since recording anyone without their consent is illegal, you need to ask every participant, internal and external, to give their consent. Just click “Accept.” and Google Meet will send them to consent forms.
- Hold a little while for the recording to begin.
- When you’re ready to end the recording, go to “More” and select “Stop recording.” Note: Once everyone leaves, the recording will automatically stop.
- Select “Stop recording” once more to confirm.
The recording will then generate into a file. This will take a few moments. Then Google Meet will save it into the Google Drive account of the meeting organizer.
You can find the file by following this route, and the My Drive>Meet Recordings folder. Both the meeting organizer, and the person who started the meeting will receive an email with the link to the file.
Download and Share the Recording
Recording an important meeting can be immensely beneficial for everyone in the team. Not only for the ones who missed it. Going back to review certain points can help you spot things you might have originally overlooked .
As mentioned, the saved recording is automatically sent to the meeting organizer’s Google Drive storage space. In turn, the organizer and the person who initiated the meeting get an email with the link. But did you know that you can download the recording on your computer?
It’s probably the best way to manage the recording. You can save it from the Drive and email. Here’s how it works:
- Go your Meet Recordings folder in Google Drive.
- Select the file you want to download and then “More” (three dots).
- Then select the Download icon and save it to your device.
Or follow these steps:
- In your email inbox, select the link that leads to the Google Meet recording.
- When the recording opens, click on the Download icon and save the file to your device.
Important Note: If the recording starts at the exact time it was scheduled, it will automatically appear in the Calendar event. Everyone who participated in the meeting and who’s part of the same organization as the organizer will have access to the recording.

In Case You Have Issues with Recording
One of the most common issues related to the Google Meet recording feature is that the recording button is missing. If that’s the case, it usually means that your admin has yet to give you access to recording options in Google Meet.
If they have, but the button is still absent, they have to go back and make sure the settings are correct in the Google Admin console. Also, the recording button doesn’t exist outside the computer version of Google Meet.
If you’re having problems locating the file of the recording, it might be because the file hasn’t yet been generated. And how long that can take will depend on several factors, like the file size and internet connection.
Your Recordings Will Always Be Available
If you’re not using the G Suite Enterprise, the recording and download feature will be gone in September. But your files will still be in Google Drive.
Until then, you get to record and download all the Google Meet calls you to want. If you need to save them to your computer and share the recording, you can to that too. It’s an amazing feature that allows you to go back and review anything anytime you want.
Have you ever used the Google Meet recording and download features? Let us know in the comments section below.
Disclaimer: Some pages on this site may include an affiliate link. This does not effect our editorial in any way.


