Canva gives you an opportunity to be creative with your projects in various ways. One of the most useful features is the animation tool, which you can use for text, photos, stickers, or even the whole page. Using the animation tool is easy, but if you don’t like it, you can always remove it.
In this article, we’ll go through the process of removing an animation in Canva. In addition, we’ll discuss how to remove the exit/outro animation from your project.
Removing Animations in Canva
Canva’s animation tool lets you improve your presentations and make your projects more fun. You can choose between page, text, element, and photo animations, depending on exactly what you want to animate. For separate elements on the page or slide, select page animation, text animation, or photo animation. If you want to animate the entire page, there’s a page animation option for that.
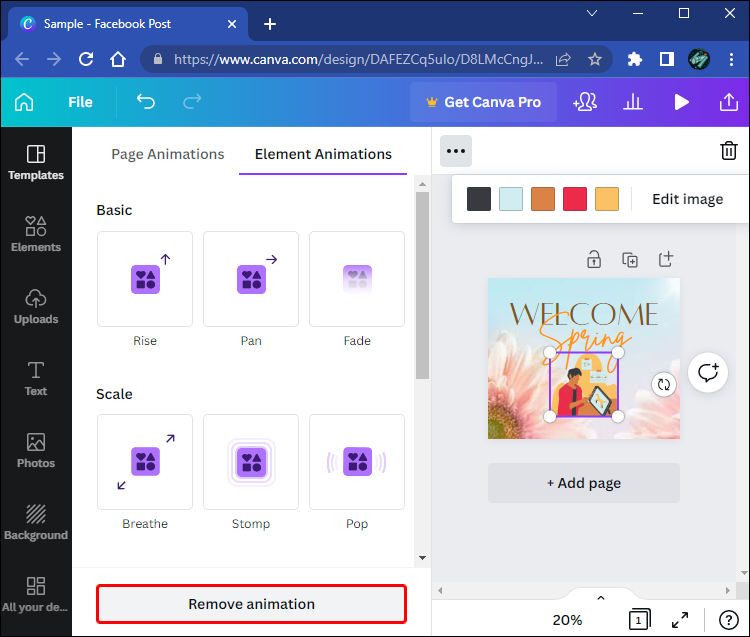
Canva offers different types of animations. You can choose between basic animations, like rise, pan, fade, and drift. You can also have something on the page zoom in or zoom out. For a special effect, browse through the exaggerate category, where you have various animations like tumble, pop, and neon.
Apart from choosing what kind of animation you want, there are other things you can adjust. Depending on the animation, you can choose the direction, intensity, and speed of the animation. However, these features are only available if you’re subscribed to Canva Pro. You can change the duration of the animation if it’s for the entire page (between 0.1 and 30 seconds). It’s currently not possible to change the order of the animations or the exact timing, but Canva plans to introduce these features soon.
Any animation you add can also be removed just as easily. This is what you need to do to remove an animation in Canva.
- Open Canva on your preferred browser and sign in to your account.

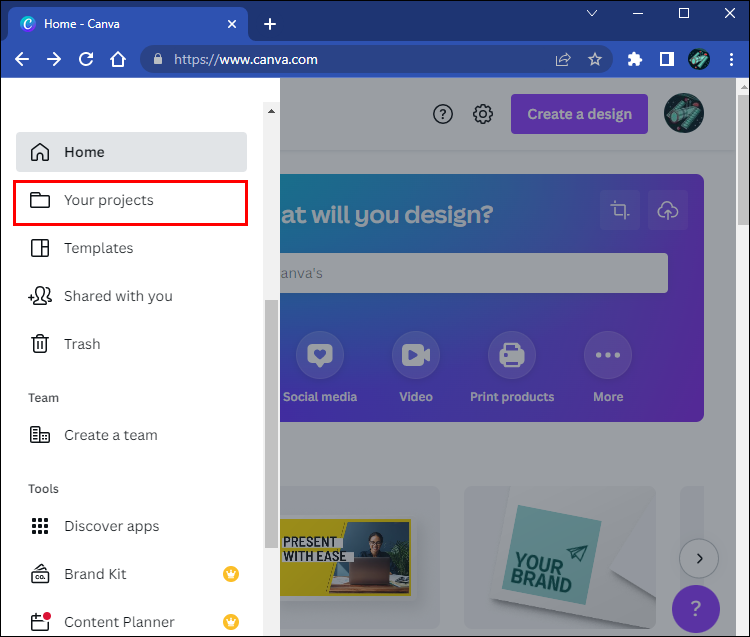
- Navigate to the “Your Projects” tab.

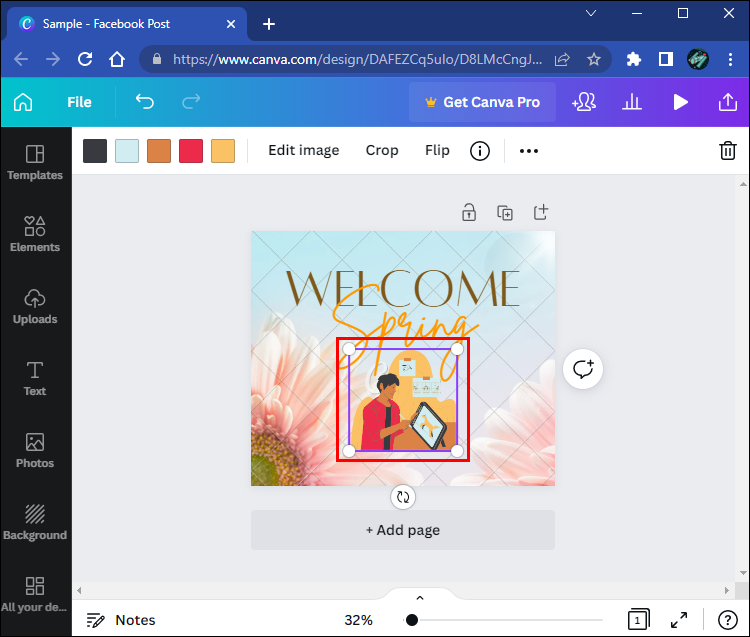
- Locate the project you want to edit and click it.
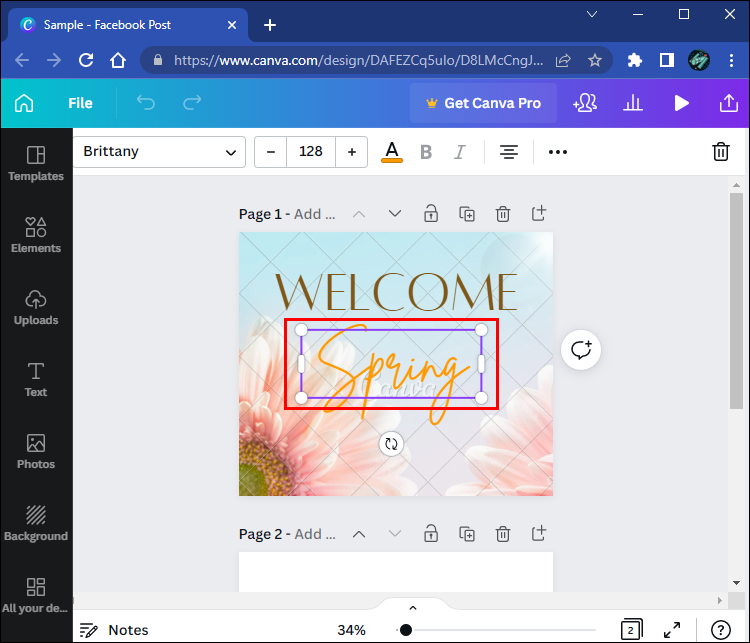
- Click on the element that’s animated.
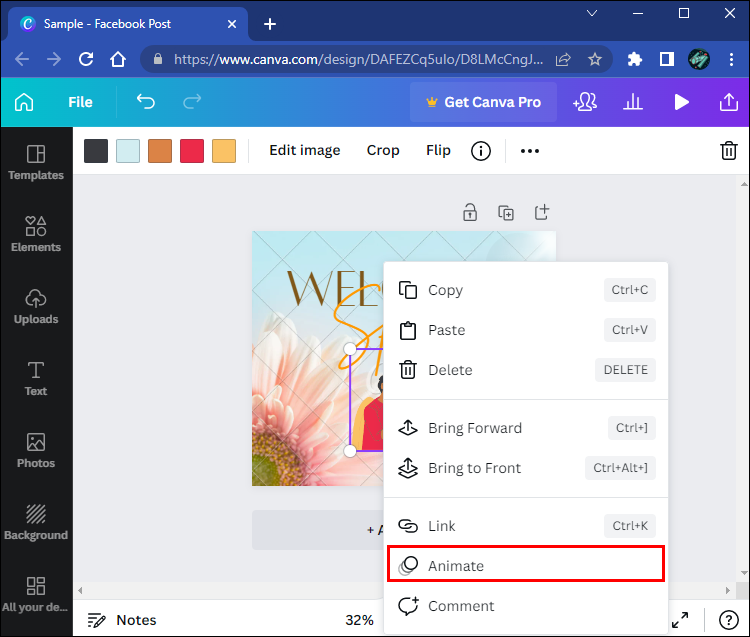
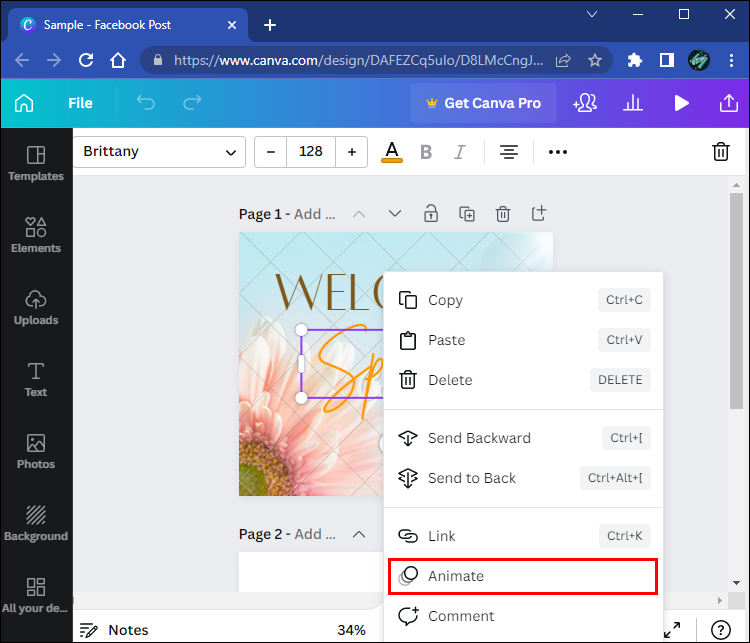
- Go to the name of the animation (e.g., “Photo Zoom”) above the page or slide. You can also just right-click on the element and go to “Animate” on the menu.
- Select the “Remove animation” button in the bottom-left corner of your screen.

The animation will immediately be removed. You can also use this method to choose a different animation. If you want to remove a page animation, click anywhere on the page and go to the name of the animation in the upper-left corner. You’ll also find a “Remove animation” button for page animations. The same applies to text, photo, and element animations.
Note: Even though you can change the animation for stickers, you can’t remove it, as they are pre-made GIFS.
How to Remove Animations in Canva on the Mobile App
You can also use the mobile app to add and remove animations from your projects. Follow the steps below to find out how.
- Open the Canva app on your phone.
- Find the project you want to edit on your home page.
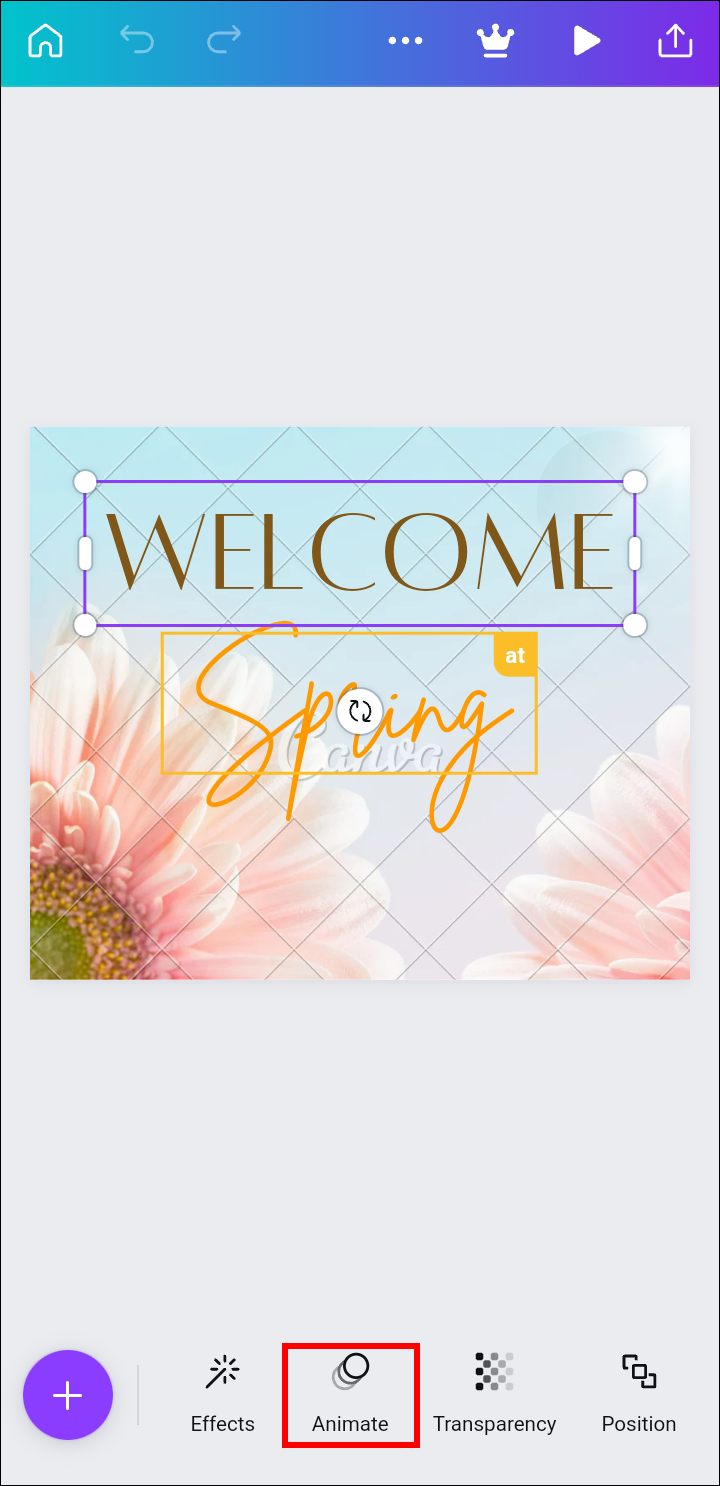
- Tap on the element that’s animated.
- Go to the “Animate” icon below the toolbar.
- Select the “None” button to remove it.


That’s all there is to it. You’ve successfully removed the animation from your Canva project. If you have multiple animations for different elements, you will have to repeat the same steps for all the elements.
How to Remove an Exit/Outro Animation in Canva
For some photo, element, and text animations, you have the option to choose whether the animation will start when you enter or exit the page or move to the next slide. You can also set the animation for both the beginning and the end of the page. This can be very useful for longer presentations where each slide entails various elements, like photos, text, stickers, and so on.
While you can’t remove the exit/outro animation, you can set the animation to start at the beginning of the slide. Here’s how it’s done.
- Select a project you want to edit in Canva.
- Select the element that’s animated.
- Right-click on the selected element and select “Animate” from the list of options.
- Choose “On enter” under the “Animate” section on the left sidebar.
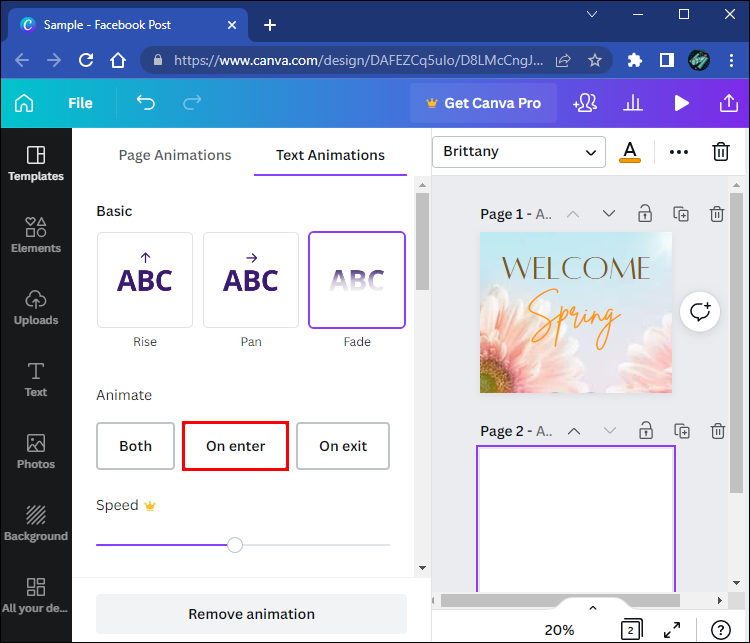
Now when you play the presentation, you’ll notice that the element will be animated when you enter that page or slide, but when you move to the next one, it will stay still. Keep in mind that this feature isn’t available for all animations. It only appears for animations that move left and right or up and down.
There’s also an option to reverse the exit animation, but this only changes the direction of the animation to the opposite side.
Modify the Animations in Canva
While Canva’s animate feature can make your projects and presentations stand out, they can also be distracting and unnecessary. Fortunately, it will only take you a couple of seconds to remove them. You can do this for all the animations on your presentations.
Have you ever removed an animation in a Canva project before? Did you use the same method explained in this article? Let us know in the comments section below.
Disclaimer: Some pages on this site may include an affiliate link. This does not effect our editorial in any way.