As much as Roblox is a gaming platform, it’s also a marketplace that enables creators and gamers to transact. For instance, if you just created a group and are looking for cosmetic items, you can find tons of them in the marketplace. But to acquire them, you must have Robux in your group funds to compensate creators for their work.
If you don’t know how to add group funds in Roblox to complete transactions, you’re in the right place. This article outlines everything in detail.
How to Add Roblox Group Funds
Do you know what facilitates collaboration in Roblox groups? Group funds. With group funds, you (the owner) or the administrator can purchase game passes and cosmetic items and reward group members for contributing to keeping the group running. As such, Roblox has several methods of adding Robux to your group to help you transact seamlessly.
Adding Roblox Group Funds by Creating and Buying Clothes
Don’t make assumptions about the clothes in Roblox. They are 2D cosmetic items for enhancing avatars. You can create one for 10 Robux, upload it to the group store, and buy it at a higher price to boost the group’s funds. Sounds complicated, right? First, let’s look at some of the avatar items you can create and go through the process step by step.
- T-shirts: These are the simplest avatar clothes that only cover the torso.
- Shirts: They are more complex than t-shirts because they cover the avatar’s entire torso, including the sleeves.
- Pants: Also known as trousers, pants are designed to cover the legs or lower body of avatars
How to Create an Avatar Clothing
For demonstration purposes, we’ll look at how to create a t-shirt and use it to add group funds. Before starting the process, ensure you have saved the image you want to use in your t-shirt on your device.
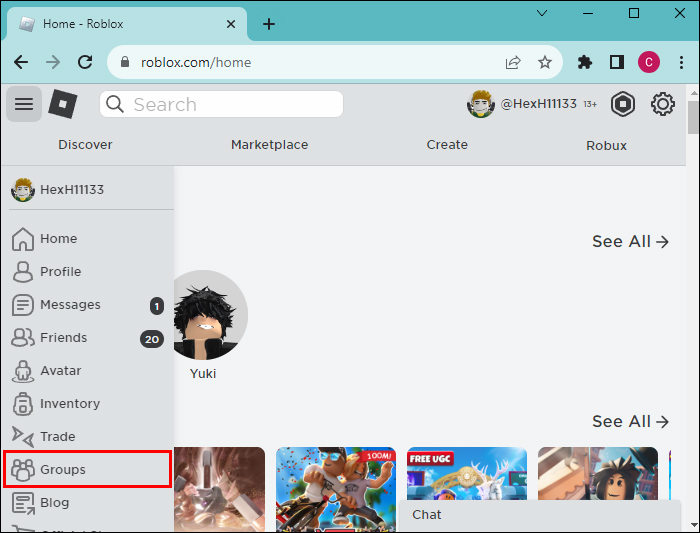
- Log in to your Roblox account and select the “Group icon” on the left sidebar.
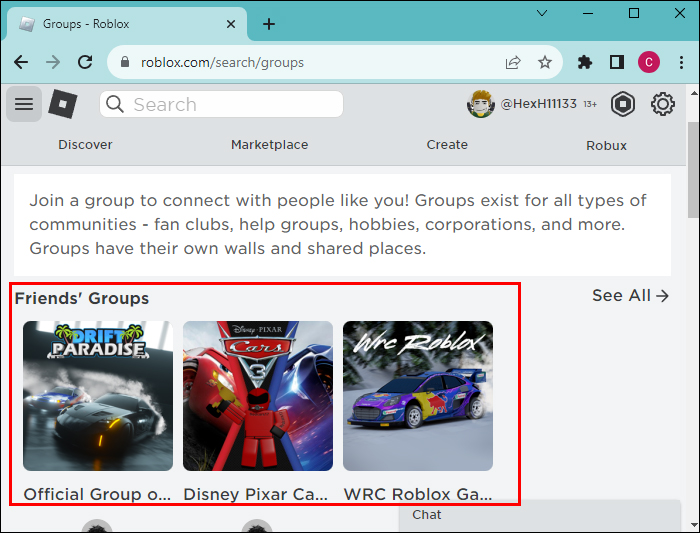
- Select the group you want to add funds to from the group list.

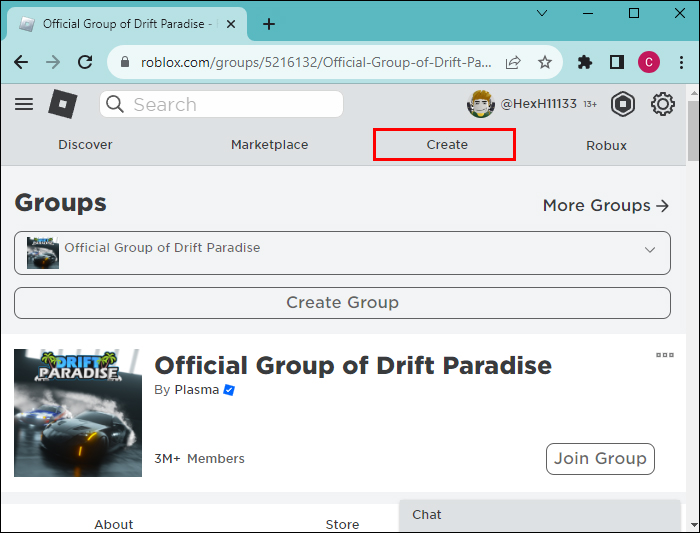
- Go to the top of the group’s page and tap “Create.”
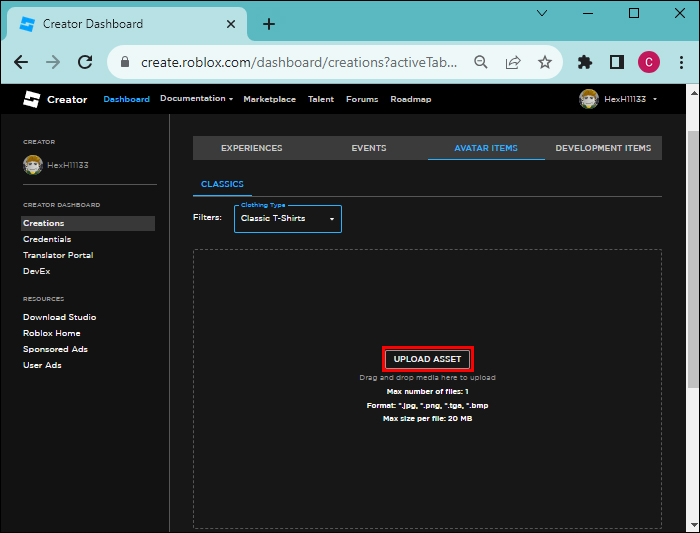
- The above step opens the “Creations” page. Tap “Avatar items” at the top.
- Select “T-shirts.”
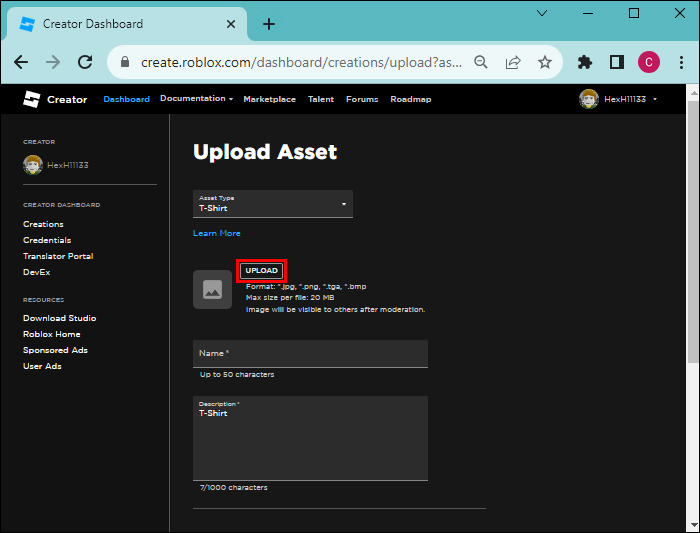
- Select “Upload asset” on the new page. Tap “Upload” again to launch the file explorer. Select the image you want to add to your t-shirt. Your image size should be 515 x 515 pixels. If yours is larger, don’t worry. It will be resized upon uploading. But note that images that are too large might become blurry after resizing. Give your t-shirt a name and describe what it’s about.
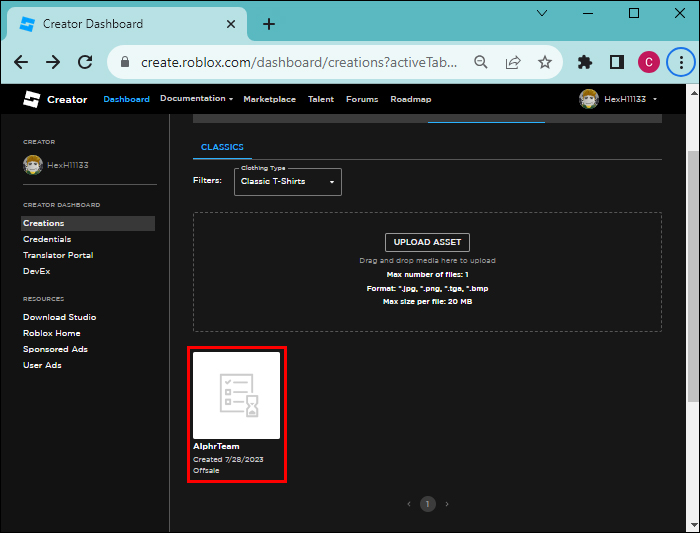
- Select “Upload” at the bottom. By default, your t-shirt will be off-sale.
- Tap the “T-shirt” to open the Configure page.
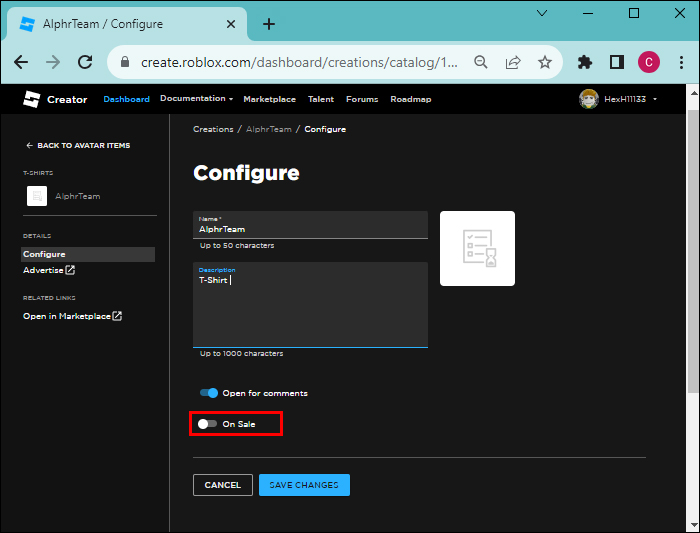
- Enable the “On sale” toggle.
- Set a price, say 50 Robux, for the t-shirt, and select “Save changes.” A pop-up message will inform you that uploading your t-shirt will cost you 10 Robux. Tap “Put on sale” to add the t-shirt to the group store.


How to Add Funds to the Group Using Your Clothing
- While still on the “Creation” page after creating your t-shirt, navigate to the left of the screen and locate “Related links.” Select “Open in marketplace.” This takes you to the group’s Roblox store. Alternatively, go to Roblox’s home page, tap the “Groups icon,” and select the group you created a t-shirt for. Select “Store” at the top and locate your t-shirt.
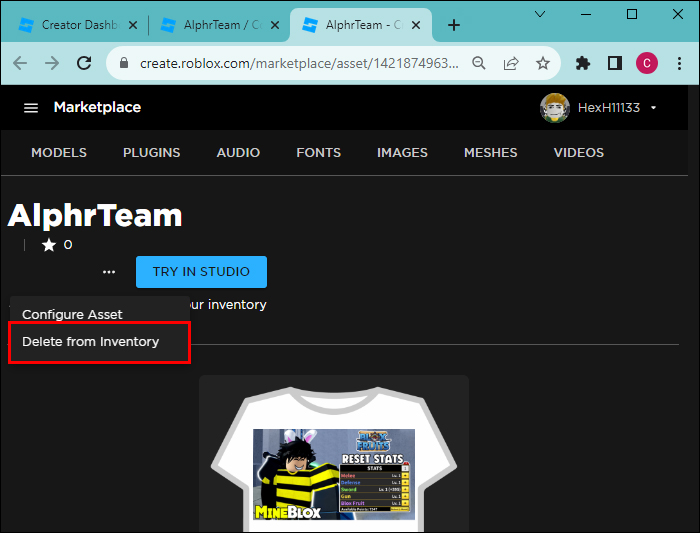
- When you click the t-shirt, a pop-up message will inform you that the t-shirt exists in your inventory. Tap the “Ellipses menu” in the top right corner of the t-shirt and select “Delete from inventory.” Refresh the page, and now you can buy the t-shirt.
- Tap the green “Buy button” and select “Buy now” to confirm your purchase. In turn, 50 Robux will be deducted from your account. A pop-up window appears, telling you the purchase is complete. Also, it offers you the option of customizing the t-shirt. Tap “Not now” to continue.
- Return to the group’s home page and choose the “Ellipses menu” in the top right corner. Select “Configure group.” Tap “Revenue” from the left sidebar to view the group’s transaction history. You’ll see a pending transaction worth 35 Robux of your purchase.

But why pending and not 50 Robux as you had set the price? Because Roblox holds Robux earned from a transaction for five to 21 days to allow room for verifying the transaction. After the pending period, the Robux will be available in the group’s funds. Also, Roblox deducts 30% from your total sales as a commission for allowing you to use their platform.
You can create several t-shirts, shirts, and trousers and buy them to add more funds to the group. Remember, the images on your avatar clothing should adhere to Roblox’s community standards. Otherwise, Roblox moderators won’t accept them in the community marketplace.
Adding Roblox Group Funds Using Game Passes
Do you have any published Roblox group experience? You can use it to add funds to your Roblox group by creating a game pass. This special feature gives a player access to a restricted area within an experience. Though you have to assign the privileges manually to users, the effort is worthwhile because it’s a free way to boost your group funds.
Here are the steps to follow:
- Log in to your Roblox account and choose “Groups” on the left sidebar.
- Select the group you want from the list and tap “Create” at the top.
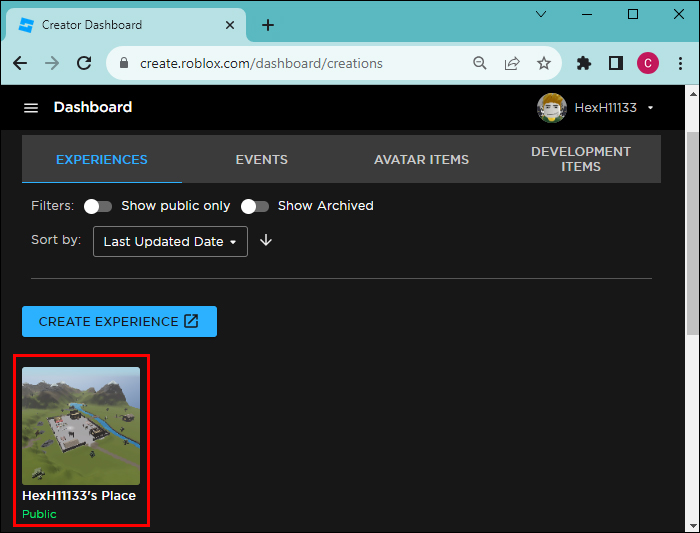
- Navigate to the experience you want to create a pass for and select it. This opens an overview page of the experience.
- From the control elements on the left sidebar, select “Associated items.” Tap passes from the horizontal navigation bar.
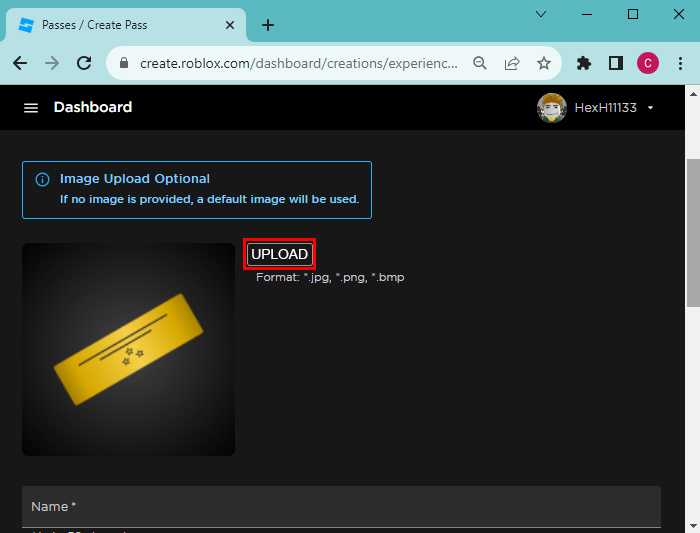
- Tap “Create a pass” and select “Upload image” to launch the file explorer. Select the image you want to use and tap “Open.”
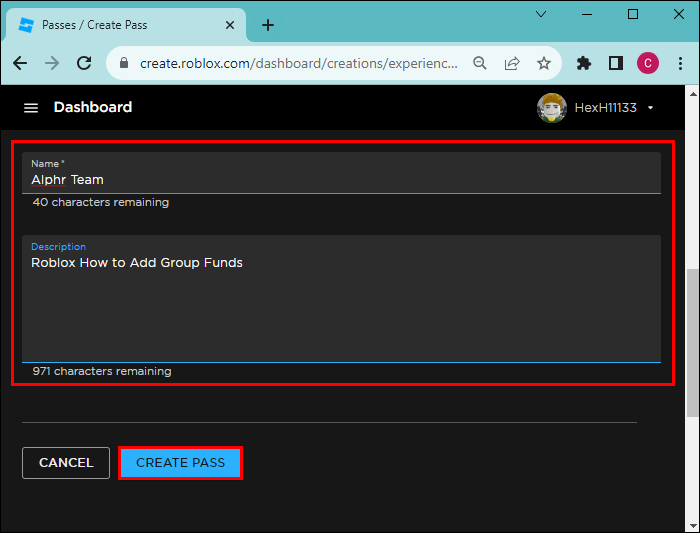
- Enter the name of the pass and image description and click “Create pass” at the bottom.
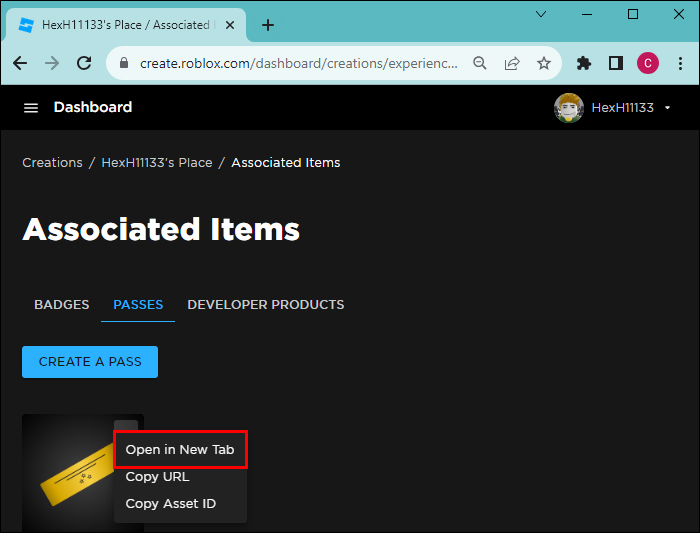
- Click on the 3 dot and tap “Open in new tab”.
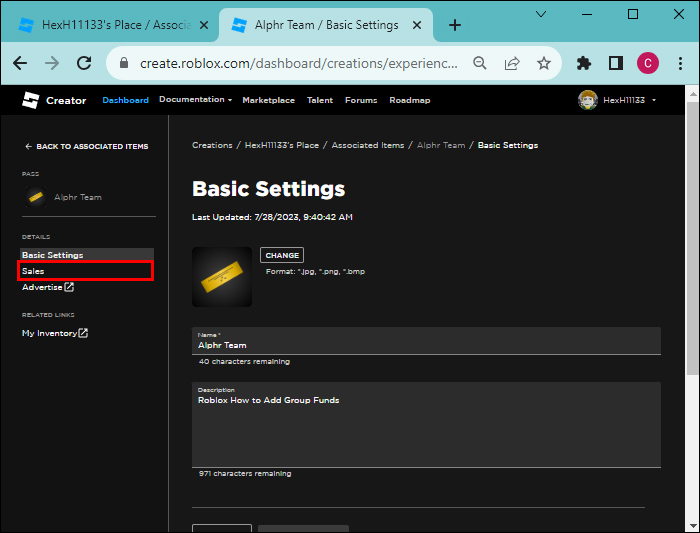
- To launch the “Configure pass page.” Tap on “Sales.”
- Enable the “Item for sale” toggle and set the price. Select save changes. Go to your “Inventory” and delete the pass to buy it.
- Open your group store, select the “Pass” you created, and tap the “Buy” button. Confirm the purchase by accepting the Robux indicated to be deducted from your account. After 30 days, the Robux will reflect on your group fund. But you can confirm the sale from the group’s revenue history.


How to Manage Roblox Group Funds
Despite being the group owner, the funds that come to the group don’t belong to you alone. They belong to every member of the group. However, you have control over the funds, and you’ll be answerable if someone sends a complaint to Roblox. For that reason, you need to exercise due diligence and proper fund management. Here’s how:
- Giving members regular updates on the group transaction history.
- Assigning a role and permission to another person who can help you manage the group funds. The person should go through screening to ensure they are trustworthy.
- Ensuring the group is free of spammers who can easily steal the funds.
Make Roblox Group Transactions Possible
Though you might have thousands of Robux in your account, you can’t transfer them directly into your group account. You can only do it by monetizing group assets and buying them. Understandably, the above processes might seem overly long and tedious, but they enable you to earn even from other creators who like your group assets on the community market.
Have you ever added funds to your Roblox group before? If so, which method did you use? Let us know in the comments section below.
Disclaimer: Some pages on this site may include an affiliate link. This does not effect our editorial in any way.


