Device Links
Thanks to smartphones, you can record a video pretty much anywhere and anytime. You just grab your phone and point the camera, then tap the record button. After finished, you can share it with the rest of the world in a matter of seconds.
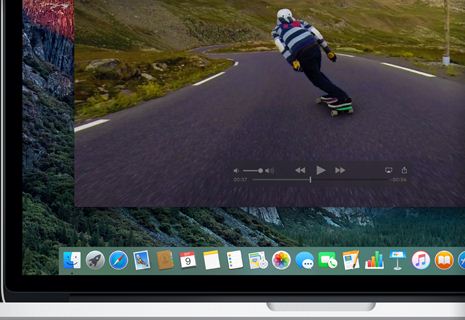
Sometimes it just so happens that you shot the video in portrait instead of landscape, and vice versa, and your Mac shows it sideways. This article will show you how to rotate the video on your Mac.
Rotate a Recorded iPhone Video using iMovie on Mac

The first option on the menu is the iMovie application, which works on macOS 10.15.6 or newer. iMovie does not require additional software or IT (information technology) knowledge.
First, open iMovie and import the video file you would like to rotate. Once imported, the video gets displayed in iMovie’s timeline section. Click on the video and click “C” on the keyboard. The “Crop” menu opens, and it displays rotate buttons, among other options. Click on them to adjust the video’s orientation. Once you’re satisfied, click the “Done” button. After that, click on “File,” pick the “Export” option, and choose the location for your newly rotated video.
- Open the Apple “App Store,” search for “iMovie” and select “Get” followed by “Install” to install it.
- Launch “iMovie” and import the video file you want to rotate. The video then appears in iMovie’s timeline section.
- Click on the video and click “C” on the keyboard.
- The “Crop” menu opens and displays rotate buttons among others. Click on them to adjust the video’s orientation.
- Once you’re satisfied, click the “Done” button.
- Click on “File,” pick the “Export” option, and choose the location for your newly rotated video.
Rotate a Recorded iPhone Video using QuickTime on Mac
QuickTime is the second option on our menu, and it comes with all versions of macOS. Rotating a video through QuickTime is quick and easy and does not require additional software or extensive knowledge.
- Open the video that you want to rotate in Quicktime.
- Click the “Edit” button found in the main menu bar.
- Choose from four rotation options: “Rotate Left,” “Rotate Right,” “Flip Horizontal,” or “Flip Vertical.”
- When you’re done, click “File” and then select the “Save” option.
- Choose the location where you want to save your rotated video and click “Save” again.
Rotate an iPhone Video using VLC in Mac
VLC Player is one of the most versatile players, hugely popular on both Windows and Mac. The program is the third and the last option this article covers. Like using the last two options, you needn’t be a tech wizard to rotate a video in VLC.
Option 1
This VLC option is the first of two available methods.
- Launch “VLC Player” on your Mac.
- Click the “File” button in the main menu and select the “Open File…” option.
- Browse your computer and select the video you want to rotate by clicking “Open.”
- Once VLC opens the video file, click “VLC” in the main menu and select “Preferences.”
- Click on “Show All” and pick the “Rotate” section to set the degree of rotation, then choose “Save.”
Option 2
The second way to use VLC to rotate iPhone videos goes like this.
- After opening the video in VLC, click “Window” in the main menu and select “Video Filters.”
- Select the “Geometry” tab and check the “Transform” box. After that, choose the degree of rotation.
In closing, it is not difficult to rotate any recorded videos using an iMac, iMac Pro, Macbook, Macbook Pro, or even Macbook Air. Videos with incorrect orientation are a nuisance, but these three quick and easy methods above mean you never have to worry about it again. Hopefully, you found this article informative and helpful.
Disclaimer: Some pages on this site may include an affiliate link. This does not effect our editorial in any way.