Device Links
Making your emails stand out can be a difficult task. However, adding text with personal information such as your name and title adds a dash of professionalism. If you’re using Outlook’s mail service, then you won’t have to type in your information each time you finish up an email. Setting up your signature will save you time as the text will already be formatted and ready to send off.
In this article, we’ll go over how to set up your Outlook signature on several different devices.
How to Set Up a Signature in Outlook on a Windows PC
Microsoft Outlook is part of all Office packages, except the Student app suite. The way you’ll add a signature to your emails will depend on the Office package you’re using.
How to Set Up a Signature in Outlook on a Windows PC With Office 2007-2010
If you have an older version of Microsoft Office, you can still use the signature feature.
To set it up:
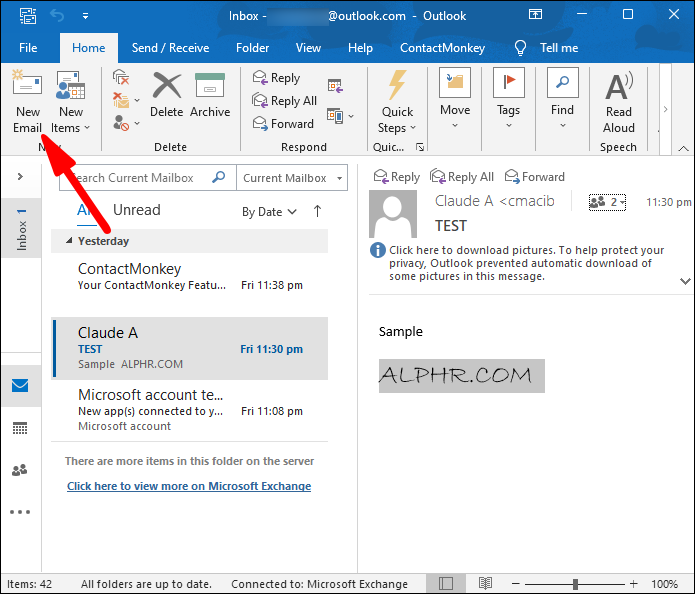
- Log into your Outlook account and open a new email.
- Find the “Message” section and navigate to the “Include” tab.

- Select “Signature,” then tap “Signatures.”
- Choose “New” in the “Email Signature” menu.
- Enter your signature name in the text box and press “OK.”
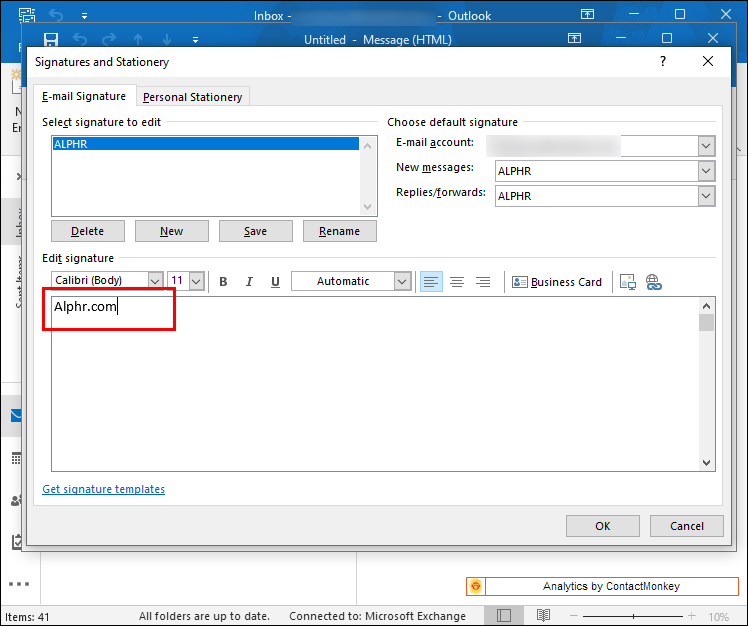
- Type the content of the signature into the “Edit Signature” field.
- You can personalize the text with the formatting and styling tools at the top of the editing window.
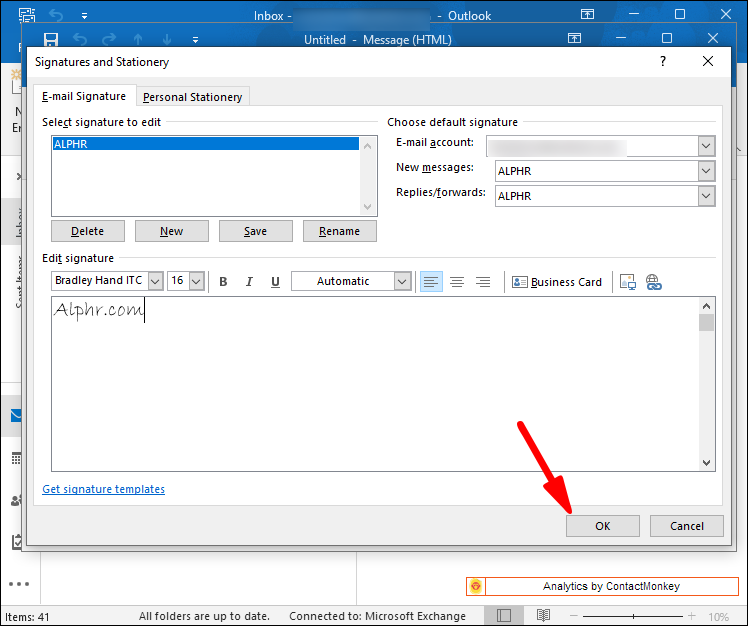
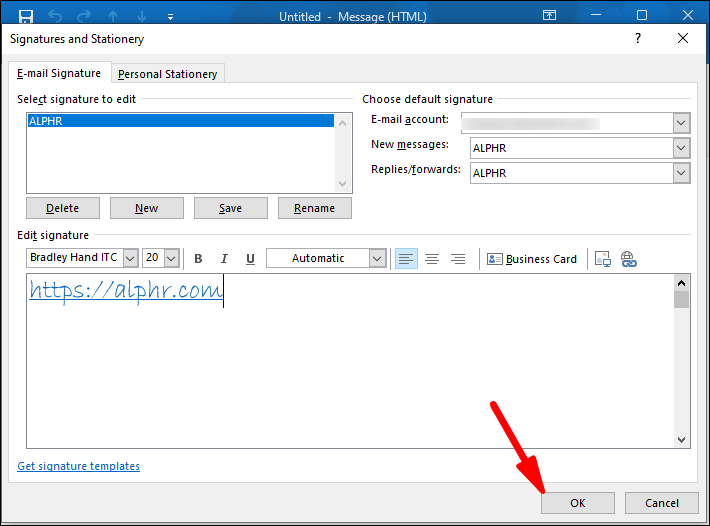
- When you’re finished creating the signature, click “OK.”


Microsoft Outlook doesn’t limit your signature options to text only. You can also include your online business card, a link to your website or portfolio, and pictures.
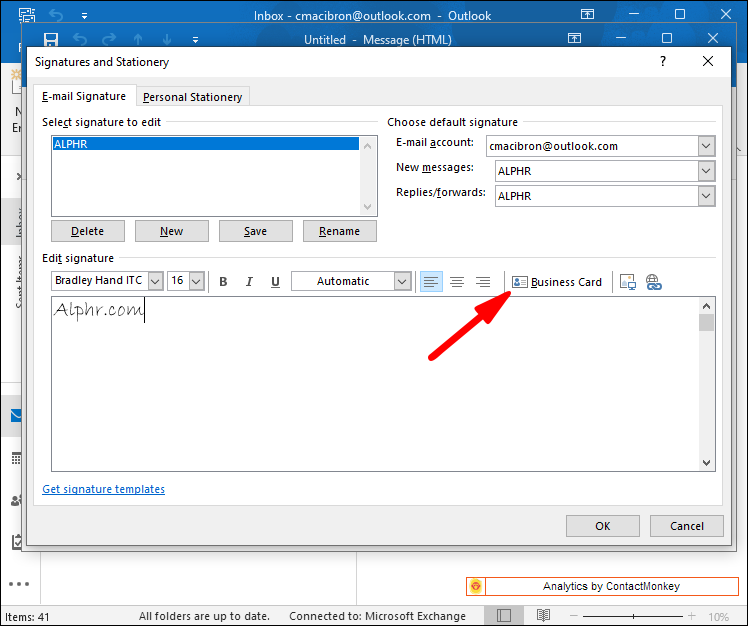
To insert your business card:
- Once you’ve opened the “Email signature” text box, tap the “Business Card” option.
- Select a contact from the “Filed As” menu.
- Press “OK” to finish the action.
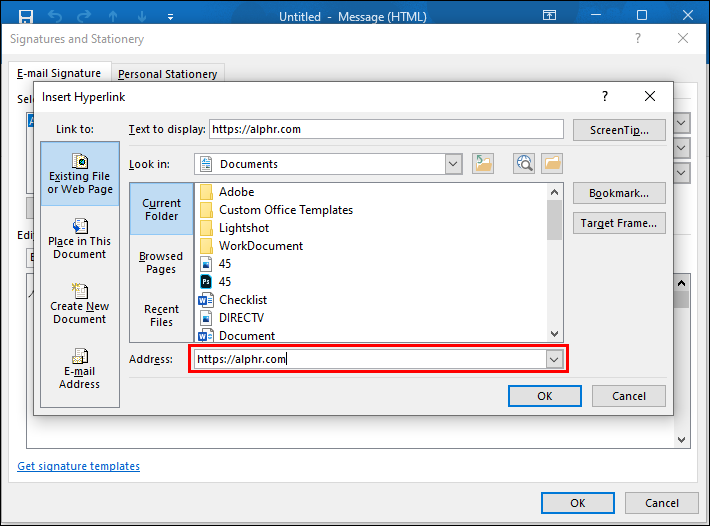
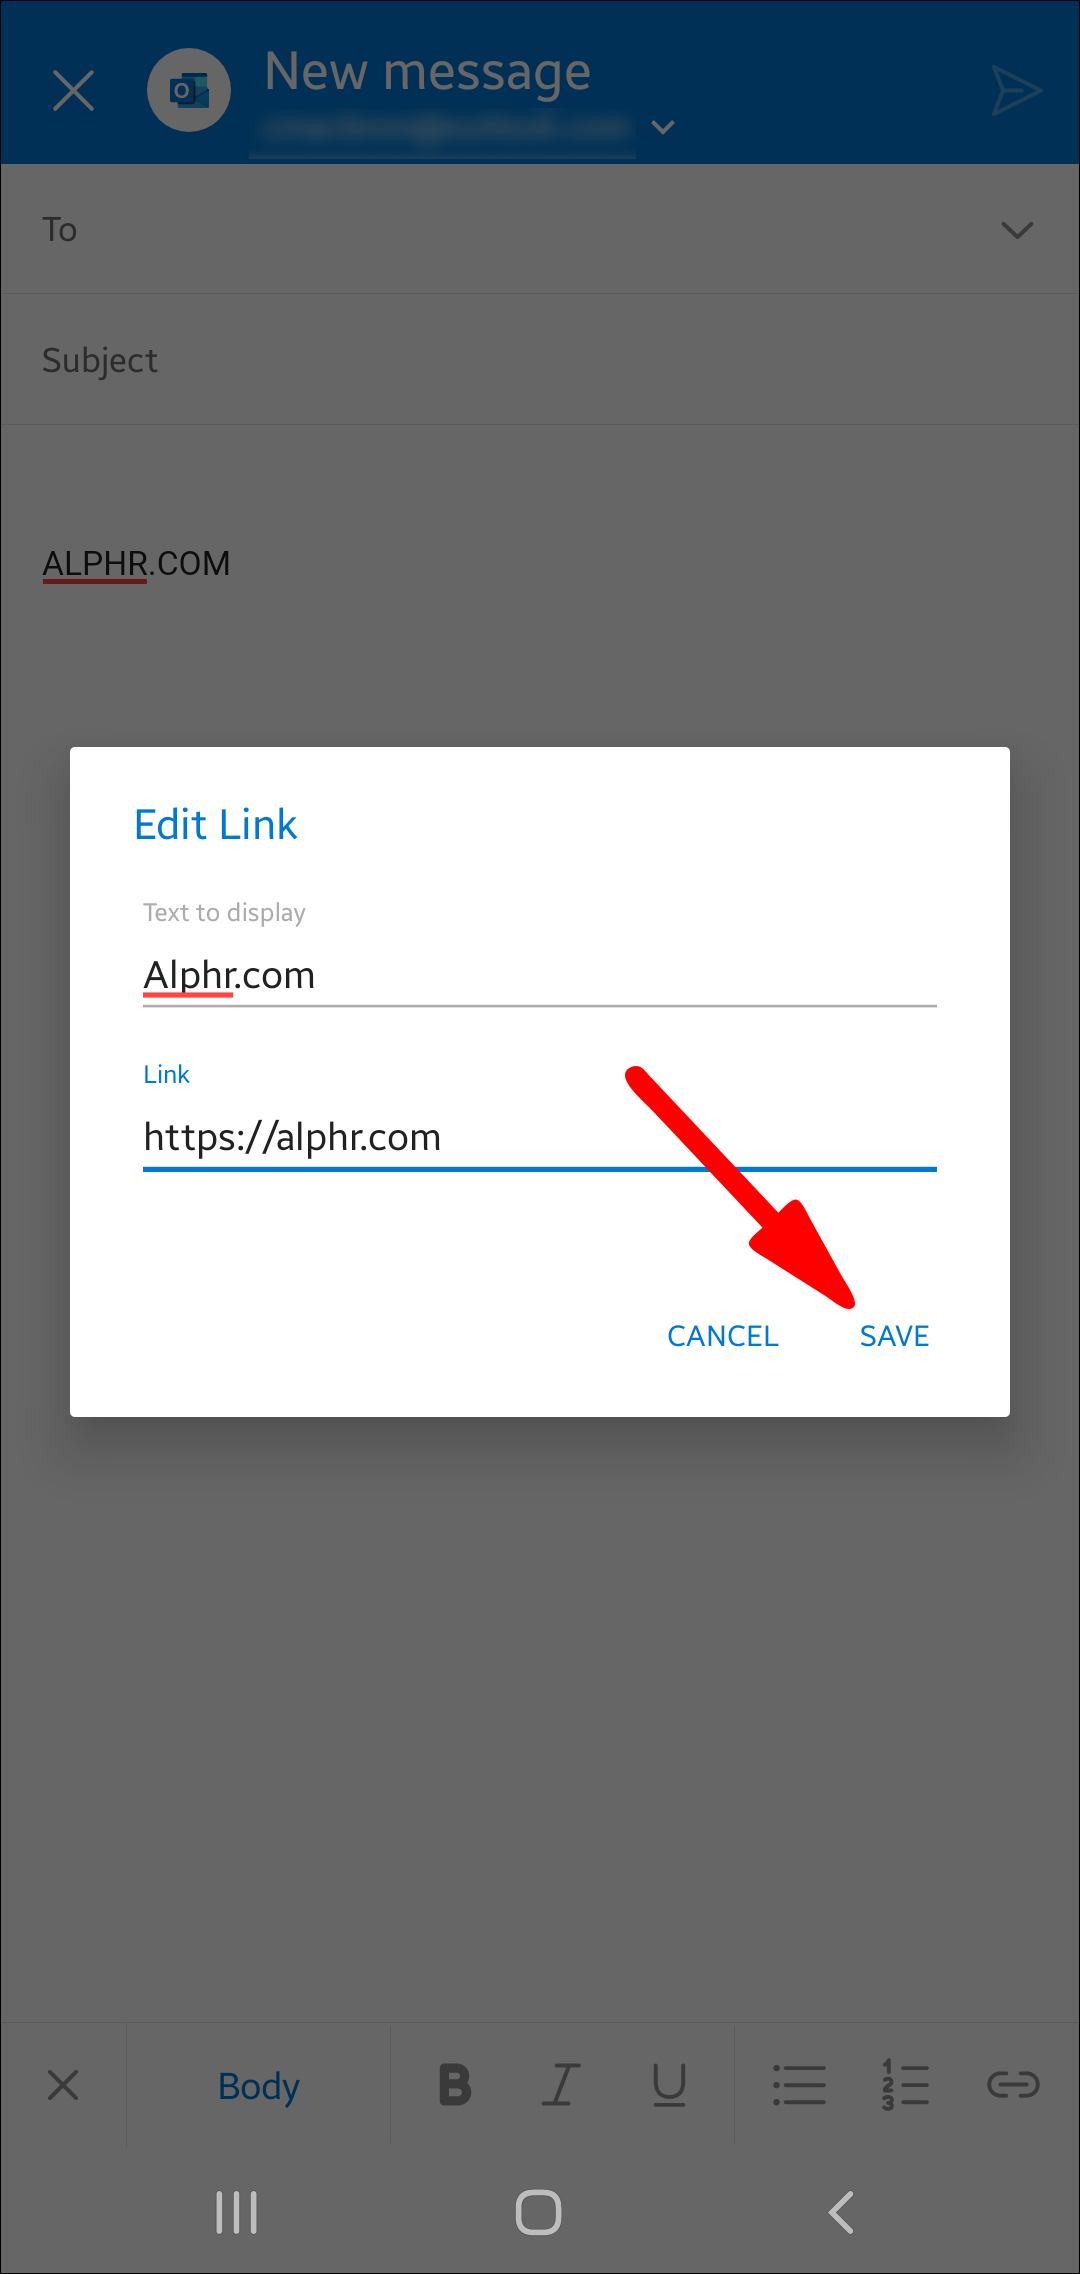
Here’s how to add a hyperlink to the signature:
- Enter the “Email Signature” window and tap the “Insert Hyperlink” icon.
- Type in the link or browse the internet until you’ve found your website.
- Select the site, then hit “OK.”
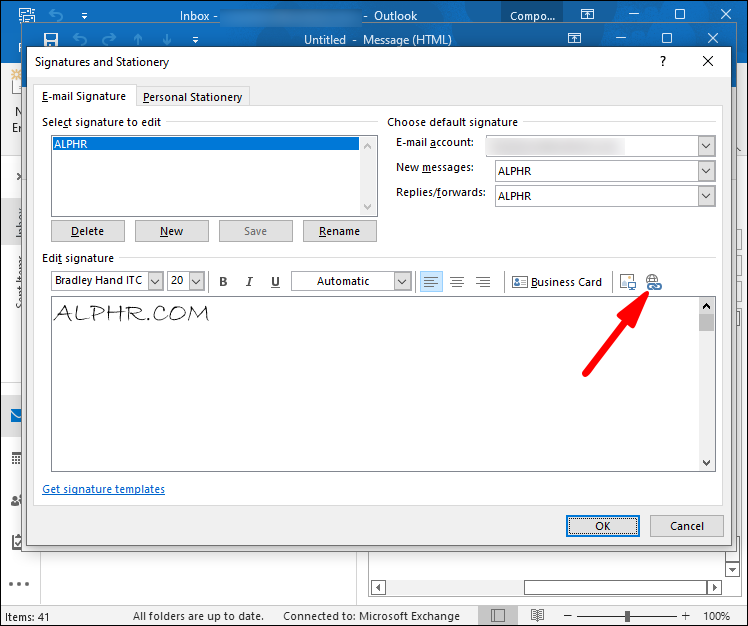
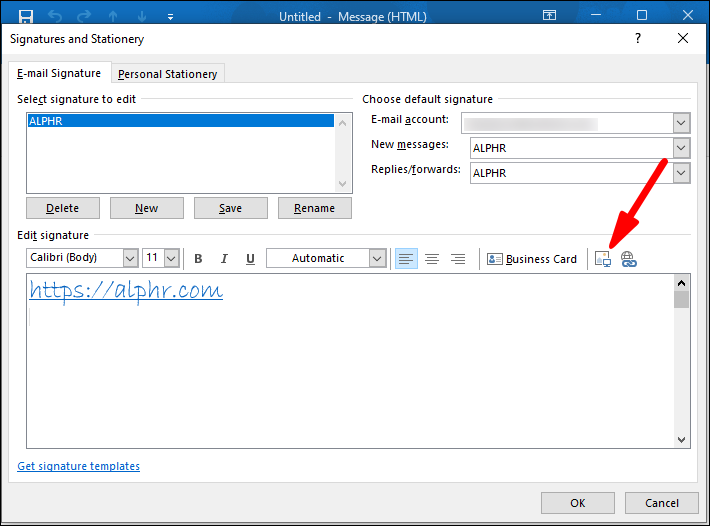
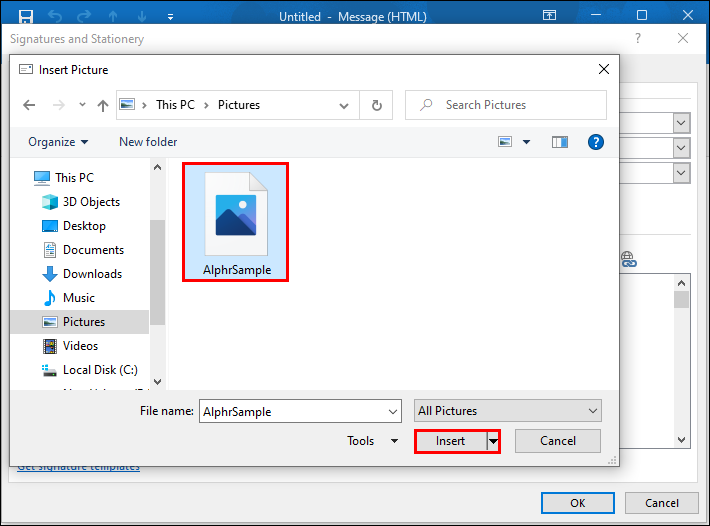
To insert an image:
- Press the ” Picture ” button once you’ve pulled up the “Email signature” card.
- Find your image, then select it.
- Click “OK” to upload the image to the signature.
Creating a signature doesn’t automatically insert it into your current message. There are two methods you can use to set it up. You can enable signatures on all outgoing emails. Or, you could pick which messages need a signature and manually insert it.
To set up signatures on every message:
- Navigate to the “Messages” section, then select “Signature” in the “Include” card.
- Tap “Signatures.”
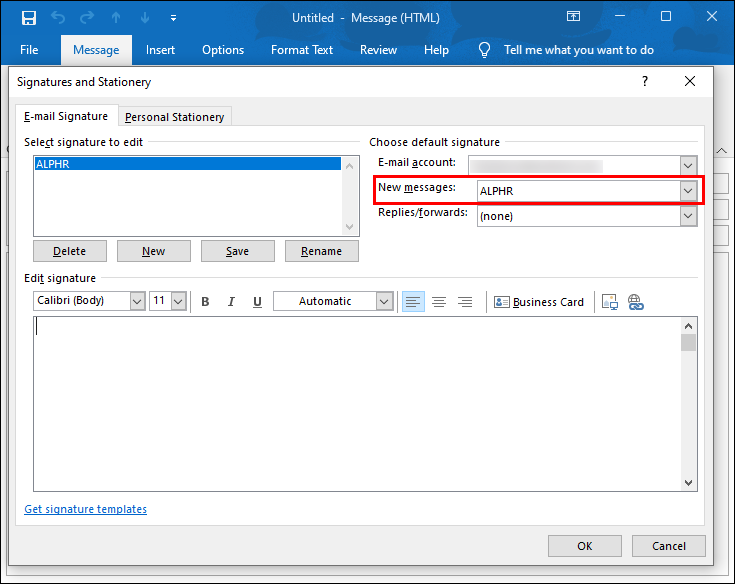
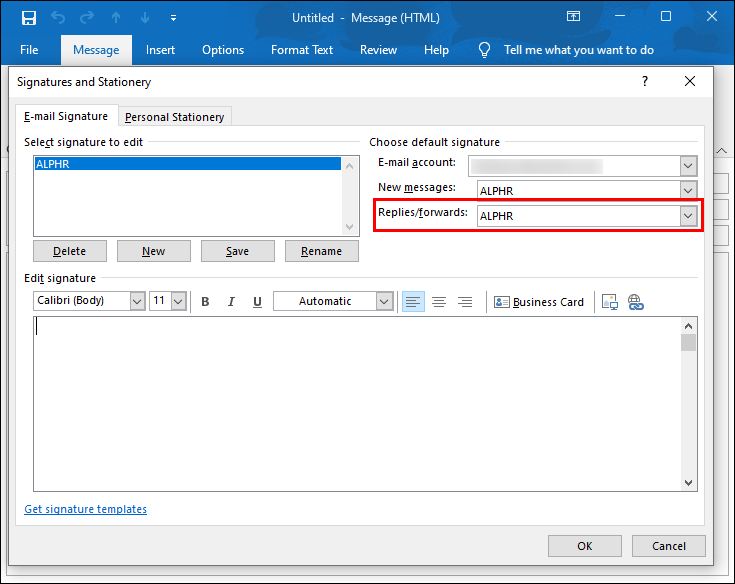
- Open the “Email account” tab and press “Choose default signature.”
- Select the email address you want to tie to the signature.
- Choose your signature in the “New Messages” menu.
- To enable the signature for message replies and forwarded emails, tap the “Replies/forwards” option” and pick your signature.

Do this to add signatures to selected messages manually:
- Open a new email and go to the “Messages” card.
- Find the “Include” section and select “Signature.”
- Tap your signature to generate it at the bottom of the message.
How to Set Up a Signature in Outlook on a Windows PC With Later Office Versions
Newer Microsoft Office suites also allow users to enter signatures into their outgoing messages.
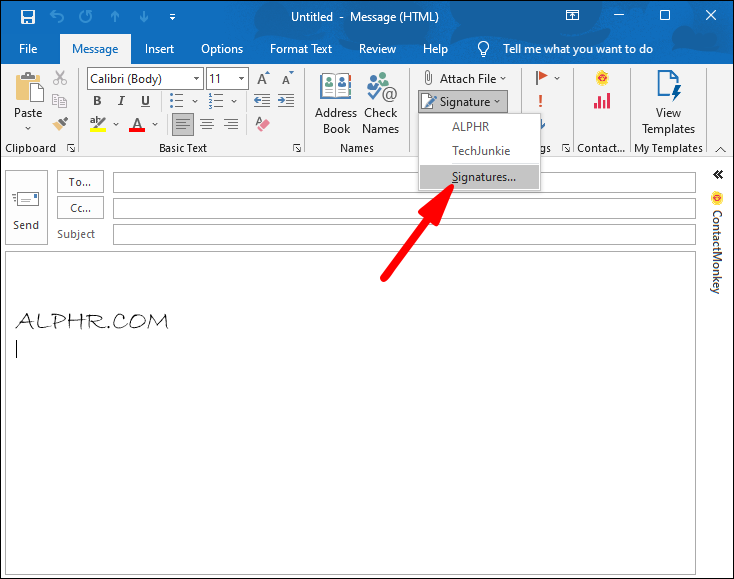
Here’s how to create a signature:
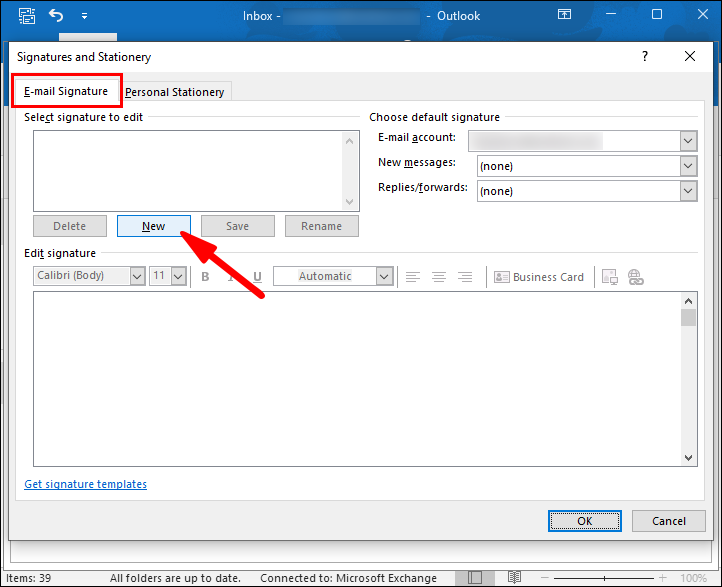
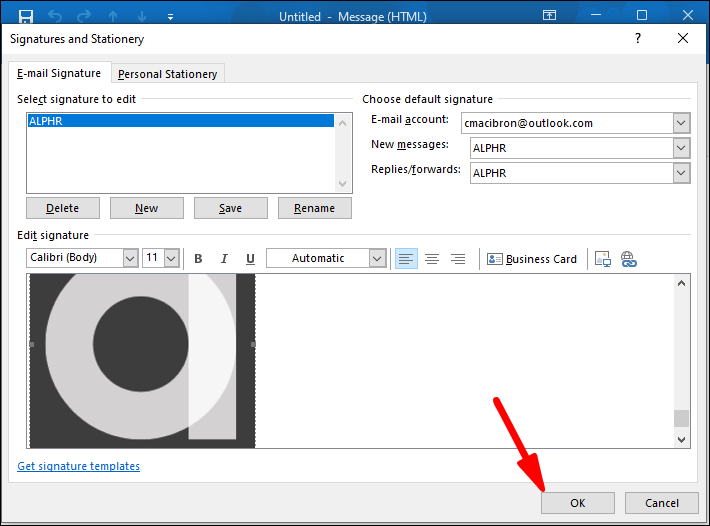
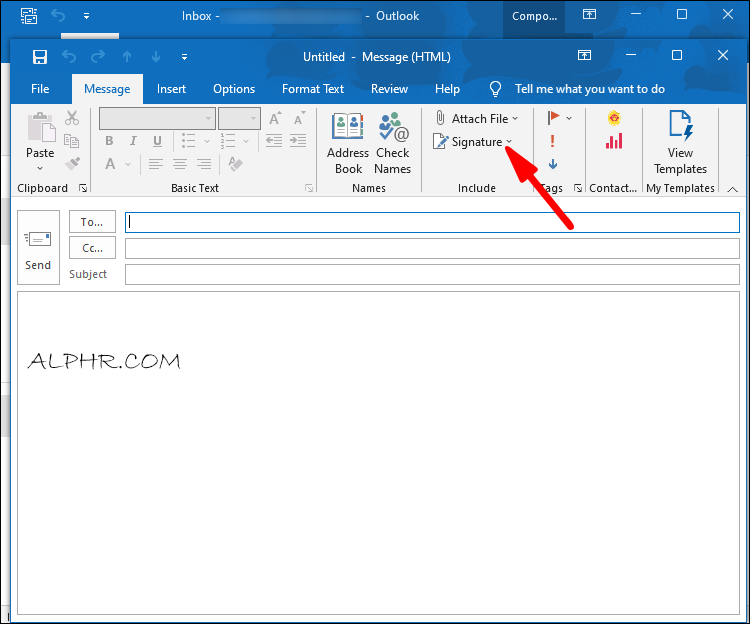
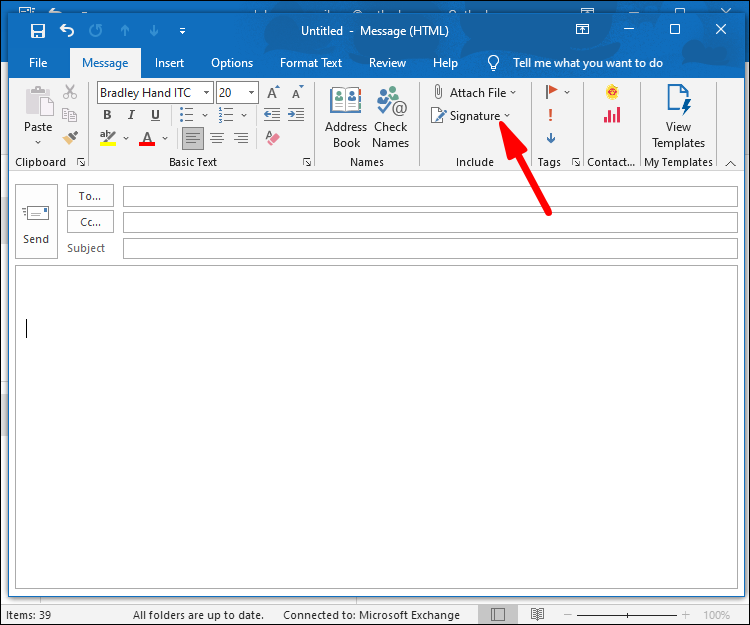
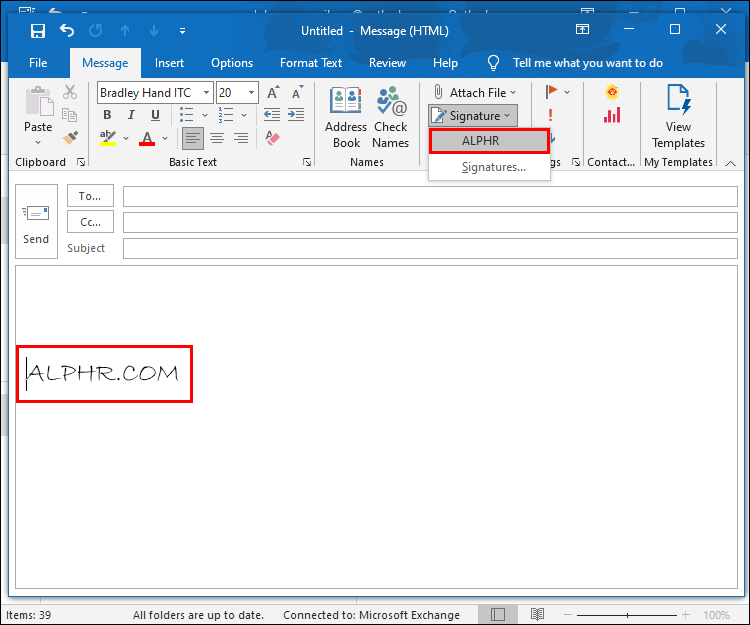
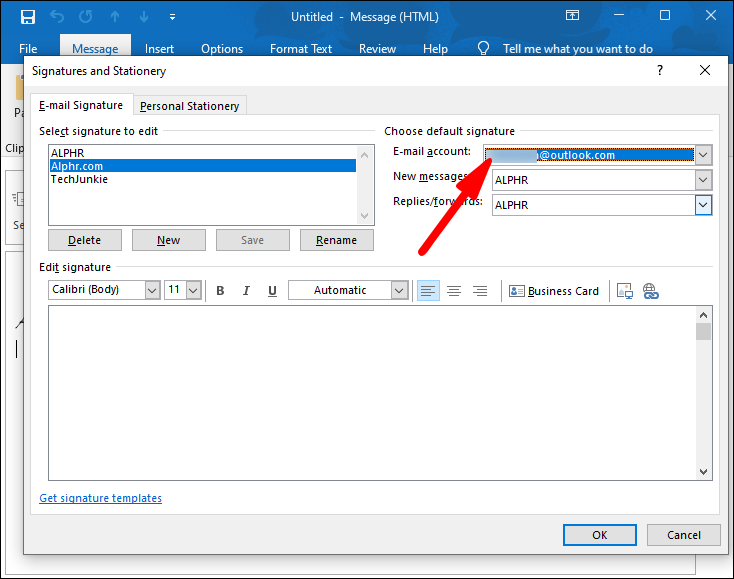
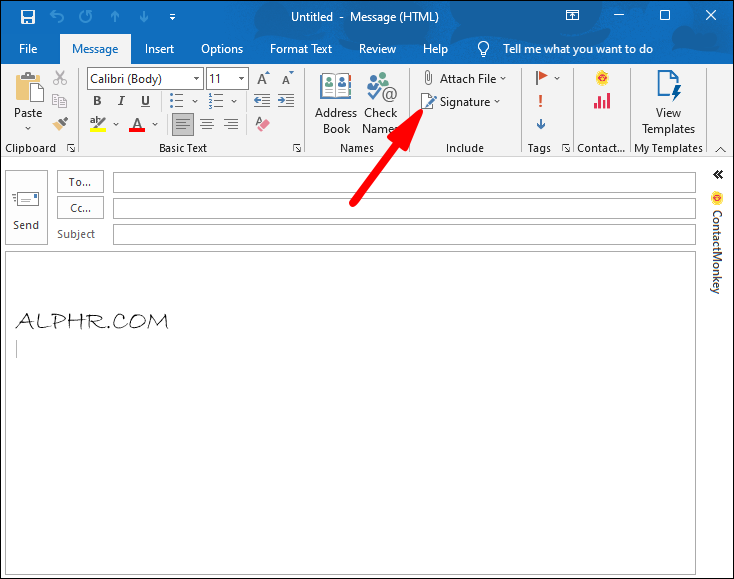
- Go into the “Message” tab from an opened message.
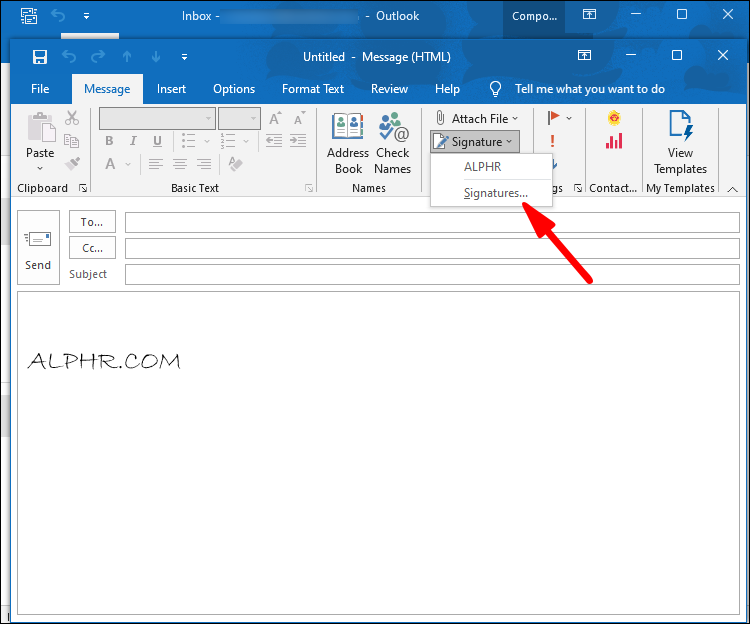
- Tap “Signature” and select “Signatures.”
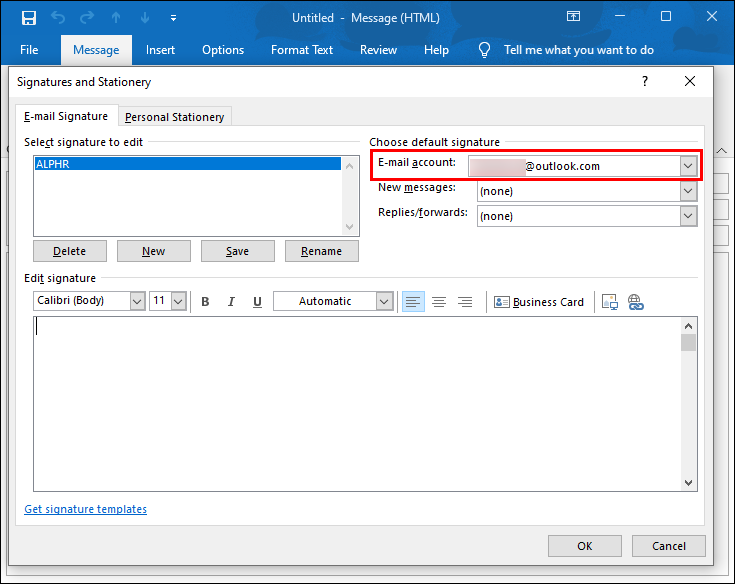
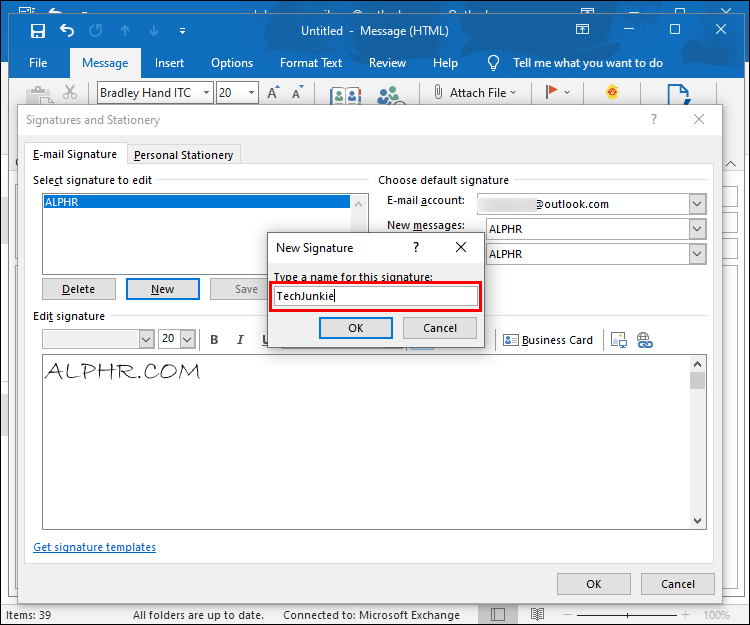
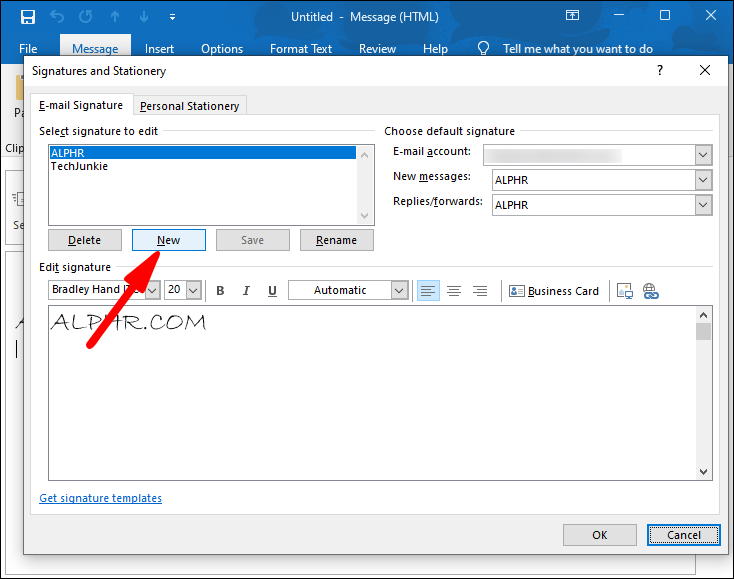
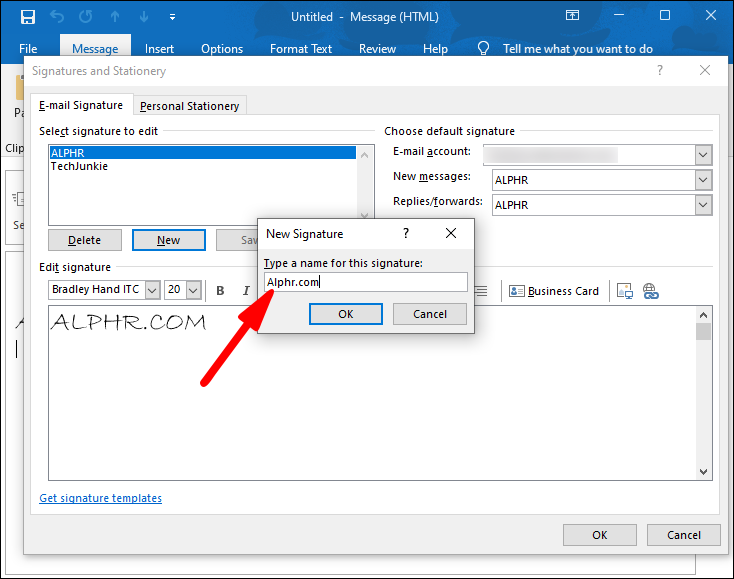
- Go to “Select signature to edit,” then click “New.”
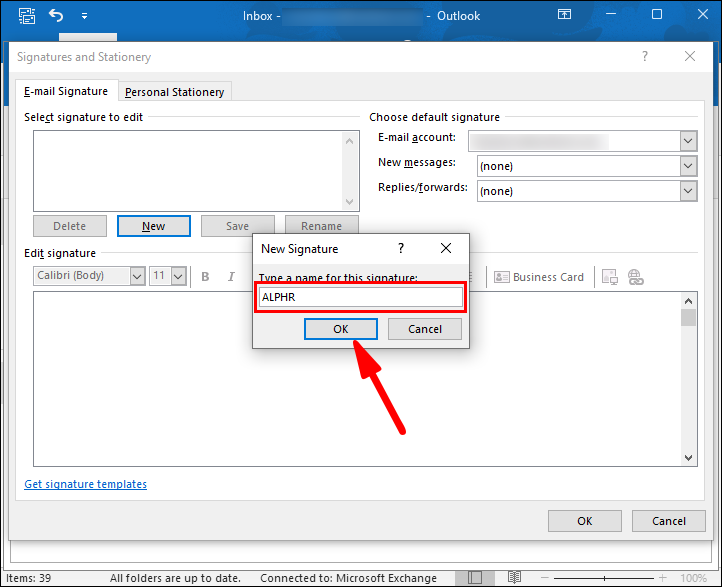
- Enter the name of your signature into the pop-up text window.
- Select the email address you want to connect to the signature. It’s possible to set up a different signature for every email account you’re using.
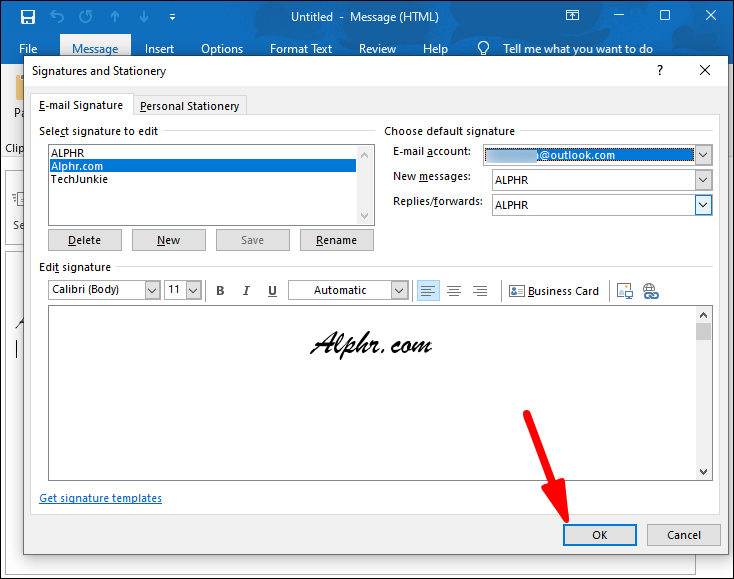
- Press “OK” to save the changes.
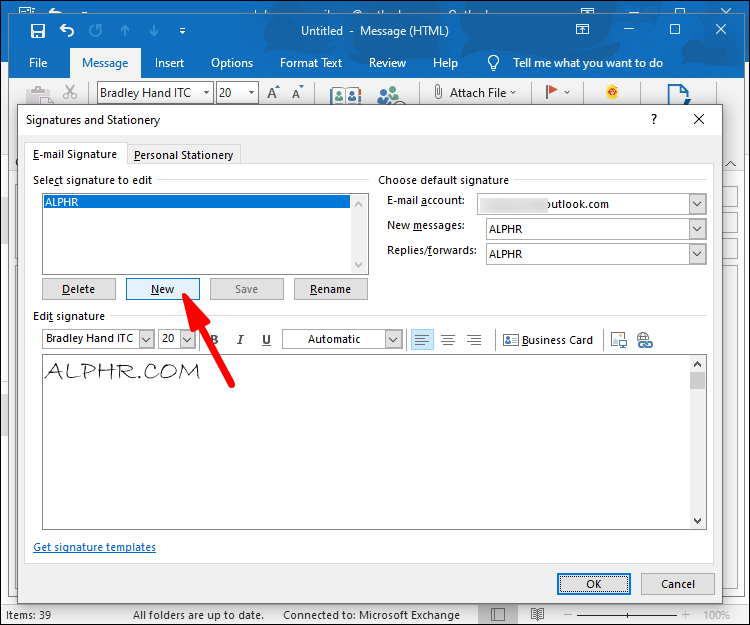


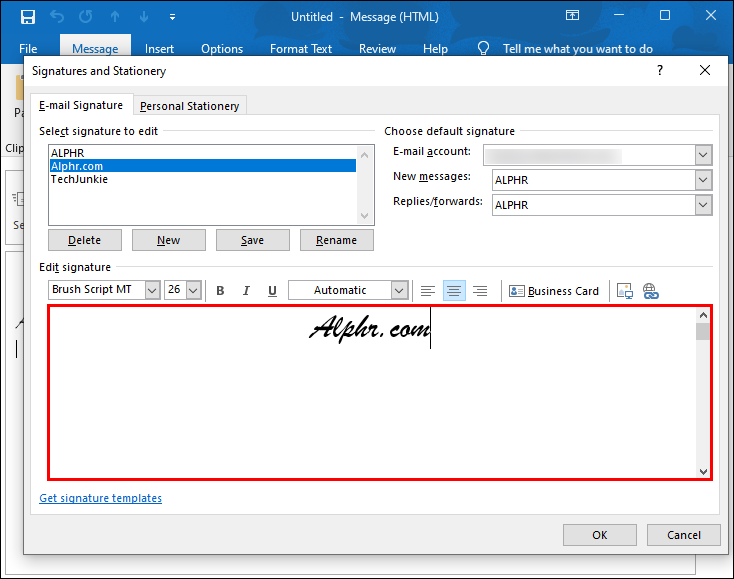
The text window lets you control the color and size of the text. To make your signature more impressive, edit the text in Microsoft Word and adjust borders or break up the text into bullets. Pasting the text into Outlook’s editing field will preserve its formatting. Word also offers many pre-made signature templates to give your details a unique appearance.
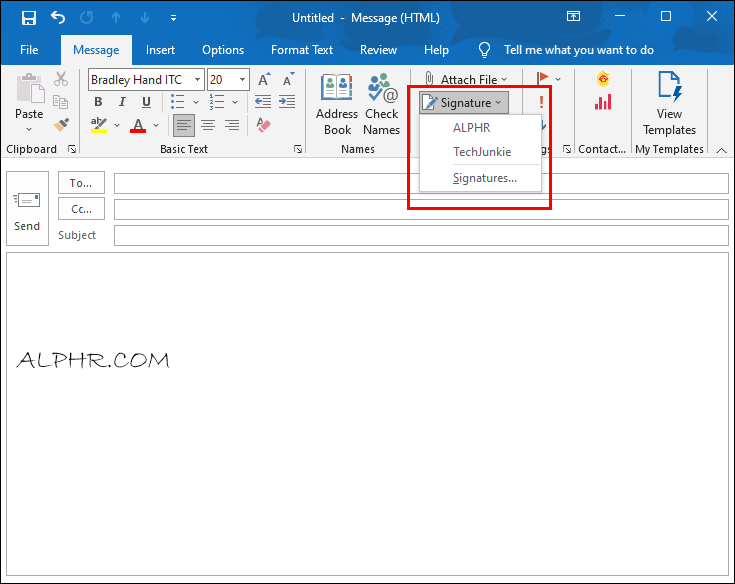
If the email you opened won’t register the signature, you’ll need to insert it yourself. However, all future messages will come with your signature at the bottom.
To manually add your signature:
- Open a message, then select “Signature” in the “Message section.
- Pick your signature from the pop-up list.
How to Set Up a Signature in Outlook on a Mac
Mac users are also able to personalize their messages with Outlook signatures.
To create a new signature on a Mac:
- Open Outlook and select the “Preferences” tab under “Files.”
- Choose “Signatures.”
- Press the “+” button next to the “Edit Signature” box.
- Type your details into the “Signature” text box. The editor allows you to:
- Add images by pressing the “Photos” icon. Browse the web for photos or select a picture from your device.
- Include a hyperlink to a web page by clicking the “Link” icon.
- Create a table with the “Tables” option at the editor’s top.
- Once you’ve designed the signature, close the editing box.
- Exit the “Signatures” window.
To include your signature in all Outlook messages on your Mac:
- Choose “Preferences” from the drop-down Outlook menu.
- Navigate to the “Email” section and tap “Signatures.”
- In the “Choose default signature” section, select the account that will use the signature.
- Enable signatures on all messages in the “New Messages” drop-down box.
- Use the “Replied/forwarded” option to add a signature to message replies and forwarded emails.
How to Set Up a Signature in Outlook on an iPhone
Creating a customized signature is a relatively straightforward process if you’re using the Outlook mobile app on your iPhone.
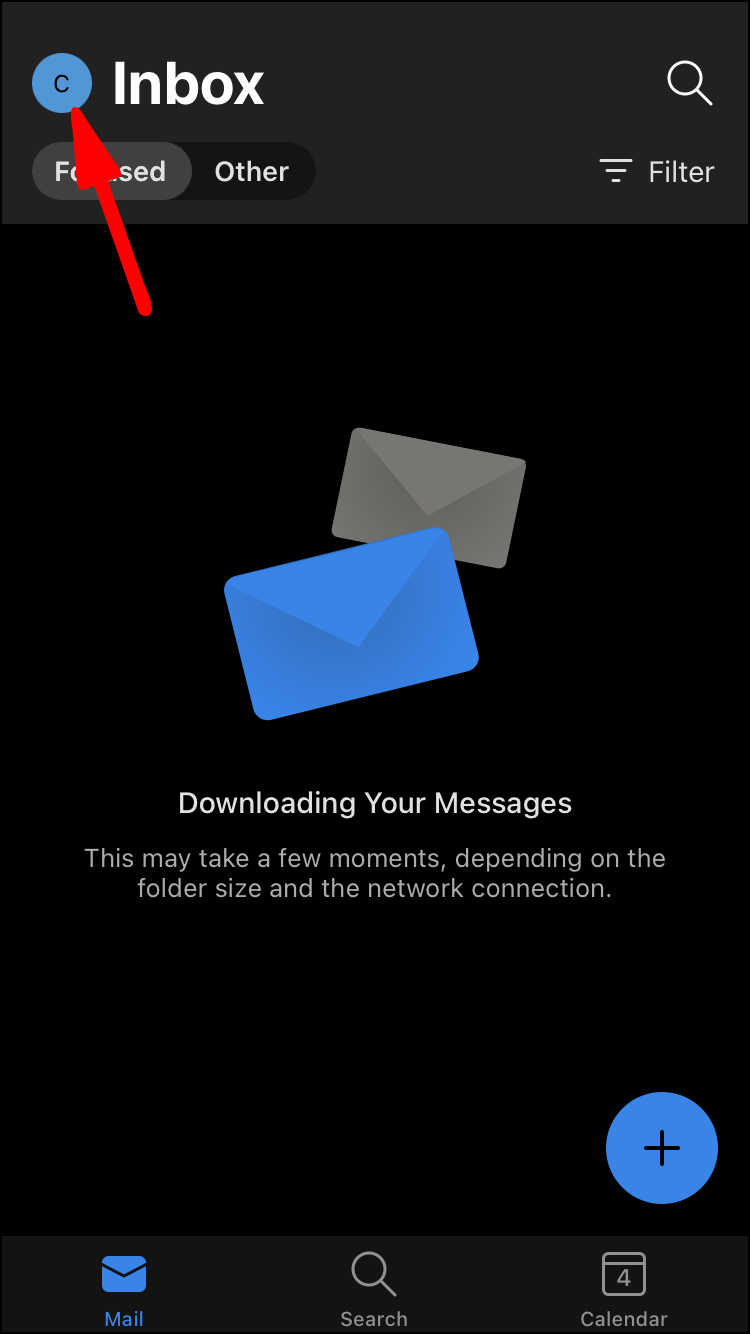
- Open the Outlook app on your tablet.
- Click your account icon at the top of the interface.
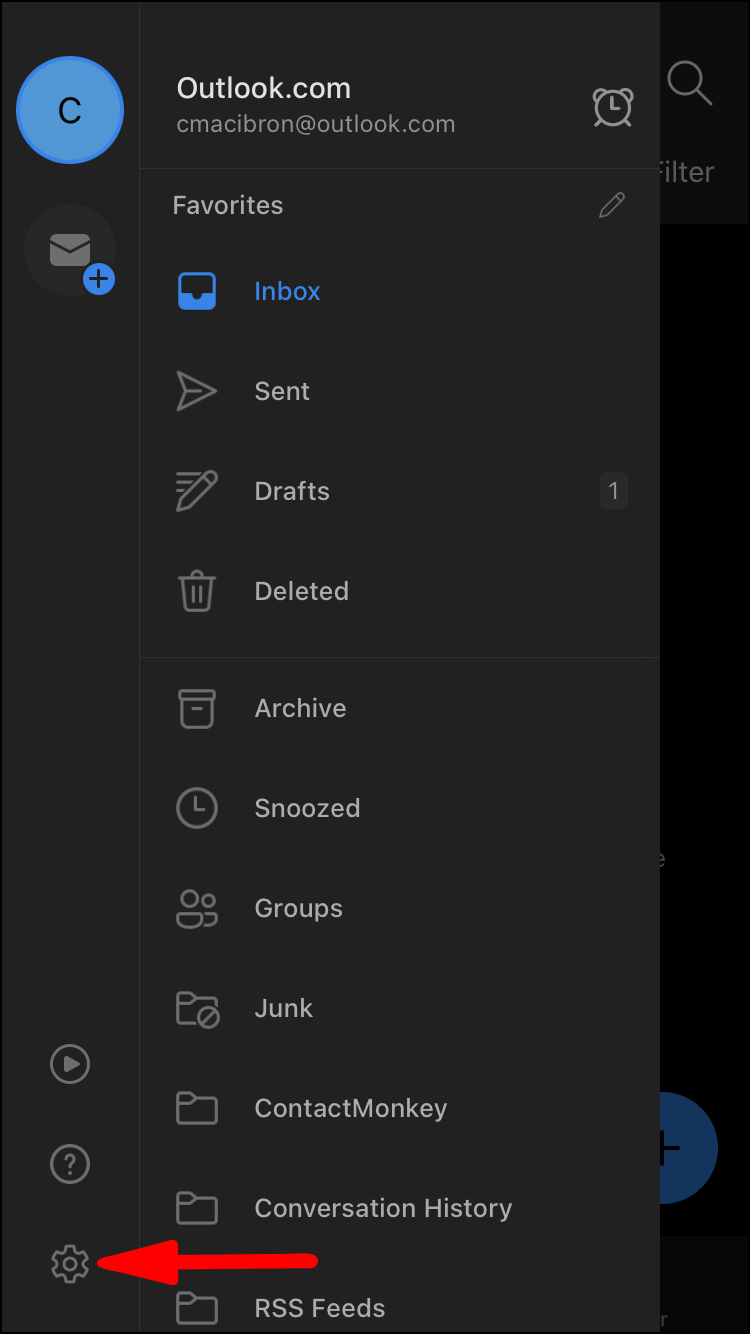
- Press the gear button at the bottom of the app to enter the Outlook settings.
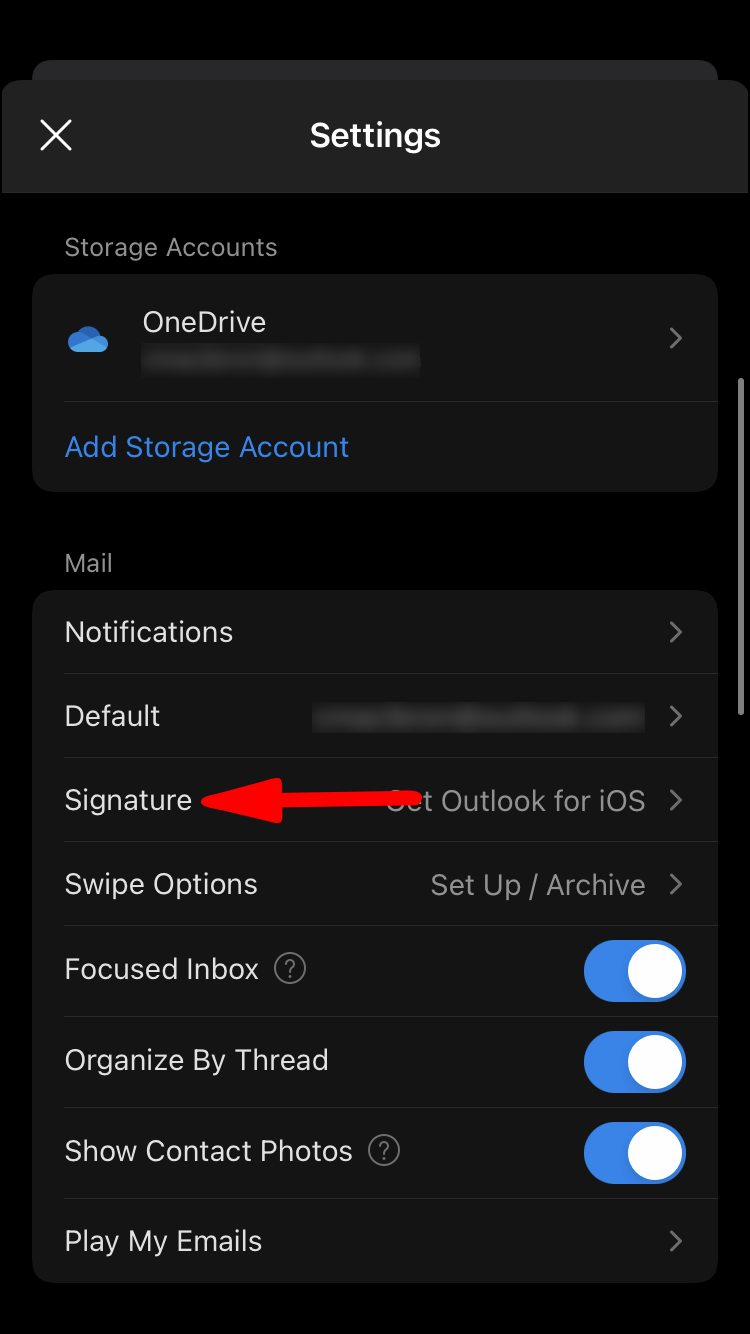
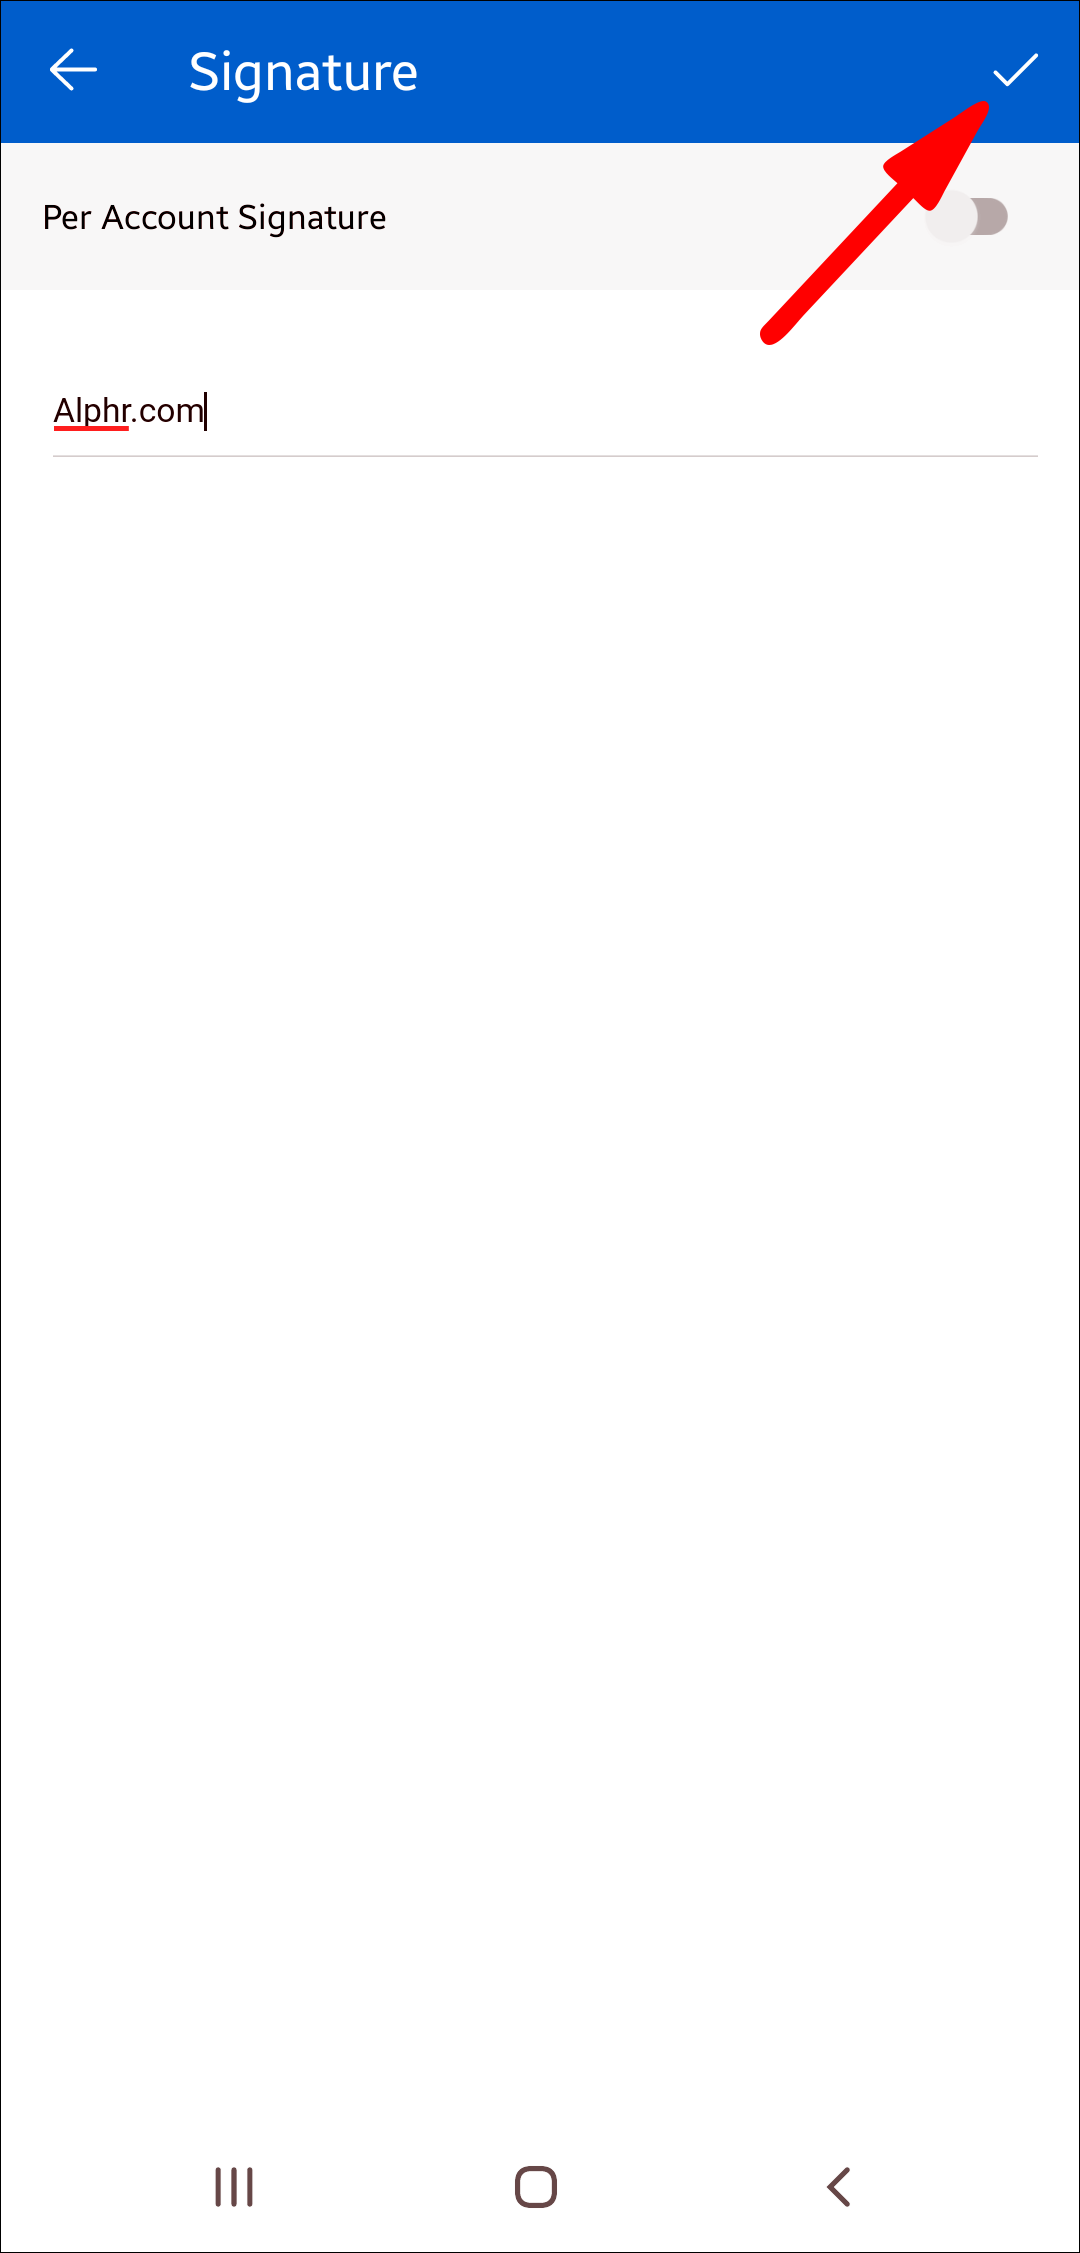
- Select “Signature” to enter your details.
- Type in the contents of the signature.
- Tap the small checkmark in the top-right corner to save your changes.

There’s no iOS feature that lets users add images, logos, links, pr tables to their signatures. However, Outlook for iOS comes with HTML support, so you can create a unique-looking signature if you’re familiar with coding. However, HTML generators and mobile templates can also help you customize your email signature further.
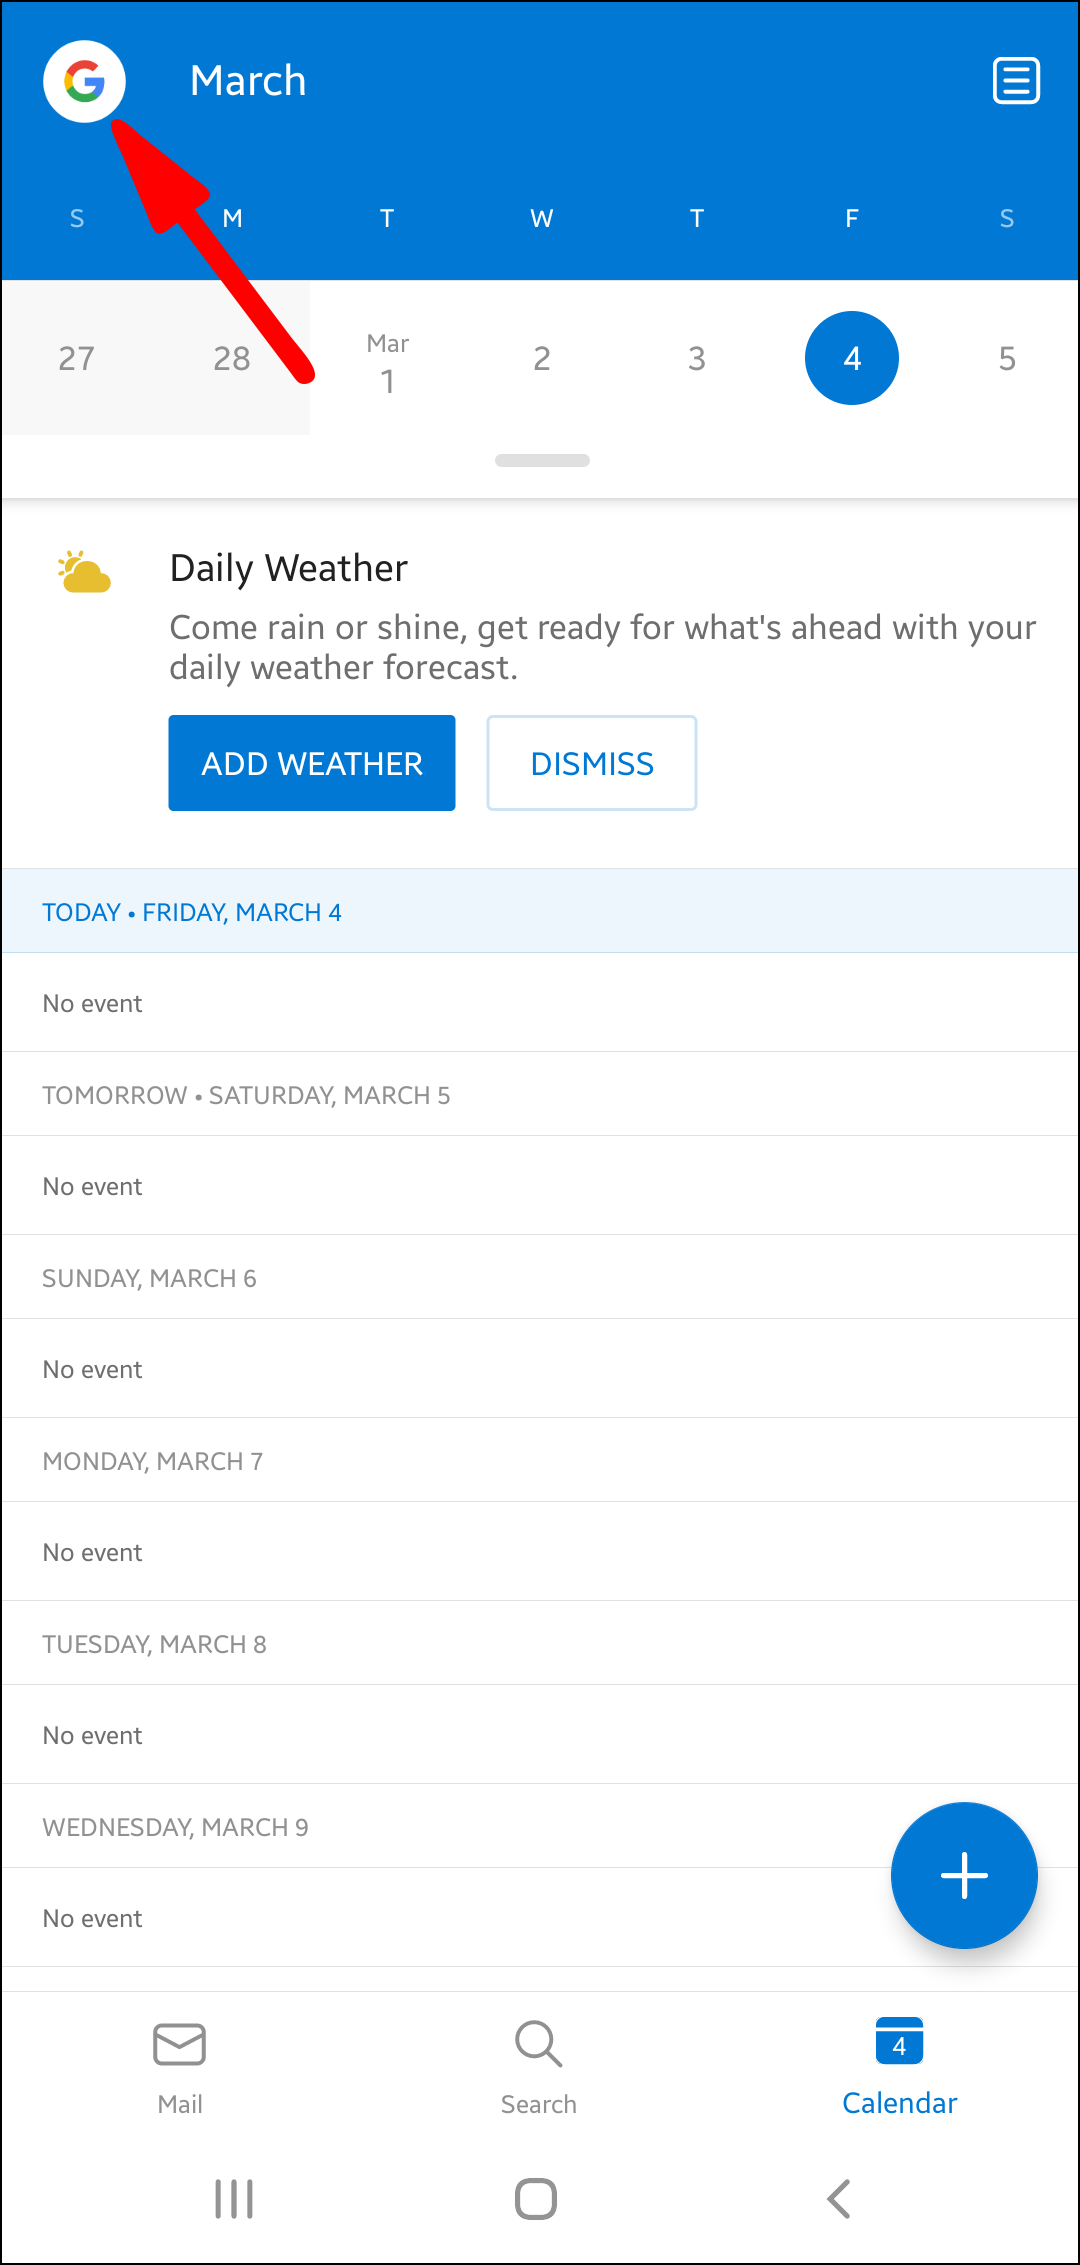
How to Set Up a Signature in Outlook on an Android Device
Android and iOS devices differ in many aspects, but the process of setting up a message signature is the same.
Here’s how you’ll create a signature on your Android:
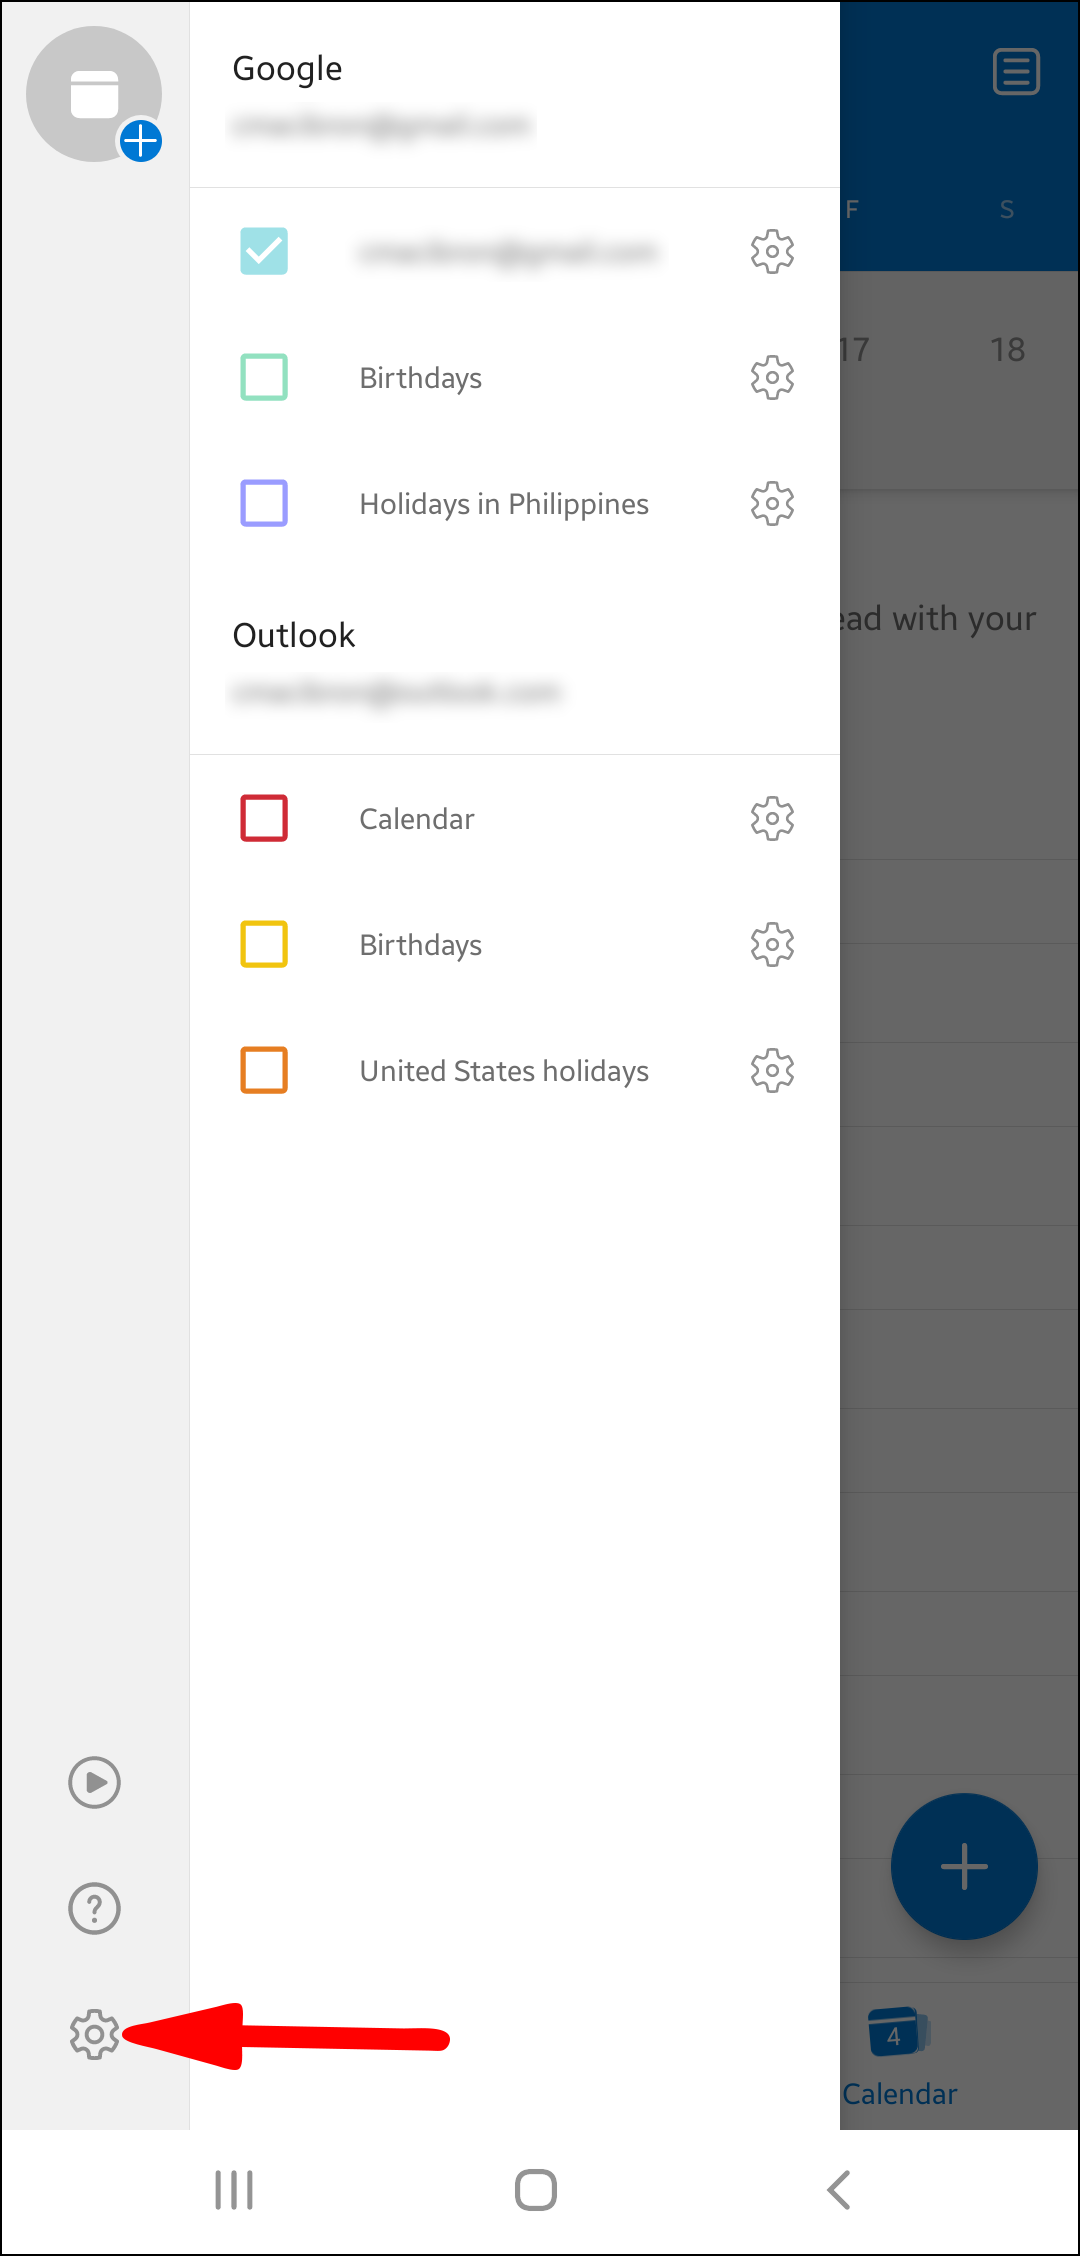
- Enter the Outlook app and select your account picture in the top-right.
- Click the gear icon to open the email settings.
- Tap “Signature.”
- Type in your signature information.
- Press the checkmark at the top of the app to create the signature.
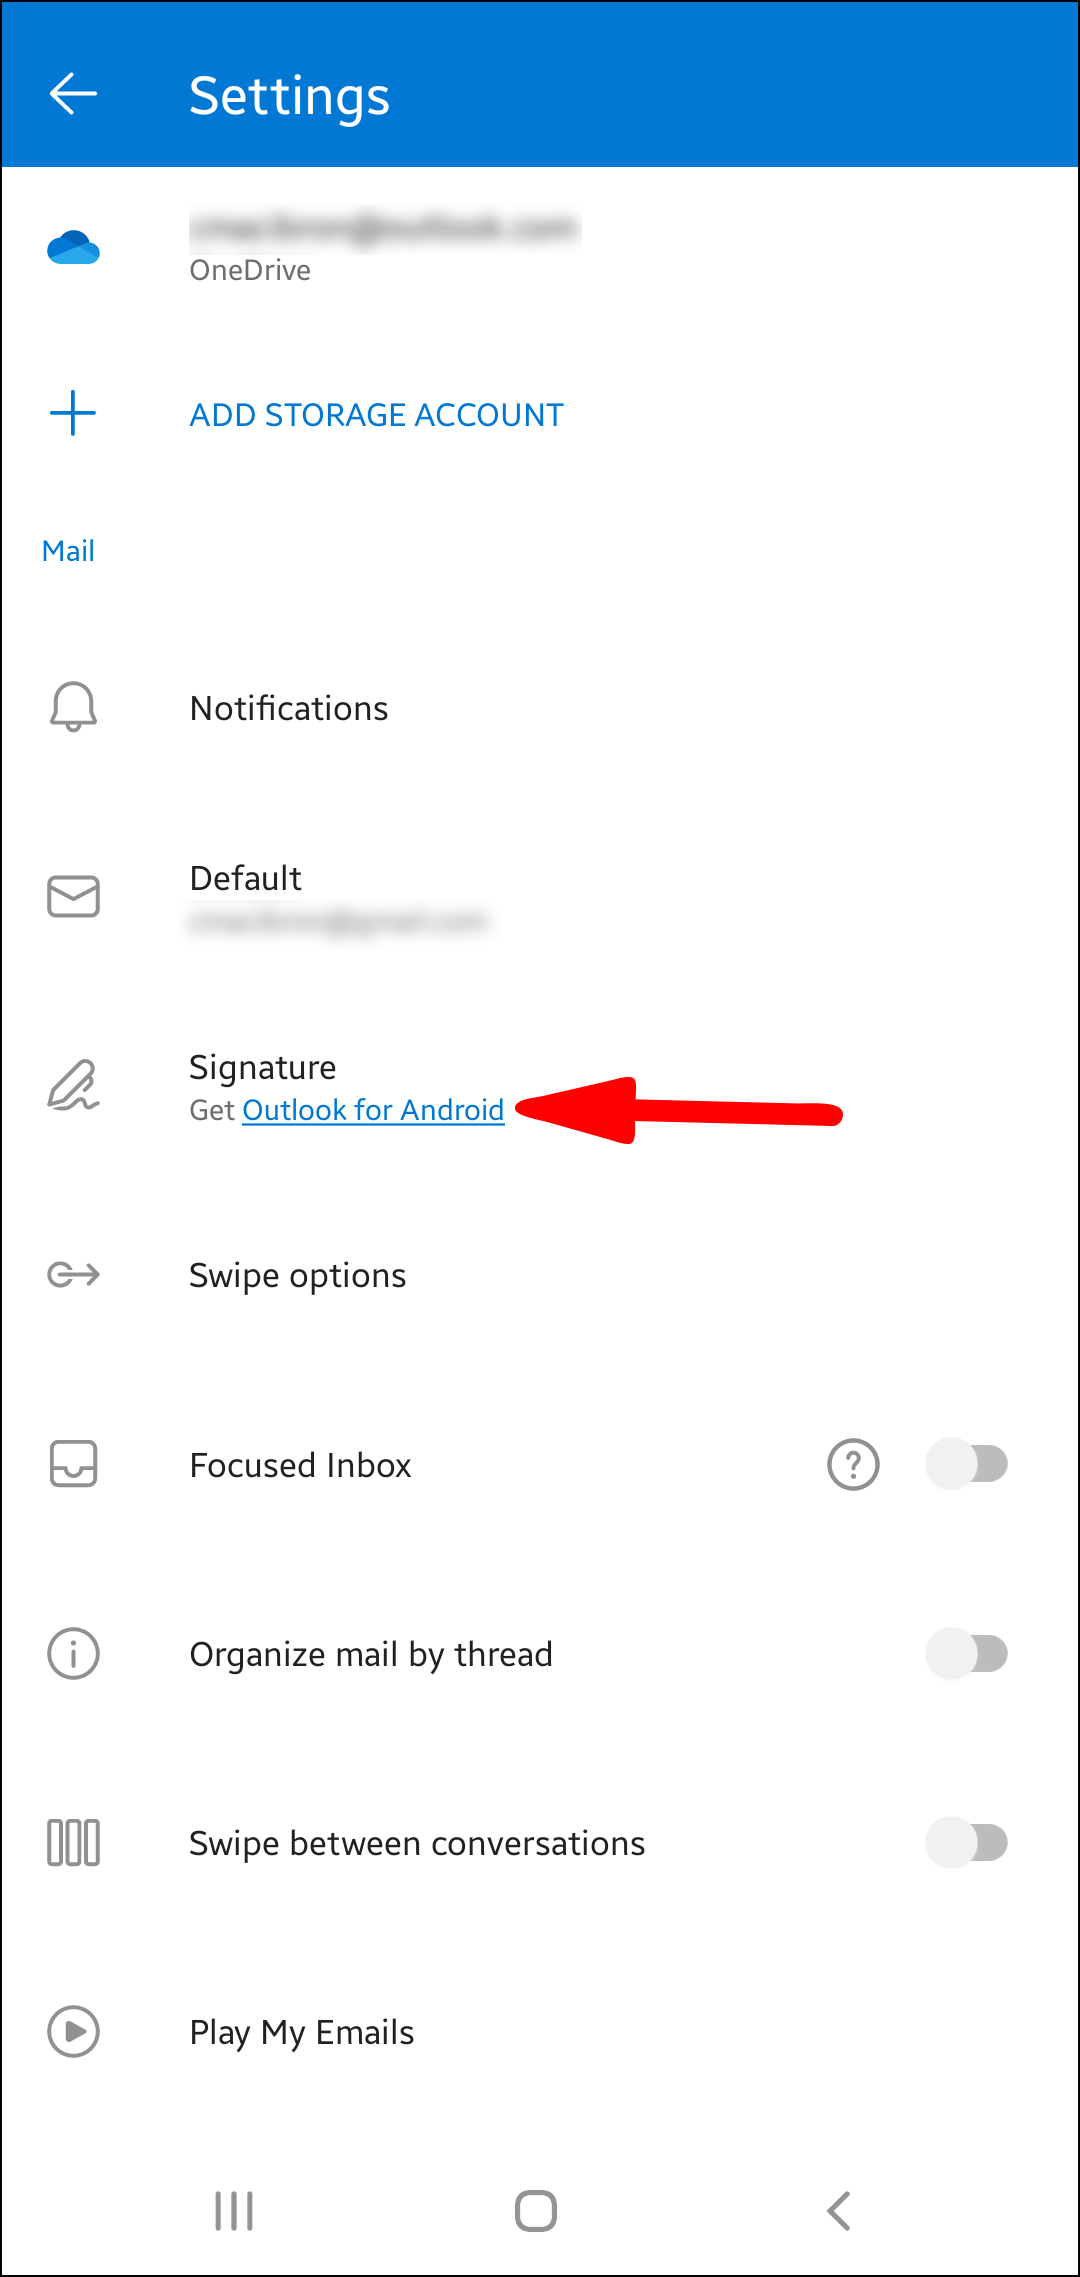
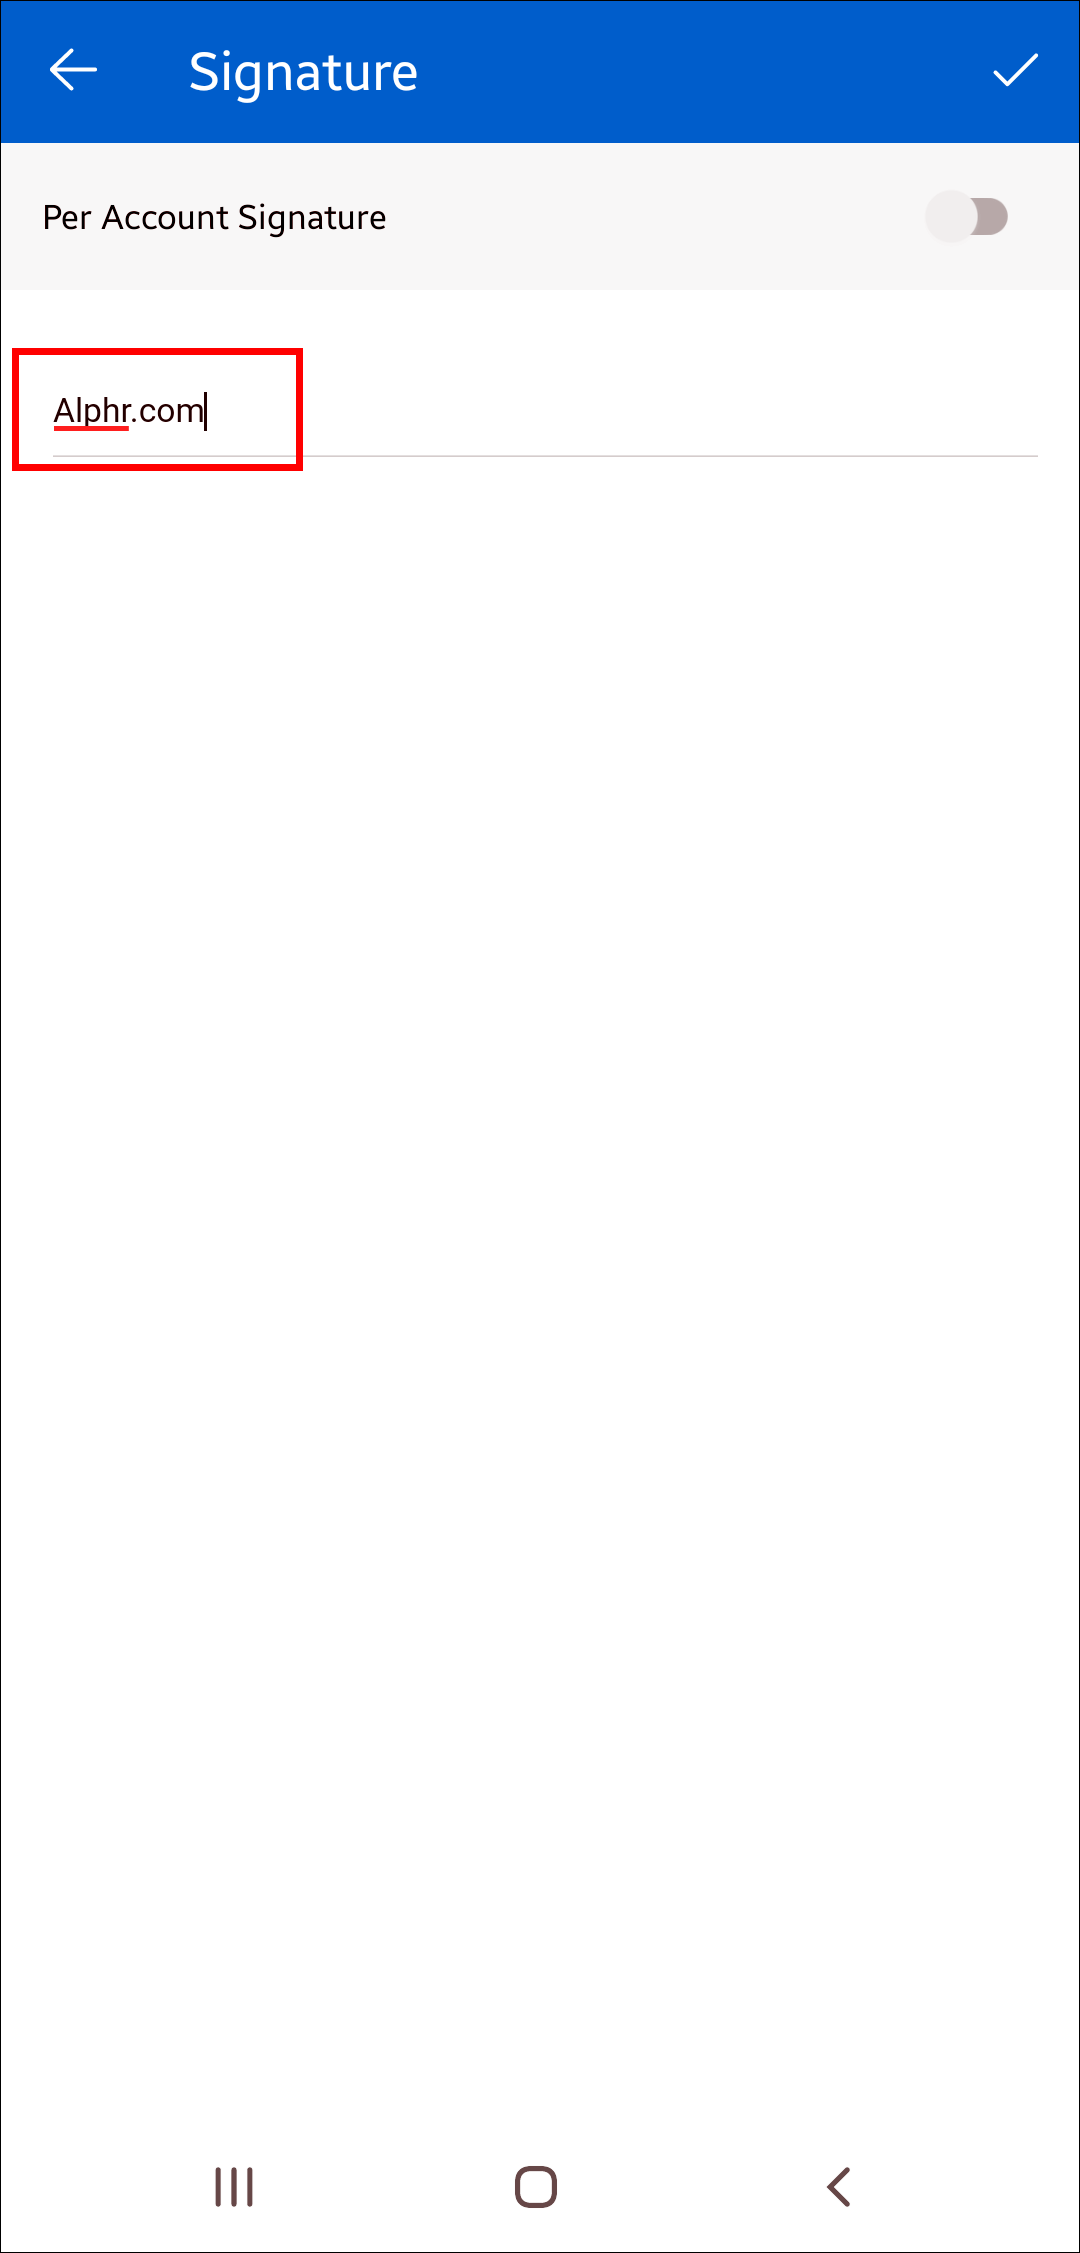
It’s still not possible to include images in your Android Outlook signature. However, users can add hyperlinks to customize signatures.
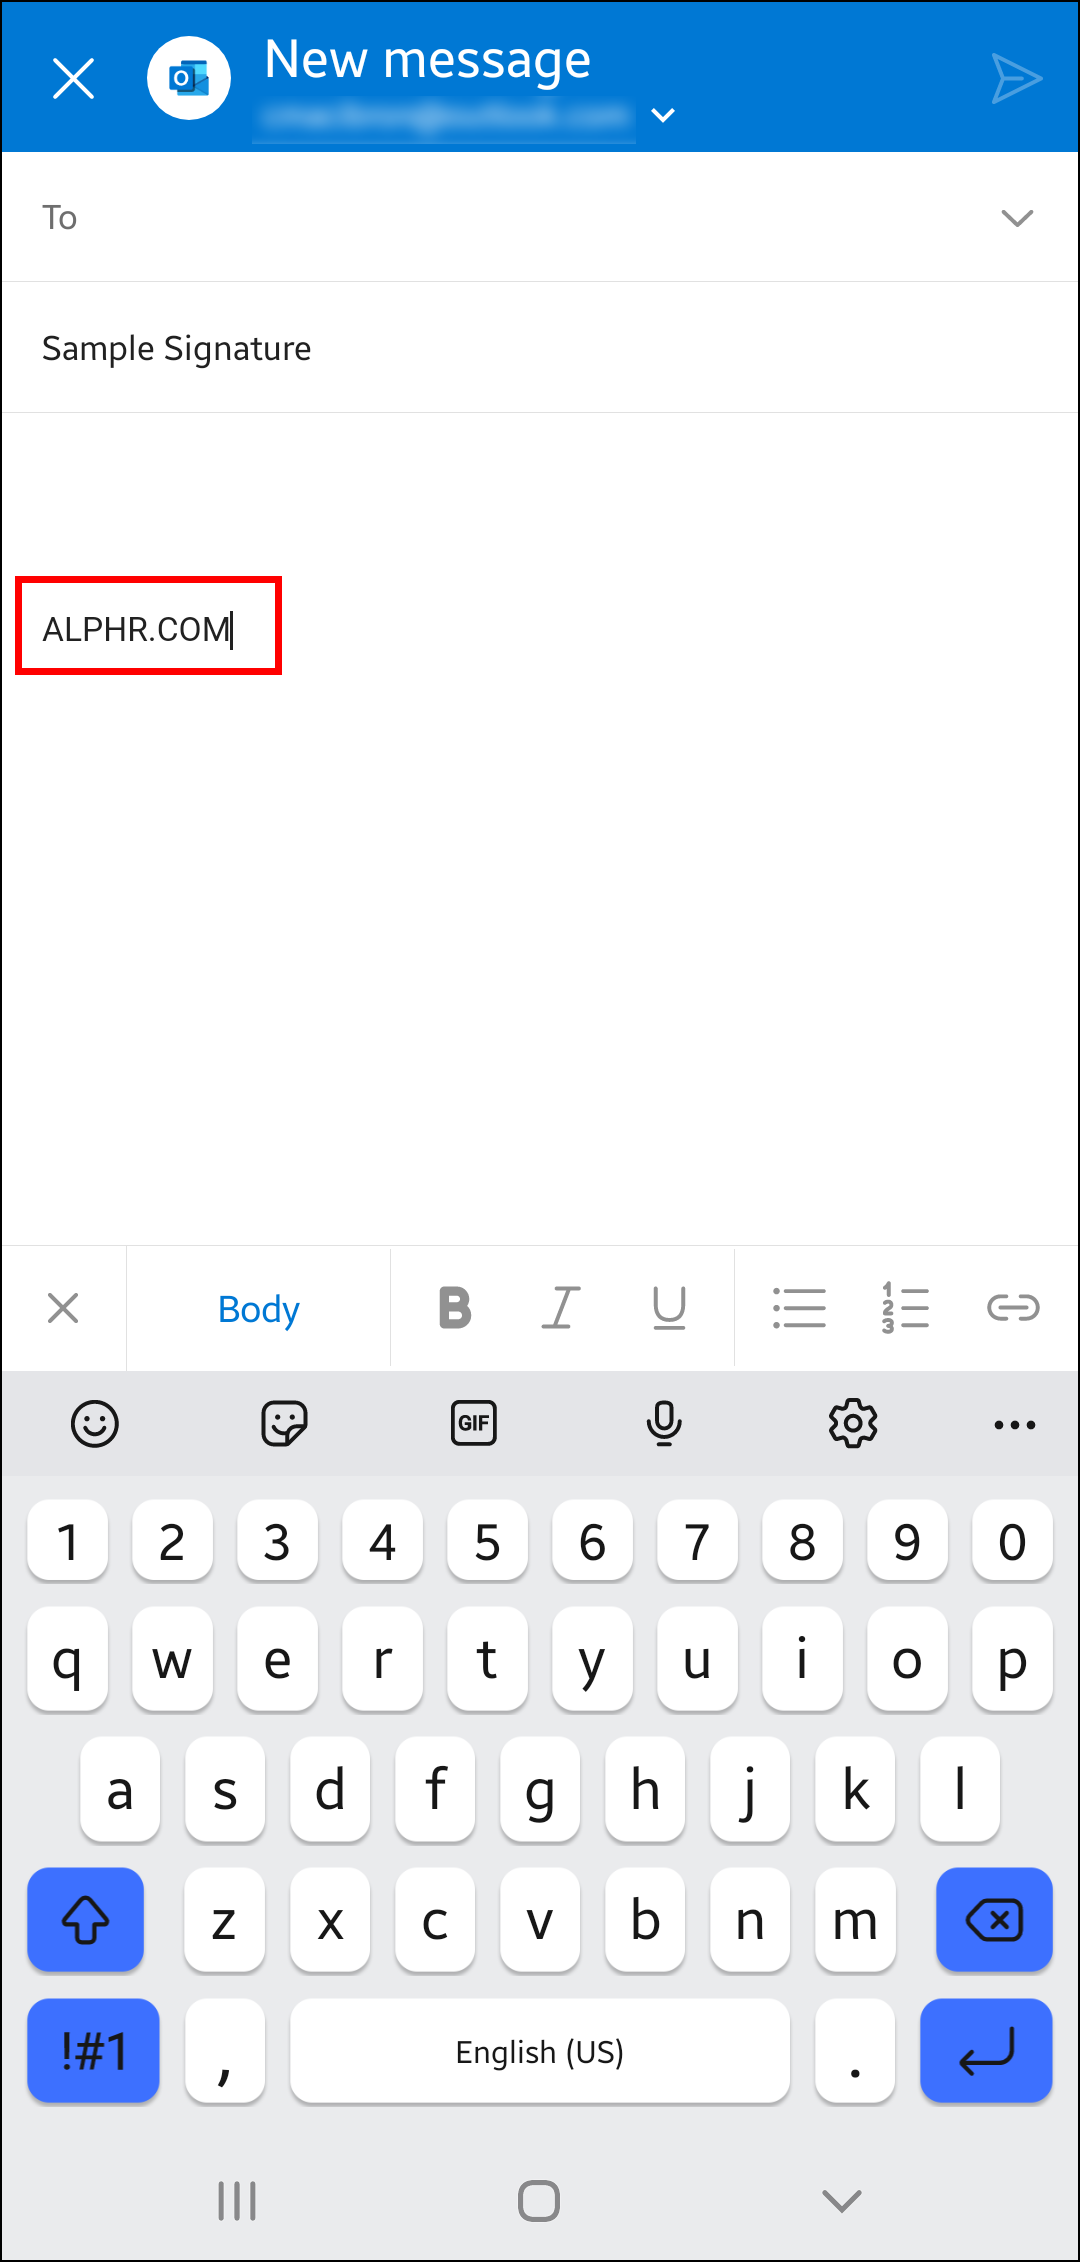
To add a hyperlink:
- Open a new email and type your signature.
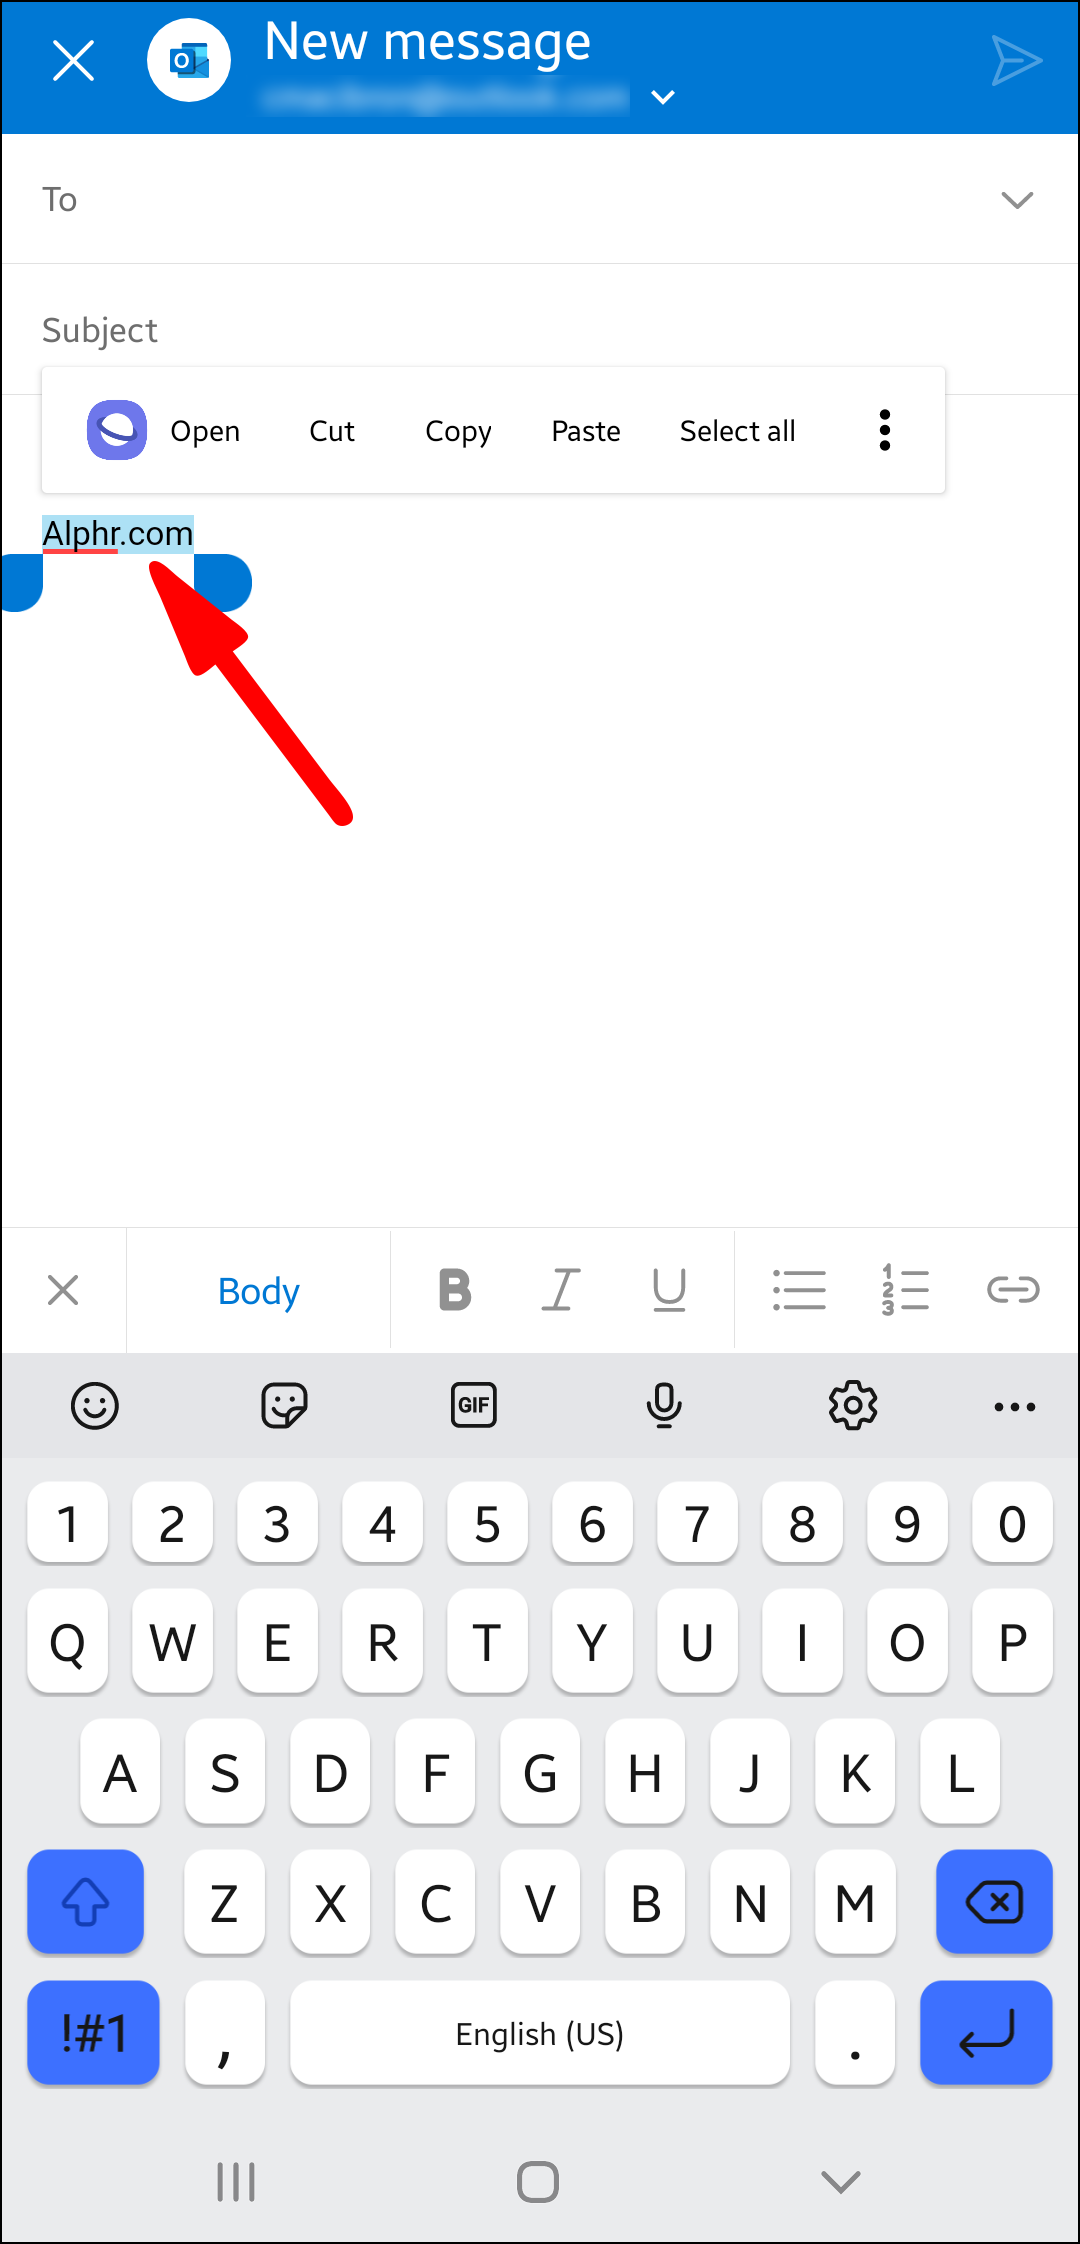
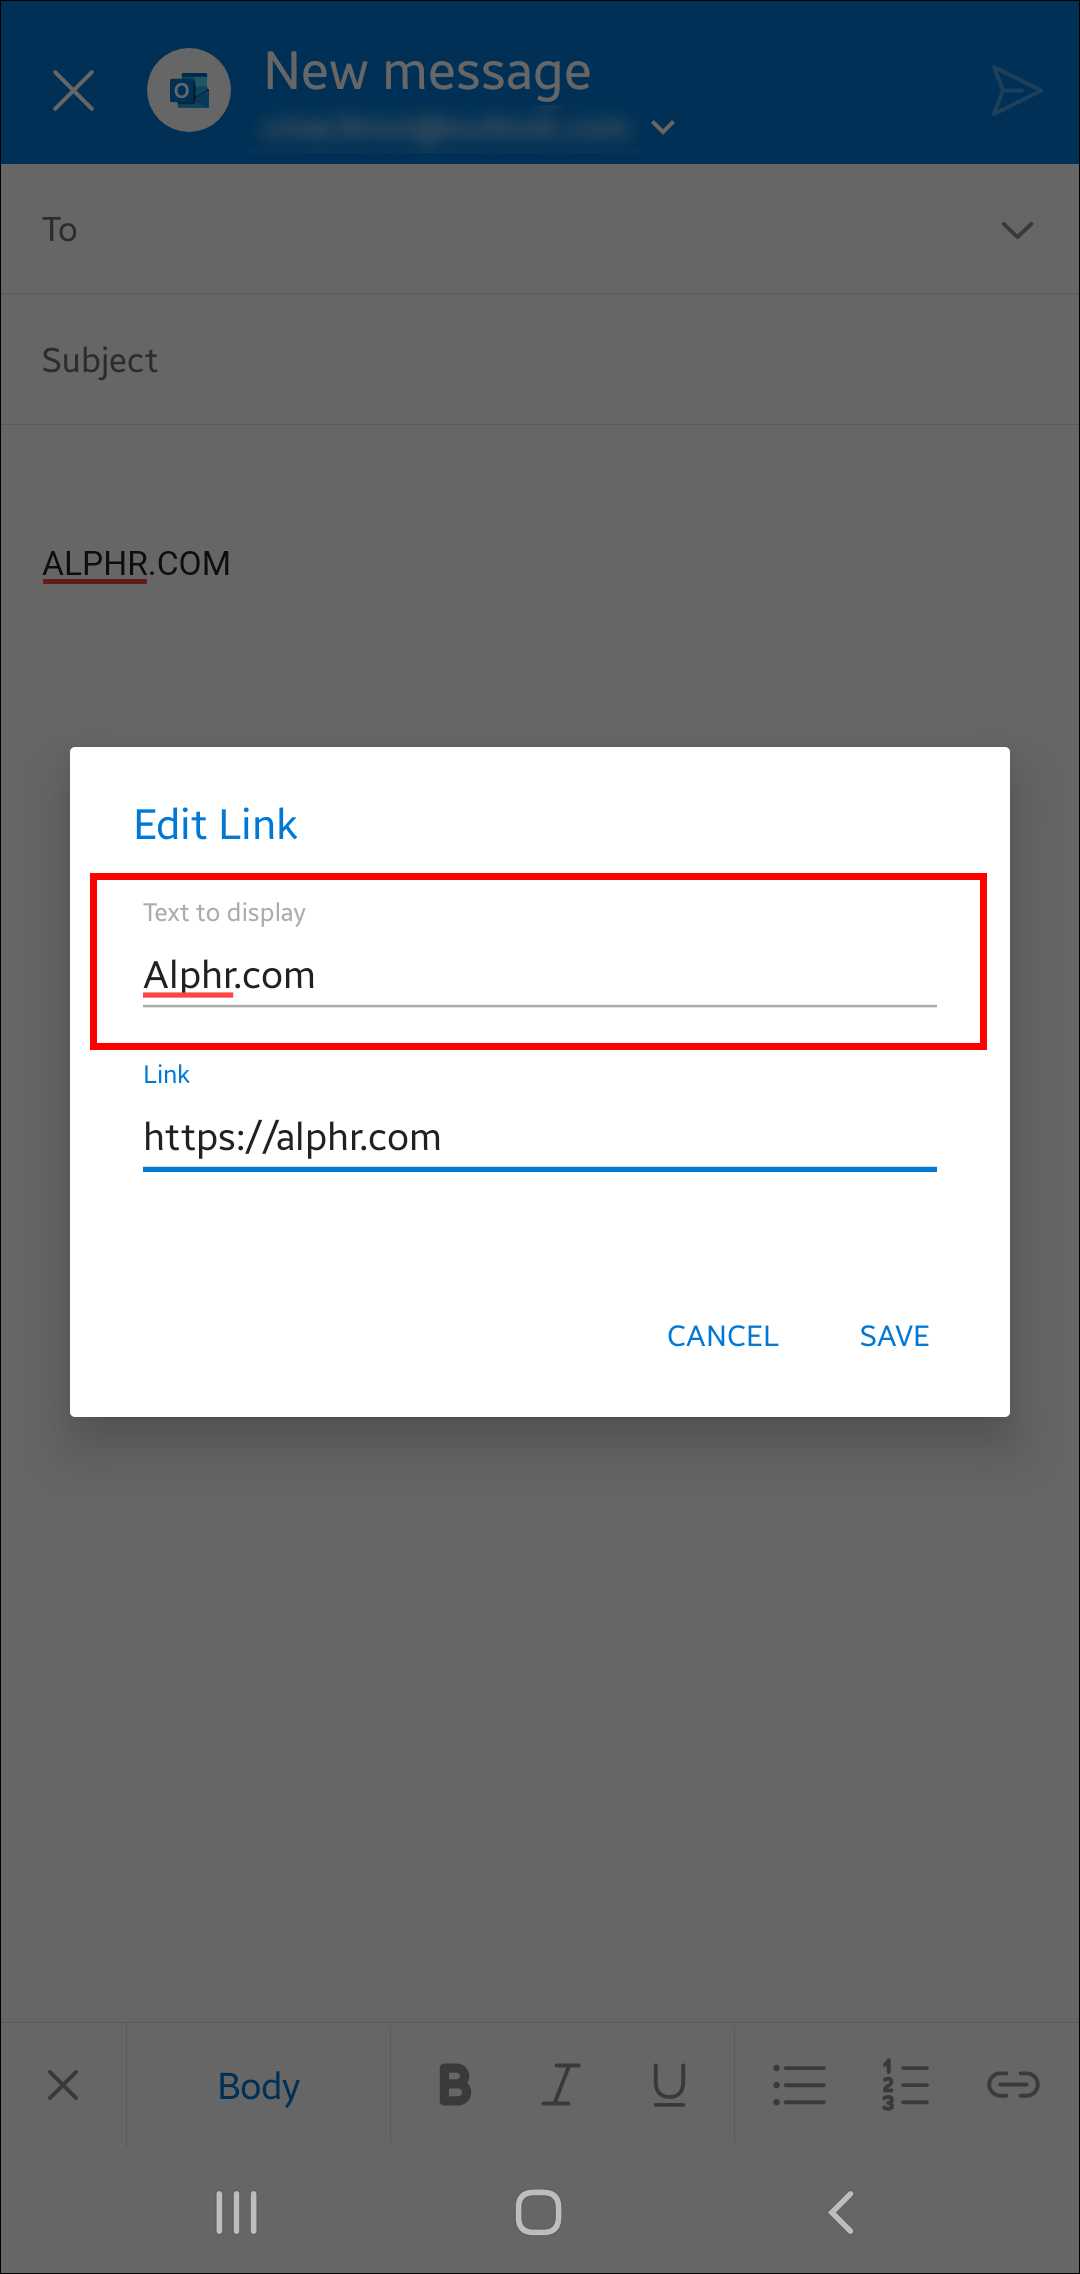
- Highlight the text you’ll change into a hyperlink.
- Click “Links” from the pop-up menu, then enter the web address.
- Copy the text signature on the hyperlink.
- Tap “Save” to apply it to the message.

Outlook 365 How to Set Up Signature
Office 365 users can upgrade their online communication by setting up an Outlook signature providing additional information about themselves. They can create a signature by using the web version of Outlook or the Outlook app.
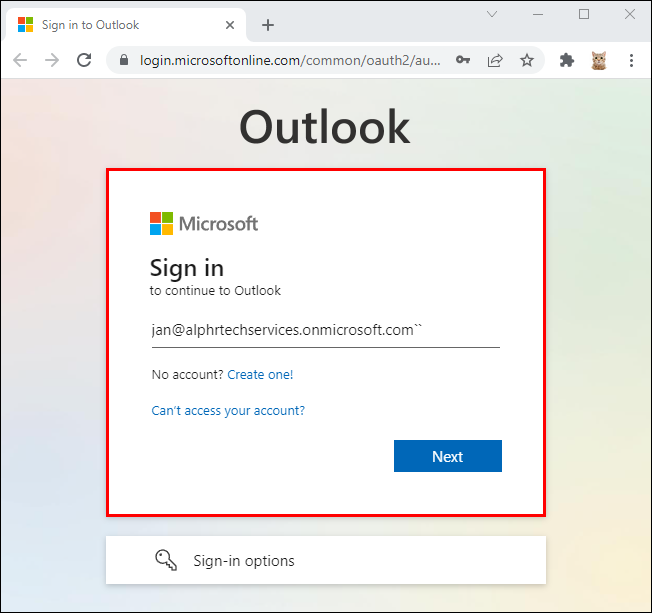
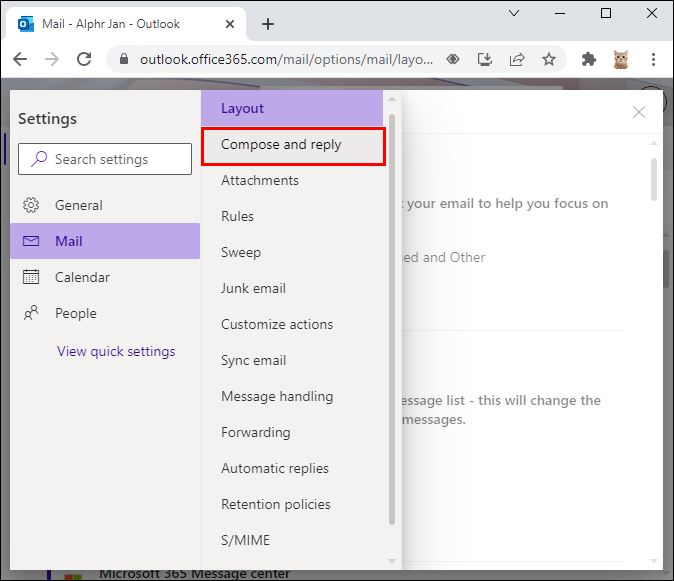
To create a signature on Outlook’s website:
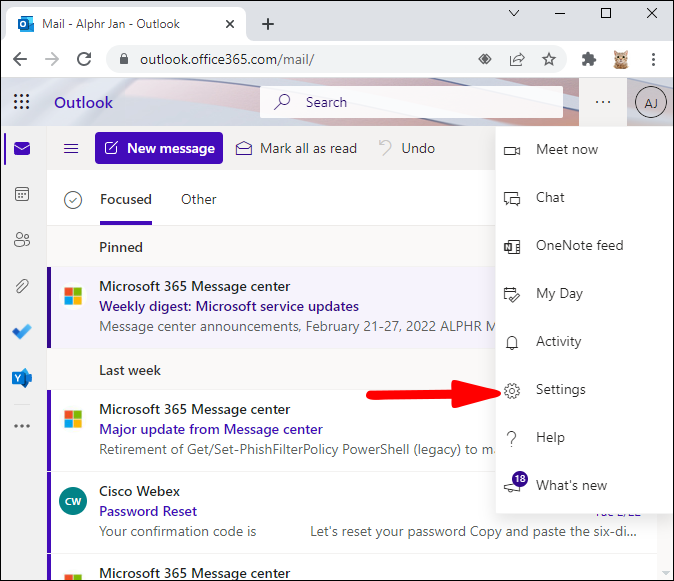
- Sign in to your account on the Outlook 365 page.
- Click the gear icon in the top-right of the page.
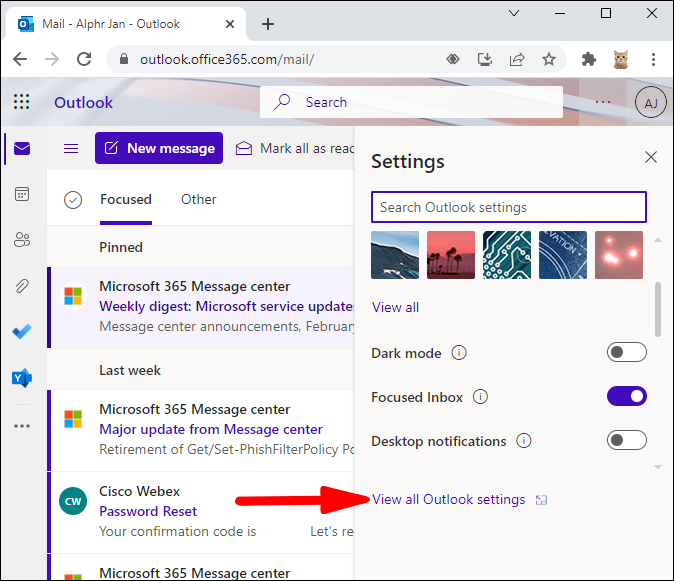
- Tap “View all Outlook settings.”
- Choose “Compose and reply” from the “Mail settings” card.
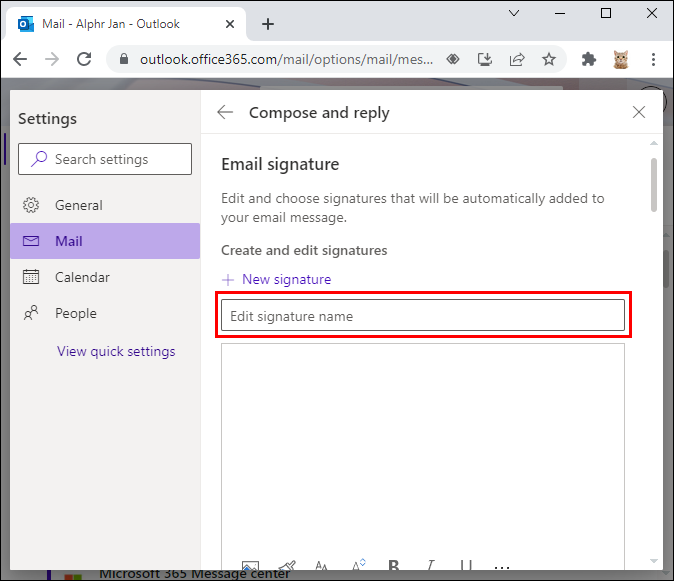
- Add and format the signature in the “Email signature” tab.
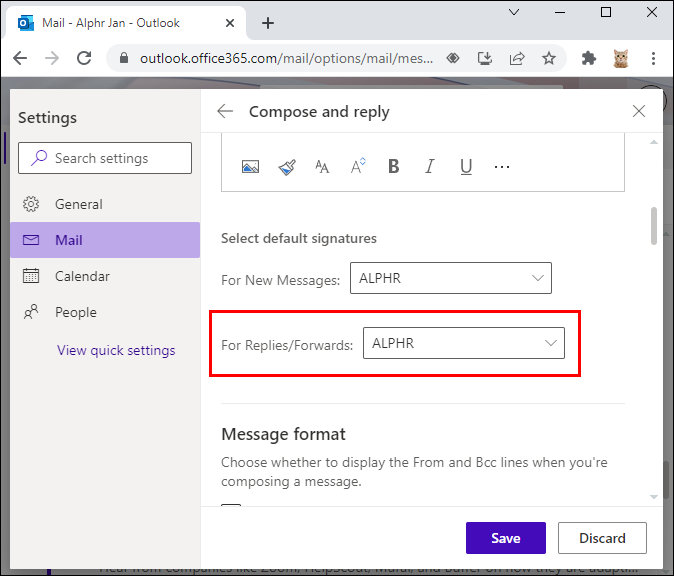
- Select the “Automatically include my signature on new messages I compose” to enable the signature on all outgoing emails.
- Tap the “Automatically include my signature on messages I forward or reply,” and the signature will be generated in your message replies or forwarded emails.
- Press “Save” to finish the action.


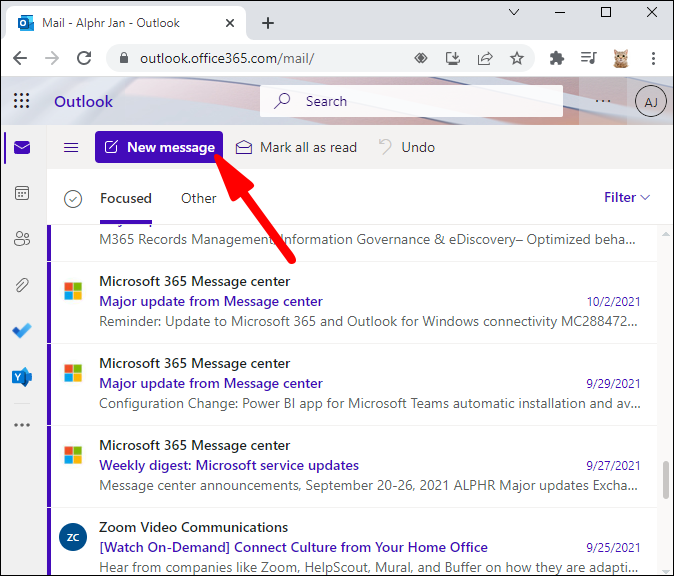
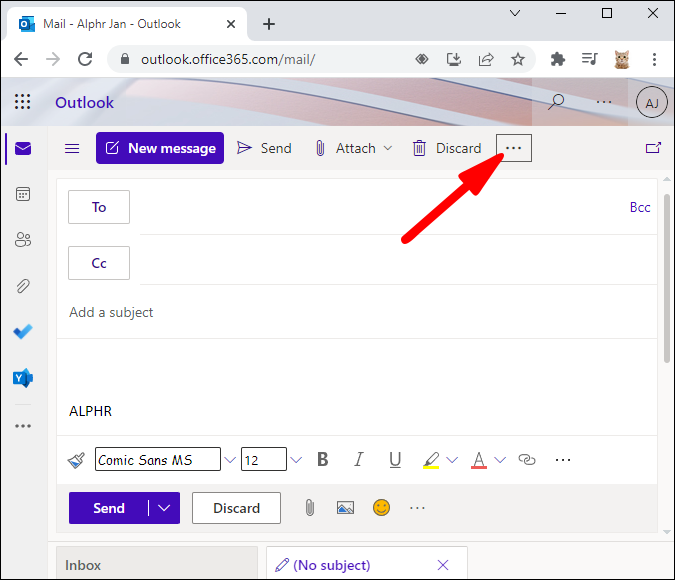
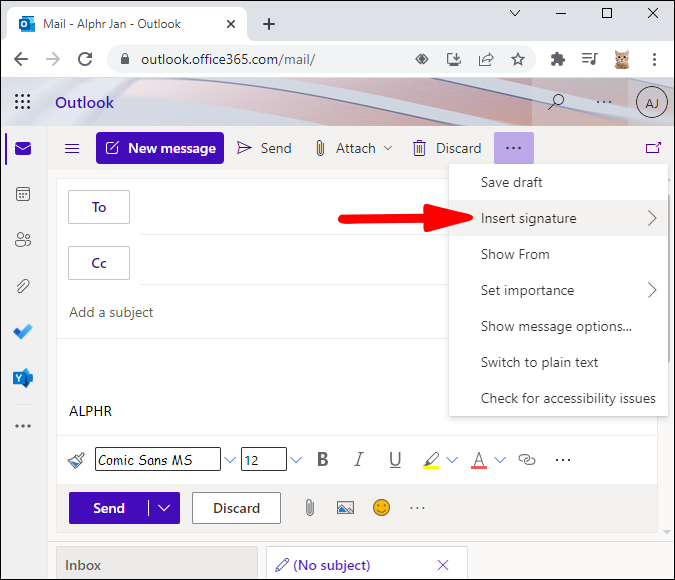
If you want to add a signature only to some messages, you can do it manually.
- Open a new message and craft the email.
- Tap “More options.”
- Select “Insert signature” to apply it to the message.
Here’s how to set a signature in the Outlook app:
- Open a message and click the “Signature” option.
- Choose “Signatures” from the pop-up menu.
- Press the “New” tab to create a signature.
- Enter the name of the signature.
- Type the details of the signature into the text box.
- Select your email address, and all new messages will include this signature.
- When you’re finished, tap “OK.”

If you haven’t selected your email address, you’ll need to manually add signatures to your emails. To do so:
- Open a new message.
- Choose “Signatures” from the tool options.
- Select your signature to add it to the message.
A Signature Way of Online Correspondence
With so many emails coming and going, forming deeper connections to the people we communicate with can be challenging. Setting up an Outlook signature will not only save you time but help you connect with people on a deeper level.
Hopefully, this article has cleared up any confusion about creating a signature in Outlook, regardless of your preferred device.
Have you tried making an Outlook signature before? Which device did you use? Let us know in the comment section below.
Disclaimer: Some pages on this site may include an affiliate link. This does not effect our editorial in any way.