Of all the Creative Cloud apps, Photoshop has been around the longest and accreted the most features. It sprawls across photo adjustment, retouching, montage, illustration, vector drawing, fine art, video editing, medical image processing, web graphics, animation, modelling and 3D printing, not to mention the endless other tasks to which it’s put regularly but for which it’s not intended.
This doesn’t stop Adobe thinking up new features to shoehorn in every year – even more often than every year, now that we have the subscription model. However, it would be fair to say expectations of mind-blowing innovation are muted. This time, there are a few additions to the image editing toolbox and a mixed bag of workflow changes, particularly for app and web designers.
Thanks to Adobe’s acquisition of the huge Fotolia library last winter, you can now find and buy stock images and video from Photoshop’s Libraries panel. Watermarked comps are ready to use and can be auto-replaced with licensed copies. Prices are keenly competitive with rivals like iStock, at £7 for any image, £24 for 10 images per month or £180 for 750 (£144 if paid annually).
However, there are no extended licences, exclusives or multi-seat plans, and Adobe insists truculently that if you use the same image for two clients you must license it again (although a subscription would make that meaningless). Early days, I suppose.

Dehaze filter
The new filter for 2015 is Dehaze. When you break the rule of not shooting into the light, but not so dramatically that anything interesting happens, you get low contrast and a disappointing picture. Dehaze is Adobe’s solution. It’s only available in the Camera Raw module (on the Effects tab), but it can be applied to JPEGs or other image files, via Filter | Camera Raw Filter, as well as to raw images on import.
Dehaze is also available in Lightroom, but not in Premiere, where it could be equally handy. You can actually grade video using Camera Raw within Photoshop, but I didn’t try Dehaze this way, since any filter that uses frame-by-frame analysis risks flicker (hello, Auto Color), and because editing video in Photoshop is for hipsters.
I tried Dehaze on several raw shots and found the results reasonably pleasing. Like third-party equivalents, such as DxO ClearView, it evidently uses a process similar to Shadows/Highlights, but the halo artefacts that you have to watch out for with that filter are very well controlled.
More noticeable is a tendency to hue-shift or desaturate a band of colours in the midrange. The rogue tones sometimes look as though they’ve been legitimately pulled out of the original image, sometimes not.
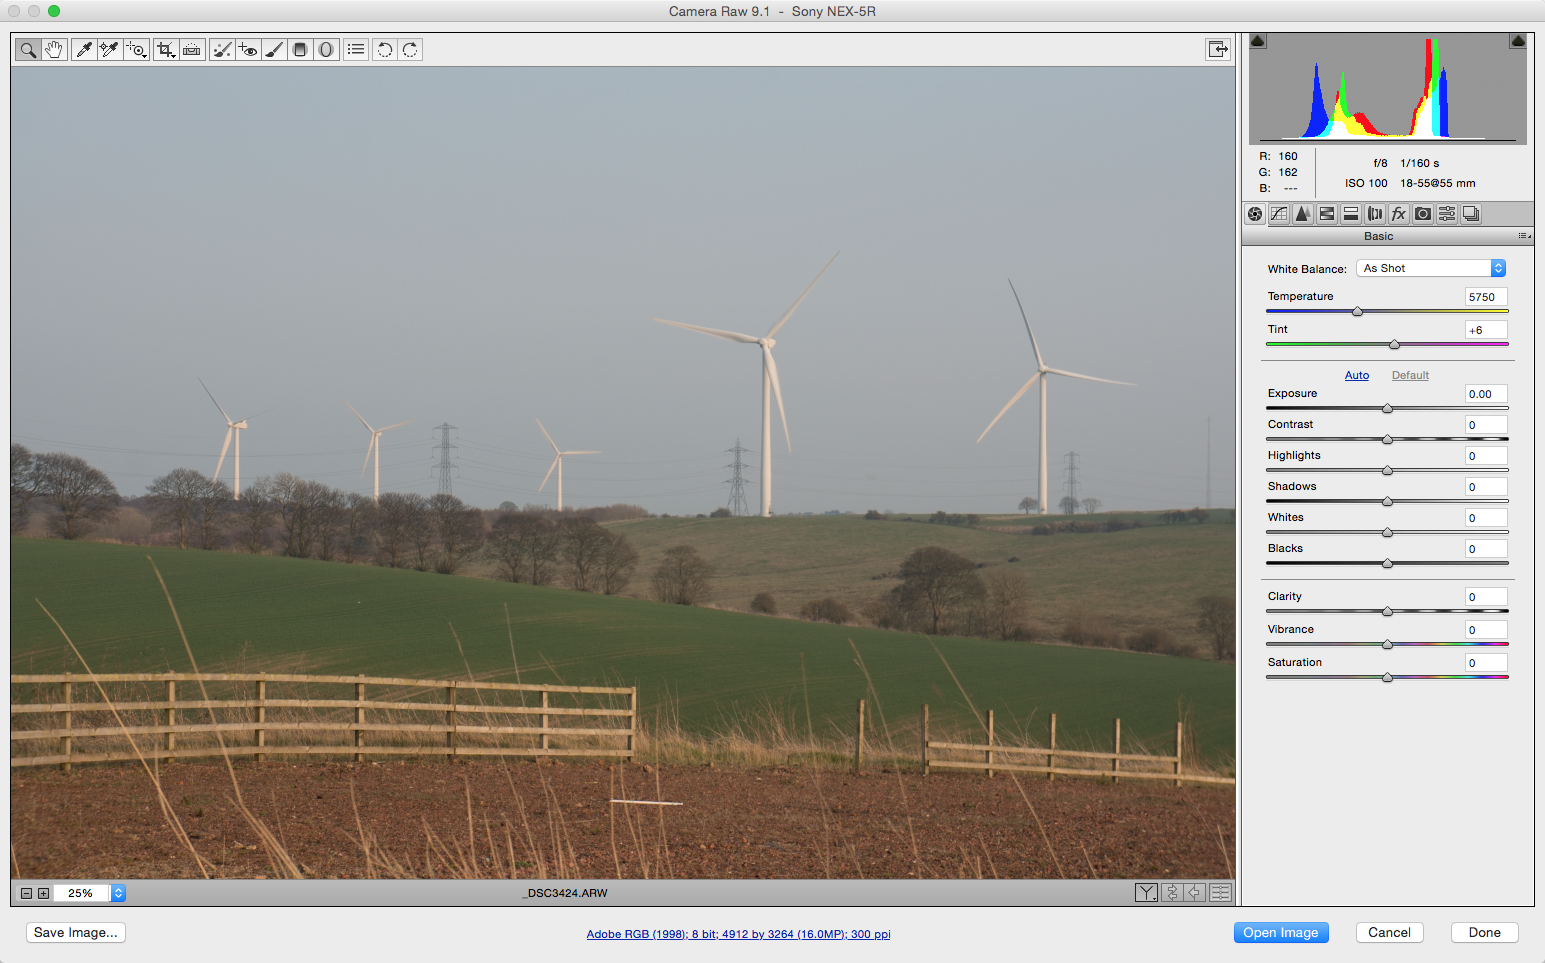
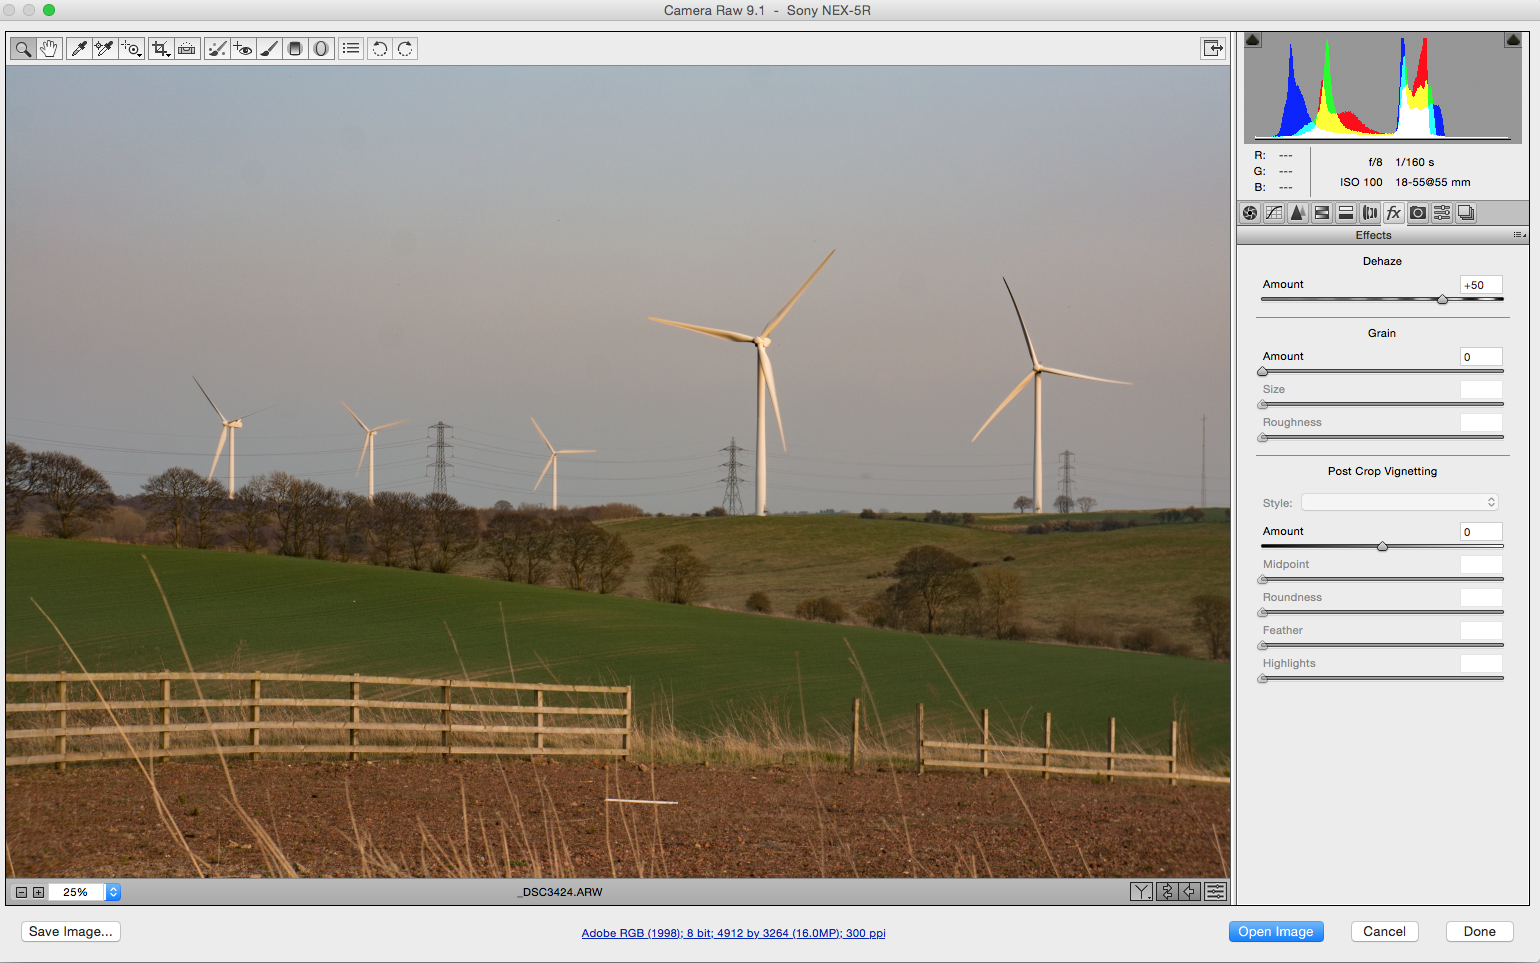
Compare the wind farm image corrected using the Basic sliders and using Dehaze: the latter produces a reddish stripe across the sky. A single Amount slider is all you get; there’s no advanced mode for tweaking. When it works, it’s a shot-rescuer, but it doesn’t work every time.
You can add grain on the same tab of Camera Raw, and, now, along with Uniform and Gaussian noise, within all the Blur Gallery filters. This saves the extra step of adding noise after an image’s original grain is smooshed out by your fancy blur effect.
Editing and effects
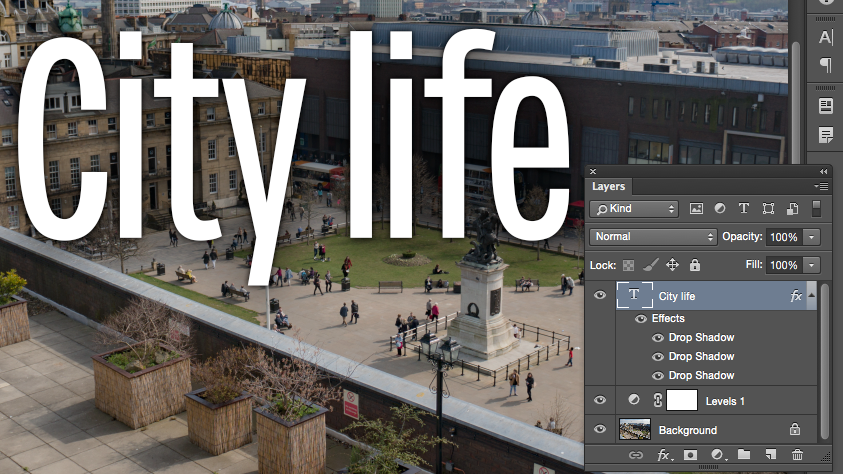
What else is new? You can apply the same Layer Style twice without having to duplicate the layer, a feature first requested four minutes after Layer Styles were introduced 15 years ago. I’m exaggerating, of course – it hasn’t really taken 15 years. Merely 14 years and nine months. Cheers for that, Adobe.
Healing, Spot Healing and Patch are faster, better and automatically detect marsupials, or something esoteric like that. Content-Aware Move, whereby Photoshop attempts to fit seamlessly an object in a photo you’ve drawn around and dragged somewhere else, now lets you rotate or flip (a feature that was already available for the Clone Stamp, but implemented differently).
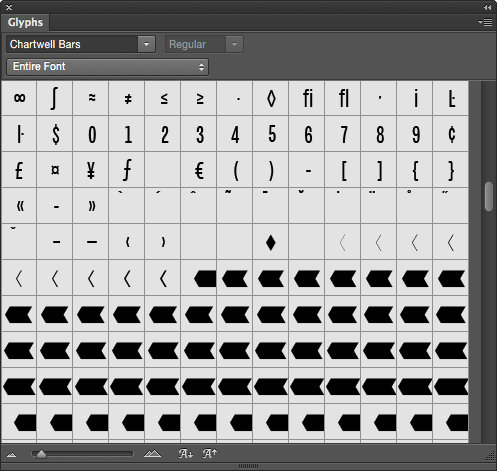
This should be handy for any photos containing no shadows. Oh, and there’s a Glyphs panel to find Unicode characters. This is actually quite useful.
If you’re really using Photoshop for 3D, there are new facilities to simplify models and refine output, whether on your desktop FDM printer or via online services. Along with more accurate bump maps from photos, which will also be of interest to 2D artists, you now get greater control over emboss and deboss when you apply them to 3D surfaces.
In case you missed it in April, Camera Raw has been updated with Merge to HDR and Merge to Panorama. These features work as you would expect, letting you preserve your raw dynamic range. Camera Raw 9 also gained GPU acceleration, but Adobe is being coy about which graphics cards are supported, saying only that you should be OK with anything “produced in the last 2-3 years” that has 1GB of VRAM (2GB for 4K screens) and does OpenGL 3.3. Multiple GPUs won’t be employed.

I couldn’t tell if the 2GB AMD Radeon HD 6970M in my 2011 iMac was helping or not, but nothing said it wasn’t (Premiere no longer lists it as supported, but does in fact use it, albeit to less than impressive effect). Photoshop in general still has wide GPU support, including for this and even earlier cards.
Adobe is readying itself for OS X 10.11’s introduction of the Metal API, a potential OpenGL replacement, in the autumn. That could mean big performance increases for Mac users with a fairly recent, fairly decent GPU, but perhaps points to dwindling efforts to cater for older kit. It’s not such a critical issue for PC users, who aren’t limited to old graphics cards Jony Ive found in a skip.
User interface
Talking of display support, HiDPI is here. Adobe was one of the first software makers to announce support for Retina screens when Macs got them, but a patchy rollout across its app portfolio left some users unimpressed. The Windows equivalent was previewed in CC 2014 and is now official.
Not everyone will be happy with the limited degree of control over UI and artwork scaling, but this isn’t unique to Adobe; although we now have screens sharp enough to stop worrying about individual pixels, user interfaces are still designed as though individual pixels really matter. I’ll come back to this in a moment.
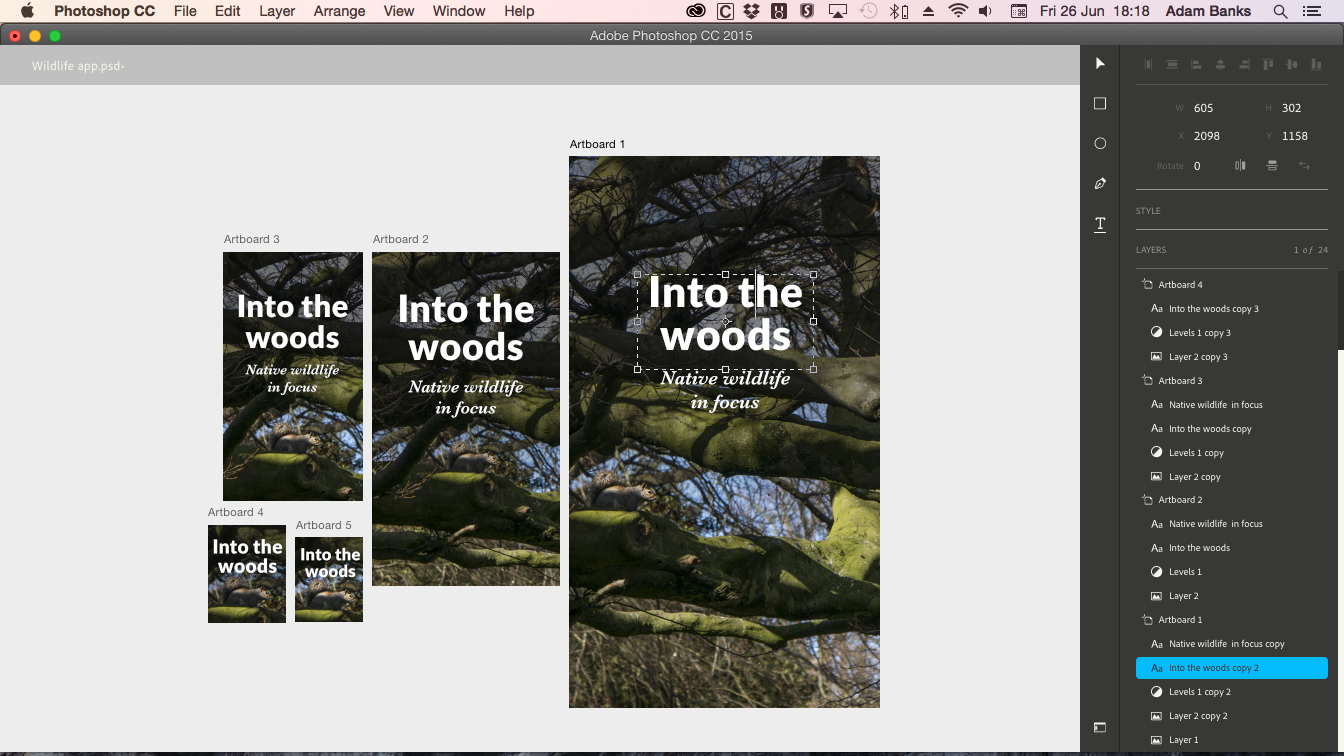
The biggest change to the way at least some people will work in Photoshop CC 2015 is that you can now have multiple artboards within a document. It’s touted as an aid to multiplatform graphics for responsive web design and apps, but could also work well for branding and packaging. You choose the Artboard option as a document type then add more artboards, within a single infinite plane, using an Artboard Tool.

This is reminiscent of Illustrator and InDesign: you draw a rectangle roughly where you want it, then adjust the size numerically or choose from a perfunctory selection of presets for popular device displays and icon formats. Layer | New | Artboard does the same thing without the need to drag rectangles, but it puts the new artboard on top of the last – the one place you definitely don’t want it.
Artboards could work better. The first one contains a default layer, but subsequent artboards don’t, so trying to add anything to your new artboard means you get tutted at by an alert. Affinity Photo, Serif’s upcoming rival image editor, makes a point of guessing what you’re trying to do and doing it (you can always undo), rather than popping up querulous alerts. I prefer its way of doing things.
Artboards appear in the artwork window as white rectangles on a grey desktop, and in the Layers palette as a kind of super-layer. Drag an item onto an artboard and it’s indented below it in the list, thus cropped by it. You can reposition it with the Move tool, but if it’s bigger than the artboard and your cursor ends up over another artboard then the item is moved to that artboard instead. It will take a bit of getting used to.

To move an artboard, you use the Artboard tool, but you first have to select the artboard. Not a layer within the artboard, you understand – that won’t do. In fact, so determined is Photoshop not to auto-select the artboard you clicked with the Artboard tool that if you hold Command to invoke Auto-Select, or have Auto-Select ticked for the Move tool, it breaks the Artboard tool’s ability to move artboards at all. This is a rather glaring bug.
Smart guides and snapping (if turned on) help you align your artboards neatly, which is a nice touch. This has no impact on your finished work, but, come on, we’re not animals.
Design for apps
If you use artboards to represent multiple target devices, you’ll have a work surface presenting them all arranged side by side, just as if the devices were laid out on a bench. Sounds great – except, if the devices were laid out on a bench, they’d appear at their size, not scaled to show equally sized pixels. I looked in vain for a key shortcut to toggle this “native zoom” mode.
As far as I can tell, there’s no way to do it except by manually creating a separate window for each artboard, then adjusting the zoom level manually. Hilariously, it remains the case that the only way to connect your workspace display pixel size to the physical pixel size of a target screen – so that you can quickly zoom to actual size – is to set its dpi in Image | Image Size, then choose View | Print Size. You can’t set dpi per artboard.
Nor is there any workspace support – still, in 2015 – for density-independent pixels. You can automate the output of multiple resolutions for @2x and @3x screens (see Photoshop’s evolution), but there’s nothing to help you manage visual scaling while you work.
I’m not primarily a UI designer, but I can’t imagine this is making anyone’s life easier, and it seems such an easy win for Adobe. Photoshop can already display multiple images at multiple scale factors without breaking into a sweat – how hard is it to add a few buttons to do the maths?
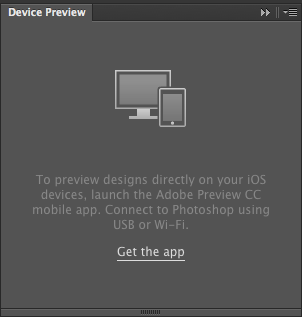
On the plus side, the Adobe Preview mobile app makes it easy to live-test your artboards on actual devices. It will even auto-detect which artboard to show on which device. At least, that’s the theory. When I tried it, nothing would induce Preview on my iPhone 6 to talk to Photoshop CC 2015 on my iMac over my Wi-Fi network. When I tried it an hour later, though, it worked as advertised. Adobe forum staff confirmed it can take a long time for the app to be recognised at present. You can also connect devices via USB.
Besides copying elements between artboards, you can create instances that update each other, and the new Linked Assets feature can sync Library assets with other documents and users. Artboards can also be exported independently. And thereby hangs a tale.
Photoshop’s evolution
Barely two years ago, some of us sat through a bunch of demos of an asset extraction facility called Generator, Adobe’s gift to interactive design workflows. By naming all layers according to a preset scheme, with pixel scaling indicated by “@2x” and so on, you could automate export to predefined formats, meaning a couple of keystrokes would update an entire folder of assets for a site or app. For individual users, this was a time-saver; for development teams, it was potentially a game-changer.
Well, a bullet has now been put in the head of all that, as Steve Jobs would have said. Apparently, users were ignoring it because it looked too complicated. Except for the ones who were using it, of course. Don’t panic, though, because while it has been “deprecated”, Generator hasn’t actually been removed yet. Adobe is “working to add functionality for multi-res” to the new “more intuitive” export toolset.
This is a blow to Adobe’s laudable effort to reflect the needs of the professional users whose work has changed markedly since Photoshop was originally created. An irony of additions like Generator, and now artboards, is that they’re intended to make tasks simpler for new-media users, but their existence contributes to the feature bloat that makes the same users close Photoshop and open Sketch.
But Adobe is reflecting that, too: a new Design Space mode strips down the interface to the essentials for graphics and interactions. It’s not finished yet, but, hey, subscription model, right? Besides, Sketch hasn’t had a major upgrade for more than a year.
Verdict
There’s still nothing that challenges Photoshop as a single, do-it-all image processing app. Lower-cost Windows rivals from the likes of Corel and Serif still aren’t as complete (even within their core features) or robust, and Mac newcomers like Acorn and Pixelmator have too many infelicities to capture more than a fringe of serious users. Affinity Photo, when it emerges from beta shortly, will compete with an imaginary point somewhere between Photoshop and Lightroom, so it’ll be interesting to see how that goes.
Unless you’re implacably opposed to rented software, though, Photoshop is ludicrously good value, at £8.57 per month (for an annual subscription paid monthly) with Lightroom thrown in, and as part of a full Creative Cloud subscription it’s a no-brainer. It may still be far from perfect after 25 years, but I’m not looking to switch.
Disclaimer: Some pages on this site may include an affiliate link. This does not effect our editorial in any way.


