One of the most impressive features of QuickTime is effortless screen recording. You don’t need to be tech-savvy to start recording your display, but you may have trouble ending your session. This can happen if you can’t find the “Stop” button.
We’ll help you resolve the issue by showing you how to stop screen recording in QuickTime in a few different ways. The article will also cover how to edit a QuickTime recording before stopping and how to stop recording in other popular apps.
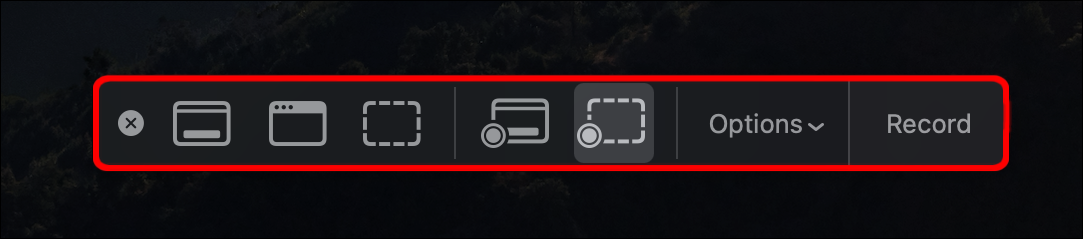
How to Stop Screen Recording in QuickTime
QuickTime is a relatively easy-to-use platform. Here’s what you need to do to start and stop your screen recording:
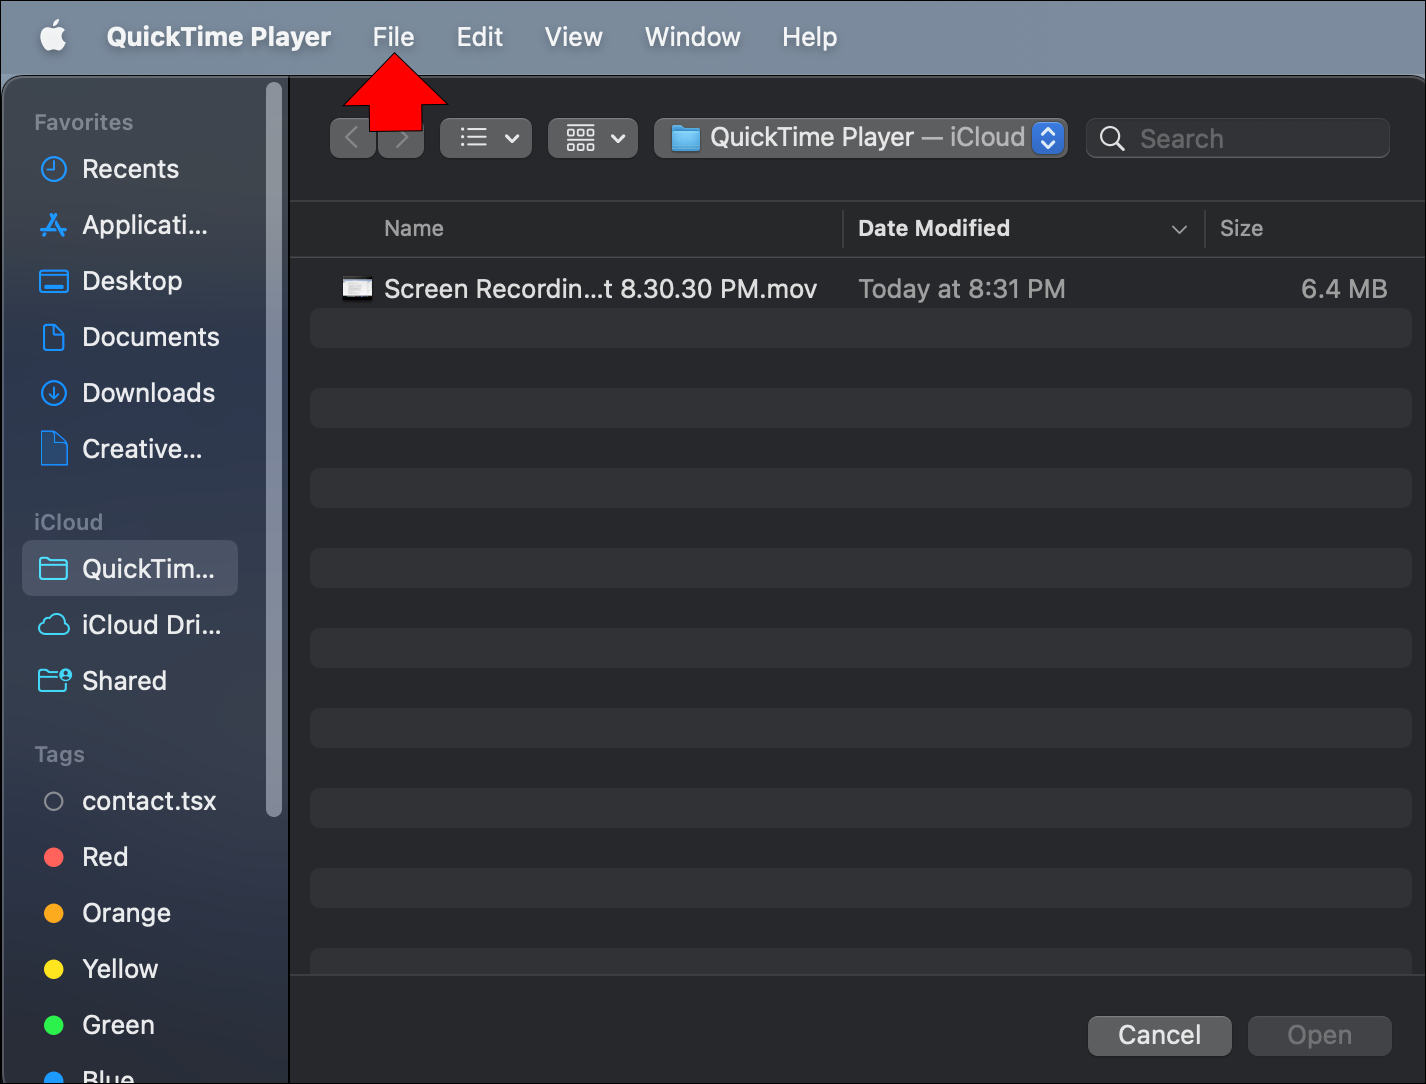
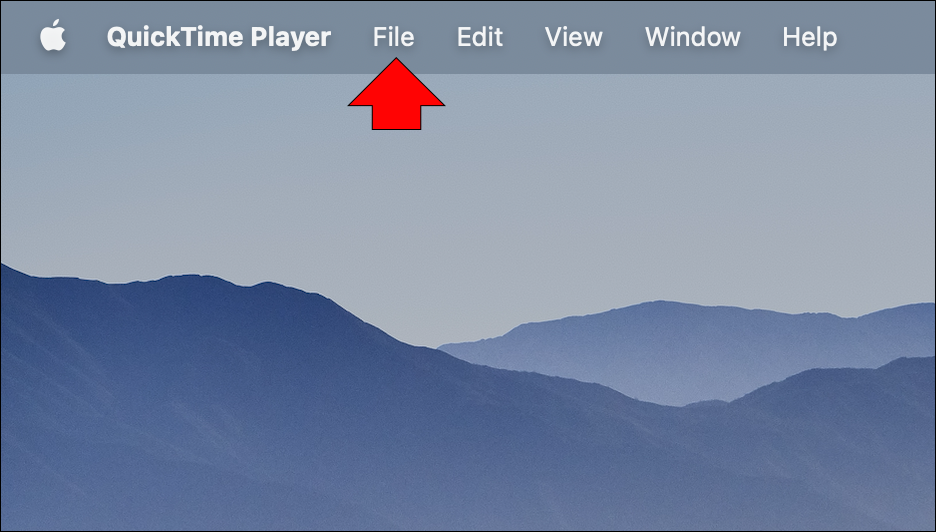
- Launch the app and press “File.”
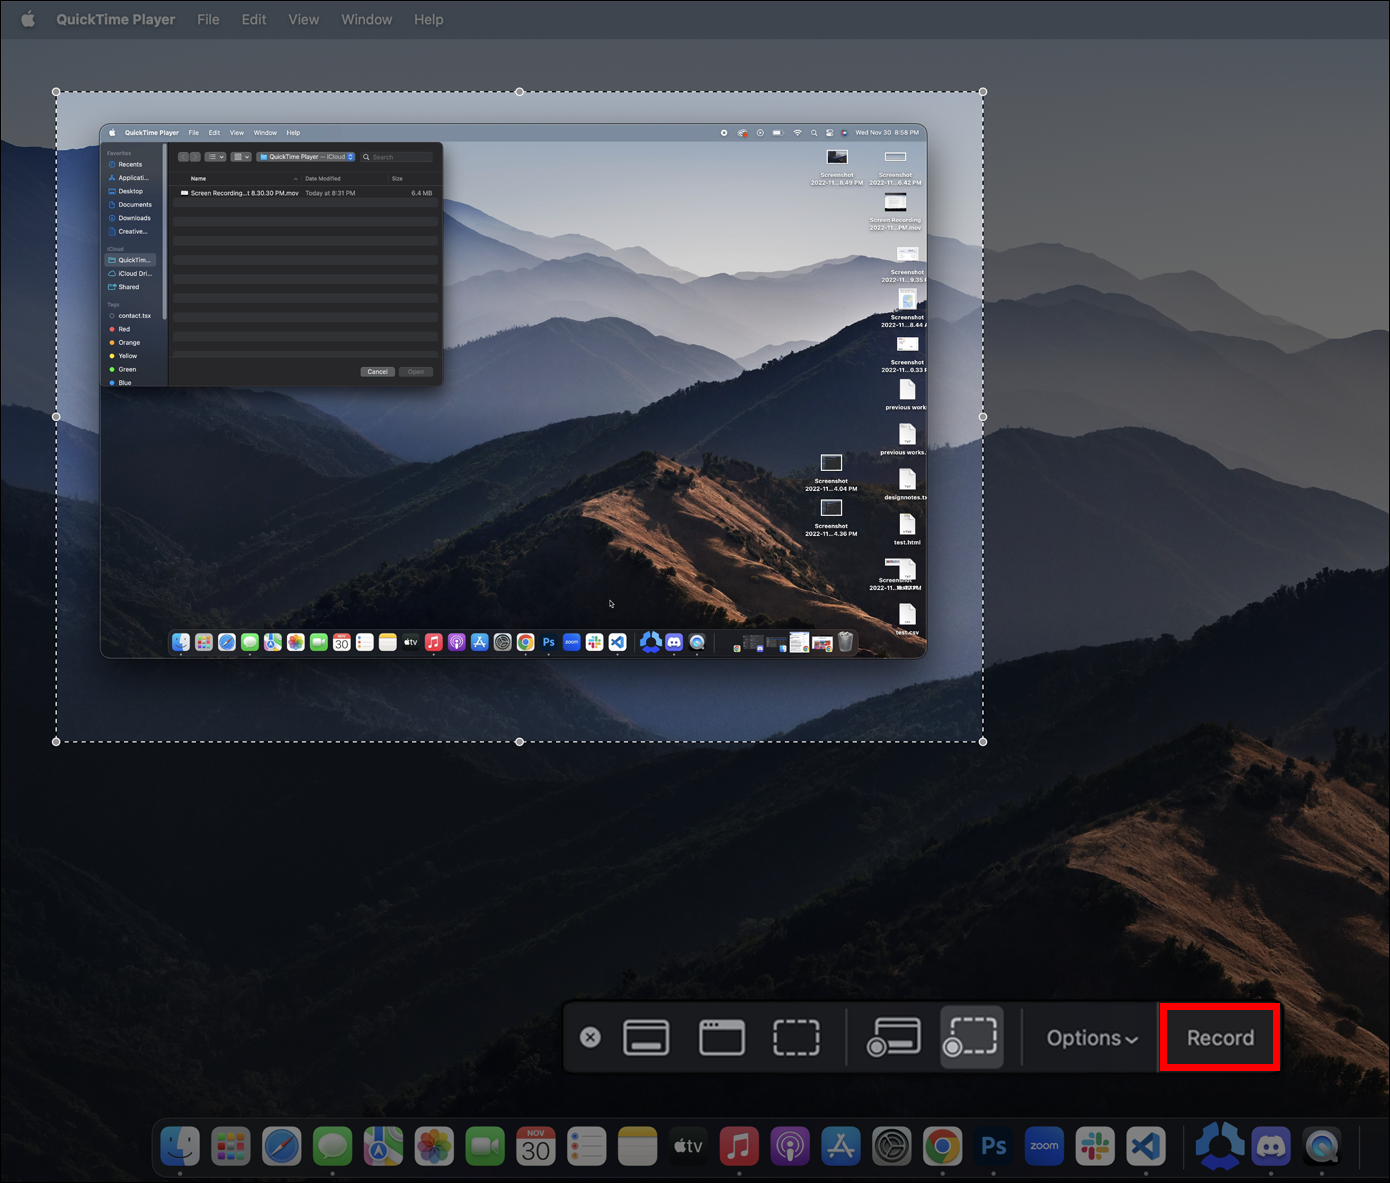
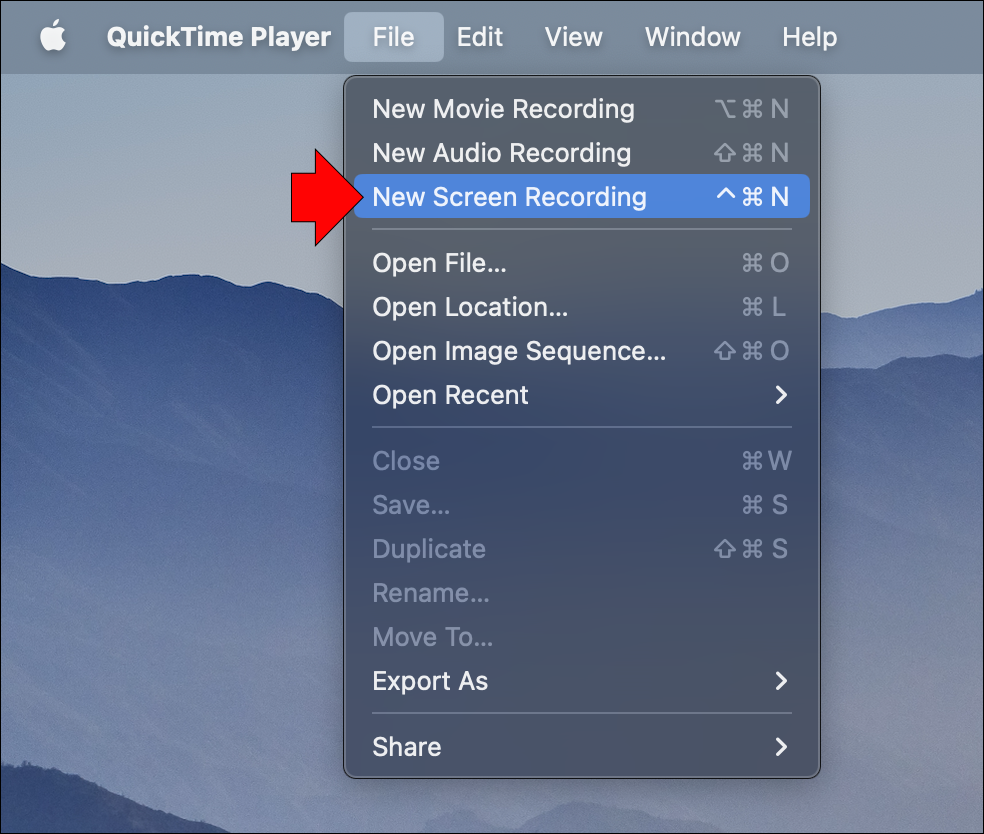
- Go to “New Screen Recording.” The program should now start filming your screen. Alternatively, activate the feature by pressing the “Ctrl + N” or “Command + Option + N” shortcut, depending on whether you use a Windows or Mac computer.

- Adjust your screen recording preferences, like the audio source, and press the red button to initiate the recording.
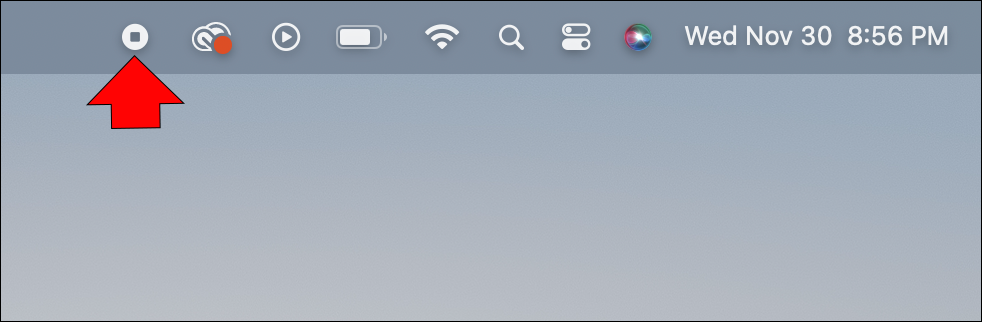
- After filming your display, hover over your recording bar and click “Stop.” If you can’t locate your recording bar, hit the “Escape” button, which should bring up the “Stop” command. You can also press the “Ctrl + Escape” or “Command + Escape” to terminate the process.
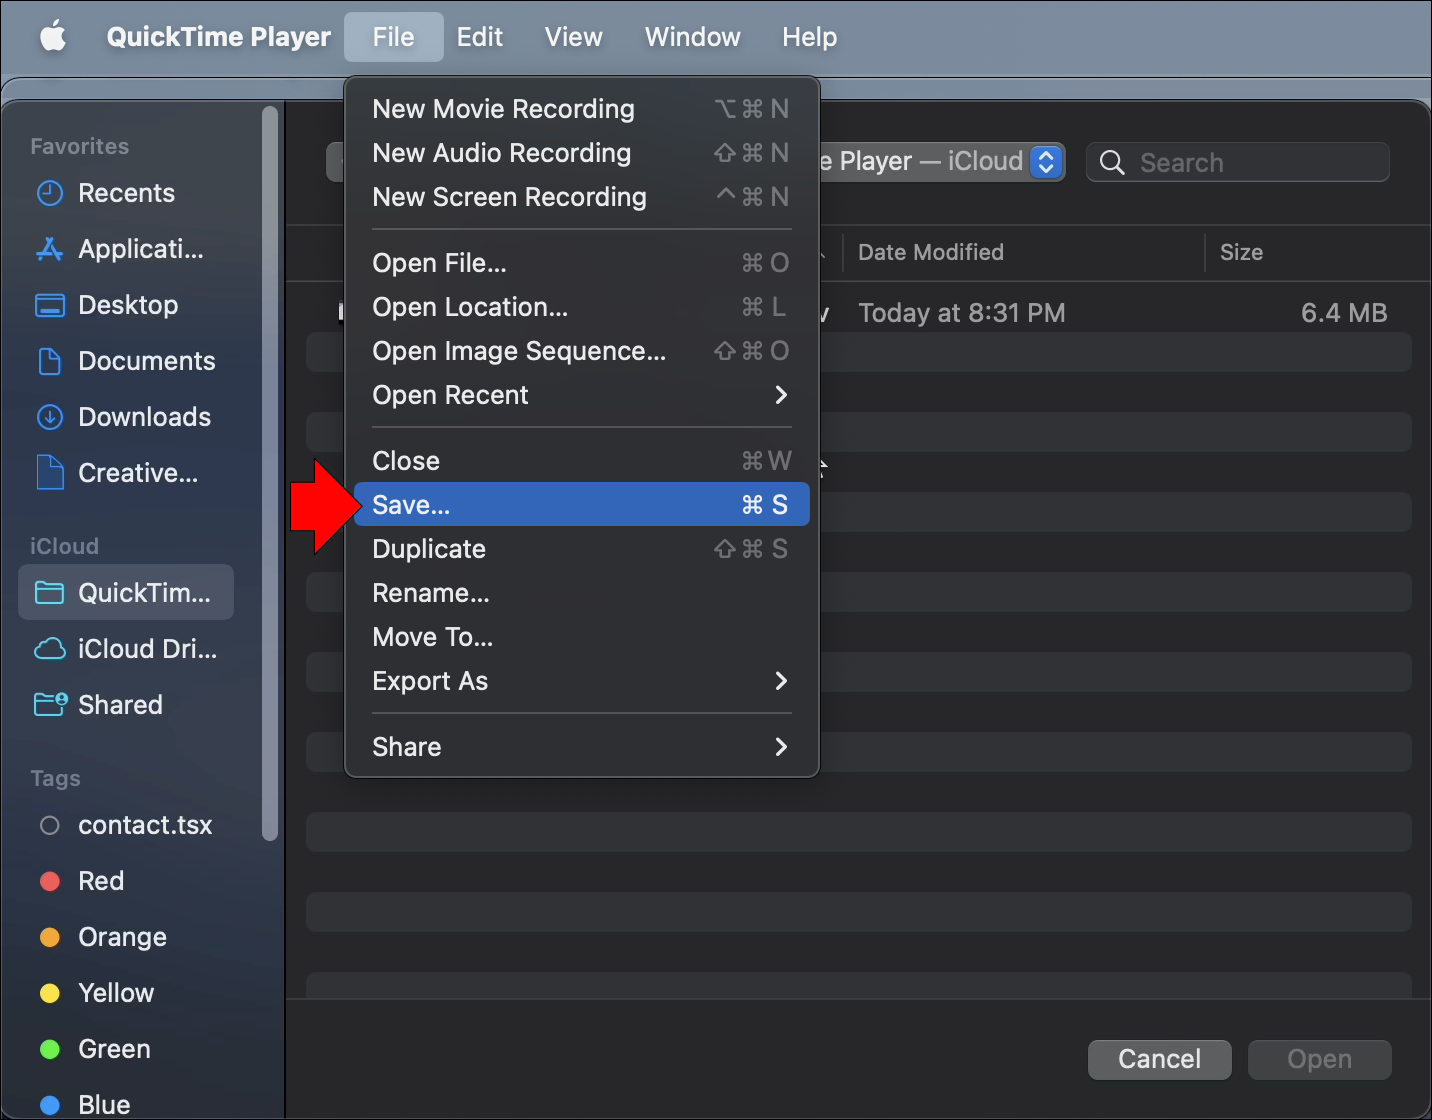
- Return to the menu, choose “File,” and select “Save” to save your recording to the device.

The above solution works great in most situations. However, QuickTime may not always work correctly on your device. The app is prone to freezing, making it unresponsive to your commands. In this case, you might need to force-quit the application.
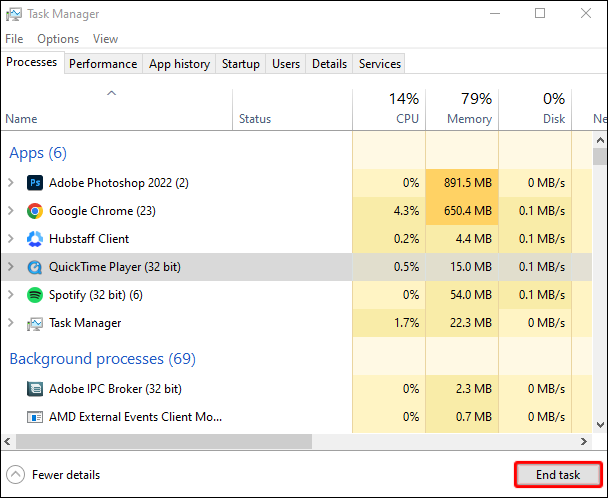
You’ll need to use the Task Manager if you’re a Windows user.
- While recording your screen in QuickTime, press the “Ctrl + Alt + Delete” key combination.
- Choose “Task Manager.”
- Navigate to the “Processes” tab and find the program you want to force-quit (QuickTime).
- Press the “End Task” button and wait for the OS to terminate the process.


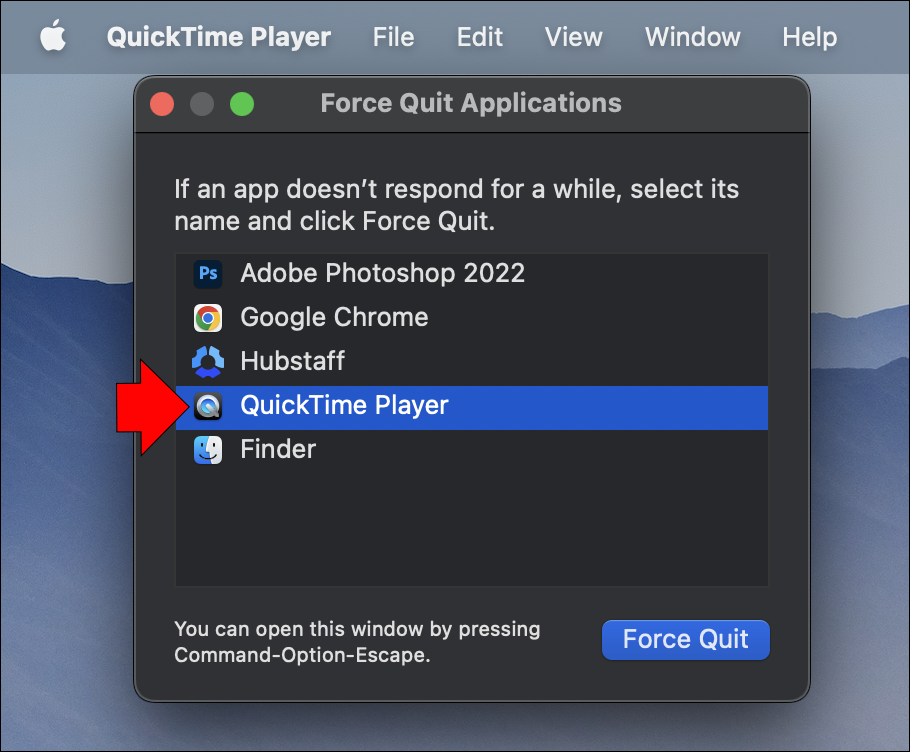
If you’re a Mac user, you can use three methods to force-quit QuickTime screen recording.
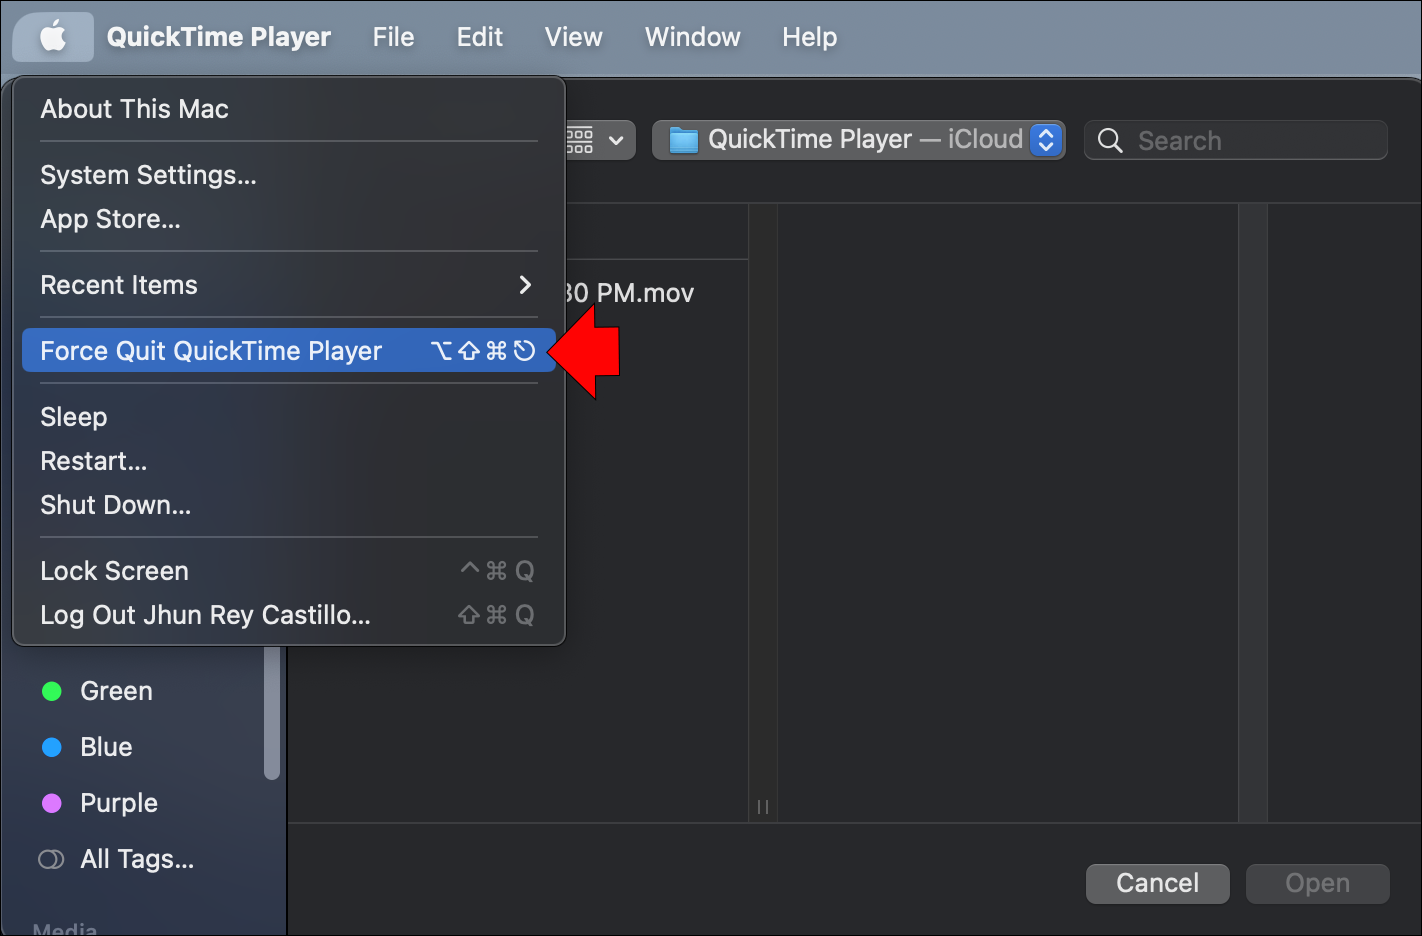
- Navigate to your Apple menu.
- Select the “Force Quit” window to open your Force Quit application.
- Choose “QuickTime Player.”
- Press “Force Quit” to confirm your decision. The system should now shut down the app and end your recording. Keep in mind that this interrupts your session.

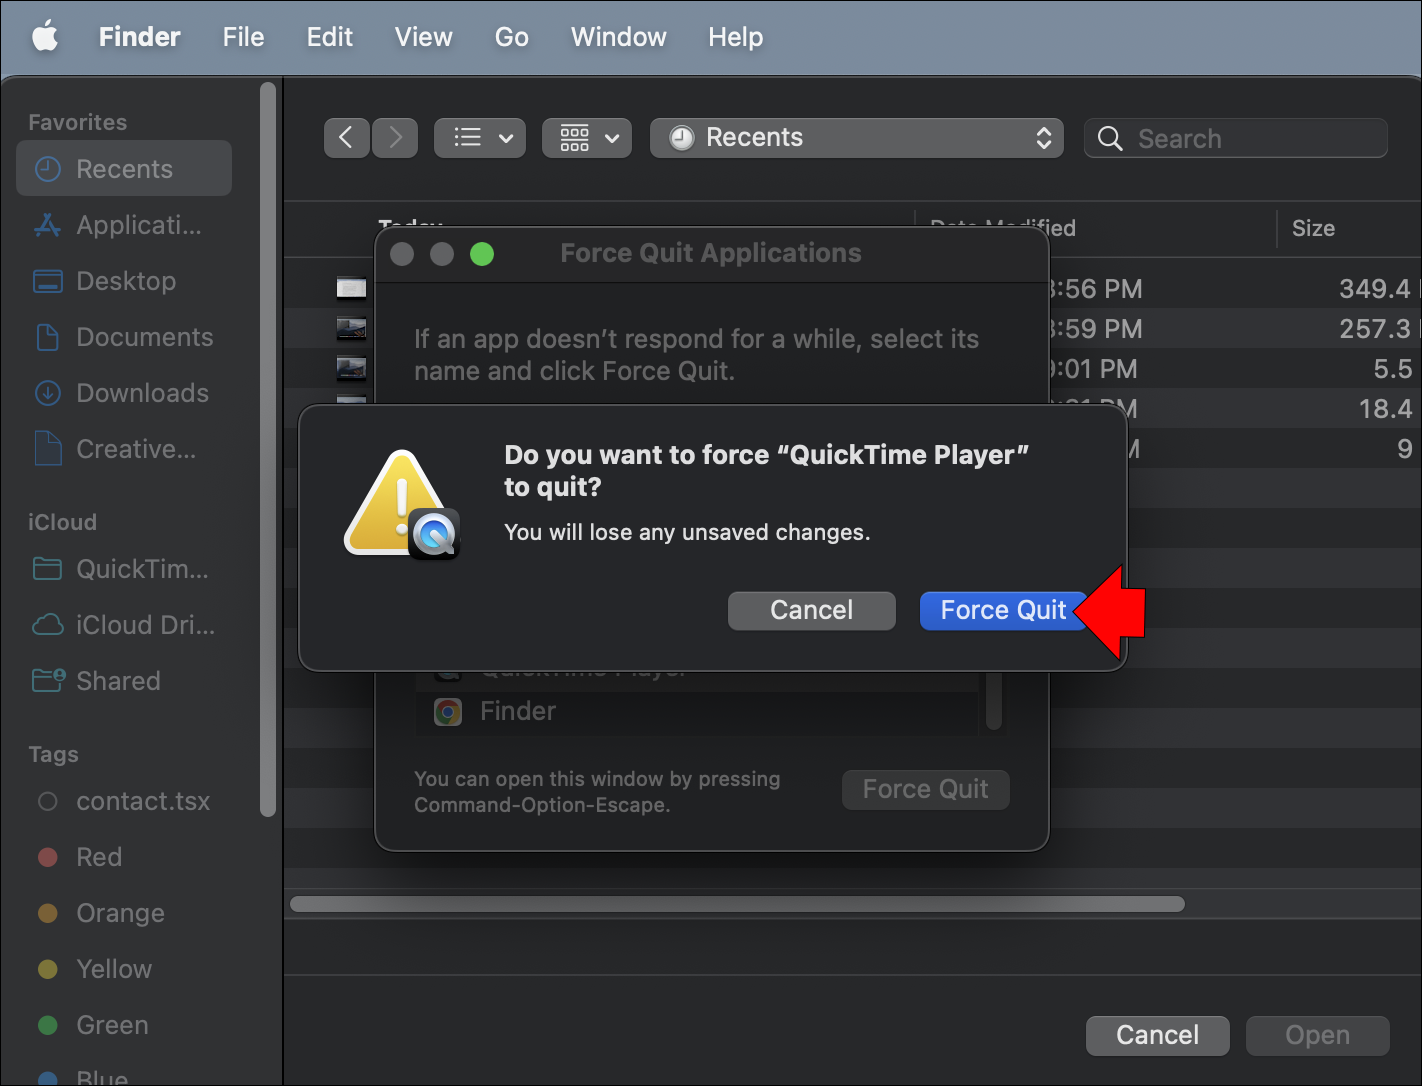
Here’s another way to force-quit QuickTime recordings on Mac.
- Strike the “Option + Command + Escape” keys simultaneously.
- Explore the “Force Application” window until you find “QuickTime Player.”
- Highlight the app and press “Force Quit” to terminate the recording. Again, you can’t save your recording if you shut down the app this way.

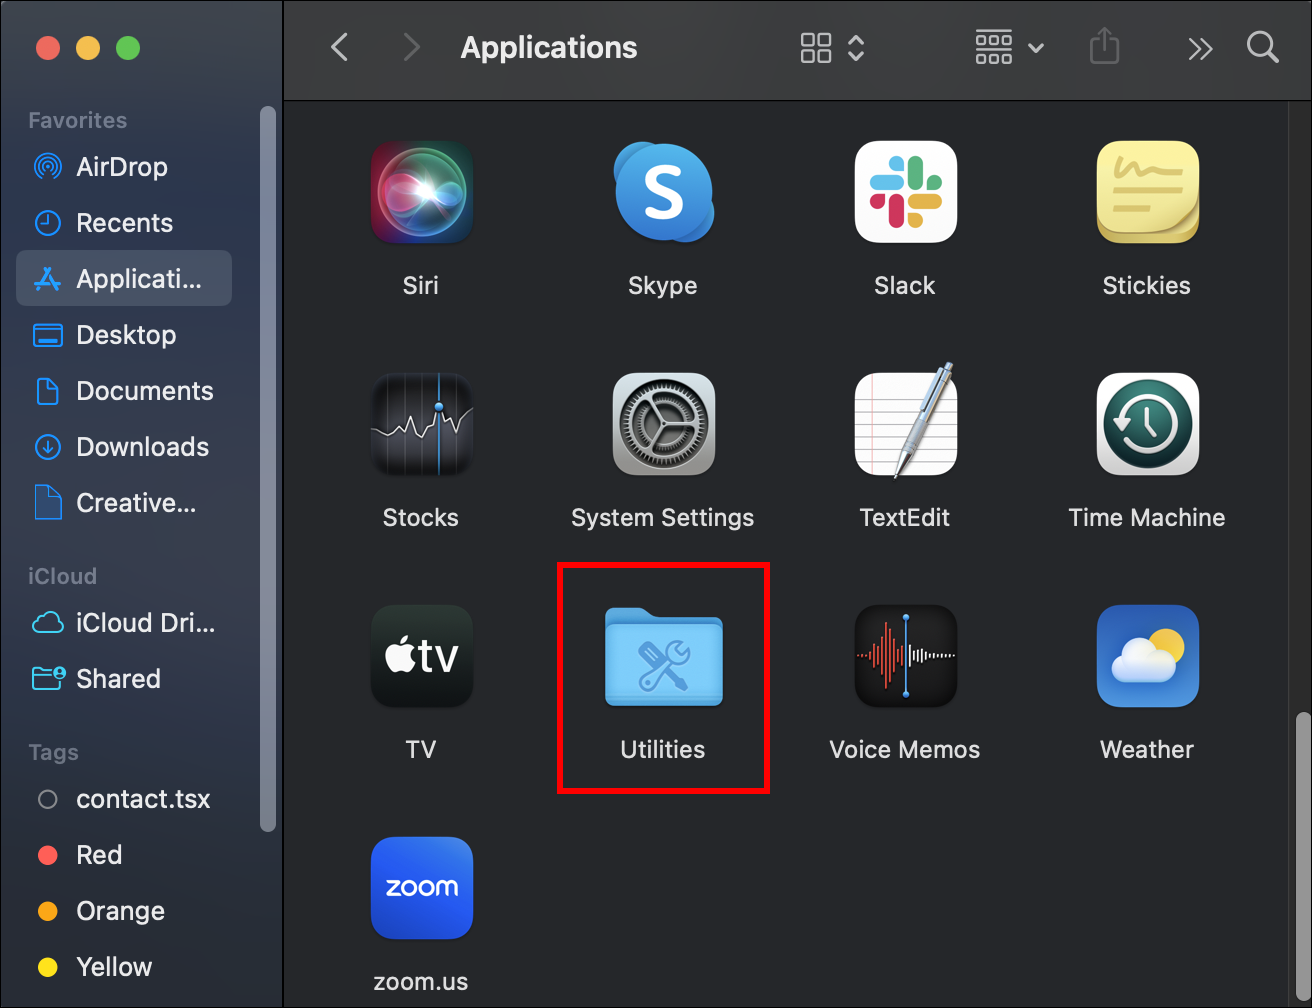
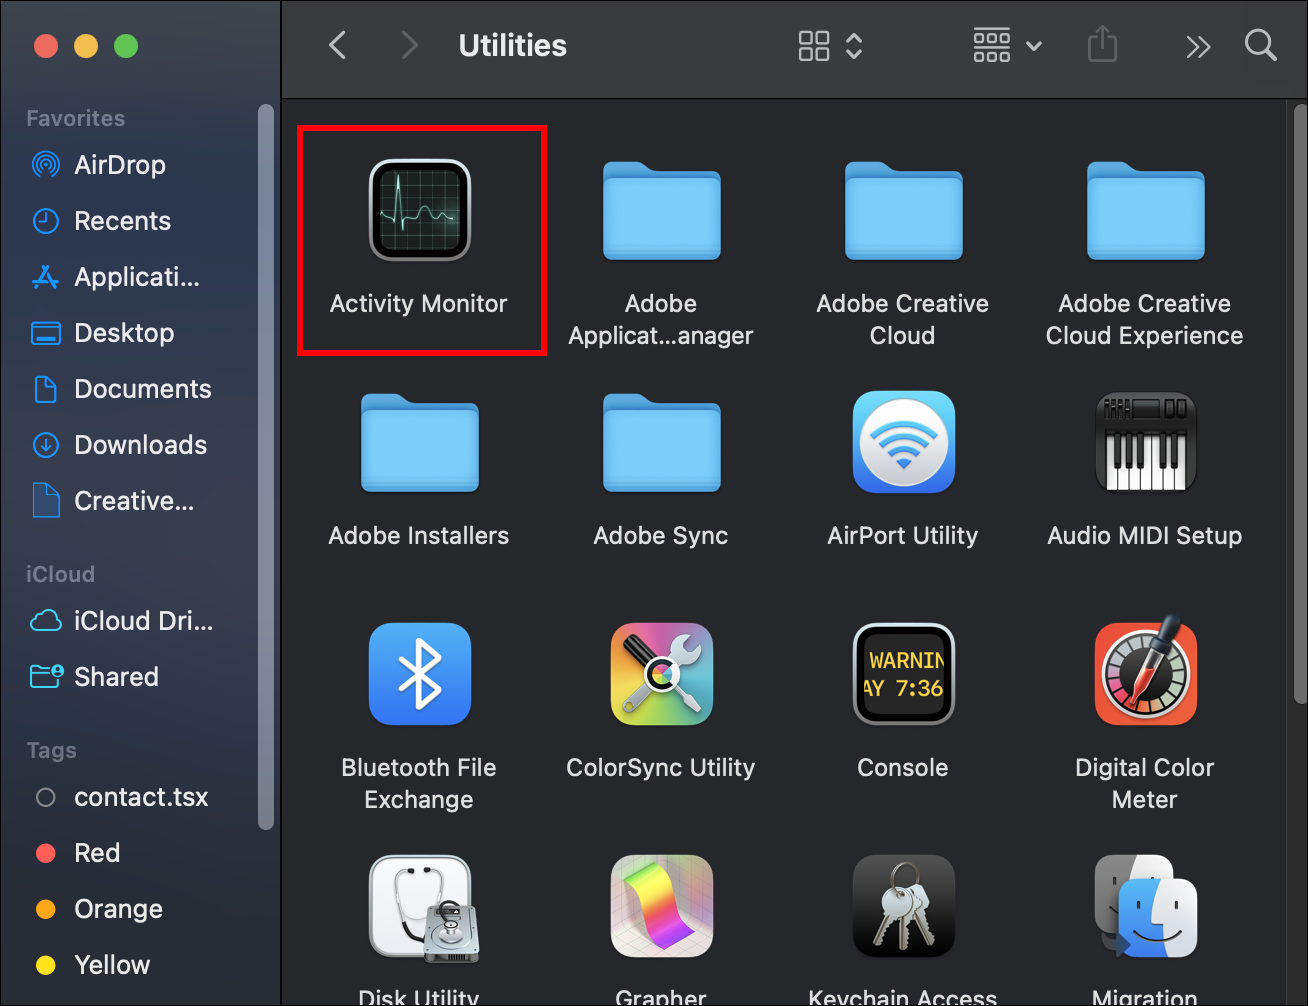
Finally, you can manage active applications on your computer using the Activity Monitor. Like Task Manager on Windows PCs, this program lets you end various programs and processes, such as QuickTime screen recordings. This is how the method works:
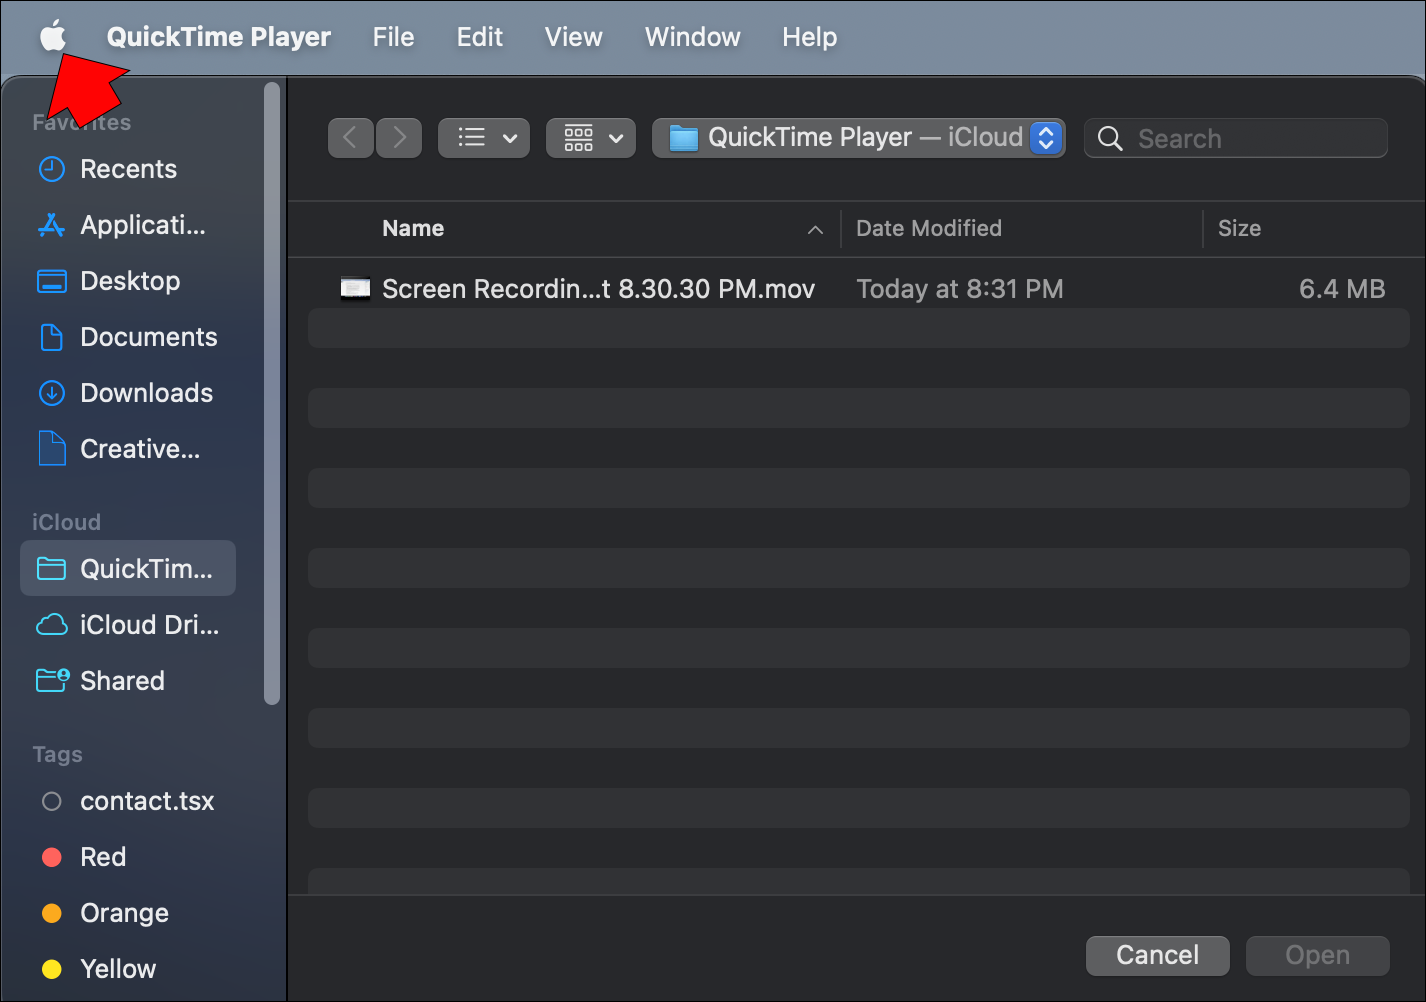
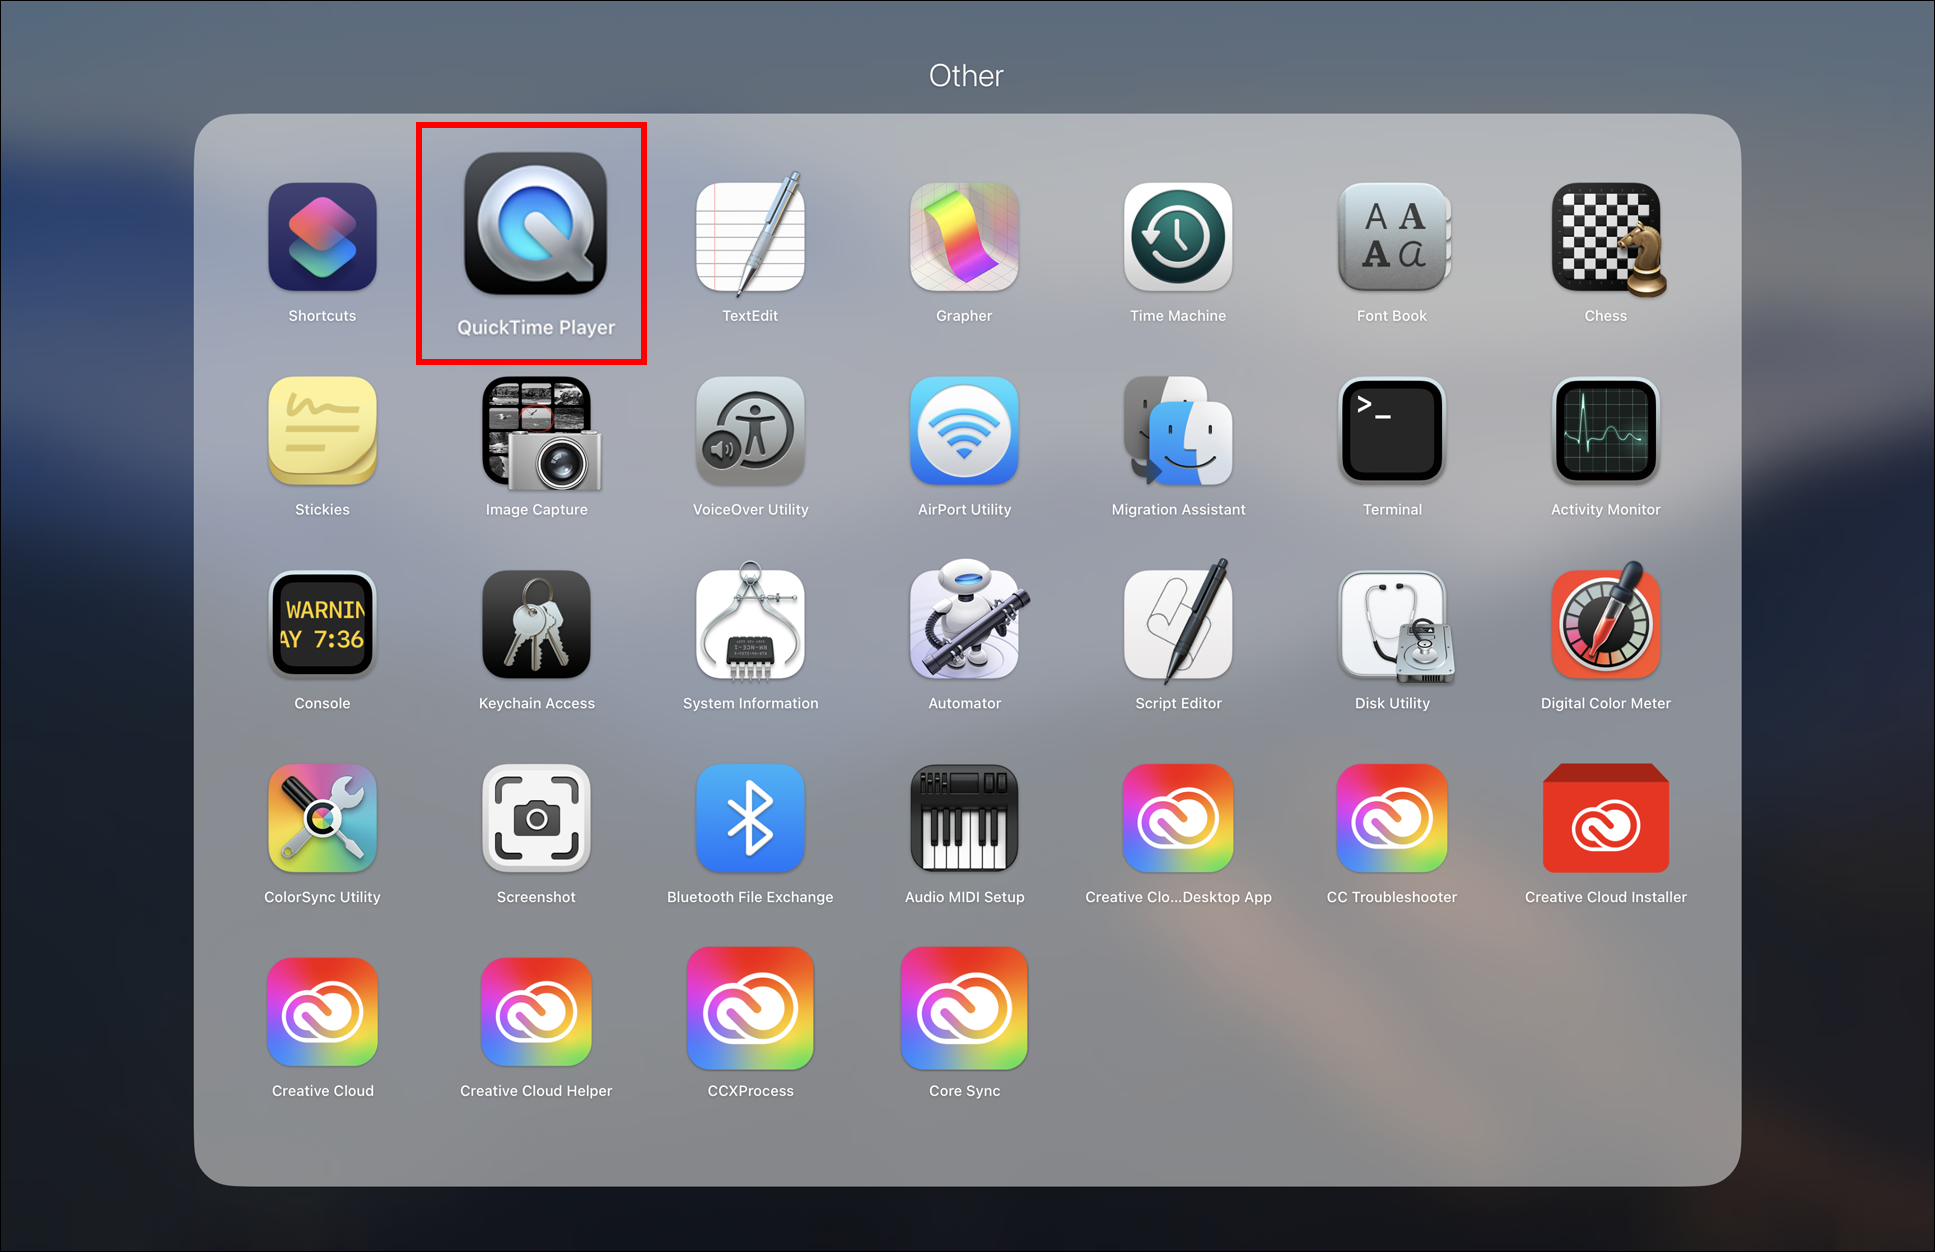
- Open “Finder,” followed by “Applications” and “Utilities.”
- Choose “Activity Monitor.” If you can’t find this utility, use Spotlight Search.
- Browse the processes and pick “QuickTime Player.”
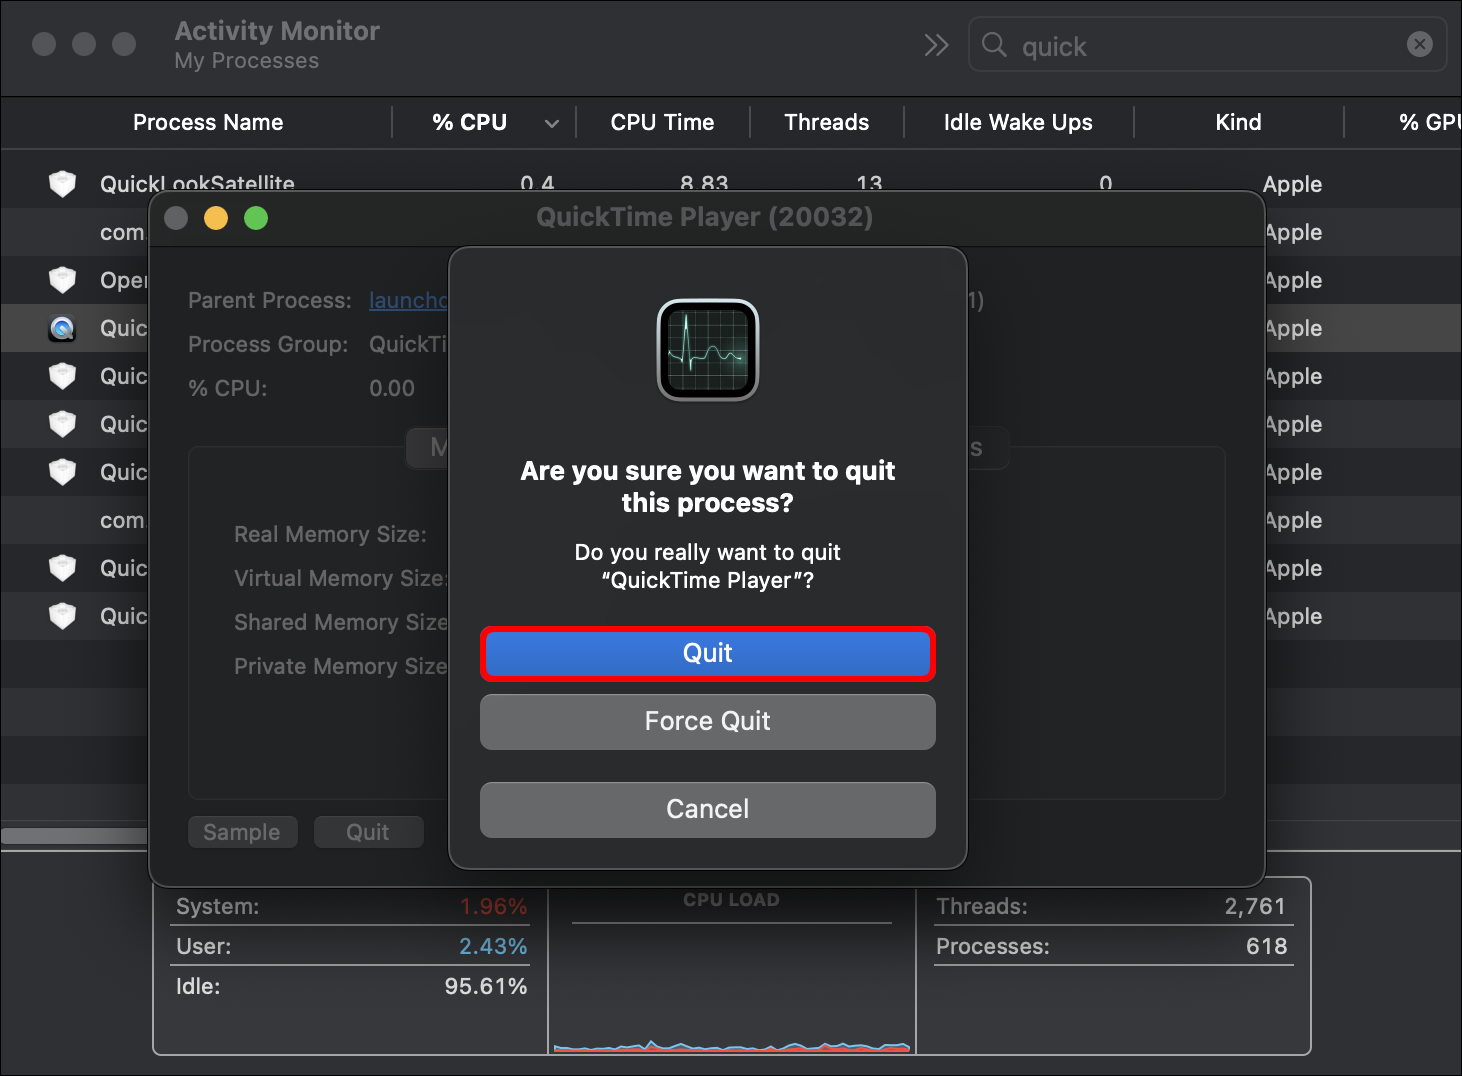
- Tap “Quit” to close the program and end your recording. The process works the same as force-quitting the app, so you won’t be able to retrieve your screen recording after closing the program.

How to Edit a Recording in QuickTime Before Stopping
Before you end your QuickTime recording, you may want to do some editing. Trimming the video is one of your options.
- Open QuickTime Player and start your recording.
- Go to the “Trim” or “Edit” menu, depending on your version.
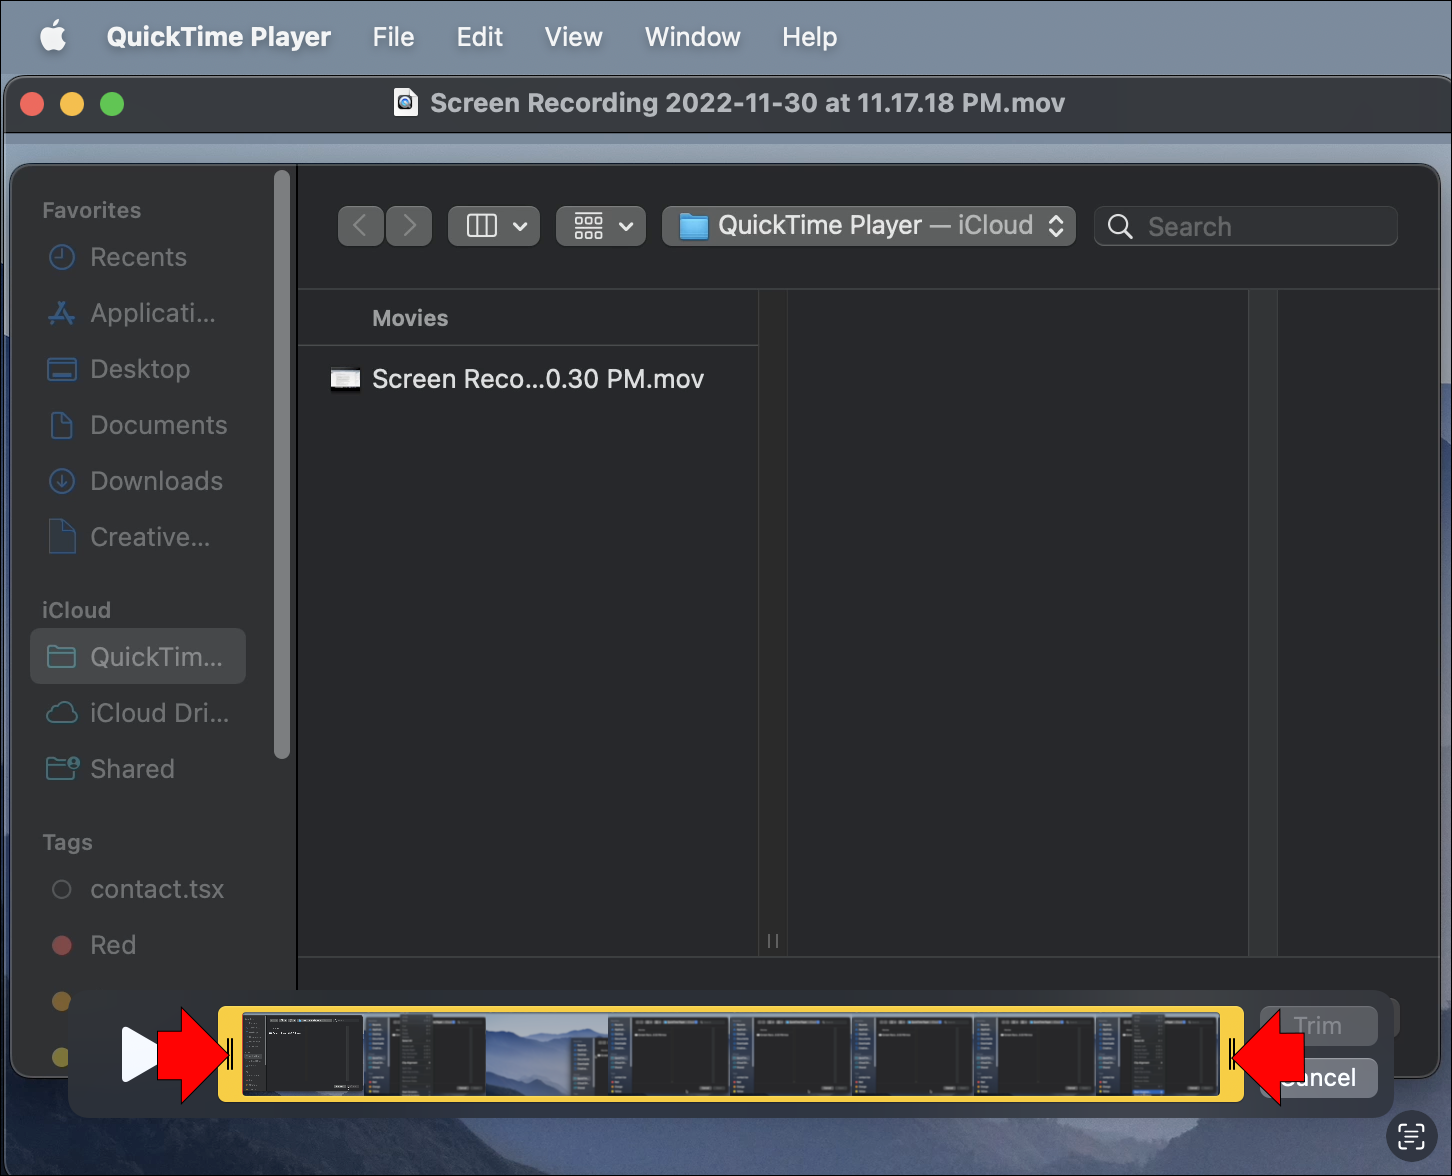
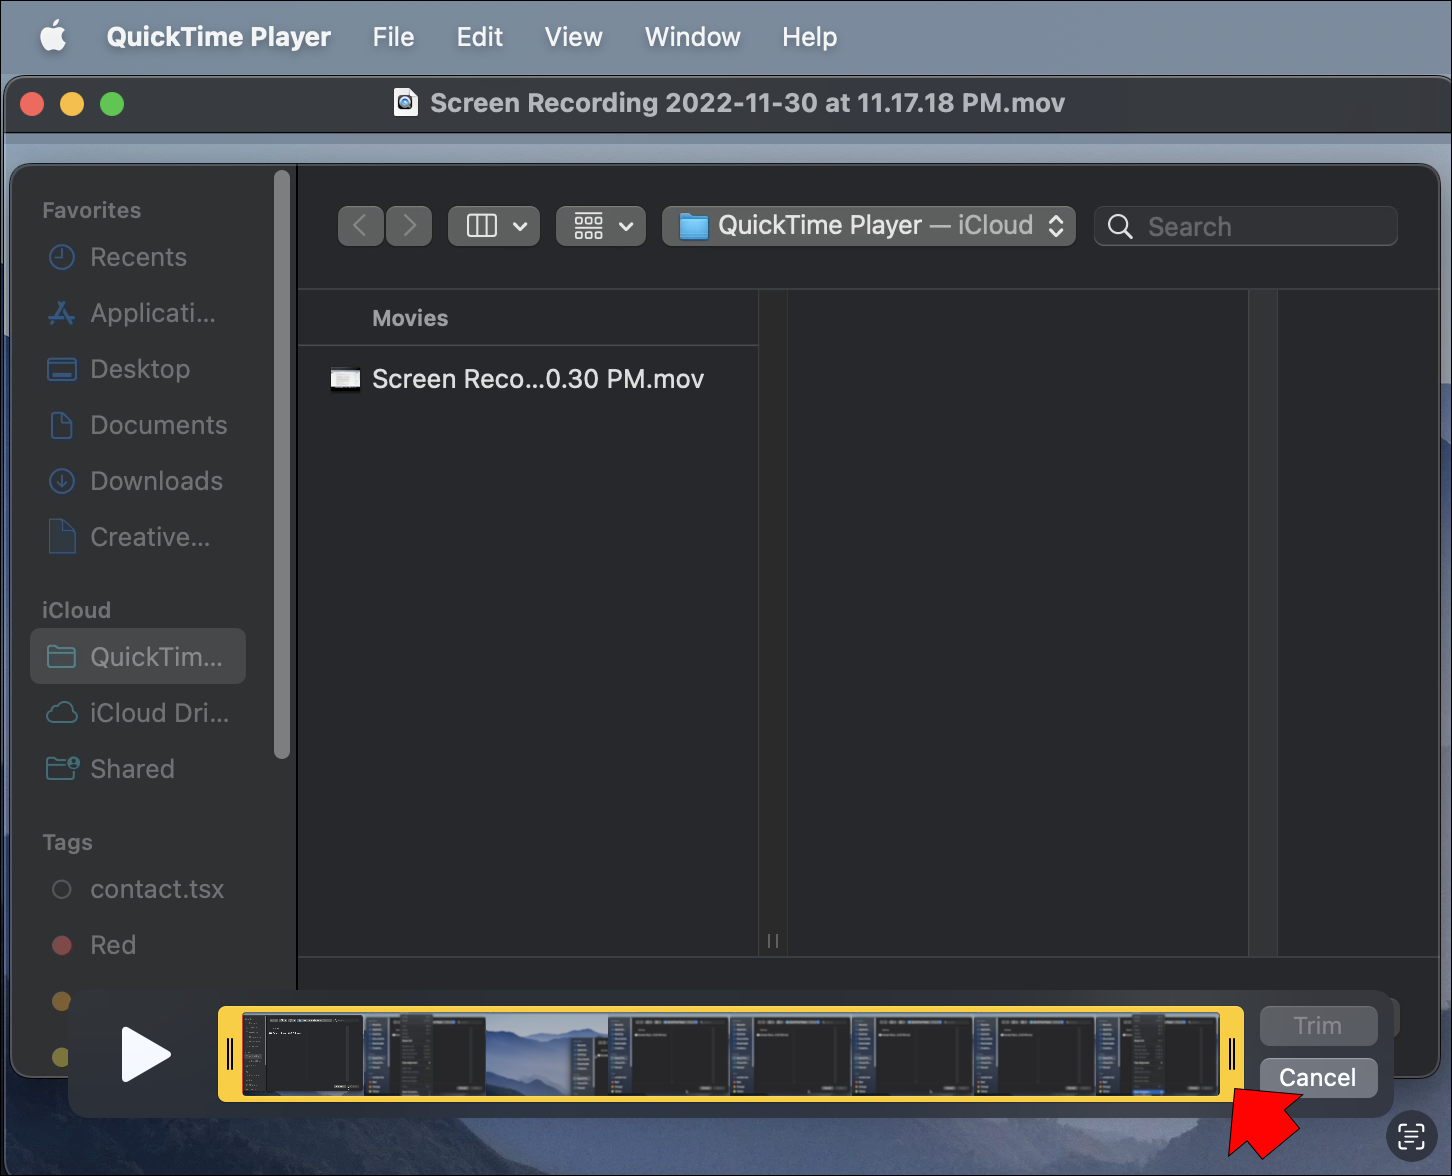
- Select the part of the recording you wish to save by using the yellow indicators. The highlighted area will be the saved clip.
- To fine-tune the recording, use the left and right arrow keys. They allow you to change the beginning and end of the video. Once you’ve moved the playhead to the right or left, type in “i” to relocate your starting position. Additionally, type in “o” to designate the end point.
- If necessary, press and hold the yellow sliders to zoom in on your playhead. This feature lets you edit the content more accurately, ensuring proper beginning and end positions.
- Save the recording on your device.


Another option is to configure your microphone.
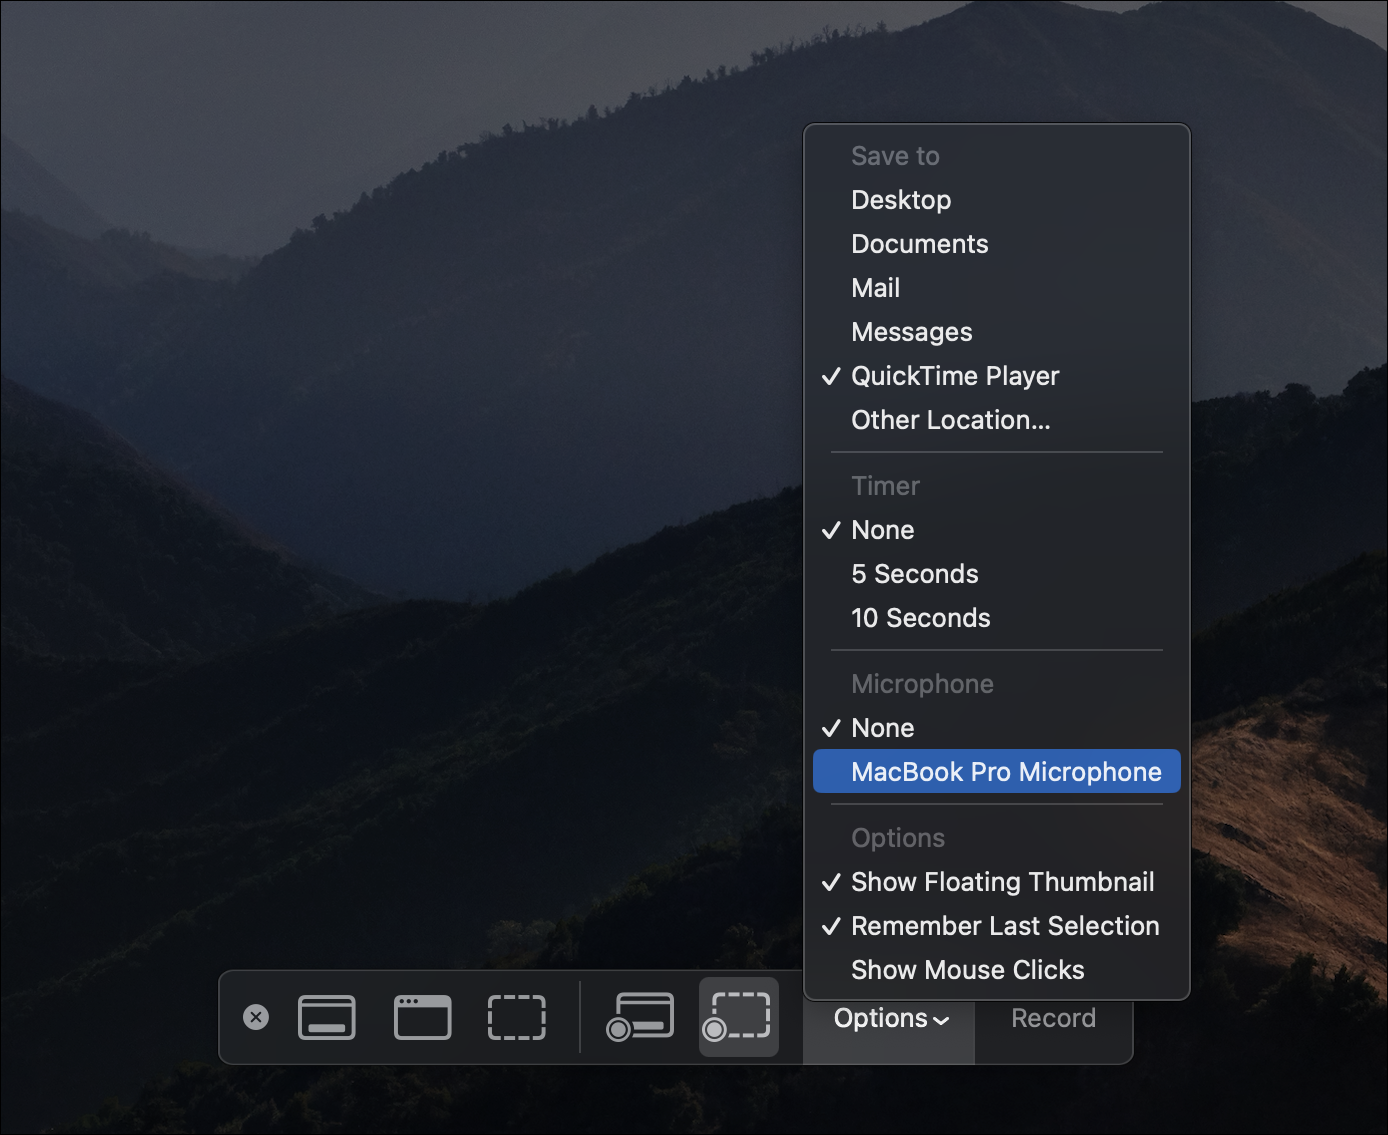
- Open your QuickTime Player.
- Press “File,” followed by “New Screen Recording.” You should now see the “Screen Recording” prompt.
- Before clicking the red record button, press the arrow next to it to configure your recording.
- For example, you can choose the preferred microphone to record your voice. Press the prompt that lets you do so, but make sure you have a working external or internal microphone.

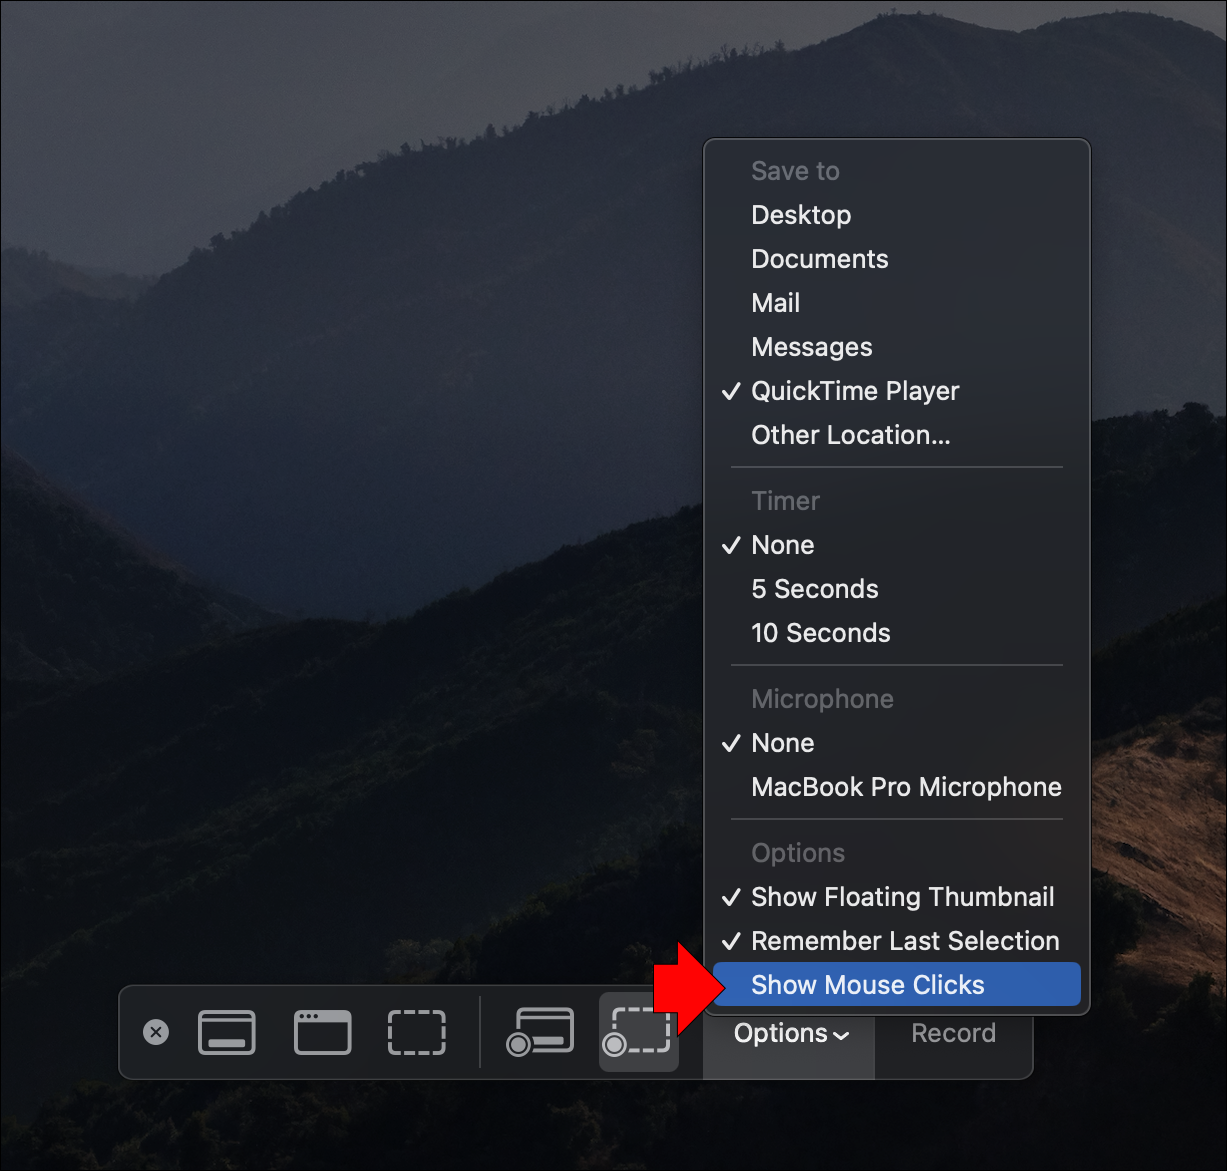
The app also lets you emphasize your mouse clicks.
- Open the app and press “New Screen Recording” from the “File” section.
- Strike the arrow next to the record button and find the “Show Mouse Clicks in Recording” prompt if you want the app to emphasize your mouse clicks.
- Check the box to the left if you want to emphasize your cursor with a black circle. Check the box to the right if you wish to deemphasize mouse clicks.
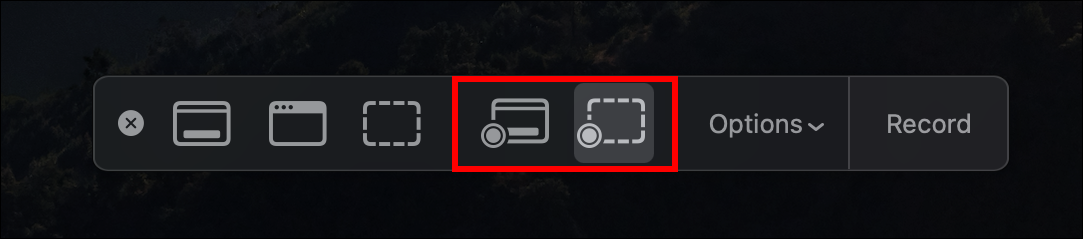
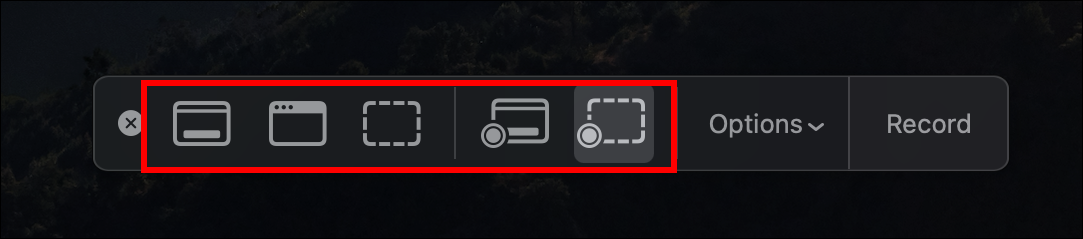
Moreover, you can command the app to record the entire screen or just a part of it. Here’s how:
- Launch the app and hit the “File” button.
- Choose “New Screen Recording” and tap the record button.
- Wait for the record popup to appear in the middle of your display.
- Tap anywhere on your display if you want to record the entire screen.
- If you only wish to record a display section, highlight it by clicking and dragging with your cursor.
- Press “Start Recording,” and you’re good to go.
Just be sure to make these changes before you start recording your screen. It’s generally easier than adjusting the video once it’s saved on your device. Plus, you might not be able to access some features after you hit the “Stop” button.
How to Stop Screen Recording in Other Apps
QuickTime isn’t the only software that lets you record your screen. It has a convenient interface, but you may initially have trouble finding the “Stop” button. You can consider other platforms to make the process easier.
Loom
Loom is a video messaging tool that enables you to record your screen. Most people use shortcuts to start and end their recordings as well as make other adjustments. Coming up is a list of the most common shortcuts.
Mac
- Command + Shift + L – start and stop recording
- Option + Shift + P – pause and resume recording
- Option + Shift + C – cancel recording
- Command + Shift + 2 – take a screenshot of the selected area
- Command + Shift + 1 – full-screen screenshot
- Command + Shift + R – quick restart
Windows PC
- Ctrl + Shift + L – start and stop recording
- Alt + Shift + P – pause and resume recording
- Alt + Shift + C – cancel recording
- Ctrl + Shift + 2 – take a screenshot of the selected area
- Ctrl + Shift + 1 – full-screen screenshot
- Ctrl + Shift + R – quick restart
Browser Extension
- Option/Alt + Shift + L – activate extension
- Option/Alt + Shift + P – pause and resume recording
- Option/Alt + Shift + C – cancel recording
- Option/Alt + Shift + R – quick restart
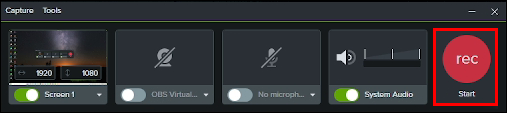
Camtasia
Camtasia is also a popular screen recorder with a user-friendly interface. Stopping your recordings is straightforward if you installed the program on your Windows PC.
- Open the app and launch a recording.
- Press the “Stop” button on your toolbar. Alternatively, strike the F10 button on your keyboard or press the recorder icon on your taskbar and press “Stop.”

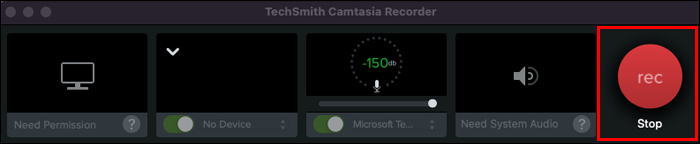
Ending a recording is just as easy on your Mac.
- Start Camtasia and record your screen.
- Strike the “Stop Recording” button on the toolbar. You can also press the “Command + Option + 2” key combination. Another option is to tap the Camtasia symbol from the menu and pick “Stop Recording.”

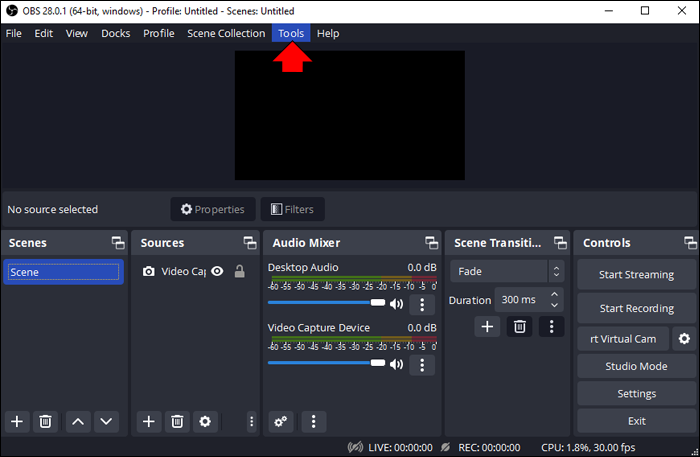
OBS
OBS has a built-in stop feature.
- Launch OBS and go to “Tools.”
- Open “Output Timer” and set the time limit for how long your screen recorder will be active. The feature will stop automatically once the count reaches zero.

Movavi Video Converter
There are several ways to stop a recording in Movavi Video Converter.
- Navigate to the control panel and tap the “Stop” button.
- Go to the upper section of your capture frame and find an orange panel. Click the “Stop” button.
- Press the default keyboard shortcut (F10).
- Go to your system tray, and right-click the Movavi icon. Select “Stop Recording.”
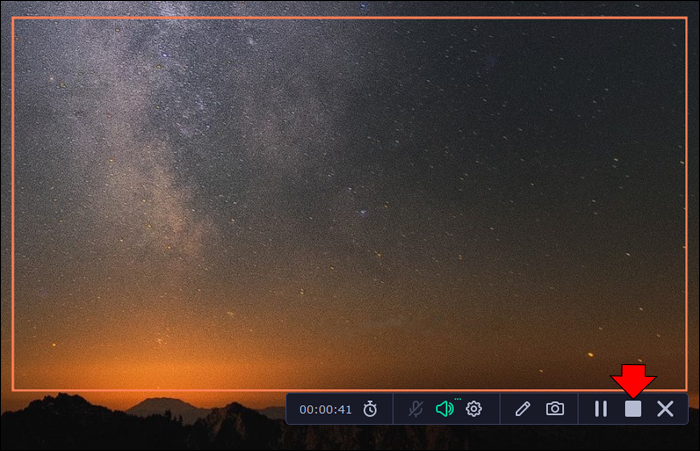
Whatever you choose, your recording will end and open in a video player where you can edit it.
Make the Most of QuickTime
Whether you’re working on a presentation or tutorial, QuickTime’s “Stop Recording” button will come in handy. Just don’t forget to edit your content before ending your sessions, and if necessary, make some tweaks within the video player.
How often do you record your screen with QuickTime? What’s the longest recording you’ve taken? Tell us in the comments section below.
Disclaimer: Some pages on this site may include an affiliate link. This does not effect our editorial in any way.


