Encrypt your DNS requests
DNS (Domain Name System) is the service used to translate site names into IP addresses that web servers and internet routers can understand. When you type a website name into your browser, a DNS server will look up the IP address that’s linked to it. Unfortunately, attackers can eavesdrop on these requests to see which sites you’re visiting, or spoof DNS services and redirect you to a fake site. Simple DNSCrypt is a useful free tool that encrypts your DNS requests to make sure nothing is interfered with, and to stop hackers stealing your data.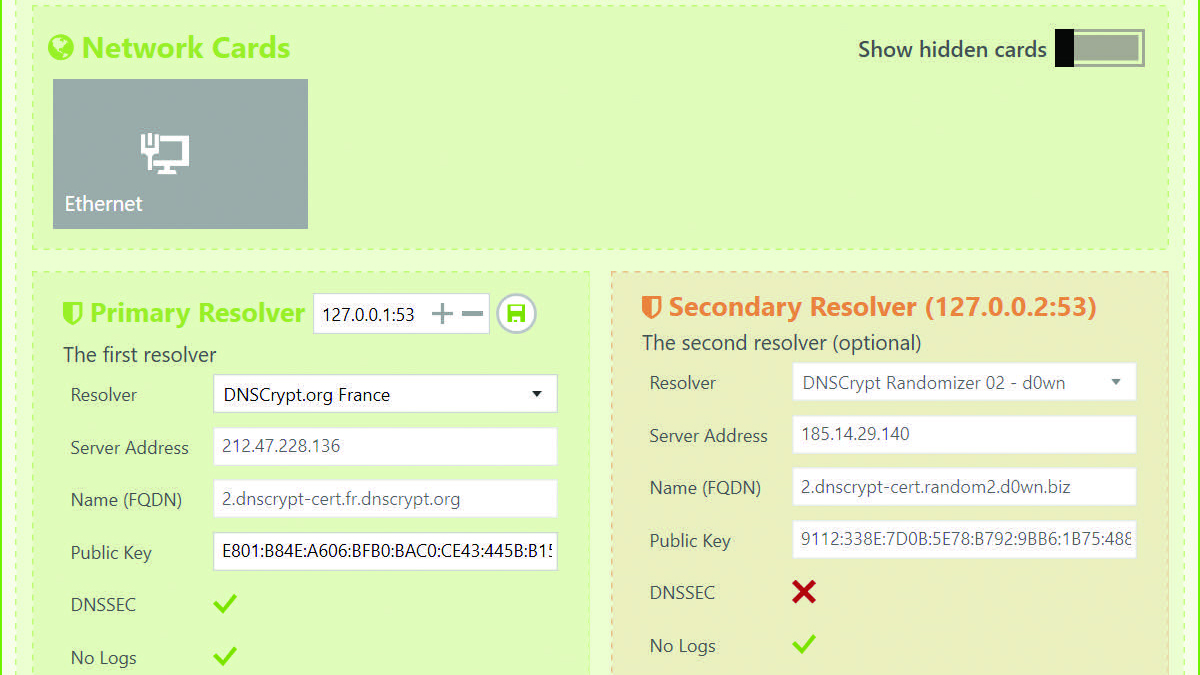
Encrypt your DNS requests to stop hackers sending you to fake sites
Encrypt content inside Evernote
If you use Evernote to store information – such as content from the web, personal notes or account details – you can encrypt anything that’s for your eyes only. Just open the note, highlight the part you want to encrypt, right-click it and choose to Encrypt Selected Text. When prompted, enter a passphrase to lock the section. When you want to view that text in future, click it and select ‘Show encrypted text’, then enter the passphrase. You can’t encrypt an entire note or notebook.
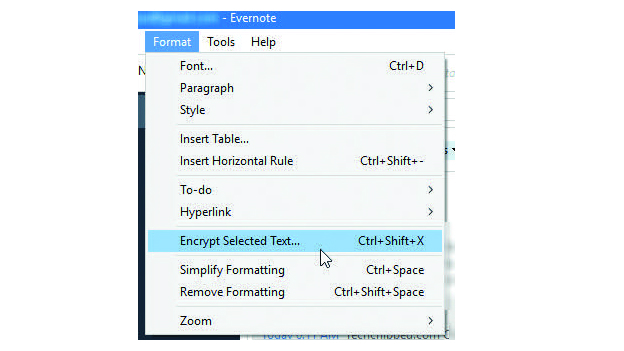
Evernote offers a handy built-in option for encrypting saved content
Always access secure versions of sites
A growing number of websites now offer the secure HTTPS (Hyper Text Transfer Protocol Secure) version by default and will switch you to it automatically if you try to go to the non-secure HTTP version. This protocol encrypts your data to stop snoopers, including your ISP, from being able to tell which pages you visit on a site.
However, not every website automatically redirects you, which is where HTTPS Everywhere (bit.ly/https426) comes in. This essential add-on for Chrome, Firefox and Opera automatically sends your browser to the secure version of a site – if it exists. In other words, if you only type in the basic address, you’ll still end up on the secure site. It’s updated regularly with new rules to cover additional sites, and lets you block all unencrypted requests by default. HTTPS Everywhere can also be installed in Firefox for Android.
Hide your searches with a duck and a bear
Searches performed in Incognito or Private Browsing mode aren’t secret because, although the details of what you’ve searched for aren’t recorded on your PC or mobile device, the search provider (Google or Bing, for example) still keeps a record of them. The best way to hide your searches is to use a VPN tool such as TunnelBear (www.tunnelbear.com) to disguise your browsing location. You need to log out of your Google or Microsoft account before running any searches or use DuckDuckGo (duckduckgo.com) instead, so your searches aren’t stored.
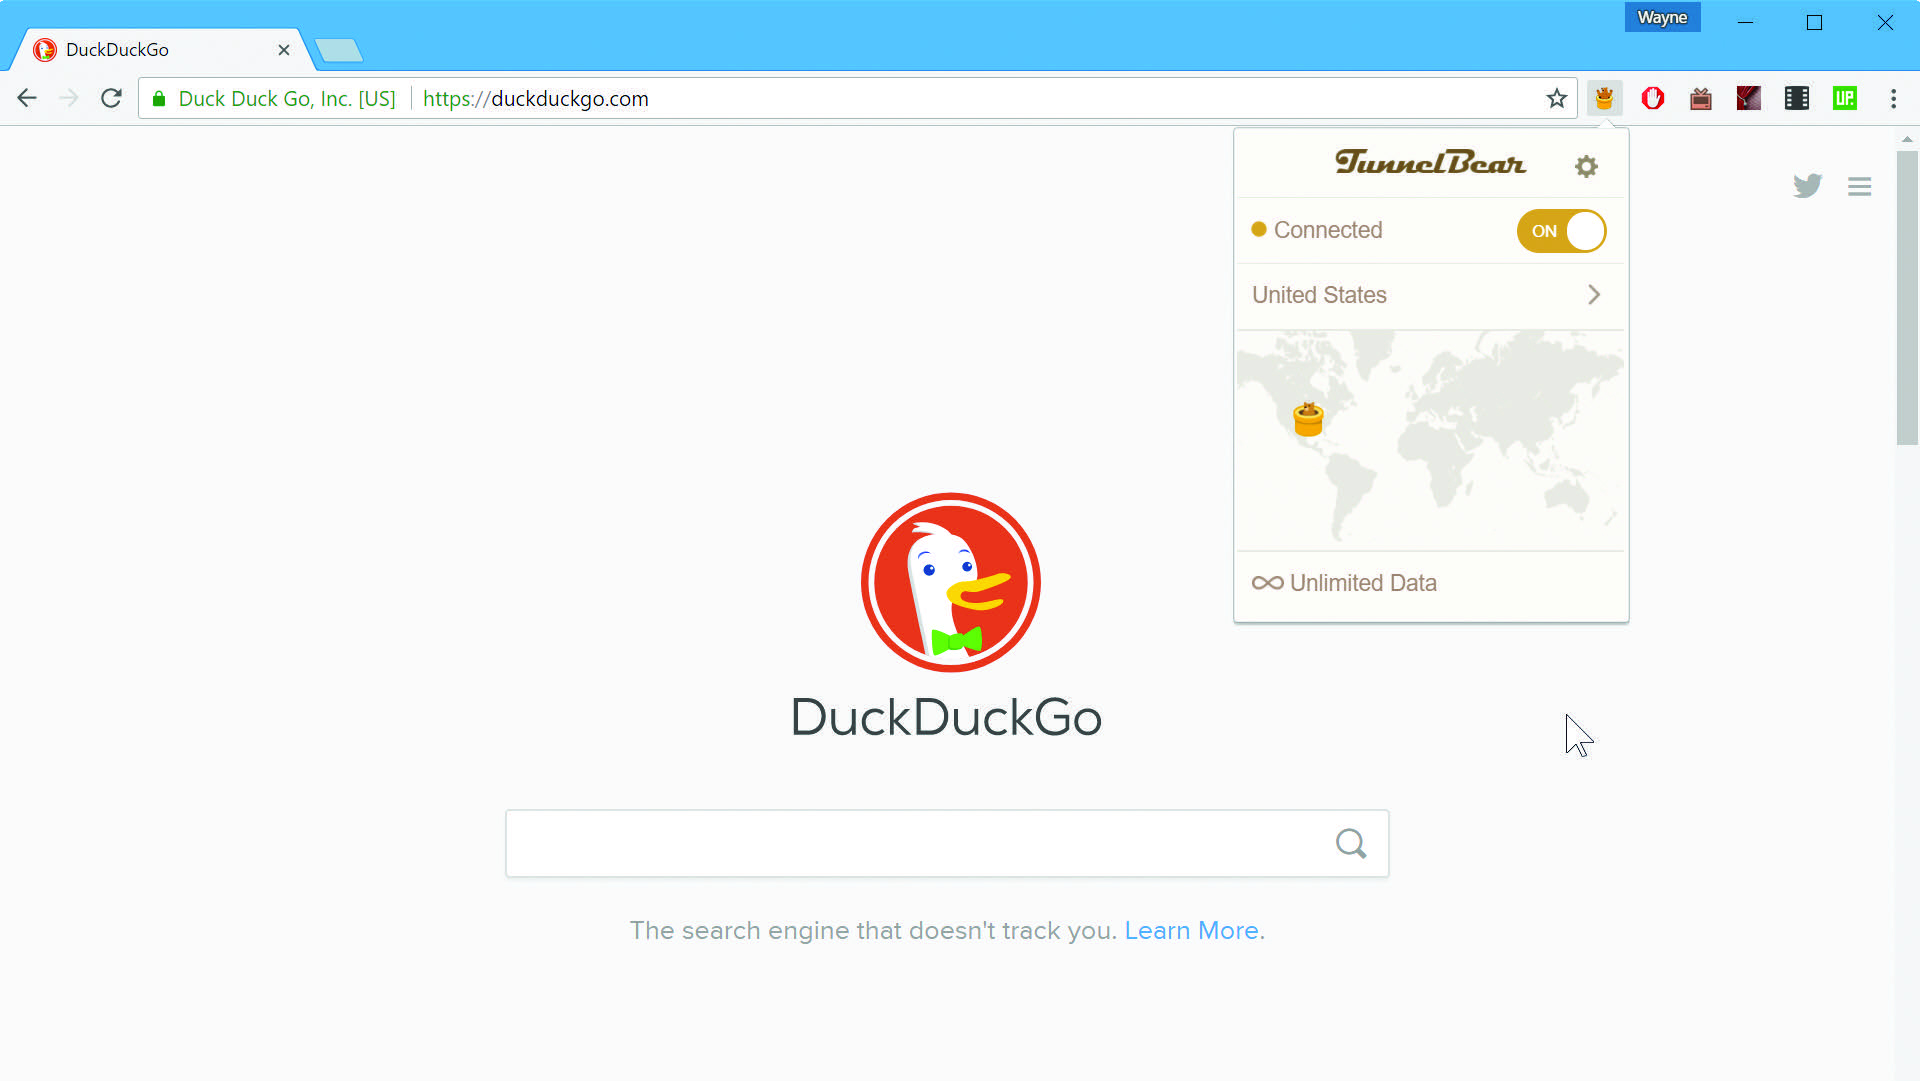
Use DuckDuckGo with TunnelBear to disguise all your searches
One important note: you may have used encrypted.google.com in the past, but don’t make the mistake of thinking your searches there are any more secure. This is an outdated redirect that was in use before Google switched all searches to the secure HTTPS protocol. You’re just as safe using the regular Google search these days.
Restrict your social-media posts
The whole point of a social network is that people see your posts, but you can limit this to only friends or even just yourself. When you make a new status update, click the down button next to Post and choose who sees it – Public, Friends, Friends Except, Specific Friends or Only Me. Be aware that when you tag someone – in a photo, for example – all their friends will be able to see that post. To keep something between just you and the person you’ve tagged, share it via Facebook Messenger instead, and use that tool’s end-to-end encryption.
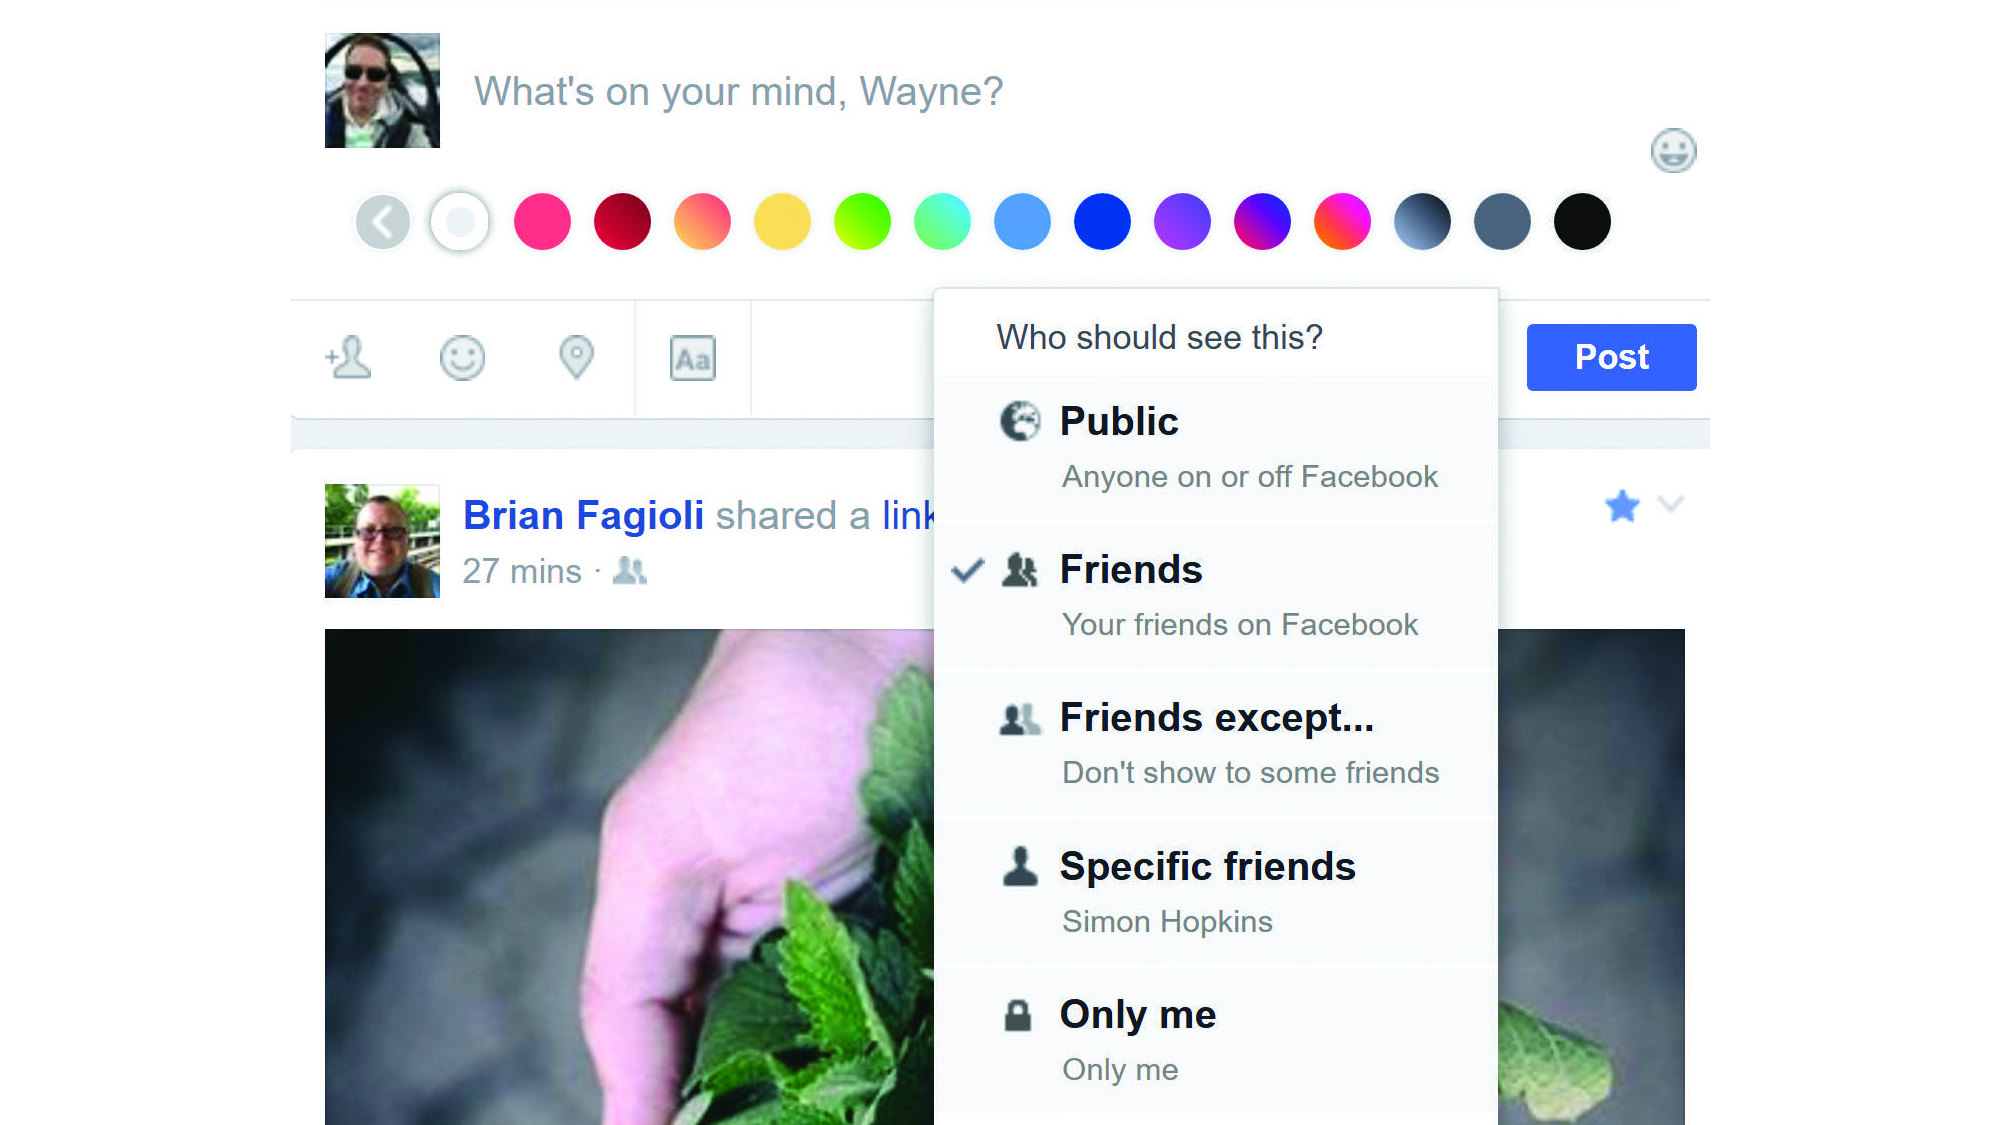
Control who sees your posts and photos on Facebook
Disclaimer: Some pages on this site may include an affiliate link. This does not effect our editorial in any way.