BlueStacks is an increasingly popular emulator that allows you to run Android apps on your Mac or Windows PC. With this free tool, you can download productivity tools, games, etc. from the Play Store or App Store and run them on your computer.
The draw of BlueStacks is that it allows you to use your apps on a larger screen and interact with a controller. Gamers, in particular, enjoy this emulator because using a controller makes it easier to play Android games on a bigger platform.
If you’ve installed BlueStacks on your Mac or Windows PC, but you’re not quite sure how to set up your controller, we have you covered. The guide below offers step-by-step instructions on how to use a controller with BlueStacks.
How to Usea Controller With BlueStacks in Windows
Users with a Windows PC have the option of navigating BlueStacks with a keyboard and mouse. However, if you would prefer to interact using a controller, you can do so. BlueStacks supports various controllers, including Logitech, Redgear, PDP, PS4, and Xbox One controllers.
Setting up and using your controller with BlueStacks in Windows is quick and easy to do; here’s how:
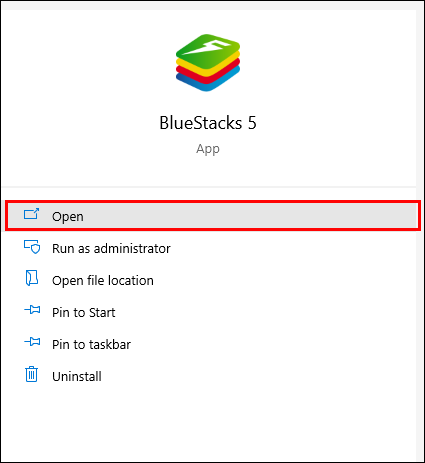
- Open BlueStacks on your PC.
- Connect your controller to your PC using either Bluetooth or by plugging it into a USB port. BlueStacks uses a plug-in-and-play feature, so it should detect your controller immediately when you connect it.

- Next, you will need to enable “Native Gamepad Support.”
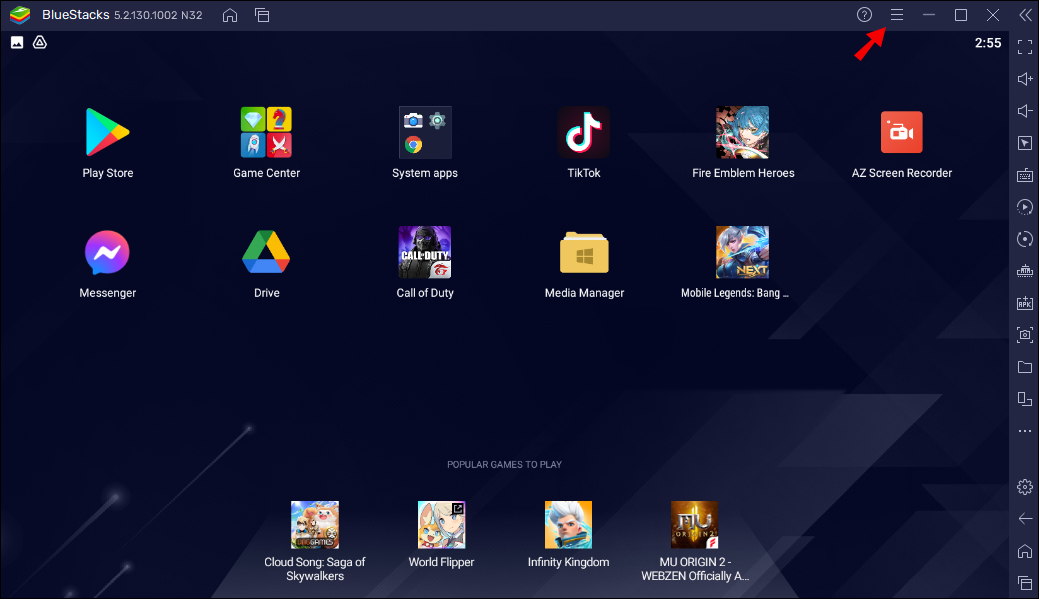
- On the BlueStacks “Home” screen, navigate to the icon that shows three stacked lines. You will find the icon on the top-right of the screen. Click on it.
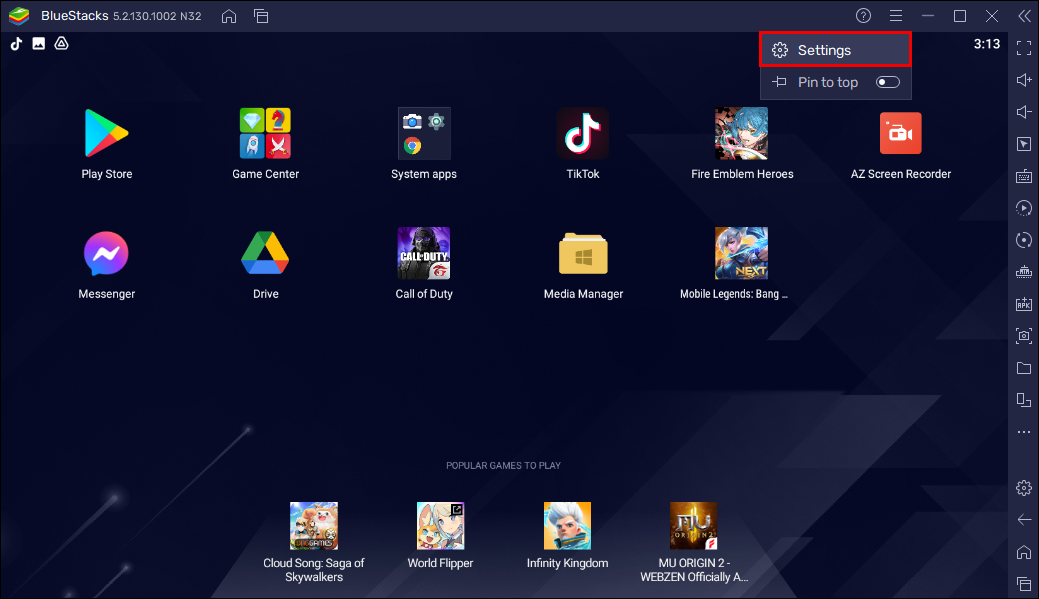
- From the menu that drops down, select “Settings.”
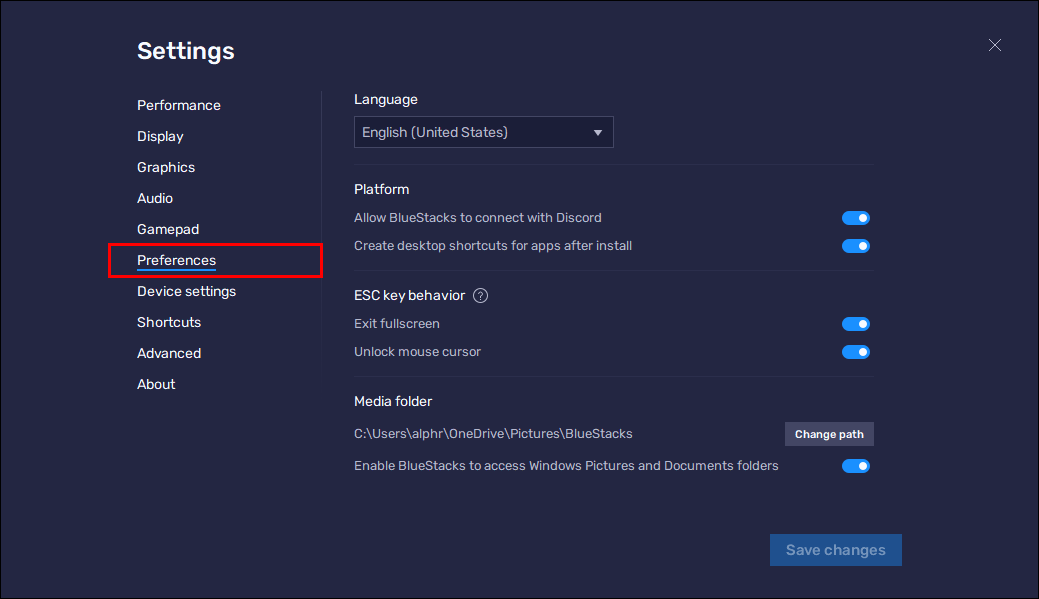
- Then choose “Preferences.”
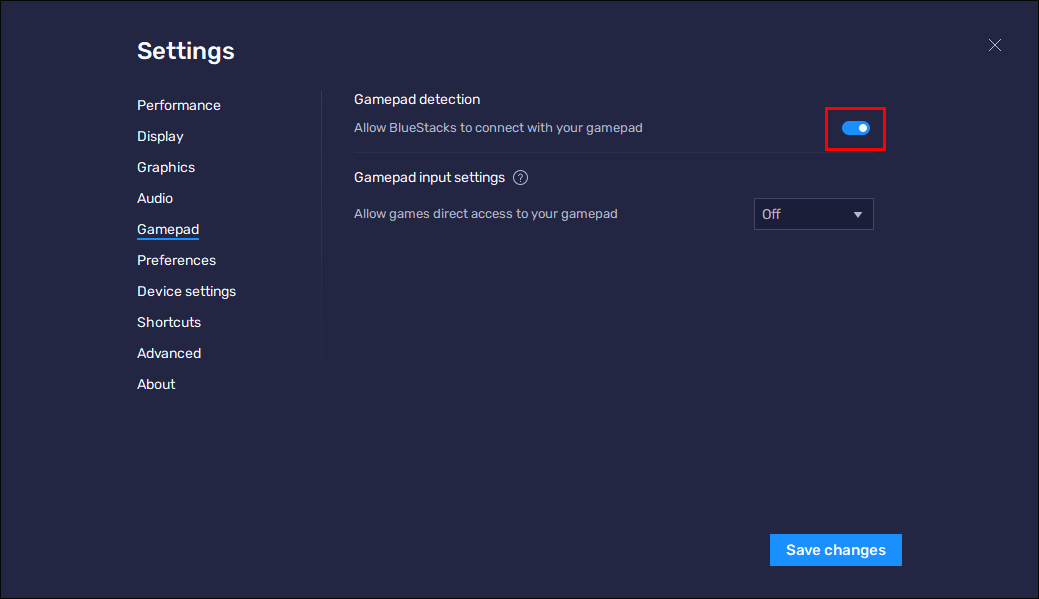
- Navigate to “Game Control Settings.” Under this heading, you will see “Enable Gamepad Detection.” Check the box to enable this feature.
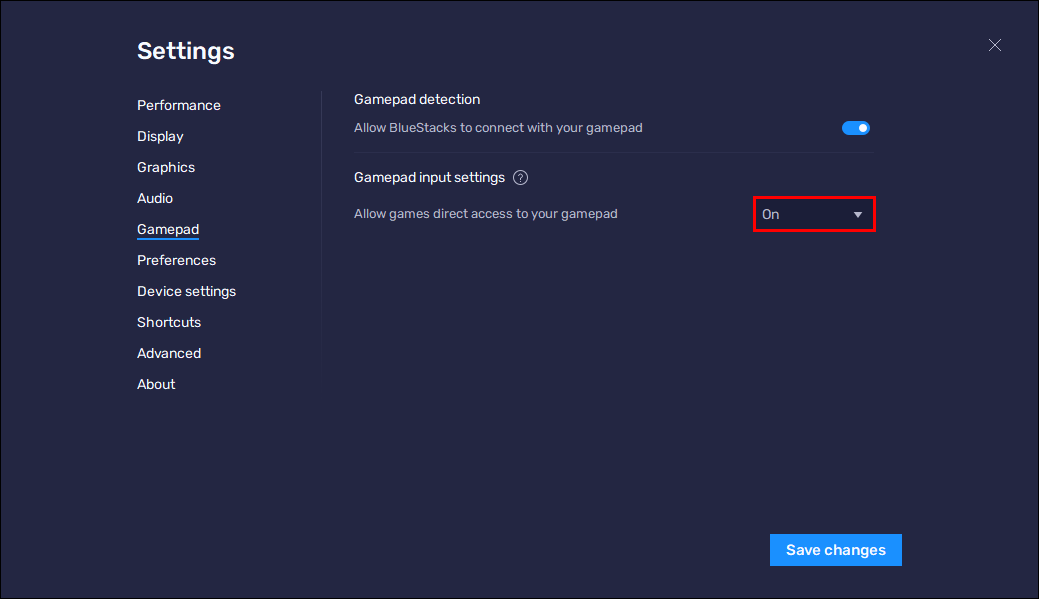
- Next, you will need to choose from the three options presented to you: “Force On,” “Force Off,” and “Auto.”
- “Force On” will enable the native gamepad controls.
- “Force Off” will disable the native gamepad controls.
- “Auto” will activate the native gamepad controls should the game provide built-in support.
- “Force On” will enable the native gamepad controls.


You should now be able to play your games using your controller.
It is important to note that a PS4 controller usually works better when plugged into a USB port, and we recommend this connection over using Bluetooth, which is often problematic.
Another critical point to remember is that not all games are compatible with your chosen controller. Those games compatible with your connected controller will feature a small controller image beneath the game icon.
How to Use a Controller With BlueStacks on a Mac
Connecting and using your gamepad with BlueStacks on a Mac is as simple as using it on a Windows PC. Here are the steps to follow:
- Turn on your controller and activate the pairing button.
- On your Mac, go to “Bluetooth Preferences,” find the name of your controller, and click on it to pair the two devices.
- Now that you have connected your controller to your Mac, launch BlueStacks.
- On the BlueStacks “Home” screen, navigate to the sidebar menu on the right of the screen. At the bottom right of this bar, you will find the “Settings” icon, which looks like a gear. Click this icon.
- From the “Settings” menu, select “Preferences.”
- In this menu, scroll down until you find the heading “Game Control Settings.” Here you will find a sub-heading called “Enable Gamepad Detection.” Enable this setting by checking the box.
- Next, you will need to choose from one of three options: “Auto,” “Force On,” and “Force Off.”
- “Force On” and “Force Off” allow you to enable or disable your native gamepad controls.
- “Auto” will turn on your native gamepad controls if the game offers built-in support.
Once you have completed these steps, you can close the menus and find the game you want to play, using your controller as you would with a console.
How to Use aController on BlueStacks CoD Mobile
Using a controller on BlueStacks CoD Mobile is relatively straightforward. However, before getting started, it is important to note that Call of Duty Mobile only supports Xbox One and PS4 controllers.
Once you have connected your controller to your computer and enabled native controller support, you will need to create or edit your controls to operate the game functions properly. Doing this allows you to operate the game as you would to play it on a console. The steps are as follows:
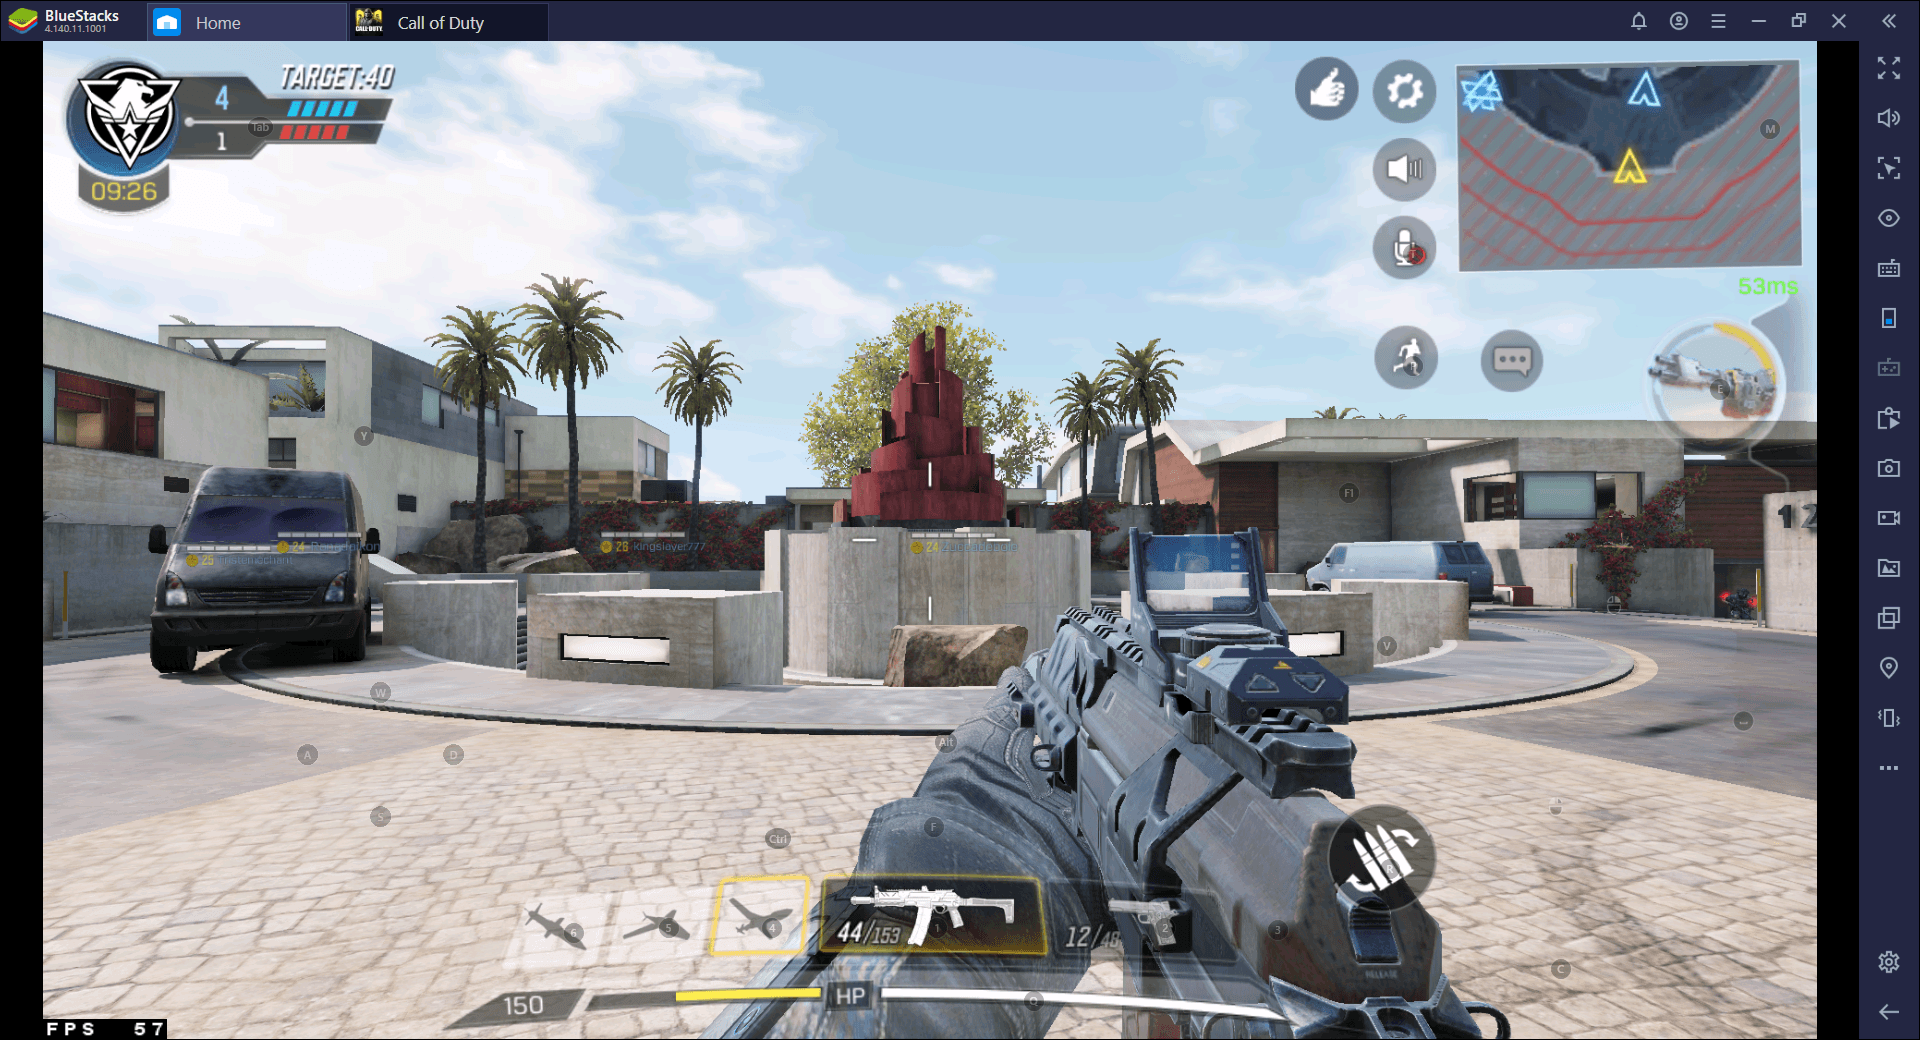
- Launch BlueStacks and open up Call of Duty Mobile.
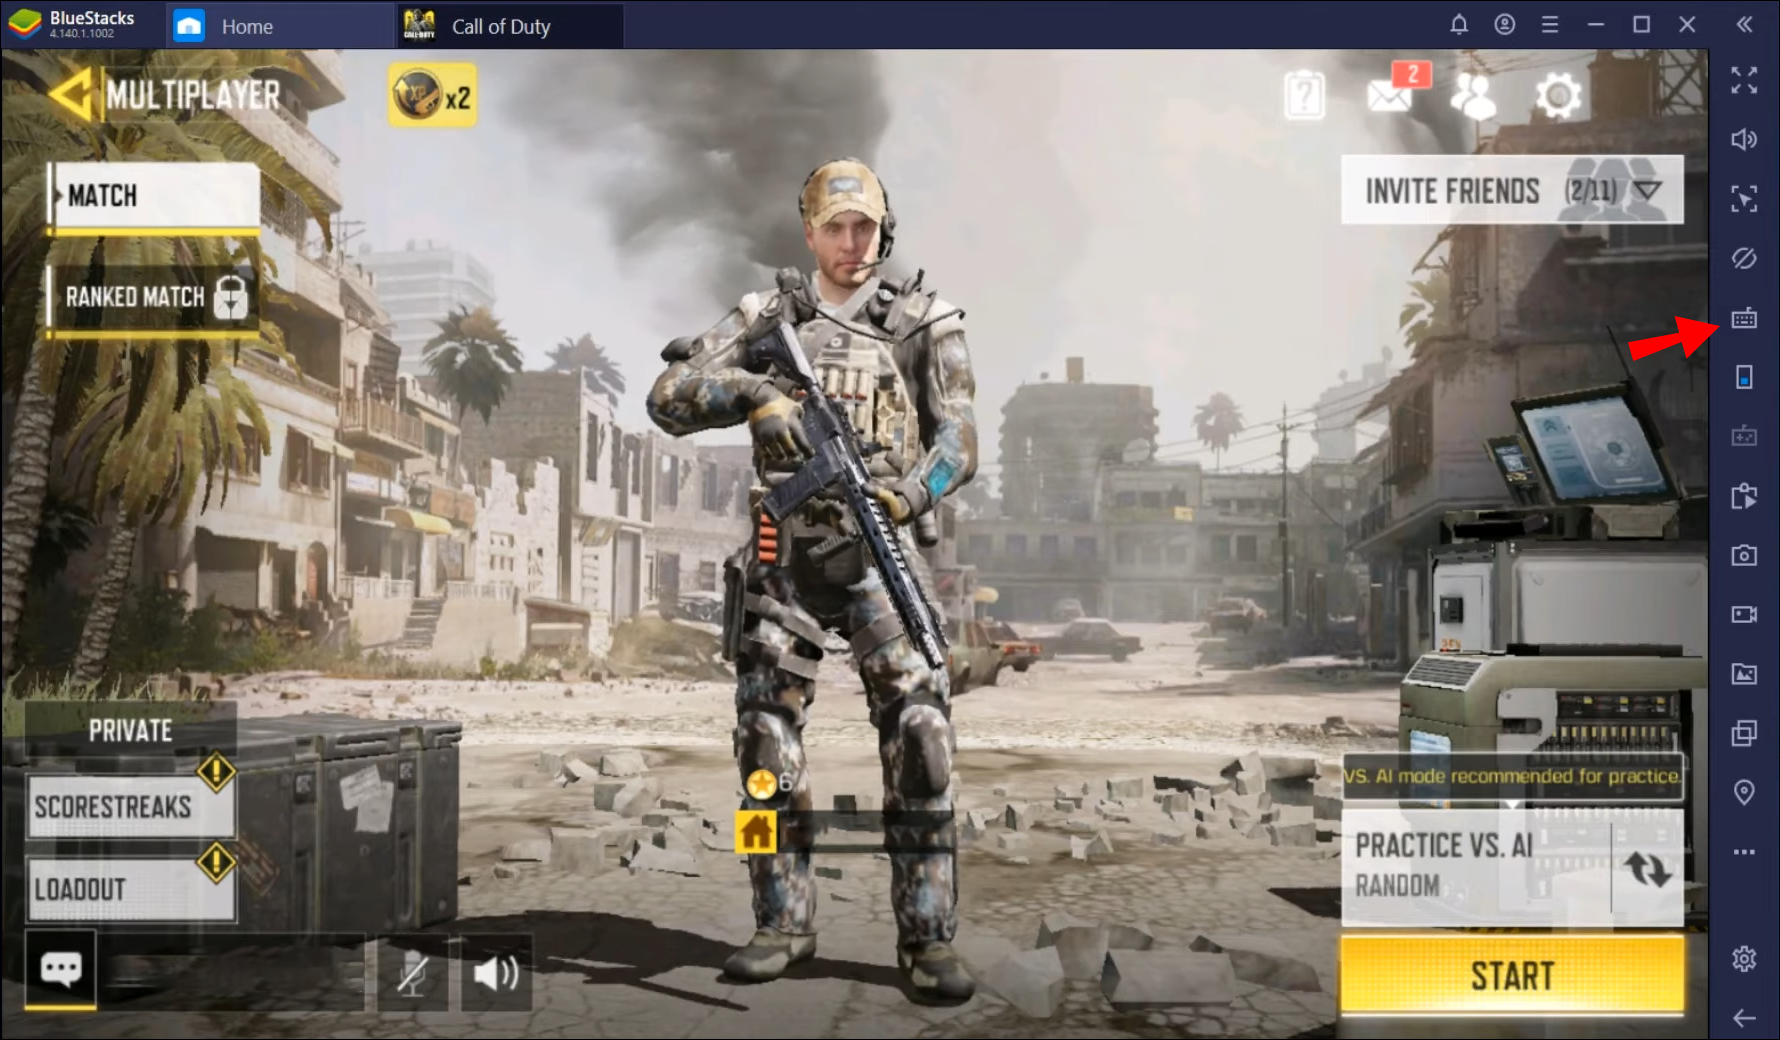
- Navigate to the sidebar on the right of the screen and right-click on the “Game Controls” icon. (A keyboard is the symbol used for this icon.)
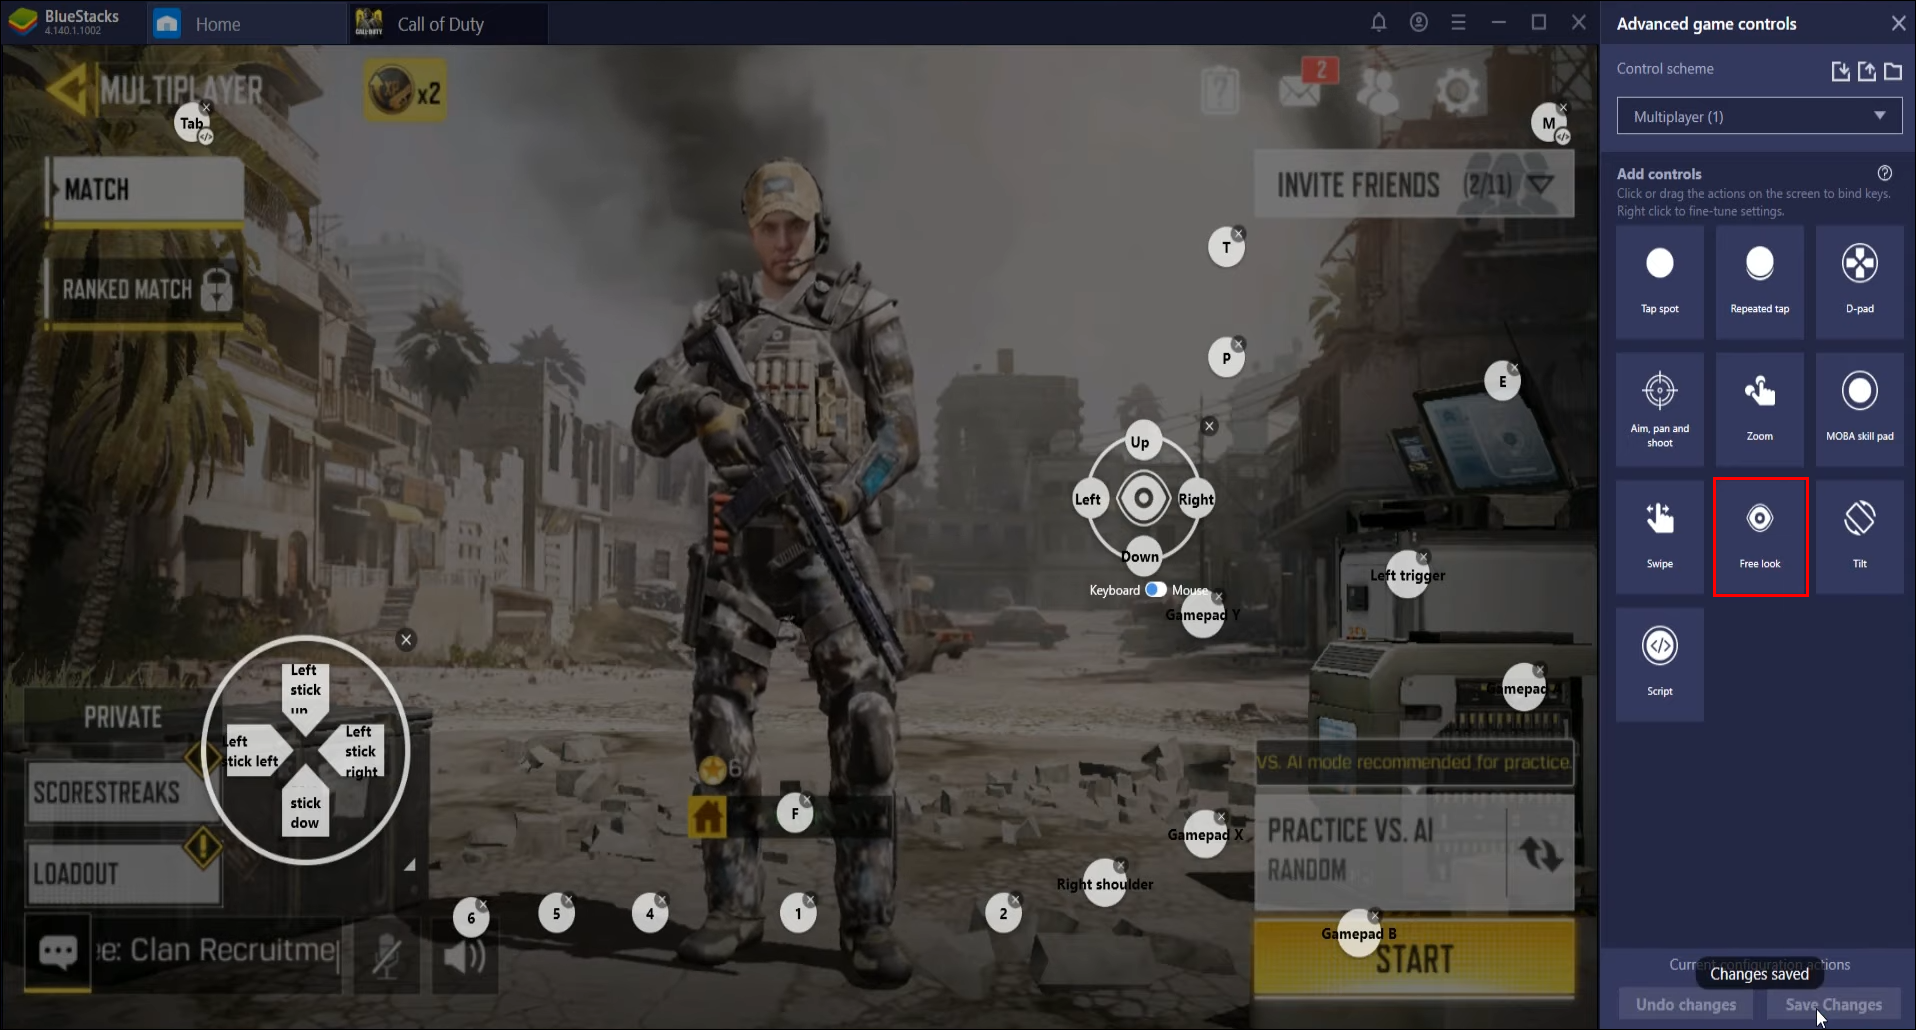
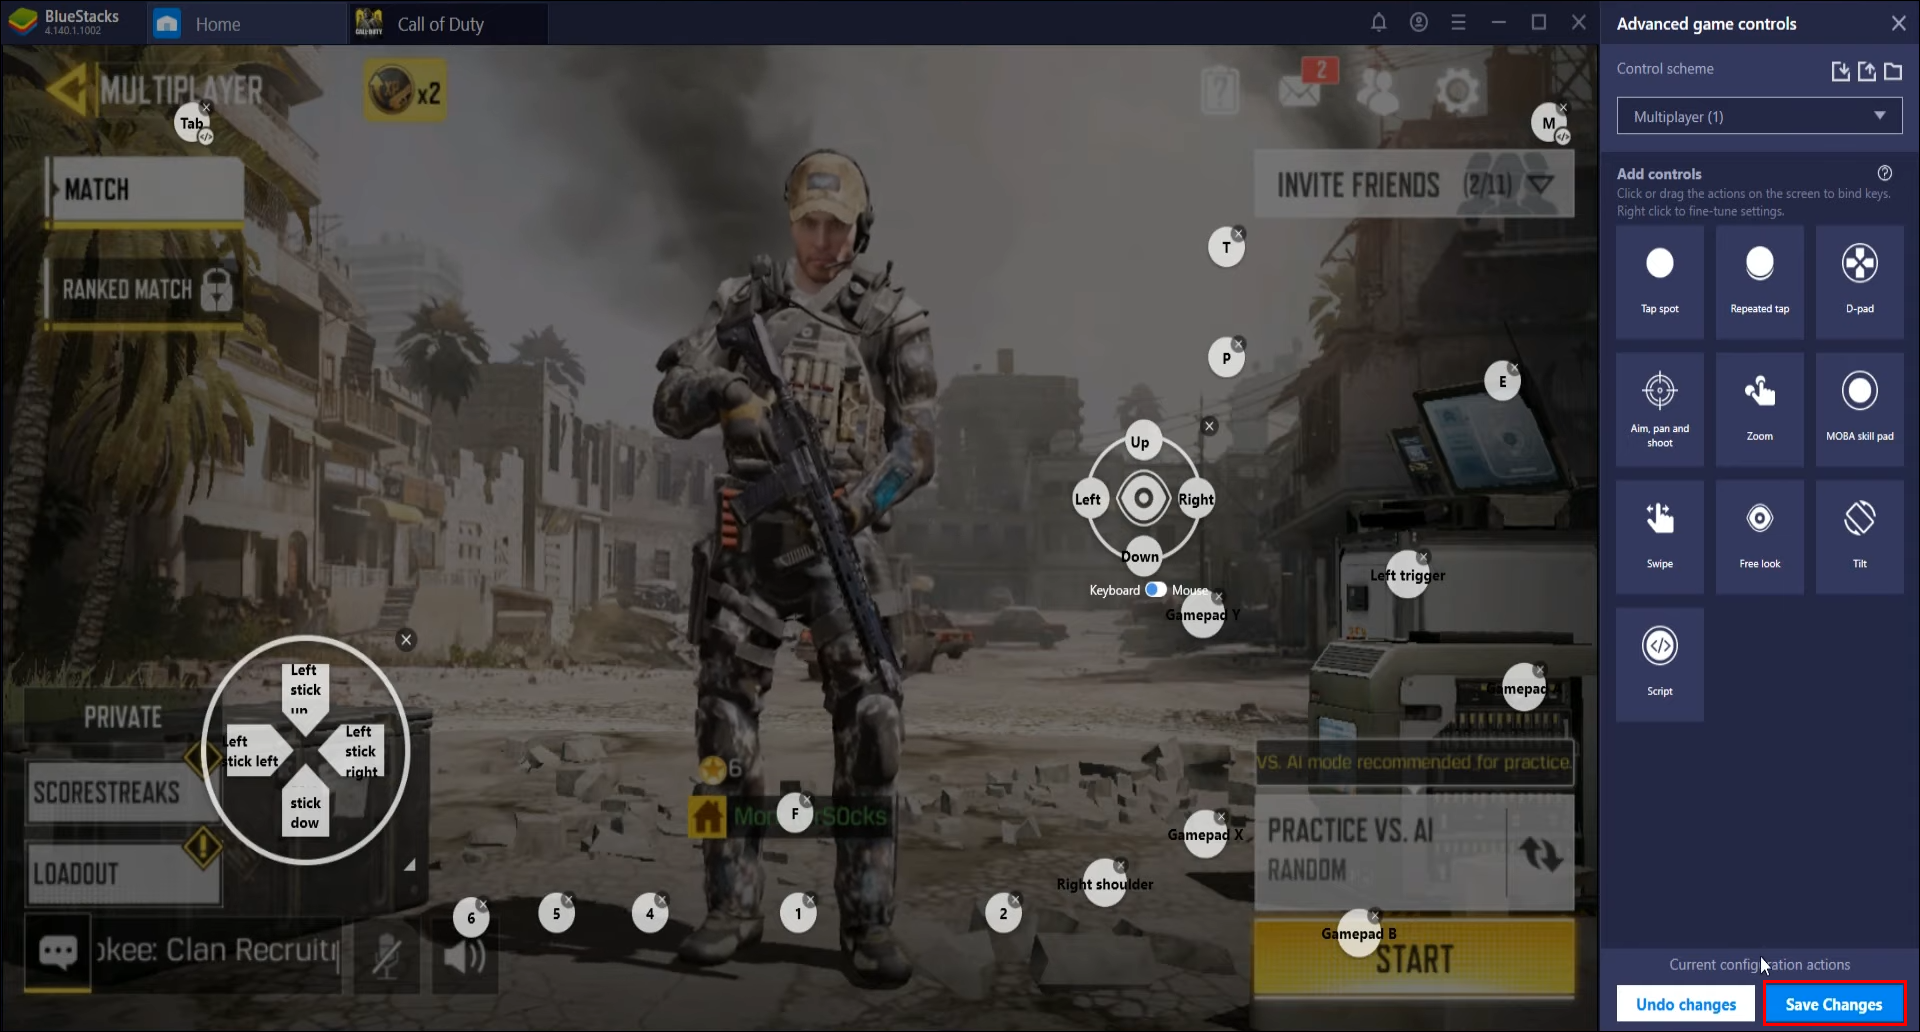
- A “Controls Editor” side menu will open. Select the control you want to edit and drag and drop it onto the game screen from this menu.
- To access the “Advanced Controls,” right-click on the control you have just dropped into your screen. A small window will open.
- In the window, you will have two options, “Keyboard” and “Gamepad.” Select “Gamepad.”
- Next, in the window under “Fields,” select a key. Then, press the button on your controller that you wish to associate with this key to assign the action.
- When you have assigned actions to the different keys and are happy with the controls you have created, click on “Save Changes” on the bottom right of the screen.
- You can now close the menu and begin playing your game.


How to Use a Controller in Mobile Legends on Bluestacks
Playing Mobile Legends on BlueStacks is much the same as playing CoD Mobile. Mobile Legends is configured on BlueStacks mainly for a keyboard and mouse and offers both MOBA and WASD control schemes. While you can connect your controller and use that instead, you will need to edit your controls to play the game properly. Here is how you go about it:
- Connect your controller to your PC and enable “Native Gamepad Support” in BlueStacks.
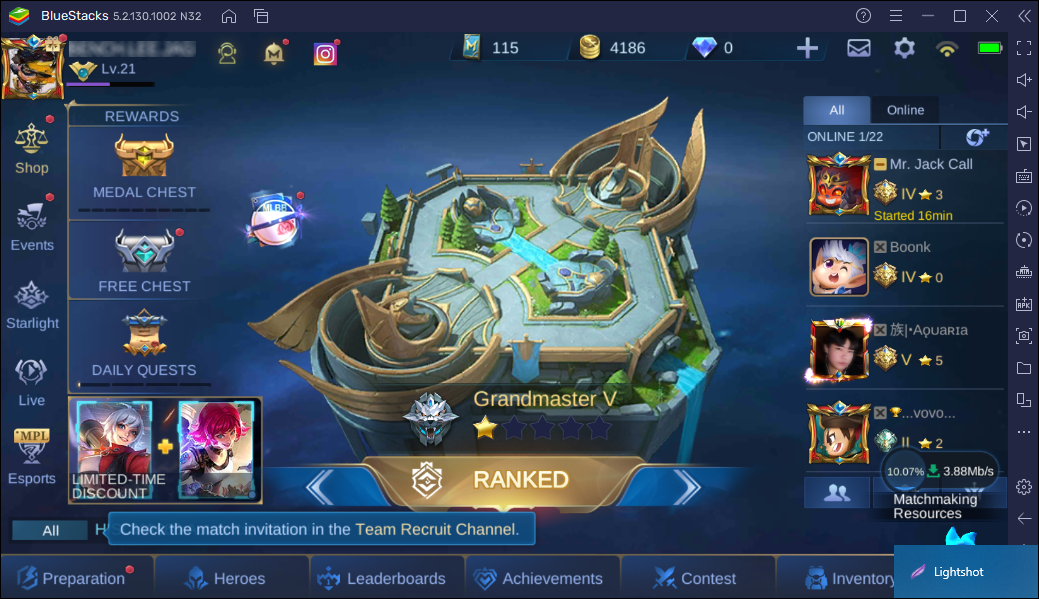
- Open up Mobile Legends.
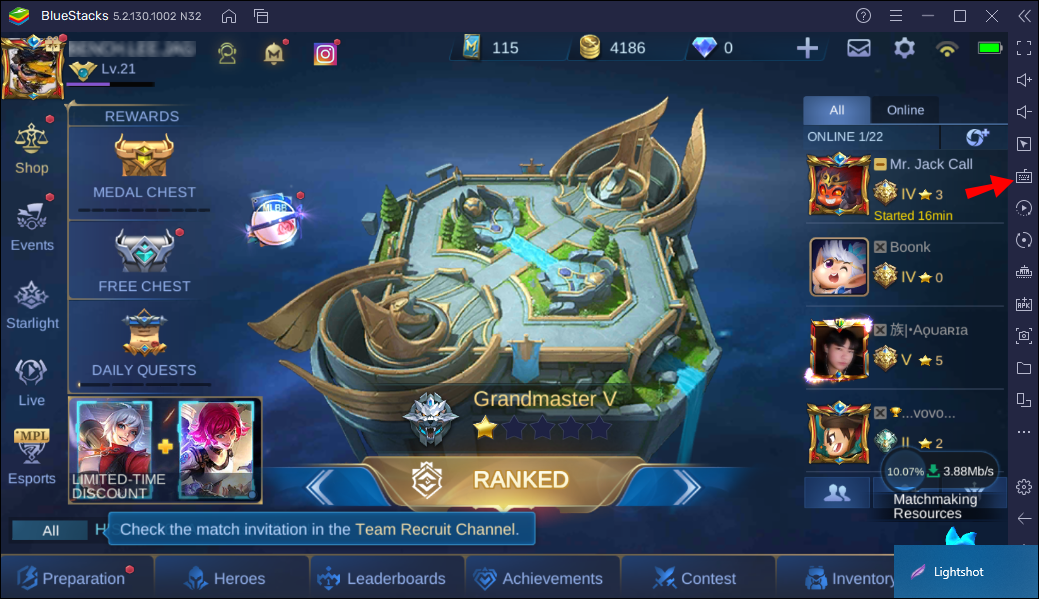
- Head to the sidebar on the right and right-click on the icon that looks like a keyboard. This is the “Game Controls” icon.
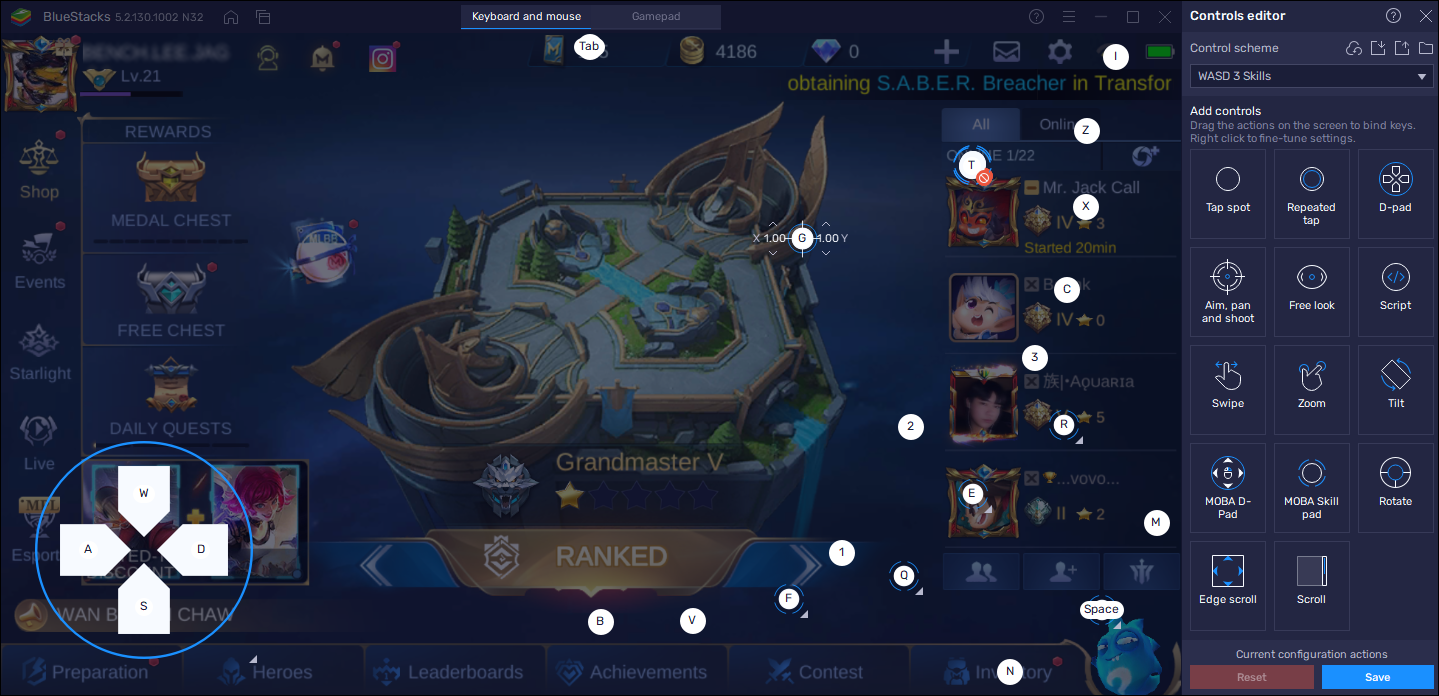
- The “Controls Editor” menu will open.
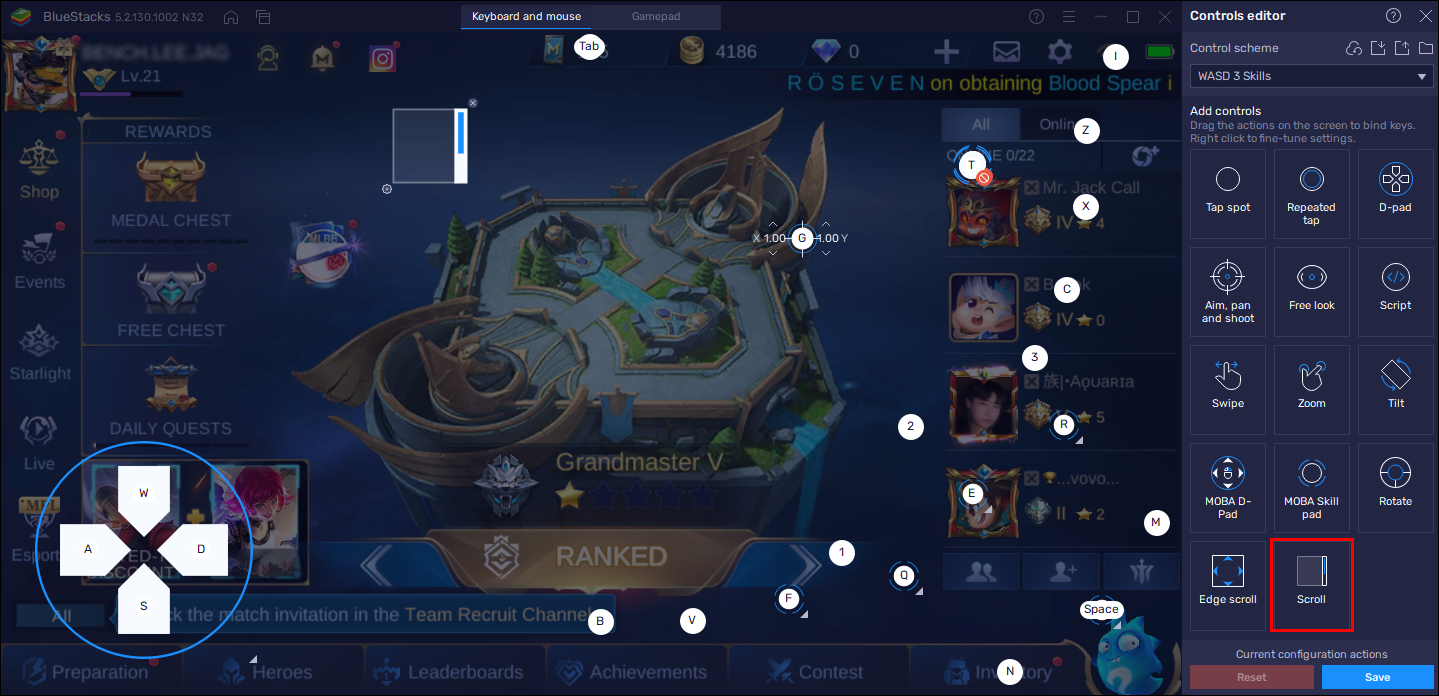
- From “Controls Editor,” pick the control you want to edit and drag and drop it onto the game screen.
- Right-click on this control on your game screen to access the “Advanced Controls.”
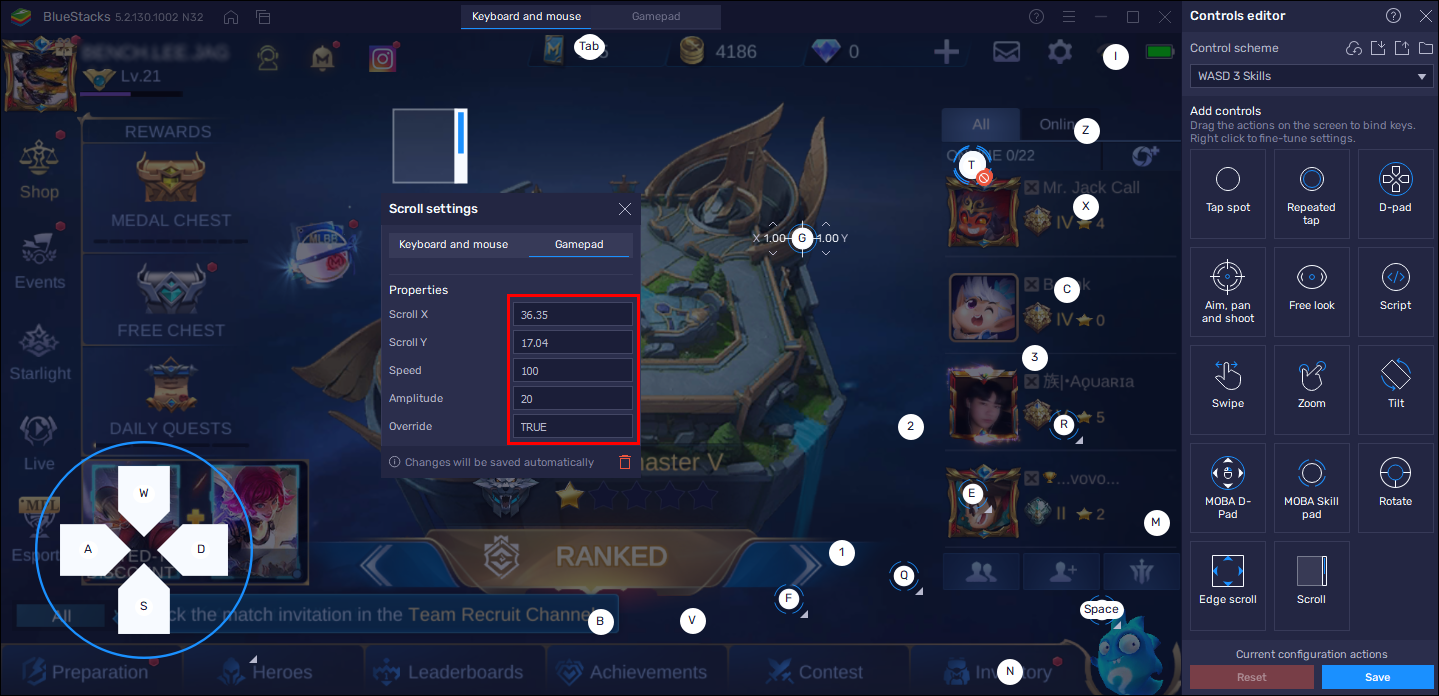
- A small window will pop up. In the window; select “Gamepad.”
- Under “Fields,” choose a key. Next, press the button on your controller that you wish to associate with this key. Doing this will assign the action.
- When you have assigned actions to the different keys, click on “Save Changes” on the bottom right of the screen.


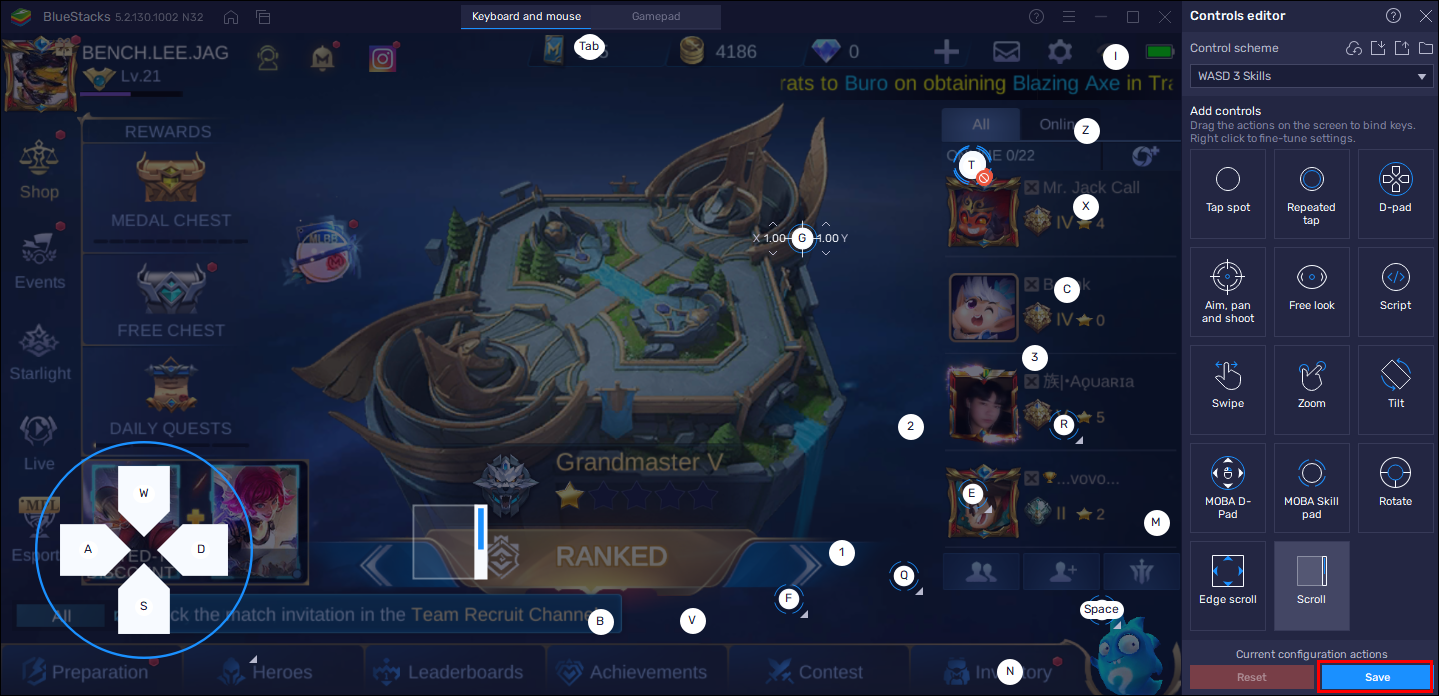
You can now begin playing Mobile Legends.
Ready, Set, Game
Setting up a controller with BlueStacks is relatively straightforward once you know the steps to follow. Configuring or editing your controls to suit a specific game is a little more challenging, but we have no doubt that you’ll master it in no time by following these simple instructions.
Have you played an Android game with a controller on BlueStacks before? Did you use a method similar to those outlined in this guide? Let us know in the comments section below.
Disclaimer: Some pages on this site may include an affiliate link. This does not effect our editorial in any way.