You’ve bought a brand new ASUS laptop, and you’re getting ready for a video call with your family or an online hangout with your buddies. However, the webcam doesn’t work. Don’t worry because we’ve got you covered.
Read on for an extensive list of solutions for fixing webcam issues. These issues are primarily software-related, but sometimes they can be due to hardware defects as well.
Check for Hardware Defects
Even though this solution may seem obvious, don’t disregard it. You may have gotten a broken webcam. Sometimes, it’s difficult to notice a hardware issue with a laptop webcam with your bare eyes. To avoid checking the camera physically, use the Windows troubleshooting app:
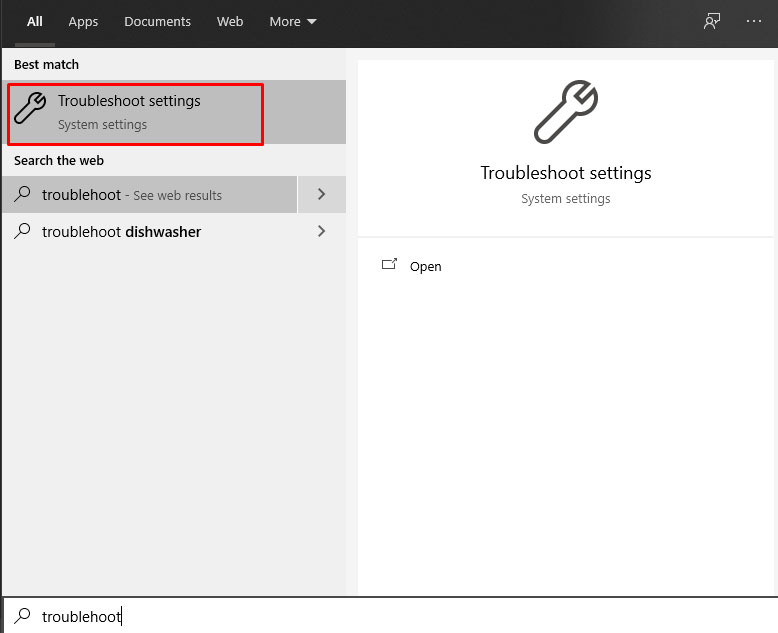
- Tap the “Windows” key on your keyboard.

- Type in “troubleshoot” and select the “Troubleshooting Settings.”
- Scroll down the troubleshooter list. Find your webcam and try to troubleshoot it.


In case there is something wrong, you’ll get the info here. Windows will offer some solutions, if the issue is hardware-related, so follow them.
Double-Check Your Camera
Once you are sure that you have a software-related problem, check if you permitted Windows to use the camera. Here is how to do it:
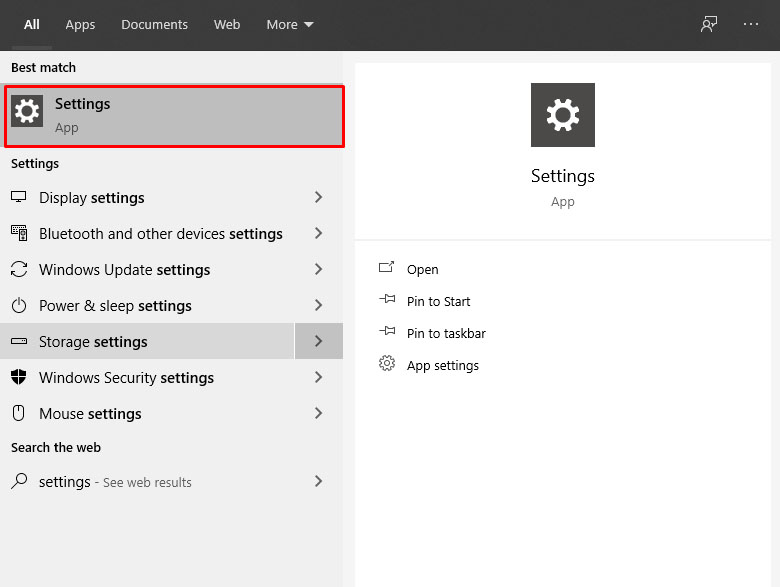
- Tap the “Windows key” or click the “Windows logo” in the bottom left to launch the Start Menu, or type “settings” in the Cortana search bar.
- In the Cortana search, click on “Settings” to open the “Settings” menu.
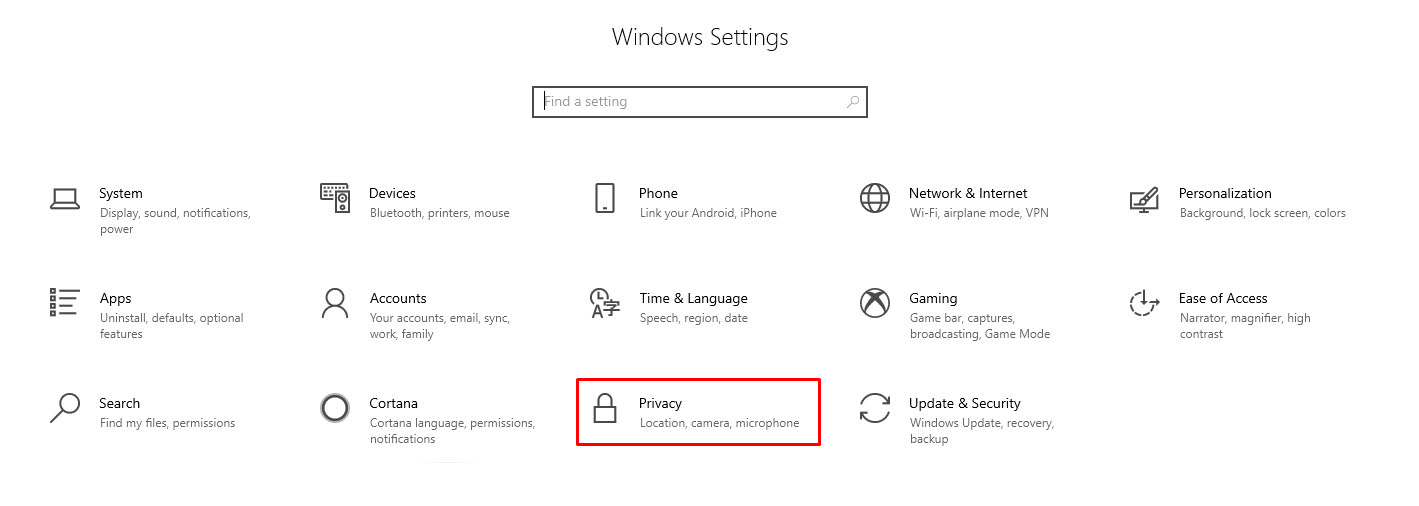
- Click on “Privacy.”
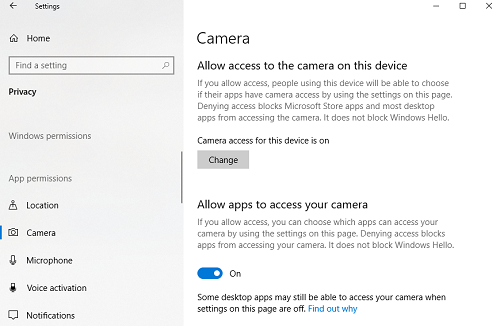
- Select “Camera” from the left.
- Make sure that the camera access for the device is on. Under “Allows apps to access your camera,” slide the switch to “On” if not already set.
After completing the above steps, try to use some apps on your ASUS laptop that require the webcam. Start the Camera app on your computer (search for it in the Start menu) and see if it is working correctly.
Then, see if your webcam works in third-party apps, such as Skype, Discord, WhatsApp, etc. If your webcam is working in some apps but not in others, consider updating the apps. A simple update can fix many problems, which brings us to additional update tips.
Update Windows
The first update you should get is the Windows update. Follow the steps to update your system:
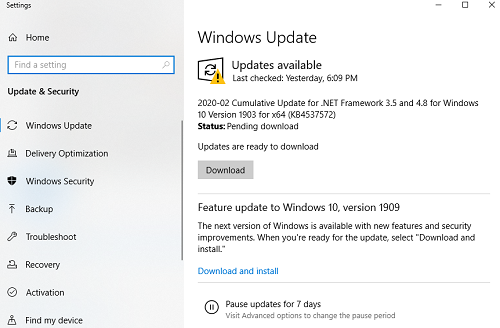
- Access “Settings” by using the Start Menu or the Cortana search box. Search for “update” in the start menu. Click on Check for Updates.
- If there are any available updates, click on Download.
- Windows will automatically download the updates, restarting your laptop in the process. If it asks you to restart, accept it or restart manually after the download completes.
Keeping your Windows up to date is crucial for making things run smoothly on your ASUS laptop. Updating your OS might not be enough, and you might need to update your webcam drivers.
Update the Webcam Drivers
If your laptop webcam is not working correctly, you might need to update its drivers. There are two ways around this. You can either download the updates manually or use third-party software. Here is how to manually update your drivers in Windows 8 and 10.
Automatic Camera Driver Update in Windows 10
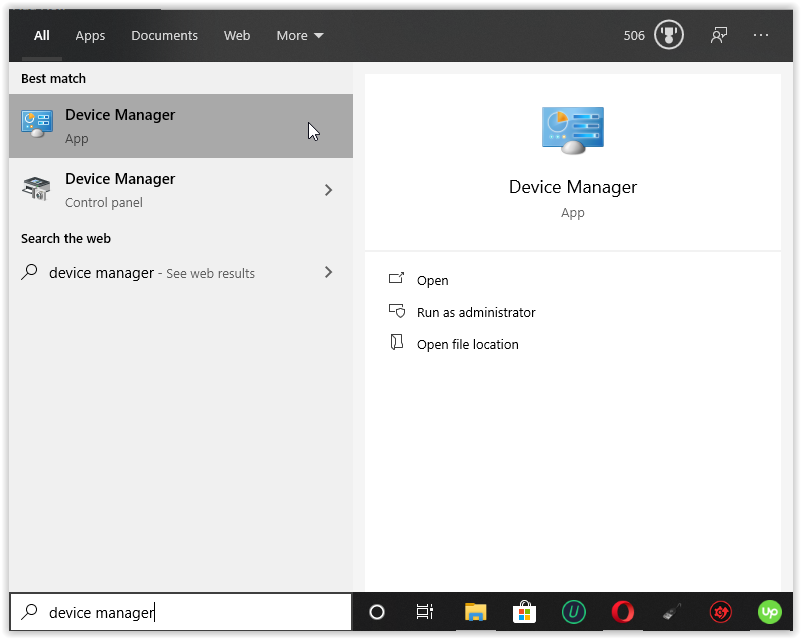
- In the Cortana search bar, type “device” and select “Device Manager” from the list, or right-click the Start Menu icon and choose “Device Manager.”
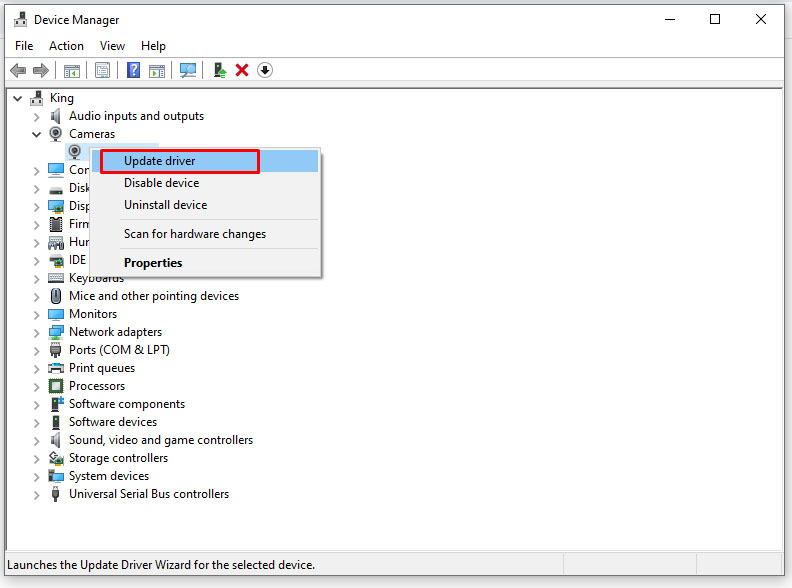
- Find your webcam in the list of devices, then right-click on it and choose “Update Driver.”
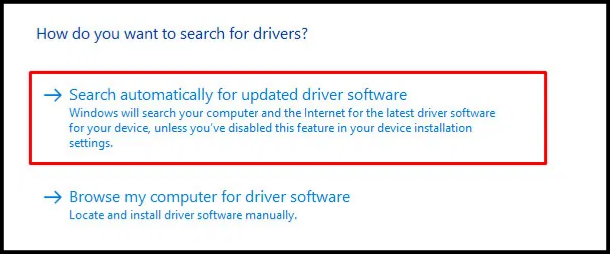
- Choose “Search automatically for updated…” from options listed.
Manual Camera Driver Updates in Windows 10
Here are the manual update steps for Windows 10 laptops:
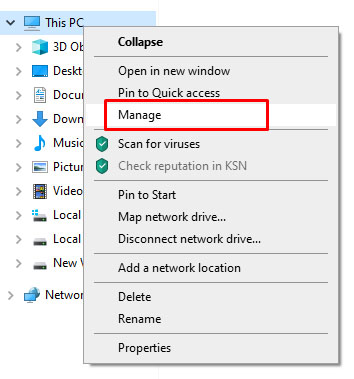
- In “Device Manager,” right-click on “This PC” and choose “Manage.”
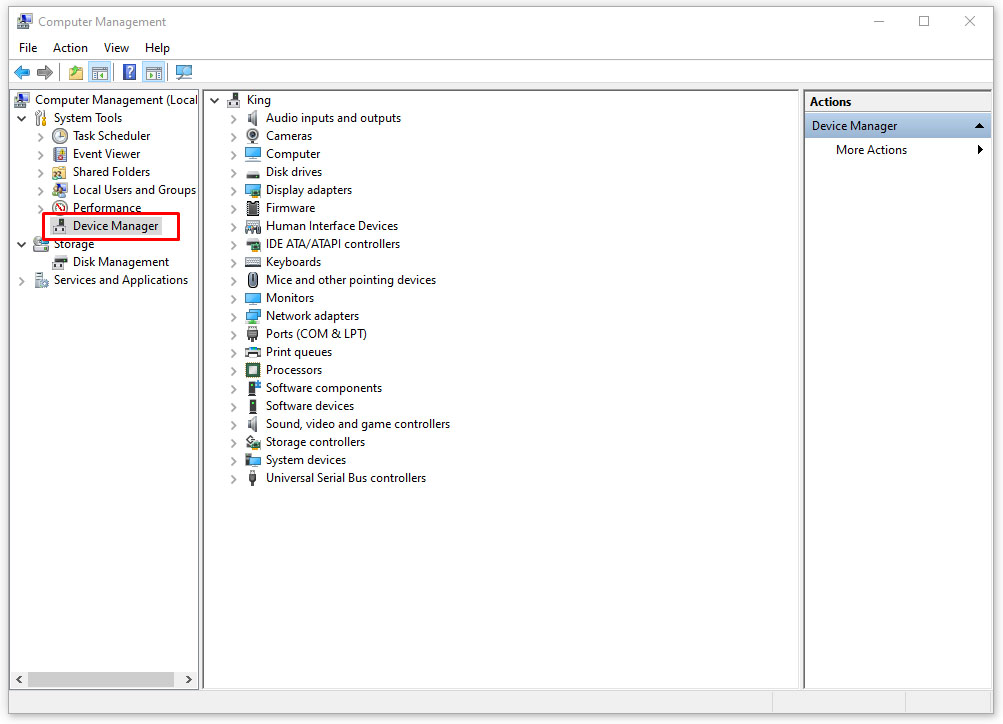
- Select “Device Manager” in the left navigation pane, followed by “Image Devices.”
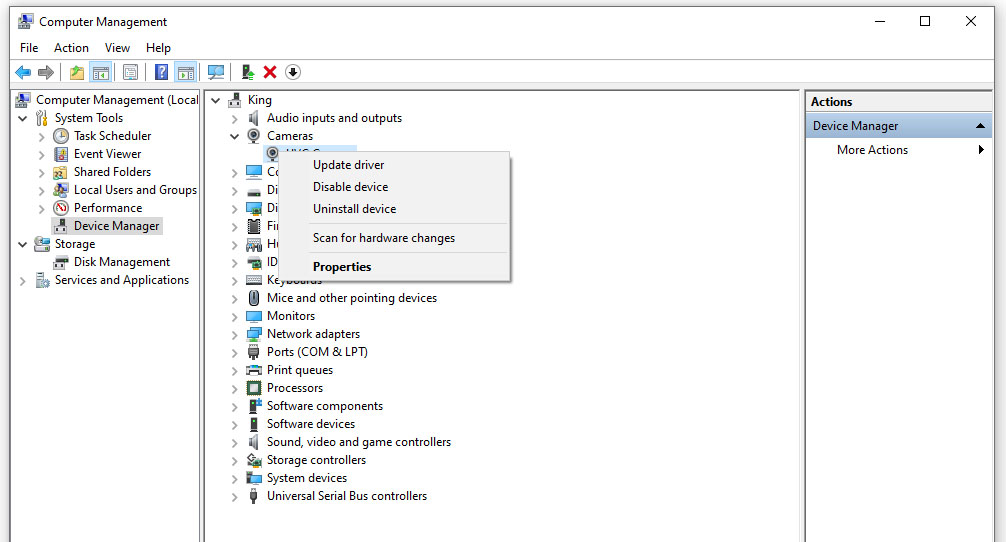
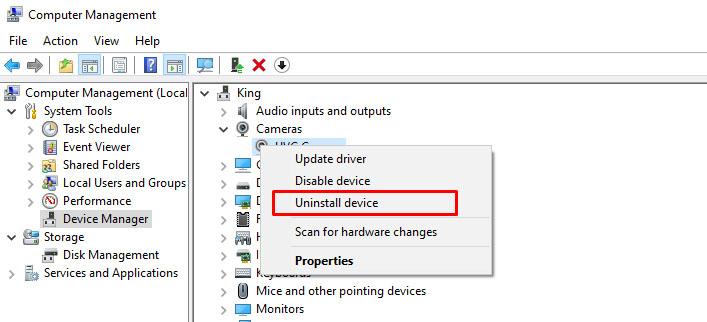
- Choose your camera, and right-click on it.
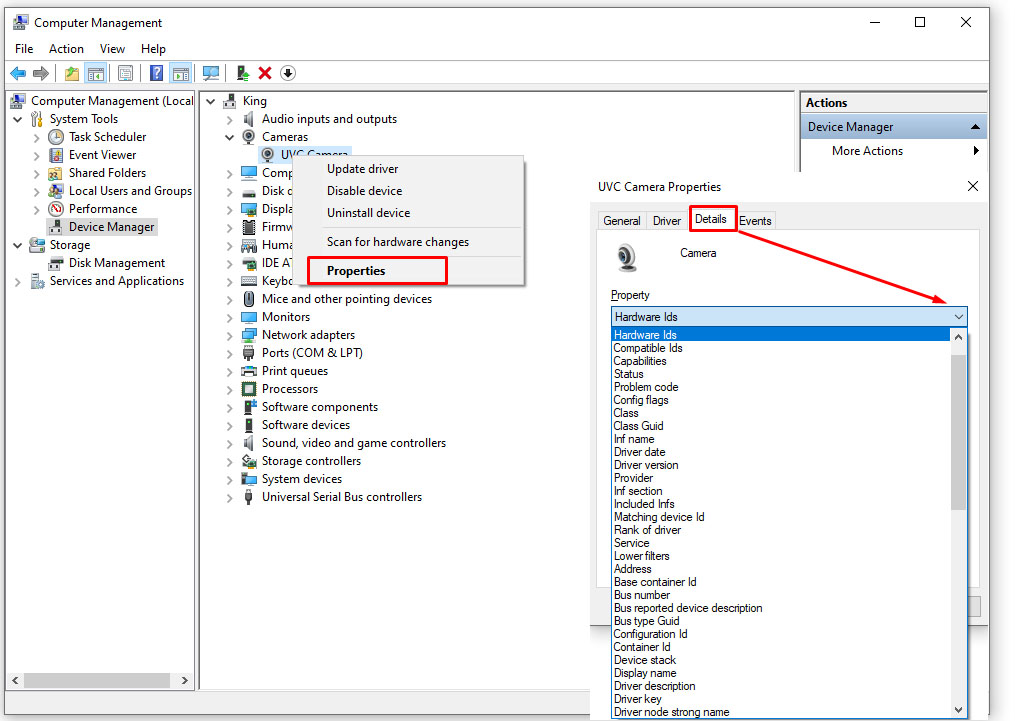
- Select “Properties,” then the “Details” tab, then “Hardware Ids” from the dropdown list, and then select “PID Version.” Save this PID info. You will need it later.
- Go back and right-click your webcam again. Choose “Uninstall device” and reboot your laptop.
- Visit the official ASUS support website and search your camera driver using the previously mentioned PID version.
- Download the update and follow the on-screen instructions for setup.
Alternative Method
If you don’t want to jump through hoops to get your webcam updates, you can purchase a third-party program that installs updates automatically. However, some third-party update programs can be harmful to your laptop or may have expensive subscription plans.
The Auslogics driver updater works just fine. Click on the link, and you will automatically download the software. Follow the simple on-screen instructions for setup. Launch the driver updater when you can, and it will scan your computer for available drivers.

Click on Update Drivers if you want to update all of them, but note that you will have to activate the product (buy it). The better alternative is to find your webcam driver and install it for free. Just click on Update Driver next to your webcam and tap on Update.
Your driver will install automatically, and the webcam problem should go away.
Parting Advice
Hopefully, this article helped you resolve issues with your ASUS laptop webcam. Make sure to follow the solutions in this order for best results. Also, you can try reinstalling your laptop battery. Although it sounds silly, this trick sometimes fixes many problems.
There isn’t much else you can do at this point, other than contact ASUS support.
Disclaimer: Some pages on this site may include an affiliate link. This does not effect our editorial in any way.